Hit the right spot with your Canon camera's Spot metering mode
Rod Lawton takes a look at this challenging metering mode, how it works and what it can do for your photographic projects
Above: watch our video guide
Spot metering is a very precise way to measure and calculate your exposures, but it’s also a way of getting to grips with the very basics of exposure theory. It can also open up techniques long since forgotten amidst the modern automation of the multi-pattern metering systems on modern digital cameras!
The idea is very simple. It means taking an exposure reading from a very small area of the scene to base the exposure on that alone. One obvious application is where you’re photographing a stage performance, for example, where the main subject is lit by spotlights but the rest is in darkness. Regular multi-pattern metering will try to expose for the whole scene, background and all, and the result will be wildly overexposed photos.
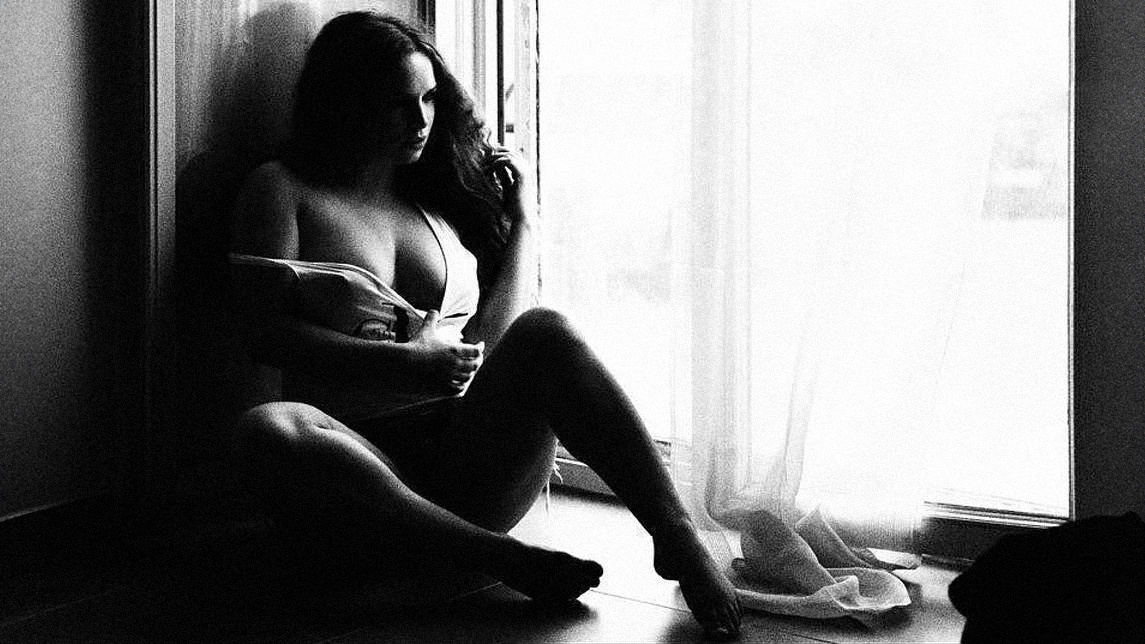
Another is where you’re shooting a backlit subject, where the camera can’t possibly know whether you want a silhouette or a brighter subject. With Spot metering, however, you’re in the driving seat.
Spot metering also gives you an opportunity to think more carefully about your subject and whether it has an intrinsically light or dark tone. To keep light tones light you need to increase the exposure with positive EV compensation, otherwise the camera will overcompensate and try to produce a mid-grey brightness. It’s the same with very dark subjects - in this case you’ll need to apply some negative exposure compensation to keep them dark, so they look punchy and not washed out.
This becomes more important with Spot metering because you’re picking a specific area of the scene. Regular multi-pattern metering is nowhere near as precise, but it does cover up a lot of cracks you may have in your exposure technique!
So why not give Spot metering a shot? It takes just a few moments to set up on your camera and only requires a slight change to your shooting technique. I went to a local bike meet to try it out. Follow my tips and watch the accompanying video to see how I got on.
The best camera deals, reviews, product advice, and unmissable photography news, direct to your inbox!
1. Find spot metering mode
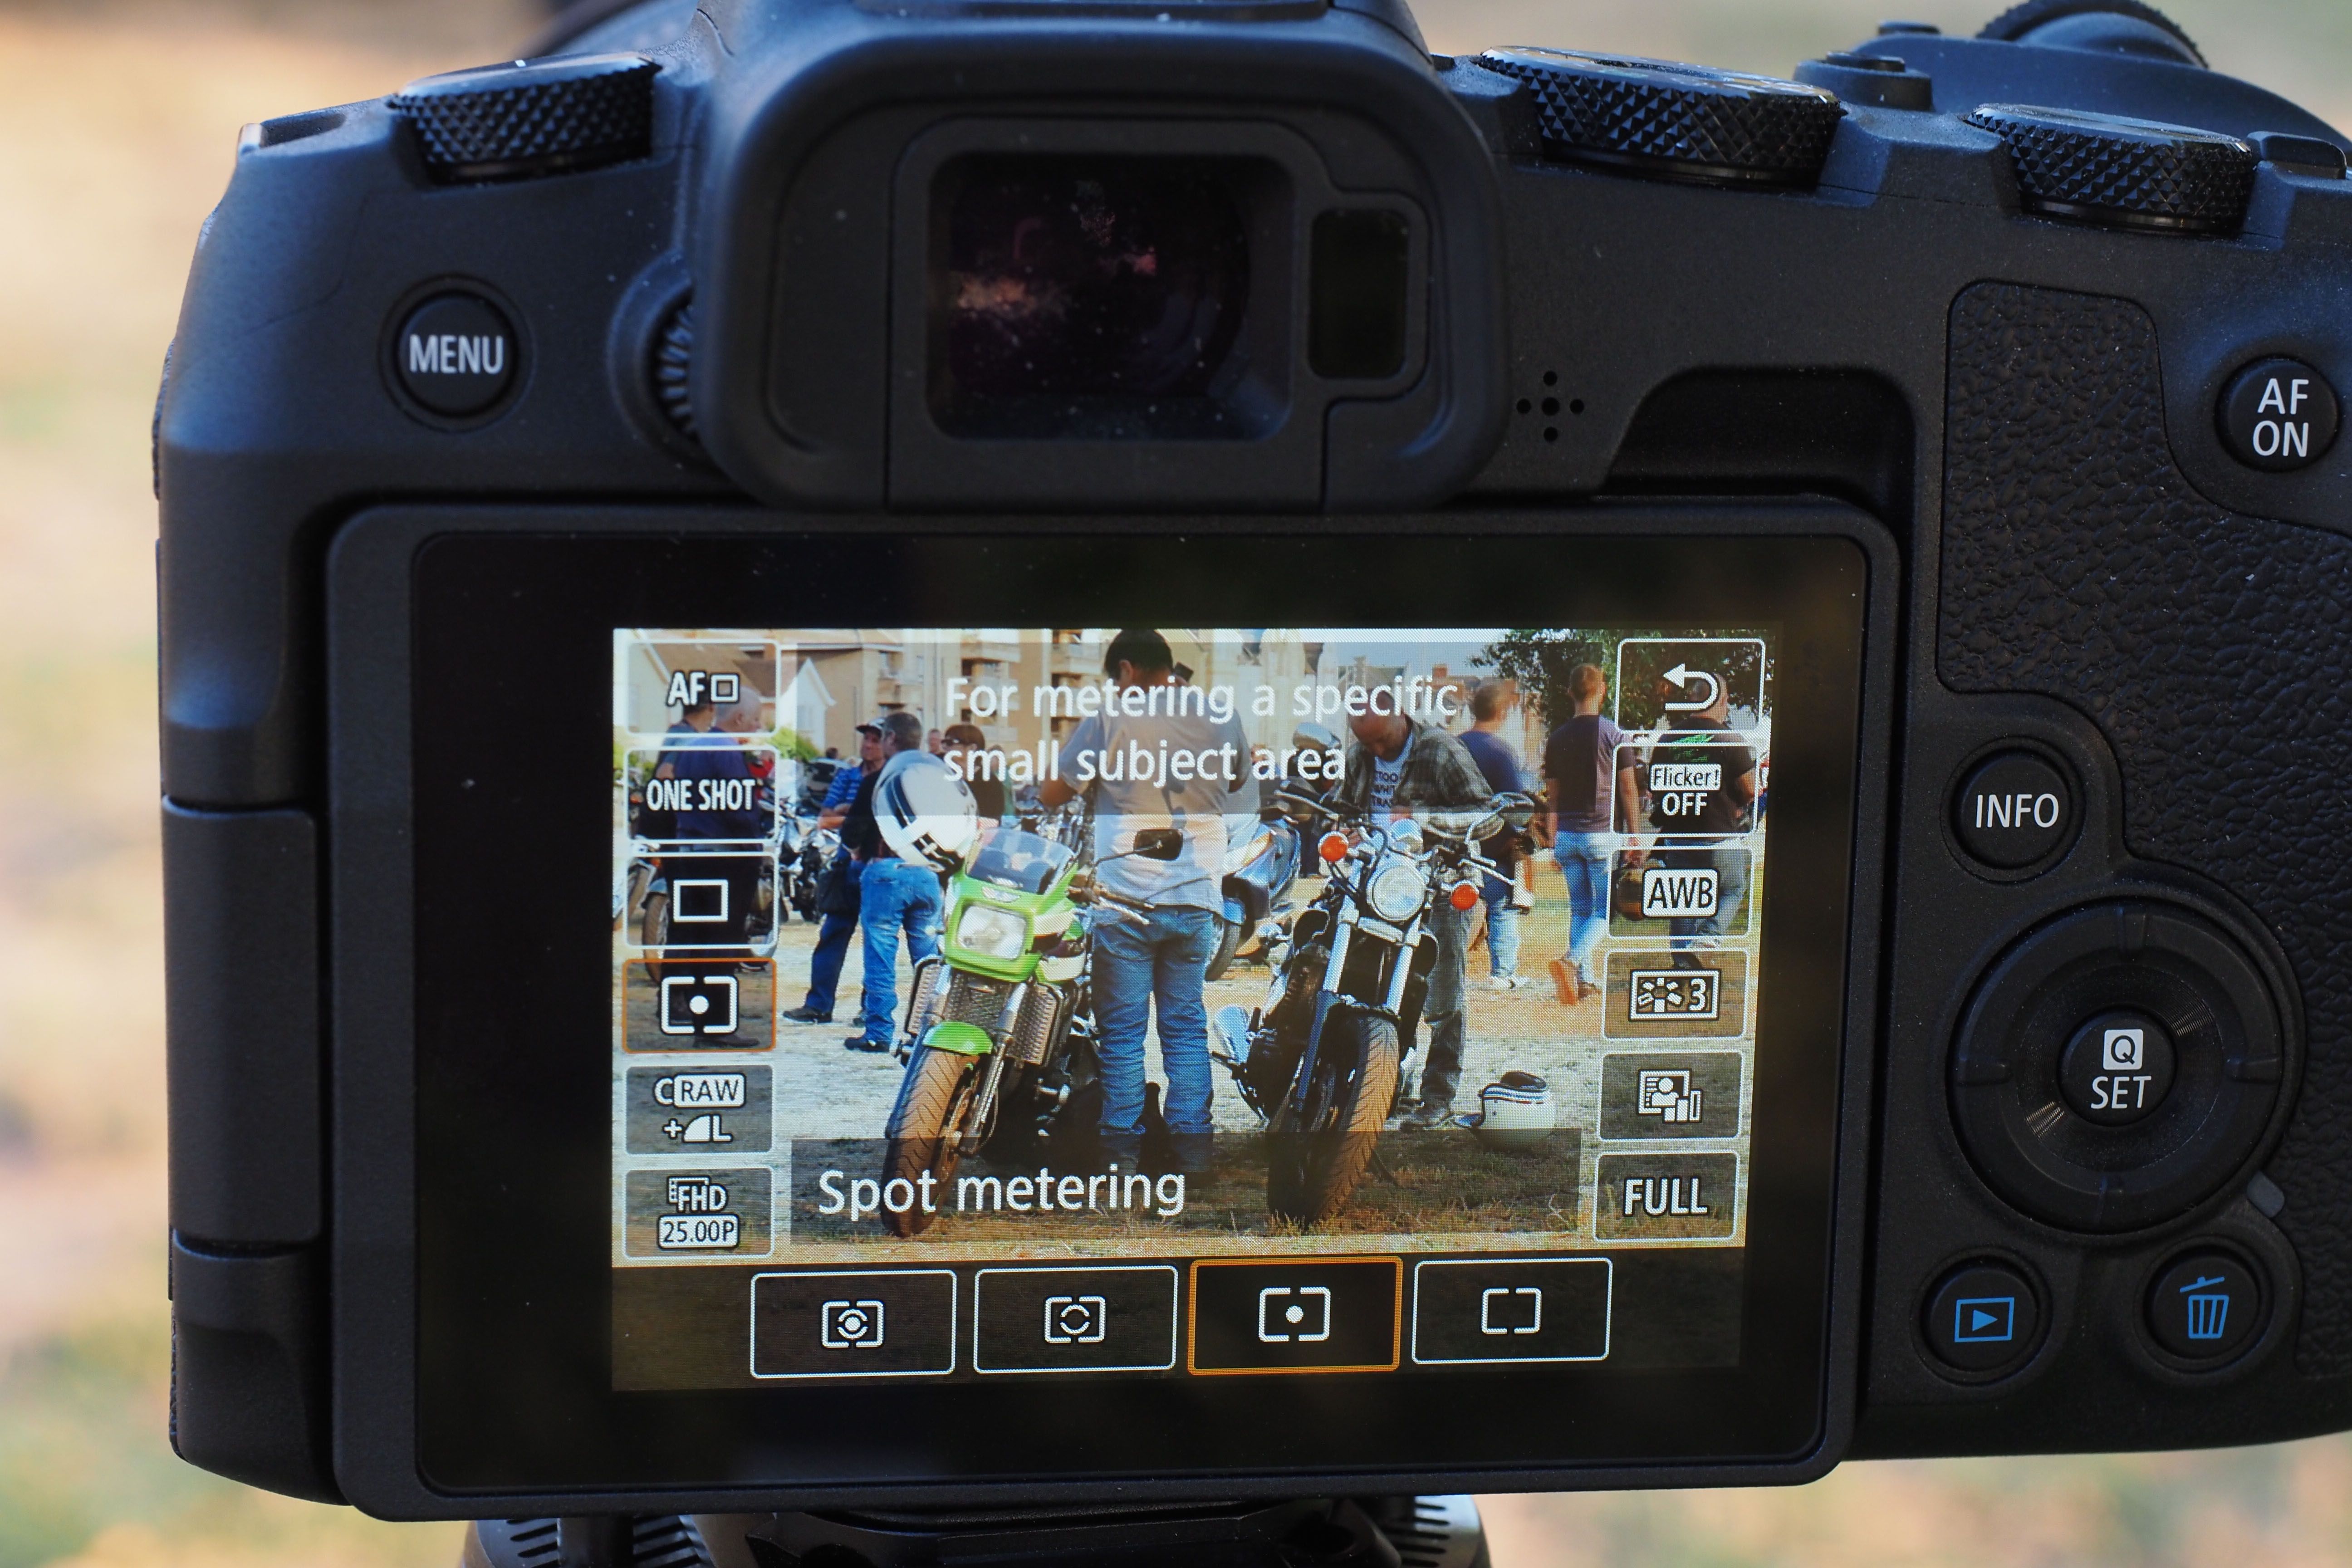
On my Canon EOS RP, the Spot metering mode is found in the Quick menu. This metering mode is much more precise than the default Evaluative mode but it does need more care and attention when you use it.
2. The spot metering area
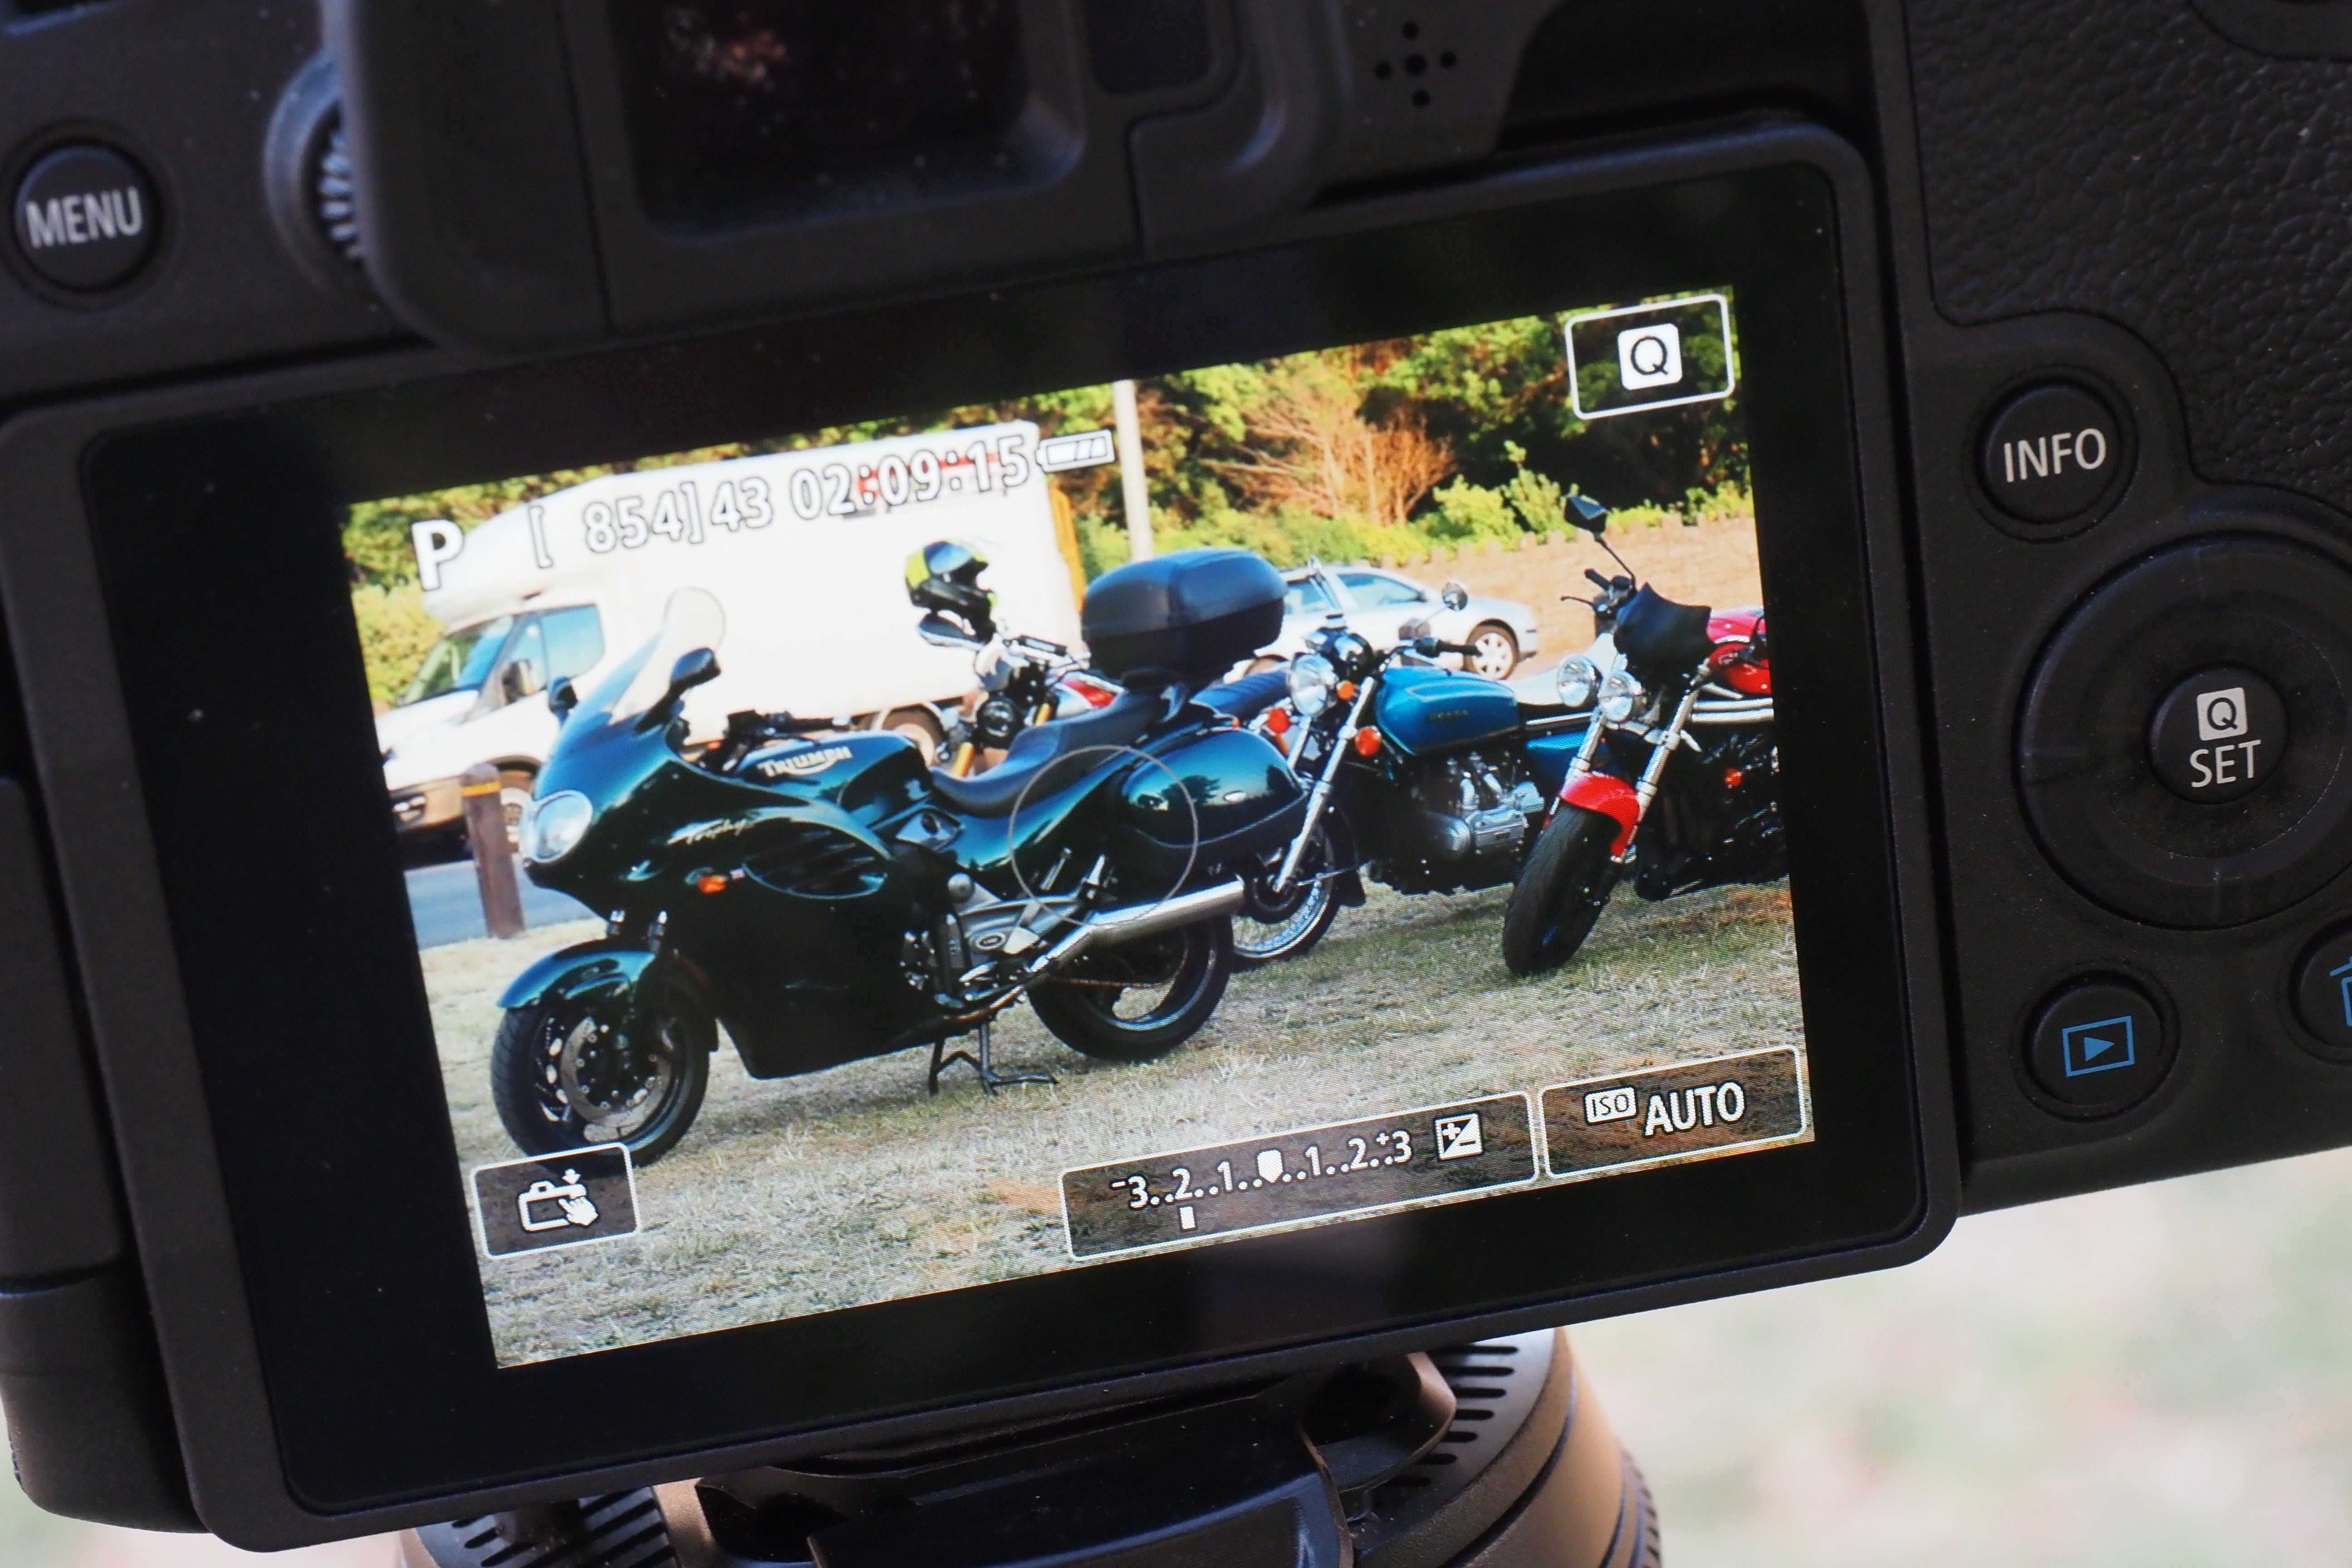
On the Canon EOS RP, the ‘spot’ is shown as a circle in the middle of the LCD (or EVF). It’s not always easy to see, but just remember it’s right in the centre. Spot mode is highly selective, so you’ll often need to apply EV compensation for light or dark-toned objects.
3. Exposure lock
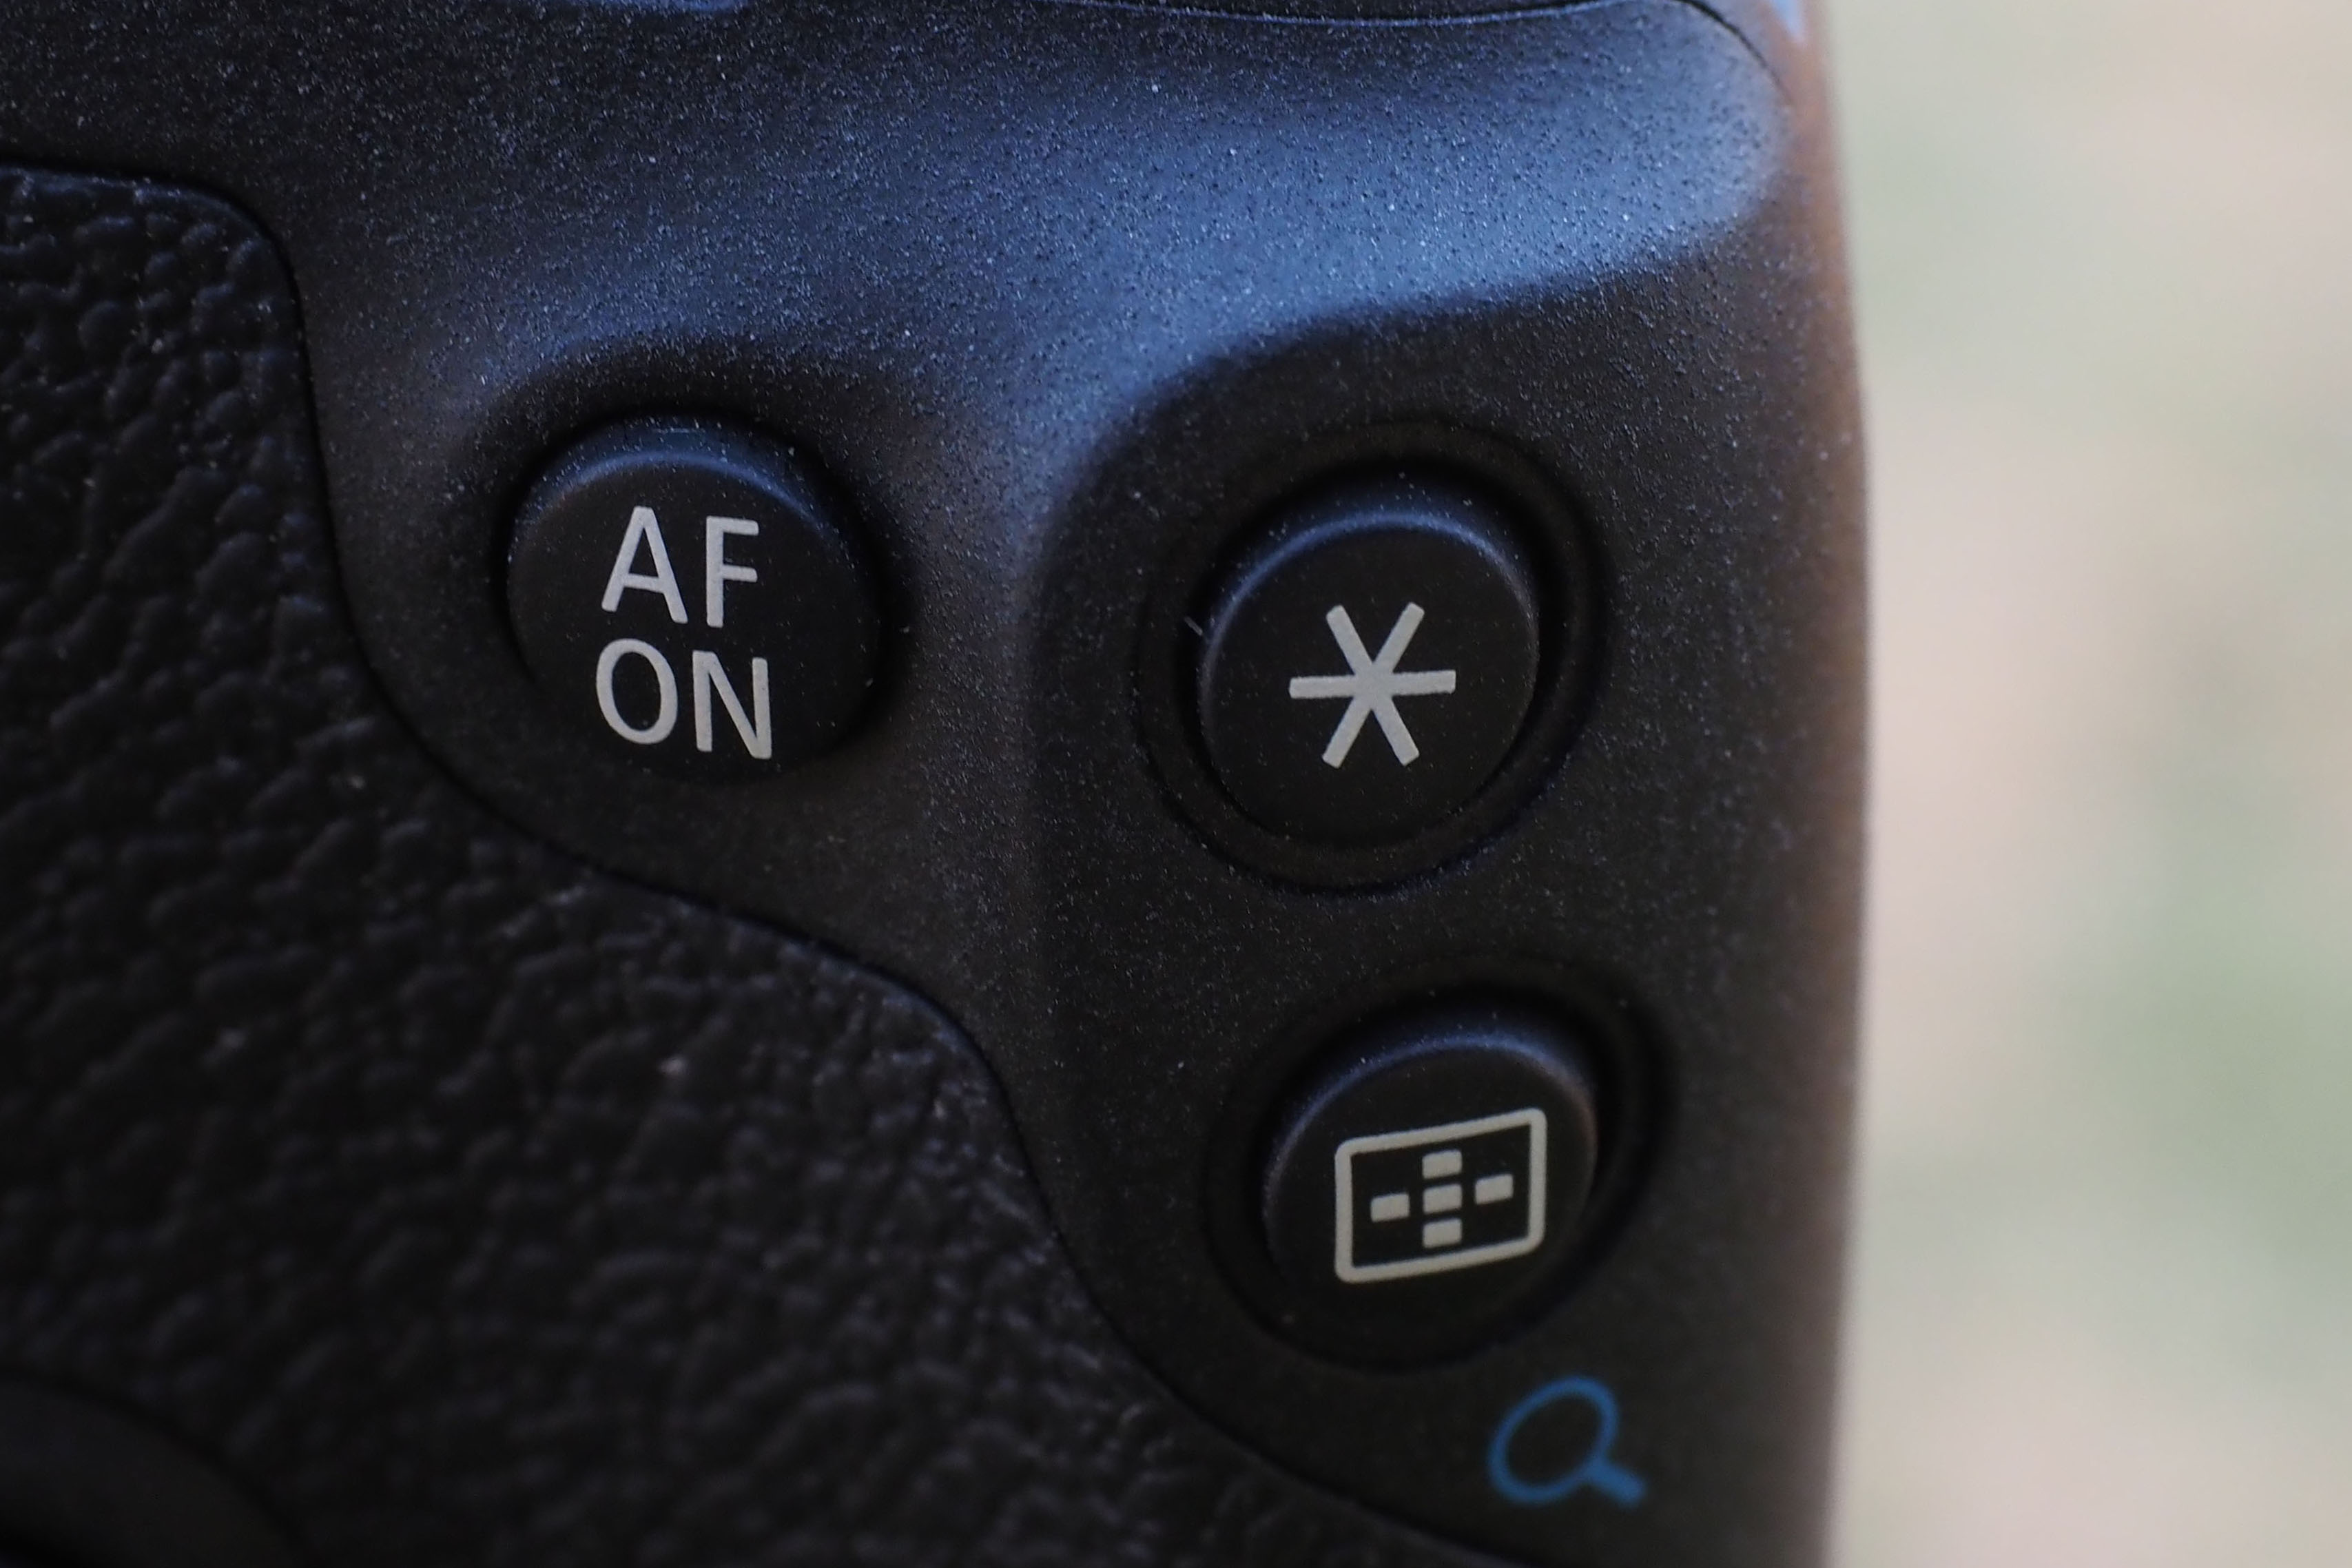
To offset your subject, you can take a reading with the area in the centre then either half-press the shutter button to lock the exposure (though this also locks focus) or use the exposure lock button on the back of the camera, then recompose.
4. Backlit subjects
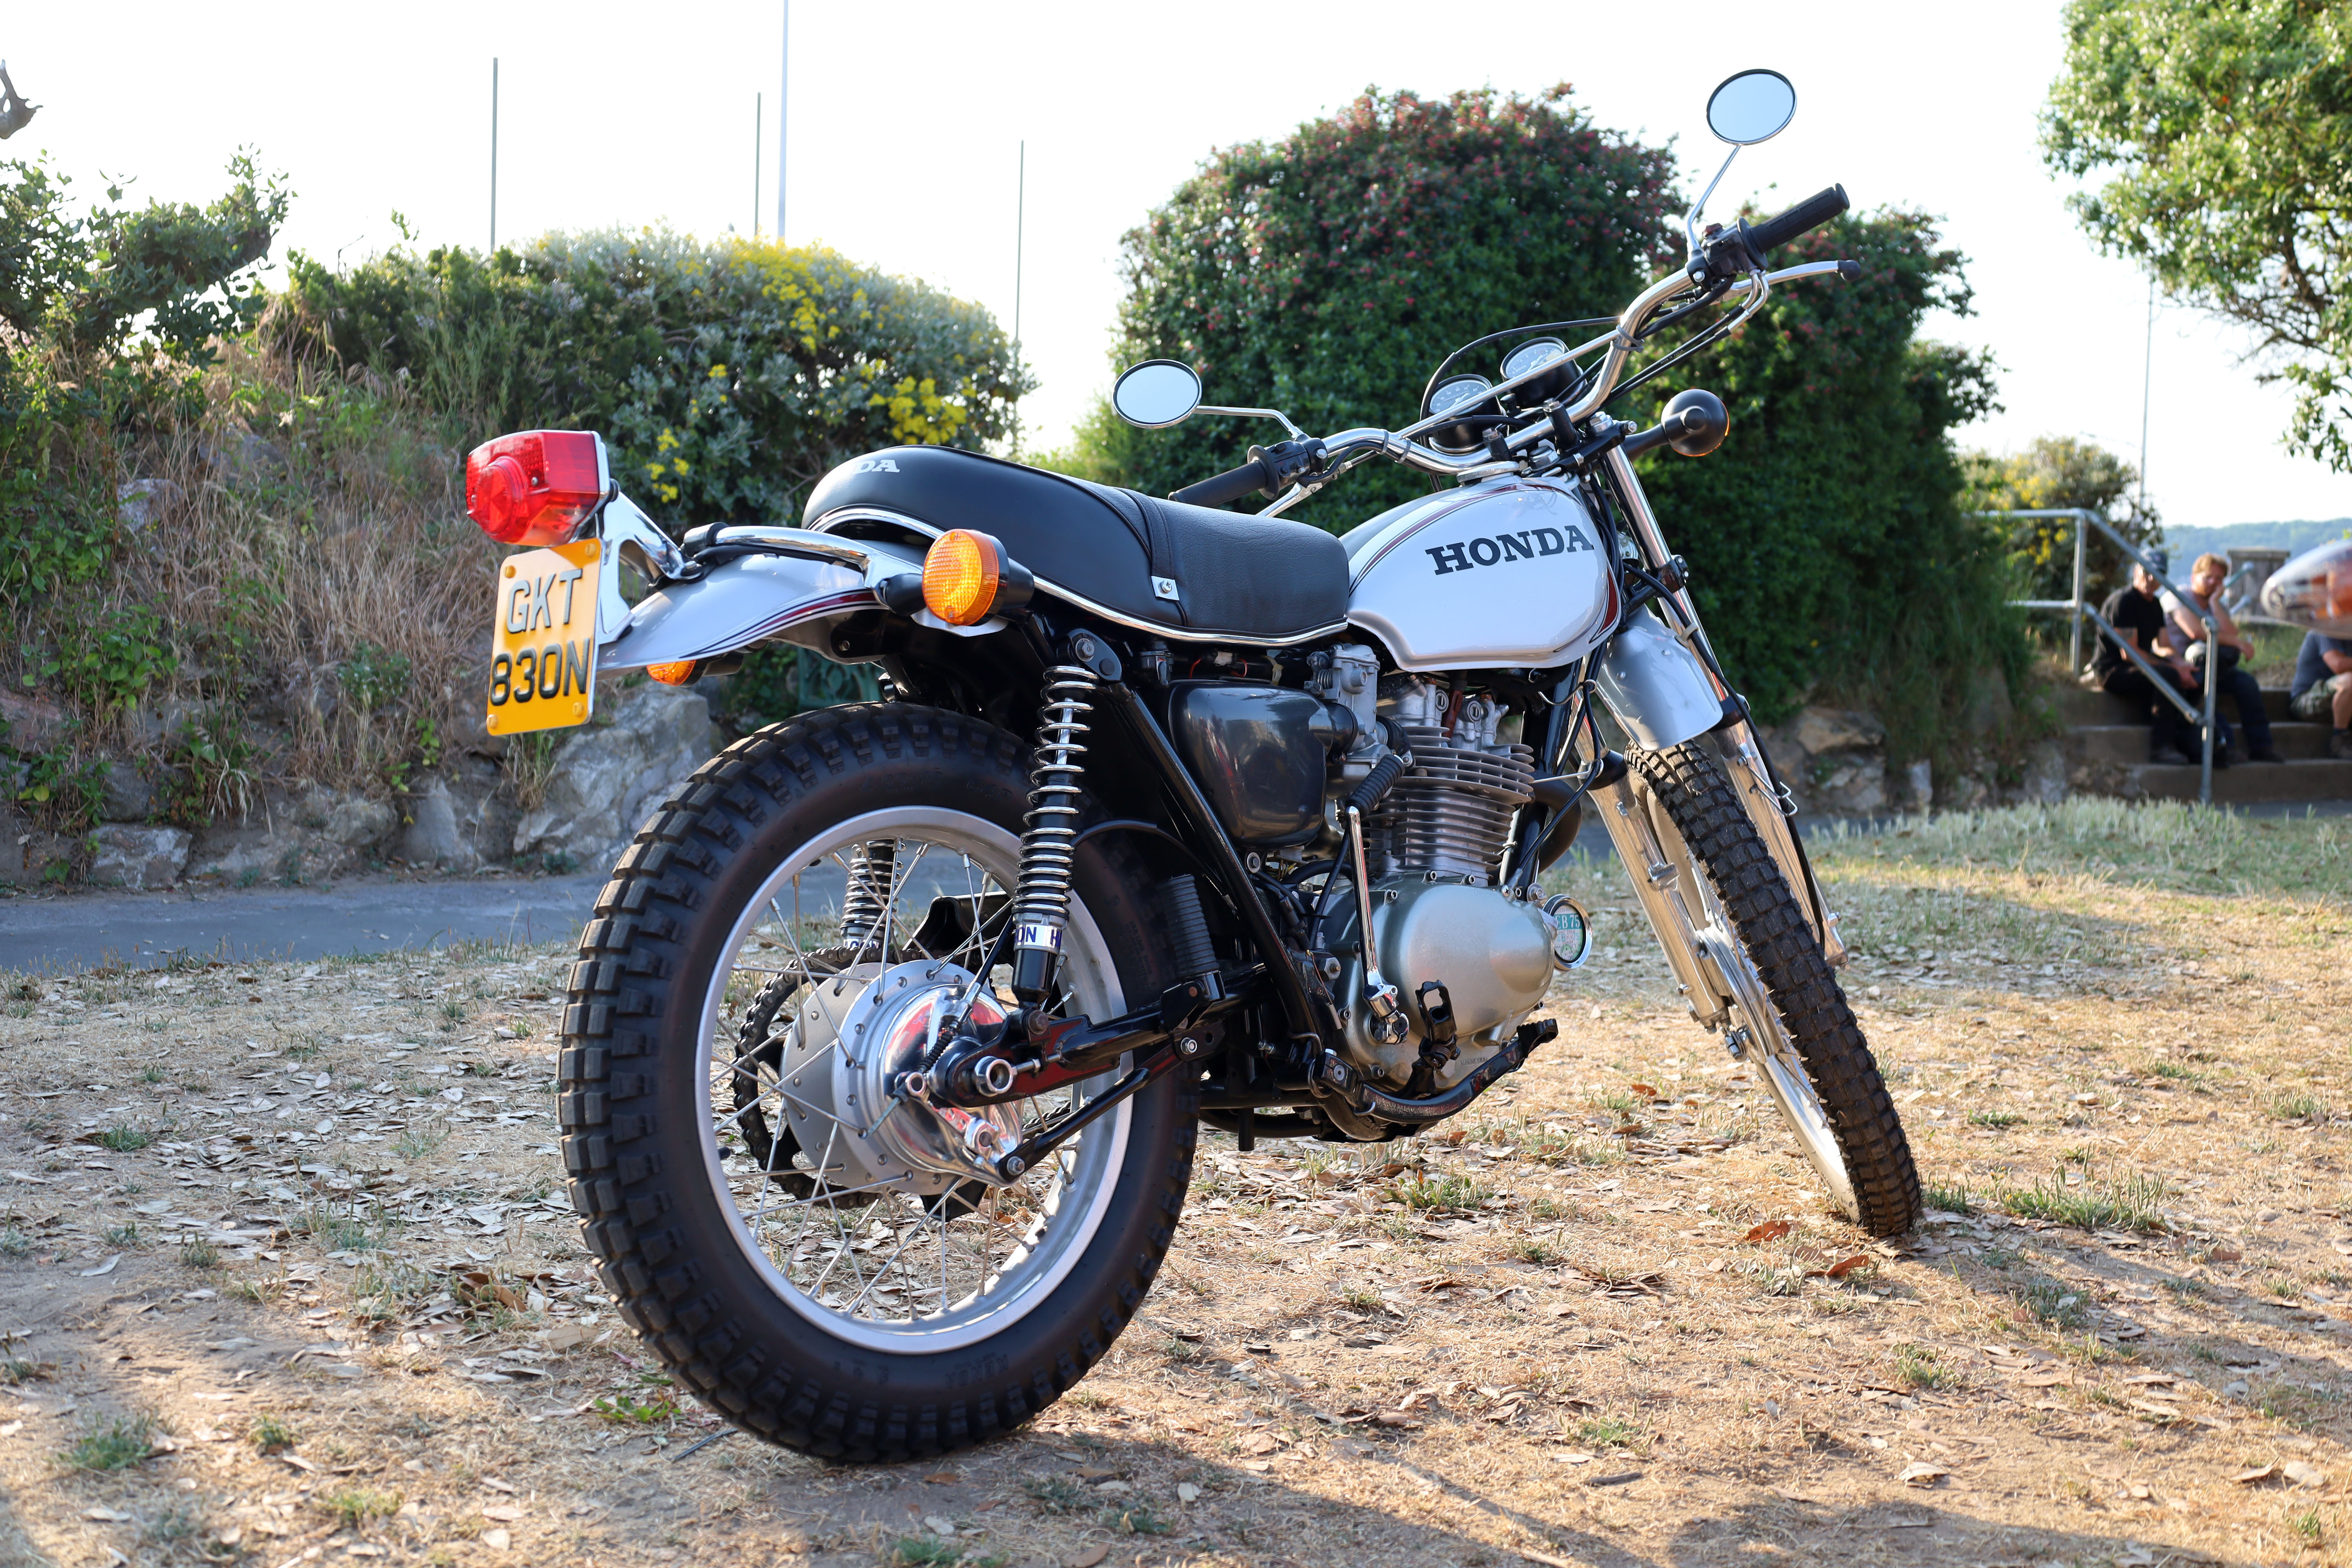
Here’s a subject where Spot metering has worked brilliantly. Backlighting can create a beautiful effect but can often leave your subject in shadow. Here, I took a Spot reading from the motorcycle’s engine, which is a pretty neutral grey tone, and got a perfectly exposed backlit shot.
5. Exposure compensation
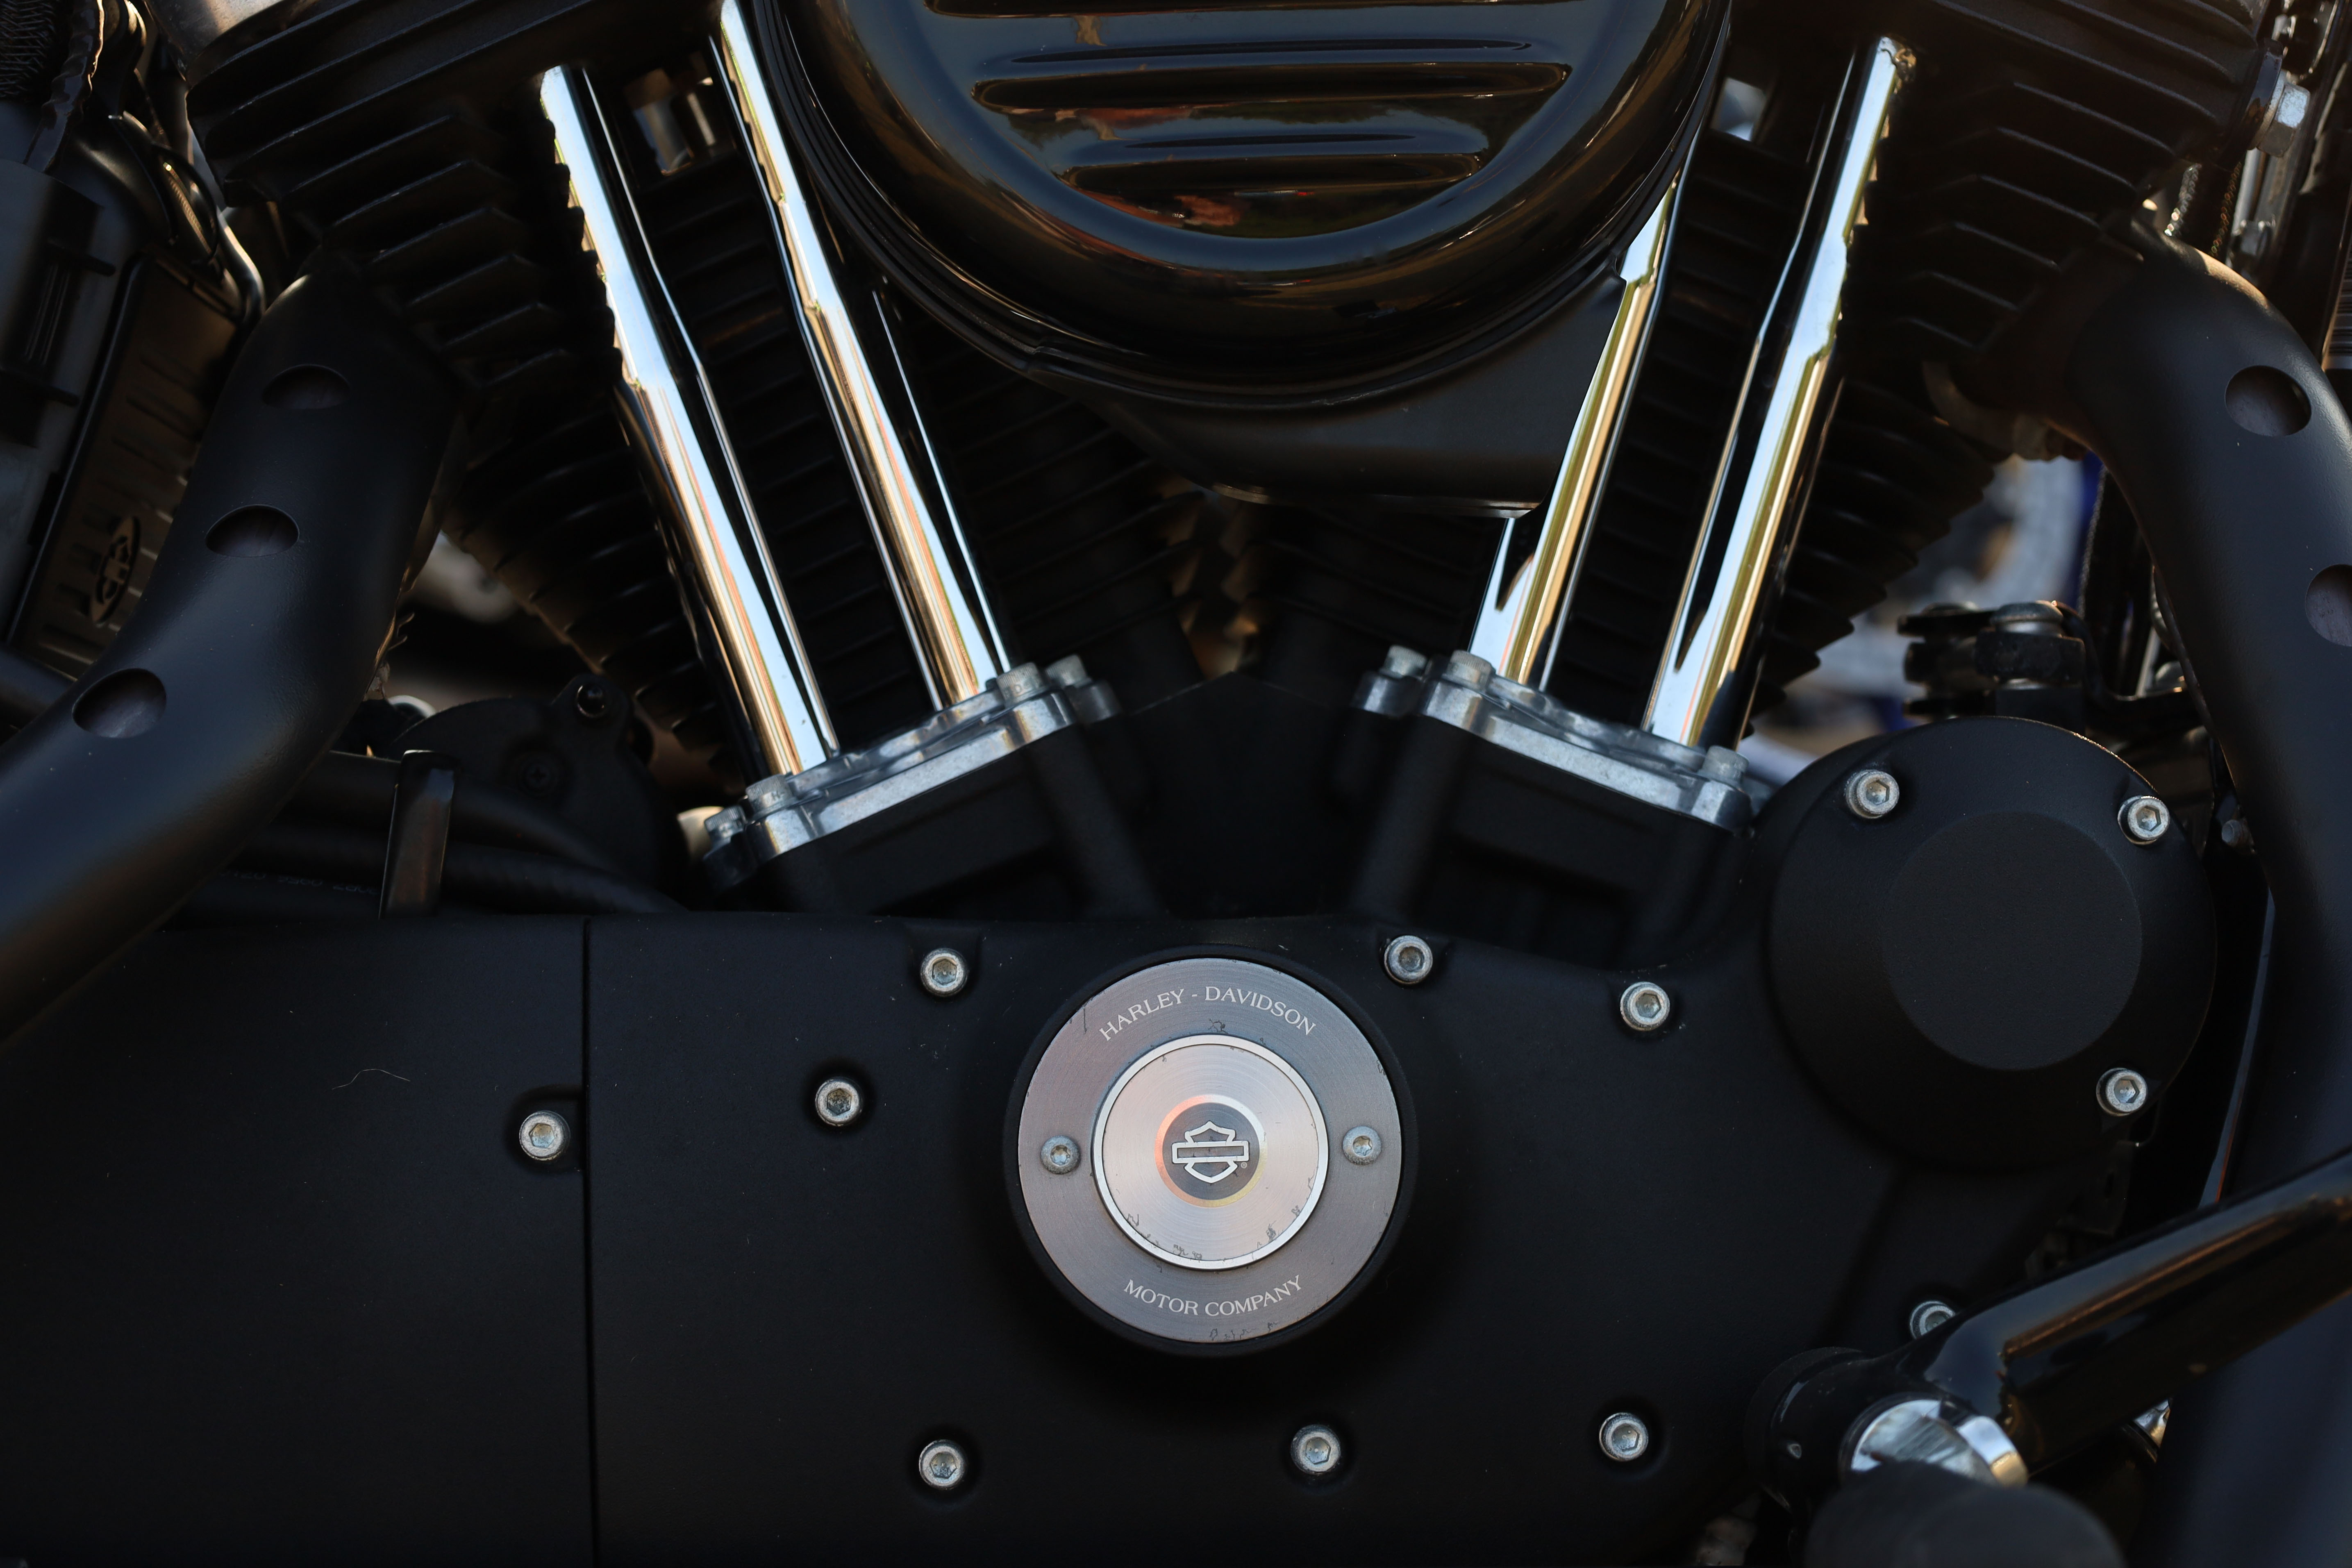
Spot metering means you can get very specific about how tones should look. I wanted to keep the deep, matt black look of this Harley engine case, so I took a Spot reading from an area of black but with -2EV exposure compensation to keep it black, and it’s reproduced perfectly.
6. Choose your key area
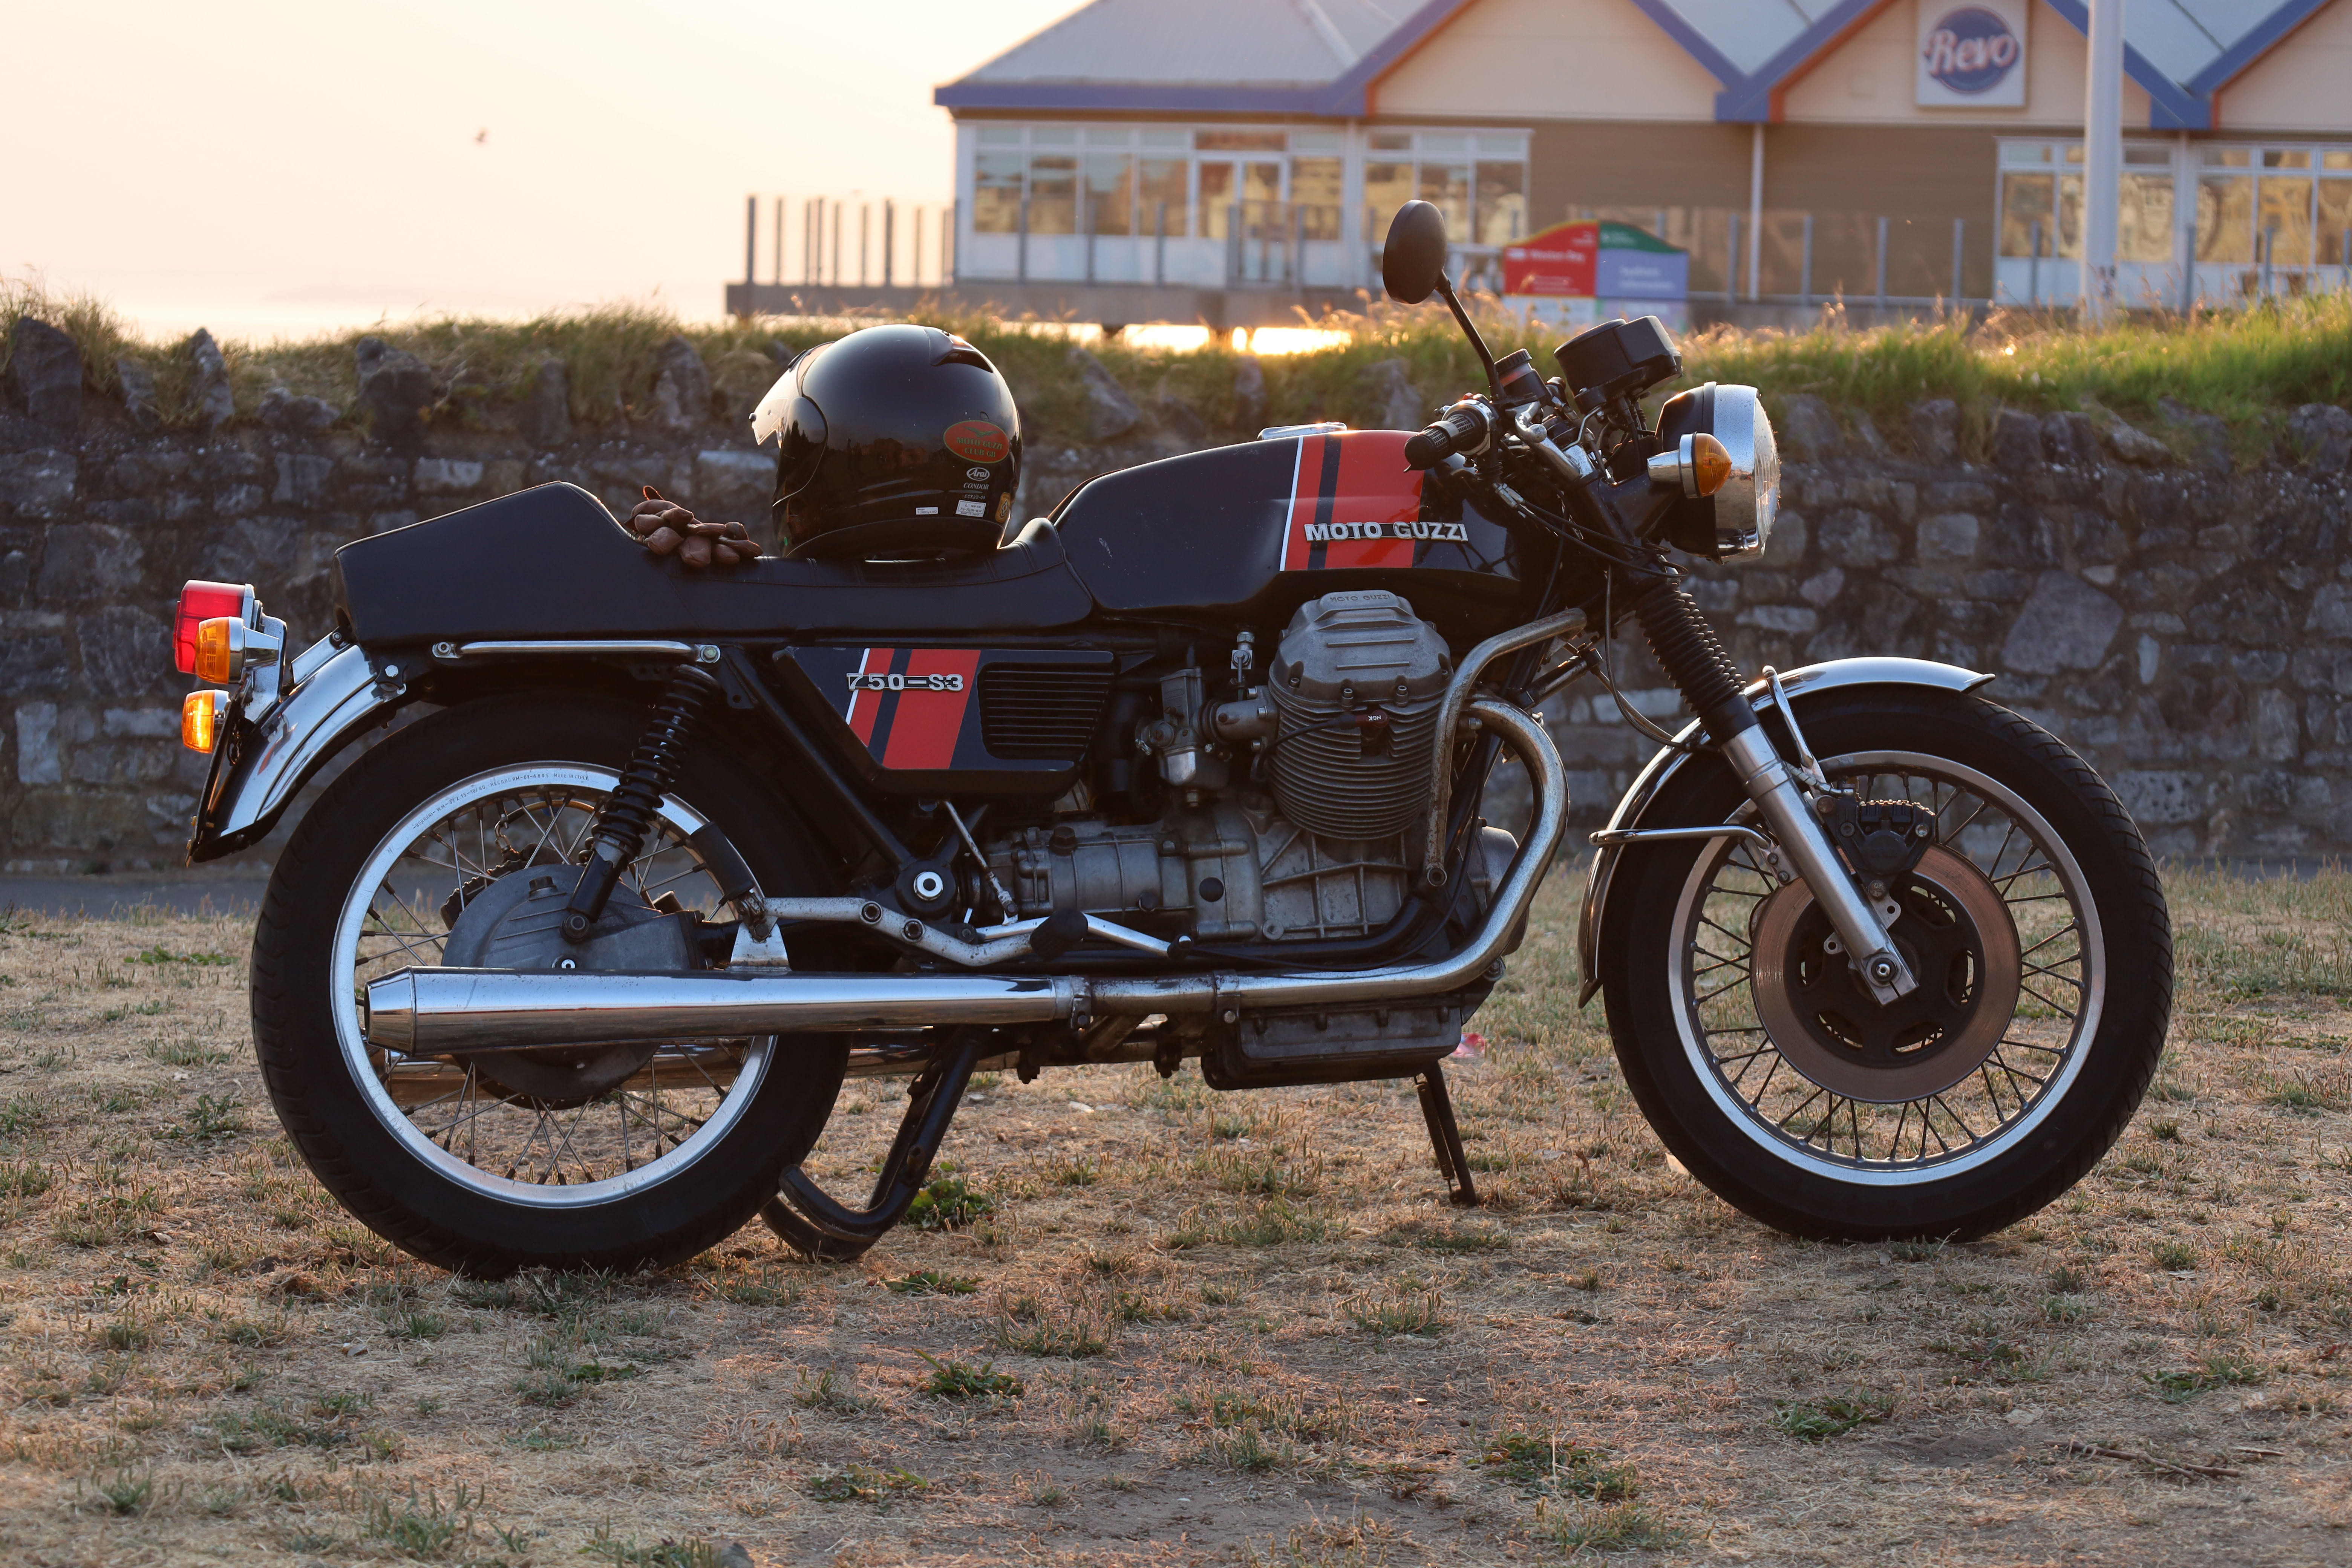
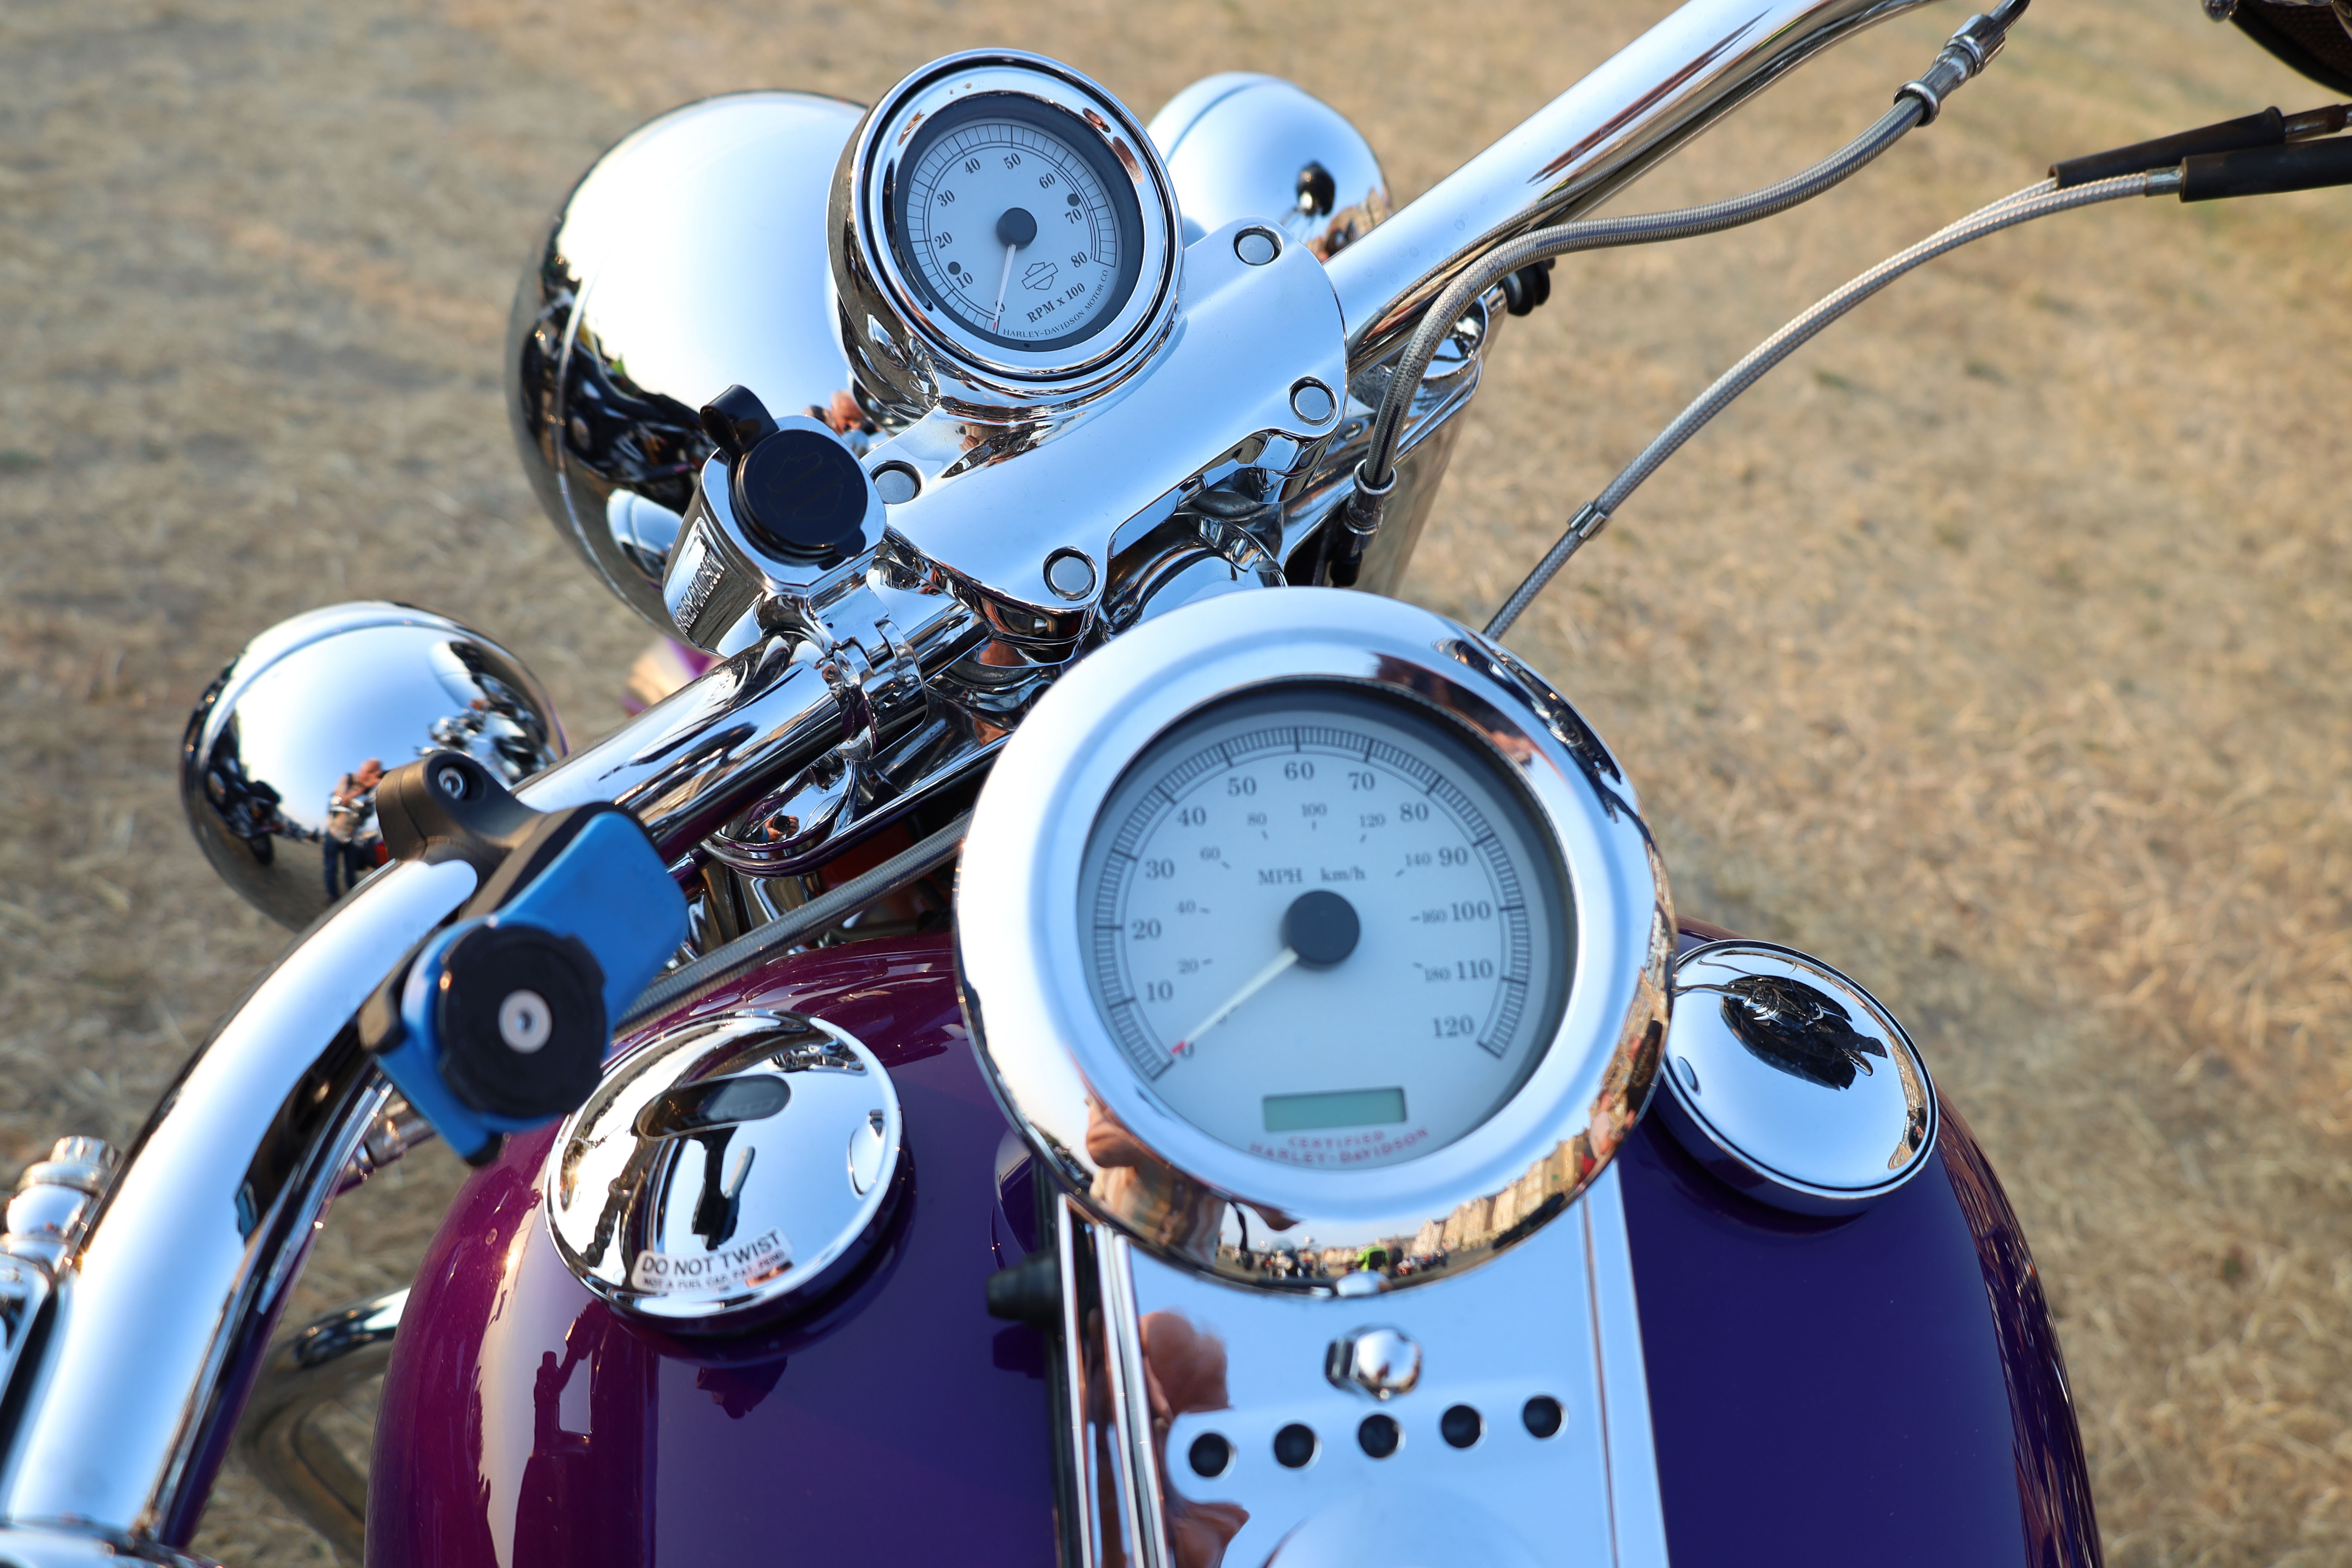
For this photo, I decided the cream-coloured speedometer on the tank was the key tone that had to be right, so I took a spot reading from the dial but with +1EV compensation to keep the tone light. Very often, when you Spot meter correctly, the rest of the scene takes care of itself!
PhotoPlus: The Canon Magazine is the world's only monthly newsstand title that's 100% devoted to Canon, so you can be sure the magazine is completely relevant to your system. Every issue comes with downloadable video tutorials too.
These are the best cameras for portraits and the best portrait photography tips. You might also like the best photo editing software and the best photo-editing laptops.
Rod is an independent photography journalist and editor, and a long-standing Digital Camera World contributor, having previously worked as DCW's Group Reviews editor. Before that he has been technique editor on N-Photo, Head of Testing for the photography division and Camera Channel editor on TechRadar, as well as contributing to many other publications. He has been writing about photography technique, photo editing and digital cameras since they first appeared, and before that began his career writing about film photography. He has used and reviewed practically every interchangeable lens camera launched in the past 20 years, from entry-level DSLRs to medium format cameras, together with lenses, tripods, gimbals, light meters, camera bags and more. Rod has his own camera gear blog at fotovolo.com but also writes about photo-editing applications and techniques at lifeafterphotoshop.com
