Get ready to capture photographs of garden birds
Steve Gemmell reveals how he caught and edited this photograph of a blue tit in the garden
The best camera deals, reviews, product advice, and unmissable photography news, direct to your inbox!
You are now subscribed
Your newsletter sign-up was successful
Garden birds are great to see at anytime of the year. A common visitor to our gardens are blue tits, who enjoy a wide range of natural food, but they appreciate being offered some extras – so we always hang some food from our magnolia tree for them.
I decided to try to capture these busy little birds with my Fujifilm GFX 50R on a tripod plus the Fujifilm GF 110mm f/2 lens, plus a Godox V860 II flashgun. I waited for a solitary arrival to alight on my target area.
• Read more: Bird photography tips
The blue tit took up several poses for my Fuji and I snapped away until it decided to depart. It seemed completely unaware of the high-speed flashes and continued to feed happily.
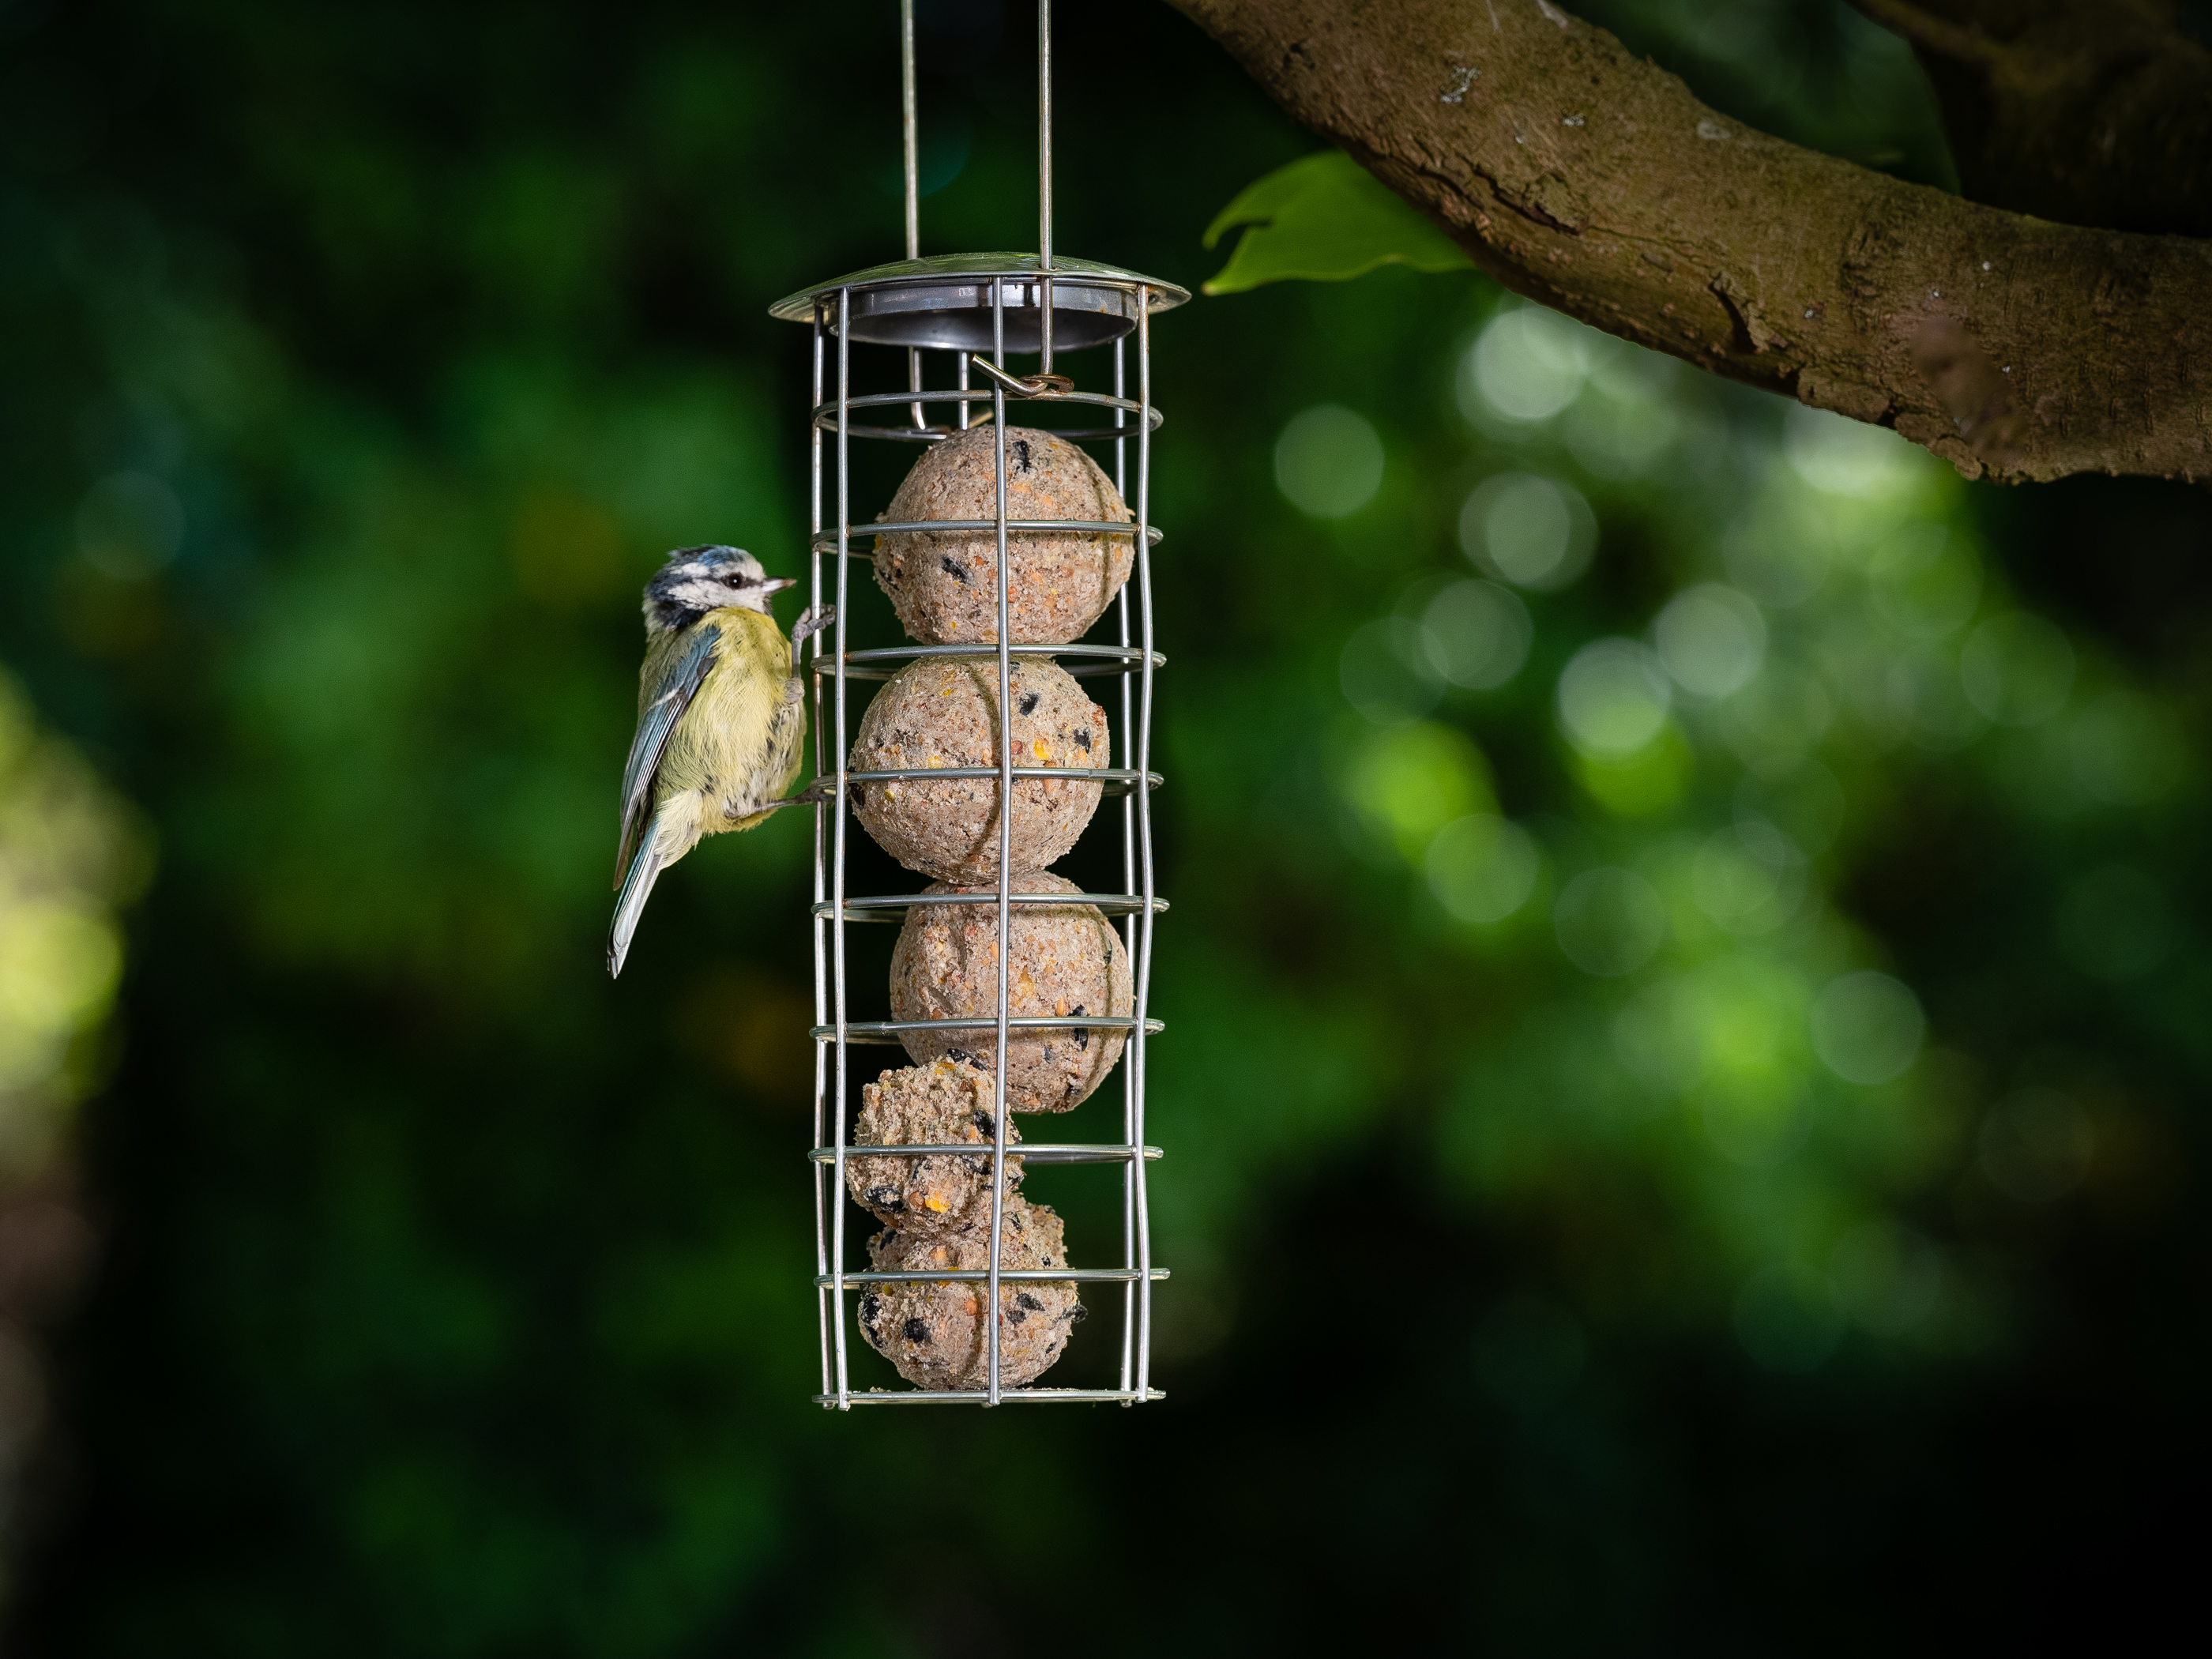
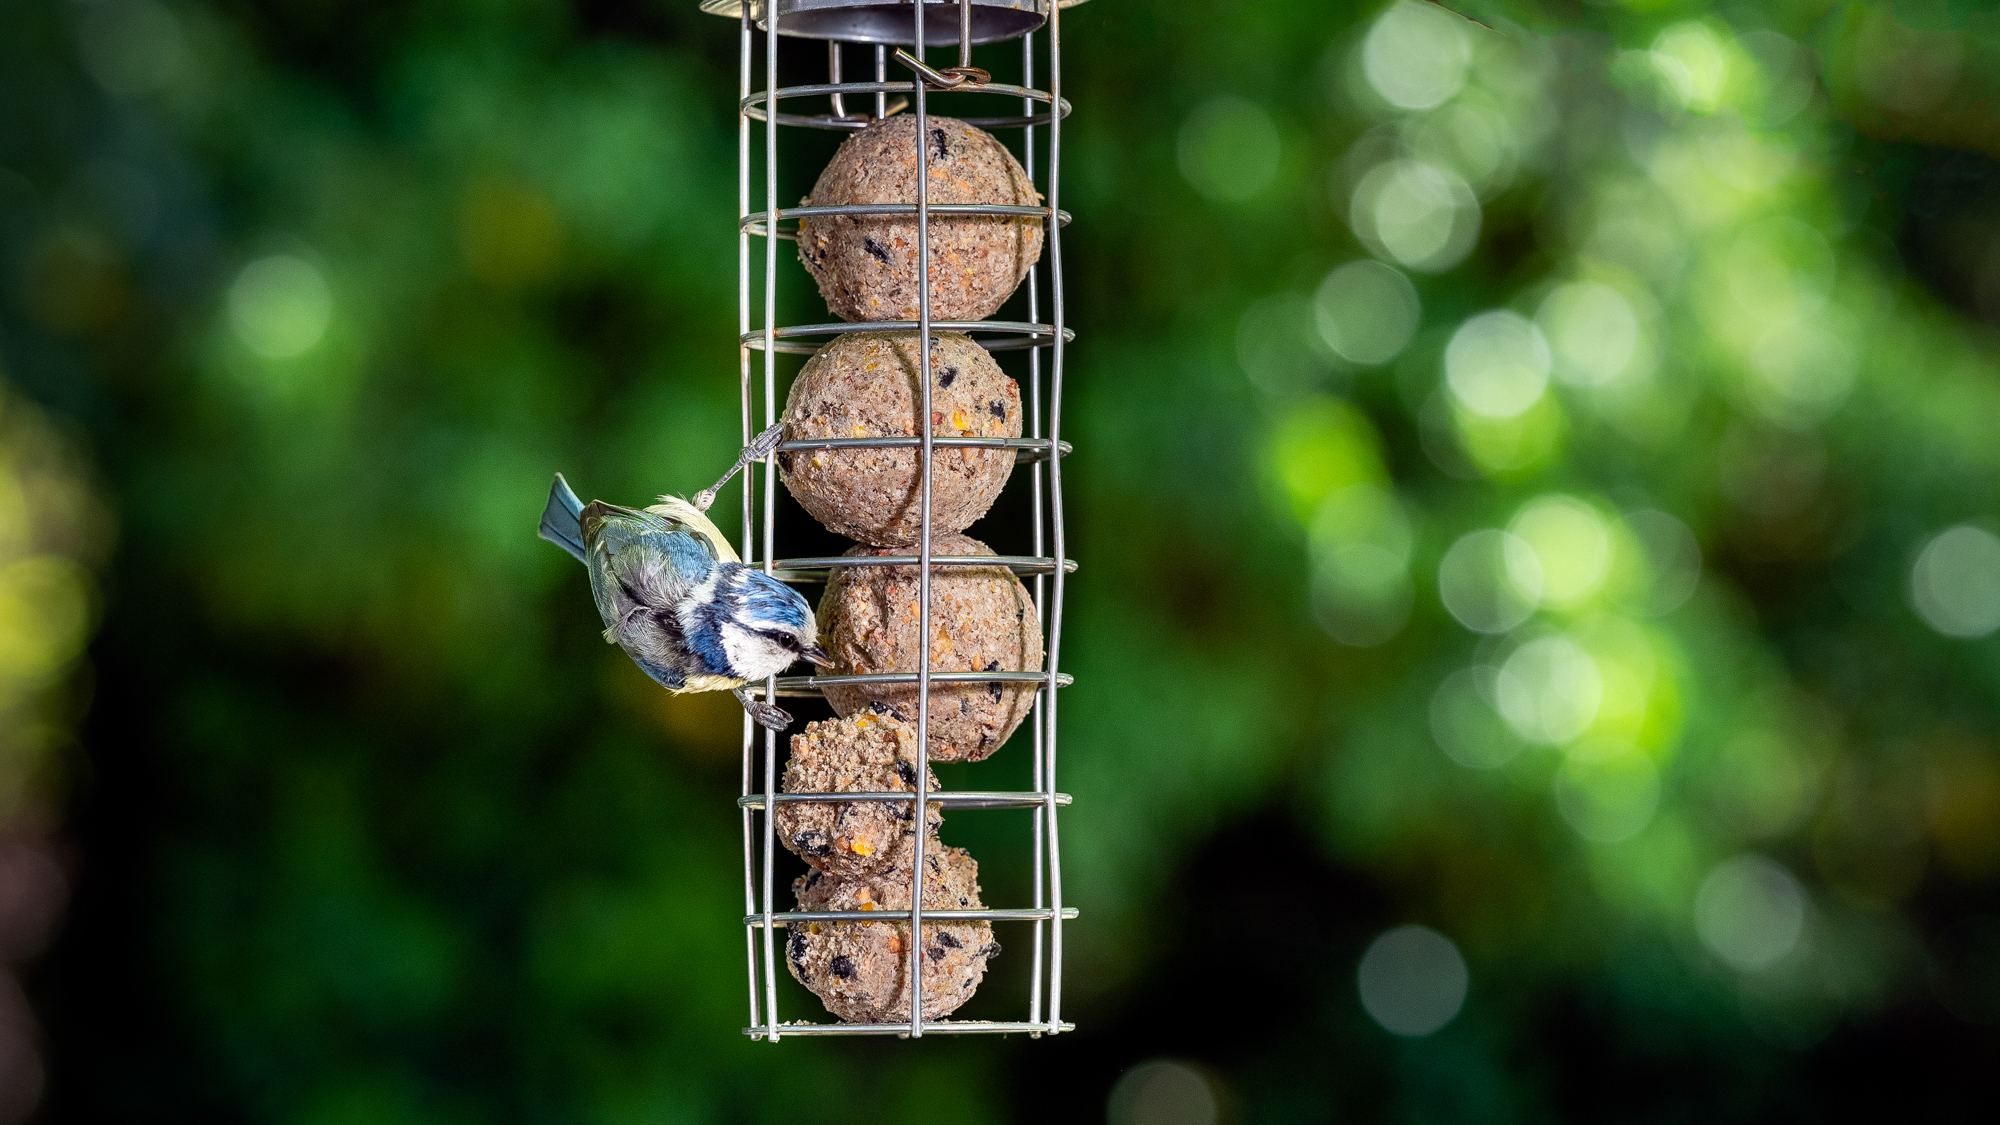
Above is my favorite shot from the session, and these are my tips for getting great garden bird photographs of your own…
01. Use off camera flash
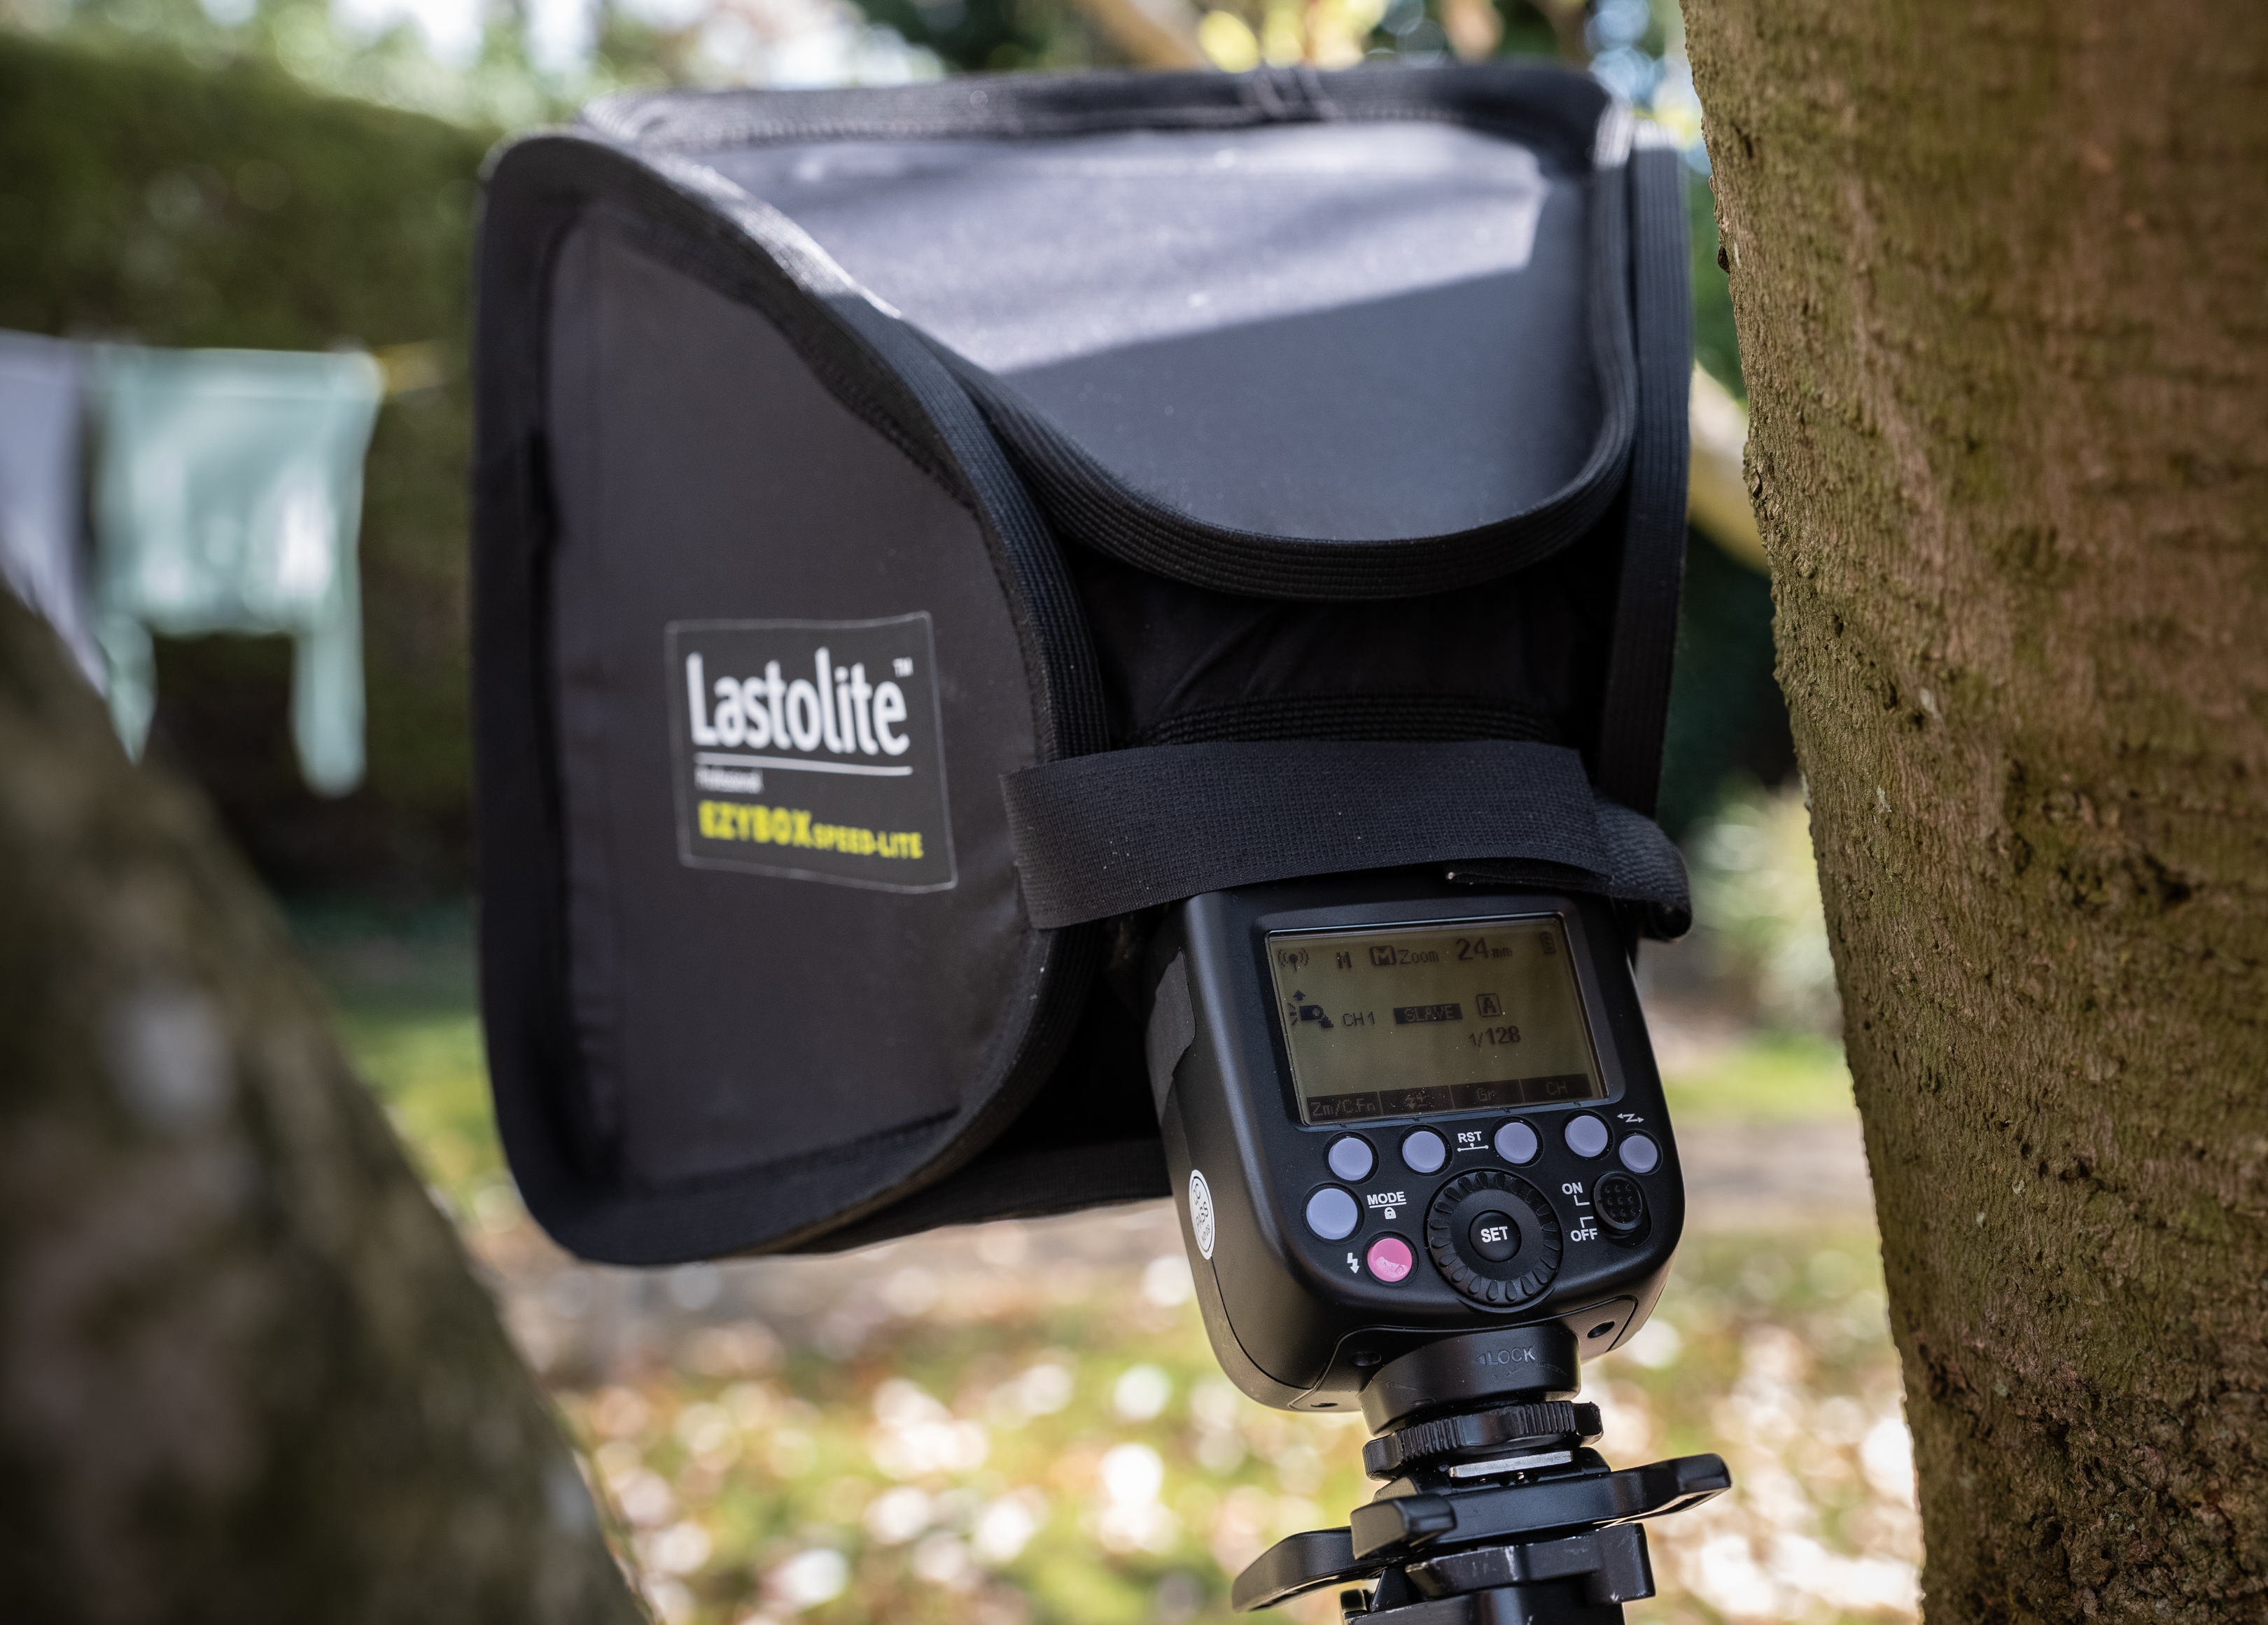
My Godox flashgun was fired remotely from the camera with the Godox X1 trigger. The head of the flashgun was covered with a small soft box to soften the light output. I angled the flash through the boughs of the tree on the right. The idea was to get as close as possible without disturbing the birds too much.
The best camera deals, reviews, product advice, and unmissable photography news, direct to your inbox!
02. Setting up your scene
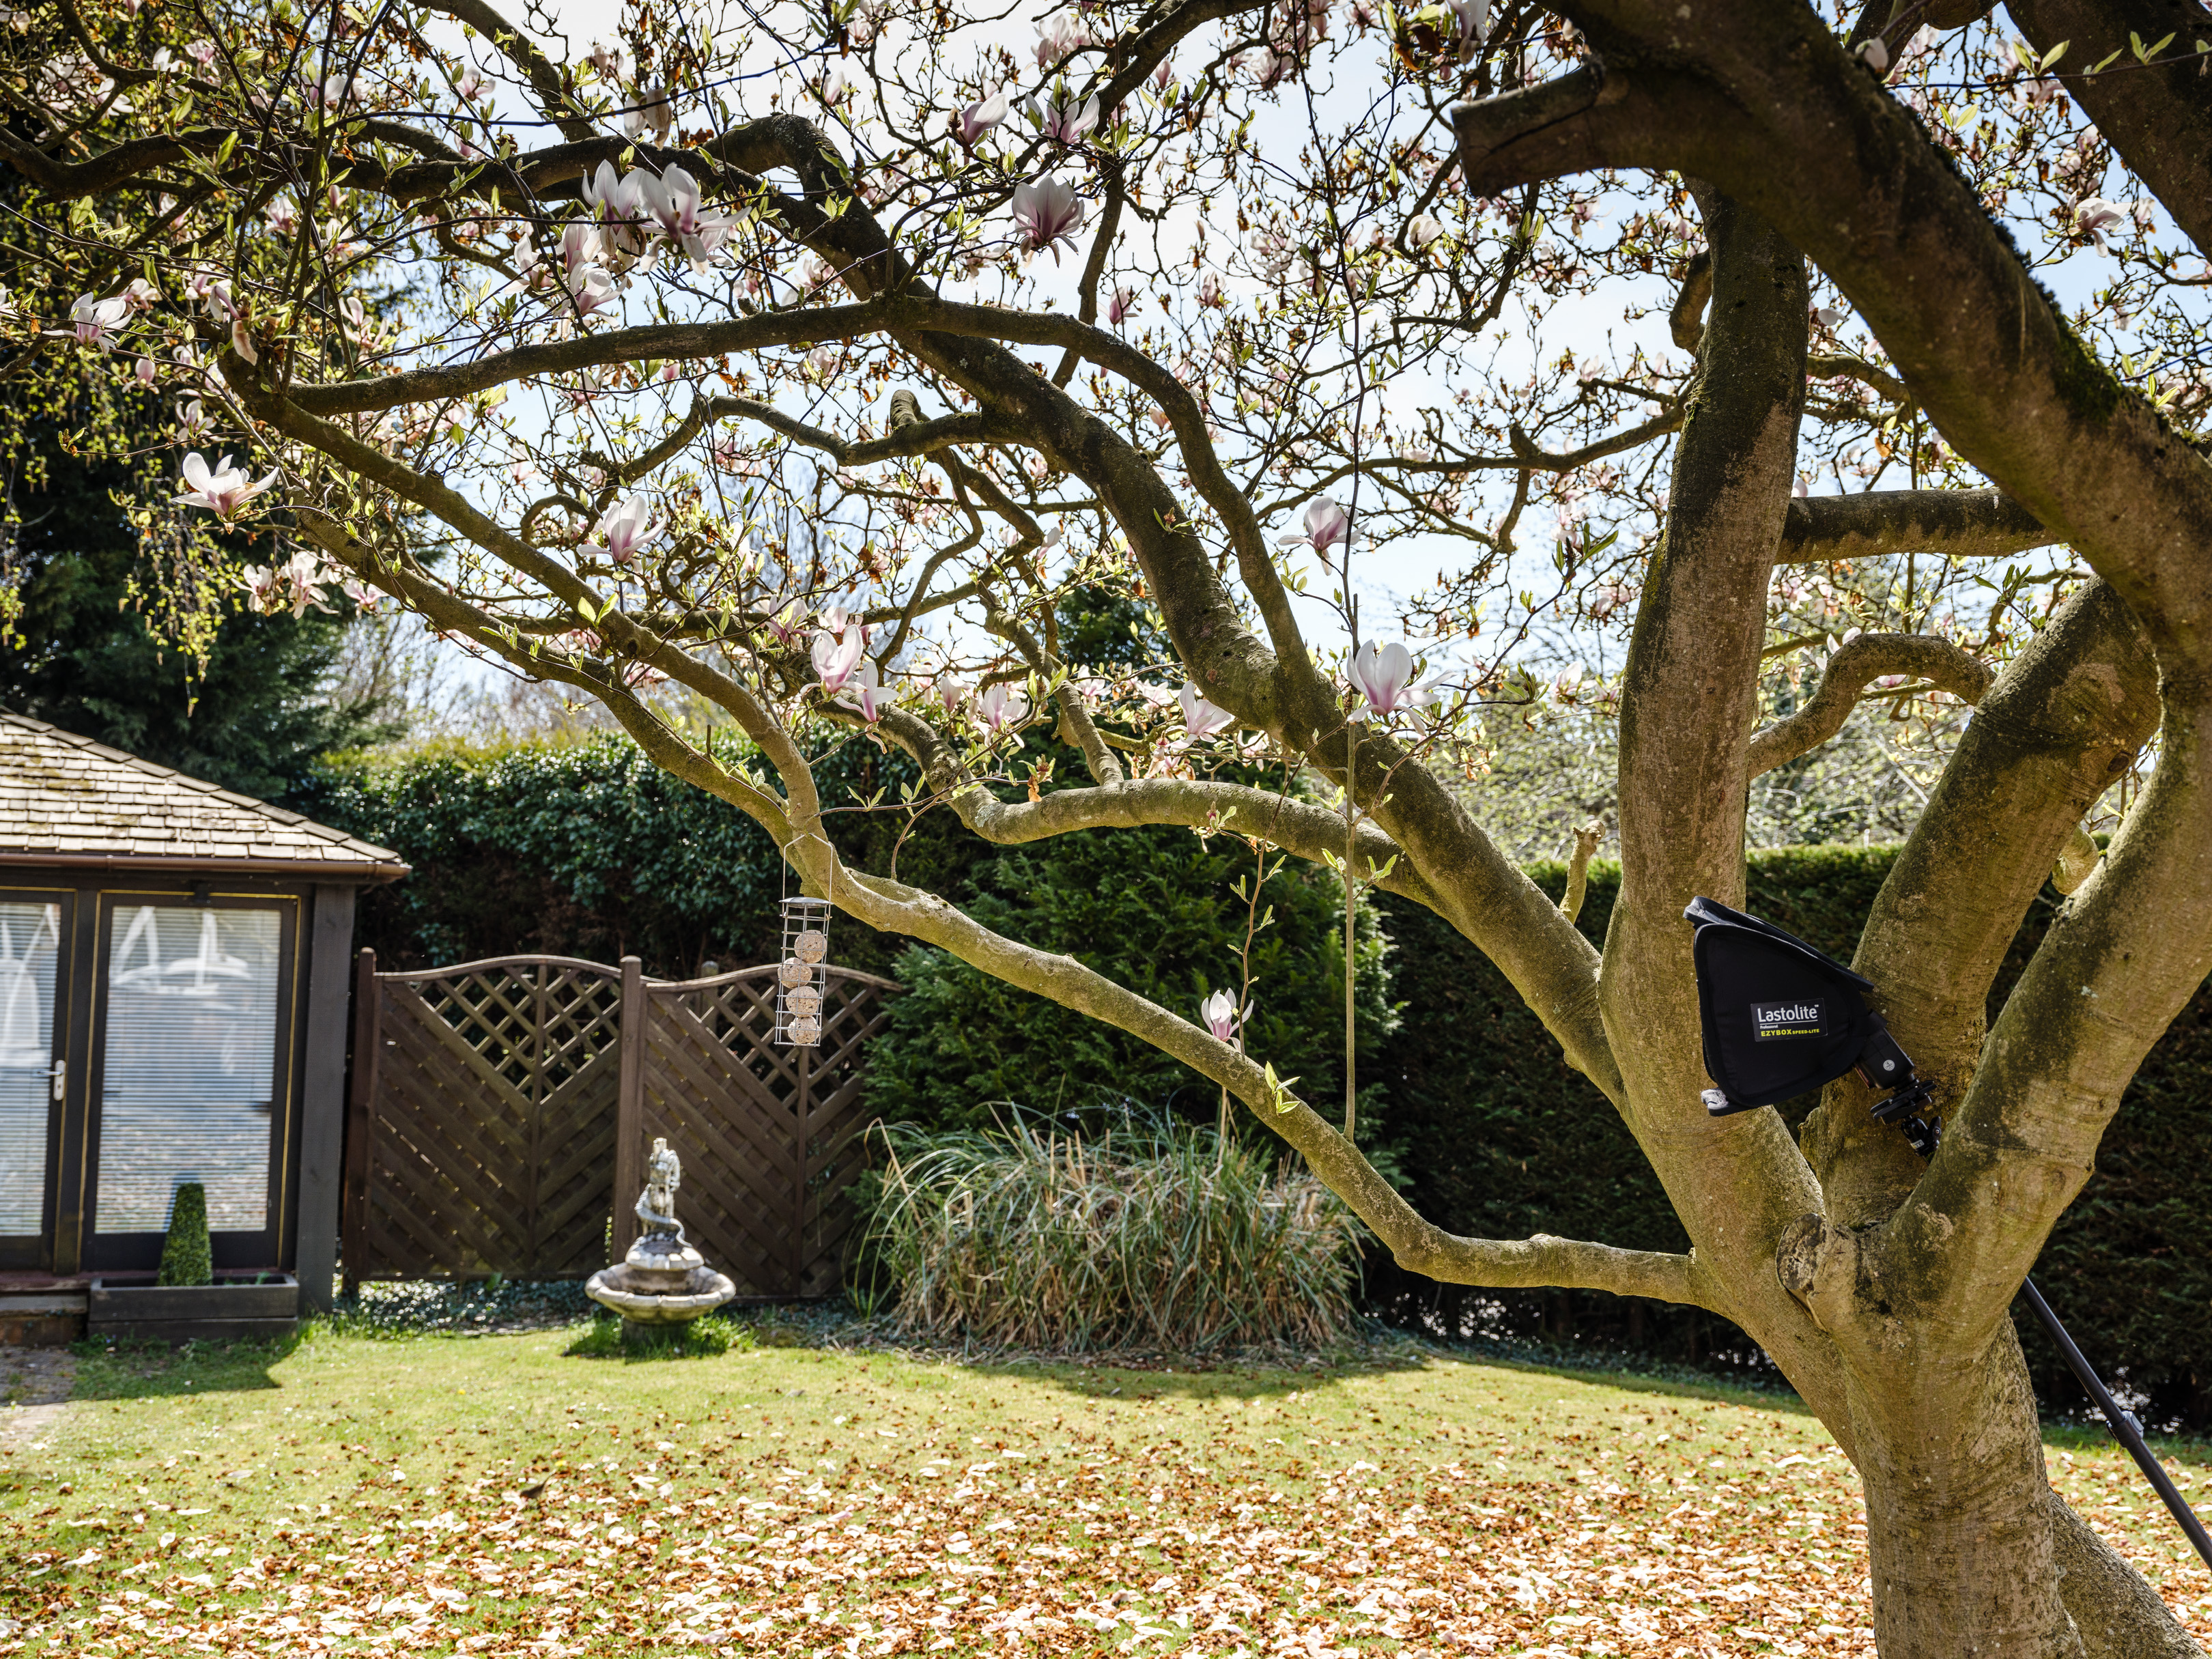
This picture shows the setting. The camera was placed on a tripod, left of the flashgun. I pre-focused on the feeder and then set the focus to manual, using the peaking highlight. A cable release with an extension was also used, enabling me to sit in my car on the driveway while keeping a careful eye on the feeder.
• Best cameras remotes, cable releases and wireless triggers
03. Use fast shutter speeds
I set the camera to use high-speed sync so that I could use a faster shutter speed to reduce any motion blur in the images. The bird images shown here were shot at 1/250 sec, f/4, ISO250. After a few minutes wait, a solitary blue tit entered my careful setup to feed.
04. Enhancing key areas
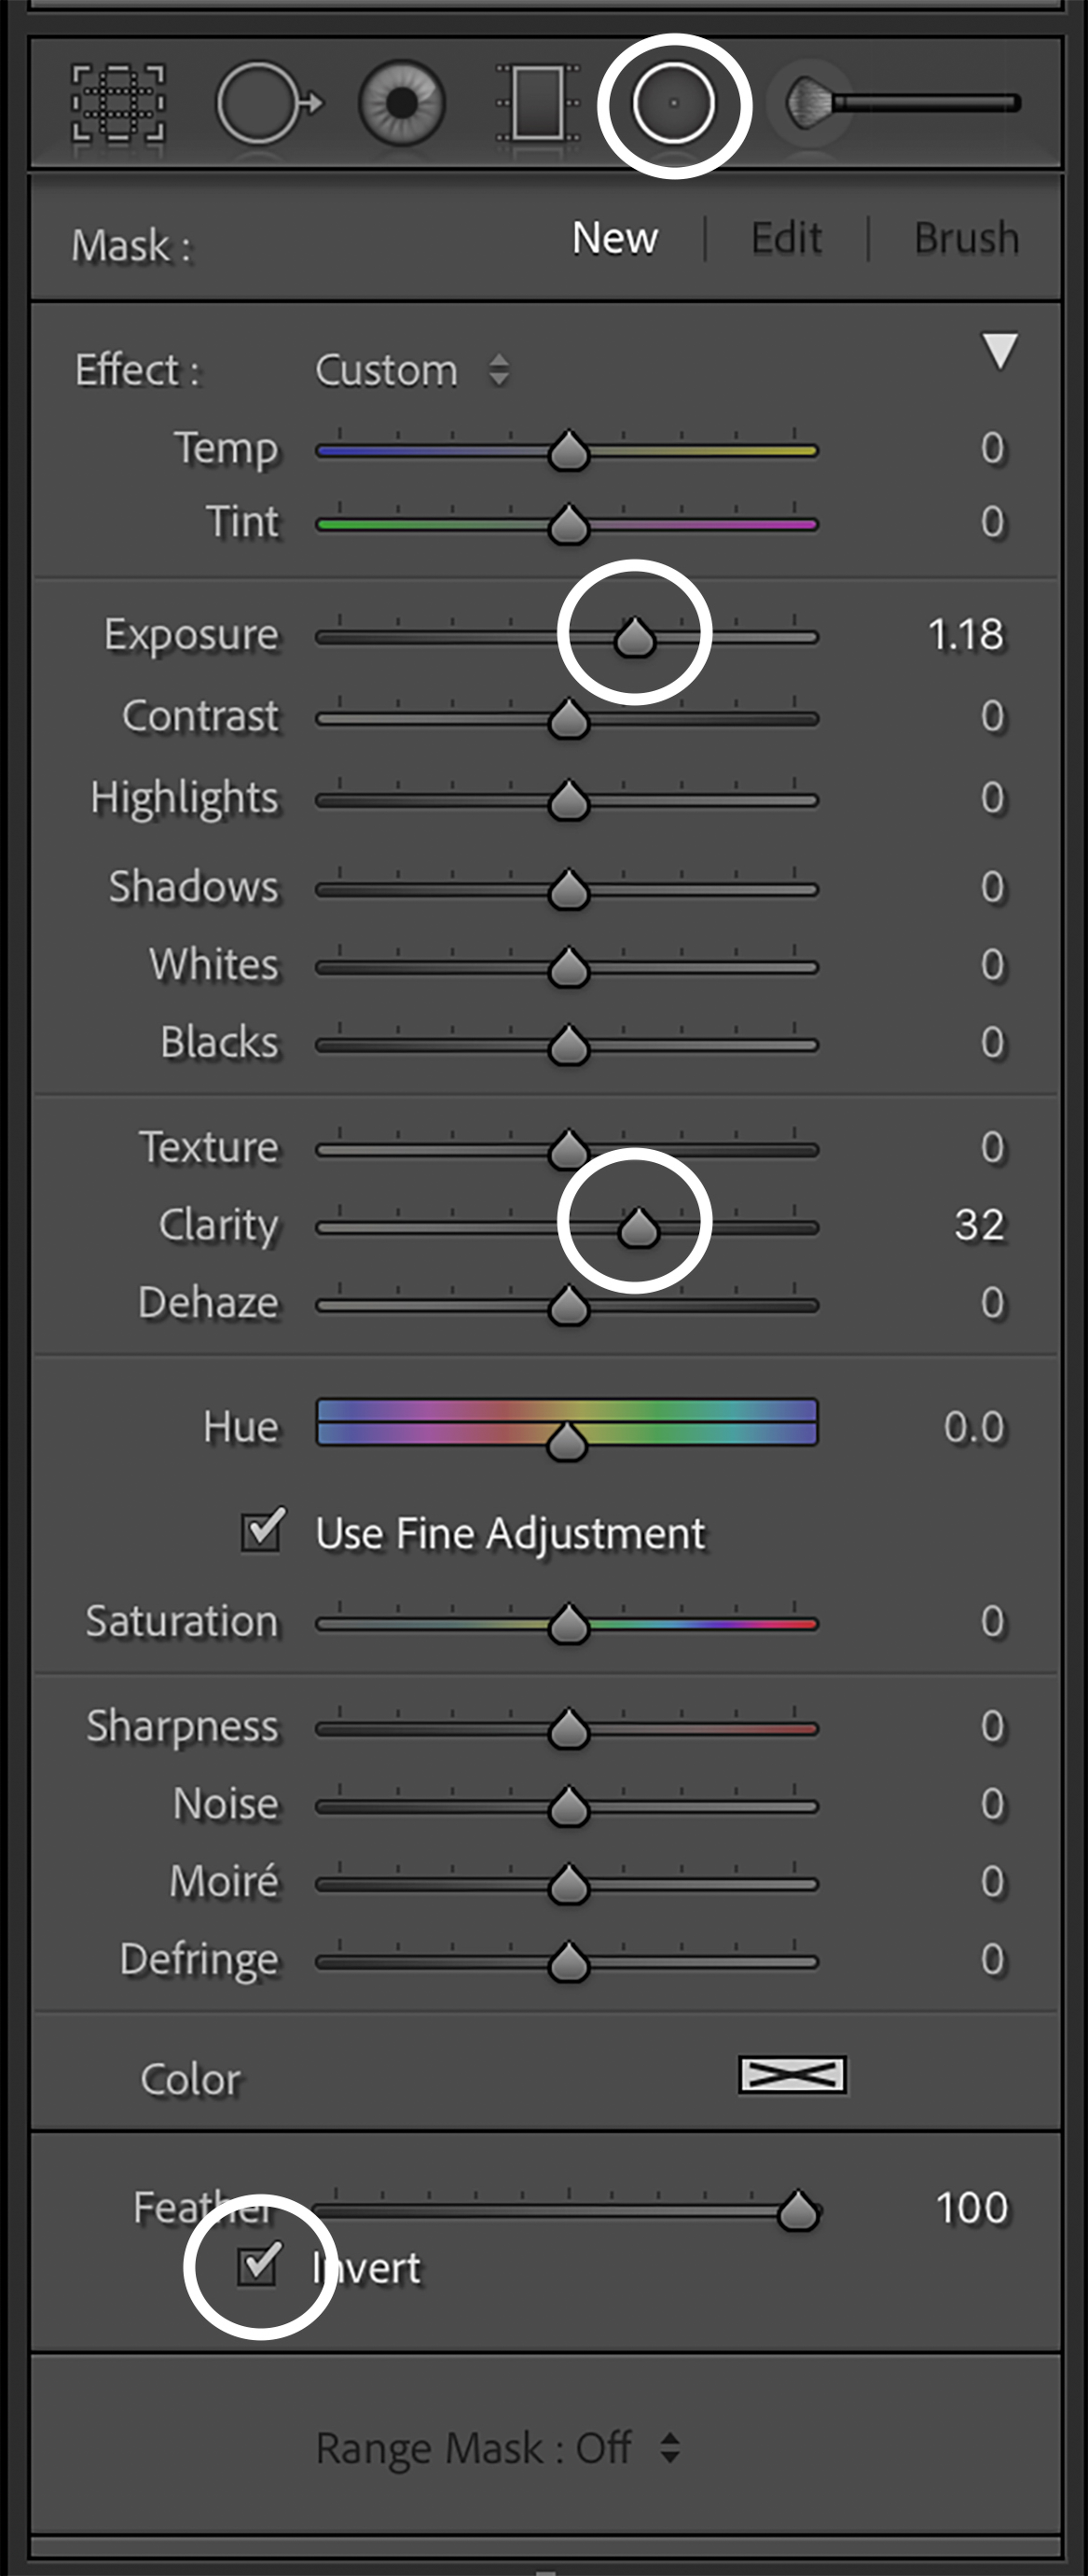
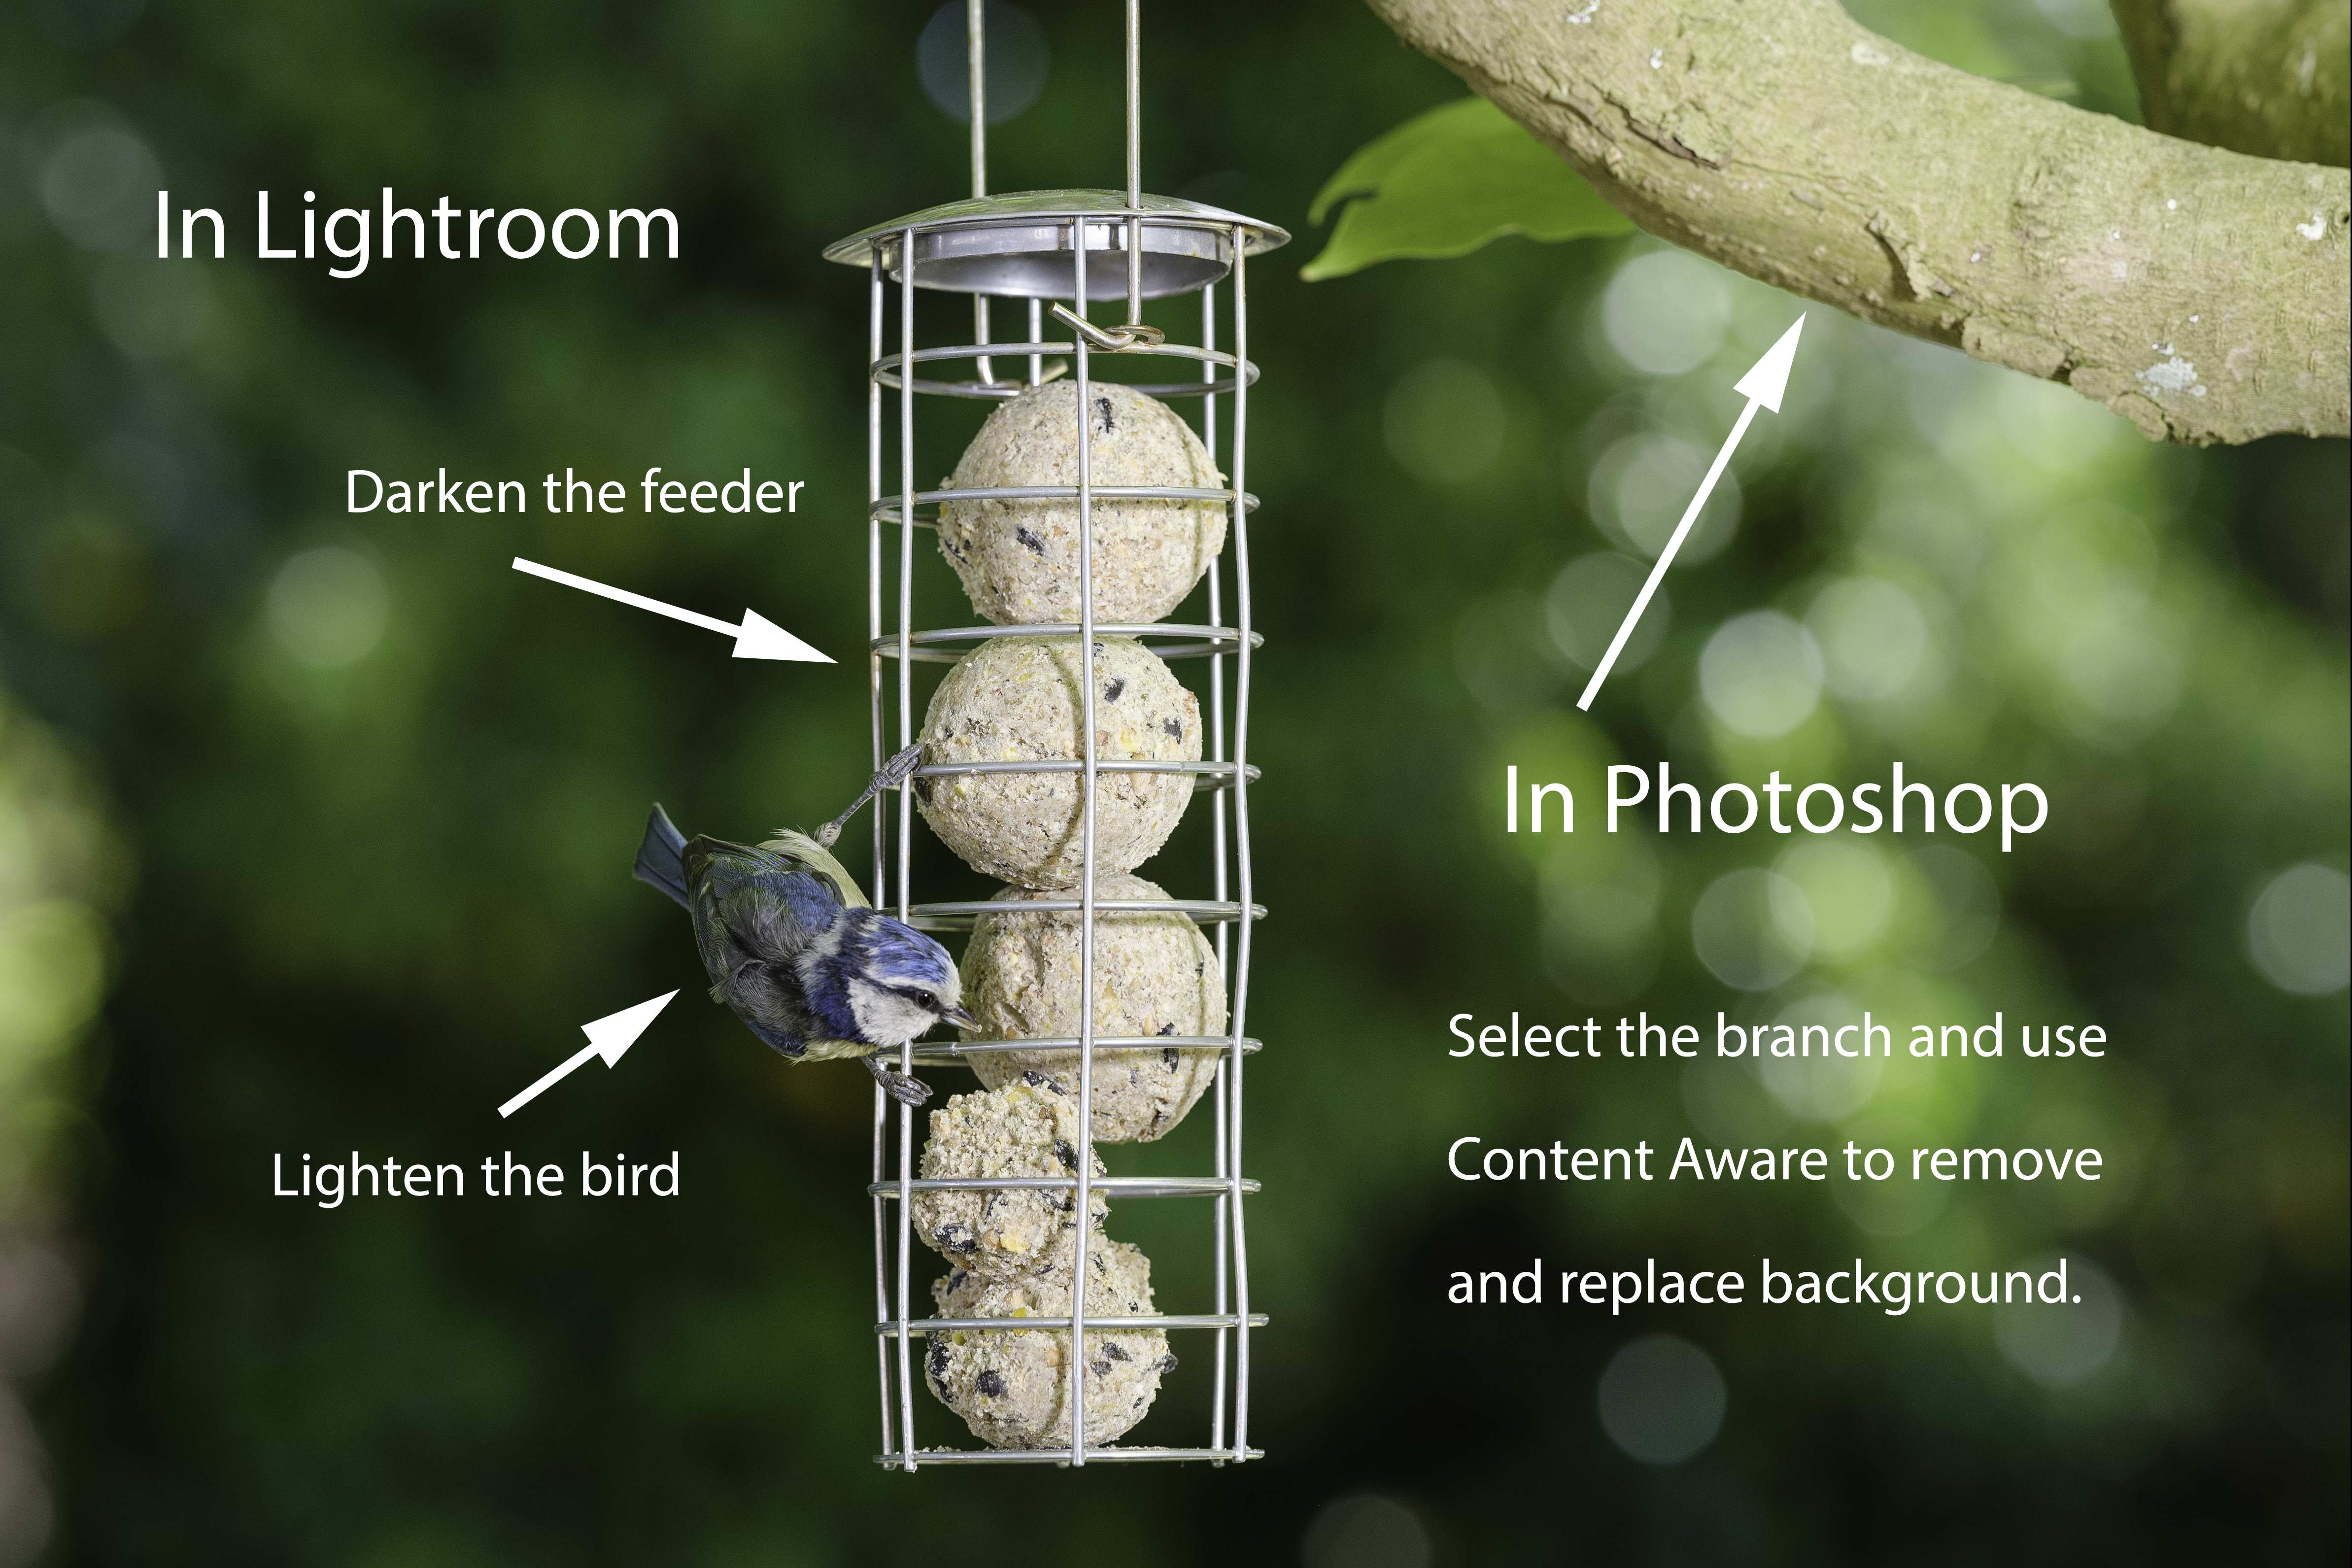
My intention with the edit was to place more emphasis on the blue tit by darkening the bird feeder slightly and increasing the detail and lighting on the bird. I used the brushes in Lightroom to dodge and burn selected areas. The radial filter is another very useful tool, which I used to select the bird in 'invert' mode. This enabled me to slightly lighten the subject with the exposure slider and also enhance it with the clarity slider, without the changes affecting the rest of the image. I removed the branch in Photoshop with a content aware selection.
05. Visualizing the final image
After importing all the images into Lightroom, I selected the best images to work on. Here is the main image in its raw state. I have highlighted the areas on the image that needed work in order to produce the finished photograph shown at the start of this article.
Read more:
The best lenses for bird photography
How to use the Nikon DF-M1 dot sight for bird photography
How to photograph birds in flight
