The best camera deals, reviews, product advice, and unmissable photography news, direct to your inbox!
You are now subscribed
Your newsletter sign-up was successful
Freezing a precise moment of action can be one of the most difficult things we attempt as photographers, even with one of the best professional cameras. While it gets easier with every new generation of cameras that are capable of increasingly impressive burst rates, we reveal our favorite way to guarantee you get the exact moment with a method that works on even our entry-level full-frame mirrorless Canon EOS R.
In this project I’m going to show you how to capture the exact moment that a sugar cube splashes into a cup of coffee, using 4K video to record the whole sequence in stunning detail, then pulling an image from the video.
• Read more: Best cameras for filmmaking
Most modern cameras have the ability to record 4K video, and we’re going to utilize this feature to enable us to record all of the action and then extract an 8MP image from the footage. While some specialist Canon cameras, like the EOS R5 C, can shoot 8K, we want to show what is possible with more budget-friendly models like the EOS R that we’re using.
Our EOS R has a max burst rate of just 8fps when shooting stills, but by shooting 4K video we can effectively supercharge this to a frame rate of 25fps – more than three times faster!
For this project you can use any beverage you prefer, but we think coffee adds loads of contrast and looks fantastic. Be sure to keep a rag handy to mop up any spills. Follow our six steps on the right and more tips over the page for the best camera, lens and tripod setup, plus editing tips. Without further ado, let’s get started!
1. Set up on a tripod
Place your cup of coffee on a table near a bright window and put it in a position where it’s being nicely backlit. Now set up your Canon camera with 4K functionality on a tripod and go into Movie mode.
• Best tripods for photography
The best camera deals, reviews, product advice, and unmissable photography news, direct to your inbox!
On our Canon EOS R we pressed the Mode button on the mode dial and then the Info button to switch to the video options, next we chose the Manual Video mode. It’s important to set the camera to movie mode first as on our EOS R it crops in a little, so you need to do this before composing your scene to make sure nothing has been cropped out. If your camera does this it can be a good idea to use a wider focal length than you would normally to ensure you leave enough space to capture the splashes.
2. Dial in the settings
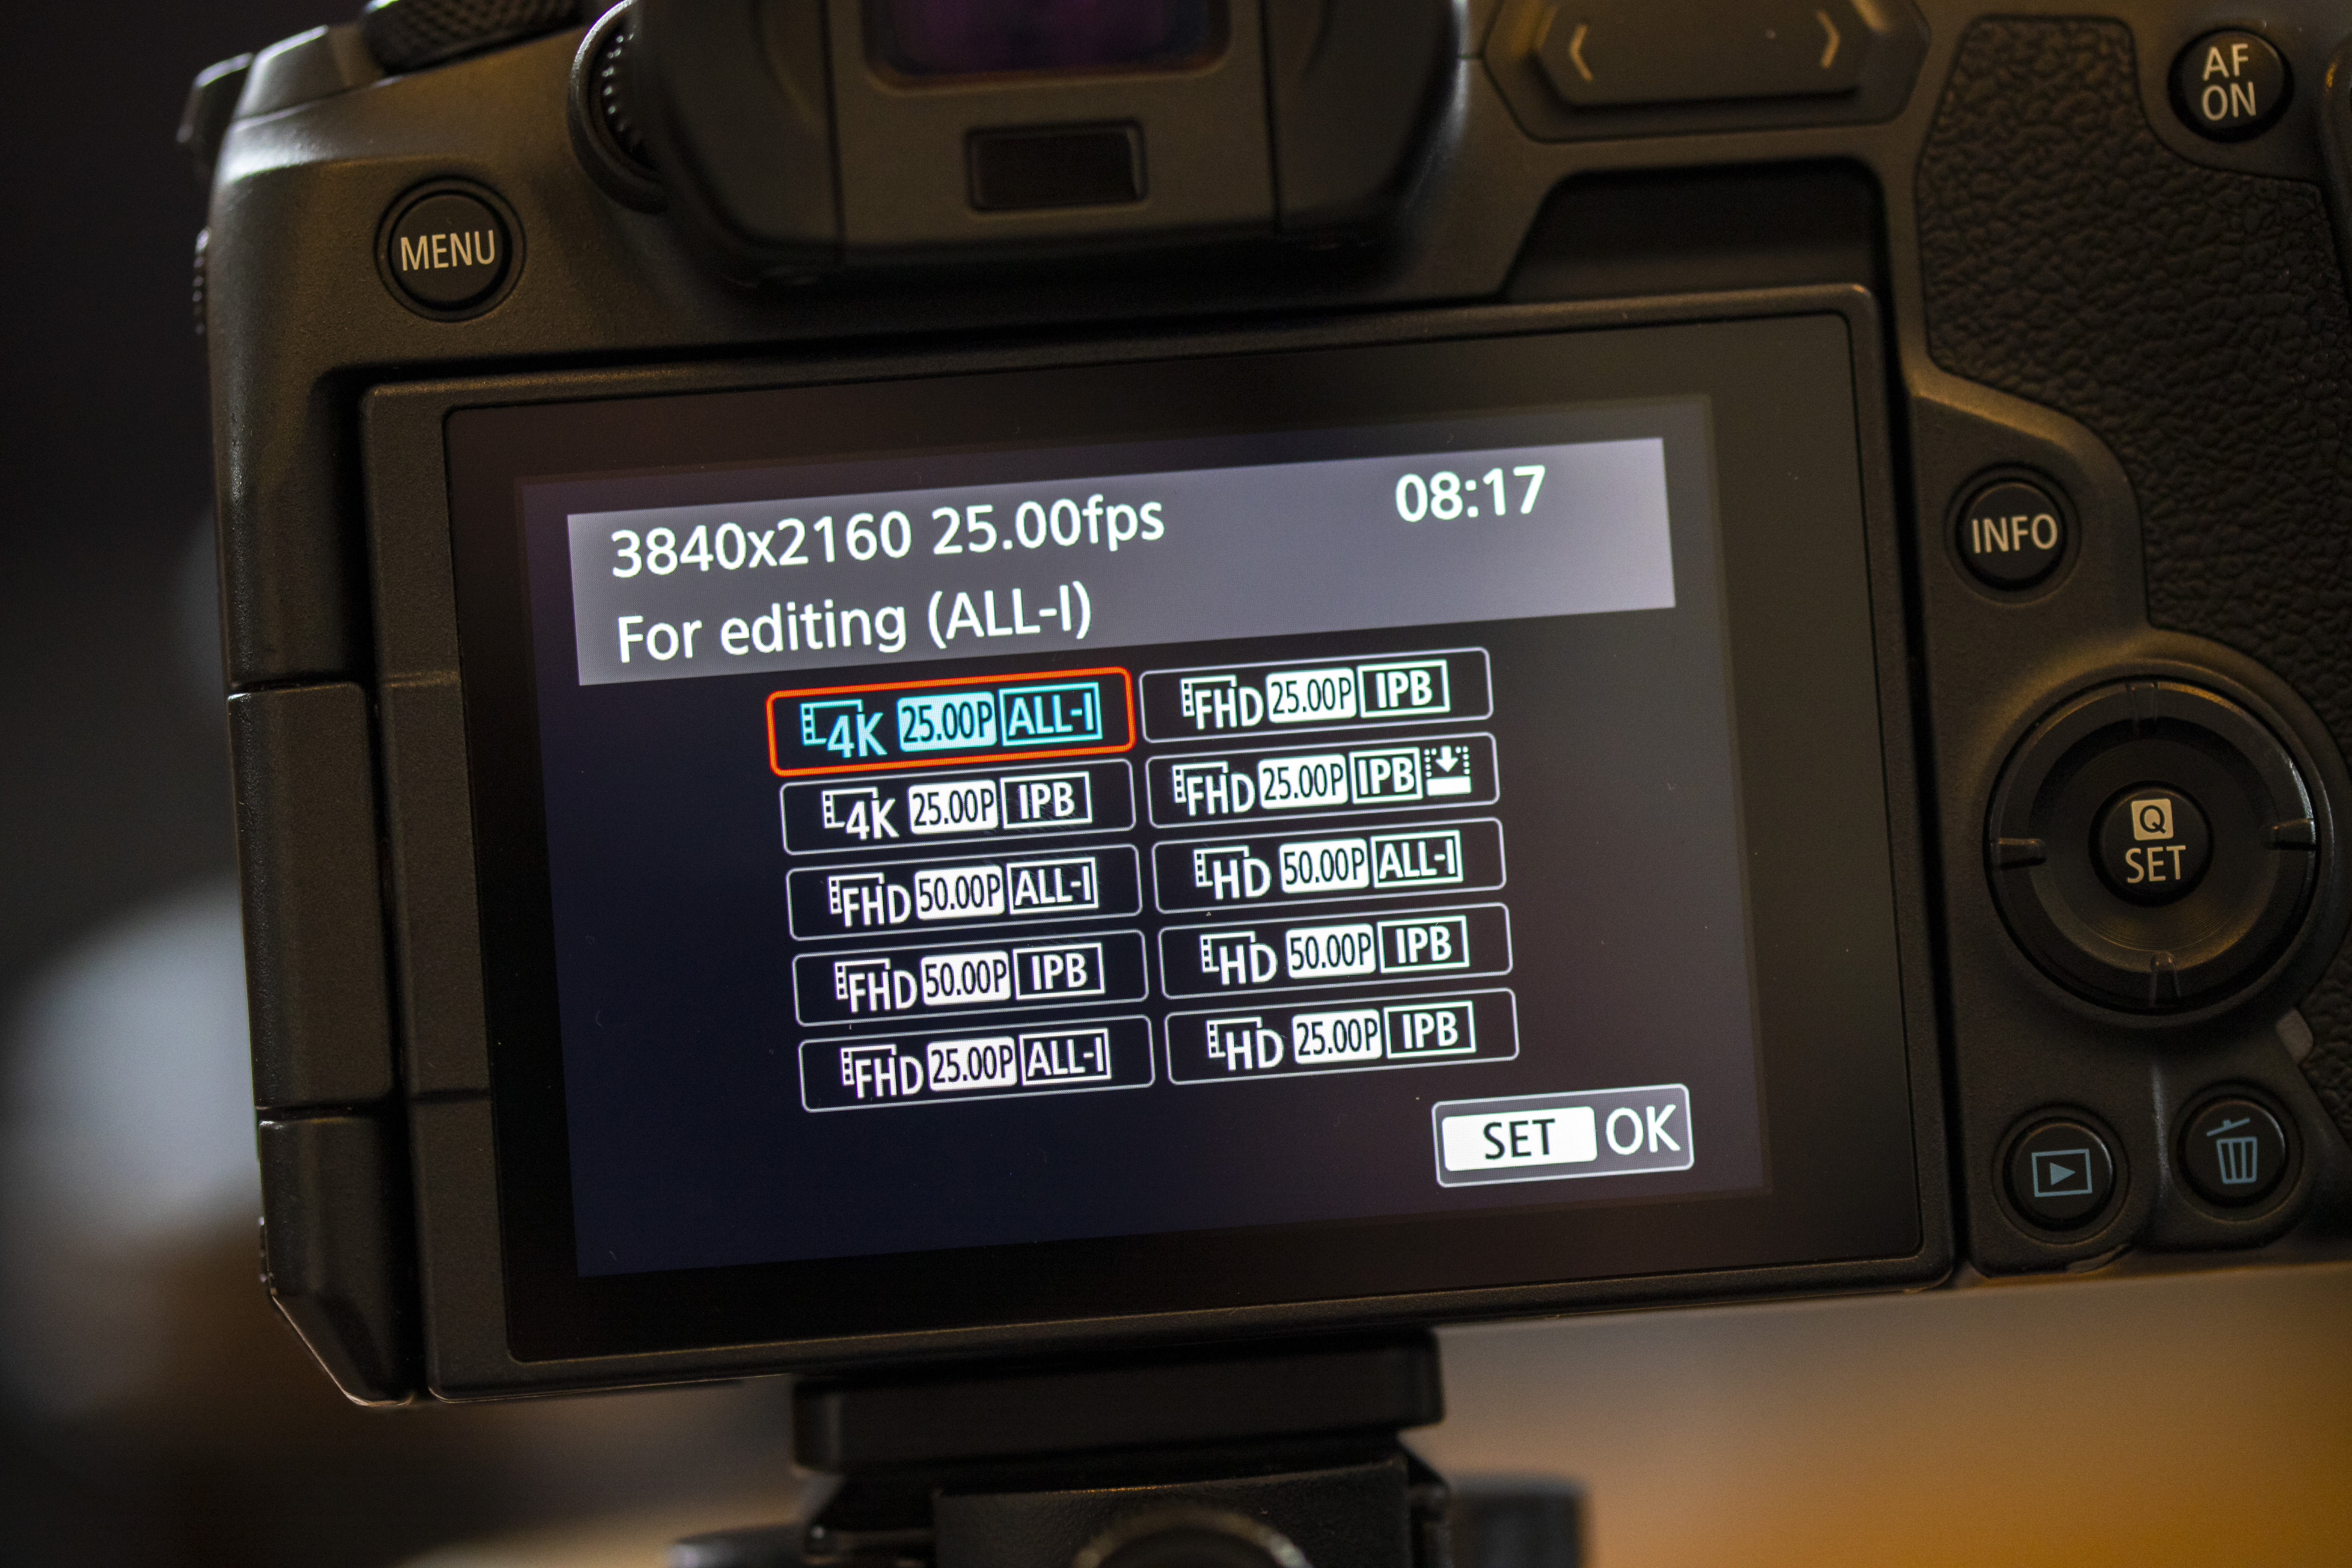
Press the Menu button and go to Movie rec quality and choose the highest quality option. On our EOS R this was 4K at 25p, but premium Canon’s like the EOS R5 can shoot at 8K (30p) for better resolution, or at 4K (120p) for more fps. On our EOS R this works great as it allows us to shoot at 25fps, when stills shooting tops out at just 8fps.
Open your aperture as wide as it will go, such as f/4 on our RF 24-105mm F4L IS USM, then set the shutter speed relatively high to a setting such as 1/400 sec, to help freeze any motion in the scene. Now boost your ISO until you have a bright enough image. It can be handy to have an LED panel on hand for a little additional lighting so that you don’t have to increase the ISO too much.
3. Take the shot
Before taking the shot set the focus: fill your cup with coffee and hold a spoon in the middle to give you something to autofocus on as it will be roughly where the sugar cube will be falling for the best sharpness. With the focus set, go into MF mode to lock it off.
Now it’s time to press the record button to begin your 4K video clip, then drop the sugar cube into your coffee to create the splash, press the video button again to end recording. You’ll likely need to have a few attempts to get the sugar cube falling from the right height to get the splash looking perfect. The great thing is the video will capture it all so you can find the best splash! Keep a towel nearby to mop up any spillages before you have more attempts.
4. Extract the still
Now you need to extract the 8Mp still image from your 4K video clip. You can do this in-camera by going to Playback and playing your clip, then tap the screen to bring up the options, use the Next Frame and Previous Frame buttons to pick out the moment you like and then press the Frame Grab button to save it as a new still image.
Alternatively, you can load your video clip into a program like Adobe Photoshop CC. When you open up a video you should see the Timeline at the bottom (Window>Timeline). Drag the timestamp locator to the frame you want to extract – you may need to adjust the Magnification Timeline Control at the bottom to zoom in and see all of the frames. Then go to File>Save As, choose to save it as a JPEG file and you’ve just created your 8MP still.
Read more:
Landscape photography tips
Best cameras for landscape photography
Best lenses for landscape photography
How to shoot landscapes with a telephoto lens
PhotoPlus: The Canon Magazine is the world's only monthly newsstand title that's 100% devoted to Canon, so you can be sure the magazine is completely relevant to your system. Every issue comes with downloadable video tutorials too.

In addition to being a freelance photographer and filmmaker, Dan is a bona fide expert on all things Canon and Adobe. Not only is he an Adobe-certified Photoshop guru, he's spent over 10 years writing for specialist magazines including stints as the Deputy Editor for PhotoPlus: The Canon Magazine, Technical Editor for Practical Photography and Photoshop Editor on Digital Photo.


