The best camera deals, reviews, product advice, and unmissable photography news, direct to your inbox!
You are now subscribed
Your newsletter sign-up was successful
Landscape photography is fantastic genre to get stuck into, as it gets you out into the great outdoors and allows you to keep your photographic skills sharp. Luckily, you don't need the latest and greatest cameras (although the best best cameras for landscape photography can help) to take brilliant landscape or seascape shots, as basic camera kit can reward you with fantastic shots. You don't need blisteringly fast burst rates either, as you're often taking your time and framing up for a single, well-considered shot.
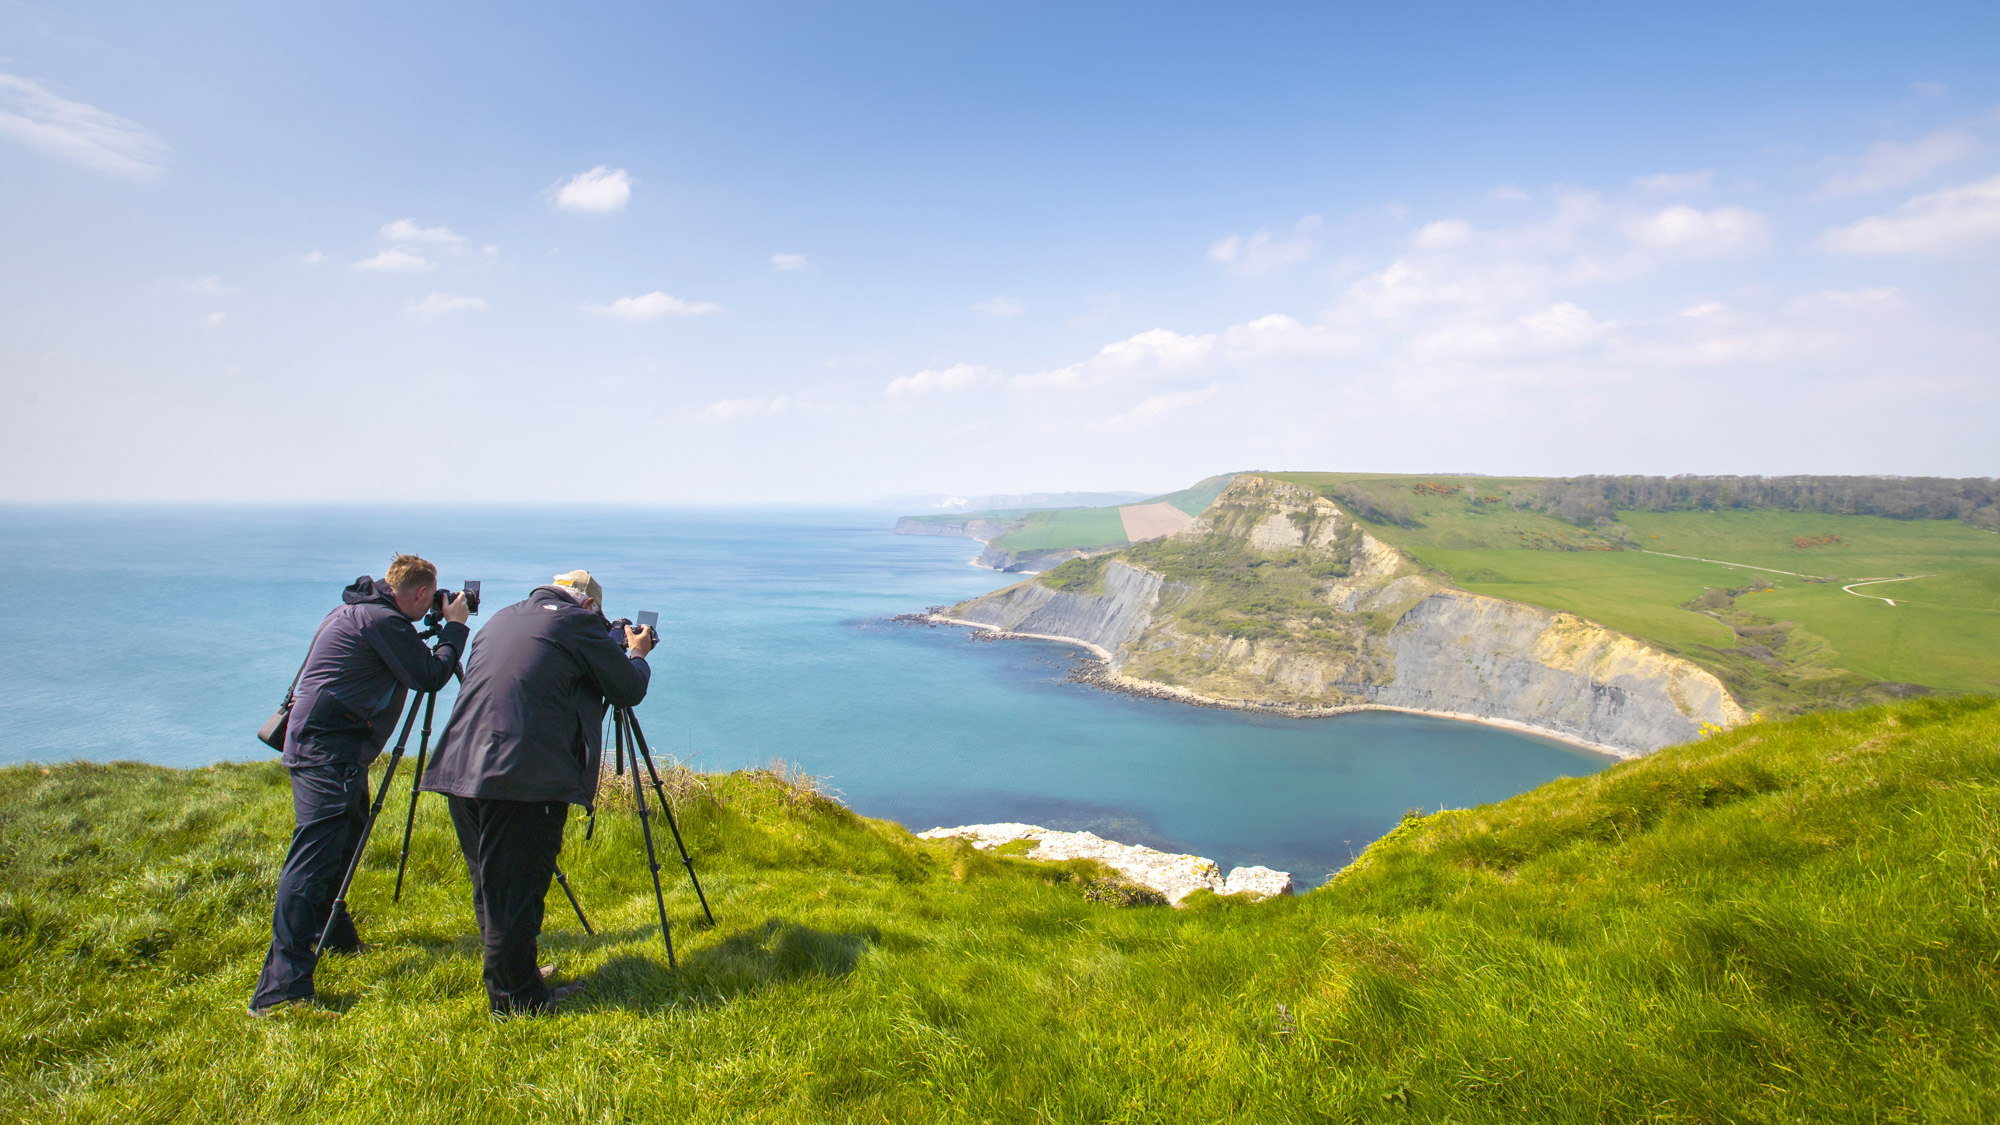
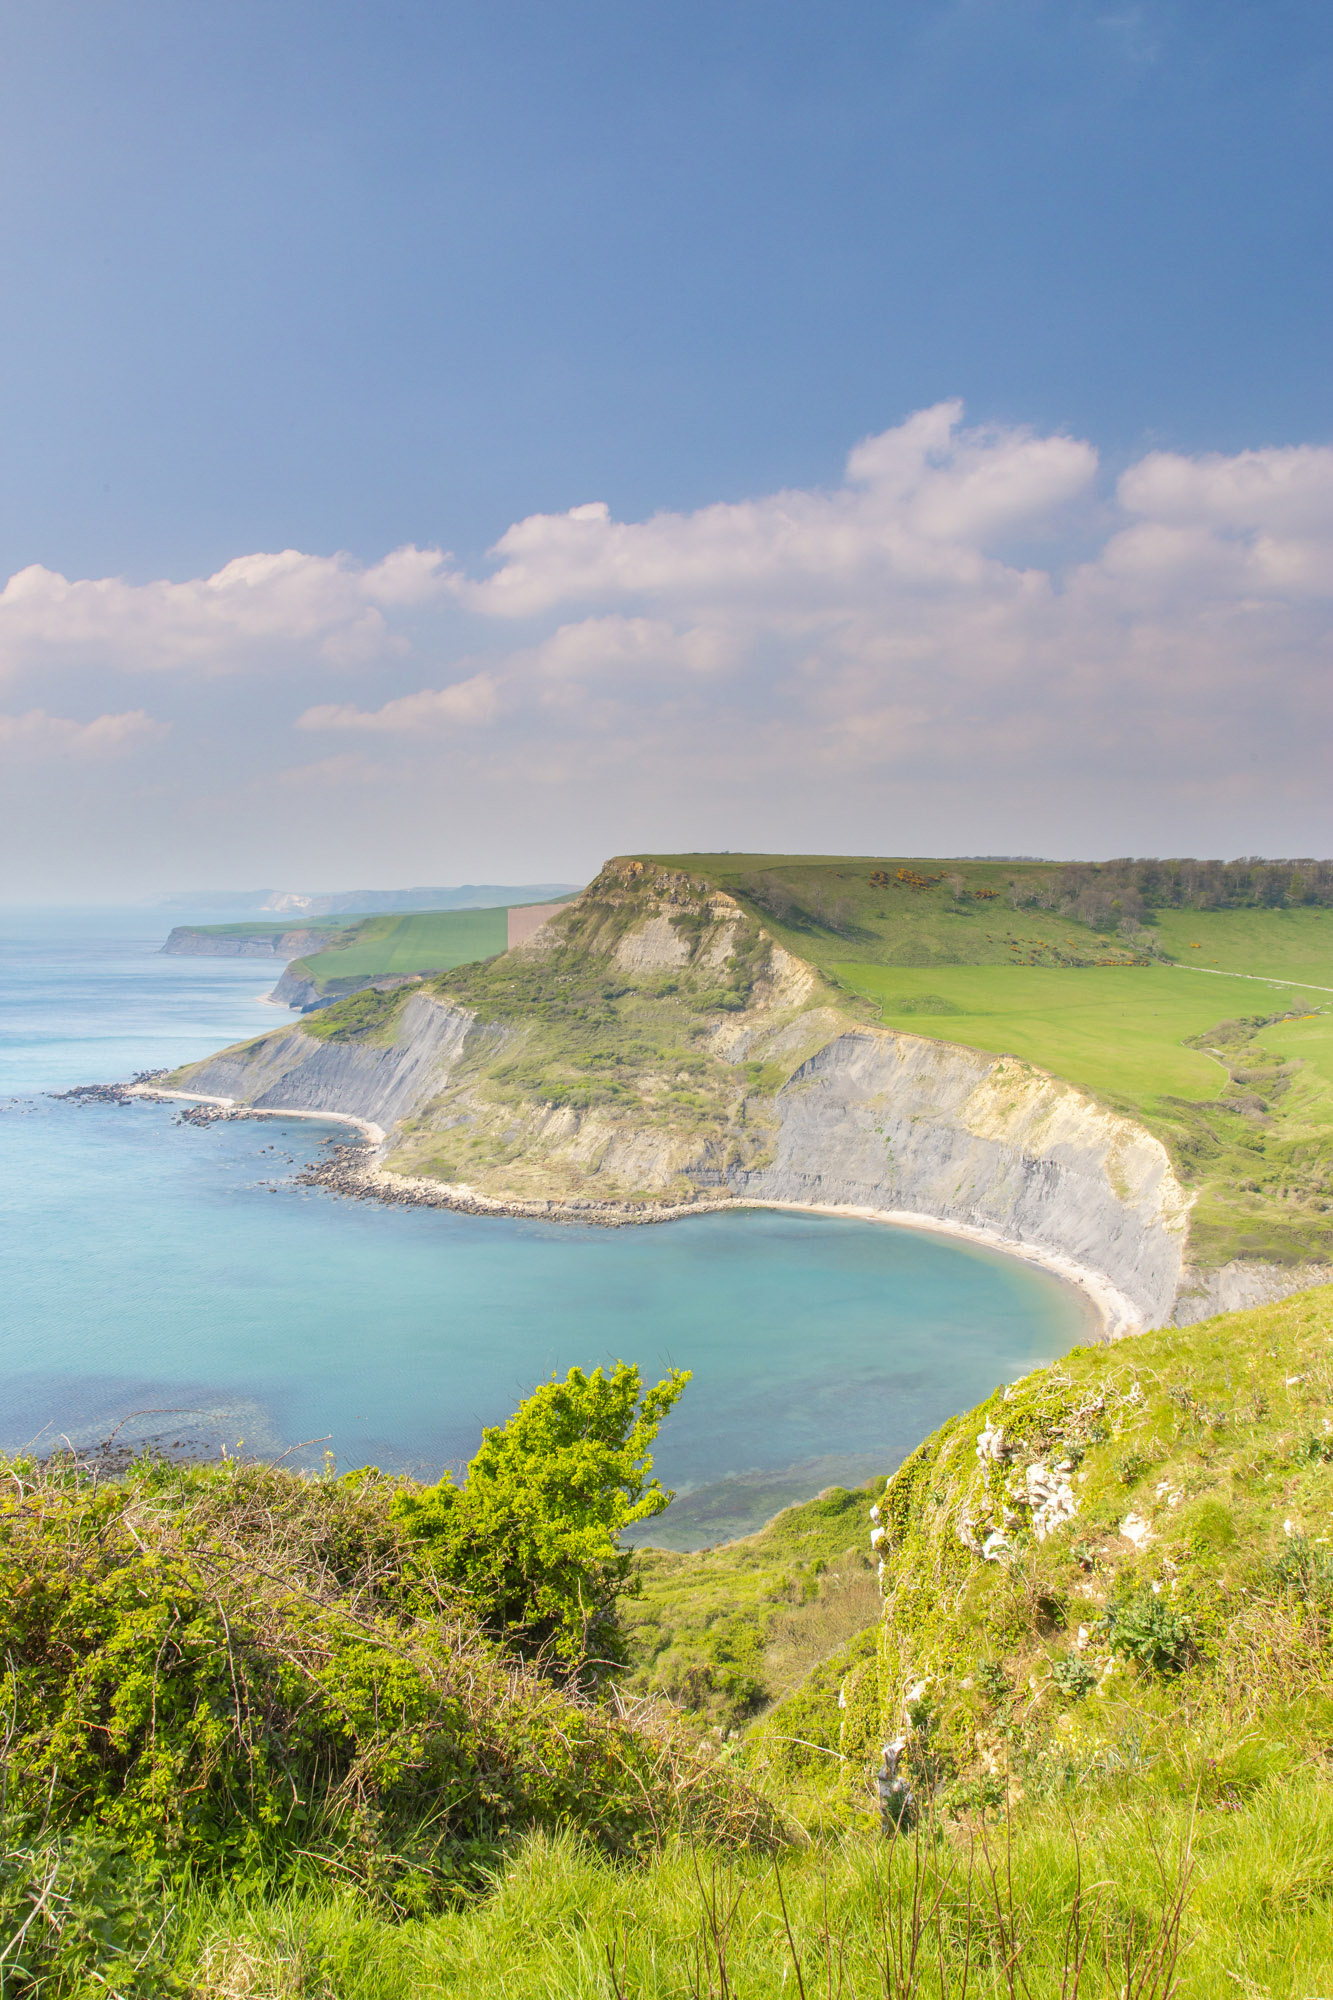
It can however be difficult to know where to start, so that's why this month we teamed up reader of PhotoPlus: The Canon Magazine, Simon Carlton, for a masterclass in landscape photography with Canon pro Daniel Wretham around the beautiful Jurassic Coast in Dorset.
Daniel is an award-winning landscape photographer based in Dorset, where he has beautiful landscape locations around the Jurassic Coast right on his doorstep and regularly runs photography workshops. His work has been acknowledged by filter manufacturer Kase and he is now part of its partner programme. You can also find his video blogs on his YouTube channel Daniel Wretham Landscape Photography.
To see his stunning portfolio or to book a workshop visit his website, and check out his top 10 tips for coastal landscapes.
1. Manual mode
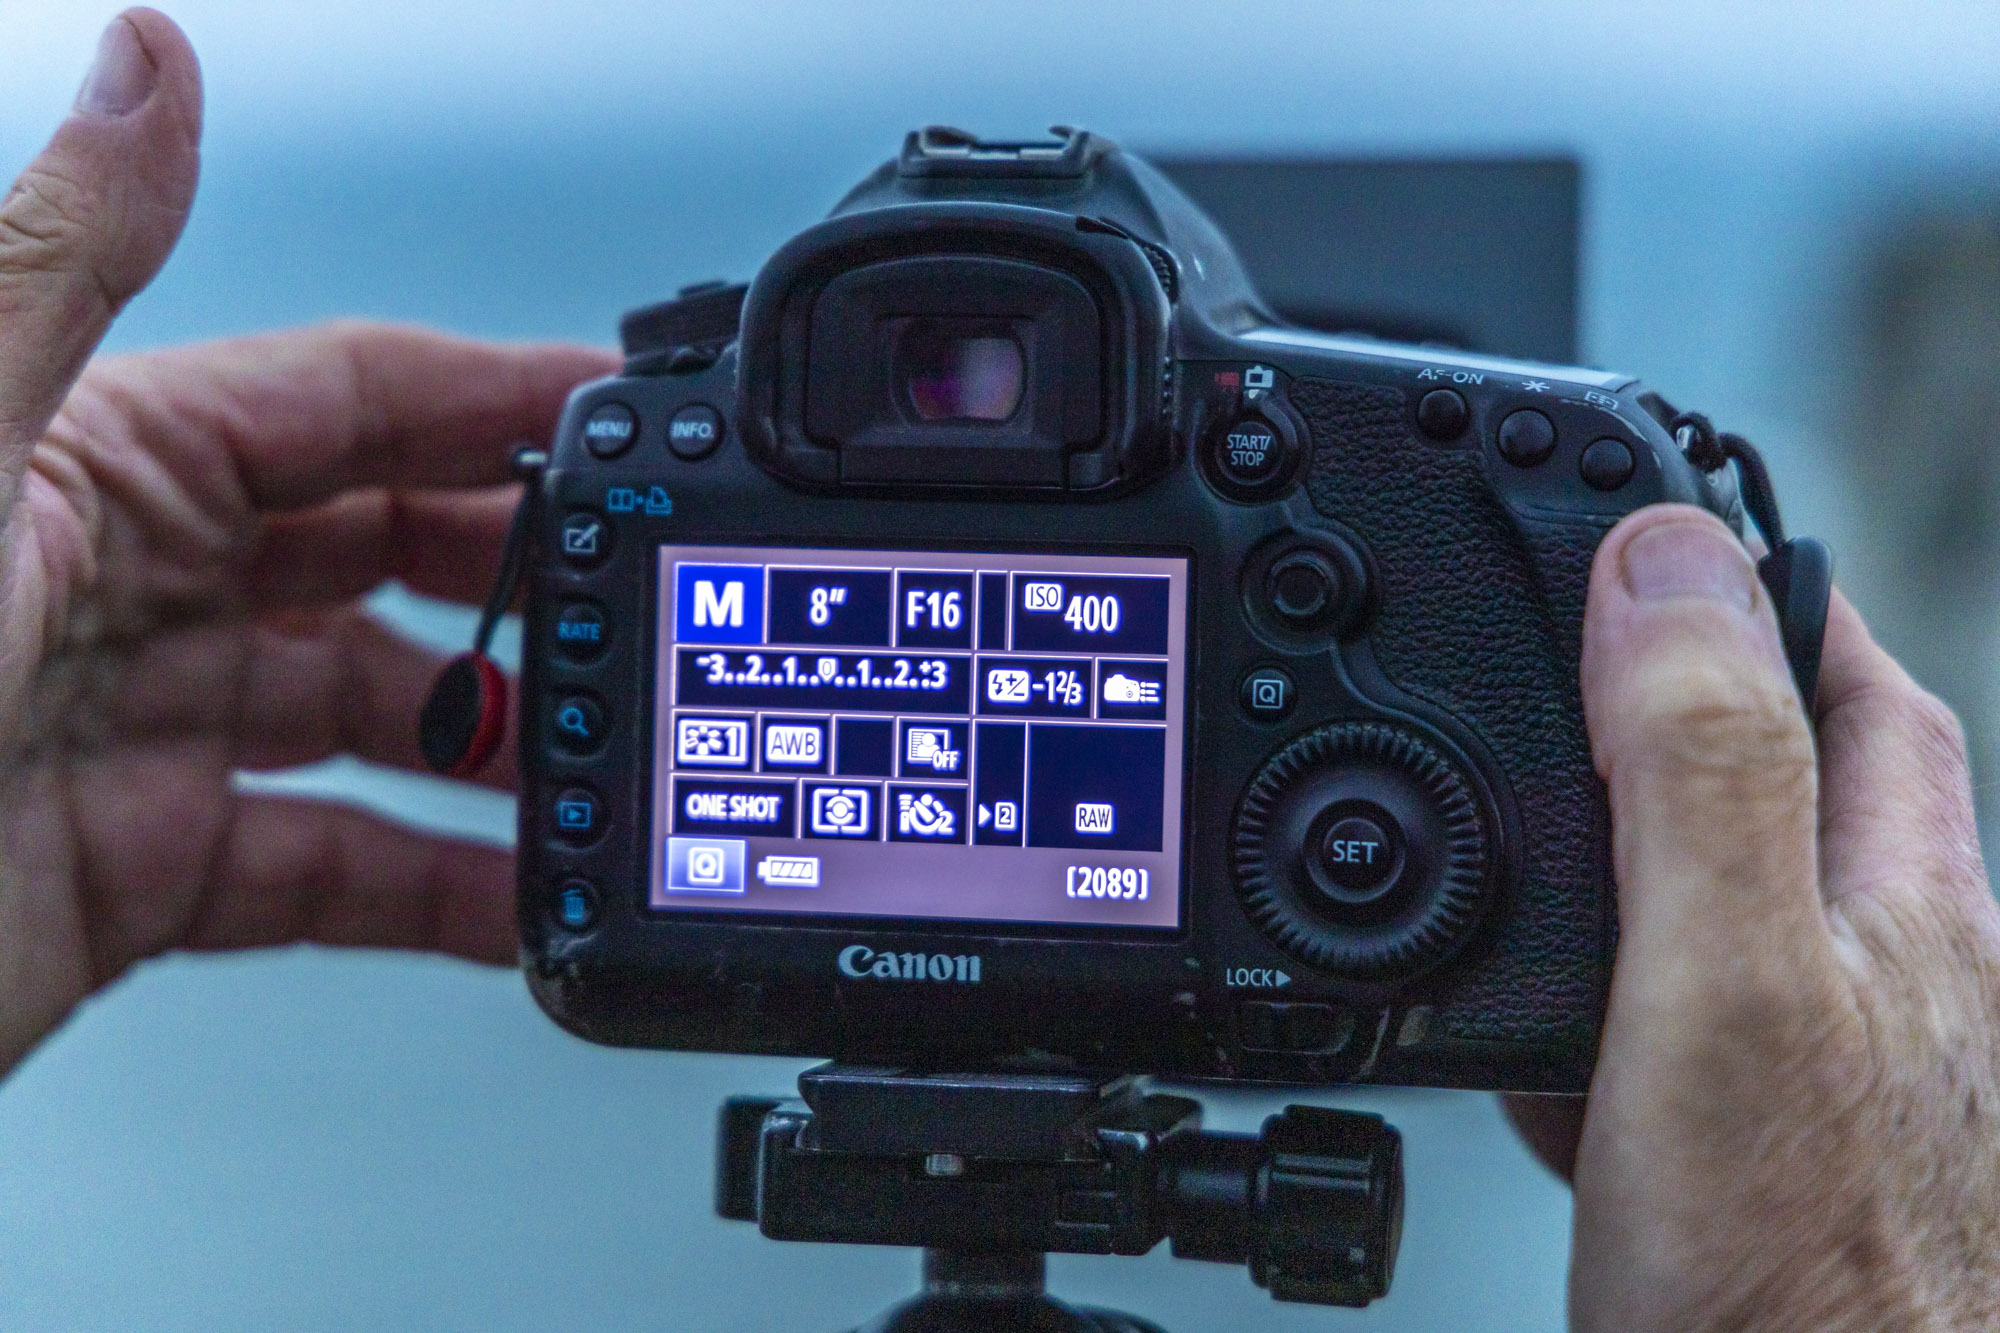
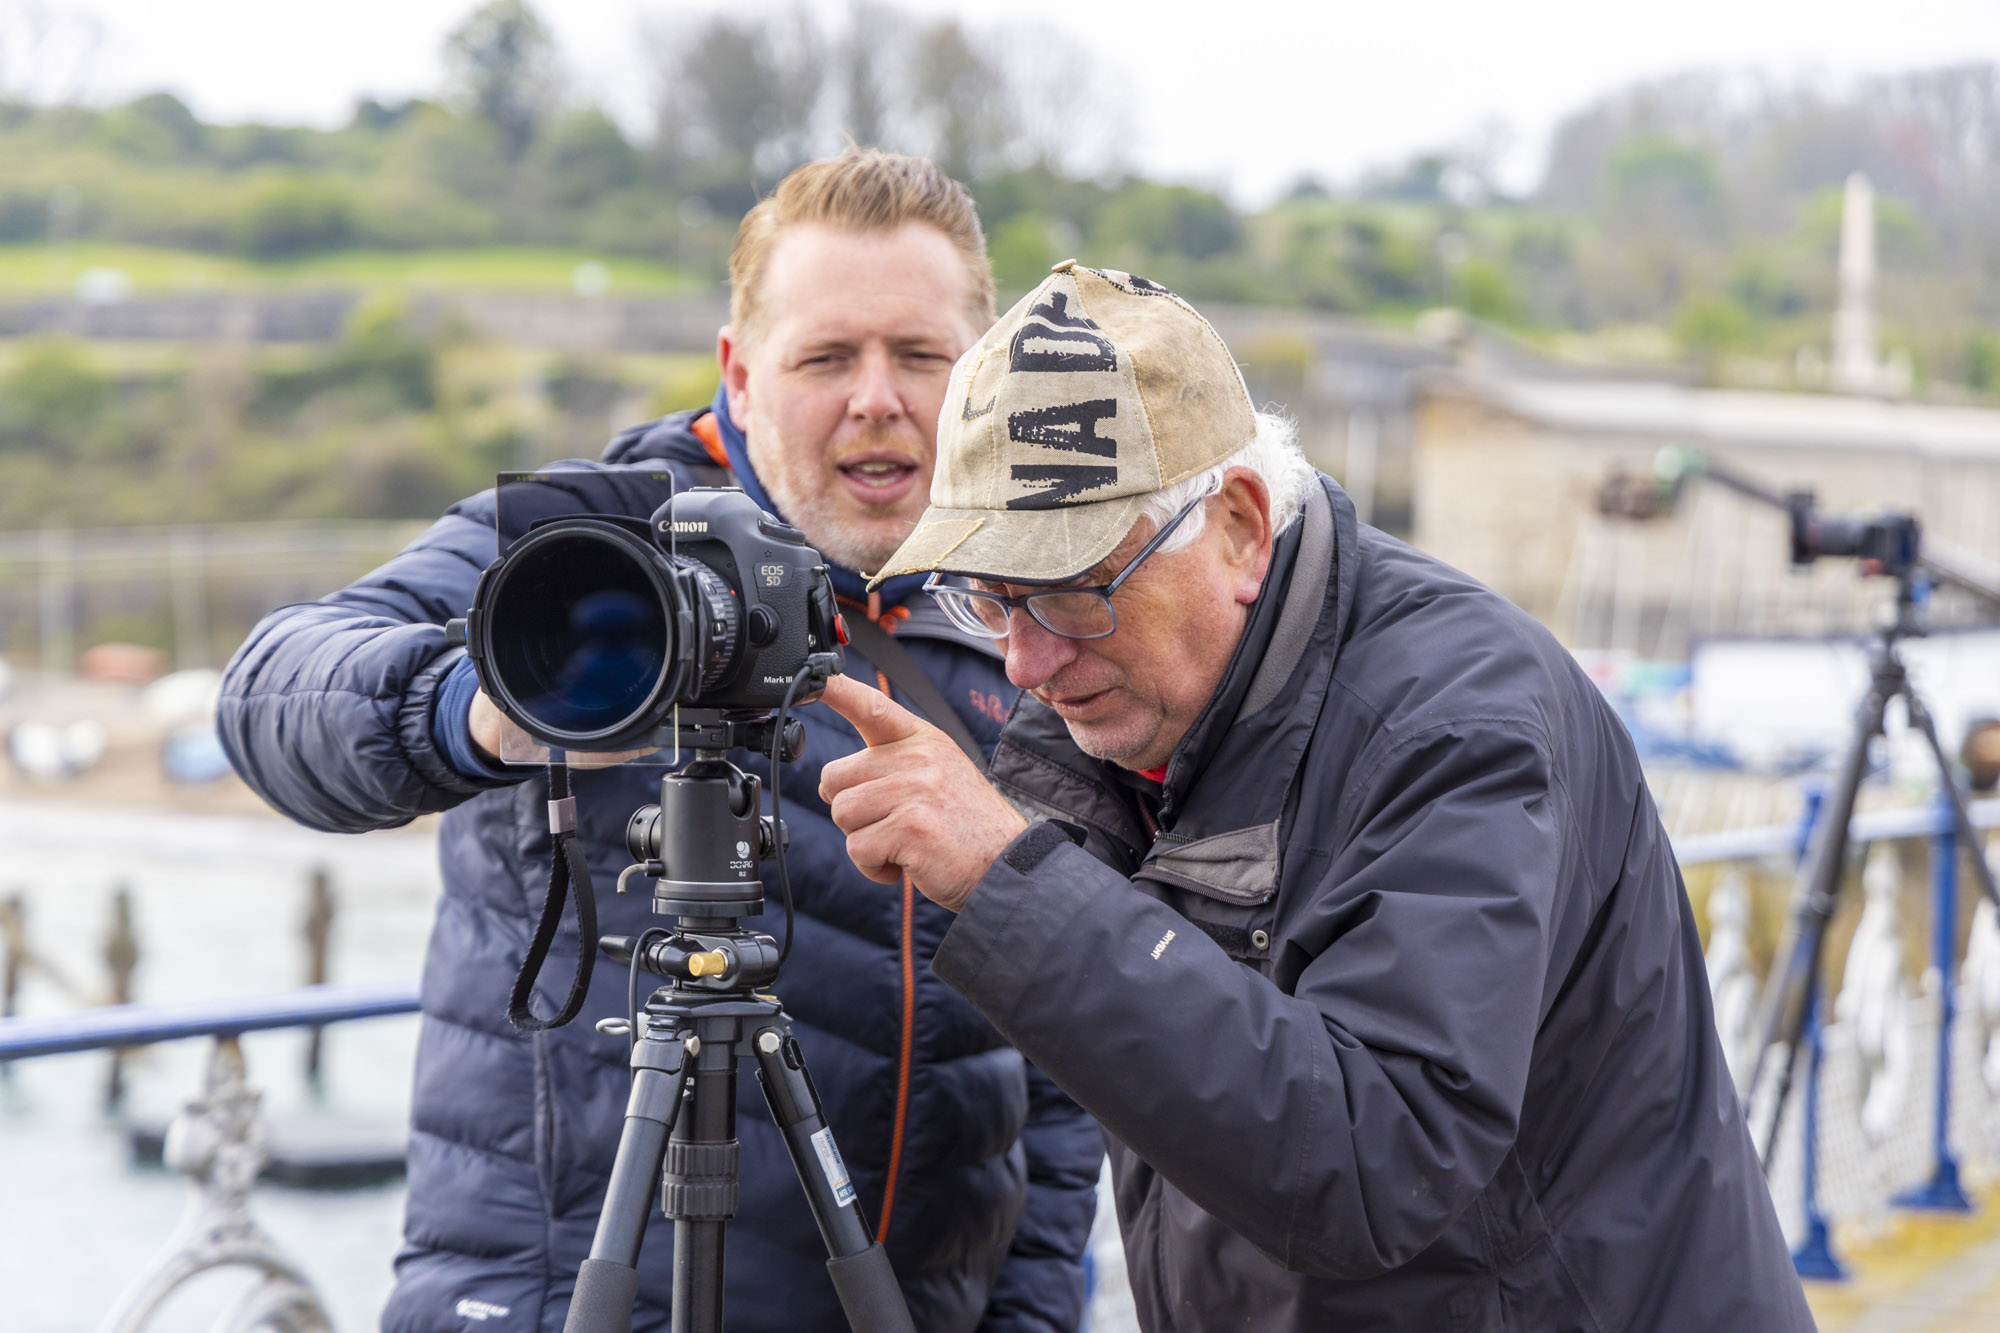
To begin, Daniel put Simon’s Canon EOS 5D Mark III into its Manual mode, so that he could take full control of the exposure. He then dialled in a middle aperture value of f/16 for good front-to-back sharpness through the frame and also boosted the ISO a little to 400 as it was still fairly dark in the moments before sunrise. This resulted in a shutter speed of around 1 sec – long enough to see motion in the water and clouds without needing a neutral density filter.
2. Use the RGB histogram
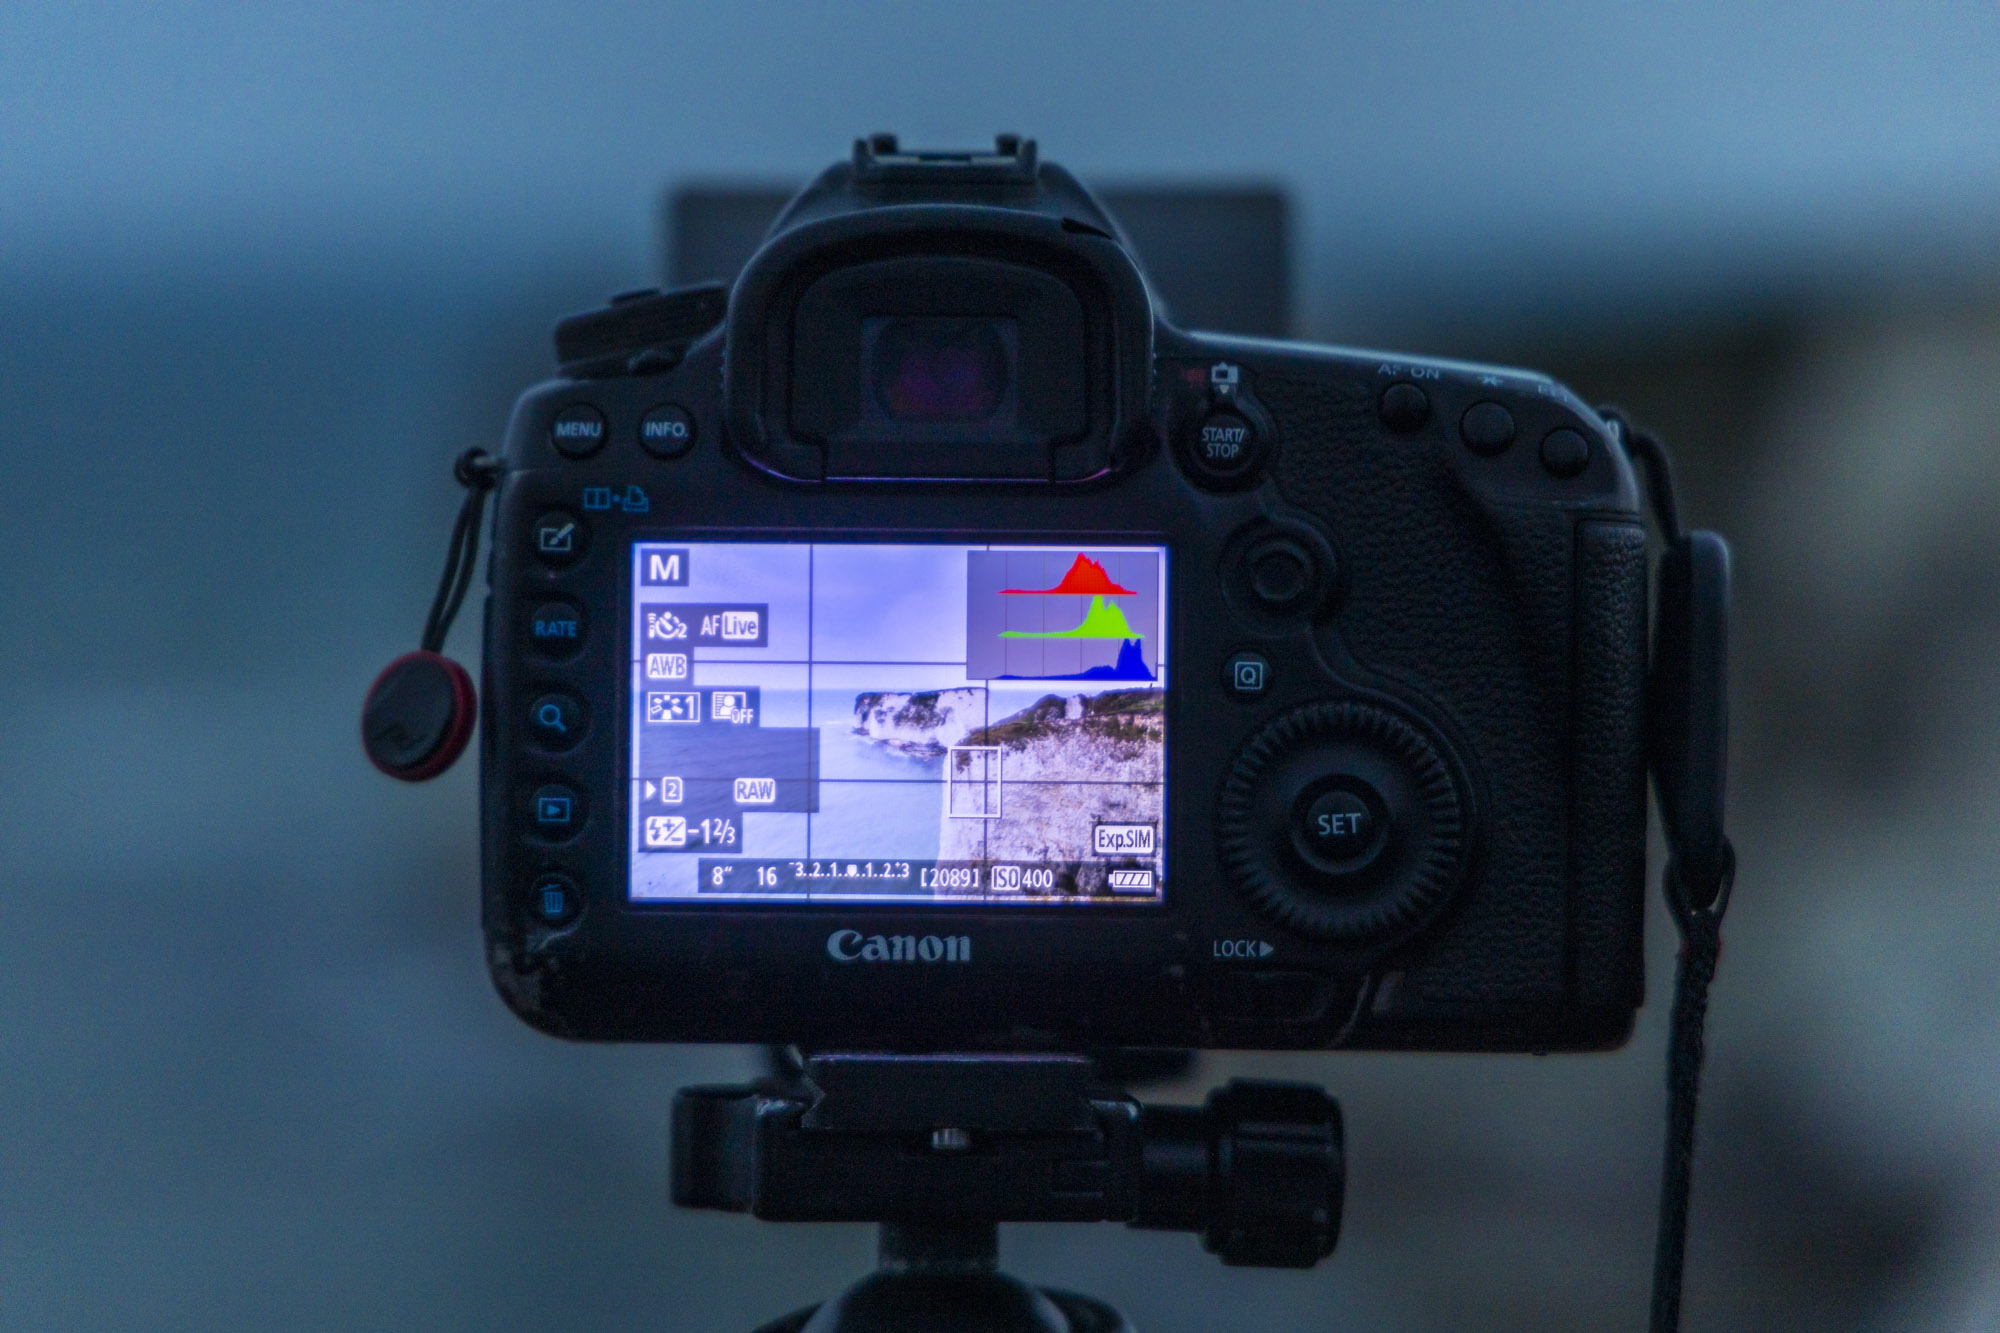
Daniel switched on the Histogram on Simon’s Canon EOS 5D Mark III, which can be found by going into Live View and pressing the Info button until it appears. This is a graph that shows you the tones in your scene, ranging from shadows on the left to highlights on the right. If they’re all bunched up on the left, your image is underexposed, while bunched up on the right means your image is overexposed, so it’s best to aim for an even range of tones across the graph. He used the RGB histogram to check individually on the tones in the Red, Green and Blue colour channels.
3. Professional tripod
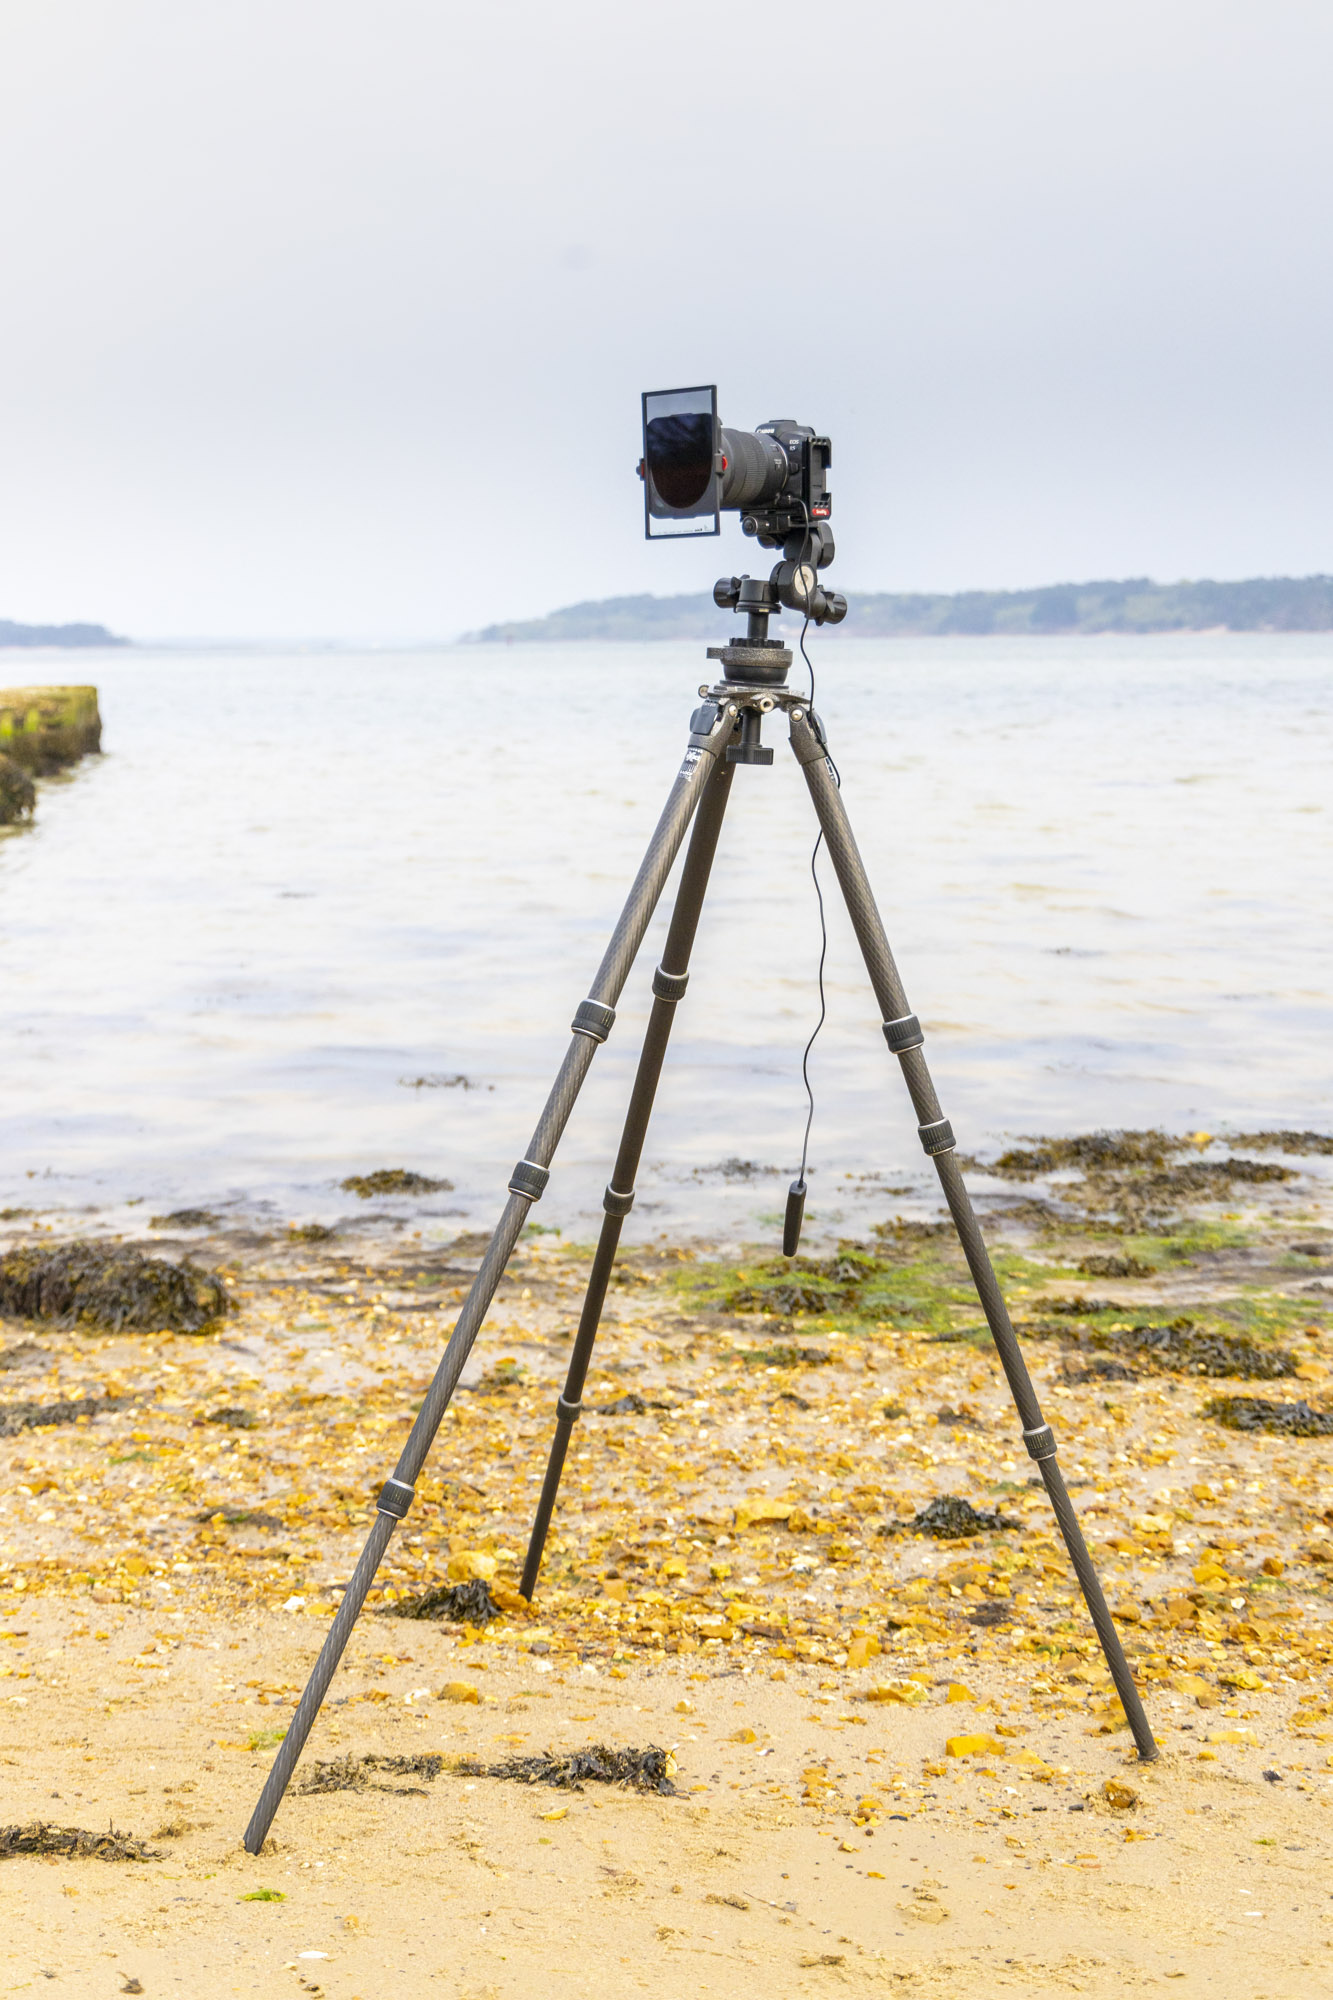
A sturdy tripod is key to achieving great long-exposure images, and Daniel uses a Gitzo GT3543LS set of carbon-fibre sticks for his shots. This is lightweight and comfortable to carry on long journeys. Paired with this is a Benro GD3WH head, which is geared to offer a huge amount of refinement when composing. He also uses spiked feet, so he can dig the tripod into rocky, sandy or muddy terrain to make it more secure.
The best camera deals, reviews, product advice, and unmissable photography news, direct to your inbox!
4. Use highlight alert
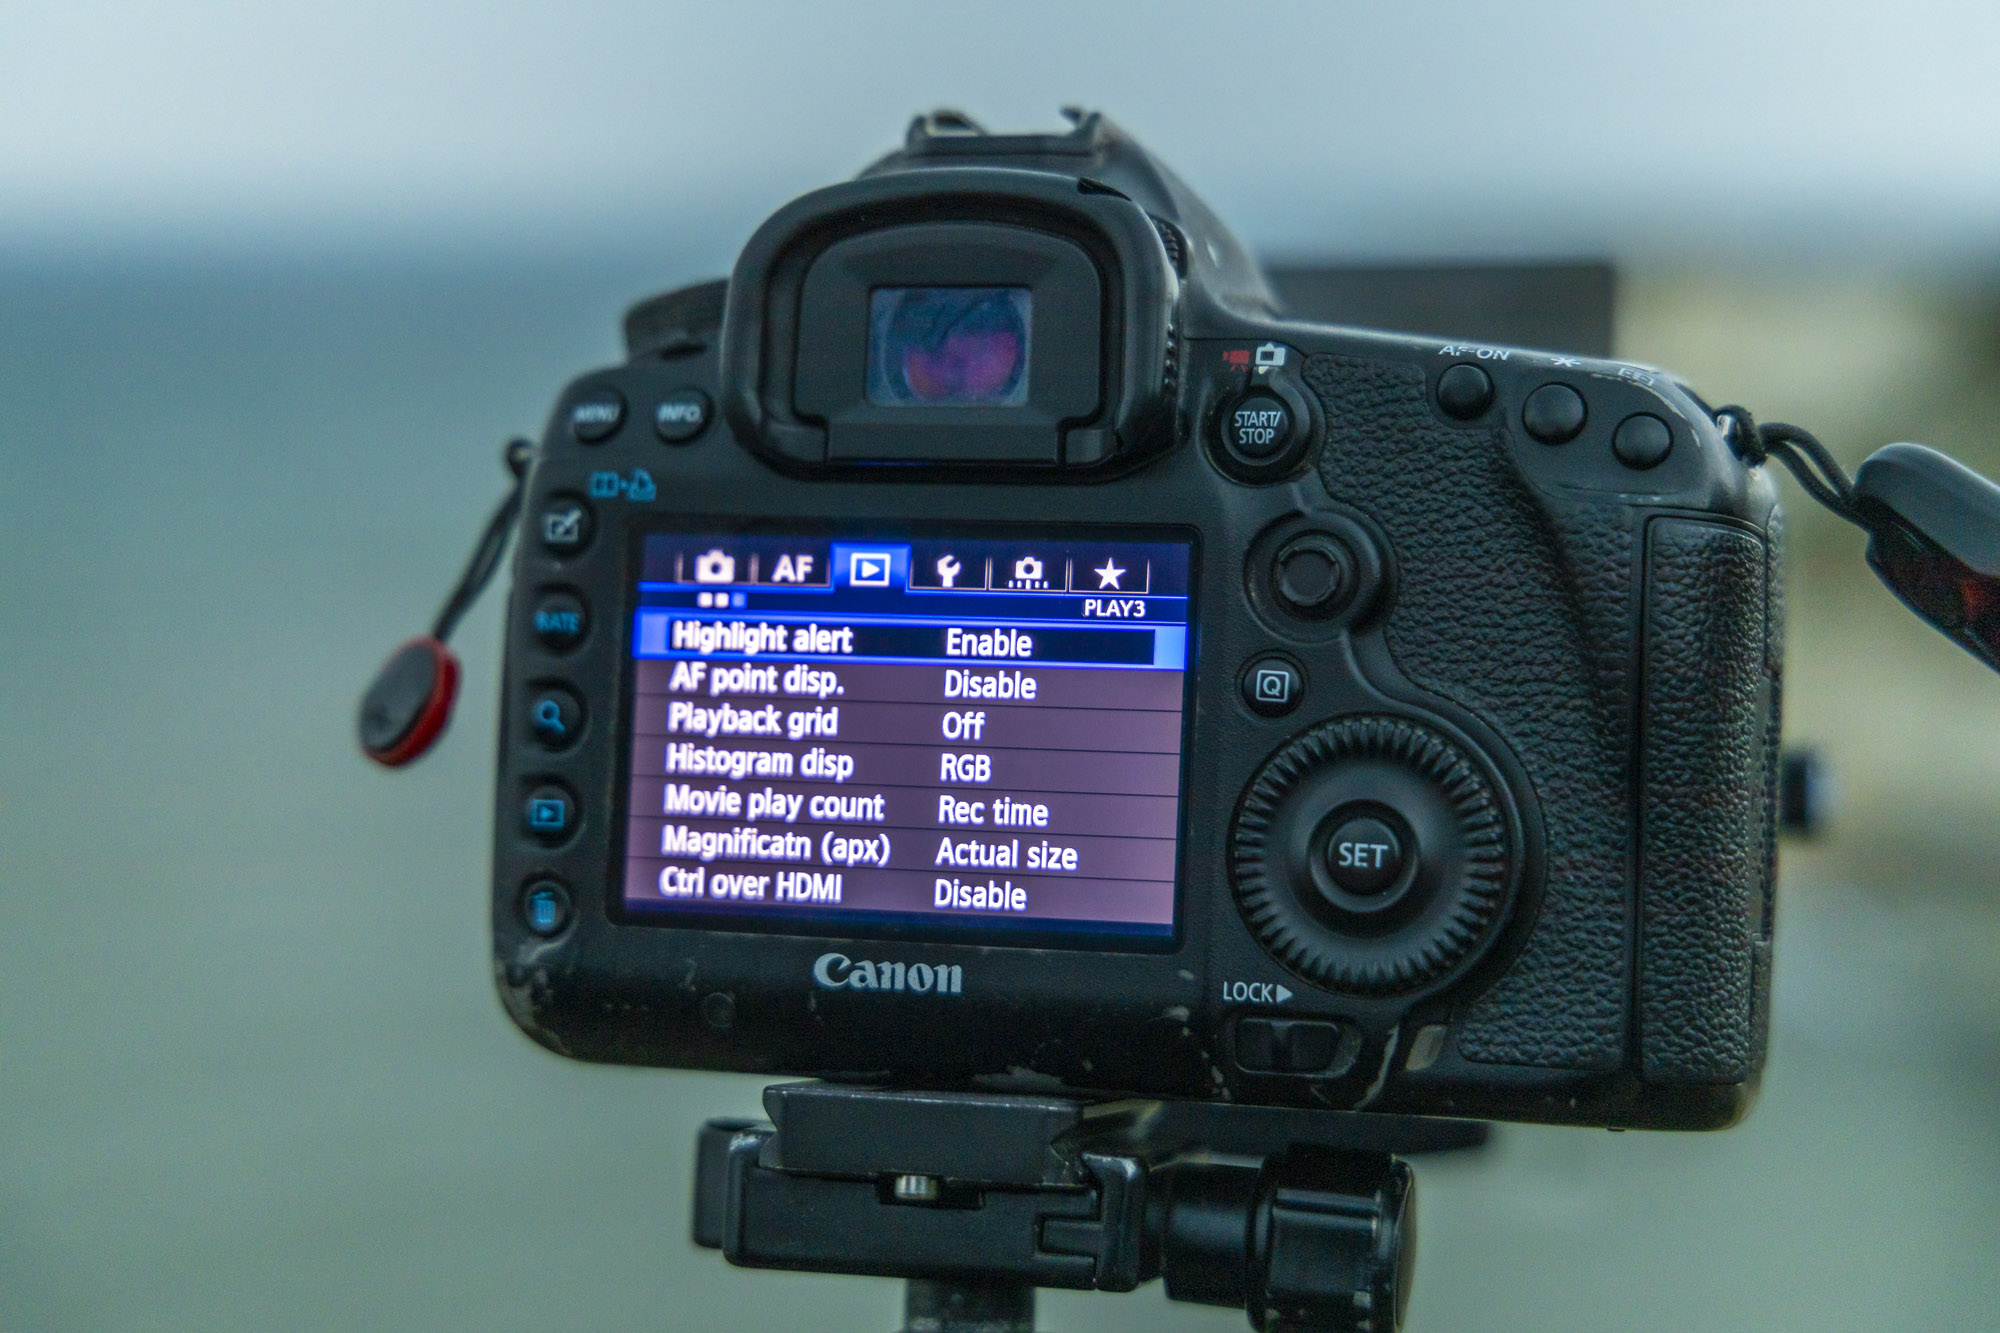
Simon switched on the Highlight Alert on his Canon EOS 5D Mark III, which reveals any part of the scene that might have clipped highlights where the details have been burnt out. This shows up a blinking black area on his camera and is useful for tweaking the exposure or graduated ND filter to retain detail in bright skies.
5. Block the eyepiece (on DSLRs)
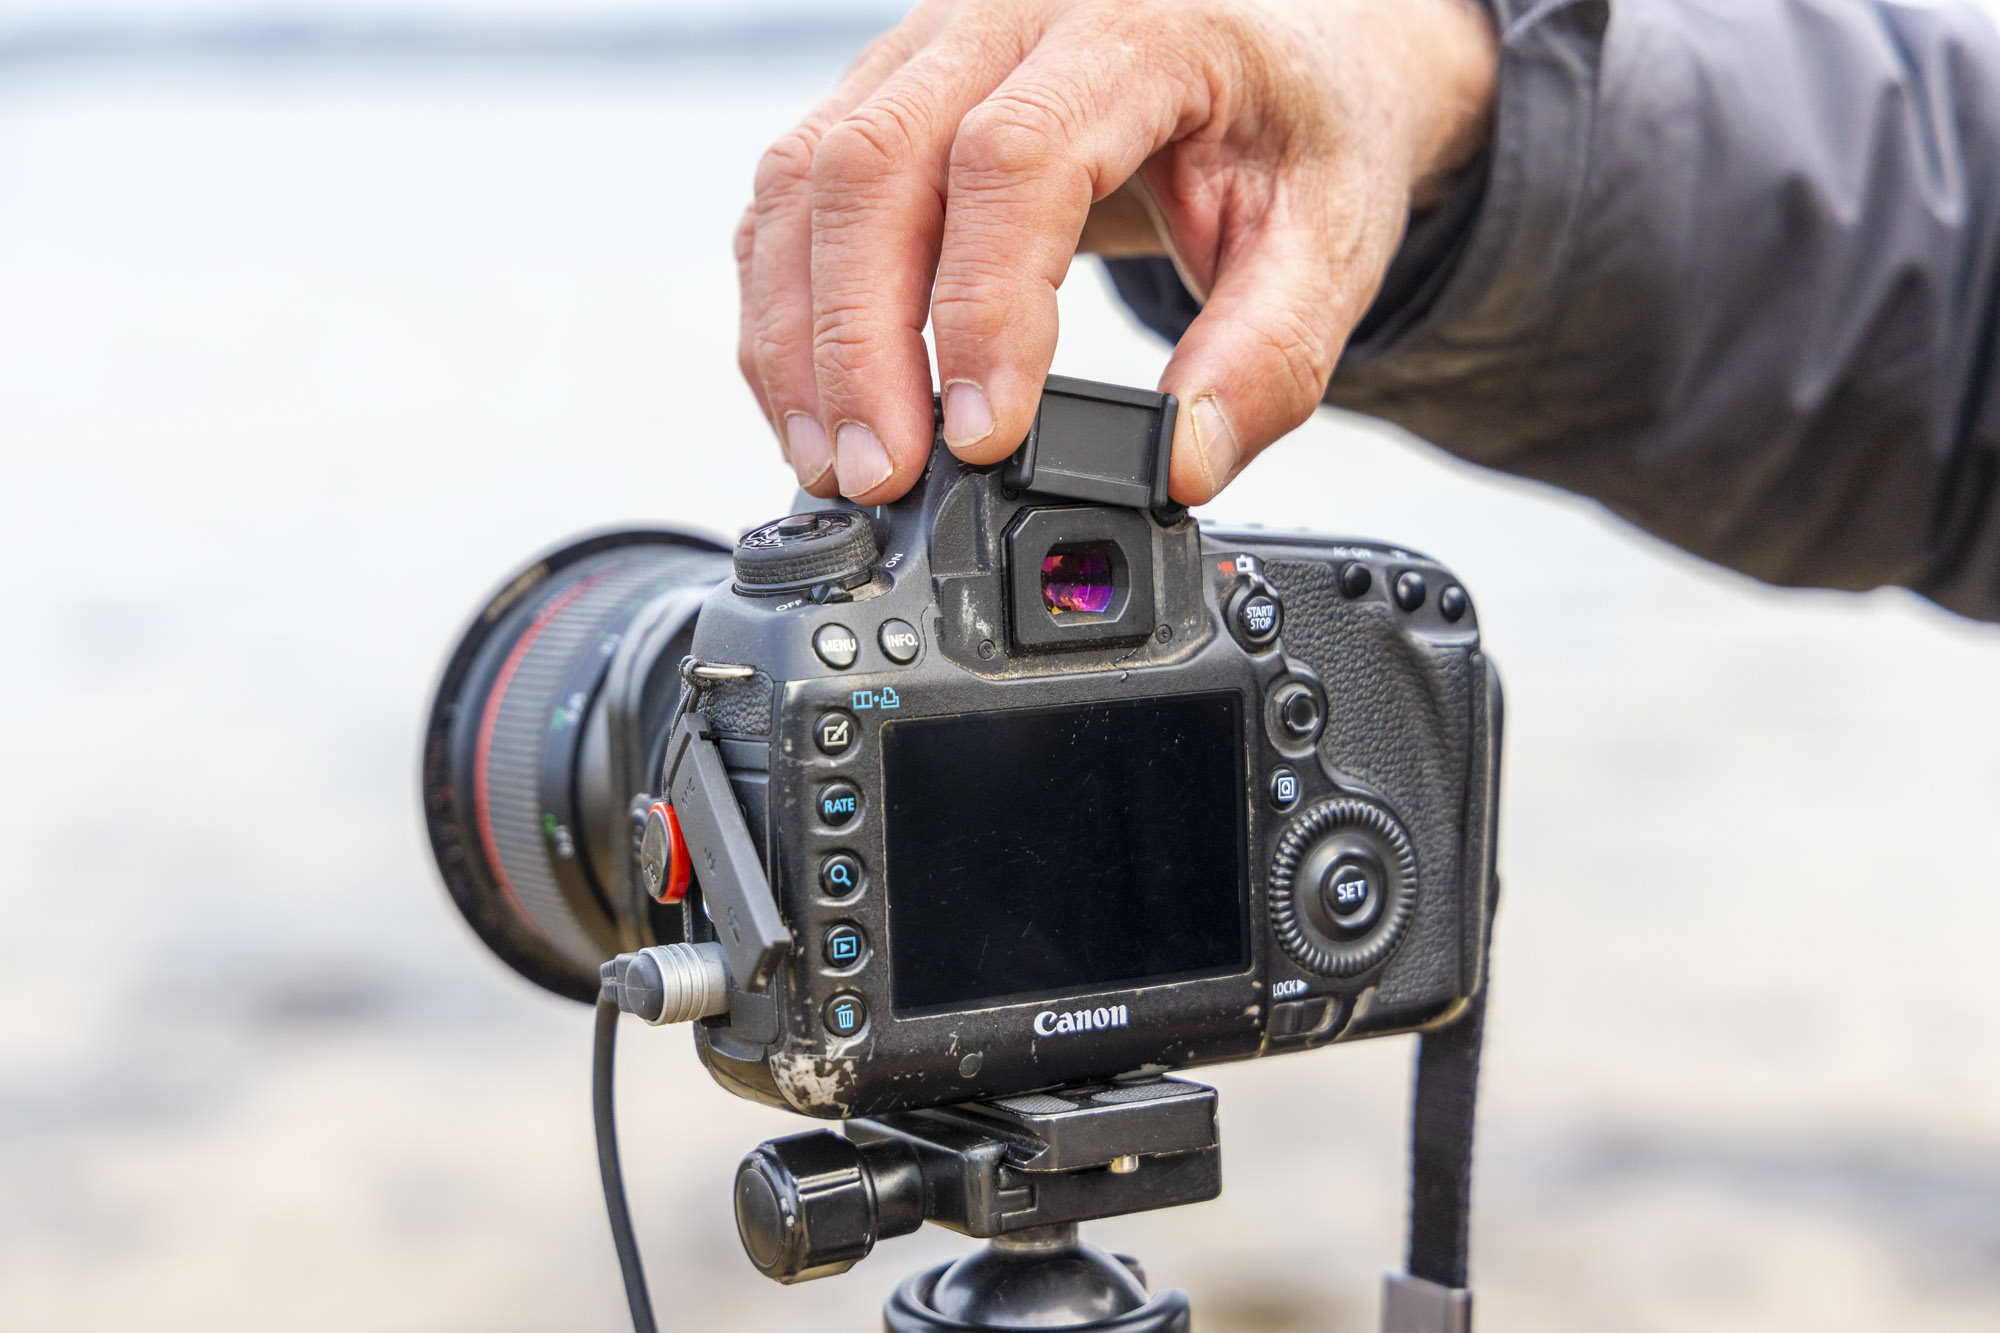
When taking long exposures, light can sometimes get in through the optical viewfinder on DSLRs, which can cause light leaks to appear in your images. To prevent this from happening, Canon provides an eyepiece cover on the strap that comes with its DSLRs. You simply pop off the rubber eyepiece surround and slide the cover on to block the viewfinder during your long exposures. If you use a Canon mirrorless camera, such as the EOS R, you don’t have to worry about this problem because they don’t feature an optical viewfinder.
6. Filters
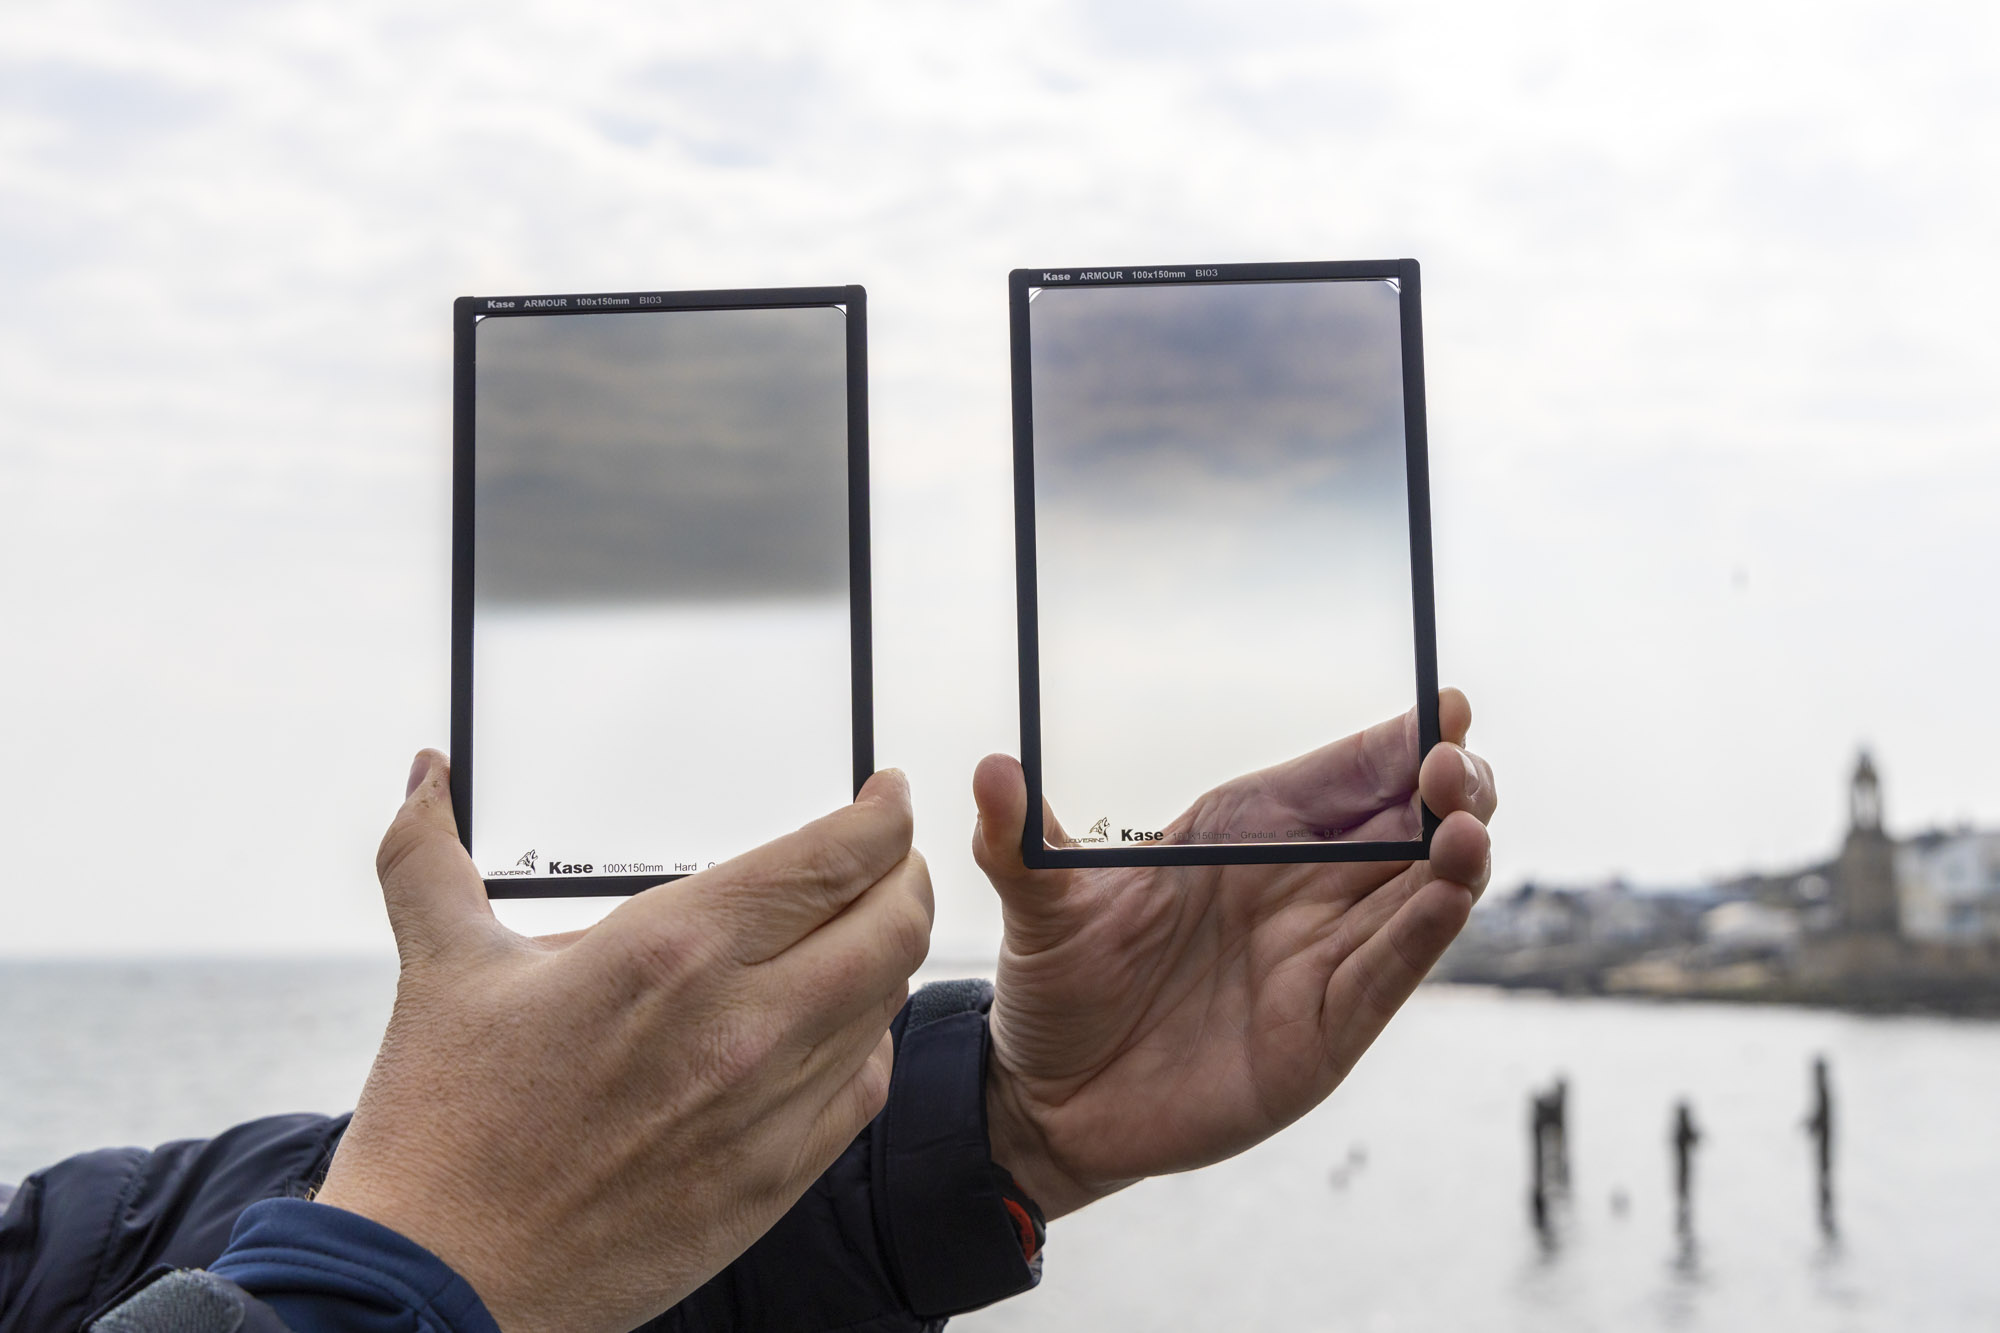
Filters are essential for Daniel, enabling him to create effects that can’t be done in post-processing, such as cutting out glare and polarized light with a CPL, or reducing the light flowing into the camera with an ND filter to produce longer exposures or a graduated ND filter to balance bright skies. He’s a Kase Filters Pro Partner and uses its 100mm filter system as well as Kase Armour – magnetic filter frames that let him swap filters rapidly.
7. Telephoto lens
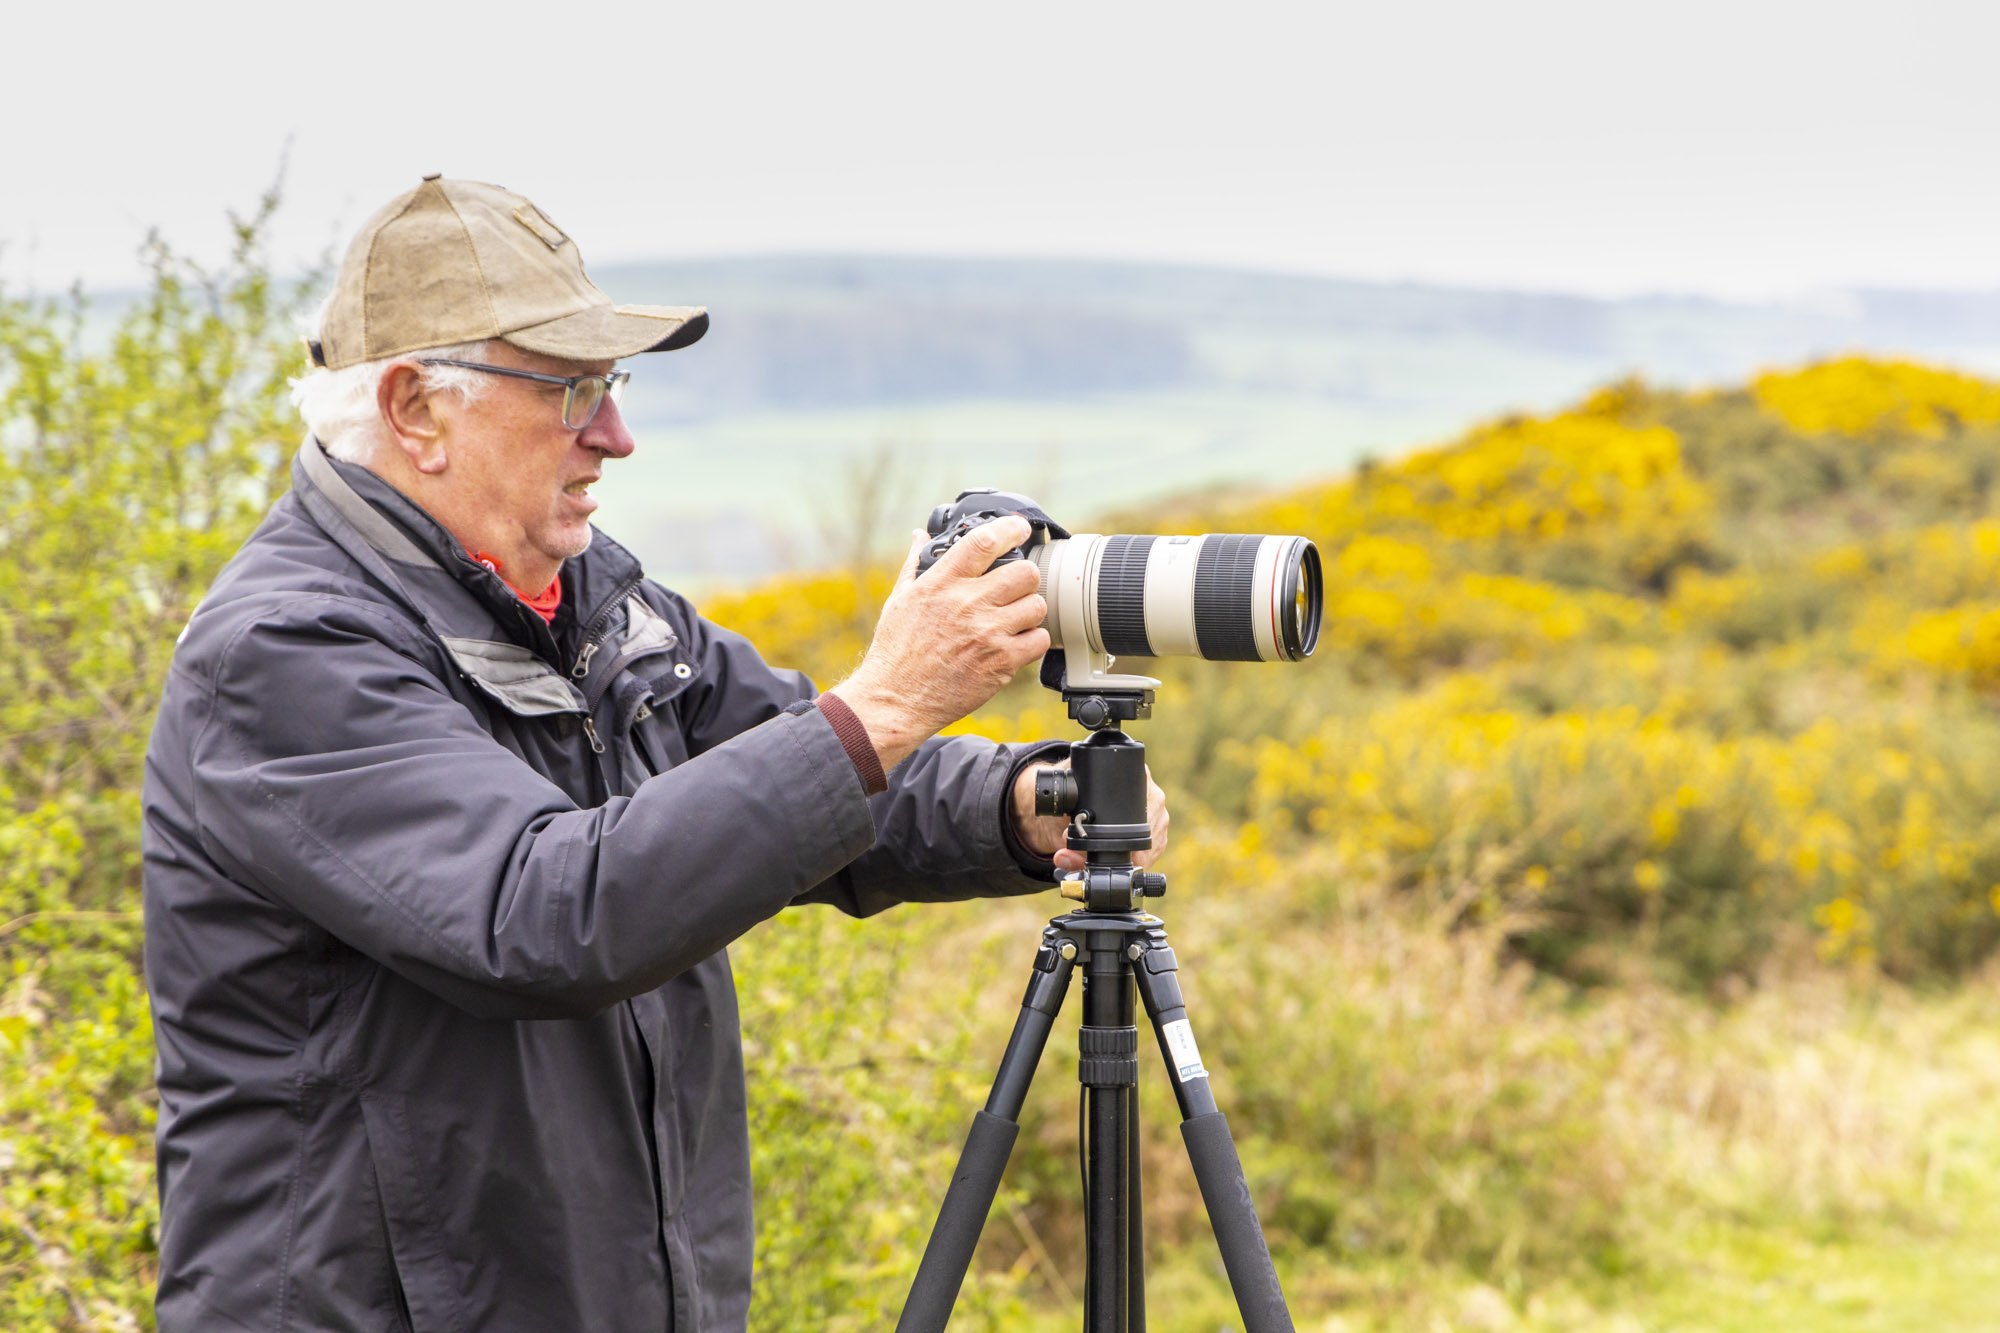
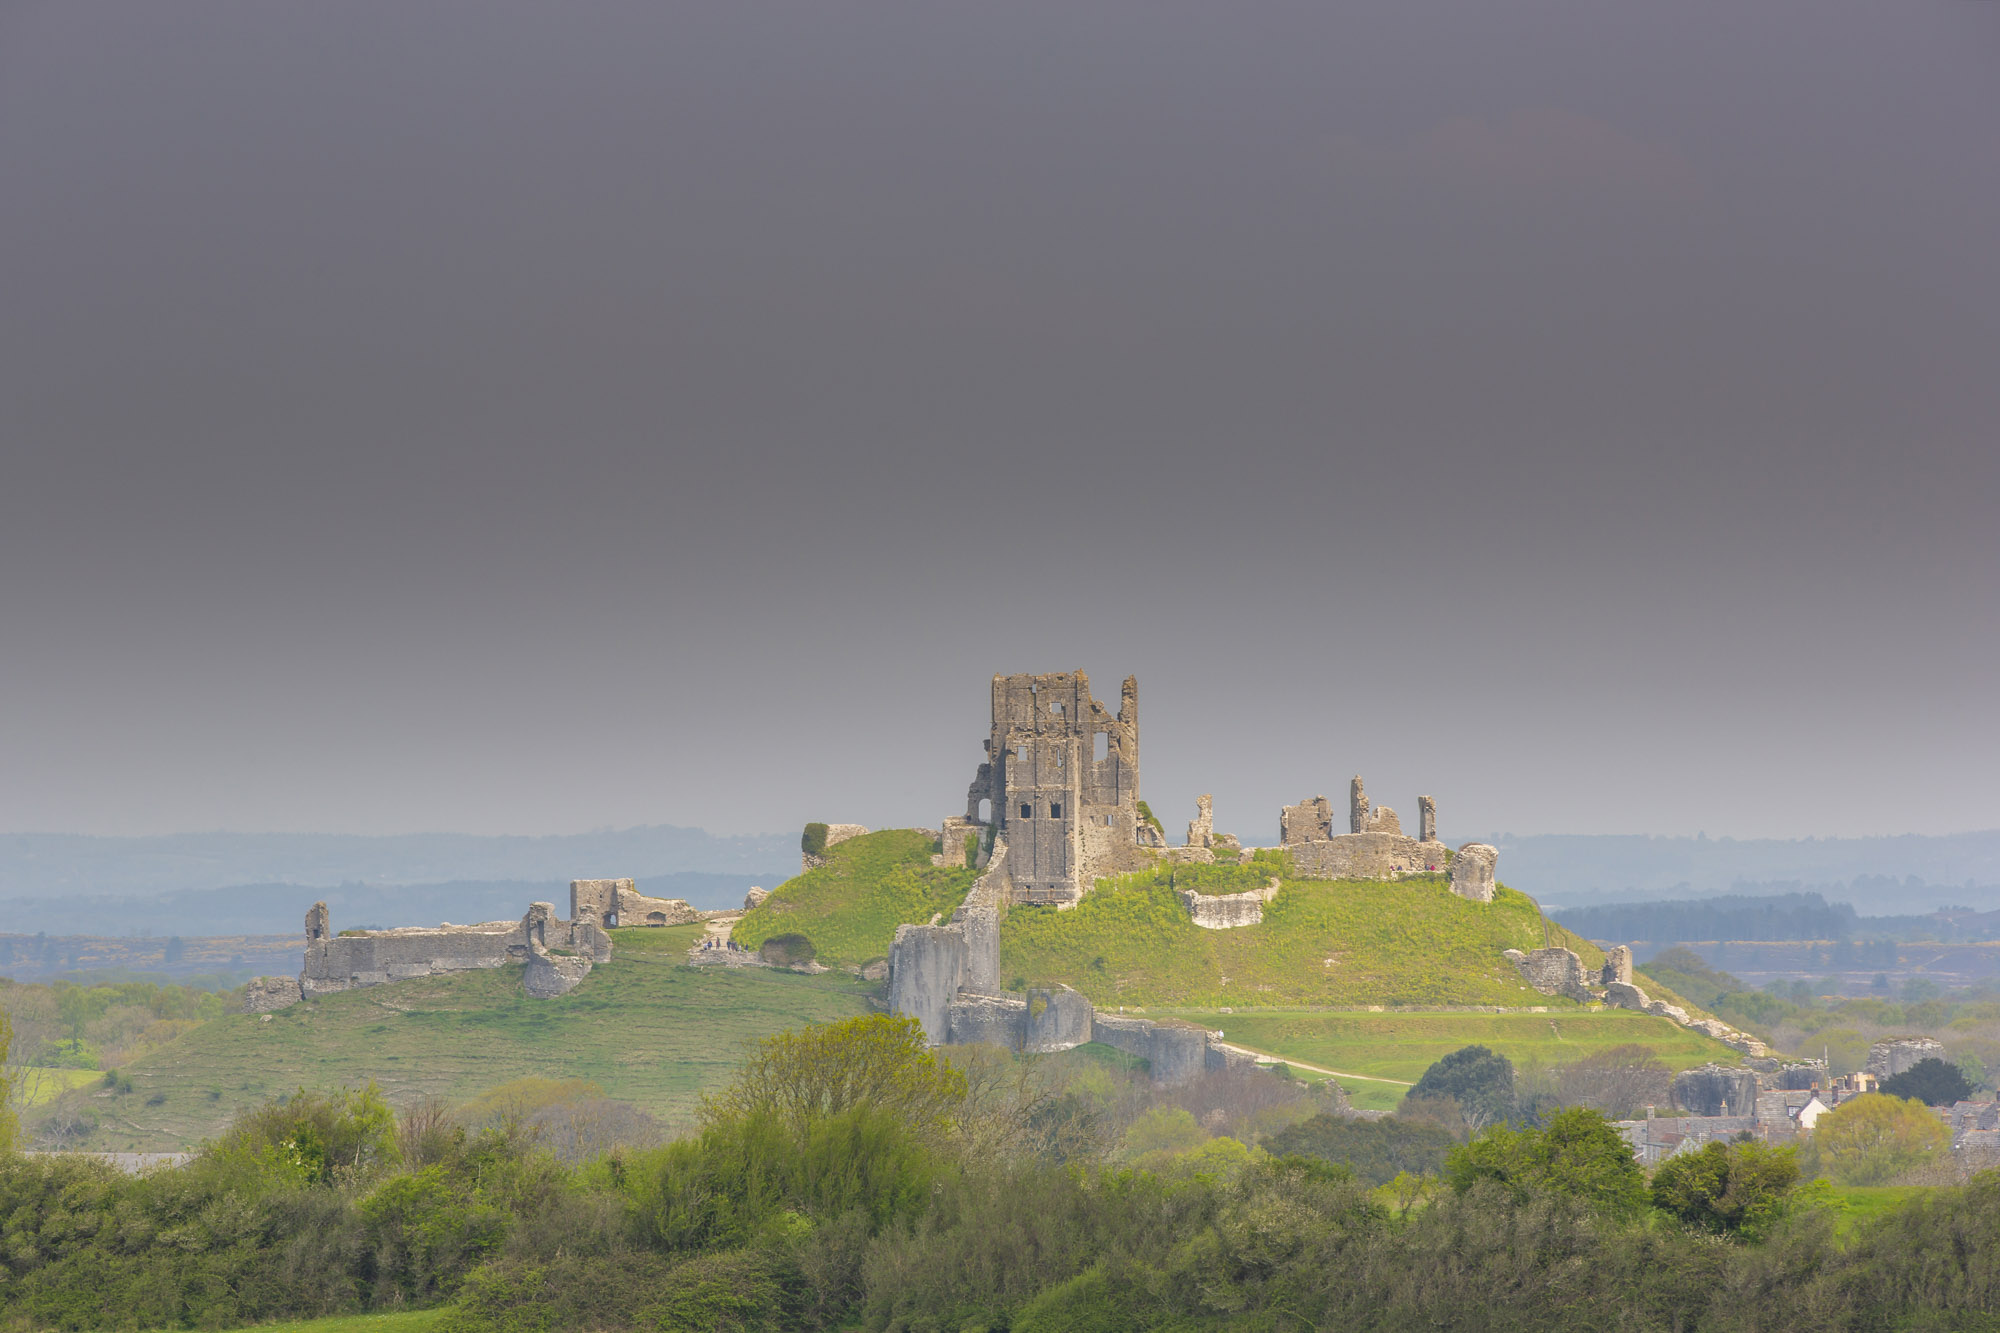
A long telephoto lens may sound like a strange choice for landscapes but Daniel prefers to shoot most of his scenes with a long lens as it helps compress the perspective and cuts down on empty space around the frame. Daniel’s telephoto lens of choice is a Canon EF 100-400mm f/4.5-5.6L IS II USM, which he uses with his R5 via a Canon EF-EOS R mount adapter.
8. Use an L-bracket
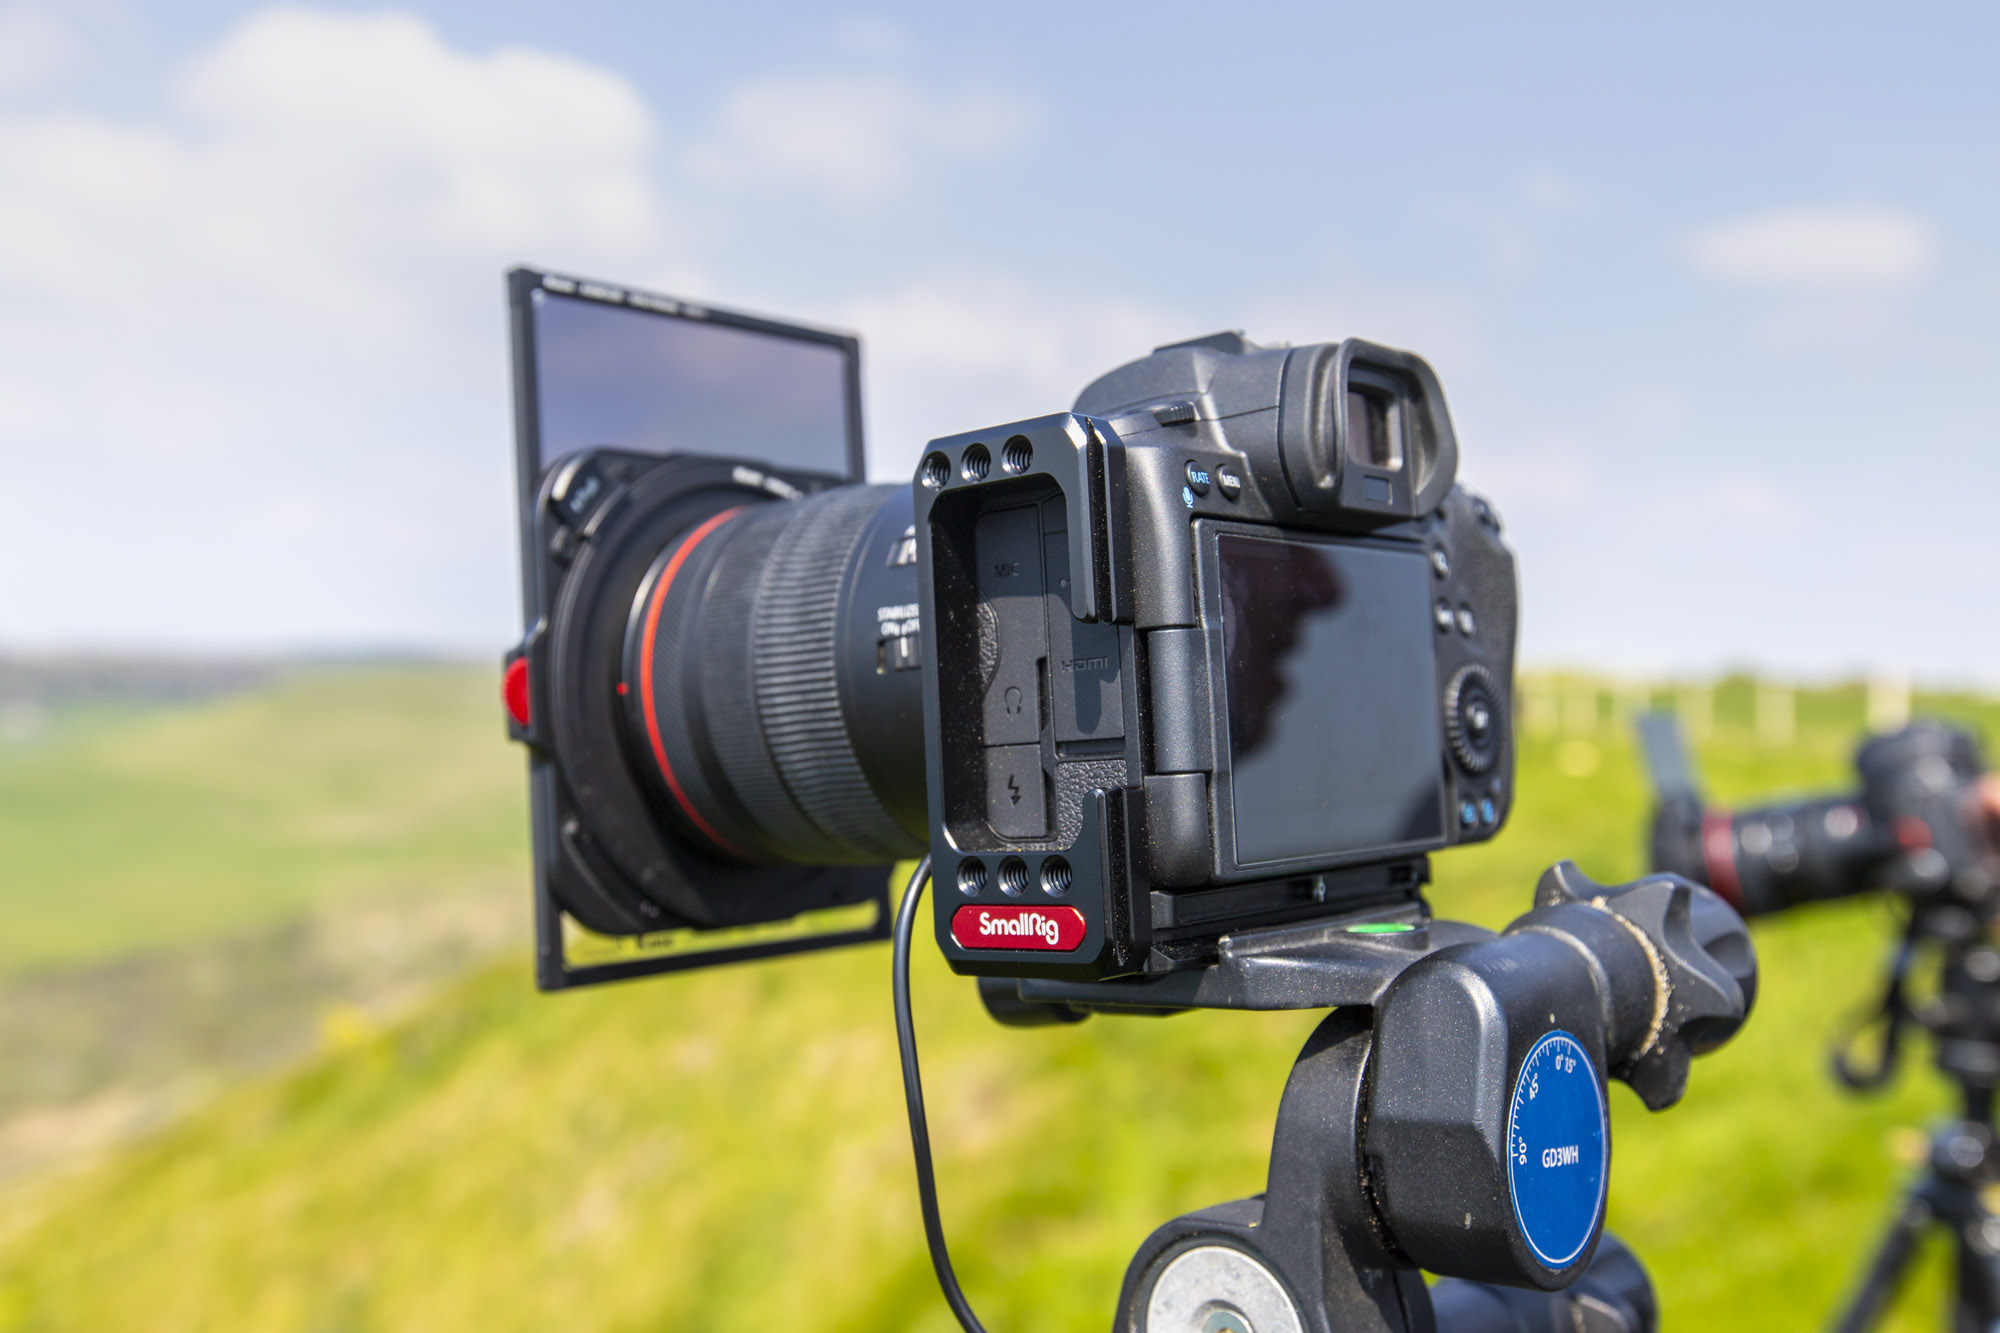
Daniel uses an L-bracket from SmallRig for his Canon EOS R5, which enables him to quickly change between landscape and portrait orientations using the Arca Swiss mount on his tripod head. This also means the camera remains central over the tripod, so is better balanced. L-brackets come in different shapes and sizes to fit different cameras, so make sure you pick one that specifically works with your Canon camera.
9. Backpack for ballast
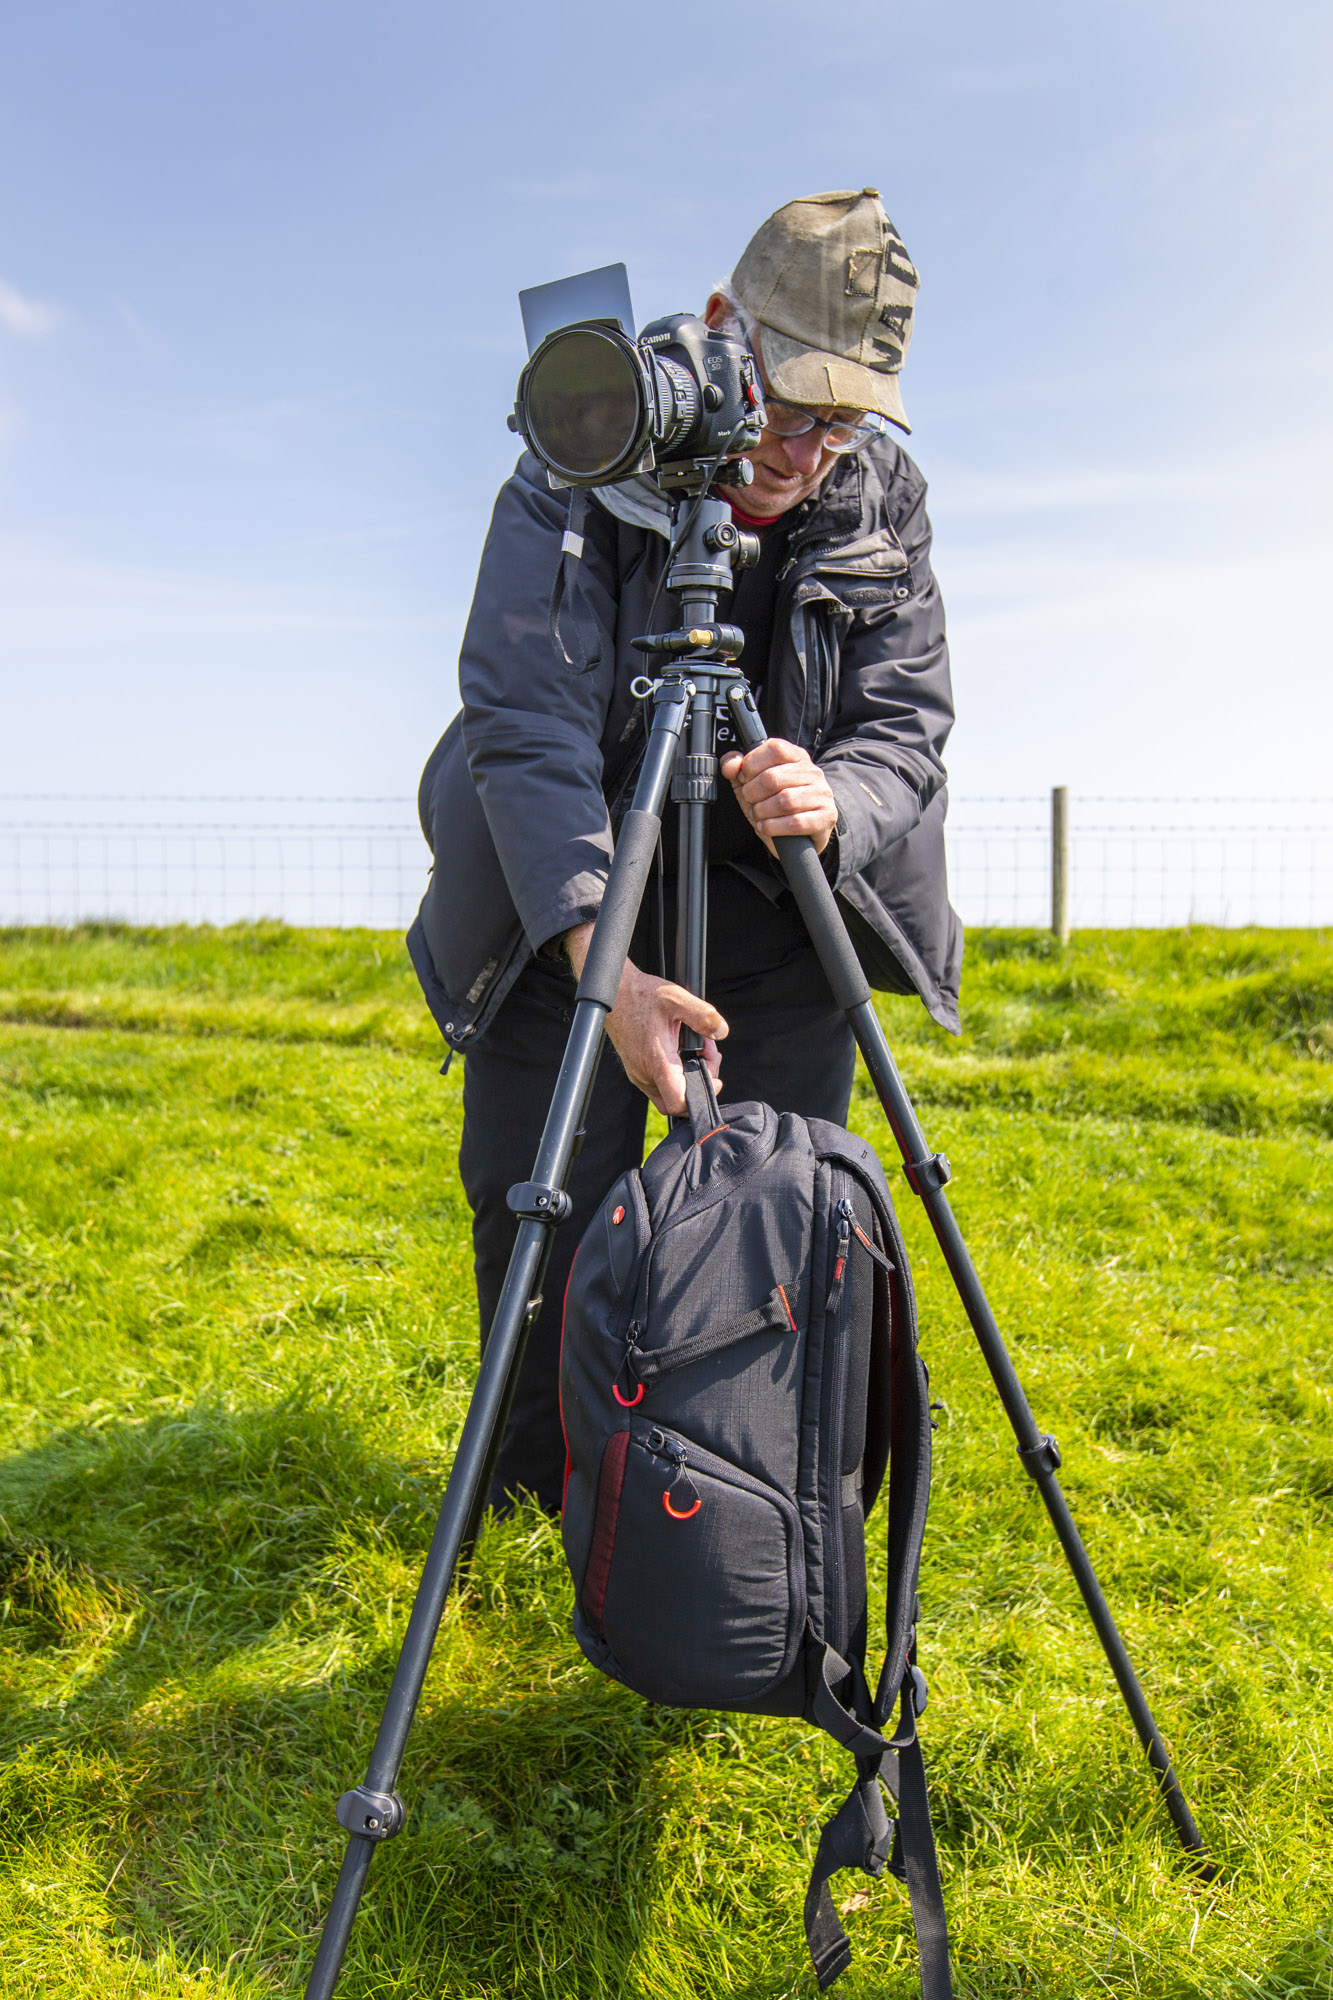
Strong winds on locations such as coastal shores can be enough to rattle your tripod and cause camera shake. Some tripods have a hook on the centre column that you can hang a heavy camera bag on to add weight and make it stable. If your tripod doesn’t have a hook, hang one of the bag straps over the top of the tripod or lay the bag on the ground and tether it to your tripod with a bungee cord.
10. Custom white balance
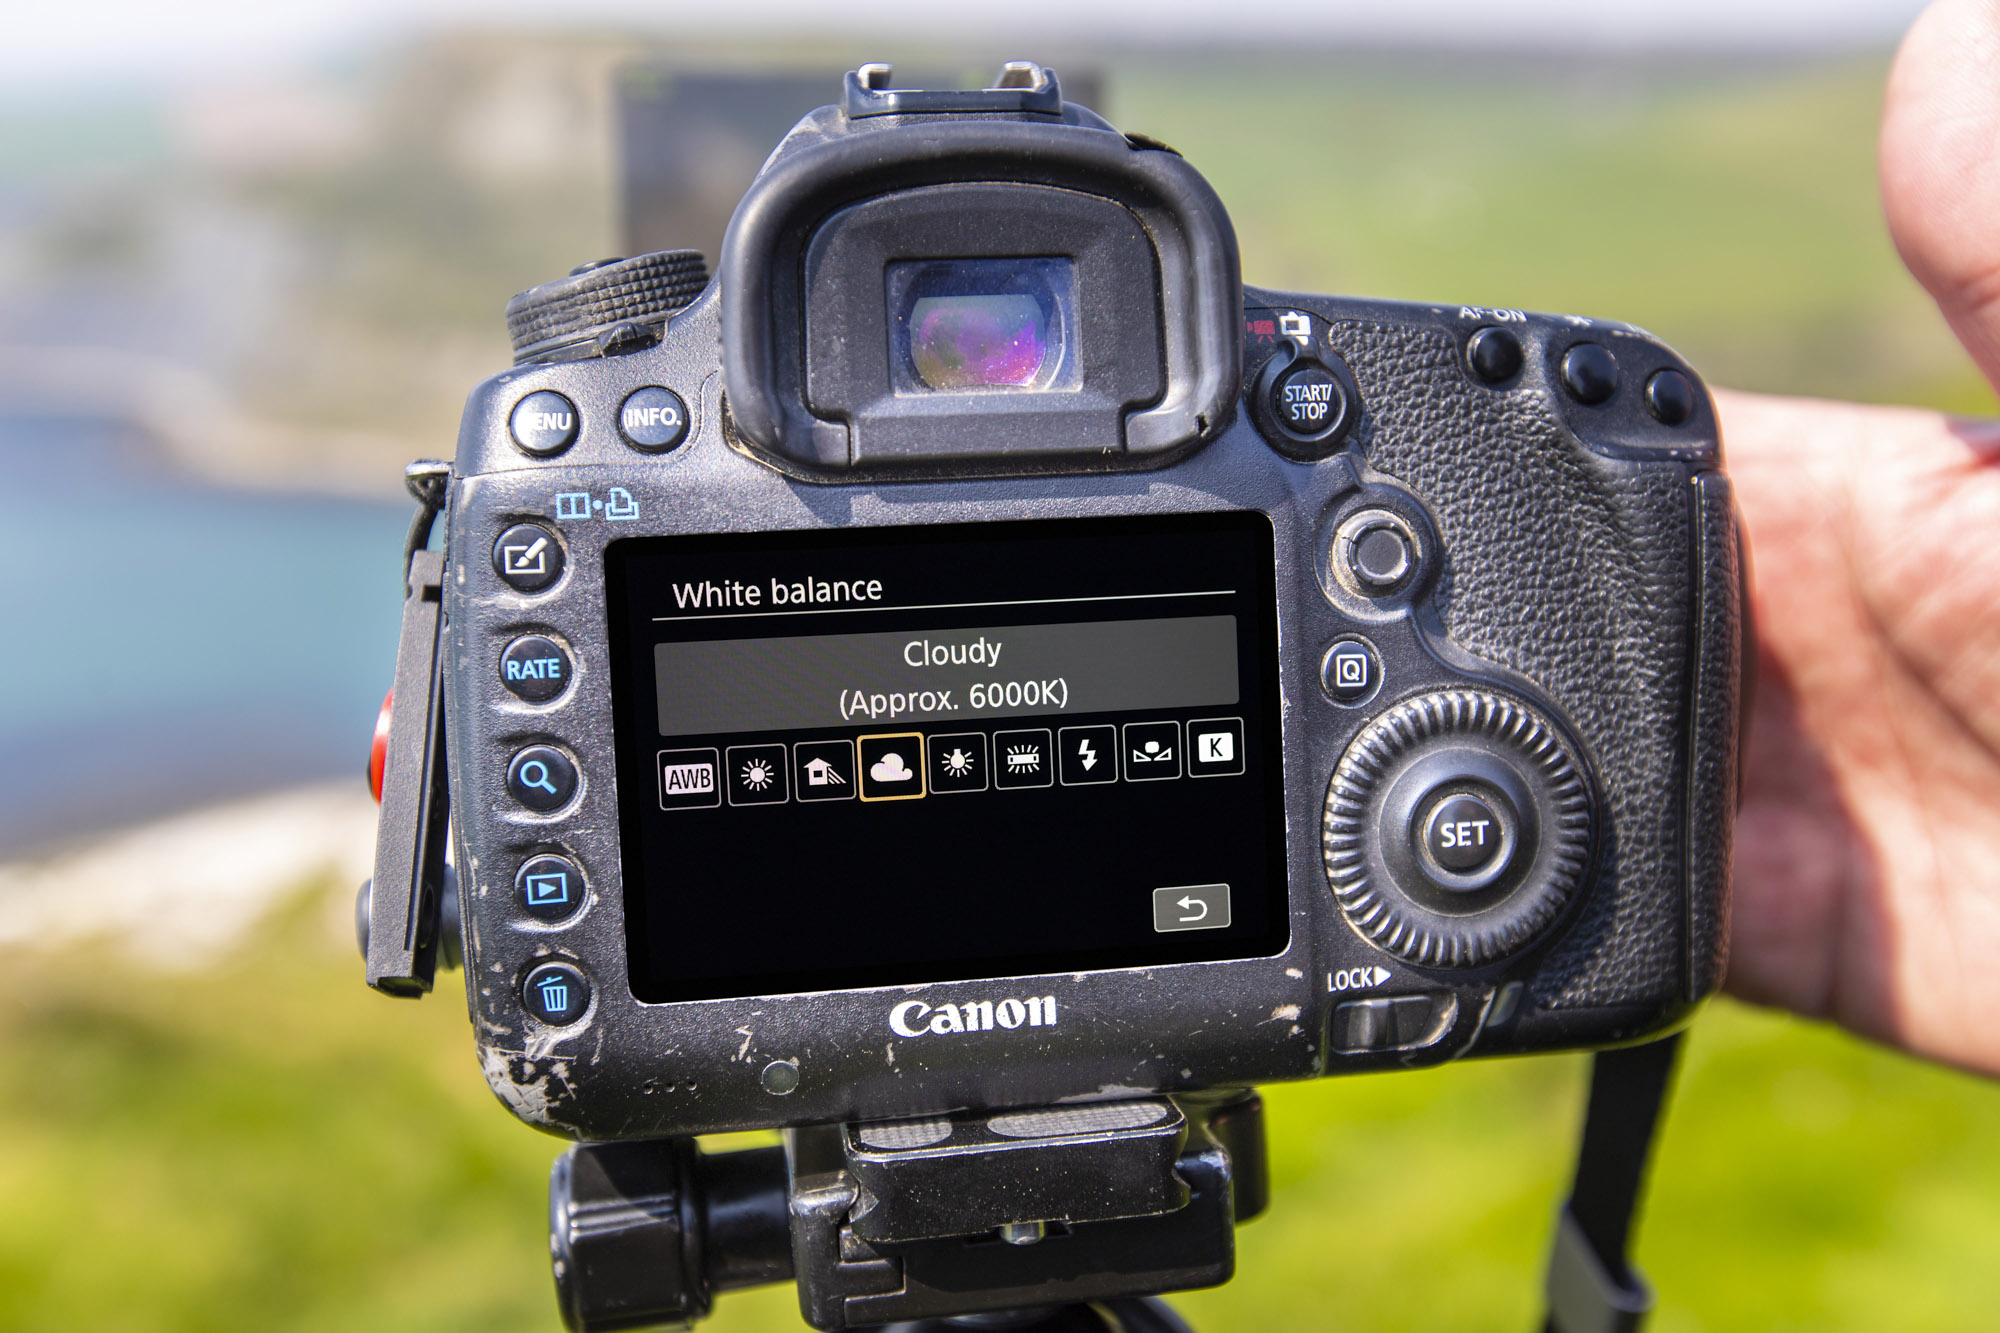
Daniel changes the white balance depending on the conditions in which he’s shooting, to help him get more accurate colours. The day we shot on was overcast at times, so the Cloudy 6000K setting worked well, although as he shoots in the Raw image format, the white balance can be easily tweaked at the editing stage if needed, too, so shoot in Raw for an extra safety net.
Read more:
Best lens for landscapes
Best camera for landscapes
Photography tips
Canon EOS R5 review
PhotoPlus: The Canon Magazine is the world's only monthly newsstand title that's 100% devoted to Canon, so you can be sure the magazine is completely relevant to your system. Every issue comes with downloadable video tutorials too.

In addition to being a freelance photographer and filmmaker, Dan is a bona fide expert on all things Canon and Adobe. Not only is he an Adobe-certified Photoshop guru, he's spent over 10 years writing for specialist magazines including stints as the Deputy Editor for PhotoPlus: The Canon Magazine, Technical Editor for Practical Photography and Photoshop Editor on Digital Photo.
