10 pro photo tips for perfect pet portraits at home and outdoors
Professional wildlife photographer Laura Galbraith shows PhotoPlus Apprentice Helen how to capture top pet paw-traits!
The best camera deals, reviews, product advice, and unmissable photography news, direct to your inbox!
You are now subscribed
Your newsletter sign-up was successful
Animals are undoubtedly one of the more challenging subjects to photograph. They're unpredictable and usually have a mind of their own. Animals out in the wild can be especially tricky, but even well-trained pets can struggle to sit still for very long on a photoshoot.
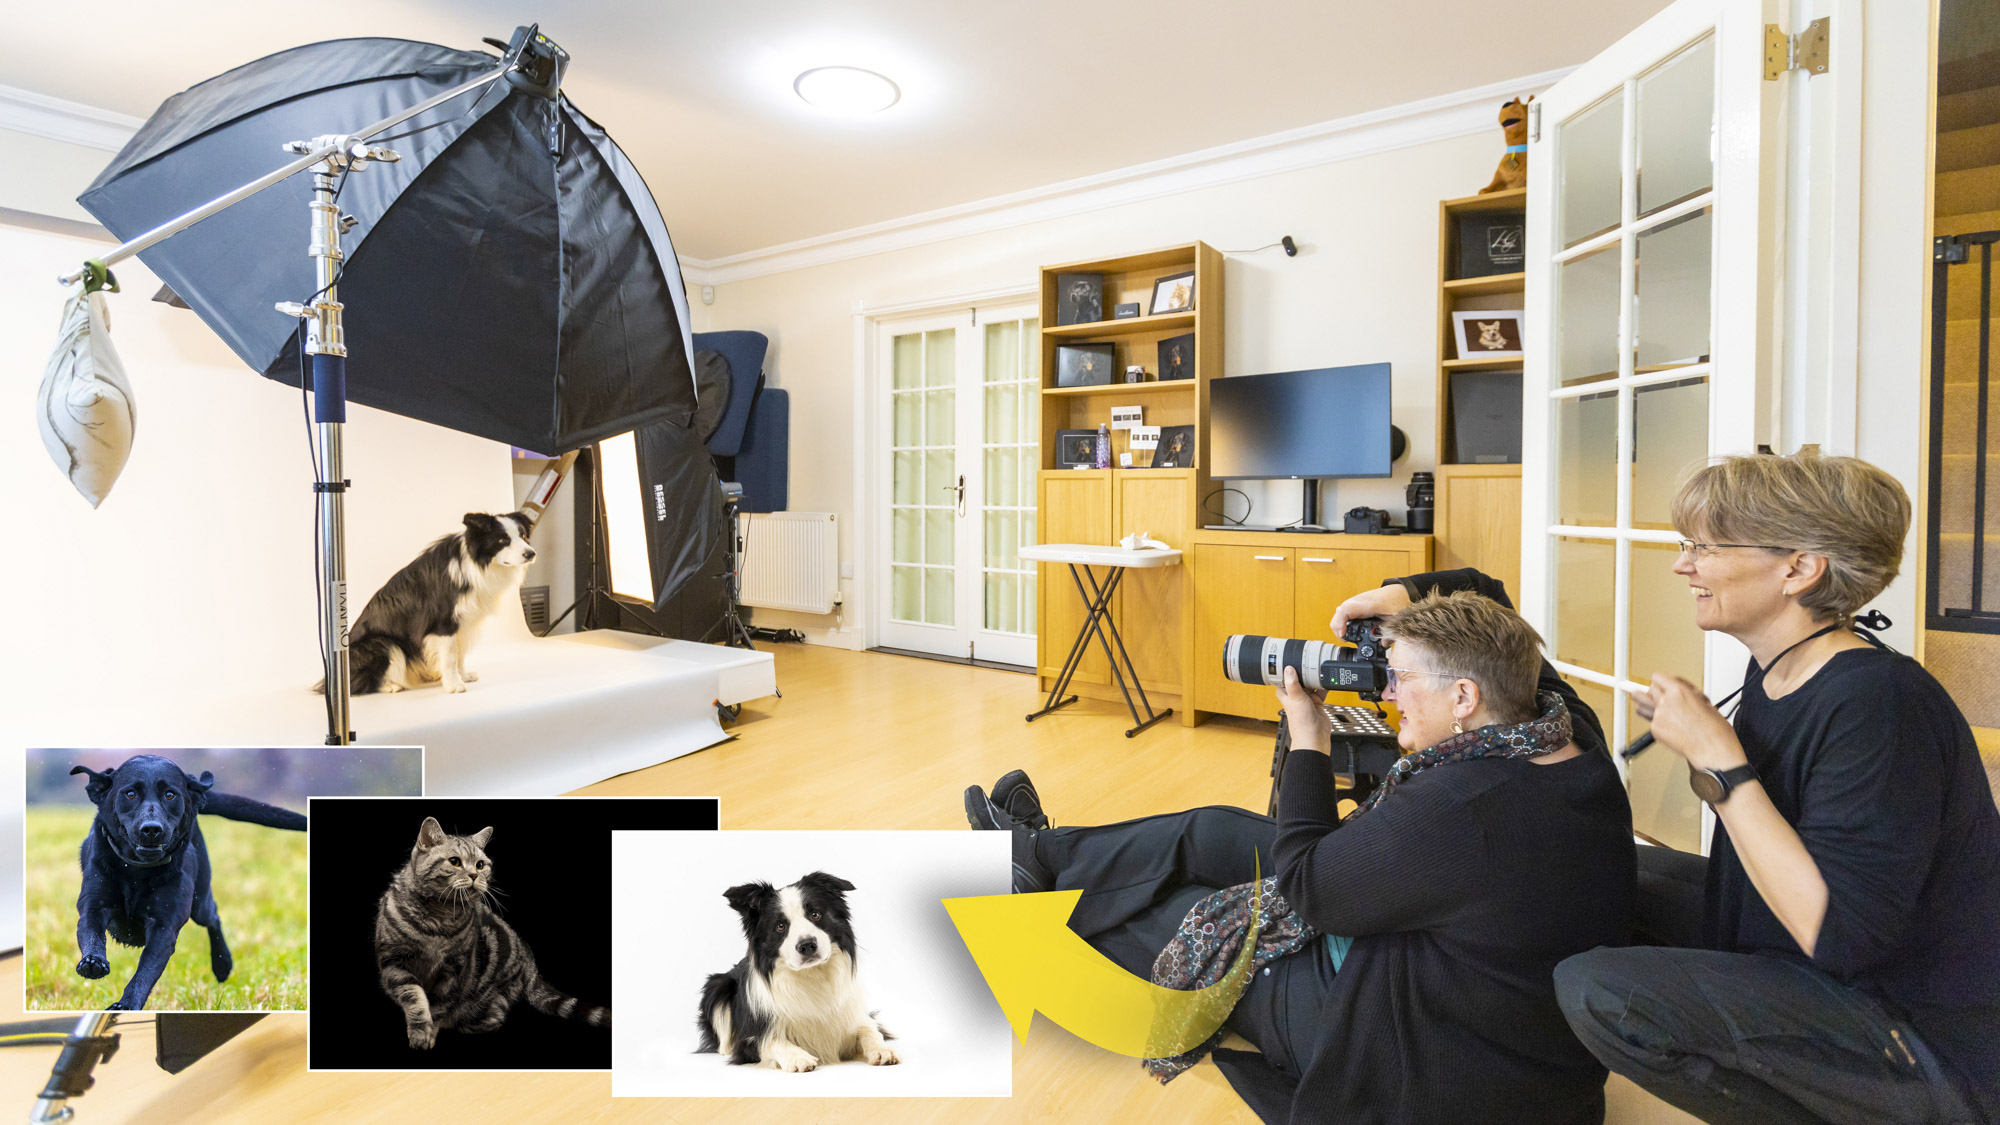
But for wildlife and pet photographer Laura Galbraith this is her job, having converted her home living room in Burwell, UK into a fully kitted out studio with multiple flashes, backgrounds and a platform on which to pose her pets.
• To shoot stunning pet portraits of your own, check out the best cameras for portrait photography
Reader of PhotoPlus: The Canon Magazine, Helen Black is a former IT trainer for a recruitment agency based in Peterborough. She’s always had a strong interest in photography, although when made redundant ten years ago, she found more
time to spend with her hobby.
She developed a love for wildlife photography during the pandemic, using a pop-up hide in her garden to take lovely photos of birds and other garden visitors. While she’s confident photographing wildlife outside in day light, she admits that studio flash is a new world, so we’ve paired her up with pet pro Laura to show her the ropes. Here's how they got on and the top 10 tips Laura gave Helen on the day.
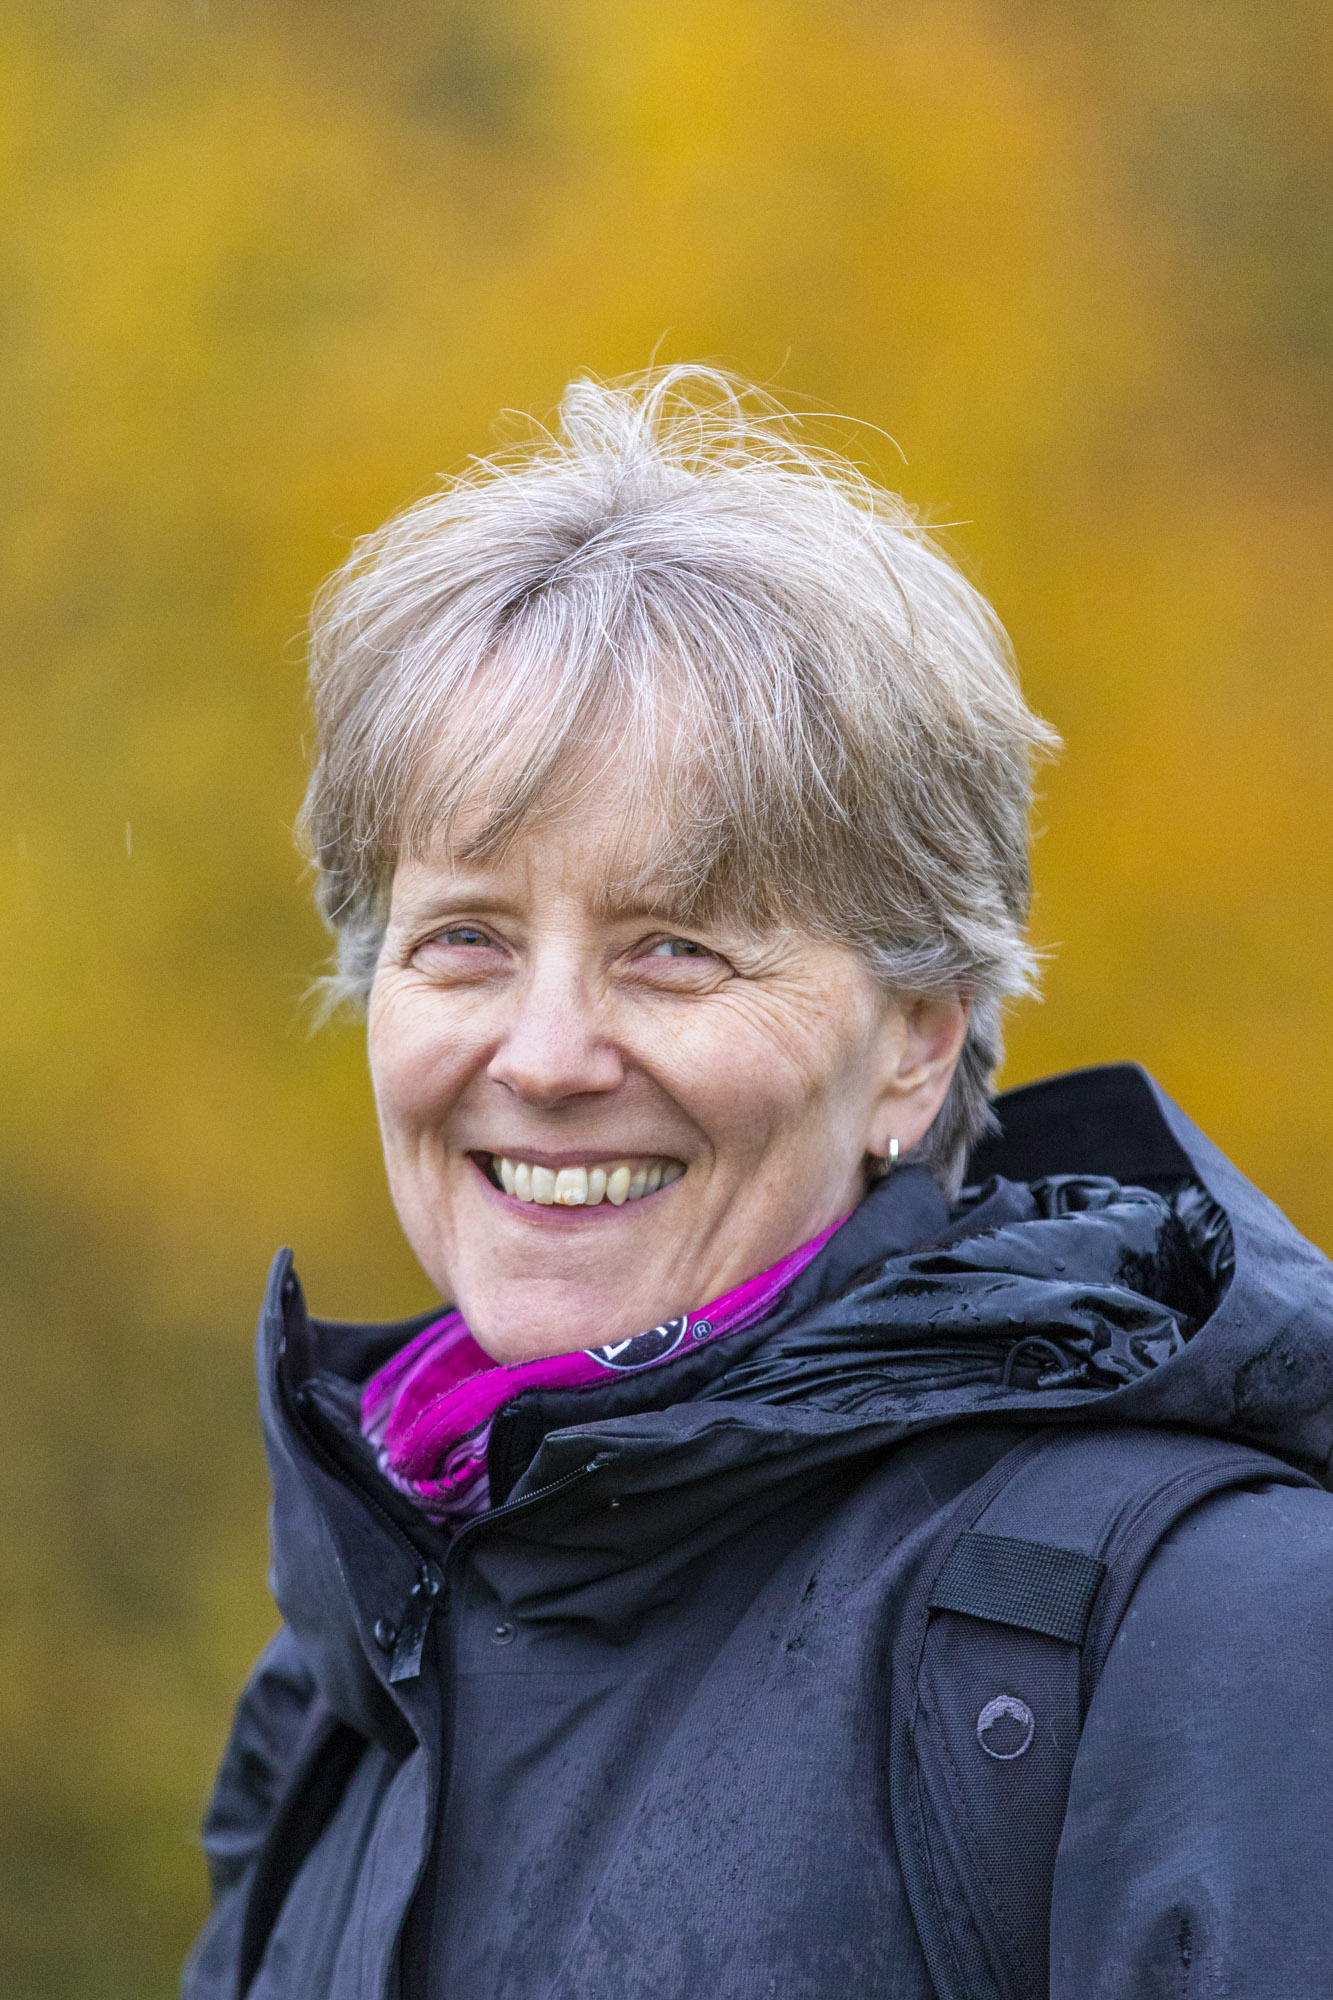
Laura was an IT and maths teacher, but seven years ago decided to pursue her passion and become a full-time photographer. She now runs a successful pet photography and workshop business. She’s had great critical acclaim too, winning the Guild of Photographers Bird Image of the Year title in 2019 and Nature and Wildlife Image of the Year in 2020. We met up with her at her home studio in Burwell to teach Helen to take some top pet pictures.
1. Manual mode
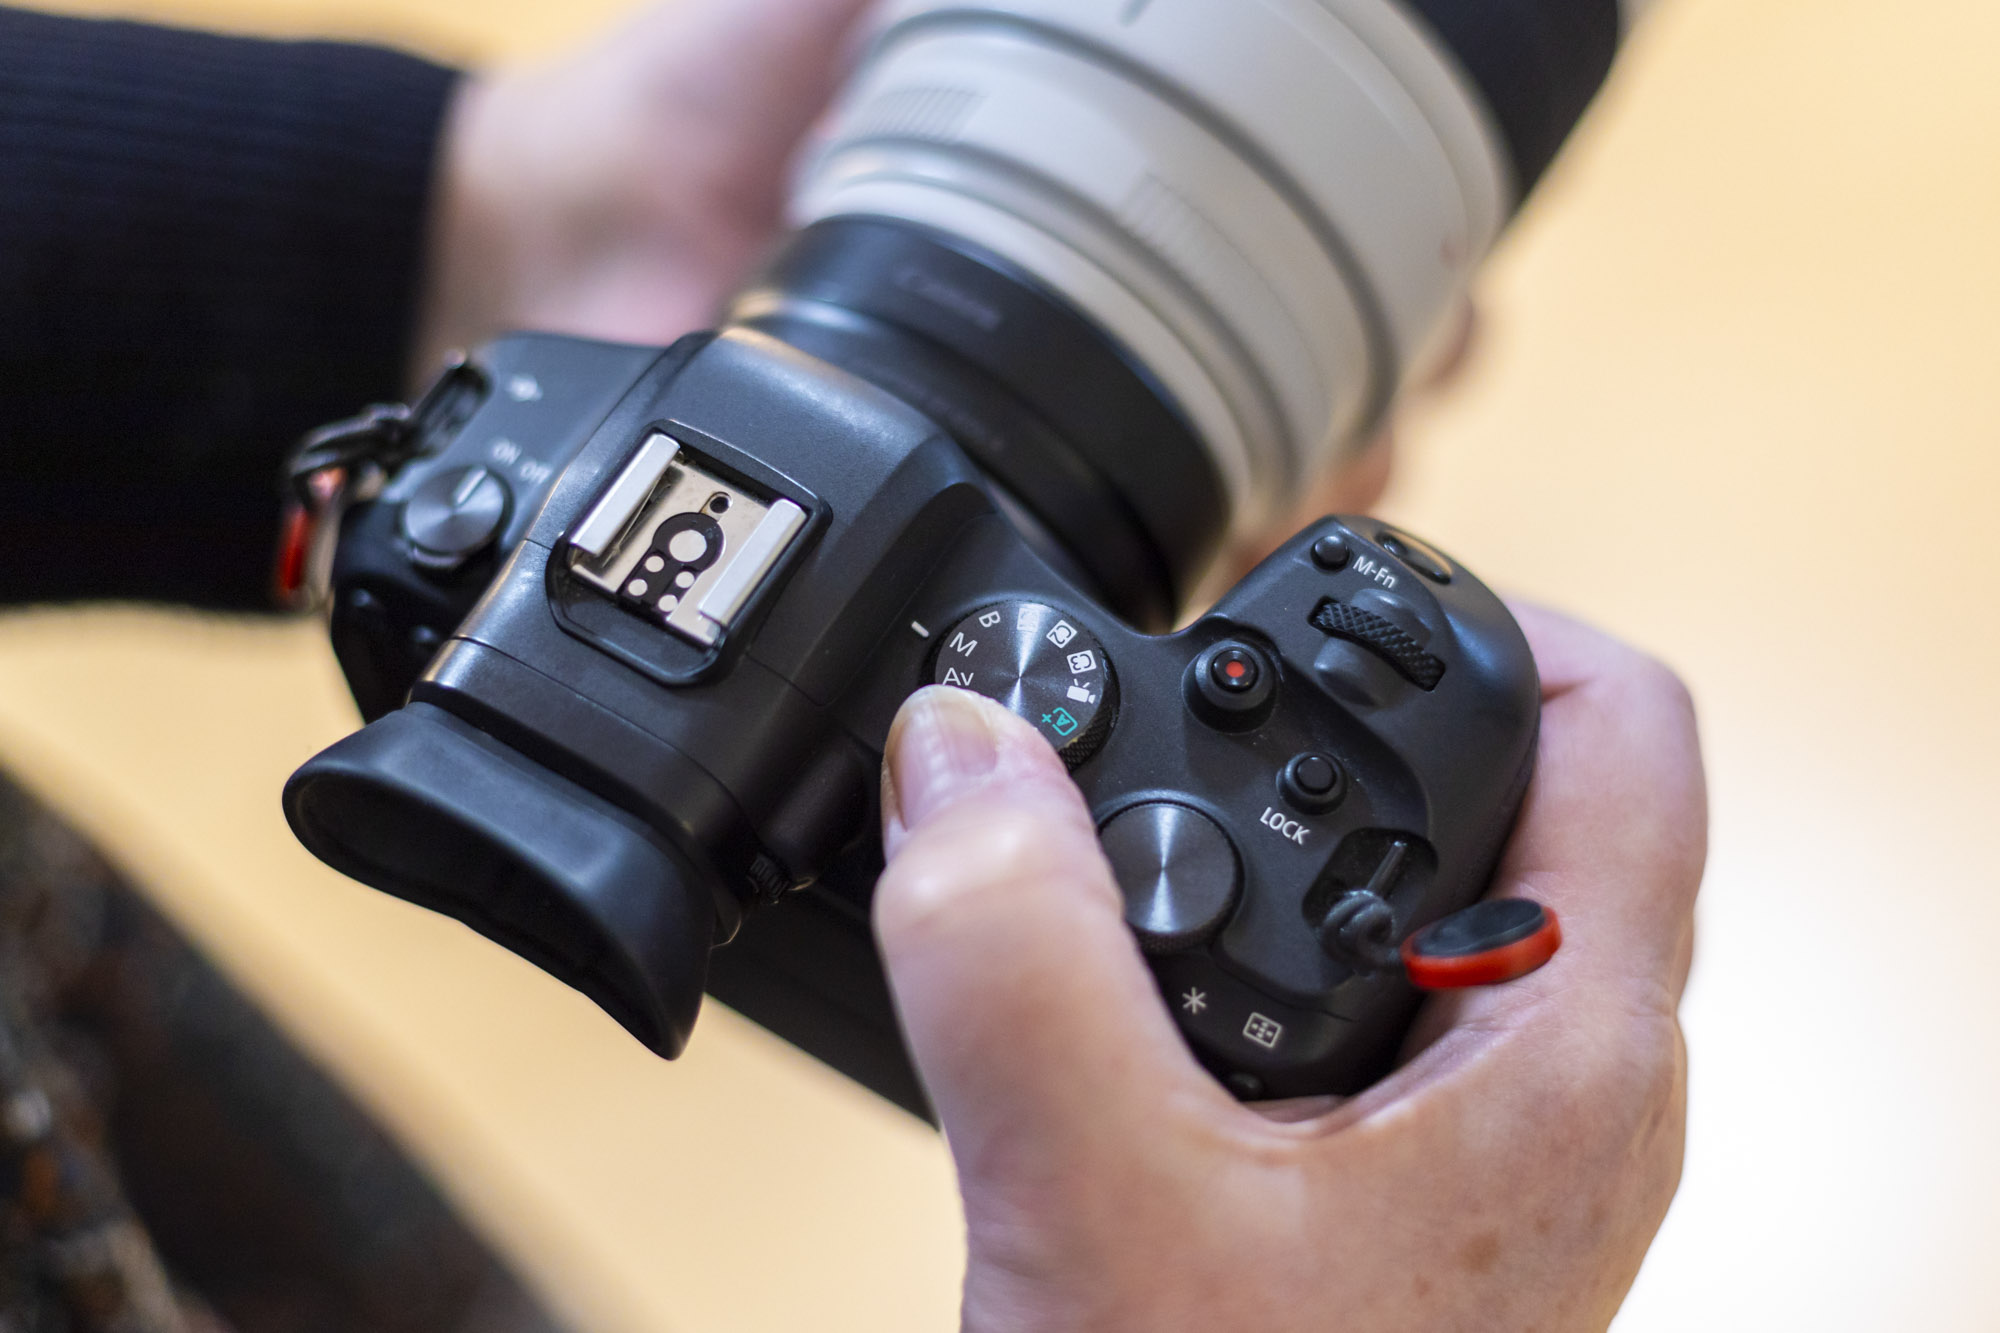
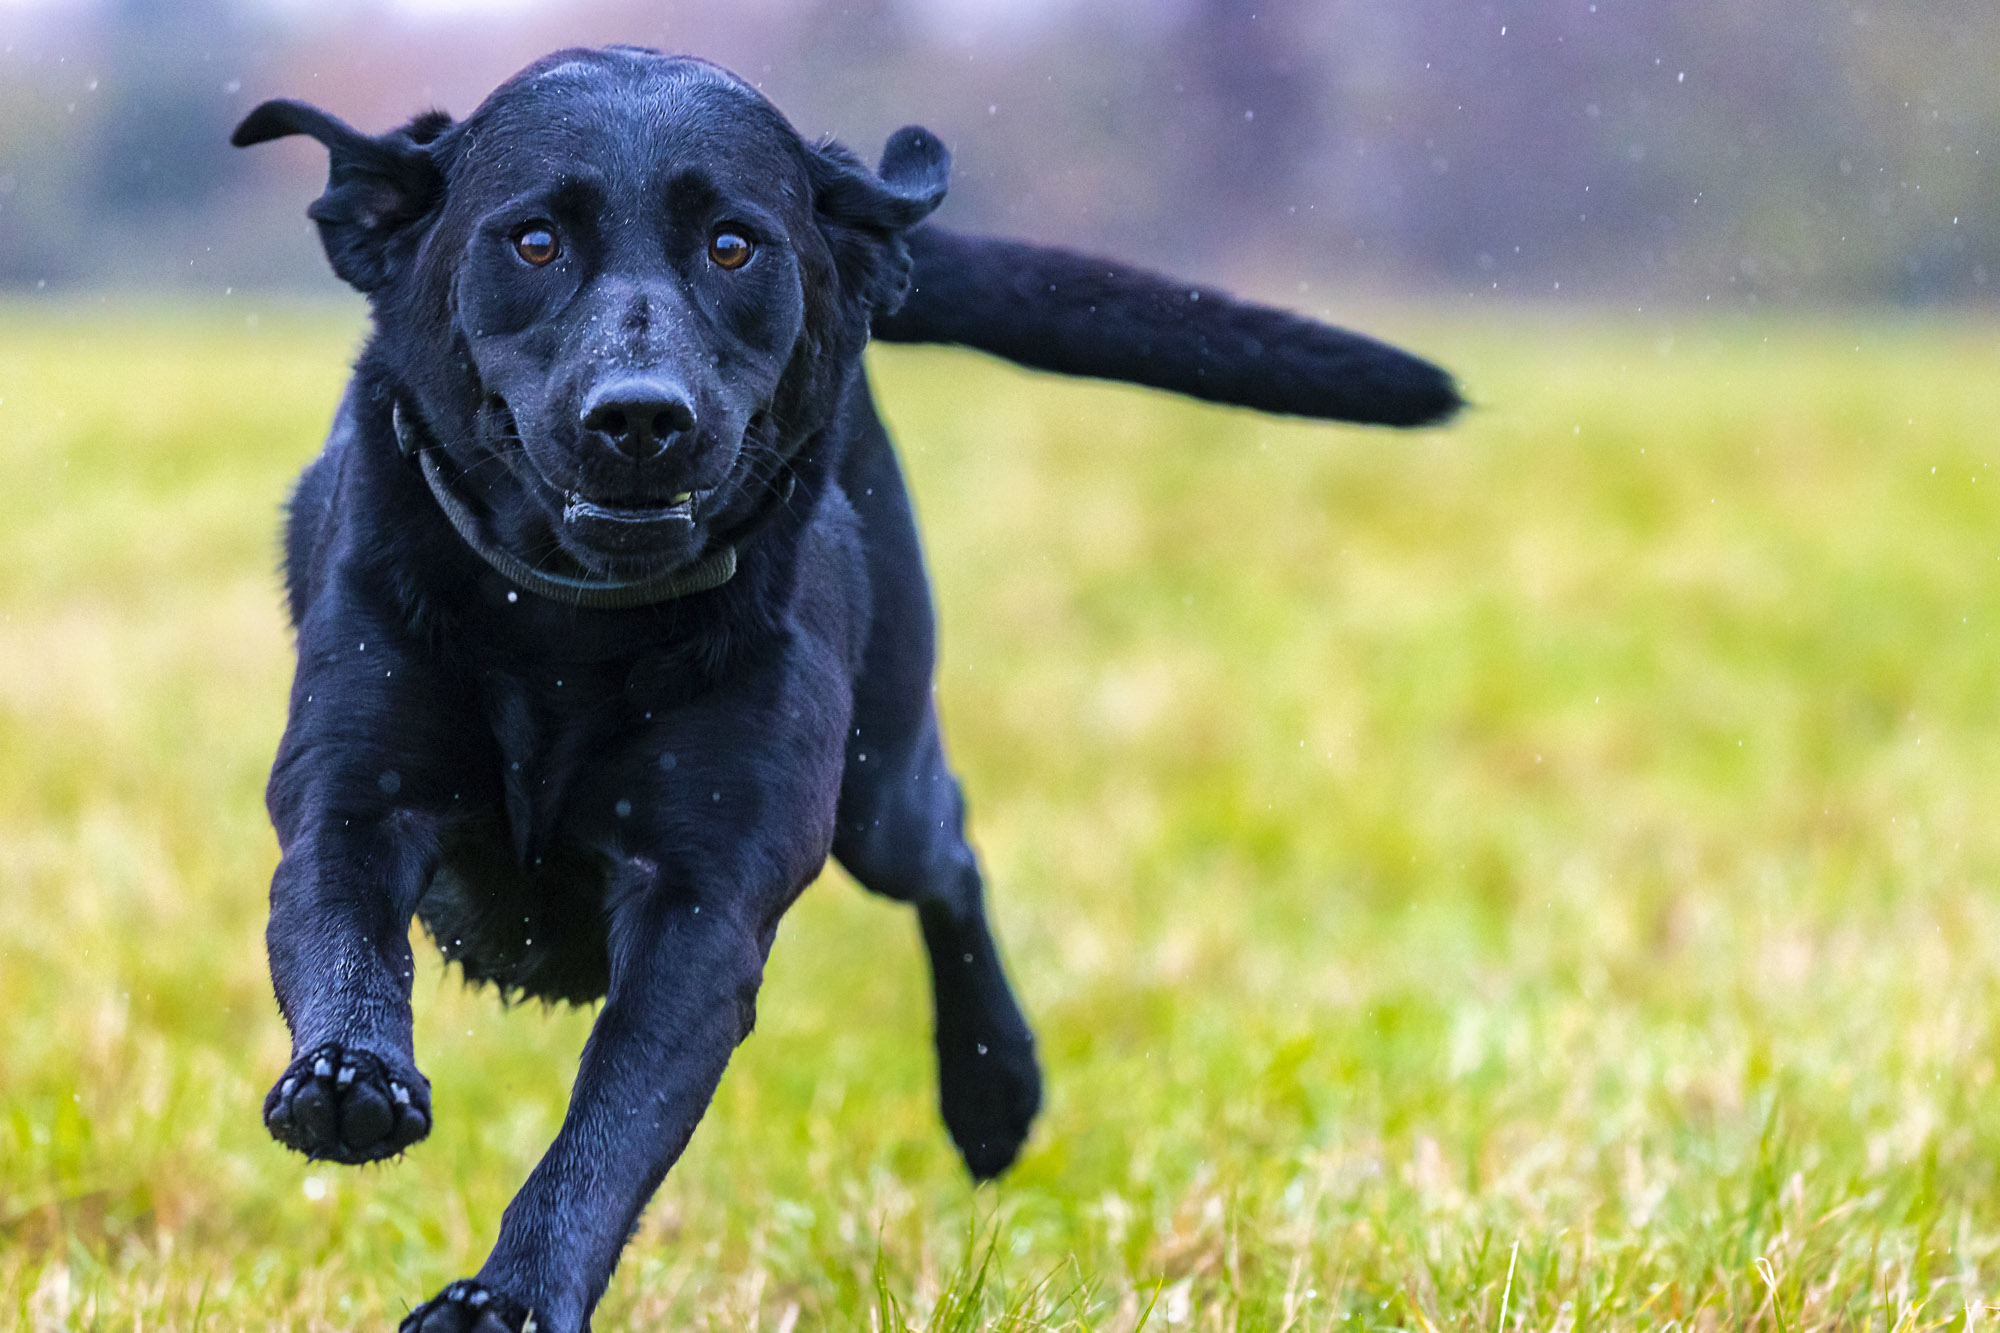
To get started Laura asked Helen to put her Canon EOS R6 into its Manual mode and opened the aperture on her 100-400mm lens to its widest f/5.6 at 400mm for a shallow depth of field to create separation between Leonardo and the background, so he was the clear focal point. Laura set a shutter speed of 1/400 sec to freeze the dog and eliminate camera-shake. The low light levels needed a whopping ISO of 10,000!
2. Animal Eye Autofocus
Laura shoots with Canon EOS R5 and R6 full-frame bodies and both feature Canon’s incredible Animal Eye autofocus. Helen used the Animal Eye AF on her Canon EOS R6 to quickly lock onto pets’ eyes make sure they were pin-sharp and the focal point of her portraits – it also came in handy when shooting the high-speed action shots. Helen set up double back-button focus on her EOS R6 so AF-ON activates autofocus while the * button activates Animal Eye AF.
The best camera deals, reviews, product advice, and unmissable photography news, direct to your inbox!
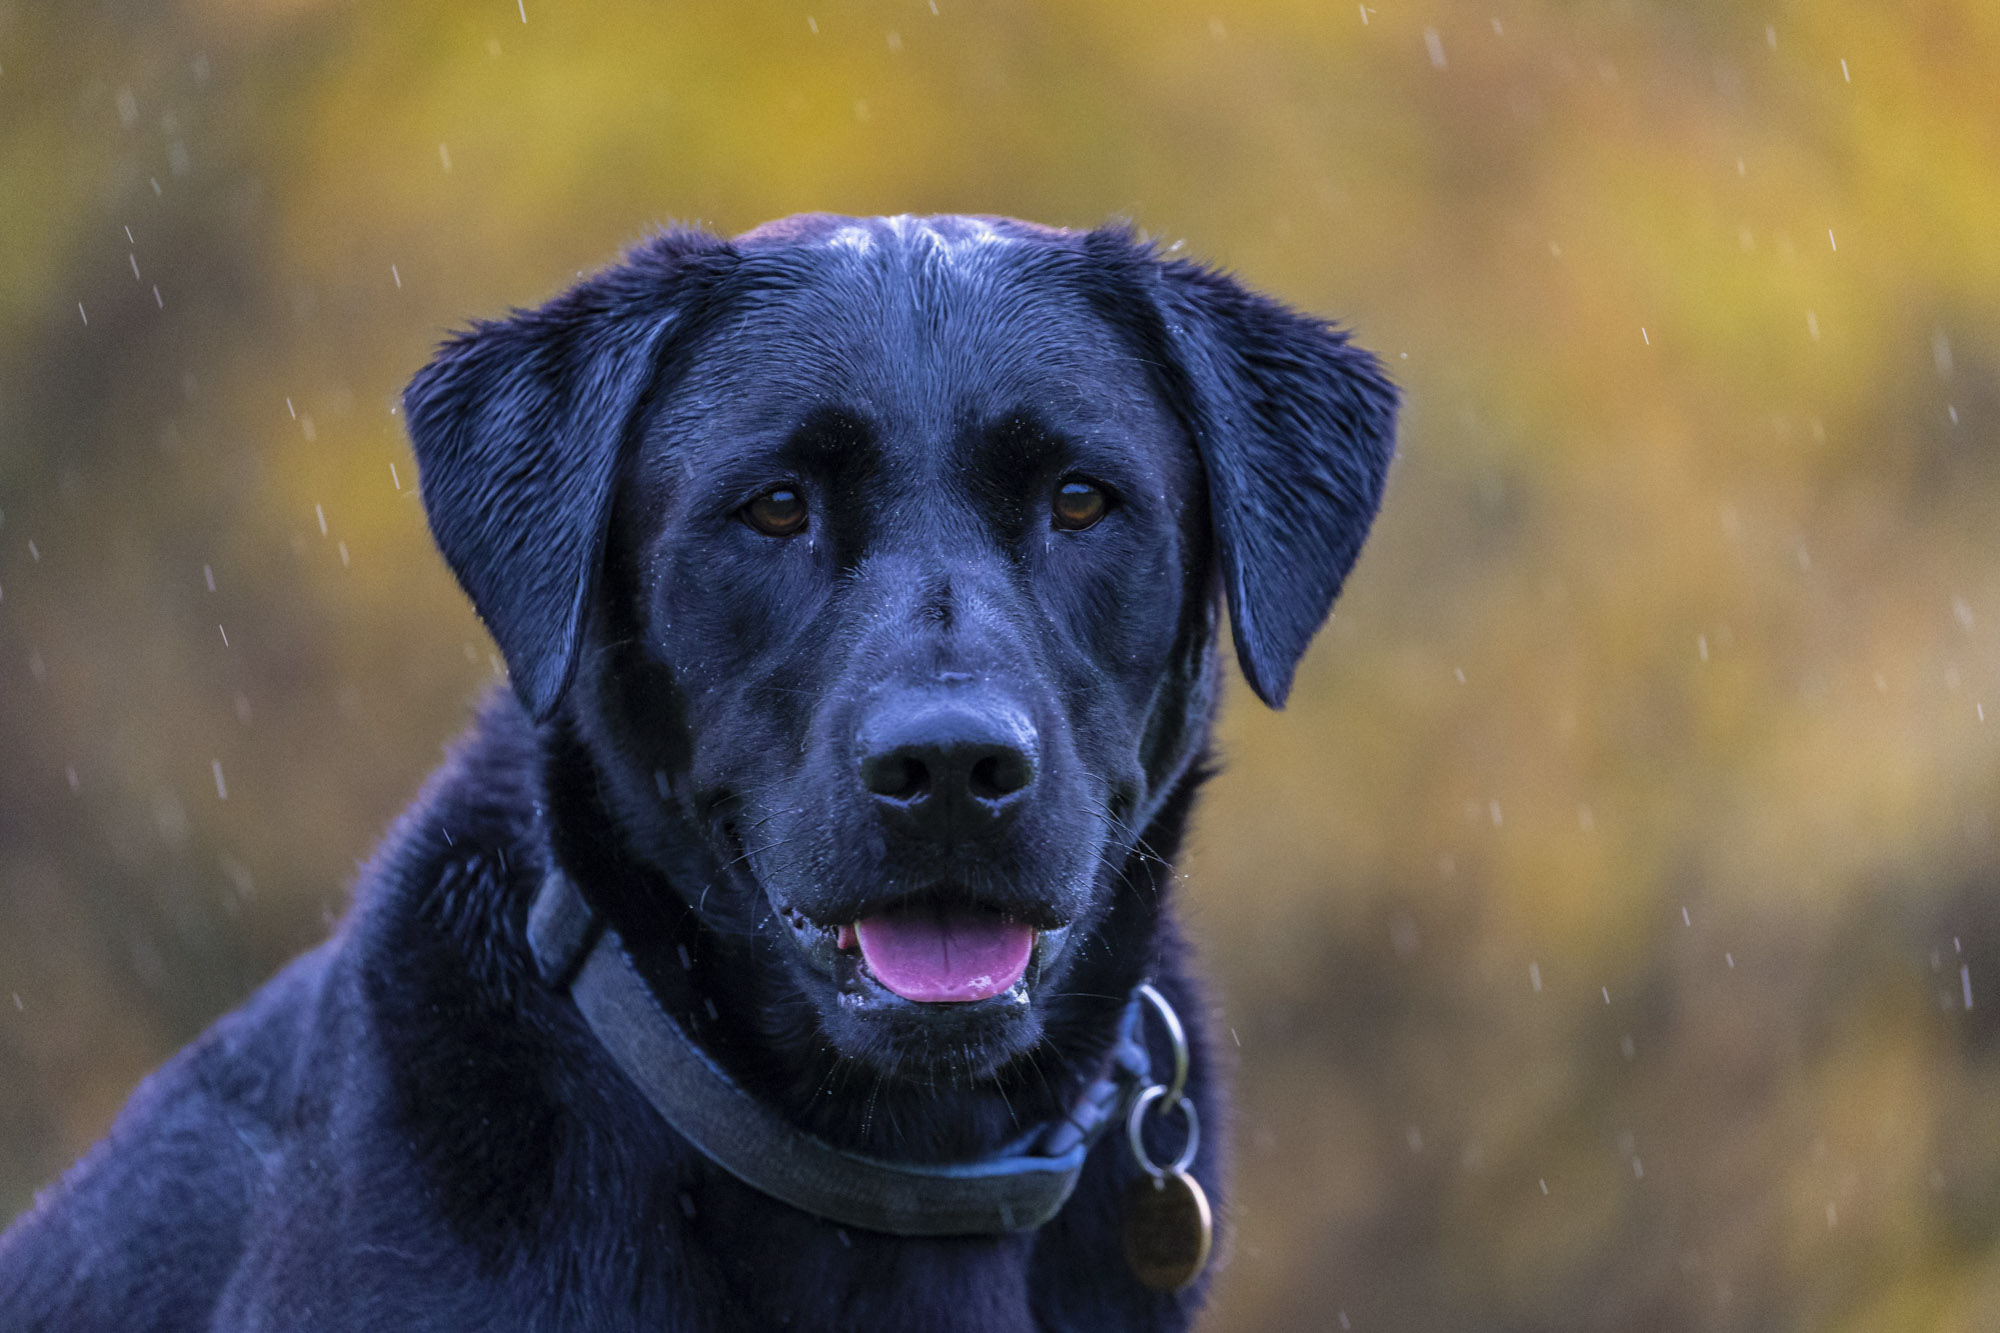
3. Raining cats and dogs
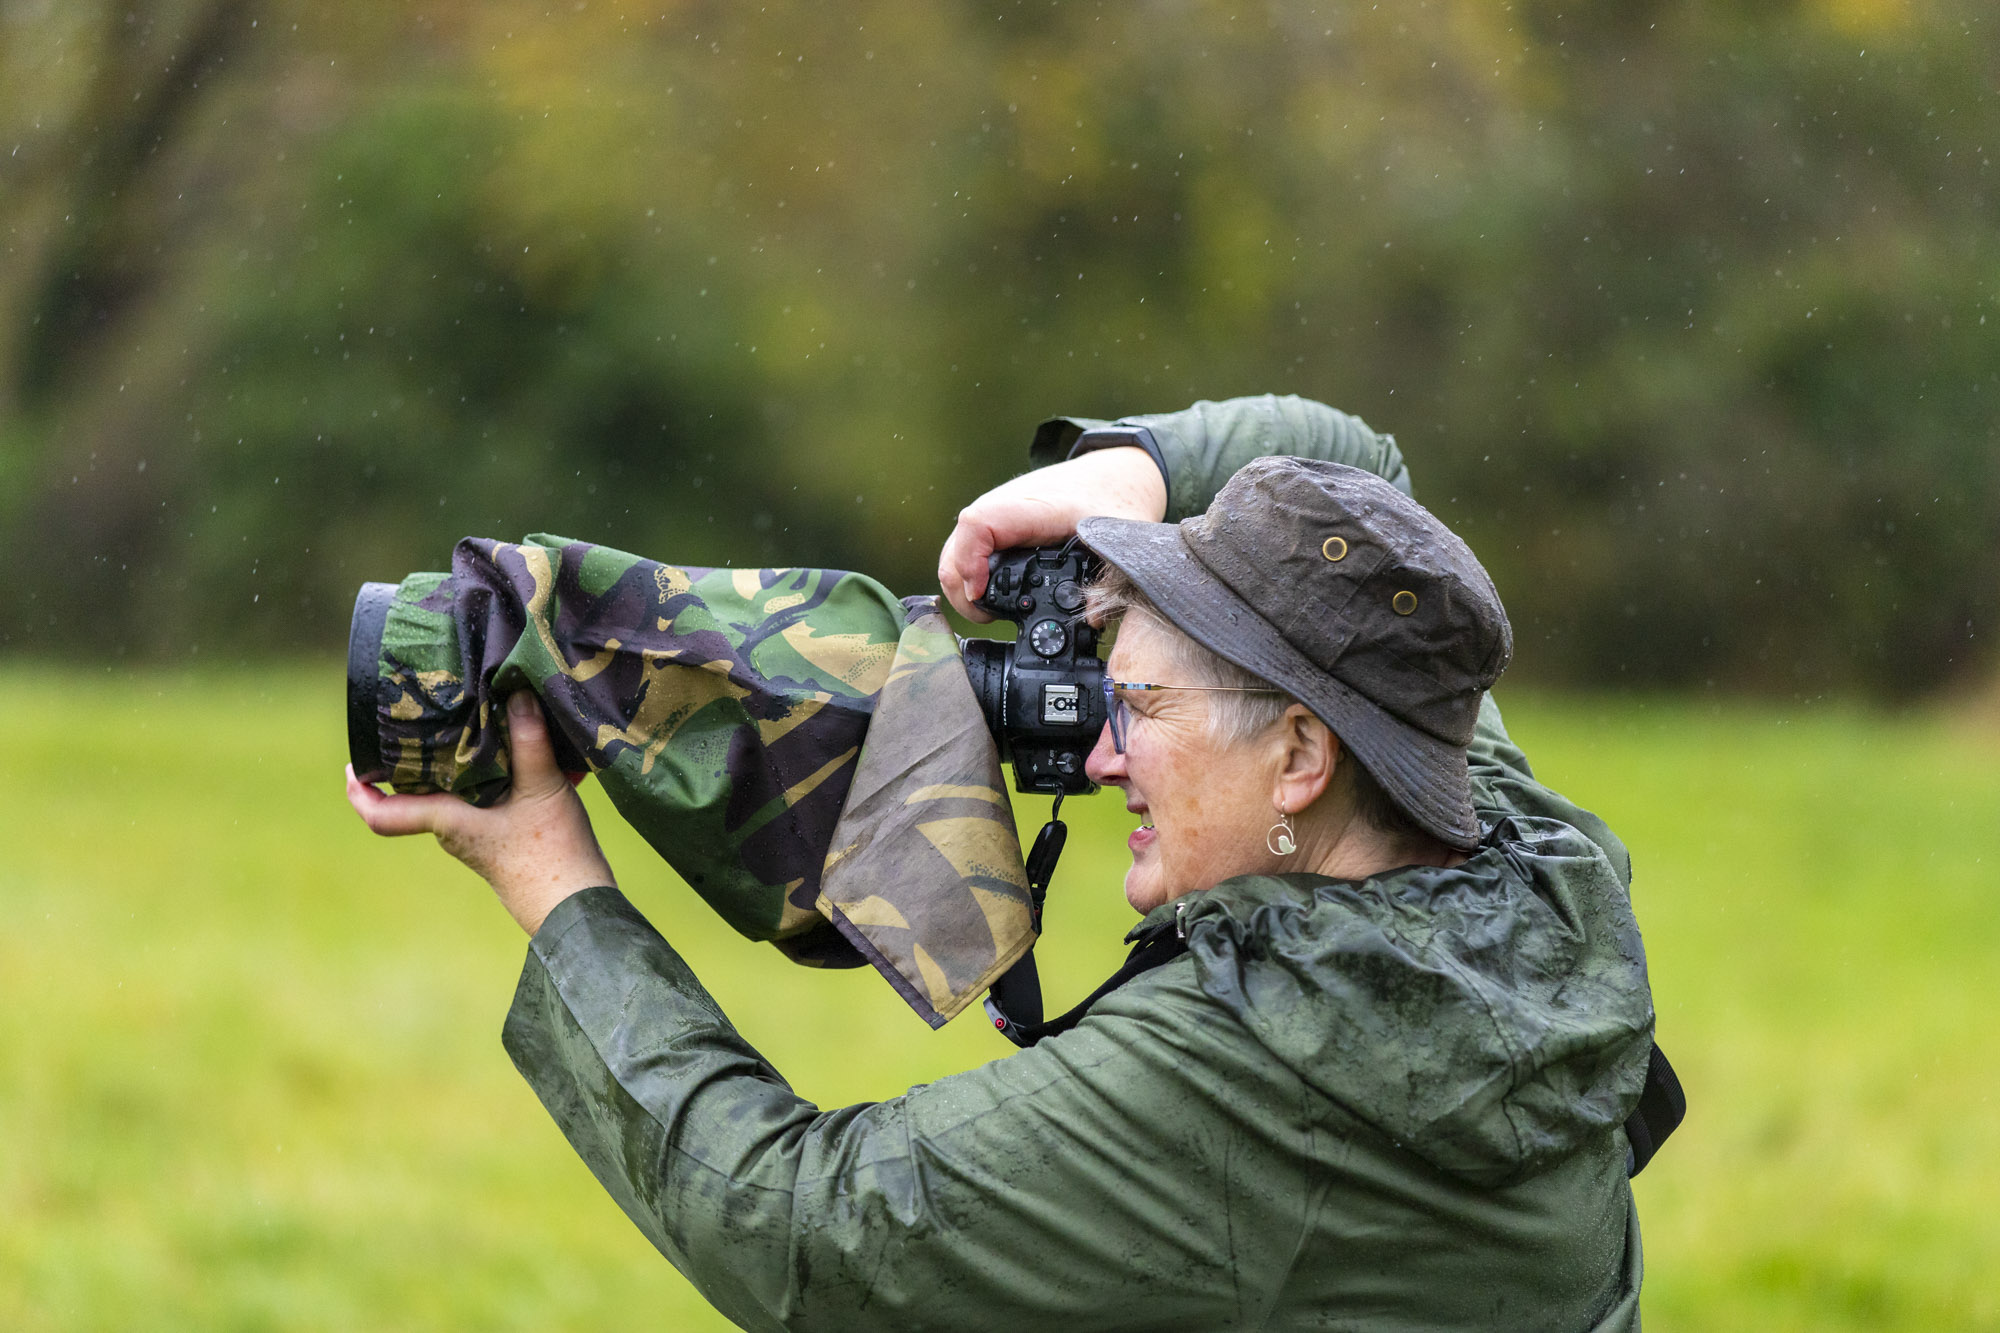
Rainy conditions can add bags of atmosphere to your pet photos so don’t be deterred by a downpour. While Canon’s top camera bodies and L-series lenses feature weather-sealing, it’s not a bad idea to use a rain cover. Laura and Helen also attached the lens hoods for their 70-200mm and 100-400mm lenses as this would help keep drops of rain landing on the front element of the lens which would cause blurry soft spots.
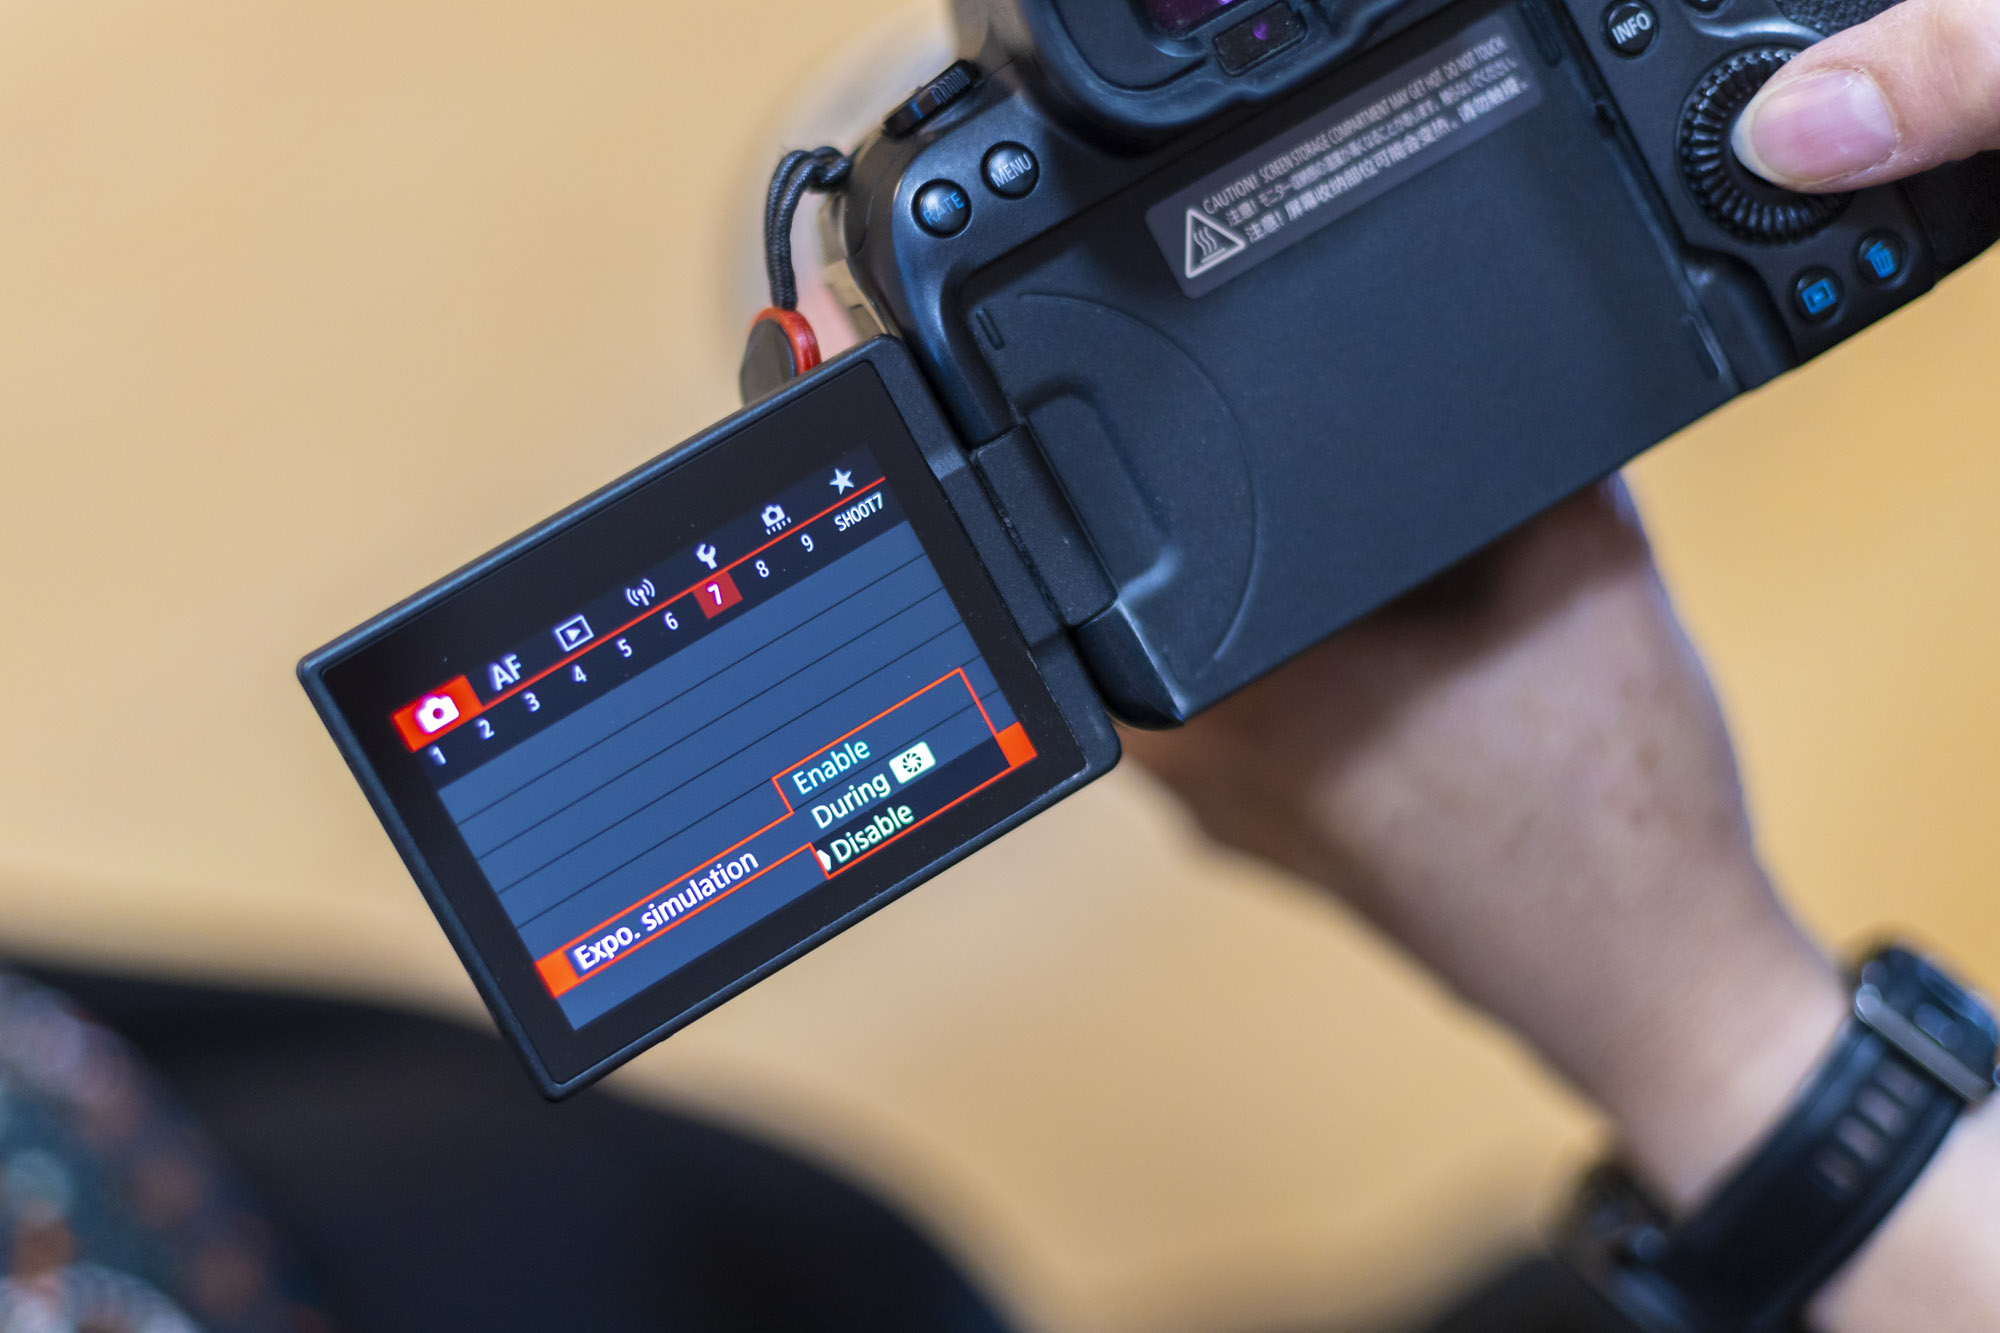
4. Exposure simulation
Exposure simulation combines the shutter speed, ISO and aperture to give you an accurate indication of your exposure when working with natural light – ideal when Helen is taking her wildlife photos outdoors. However, Laura explained that it’s best to disable this feature when working with studio lighting as the camera won’t factor in the flash and the Live View will appear too dark to compose with.

5. Get their attention
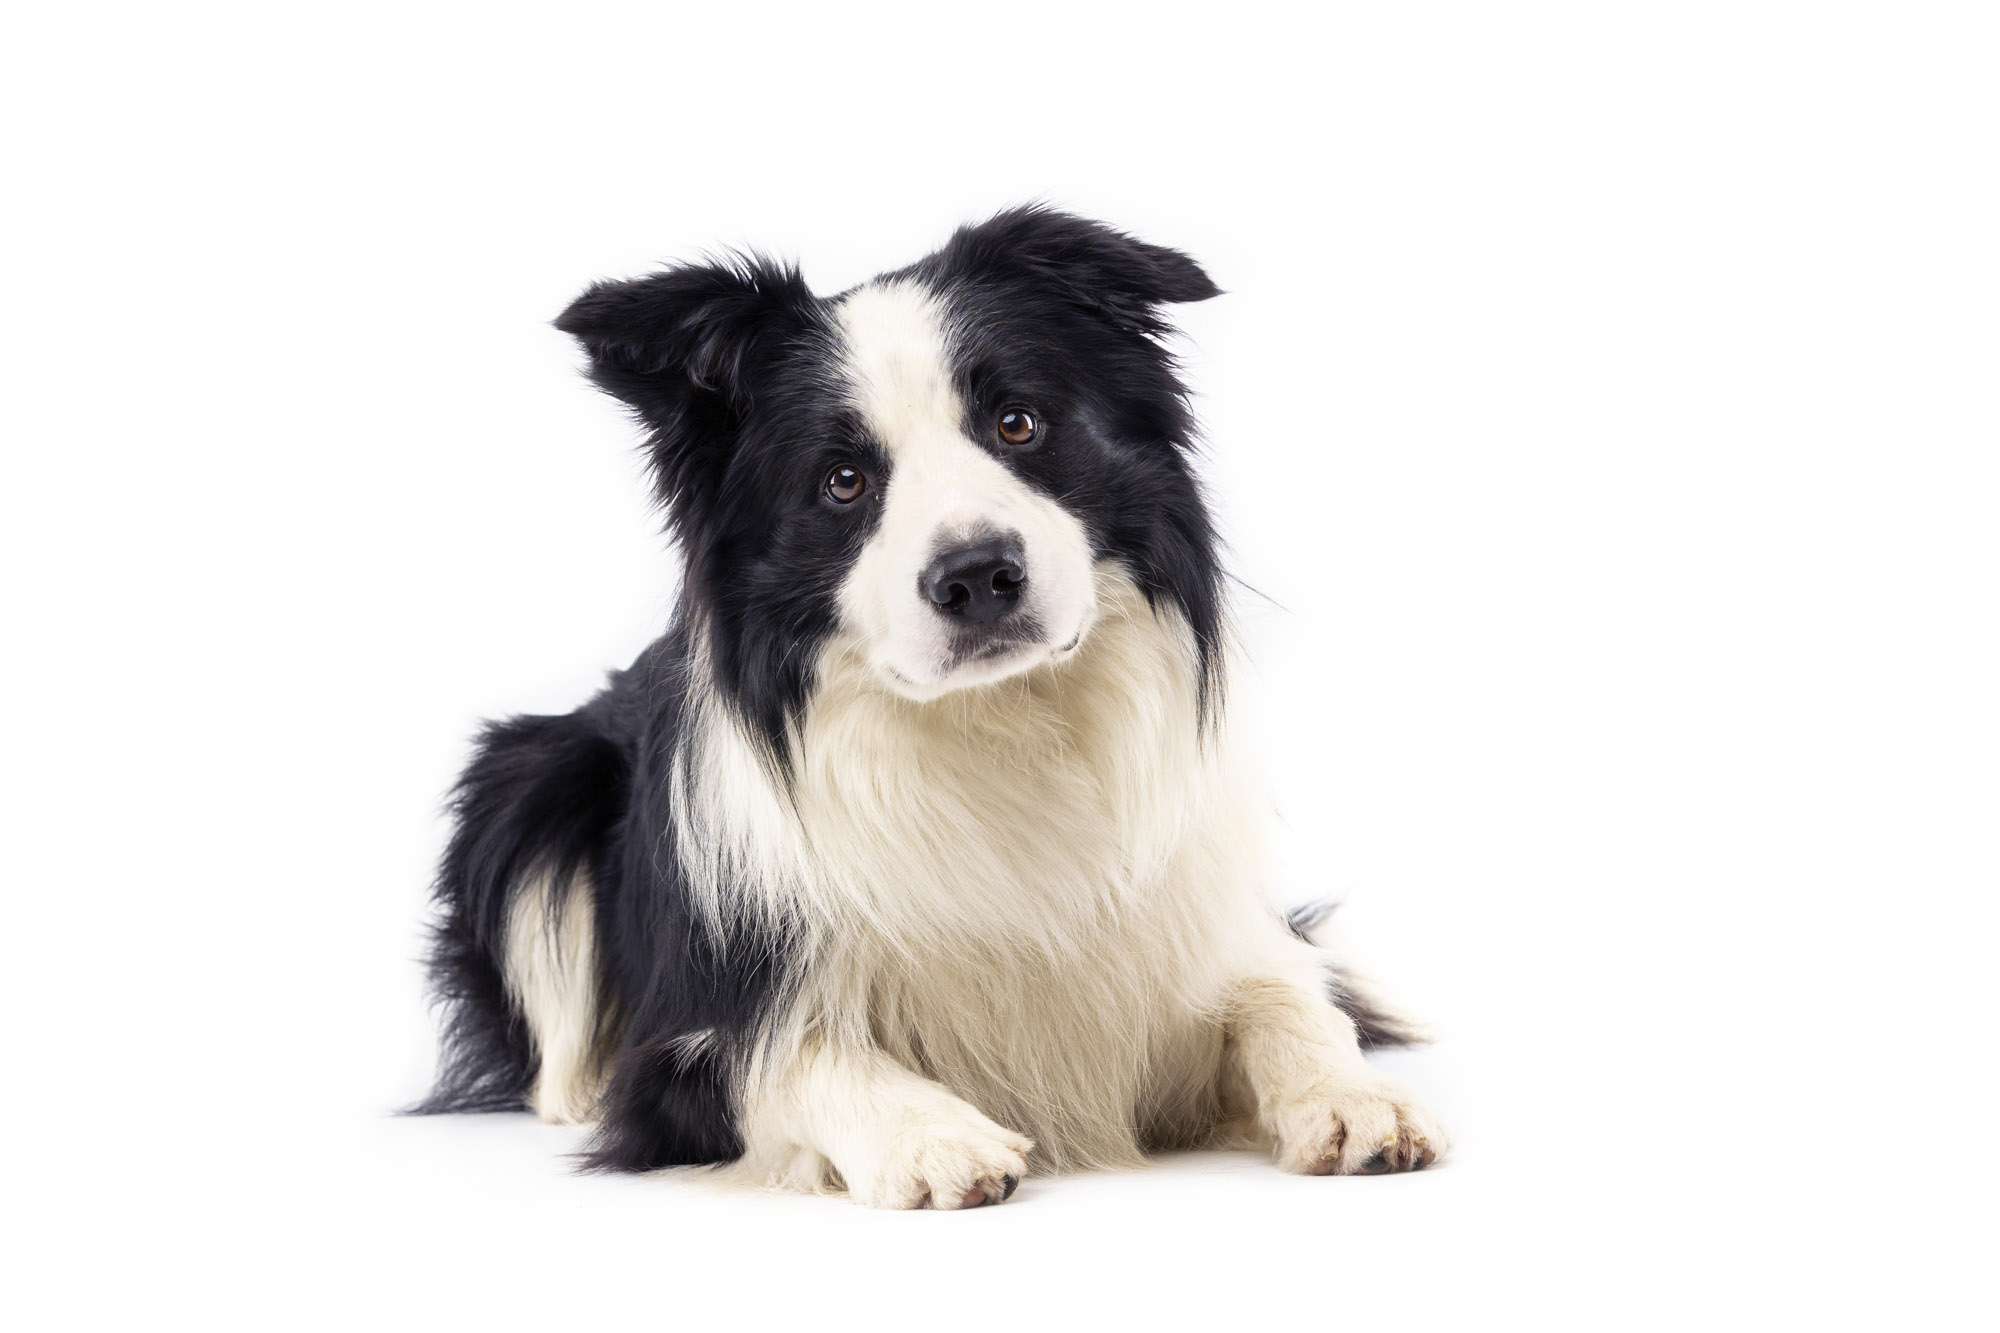
For strong eye contact and to help her light source create a catchlight, whether its outdoor sun or indoor studio lighting, Laura needs to have the pets looking in the right direction.
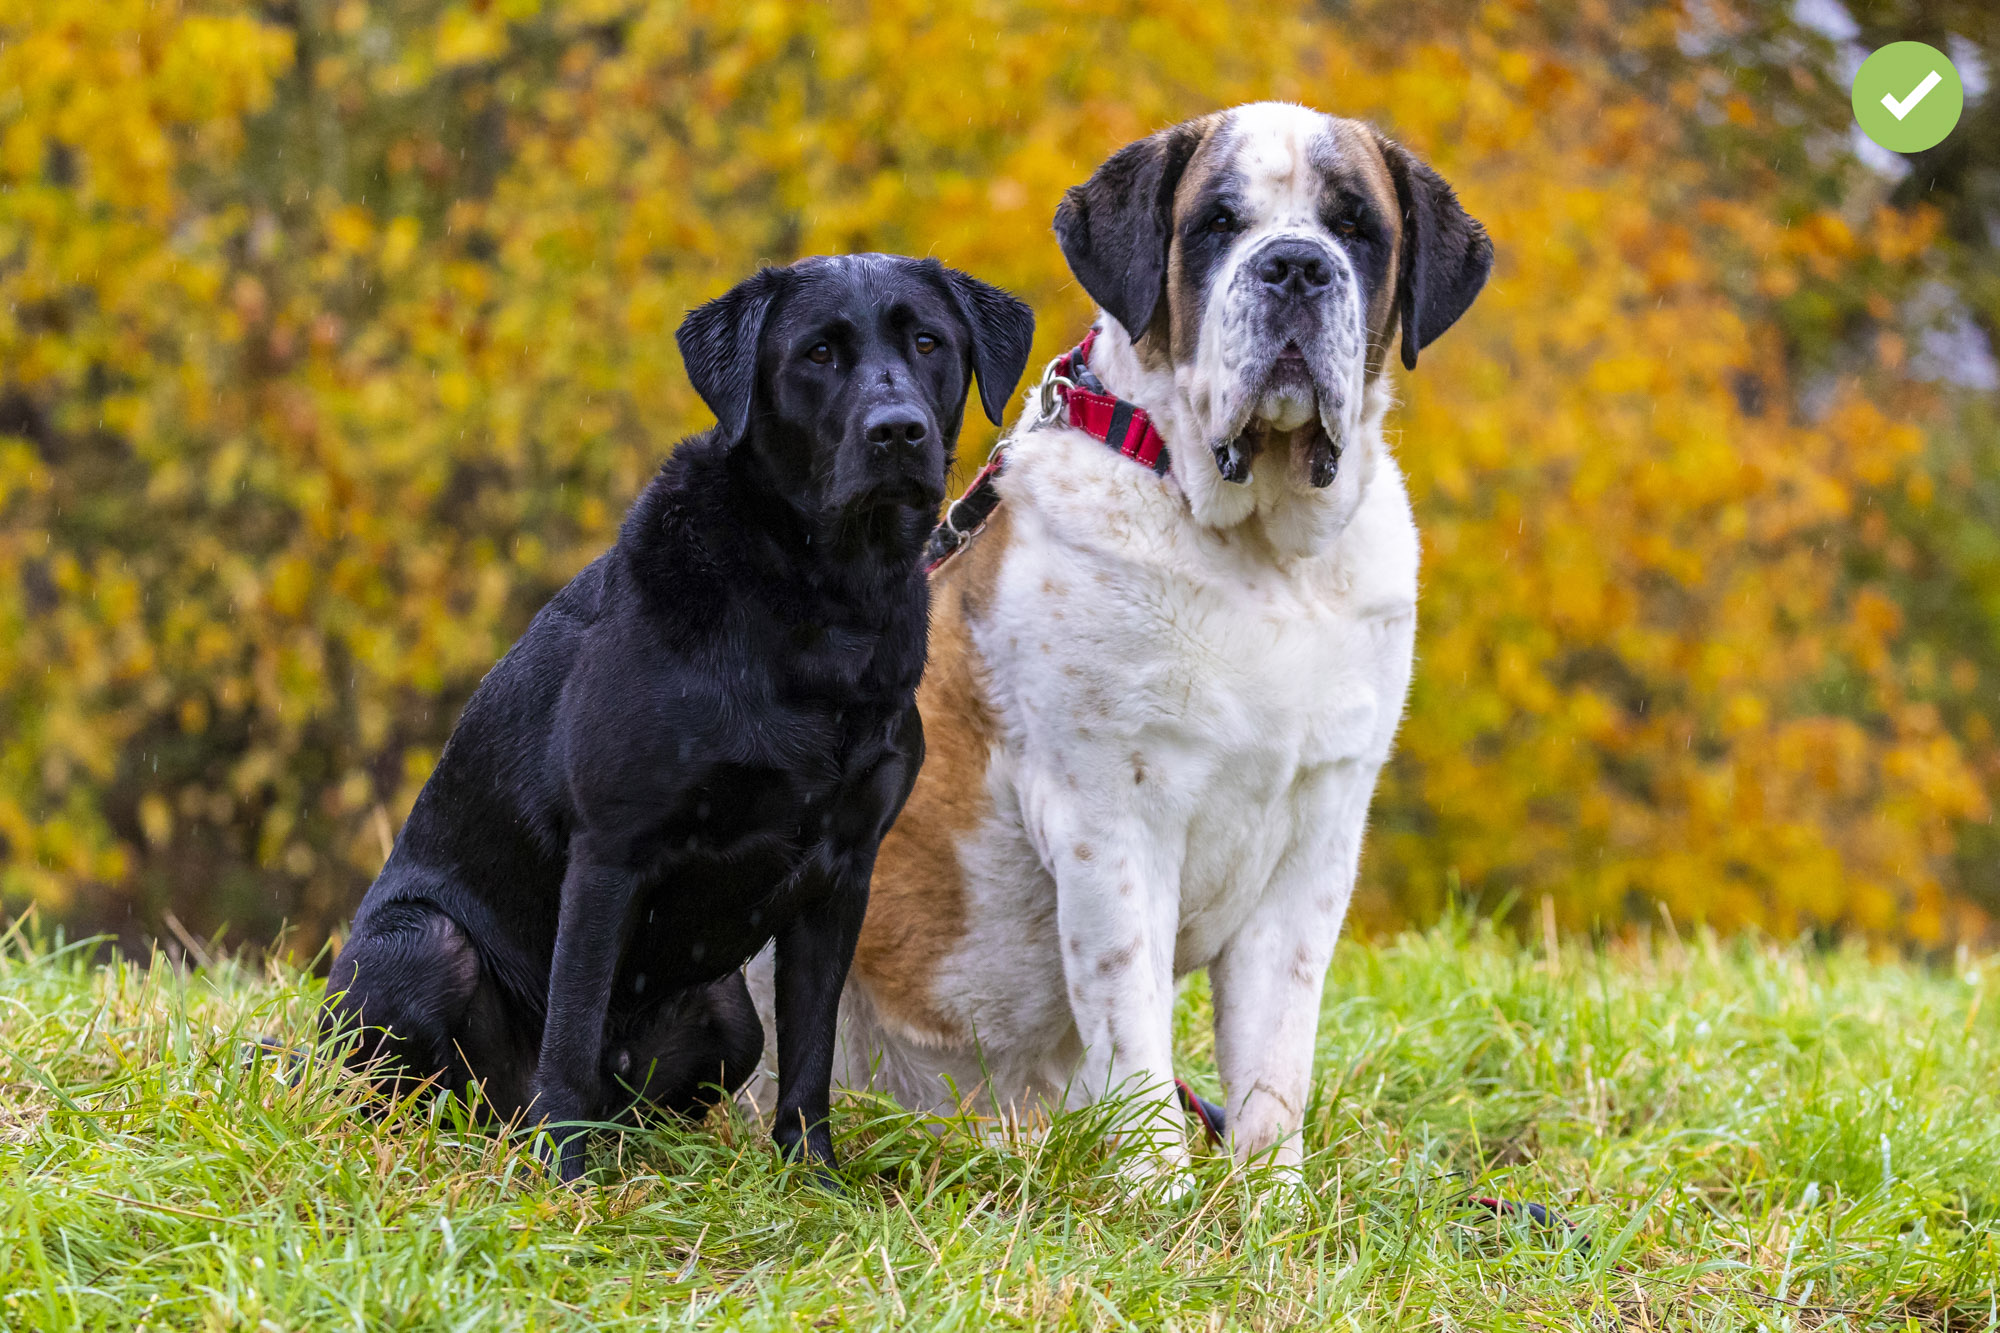
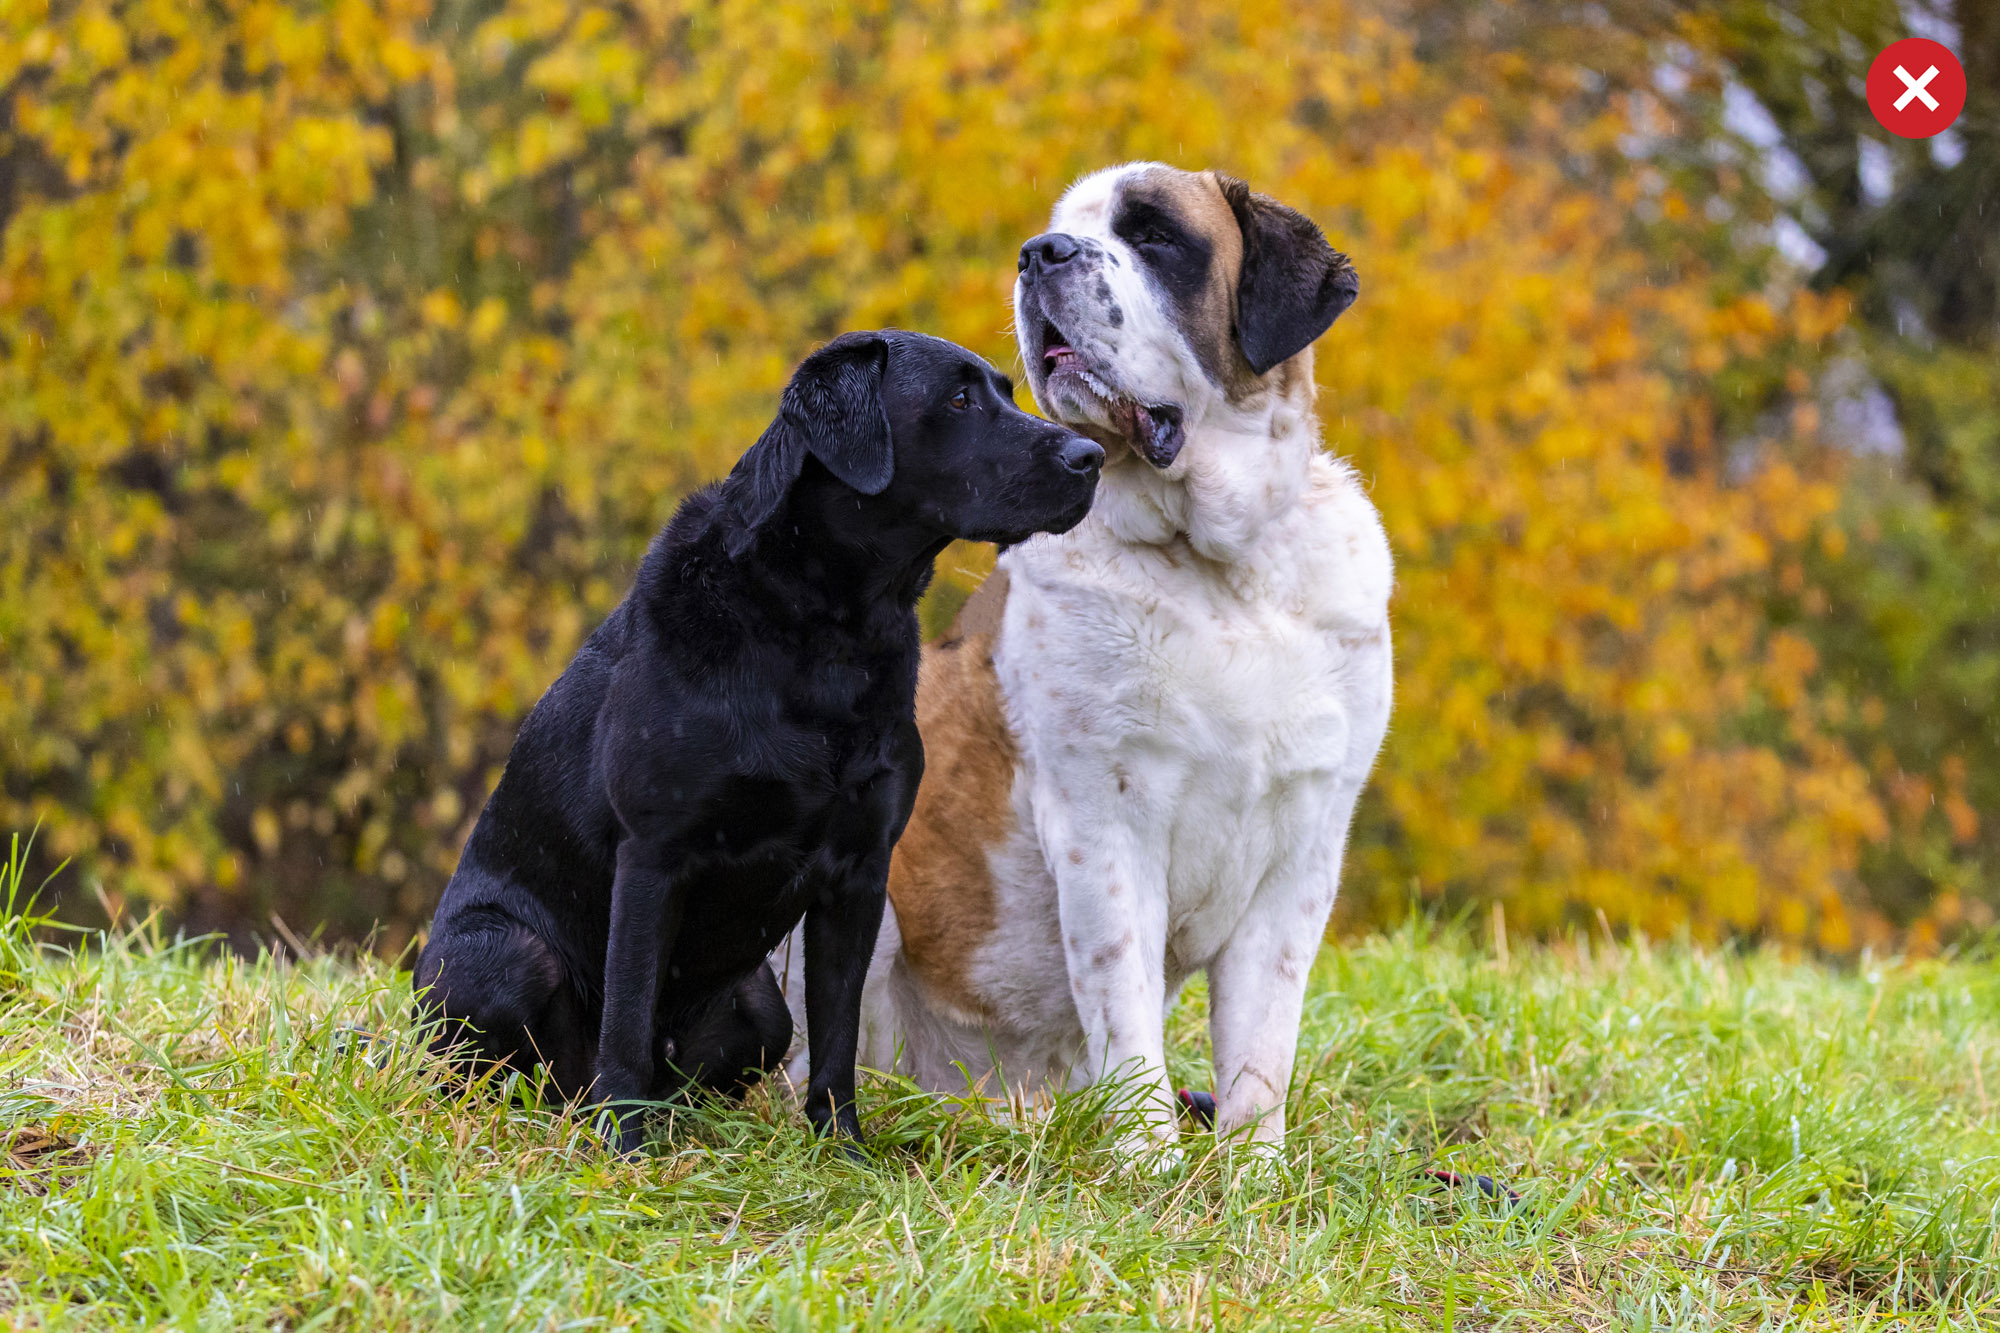
For this shot of Leonardo the black labrador, and Mr Darcy the St Bernard, they were both solely focused on their owner Angela, so Laura had her stand directly behind Helen while she was taking photos to get them facing the right way. Laura also uses toys, treats, catnip and even duck call whistles to get the attention of pets.
6. Ready, set, go!
To capture top action shots of animals on the move Laura recommends a shutter speed of at least 1/1600 sec – open up the aperture and boost the ISO to achieve those faster shutter speeds. She also uses Animal Eye Detect autofocus to track the animal’s eyes. Plus she suggests using your camera’s fastest High-Speed Continuous drive mode to give yourself more chance of catching a sharp shot and the perfect moment in the action sequence.
7. Better blur in your backgrounds
The aperture is a series of blades that open up or close down to let in, or restrict the flow of light to the camera sensor. A great way to bring attention to your pets when shooting outdoors is blurring the background by using a wide aperture. This will flood the sensor with light plus create a shallow depth of field. Other factors that help to create a shallow depth of field are a telephoto focal length, such as 200mm or 400mm, getting closer to focus on your subject and moving your subject further away from the background for extra separation.
8. Custom White Balance
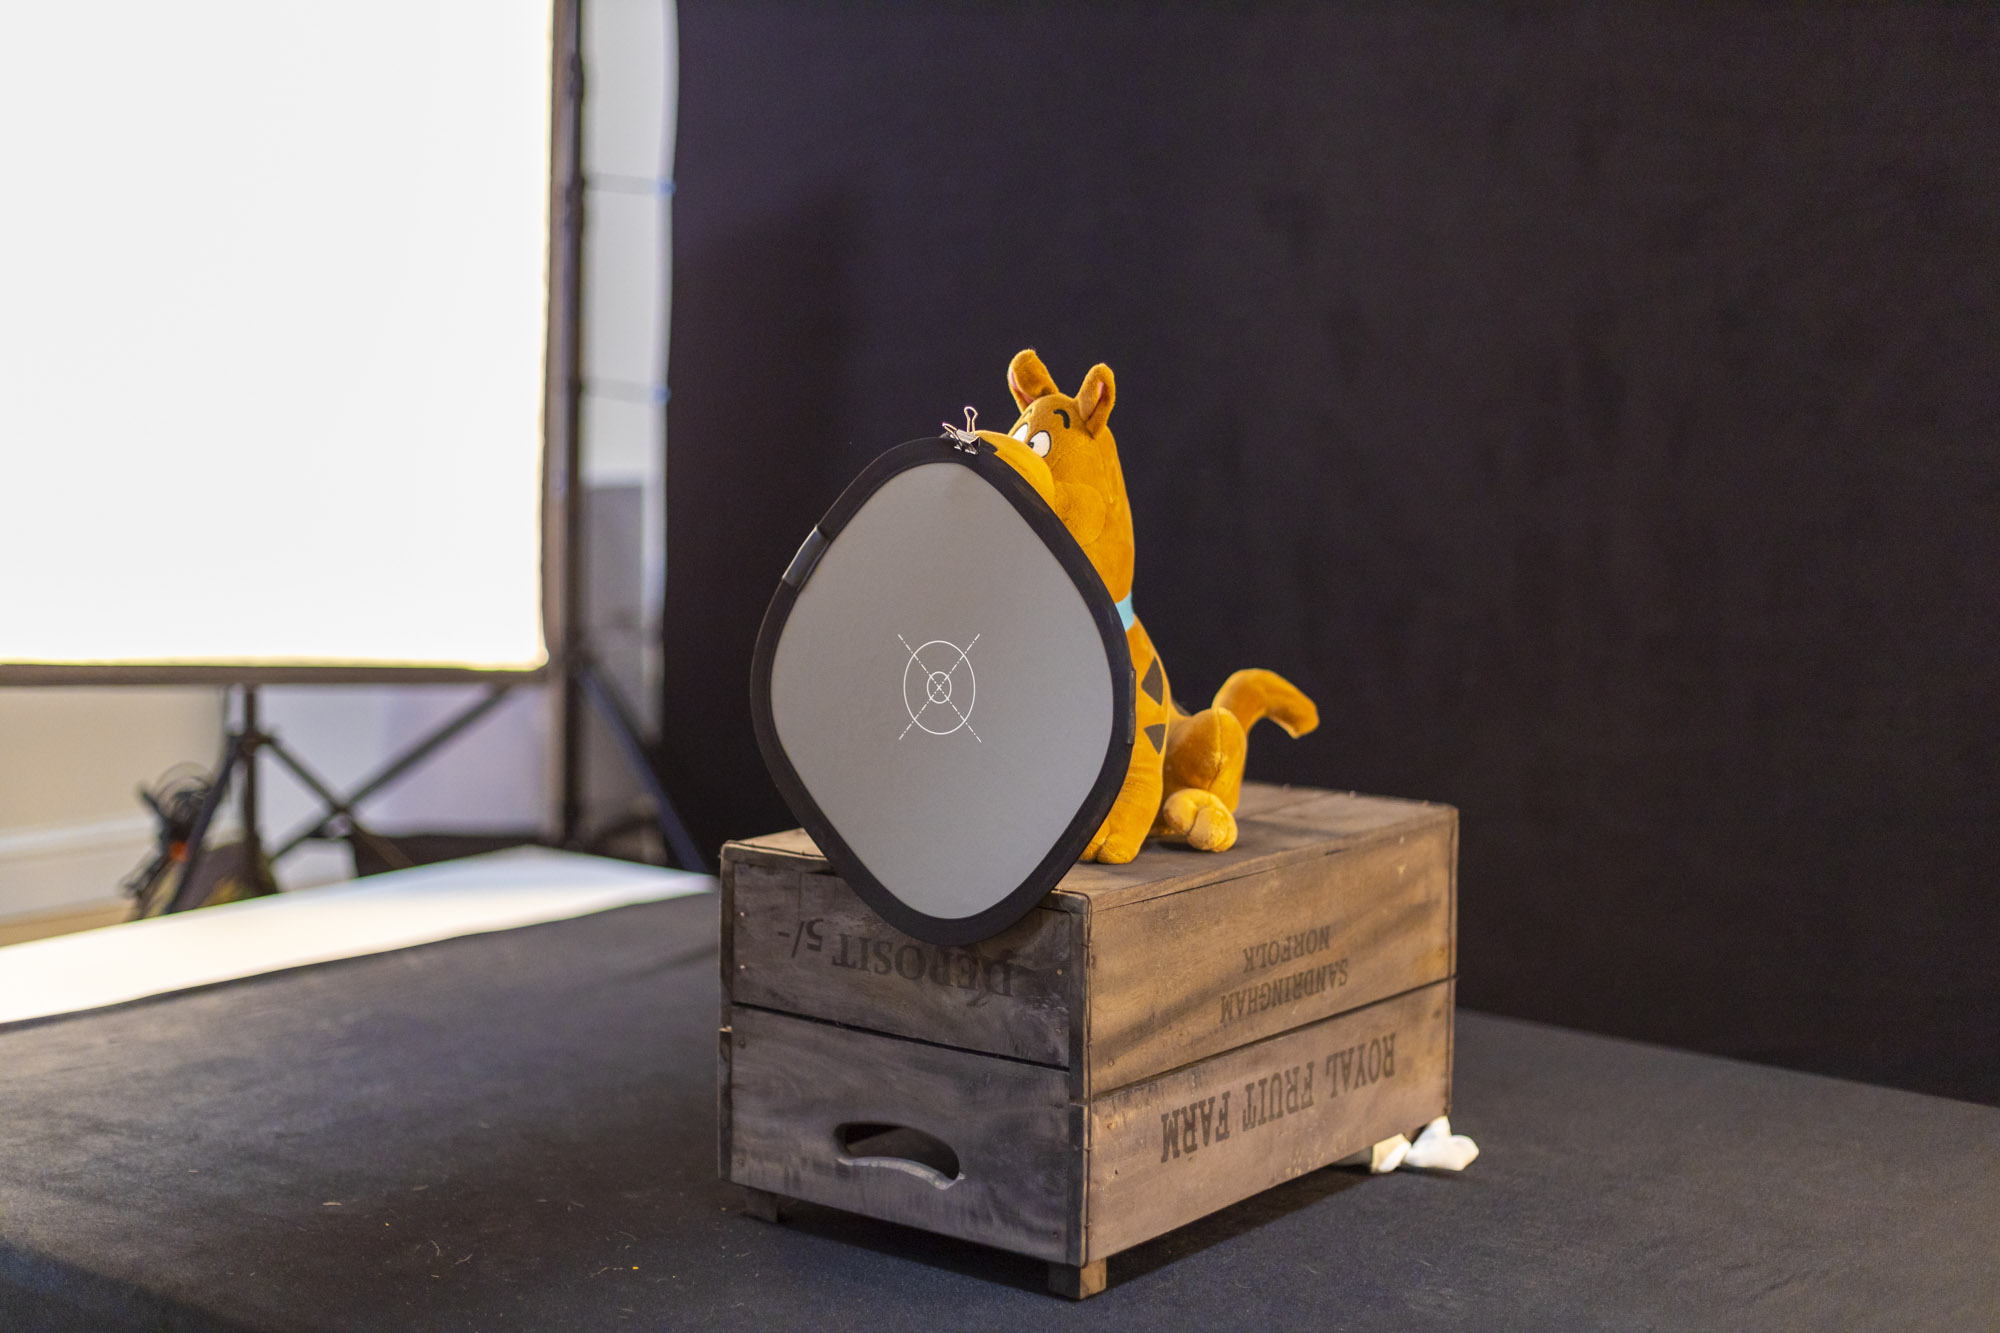
Laura clipped a grey card onto her Scooby Doo toy and had Helen take a picture of it. She then went into the camera menu on her Canon EOS R6 and used the Custom White Balance function, selecting the image of the grey card she had taken to set an accurate white balance. This ensured her colours are perfect in every shot taken in the studio pet session.
9. Flashes and modifiers
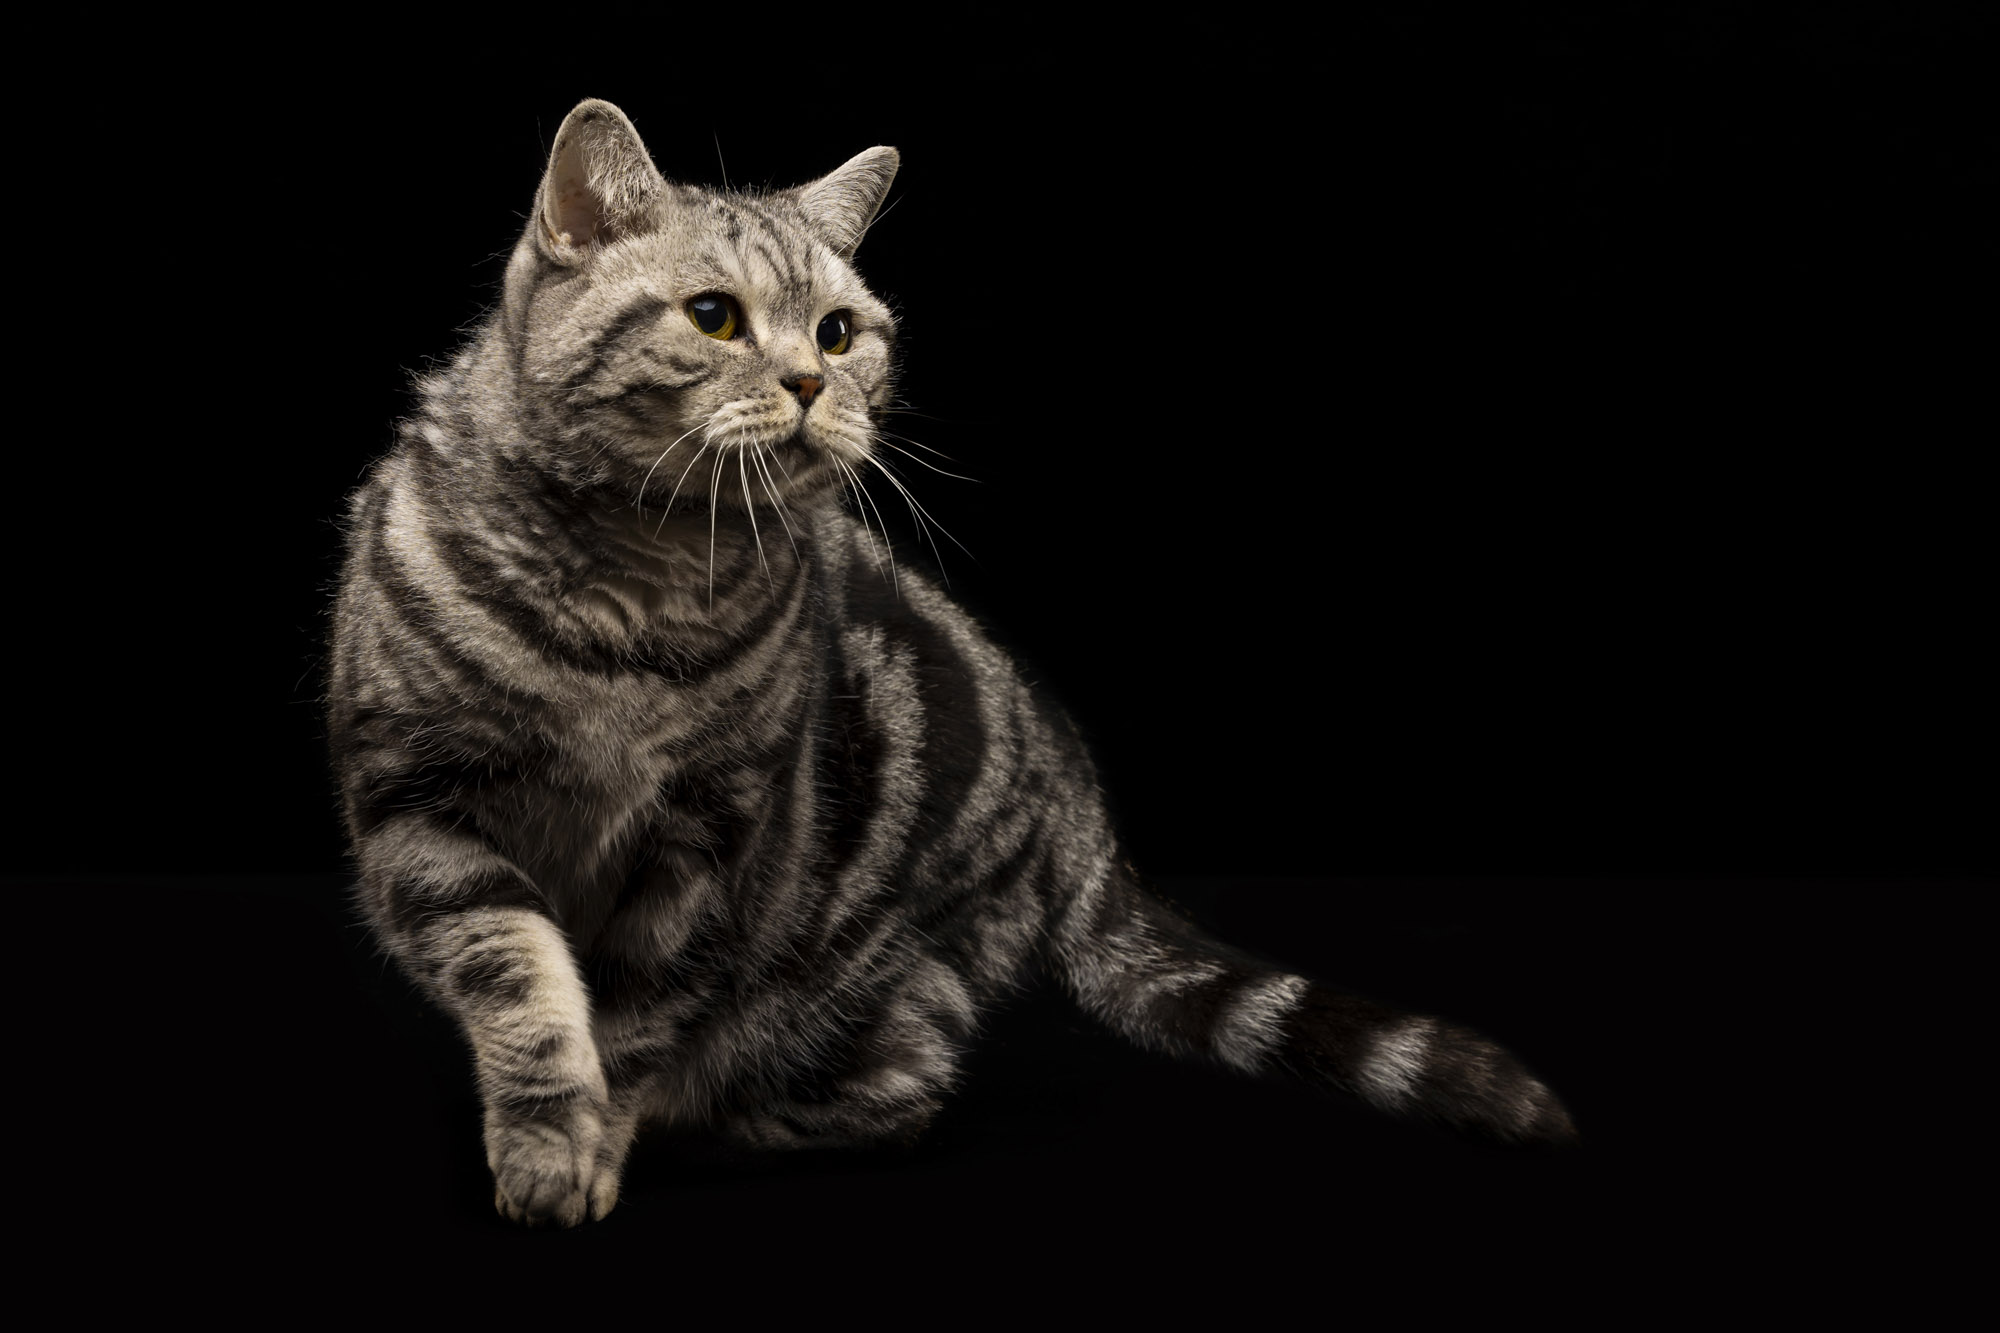
Laura has four Elinchrom D-Lite RX One flash heads in her studio. Her usual setup is to have two fitted with 90x60cm softboxes at each side, pointing towards or away from the background, a key light fitted with a 120cm octabox in front and above the animals for fill light and to create a circular catch eye. She also has a flash head with a strip box mounted to the ceiling which she’ll turn on when she wants to make sure the background is nice and bright.
10. Flash triggers
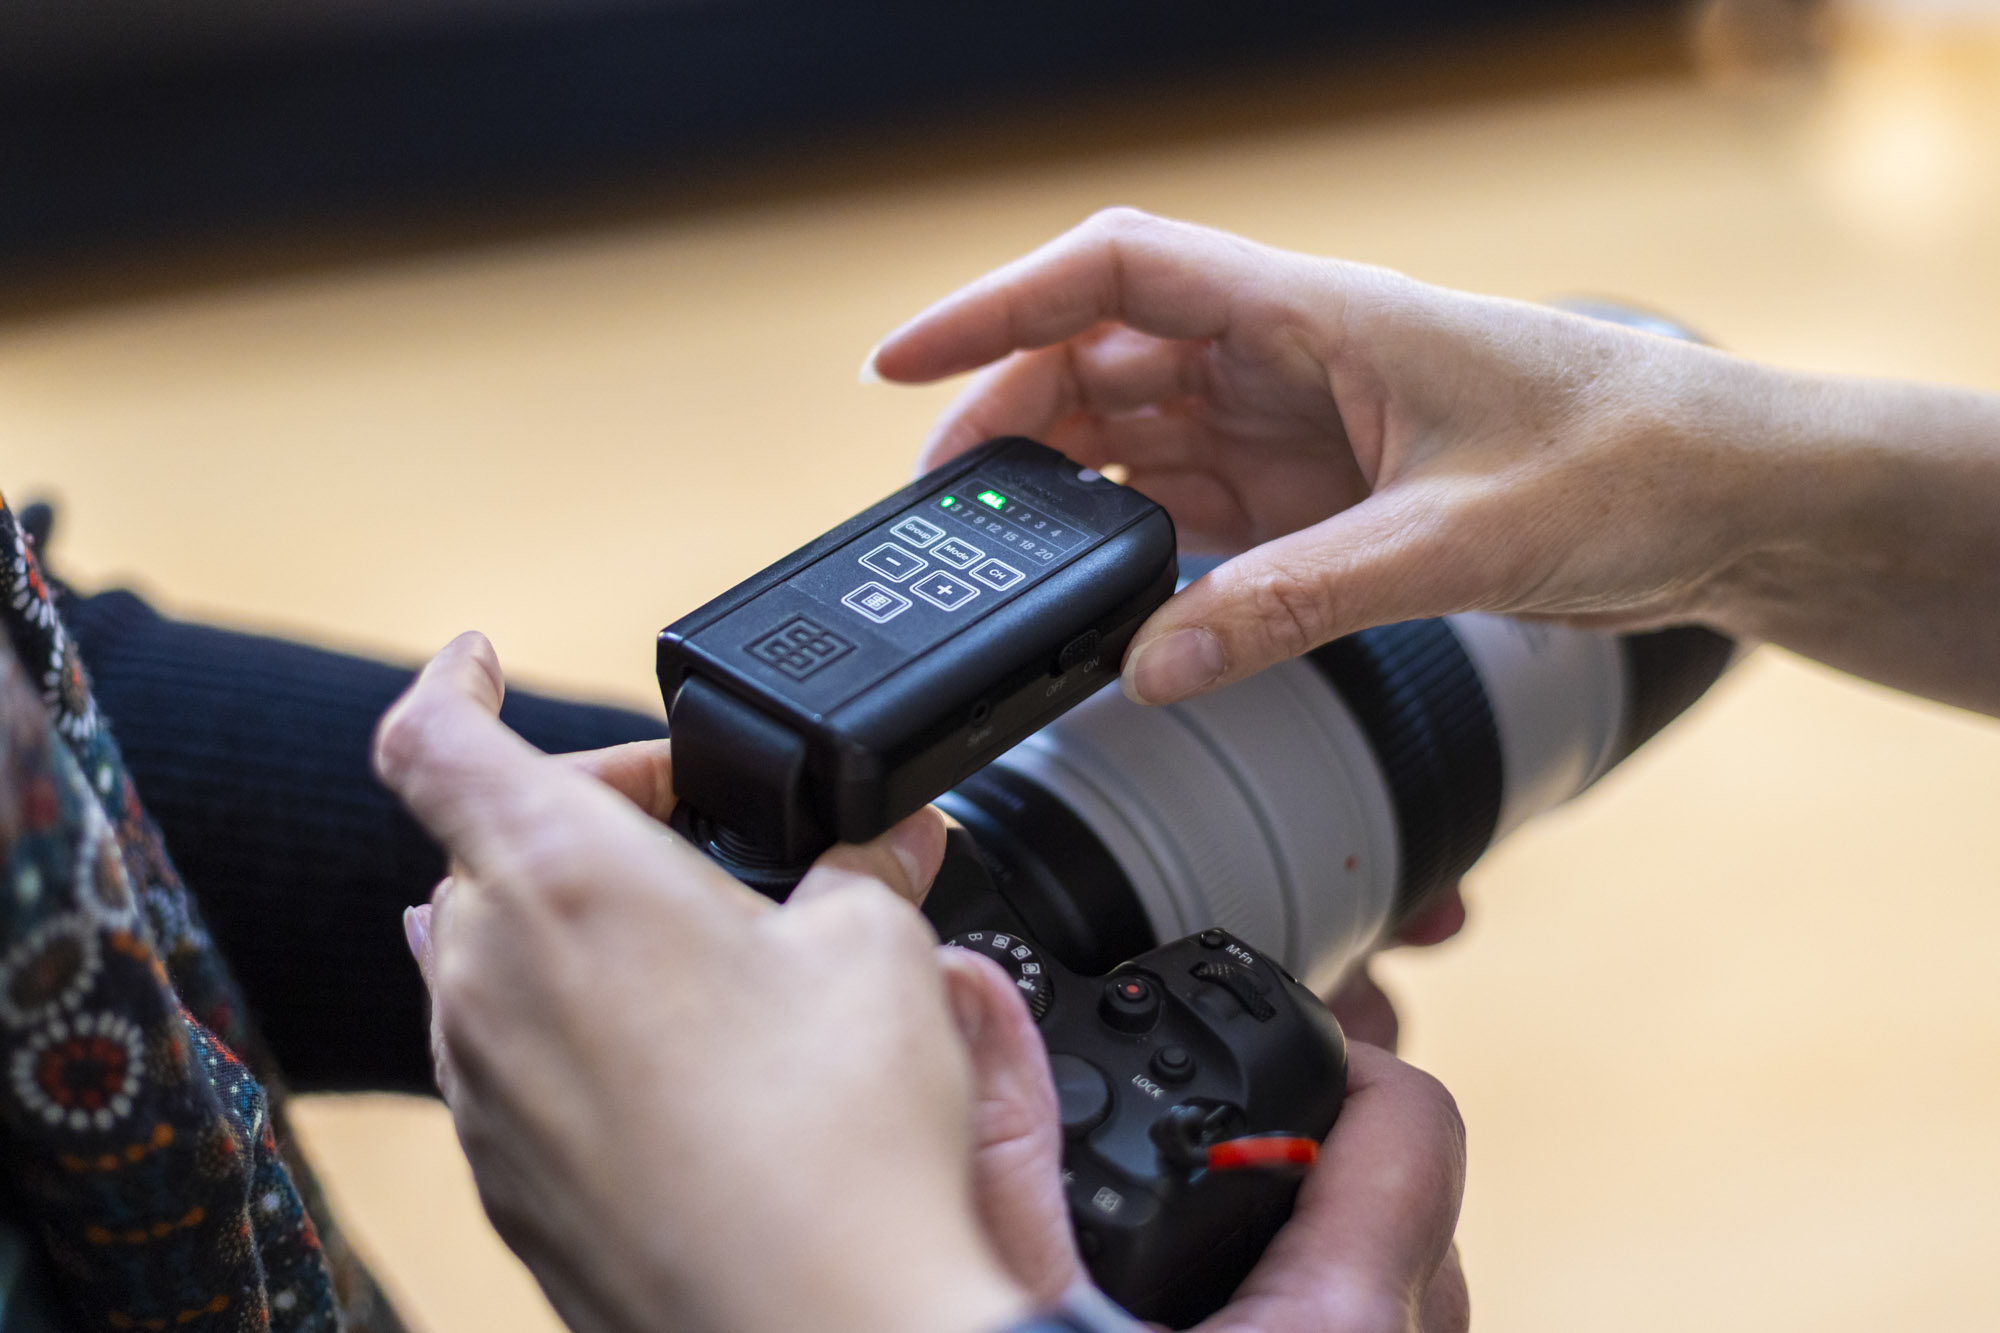
Laura uses an Elinchrom Skyport Transmitter Plus to fire her D-Lite studio lights which have built-in receivers. This radio trigger works with all camera brands, including Canon, which is important for Laura as she offers workshops to pupils with all manner of camera systems. It also allows her to turn on or off flashes via the transmitter, rather than walking over to each flash head and doing it manually, so it’s much more convenient.
If you're really into pet portrait photography, you'll want to check out the best lenses for portraits. Laura uses a Canon EOS R5. To see her stunning portfolio check out her Instagram, or to book a workshop visit her website.
PhotoPlus: The Canon Magazine is the world's only monthly newsstand title that's 100% devoted to Canon, so you can be sure the magazine is completely relevant to your system. Every issue comes with downloadable video tutorials too.
