Digital Camera World Verdict
If your goal for scanning your 35mm films is to get the best image quality possible, in a compact size and without breaking the bank, then this is the scanner to buy. Flatbed scanners are too bulky, camera scanning setups are too tedious. The Plustek Opticfilm 8200i SE gives amazing quality 35mm scans, with huge 7200 dpi image sizes in rich glorious color, and with the added bonus of best-in-class infrared dust removal technology, your scans will be automatically cleaned up without you having to put in any extra time editing. The downside, the process is slow, but the results are worth the wait.
Pros
- +
7200 dpi produces huge scans
- +
3.6D dynamic range and 48-bit color produce masses of detail and saturation
- +
Small and lightweight, easy to store when not in use
- +
Well priced for the quality and ease
Cons
- -
Limited to 35mm negatives and mounted slide only, no 120 film
- -
Slow to scan, especially with infrared and multi-exposure on
- -
Bundled Silverfast software is not the best
Why you can trust Digital Camera World
Film photography has exploded in popularity recently and many people are looking for the best film scanner to digitize their negatives in a way that allows them to be edited, printed on a large scale, or shared on social media.
There are currently a couple of ways of digitizing film negatives. You can use camera scanning, a technique involving film being placed over a lightbox, and a high-quality macro lens being used to take images of each frame. This technique gets the fastest results but is the trickiest to implement, with lots of fine-tuning. Another option is using a flatbed scanner such as the Epson V600, this is a flatbed scanner that works with film holders that can scan whole rows of film at the same time, a fast way to scan, but it is a bulky device, and the quality is often considered the worst of the options available. The final option is a dedicated single-frame scanner, this is where the Plustek Opticfilm 8200i SE comes into play.
Plustek makes three scanners in the 8000 series, with the 8200i SE playing Goldilocks in the middle. The 8100 misses out on the killer feature of infrared dust and scratch removal, and the 8200i AI comes with lots of extra software tricks, but these all require you to tolerate using the Silverfast AI Studio, an upgrade from the Silverfast SE Plus software bundled with the other two scanners.
OpticFilm 8200i SE Specifications
Image sensor: CCD
Light source: LED
Max scan resolution: 7200 dpi
Color: 48-bit input, 24/48-bit output
Grayscale: 16-bit input, 8/16-bit output
Dynamic range: 3.6
Infrared: Built-in
Scanning speed: 3600 dpi - approx. 36 sec / 7200 dpi - approx. 113 sec
Scanning area (W x L): 36.8 mm x 25.4 mm
Interface: USB 2.0
Net weight: 1.6kg (3.5 Lbs)
Dimensions (W x D x H): 120 x 272 x 119 mm (4.73” x 10.7” x 4.7”)
Operating system: Windows 7 onwards / Mac OS X 10.7 onwards
Bundled software: SilverFast SE Plus 8 (+iSRD)
OpticFilm 8200i SE Key features
The headline feature of the Plustek Opticfilm 8200i SE is its built-in infrared channel which can detect dust and scratches on the surface of the original negatives and slides. This is an additional cycle during the scanning process that uses a wide wavelength infrared light capable of passing through the film emulsion but is reflected by dust and scratches. The software can then pick up this feedback and mark the points for automatic correction. This saves a lot of time in the editing process by removing the need to manually retouch images.
The scanner can output in 7200 x 7200 dpi for 35mm negative film and mounted slide. This is equivalent to 68.9 megapixels in digital camera terms, a size only currently achievable in medium format cameras or a very select few full-frame cameras like the Sony A7R IV. 7200 dpi files are suitable for blowing up to A3 sizes. The files can also be output in 24 or 48 bit color, giving more options for fine editing.
The scanner has up to 3.6D in dynamic range using the enhanced multi-exposure function, giving a more accurate reading of the lightest and darkest areas of the image, this can produce deeper blacks while maintaining more details in the shadows and clearer highlights.
The best camera deals, reviews, product advice, and unmissable photography news, direct to your inbox!
The scanner comes bundled with LaserSoft Imaging Silverfast SE Plus 8, an advanced option for those wanting to get the most from their negatives. For scans in a flash, it is also possible to use the automated Plustek Quickscan. With support for Windows 7 onwards and Mac OS 10.7 or later, almost anyone can use the scanner right away.
OpticFilm 8200i SE Build & Handling
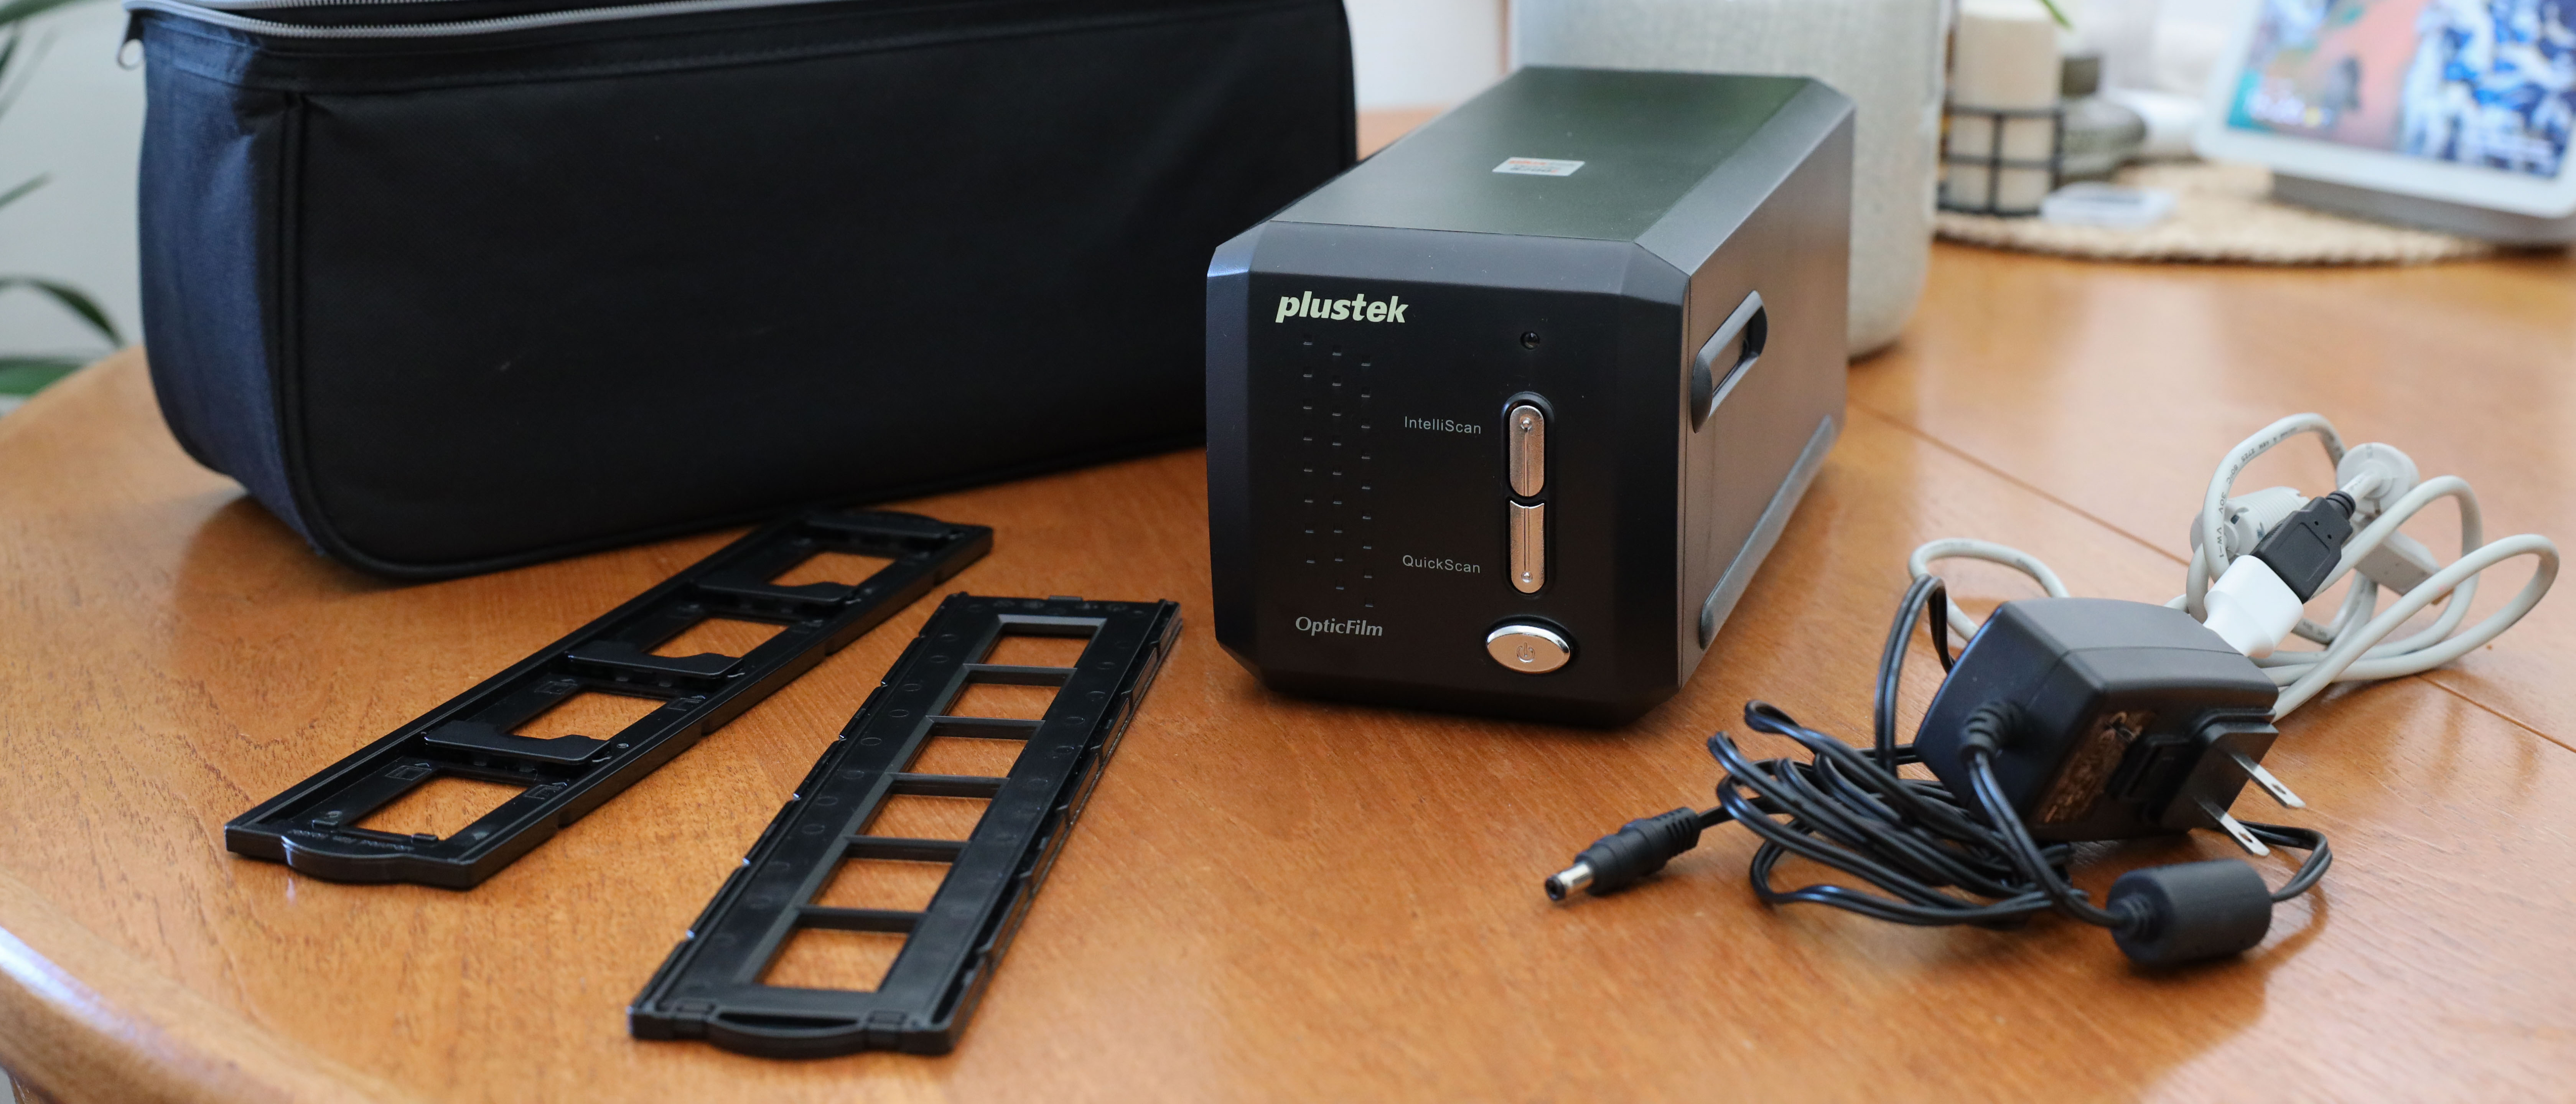
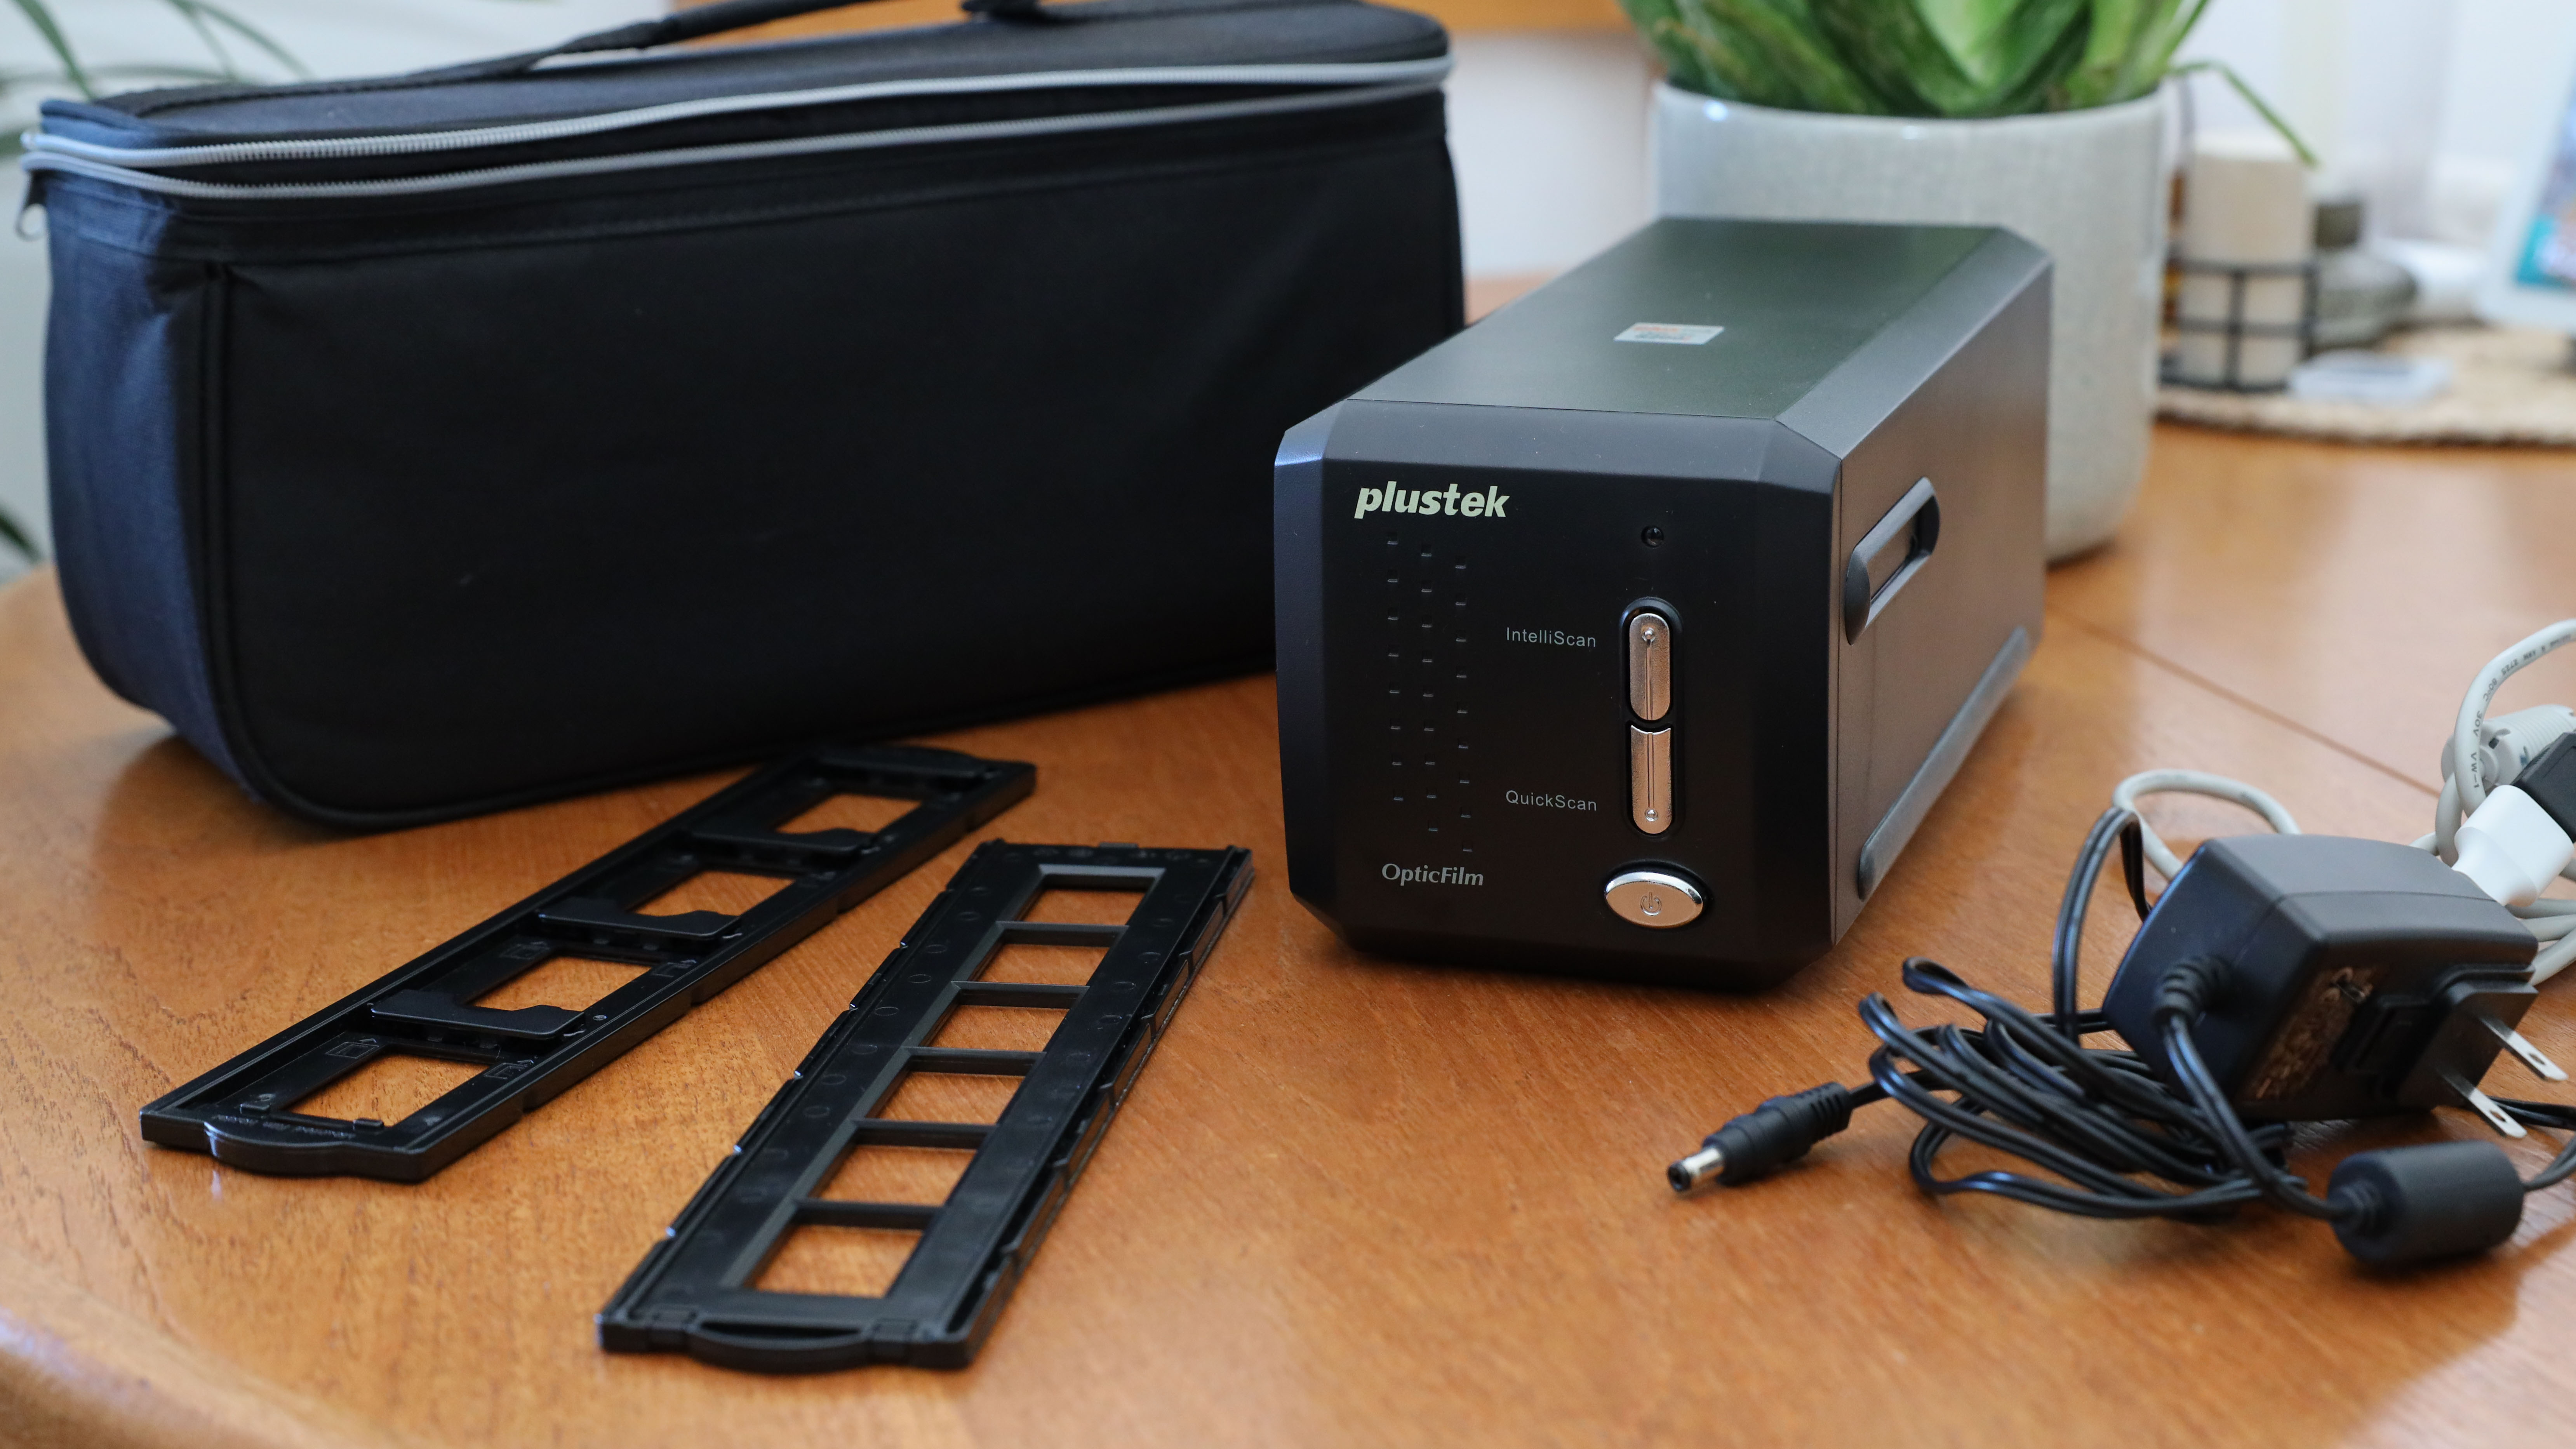
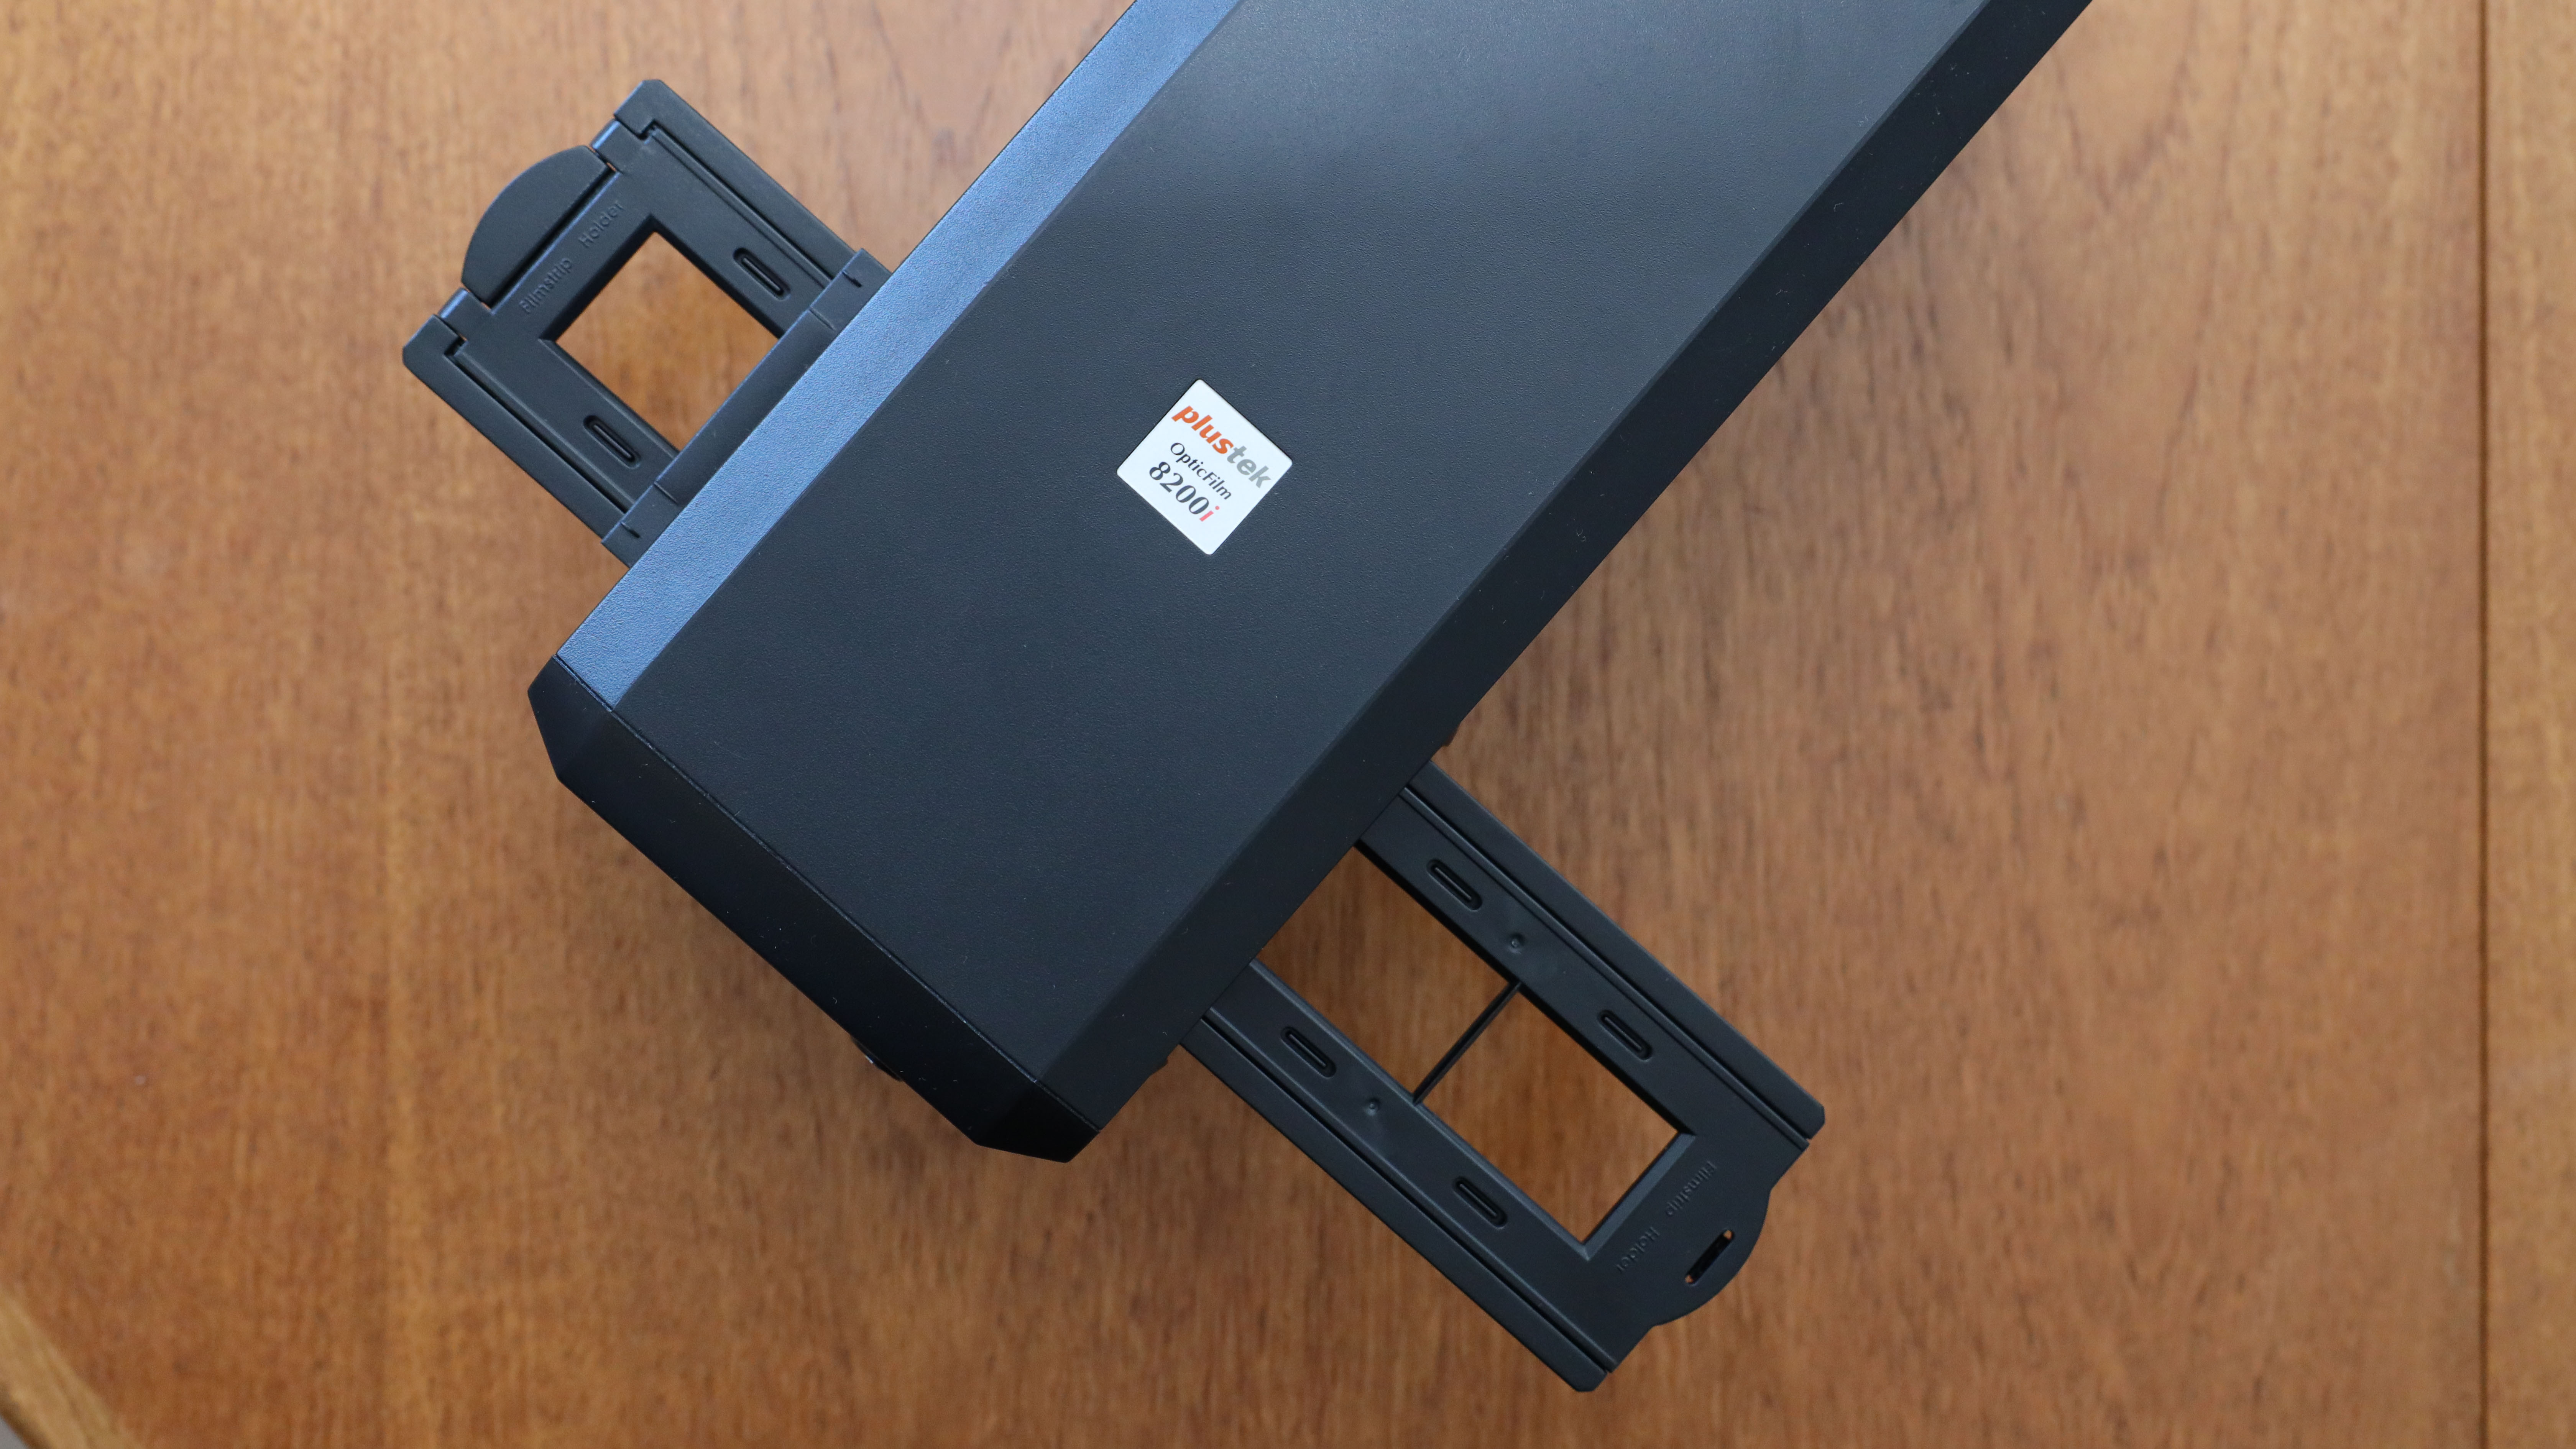
The Plustek Opticfilm 8200i SE is incredibly small, it also comes in a neat little nylon case, where you can tuck away the machine, all the wires, and the film holders for easy storage when not in use. It is also very lightweight, it feels almost like there is nothing at all inside the plastic shell, so it is easy to transport from place to place if necessary.
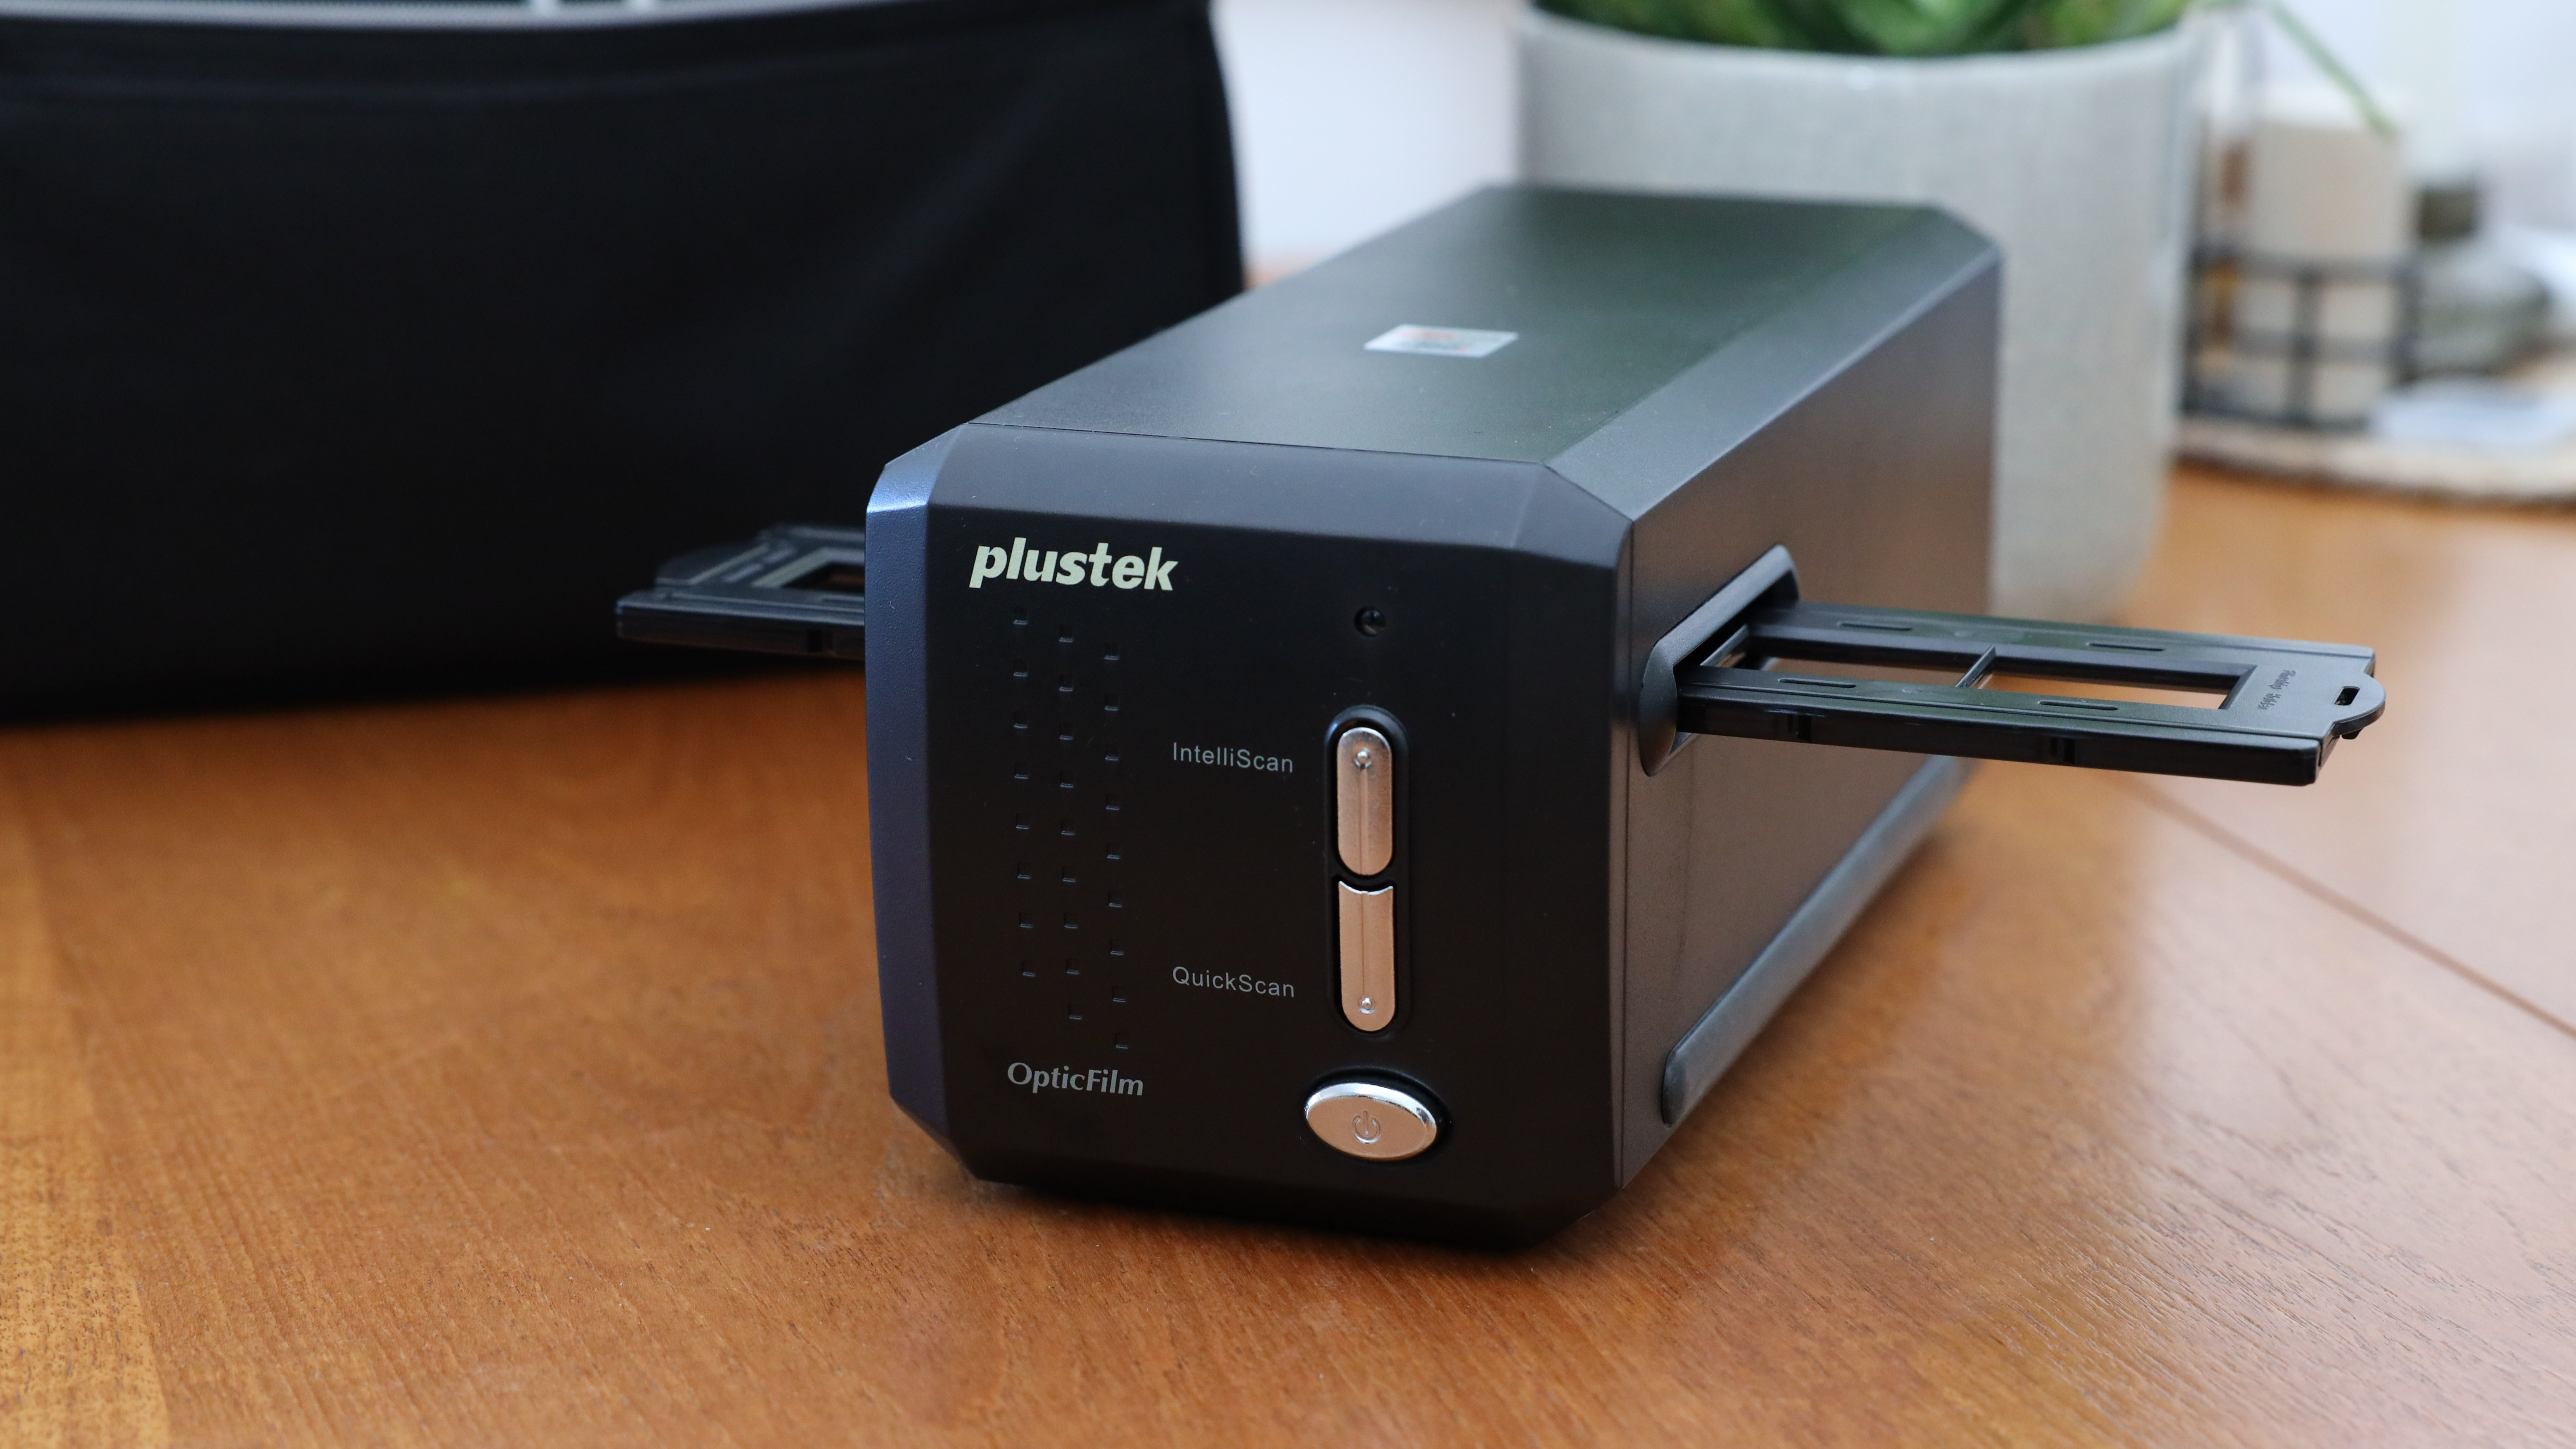
The body is plastic, but it feels sturdy and strong, if I was moving it in its protective case I wouldn’t worry much about it getting damaged. There are three buttons on the front of the case, the buttons don’t feel particularly secure, with the power button especially having quite the rattle to it, but after a lot of use, it is still working perfectly. It depends on the type of scanning you wish to do, but if you use the bundled Silverfast software or alternative VueScan, then you will probably never use the other two QuickScan buttons.
The film holders are some of the best around, they are a little tricky to load the film into, but they hold the film tightly, and most importantly they hold it very flat for a perfect even scan. They feel a little flimsy but they have been put through a lot of wear in the process of my own scanning and are still going strong.
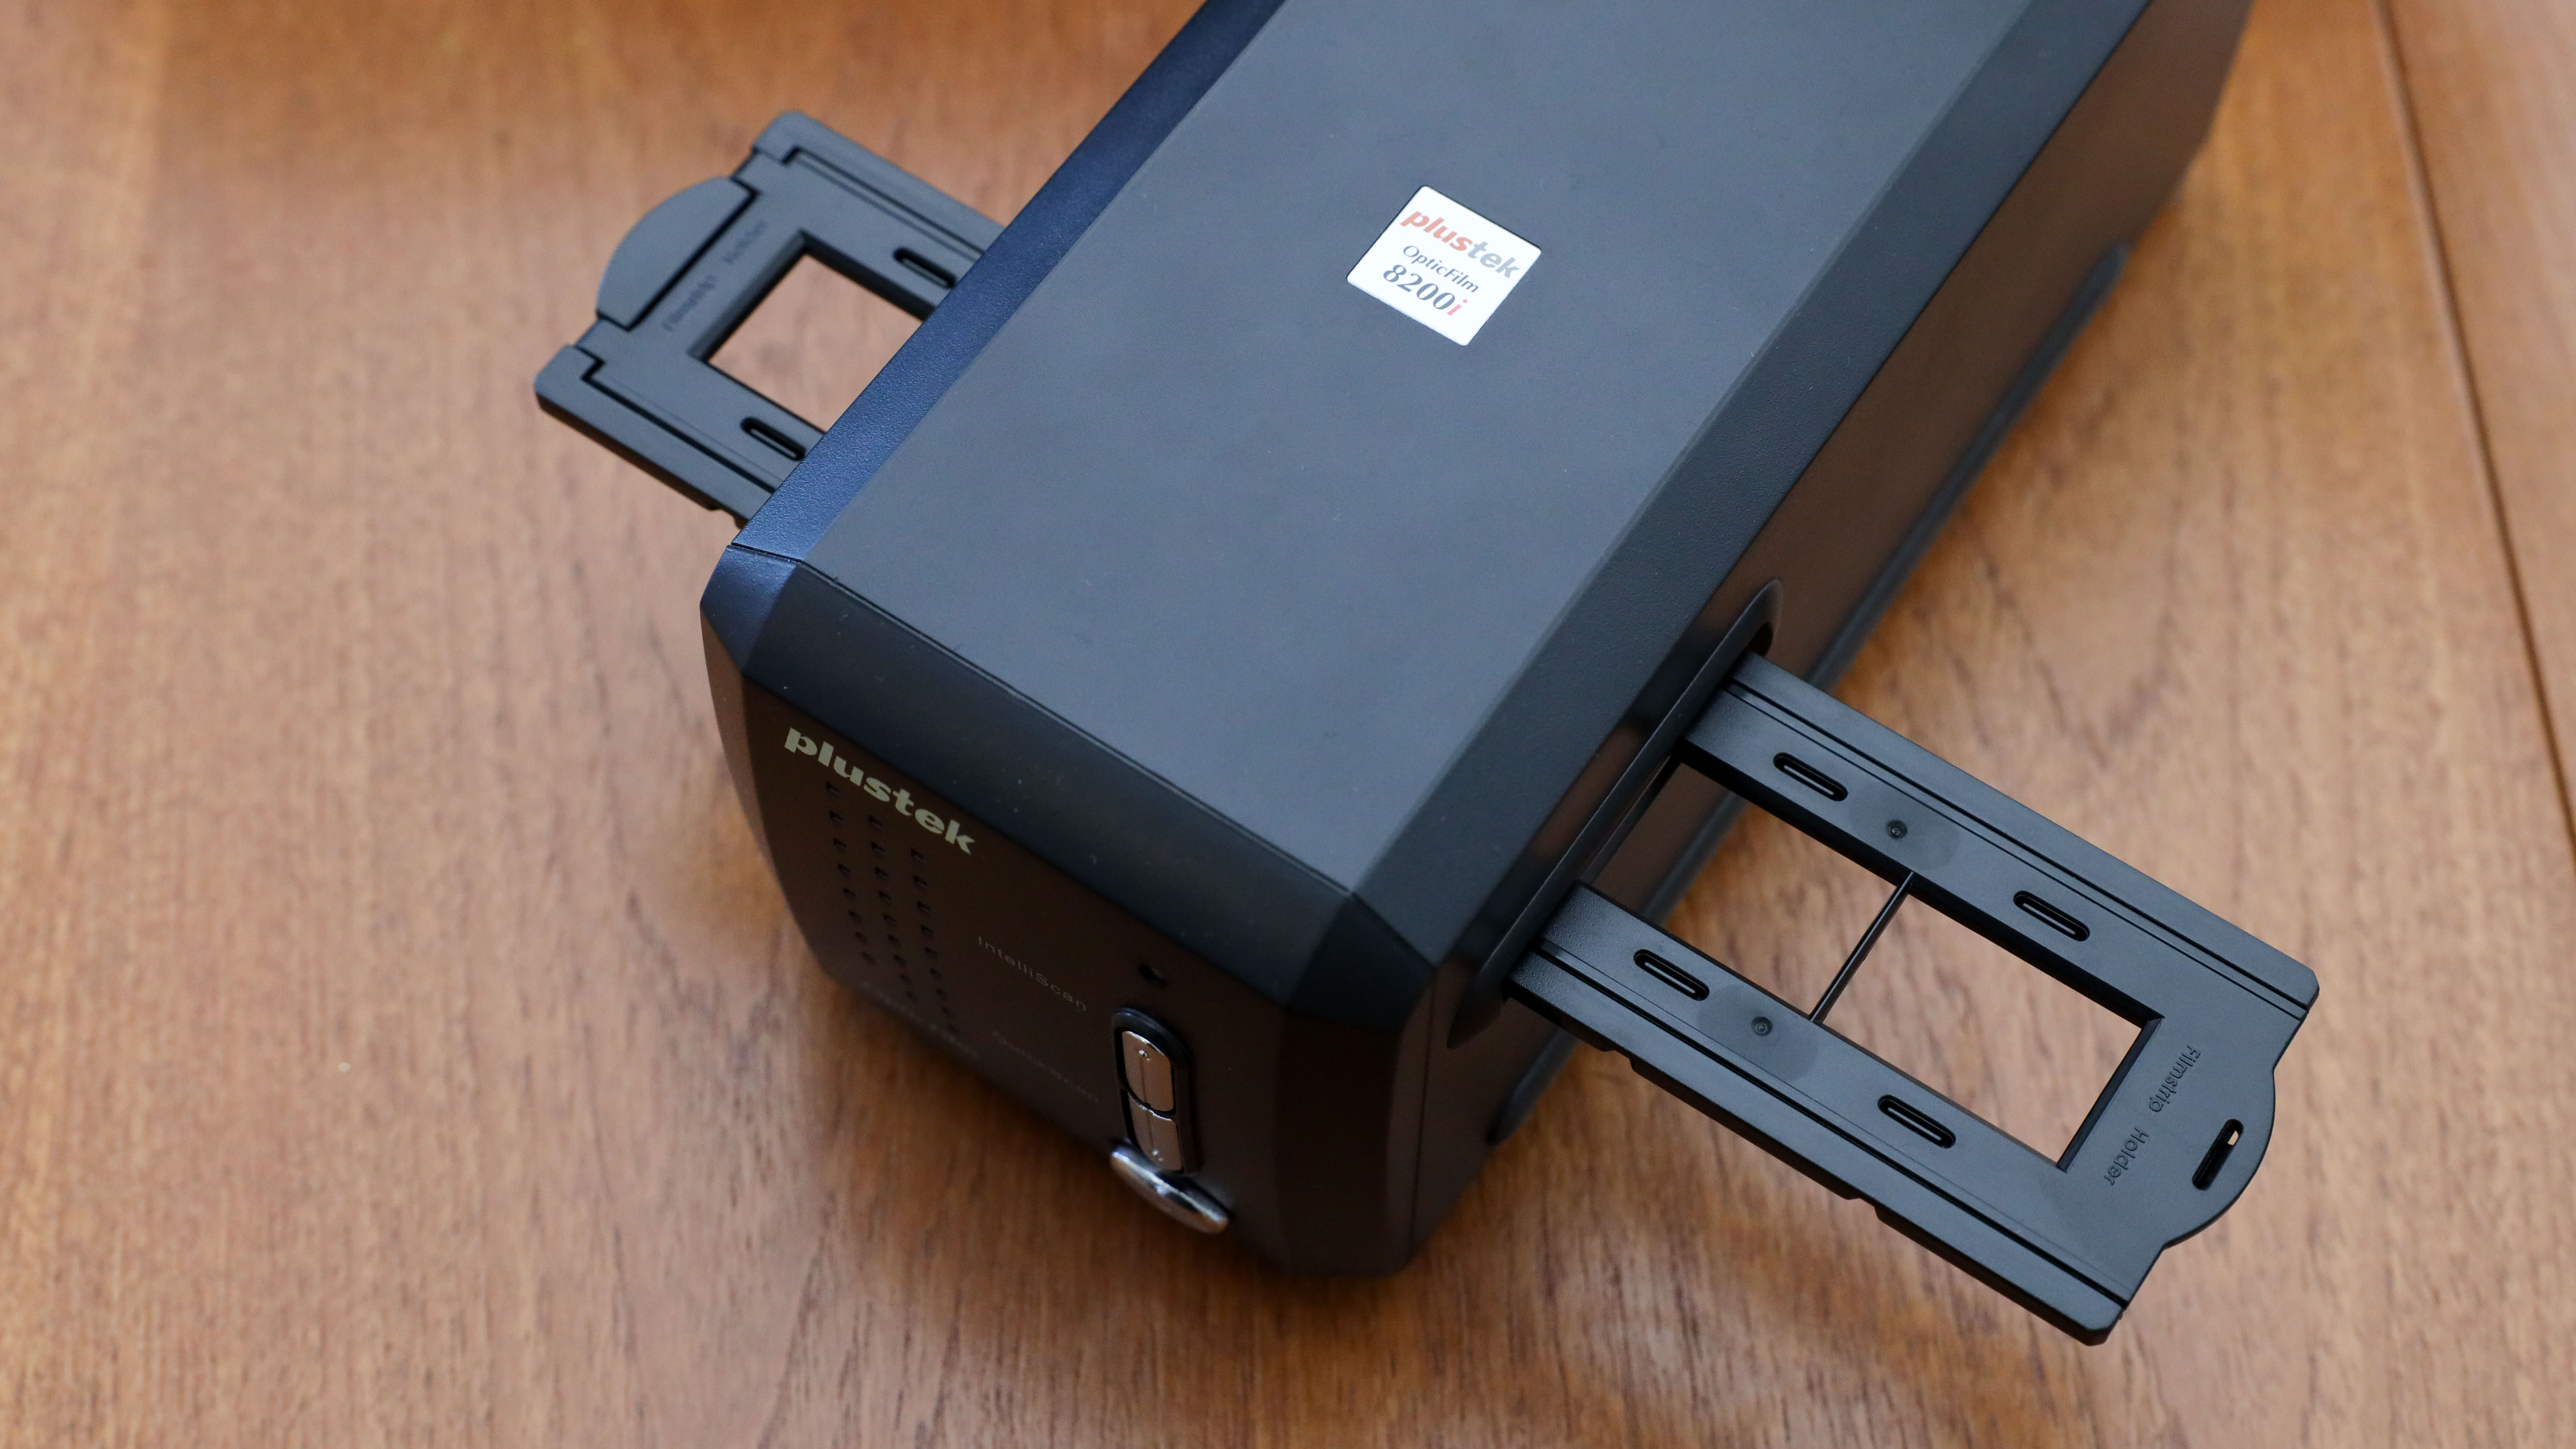
The film holder loads into the machine in a slightly unusual manner, which means that about two-thirds of the film holder will always be poking out of either side of the scanner. This is not ideal as it opens up your film to scratches and other marks. The film holder has clever little notches in the bottom that works in conjunction with teeth on the scanner for perfect alignment with the CCD sensor inside the scanner, speeding up the scanning process and getting consistent size and exposure on every frame.
OpticFilm 8200i SE Performance
The 8200i SE produces amazing results. At 7200 dpi the scan sizes are huge, with incredible levels of detail, but even at the smaller 3600 dpi it manages to achieve the same level of detail in a more manageable file size. All dpi sizes are very slow to scan in though, especially if also using the infrared and multiple exposure scans (which you should), it can take several minutes to scan one frame. One thing to note is that depending on if you decide to scan JPEG, TIFF, or DNG, the file sizes can become stratospheric.
The dynamic range and 48-bit color output produce incredible results, especially if you decide to scan in TIFF or RAW DNG (RAW DNGs require additional processing with software such as Negative Lab Pro). TIFF files have huge amounts of saturation, with accurate colors and a smooth tonal range, with deep blacks and white whites.
The infrared channel is a lifesaver, I try to remove all dust from my negatives before I scan them, but you can never get it perfectly clean, and the infrared dust and scratch removal has saved me hours in additional editing. I also occasionally use the camera scanning technique of film scanning and I am reminded each time of how useful infrared dust removal is when I don’t have it.
The biggest flaw with the 8200i SE is not with the scanner itself, but with the software it uses. The Silverfast SE Plus that comes bundled with the scanner is a love-it-or-loathe-it piece of software, and I am very much in the second camp. The software is functional, but a hugely outdated and clunky user interface with poor granular controls makes it incredibly hard to get consistent and finely tuned results for anyone seeking an advanced level of control over their scans.
I would heartily recommend the alternative VueScan software from Hamrick that is much easier to use and has the same functionality as the bundled Silverfast including headline features, infrared scanning, and multiple exposures.
The process is also frustratingly manual, with no automatic advancement of the film holder, and with scans taking several minutes, it is easy to get distracted with something else and forget to keep advancing and scanning, wasting precious moments and elongating the whole process. Plustek also sells an Opticfilm 135i that auto advances and scans, which has the same hardware features as the 8200i SE but comes without the Silverfast software.
OpticFilm 8200i SE Verdict
This scanner is the scalpel and not the hammer, it is perfect for getting small jobs done proficiently and with care. Scanning at any dpi will produce fantastic scans with sharp detail and accurate vibrant color, the multiple exposure mode will pull out a wide dynamic range, and the godsend that is infrared scanning will save hours in editing software removing dust and scratches manually.
However the process is very time-consuming with larger dpi scans taking a very long time to complete, so this is not the solution for you if you have a trove of negatives from the attic that you wish to digitize. This is a fantastic tool to achieve professional-level scans.
If you are interested in finding out more about how to scan your negative film properly, you can read our guide to how to scan negatives and transparencies.
You can also find the film scanner for your needs in our guides to the best film scanners. Or to view your mounted slides before you scan them, you can check out our guide to the best slide viewers.

Gareth is a photographer based in London, working as a freelance photographer and videographer for the past several years, having the privilege to shoot for some household names. With work focusing on fashion, portrait and lifestyle content creation, he has developed a range of skills covering everything from editorial shoots to social media videos. Outside of work, he has a personal passion for travel and nature photography, with a devotion to sustainability and environmental causes.
