Digital Camera World Verdict
This scanner has a very specific use-case: making it easy for people to scan lots of photos very quickly. The reproduction is only 300dpi at speed, but it's easy to set up and use, very reliable in operation, and grandparent friendly. Overall, this is a great option for wishing to digitise large numbers of personal photos without fuss, as long as you're willing to take a small hit on the quality.
Pros
- +
Works fast
- +
Scans documents too
- +
Easy to set up
- +
Easy to use
Cons
- -
Only scans fast at 300dpi
- -
Can't feed multiple prints
- -
Only good for large volumes
- -
Requires USB-A port
Why you can trust Digital Camera World
Do you have an attic full of thousands of photos, which you want to digitize without it taking forever? Then you won't want a flatbed scanner: that will take far too long. A sheet-feed scanner will be much faster, and this one promises to convert one 4x6 photo in two seconds and one 8x10 size photo in five. That means, theoretically at least, you could turn 1,000 family snaps into pixels in under an hour.
More broadly, Plustek is one of the best-known brands in scanners and has produced some of the finest film scanners of recent times, including the Plustek OpticFilm 8200i and the Plustek OpticFilm 8300i SE. So I had high hopes for this cheap and cheerful photo scanner.
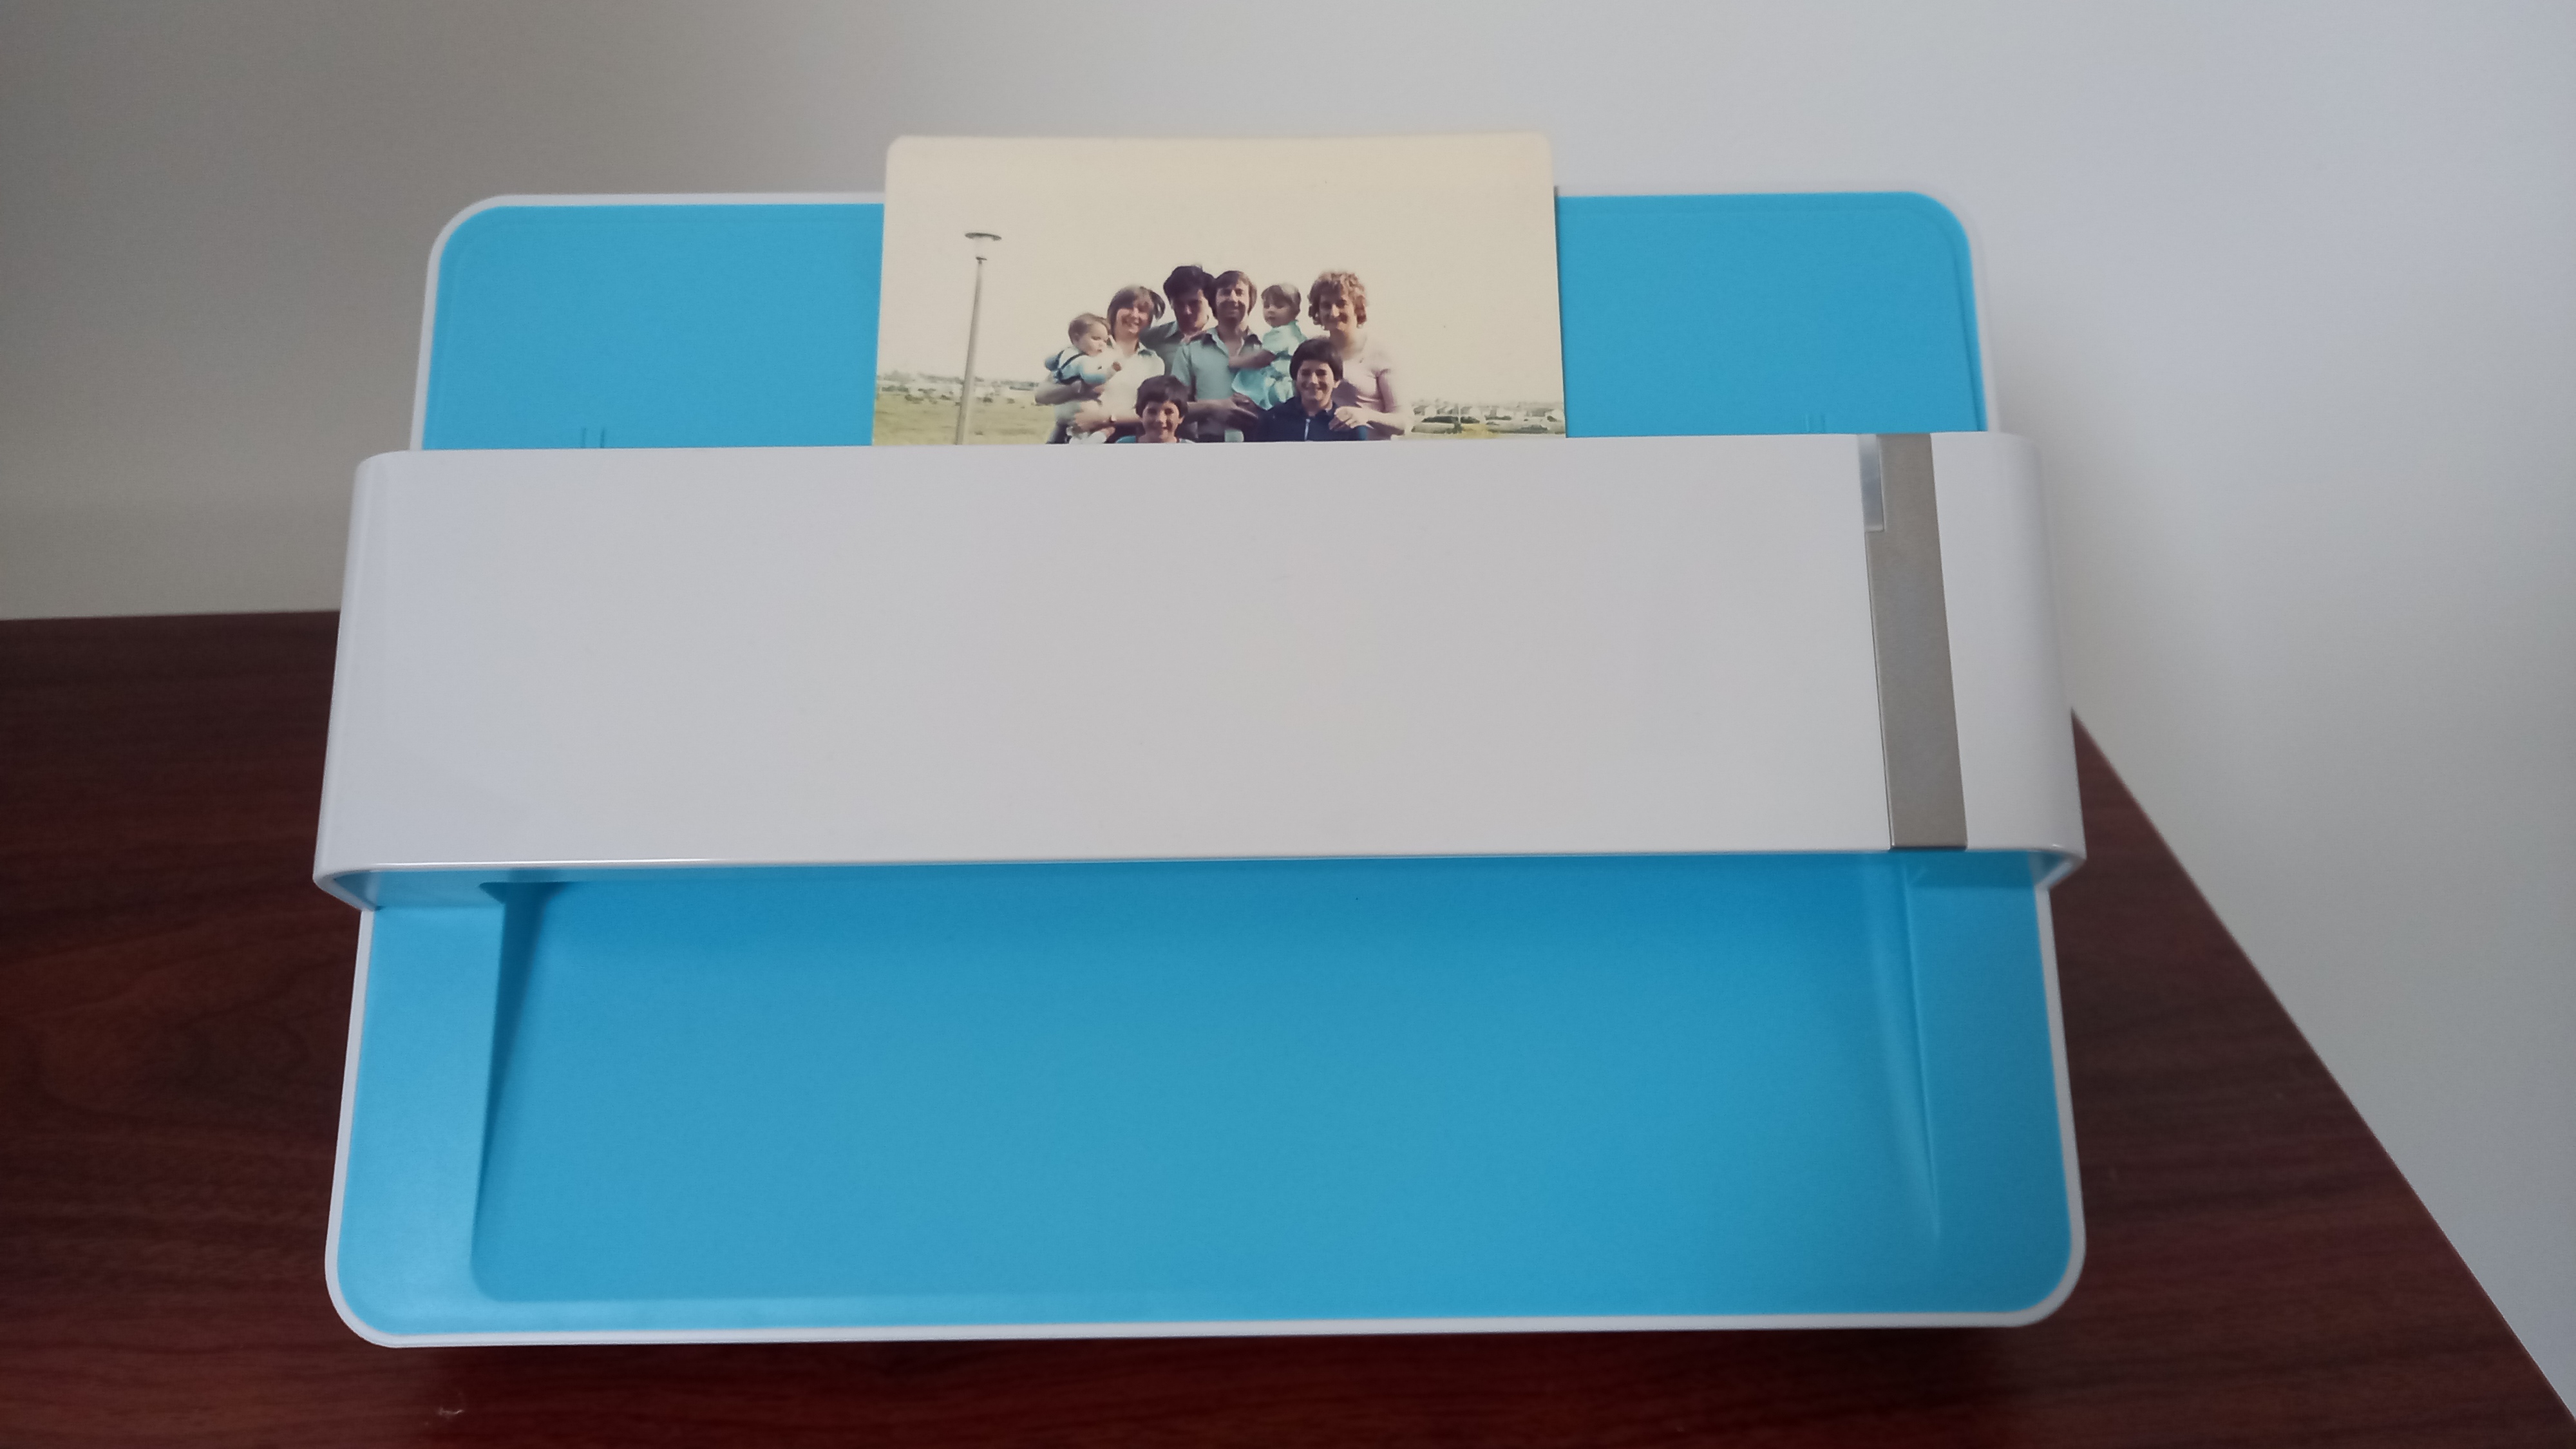
This is a sheet-feed scanner, which means you feed in material at the top and the mechanism pulls it through the bottom, quickly scanning it along the way. It's able to scan photos of 3x5, 4x6, 5x7, and 8x10 inches in size. You can also use it to scan things like receipts and tickets (minimum 1 x 1 inch), and larger documents (up to letter and A4 size), as long as the paper is 0.76mm or less.
But is this really the best scanner for your needs? I got hold of a review model and put it to the test. Read on to learn what I discovered.
Specifications
Image sensor: Color CCD Light Source LED
Optical resolution: 300 dpi/600 dpi
Scan modes: Color: input 48-bit; output 24-bit
Grayscale: Input 16-bit; output 8-bit
Scanning speed: 4 x 6" photo: 2 seconds. A4 document: 5 seconds.
Scanning area: minimum: 1 x 1", maximum: 8.5 x 11.7"
Paper thickness: 0.76 mm or less (non-embossed)
Power supply: 24 Vdc / 0.75 A
Interface: USB 2.0
Weight: 1.48kg (3.26lbs)
Dimensions: 289.9 mm x 160.6 mm x 158mm (11.4" x 6.3" x 6.2")
Operating system: Windows 7+; Mac OS X 10.8.x+
Design & Software
The design of this scanner is simple but effective, as well as being attractive looking in a "stylish basics" kind of way. There's a handle-y type thing on the back that makes it easy to carry. At around 1.48kg (3.26lbs), it's not the lightest thing to carry around, but it's perfectly portable and would fit nicely into most travel bags.
That's about all that needs to be said about the design. There's nothing particularly amazing about it, but the fact that it's so elegantly simple is praiseworthy in itself.
The best camera deals, reviews, product advice, and unmissable photography news, direct to your inbox!
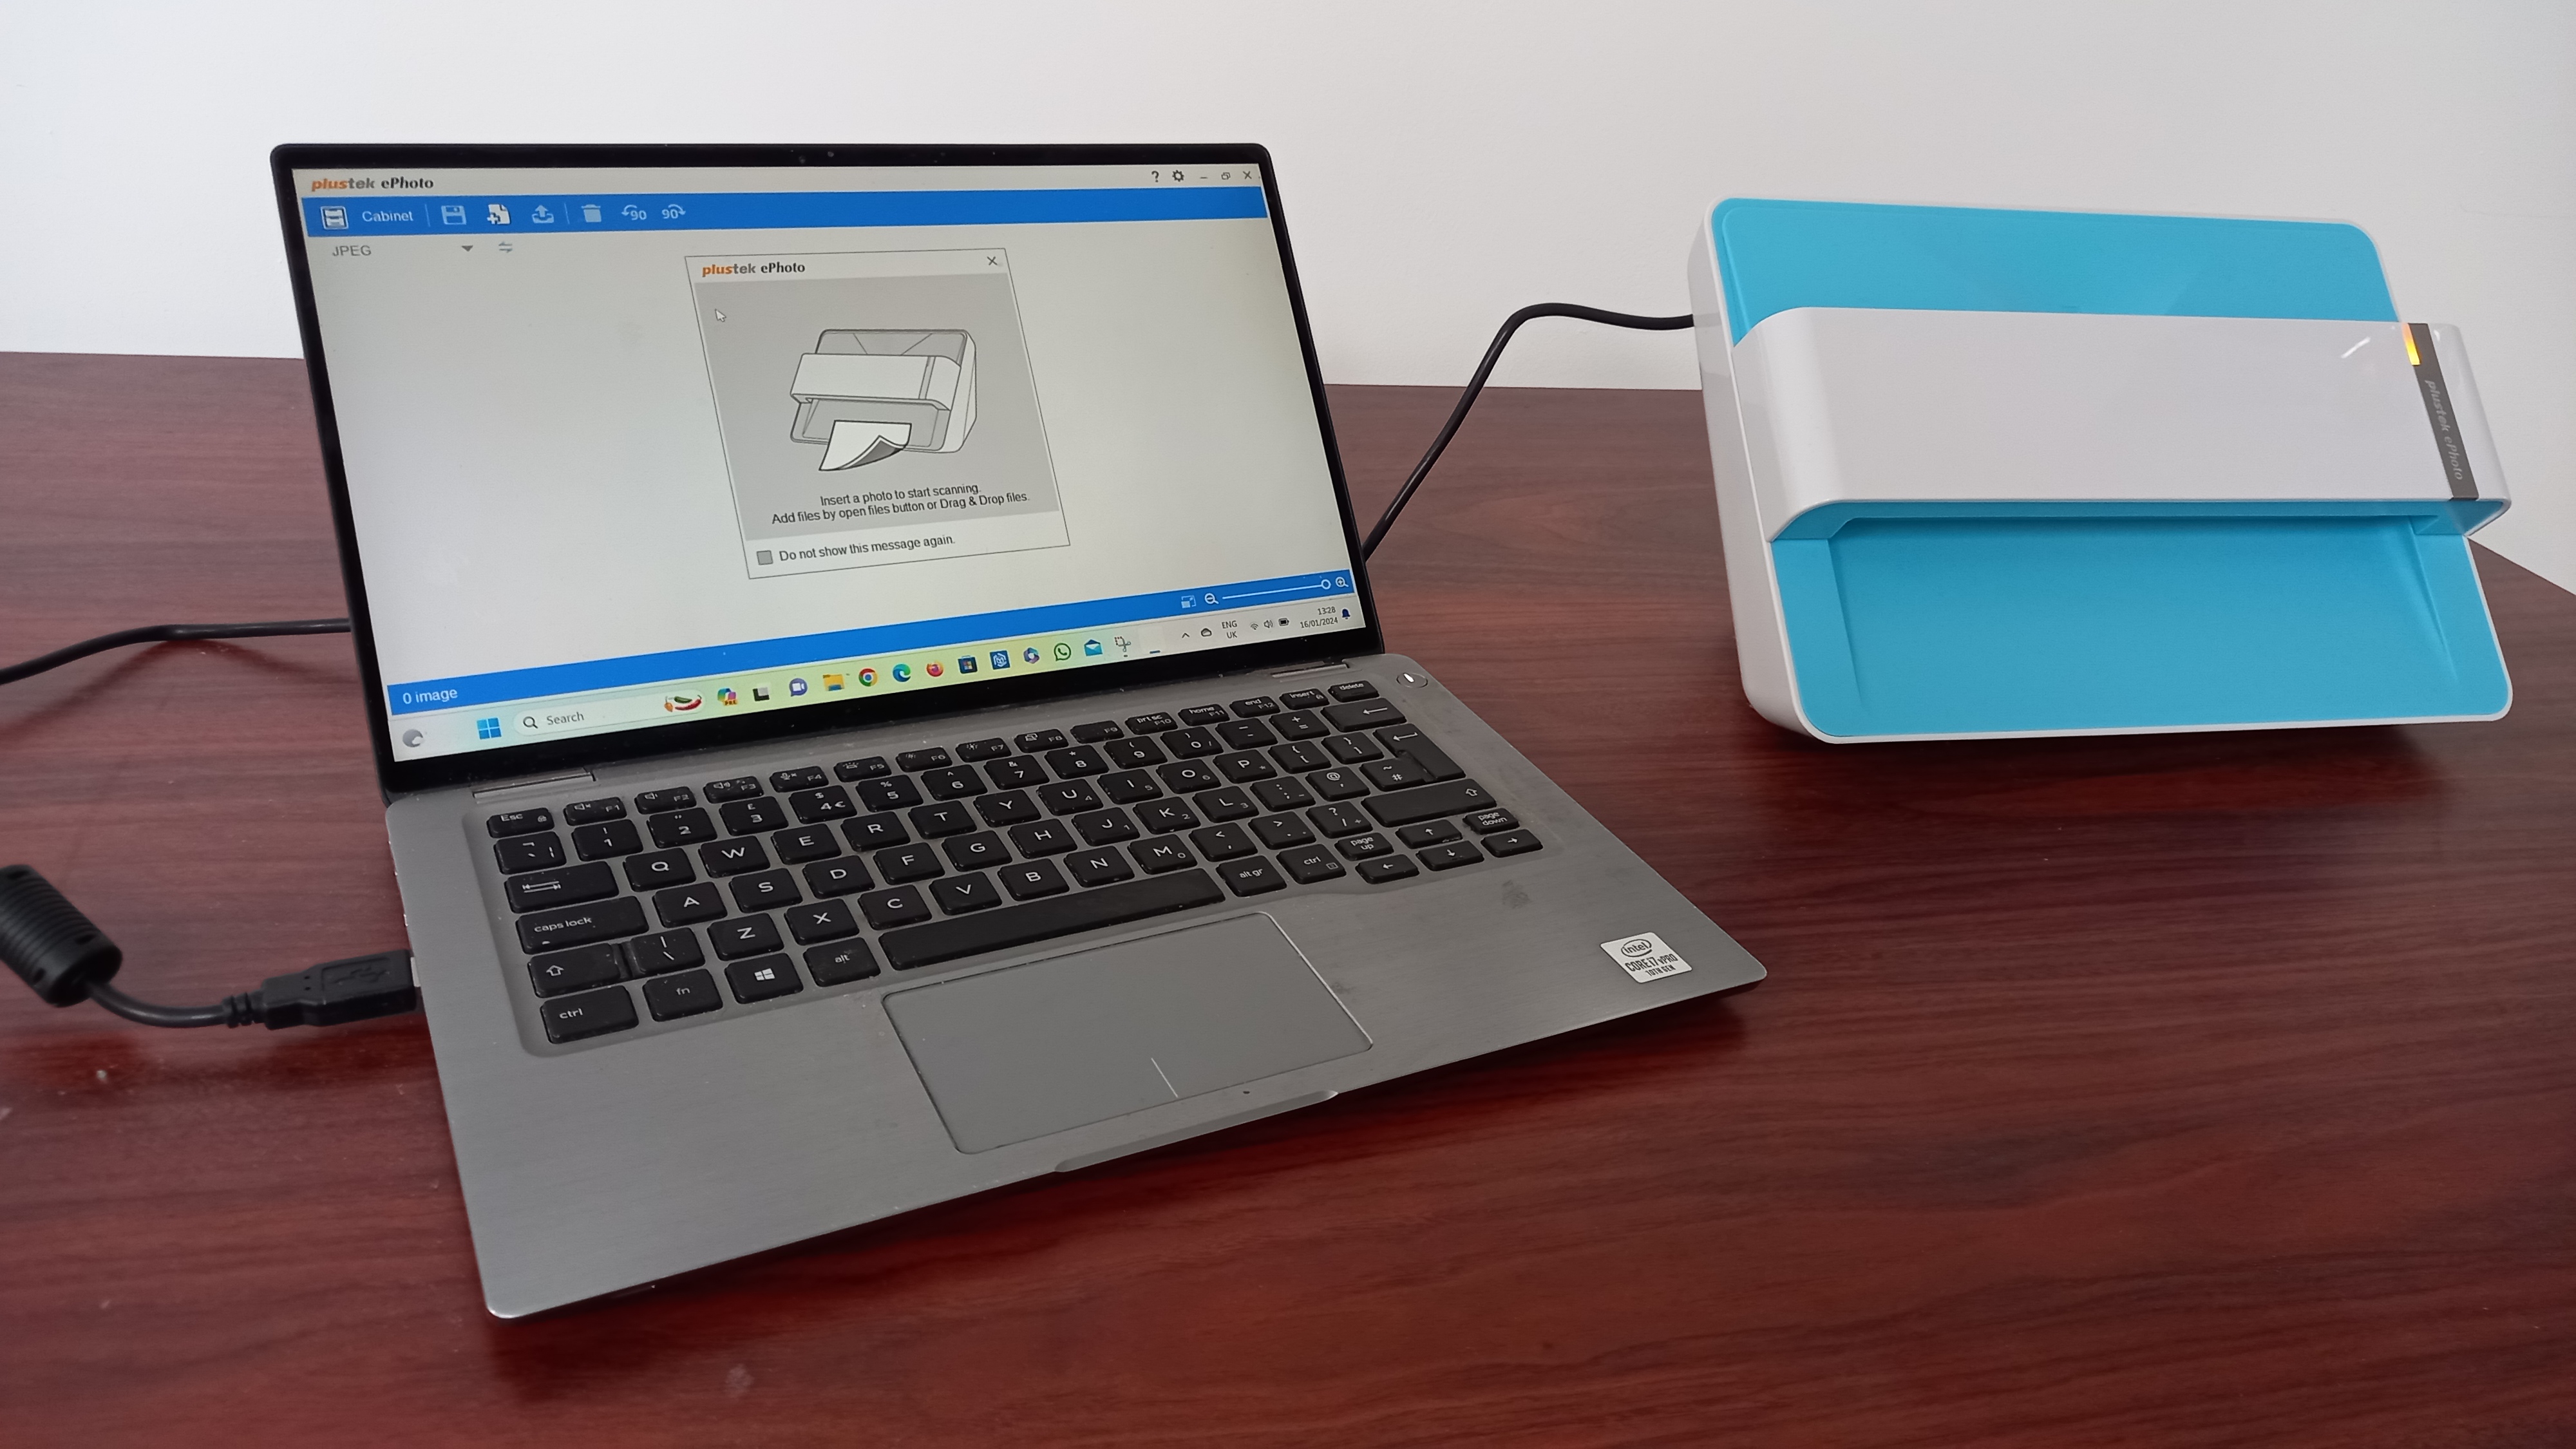
As for the software, I'll be honest: it's pretty basic and it doesn't looks great. The design of the interface makes me feel like I'd stepped back in time to 2003 and that might be enough to put some people off alone. At the same time, it works well enough in practice, it ran pretty quickly on my modern Windows laptop (Dell Latitude 9410) and it's compatible with both Mac and PC.
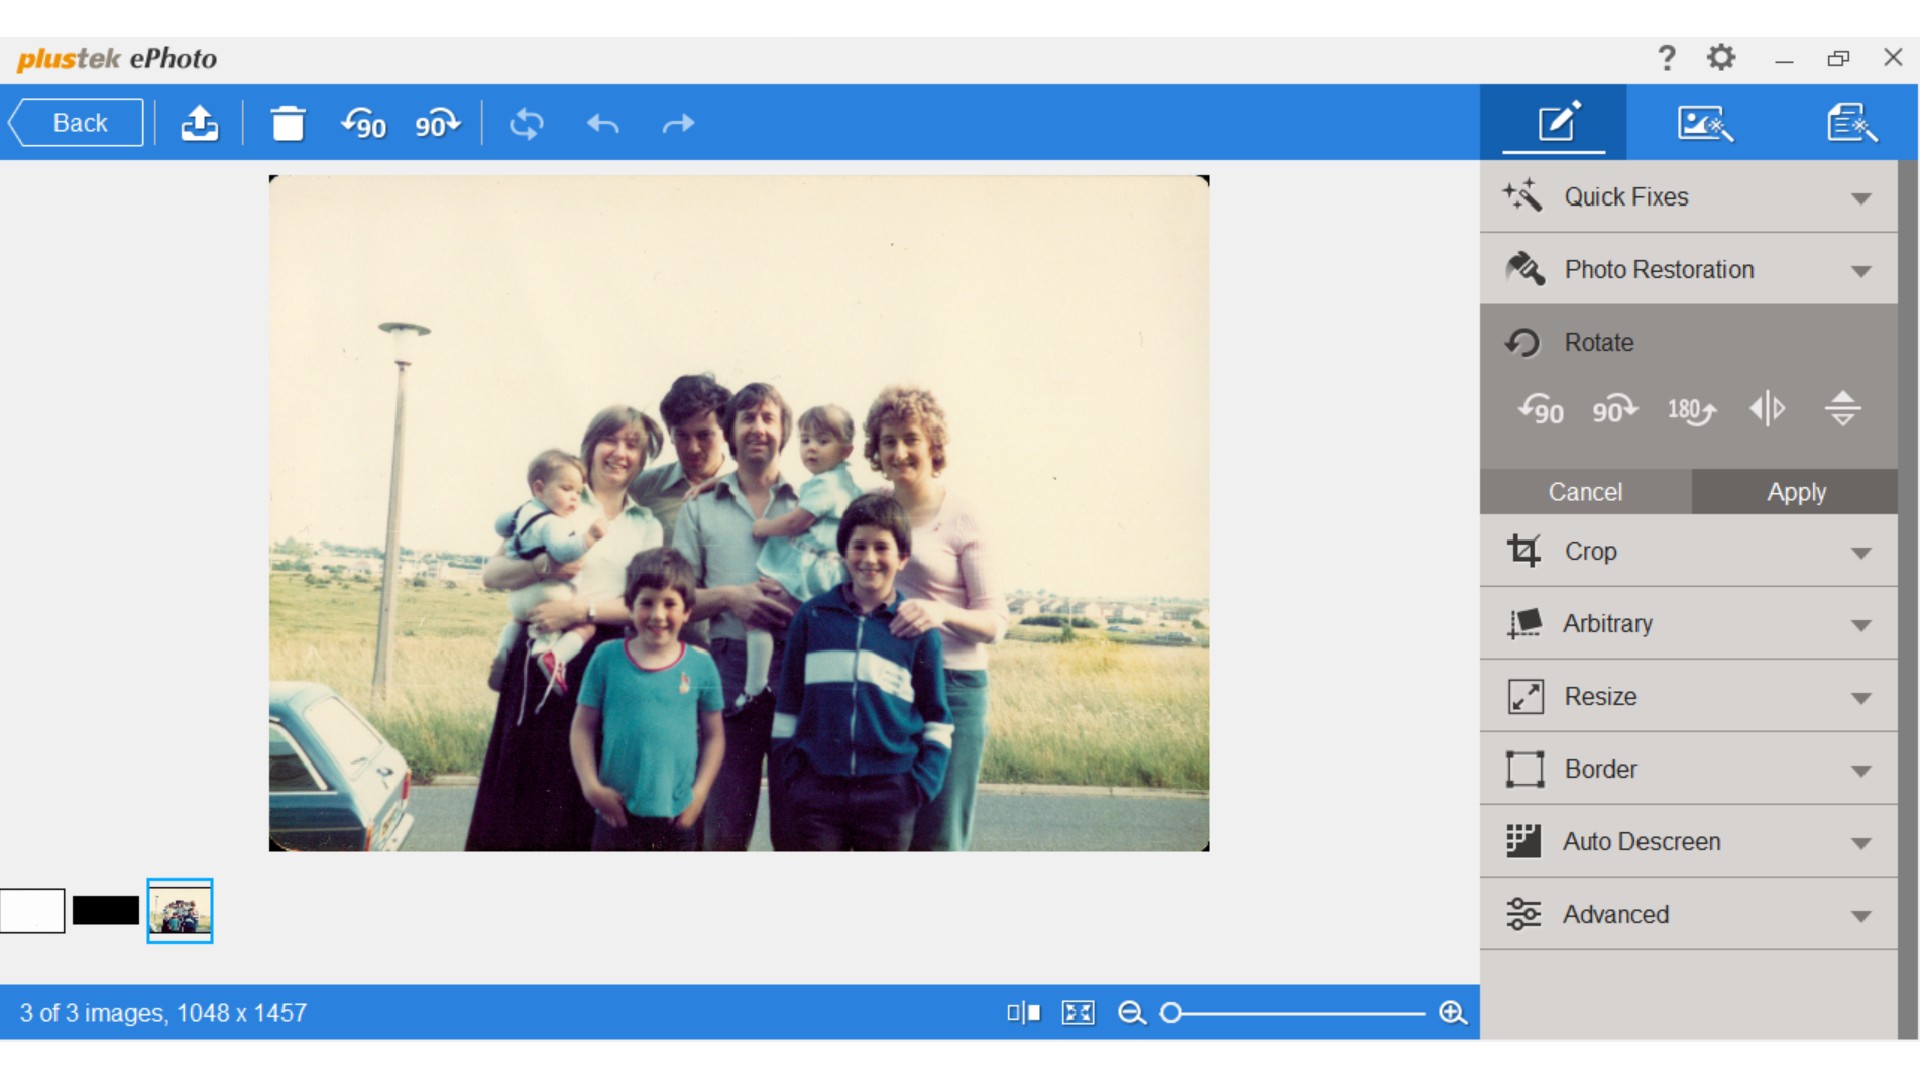
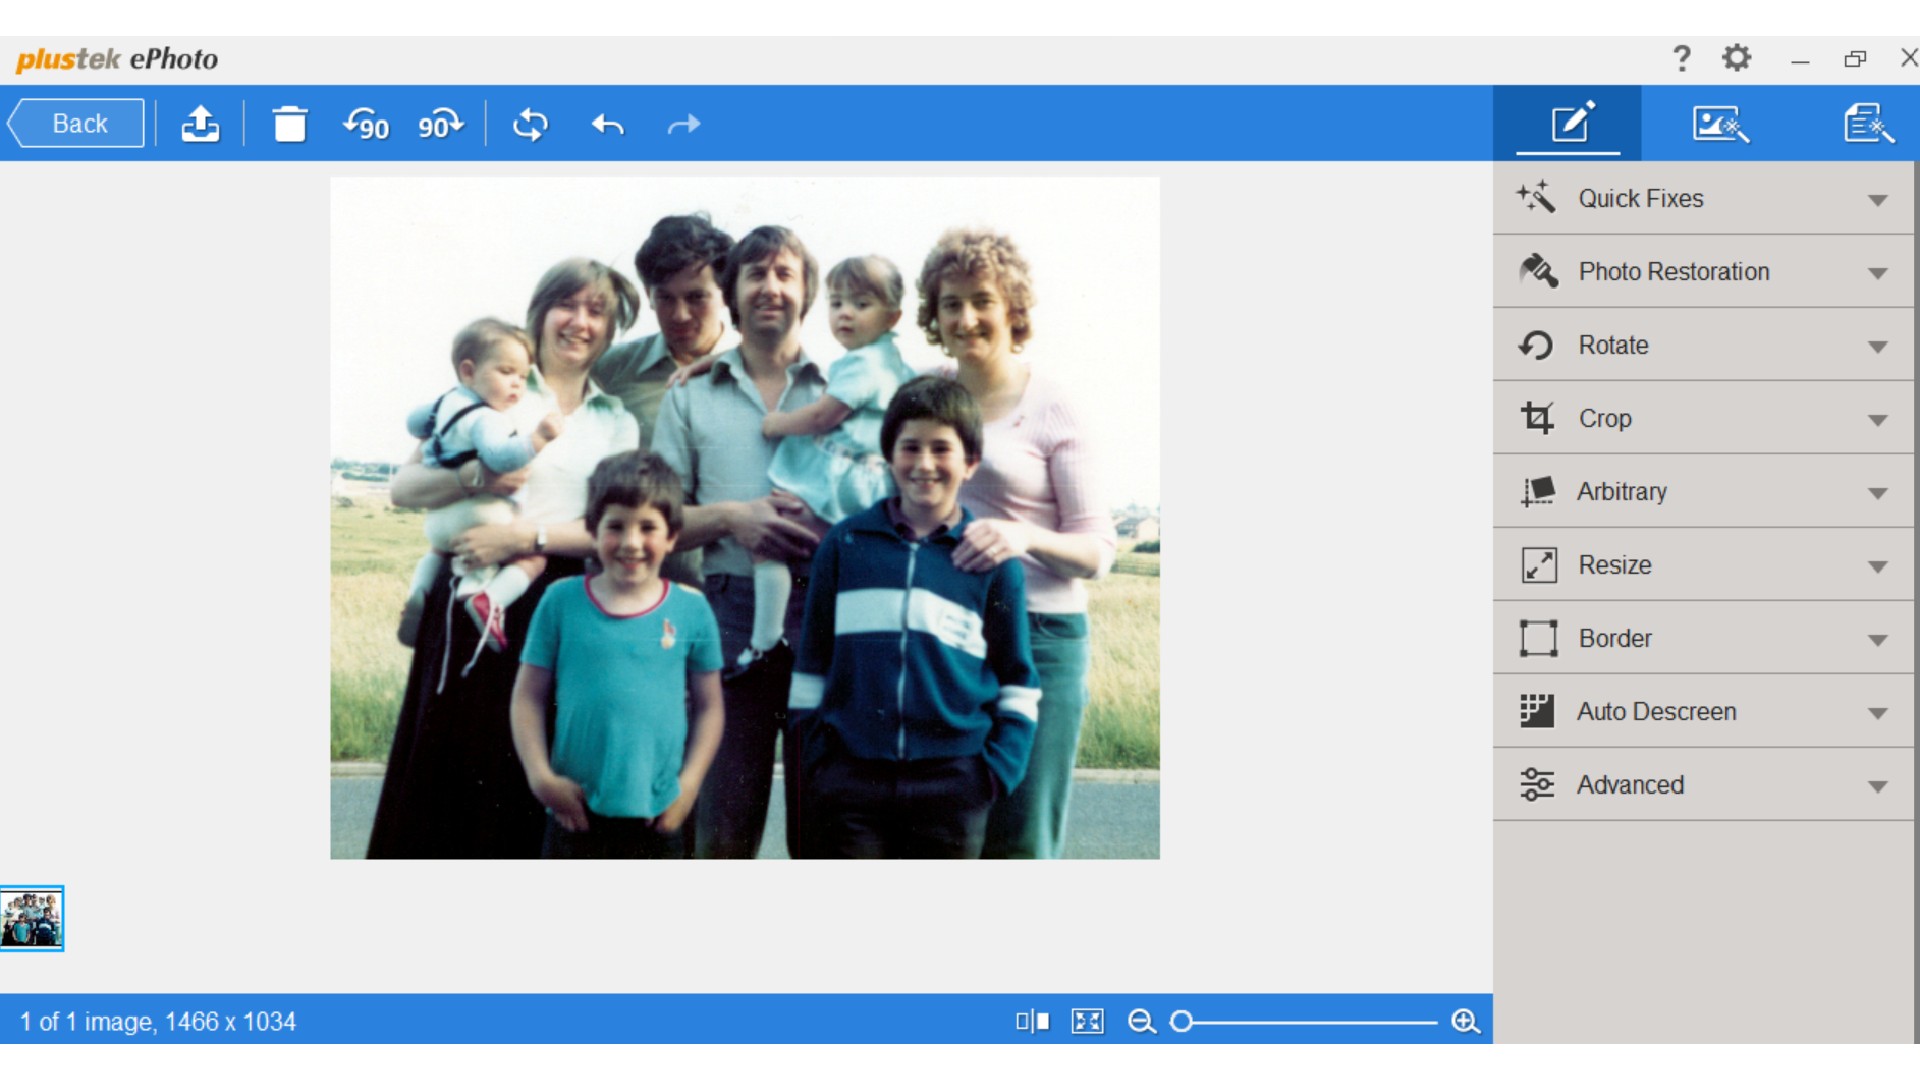
Not only does it allow you to save and share your scans, but there is some fairly decent editing software, should you want to do basic tasks such as crop, rotate and enhance your images. Personally, I'd prefer to do these things elsewhere, but if it's just the odd tweak you want, you may prefer it to save the bother of opening Photoshop or the like.
Setup
I've been reviewing tech since 2008, and yet I still struggle to get stuff to work out of the box. Maybe I've got the wrong kind of brain, or perhaps I'm just impatient, but I often find it maddeningly difficult to work out what to plug in where what needs charging, and how to get different devices to talk to each other. So believe me, I don't say this very often… but the Plustek ePhoto Z300 is pretty easy to set up.
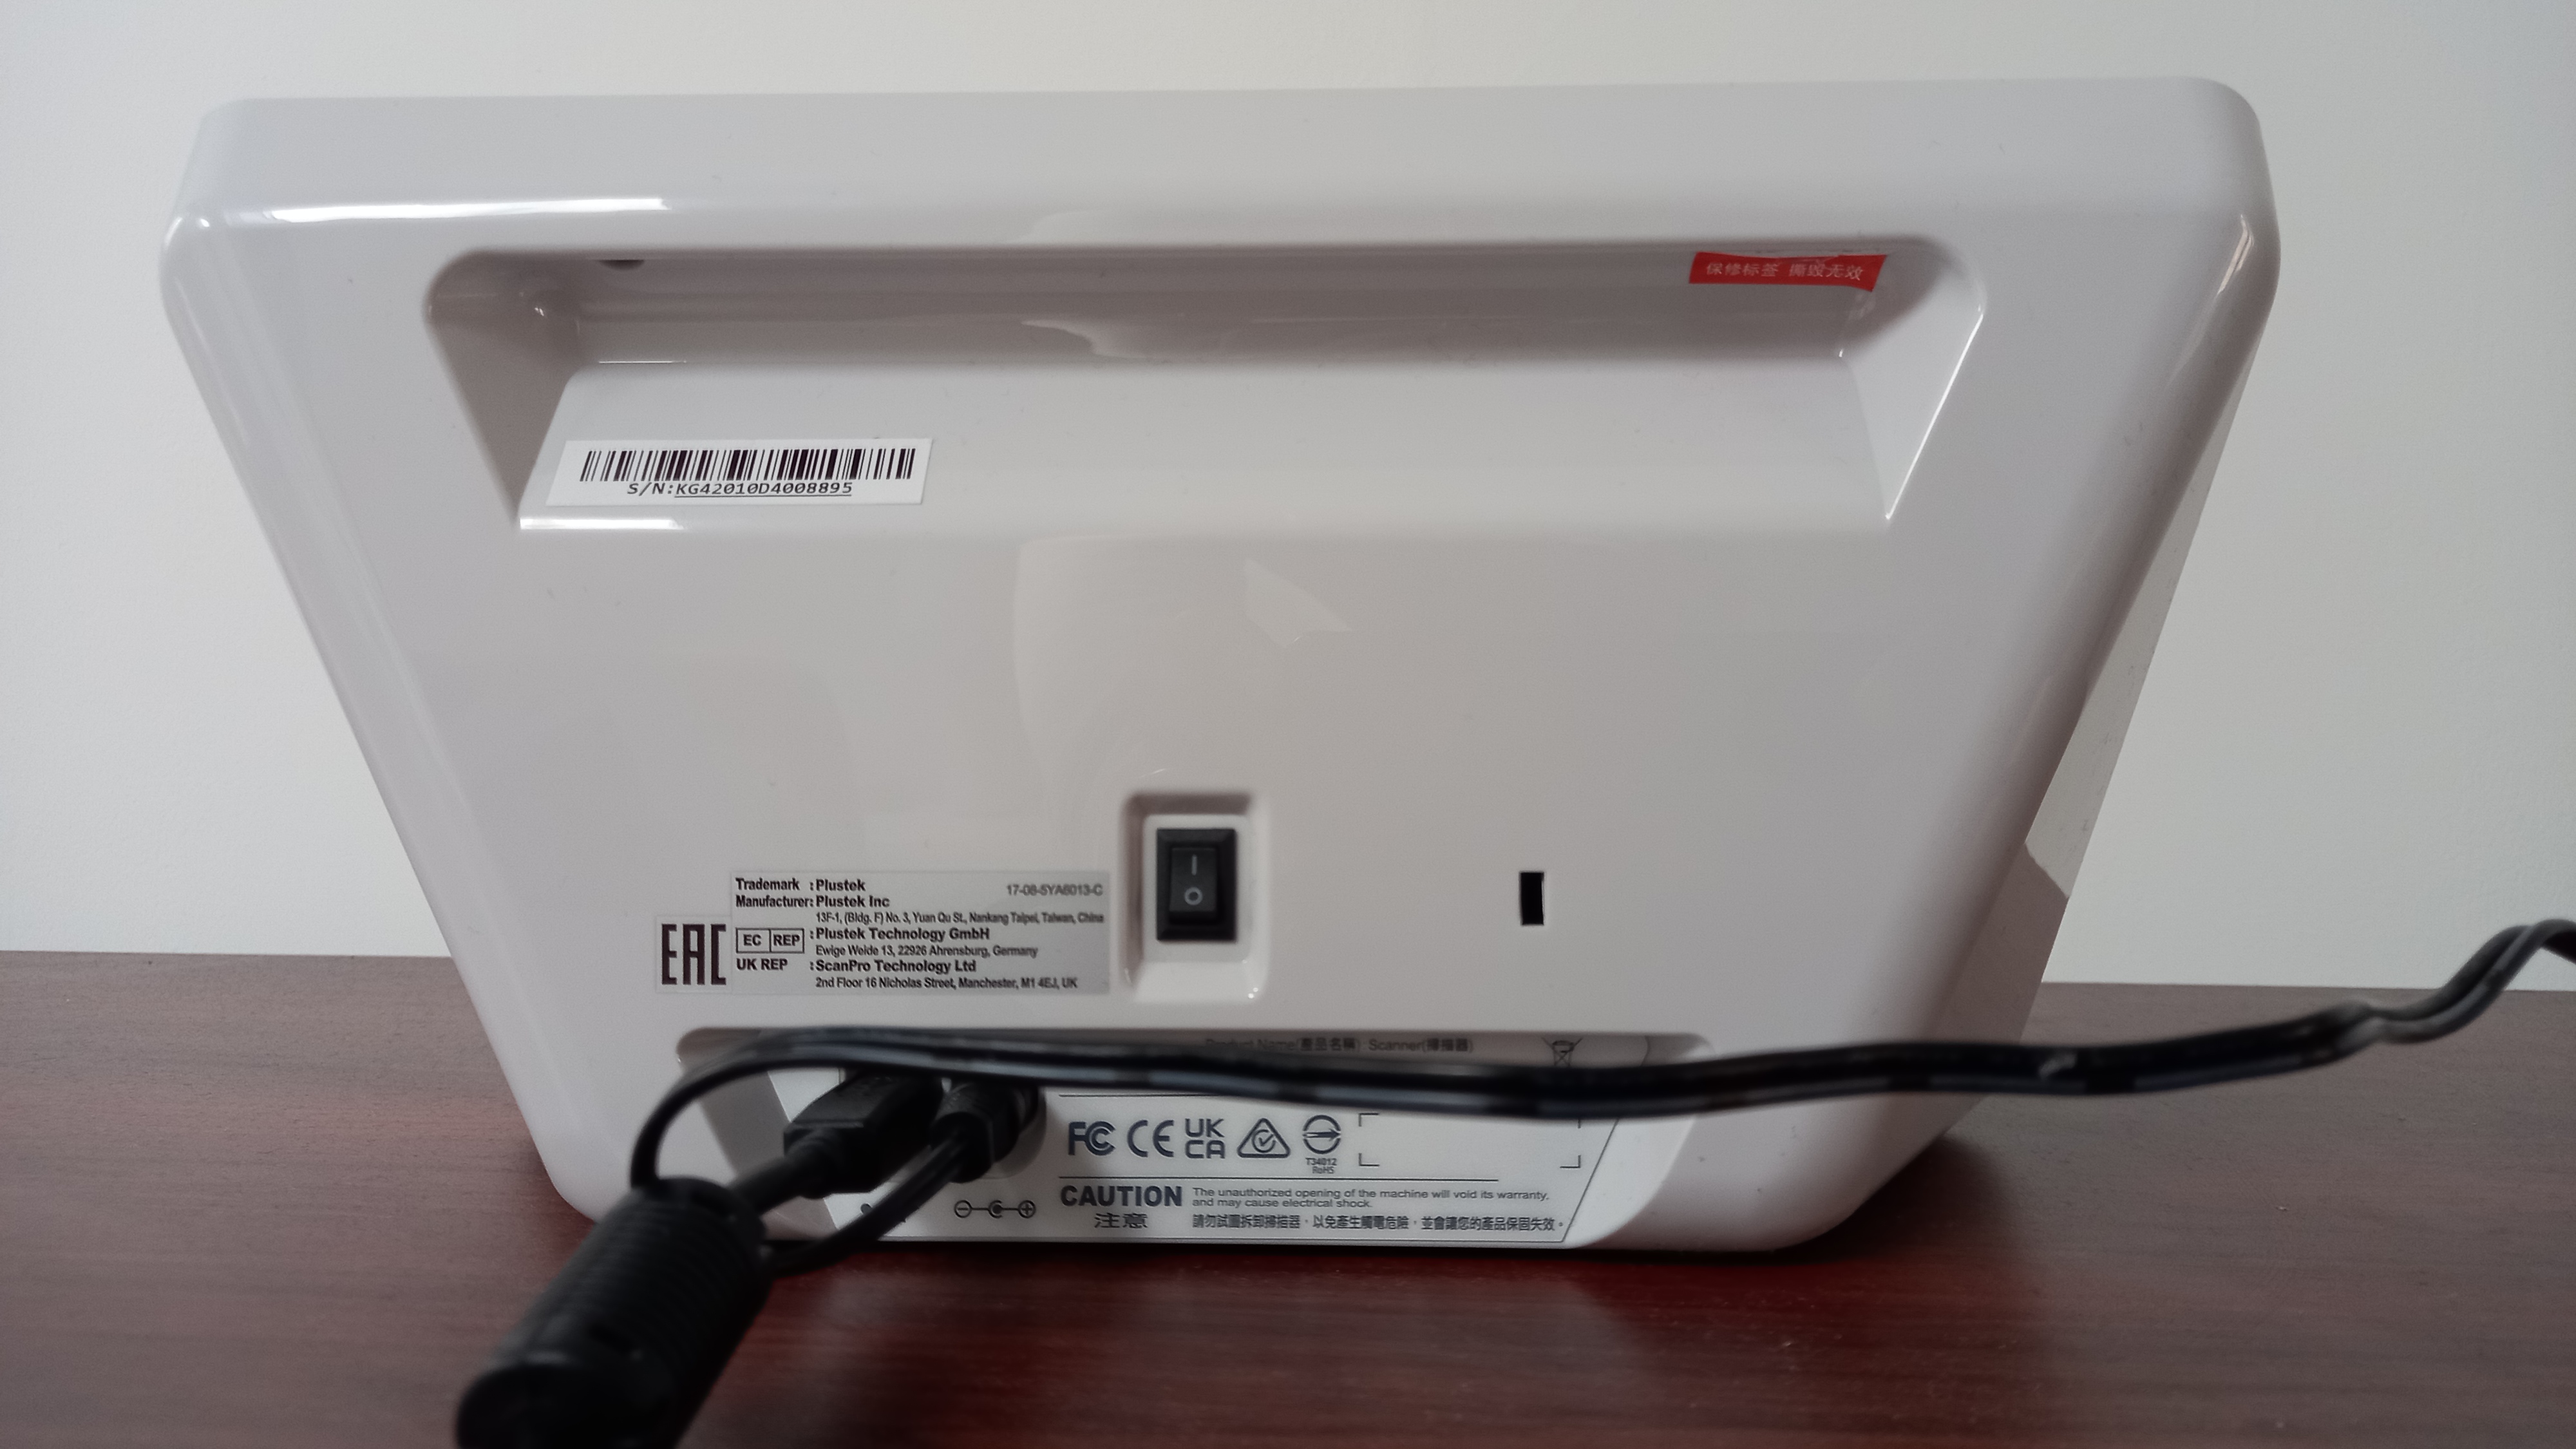
Part of the reason is that it is so simple, both in concept and operation. There's a charger that you connect to the back of the scanner and then plug into the wall. There's a lead that you also connect to the back of the scanner, then plug the other end into your computer's USB-A slot. And, joy of joys, there's an on/off switch.
At the computer end, you have to install the supplied software, which is supplied on a disc. Most laptops don't have disc drives these days, but don't worry: it's easy to just download it from the web instead. The first time you open the software, you're guided through the calibration process using the supplied calibration sheet.
And that's it. There's no room for confusion, no messing around with Bluetooth or WiFi: it really is just plug-and-play. (No wonder the setup video is just two minutes long.) This is such a rarity in today's overcomplicated tech world, that it truly deserves applause.
This is a device, in other words, you can happily give your granddad, without expecting endless late-night calls saying "Why isn't it working…?"
Performance
The next key question is, obviously, how does the Plustek ePhoto Z300 perform? And my simple answer is: well enough.
To start with, I did some tests to check it lived up to Plustek's claims of scanning a 4x6 photo in two seconds. In practice, it did exactly that, over and over again. Not only was it fast, but it was easy too: you simply slip the print in and it does the rest.
Once I'd completed these individual tests, it was time to carry out the kind of task this device was invented for – scanning 400 photos in a single batch. Note that you can't feed multiple photos in one batch, you have to put them in one at a time, and this does become very tedious, very quickly. However, it was something I managed to do while watching TV with minimal distractions, and managed to complete the task in just 20 minutes and 17 seconds. (It's technically possible to beat that time, of course, but are you really that bothered?).
Most importantly, there were no hardware glitches, no software crashes, or any other form of delay, other than my occasionally fumbling motor skills.
Note, though, that this speedy scanning is only possible at 300 dpi. Switch it up to 600 dpi and it takes about 18-20 seconds to scan a 4x6 print and about 40-45 seconds to scan an A4 print or document. That's on a par with some flatbeds and to be honest, it wasn't really worth it for my purposes. After all, I was scanning the less-treasured family photos which never made it into the photo albums, and for good reason. Nice to keep them in some form, though, and 300 dpi was fine for that purpose.
I'd suggest, though, that if you have prints you're particularly fond of, this is not the scanner for those purposes. Particularly as, like all sheet-fed scanners, there's a danger that your print may get damaged. (That didn't happen to any of mine, but it's always a possibility due to human error.)
As far as documents were concerned, the ePhoto Z300 worked well enough there too. Again, the quality of the reproduction wasn't first-class, but in most cases, that's not really going to be an issue for me so I'd happily use it as a backup document scanner 99 percent of the time.
Verdict
This scanner is in no way suitable for professional work, prized personal photos, or basically any material where you care about the quality of the reproduction. However, if you're looking for "good enough" quality of 300dpi and want to scan hundreds, thousands or even tens of thousands of family snaps without having to work too hard, this will do so in pretty quick time.
So as long as you're interessted in this niche use, I'd recommend this scanner, which also benefits from robust build quality, simple but effective design, and easy setup and use. The only possible niggle I can forsee is if your laptop doesn't have a USB-A connector, because most USB-C hubs don't come cheap.
Tom May is a freelance writer and editor specializing in art, photography, design and travel. He has been editor of Professional Photography magazine, associate editor at Creative Bloq, and deputy editor at net magazine. He has also worked for a wide range of mainstream titles including The Sun, Radio Times, NME, T3, Heat, Company and Bella.


