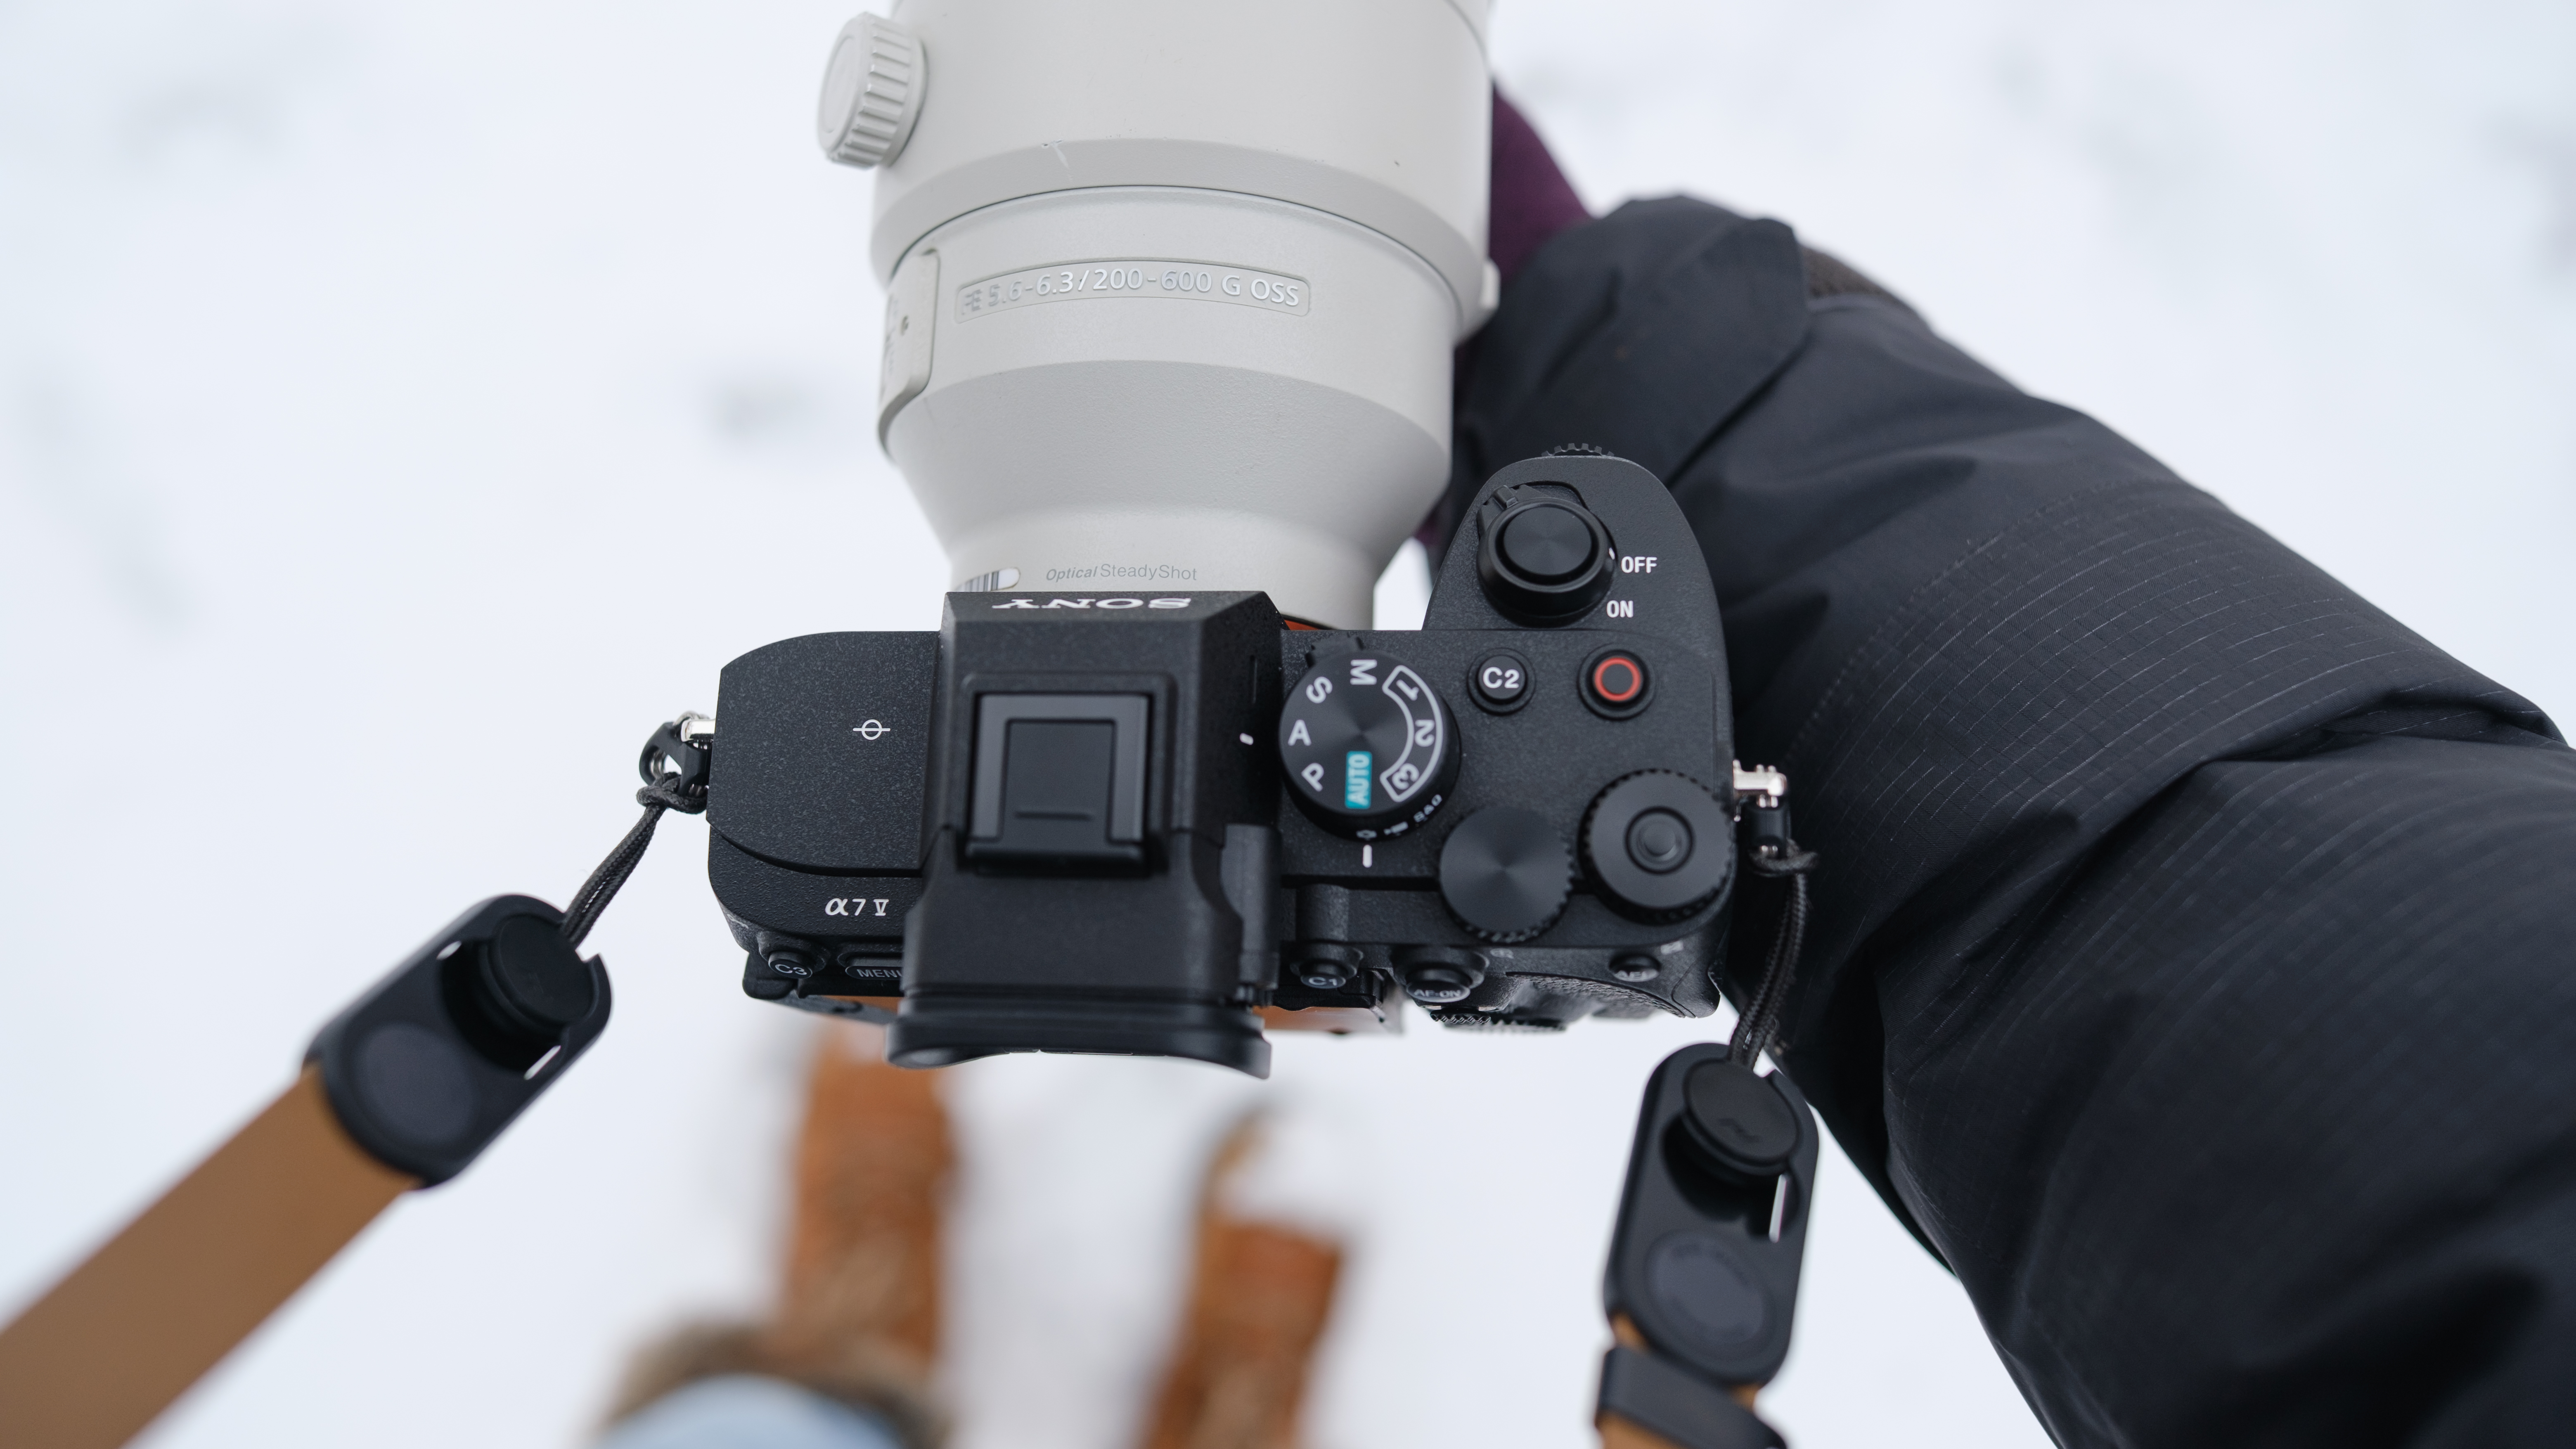
How can a travel tripod cost over $500/£500… (and it’s not even a Gitzo)
Here are 11 bits of brilliance that make the Peak Design Travel Tripod (probably) worth every buck
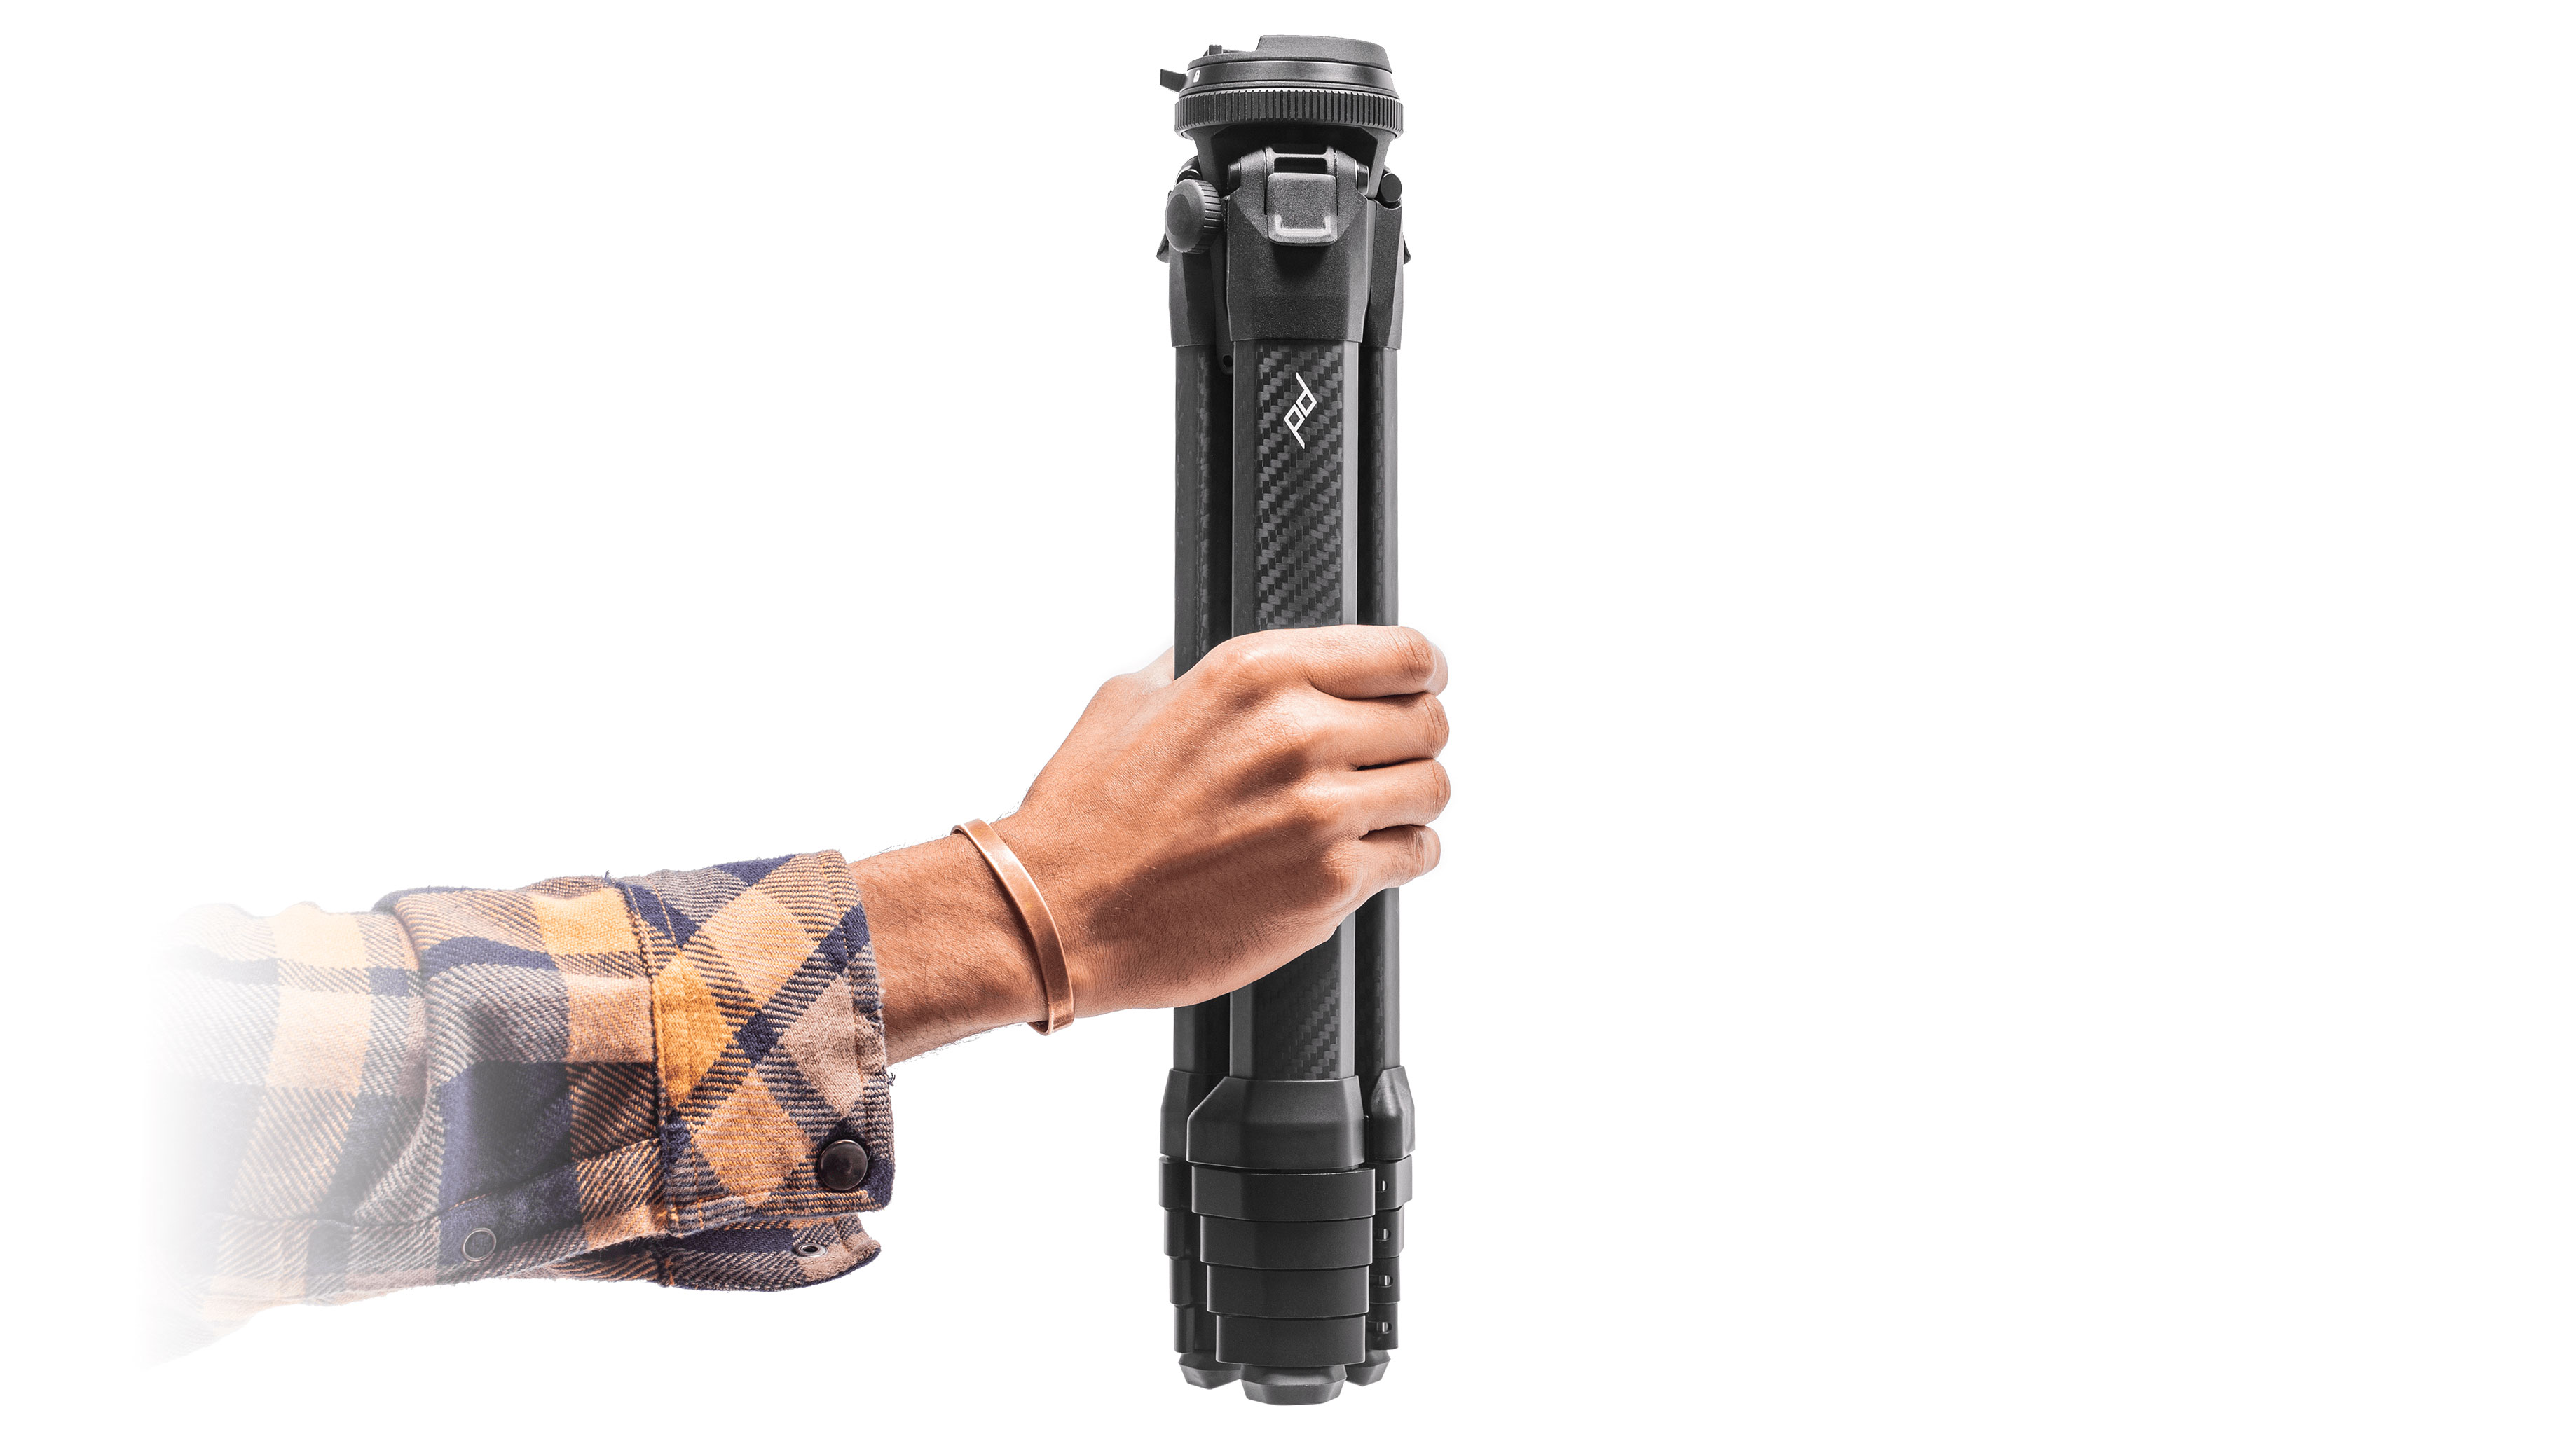
Peak Design is known for its attention to detail. We’ve seen it in its camera straps, its capture clip camera holder, in its backpacks, messenger bags and slings. So what happens when you bring this attention to detail to a tripod?
If you've got half an hour, watch this Peak Design video. It's almost certainly better than what's on TV right now.
So here's what we thought when we got the Peak Design Travel Tripod. First off, it costs A LOT. Second, its cavalcade of design cleverness soon convinced us it was worth our highest rating on Digital Camera World. So here’s a whistle-stop tour of why, and what on earth we were thinking.
• Read our Peak Design Travel Tripod review
1. Magnets
Peak Design uses them to give the center column knob a satisfying ‘snick’ when you push it back in, to make the weight hook at the bottom of the column locate more easily and to stop the smartphone clamp falling out of the hollow center column when you take the hook out.
2. Smartphone mount
So this smartphone mount isn’t just slim enough to fit in the center column, it has a fold out base that slides between the rails of an Arca Swiss mount, like the one on the Peak Design head.
3. Low profile head
This head has such a low profile it looks like there isn’t a head there at all. It’s hardly a centimetre higher than the hub on any regular tripod, and yet it’s a fully functioning ball head with a big, flat base and Arca Swiss compatible rails for the titchy Peak Design camera plate.
The best camera deals, reviews, product advice, and unmissable photography news, direct to your inbox!
4. Camera plate
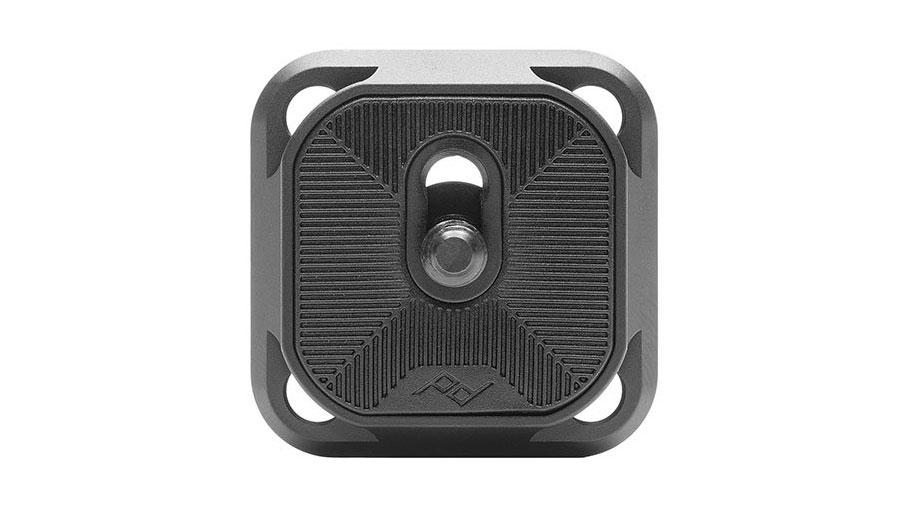
The camera plate may be titchy, but it attaches to the camera with a hex screw that offers far more torque and grip than a regular butterfly nut or coin-slot screw. With this tightened on, your camera is not going to twist on the plate. This plate is also used for the Capture One Clip, so there’s some system compatibility there, and unlike most camera plates, which are typically massive, ugly things you can’t wait to get off the camera, this one is small and slim and could stay on our camera all the time and hardly be noticed. Oh, and it’s omni-directional – you can fit it at four different angles. Handy if you need to insert the camera differently for better vertical movement or to better see the spirit bubble in the tripod head.
5. Tailor-made bag
You get a bag (as you’d hope to at this price), but this one fits like a glove, squishes flat if you want to put it in your pocket or a bag while you’re using the tripod, has attachment hoops for a strap, a carry handle and a small internal pocket to hold a special tool for when you want to clean and maintain your cam levers. Yes, that is a thing.
6. Wobble free column
That stick-think center column is no stick. It’s as rigid as heck and you needn’t think twice about extending it. We’re used to center column wobble in tripods, so to have it entirely absent is weird.
7. Fits in a cabin bag
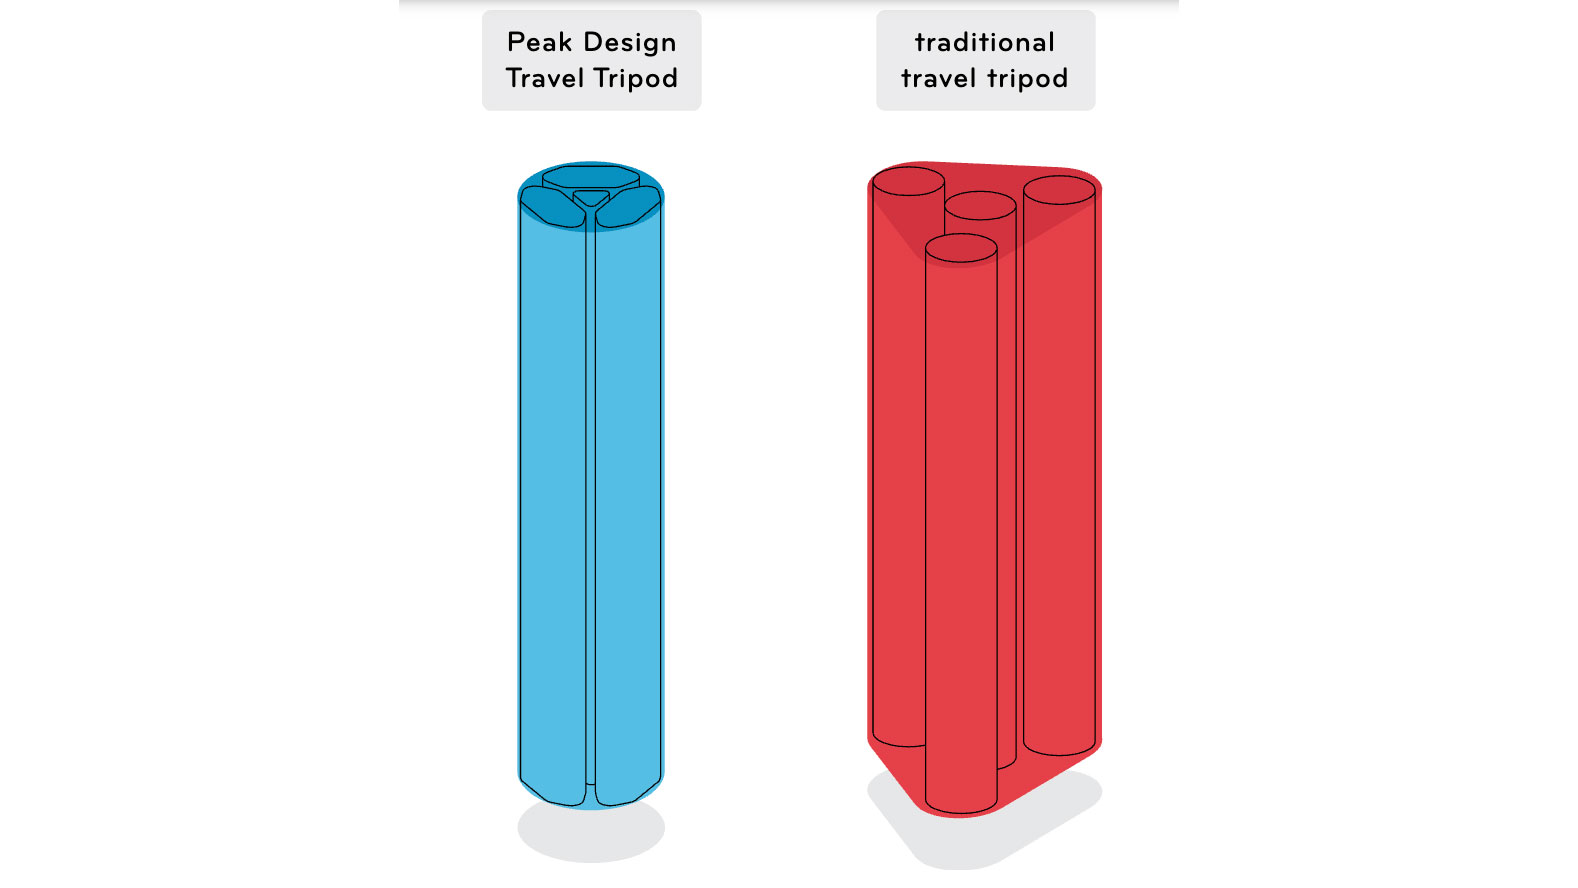
You might want to keep your cabin bag for other things when you’re flying, but you can fit your Peak Design Travel Tripod in it of you want to. Just imagine – no more straps tangled round your ankles, no more tripods falling your face from the overhead locker, and no more smacking fellow passengers in the ear with your tripod as you squeeze down the aisles.
8. Never lose your hex keys
The Peak Design Travel Tripod does rely on its little pair of hex keys, but you’ll always have them with you because they push into a special holder that clamps securely to one the legs. And you don’t like that, there’s an eyelet that lets you attach the hex keys to a key ring (appropriately enough).
9. Systemized accessories
If you love fiddling with addons and gadgets, screws and clips, you’ll love the extras for the Peak Design Travel tripod. There’s a regular tripod head attachment kit in case you already have a head you can’t bear to be without, a spike kit for rough and tough outdoor shooting and an ultralight kit which swaps out the bottom four leg sections for a single elongated pointed foot.
10. 9kg payload
What’s the heaviest camera/lens combo you’ve got? A full frame D-SLR with a 70-200mm f/2.8? No, it’s not enough. Not even close. This is a travel tripod that can easily handle a big, fat DSLR and an even bigger, fatter supertelephoto without buckling.
11. You can get it for 42% less
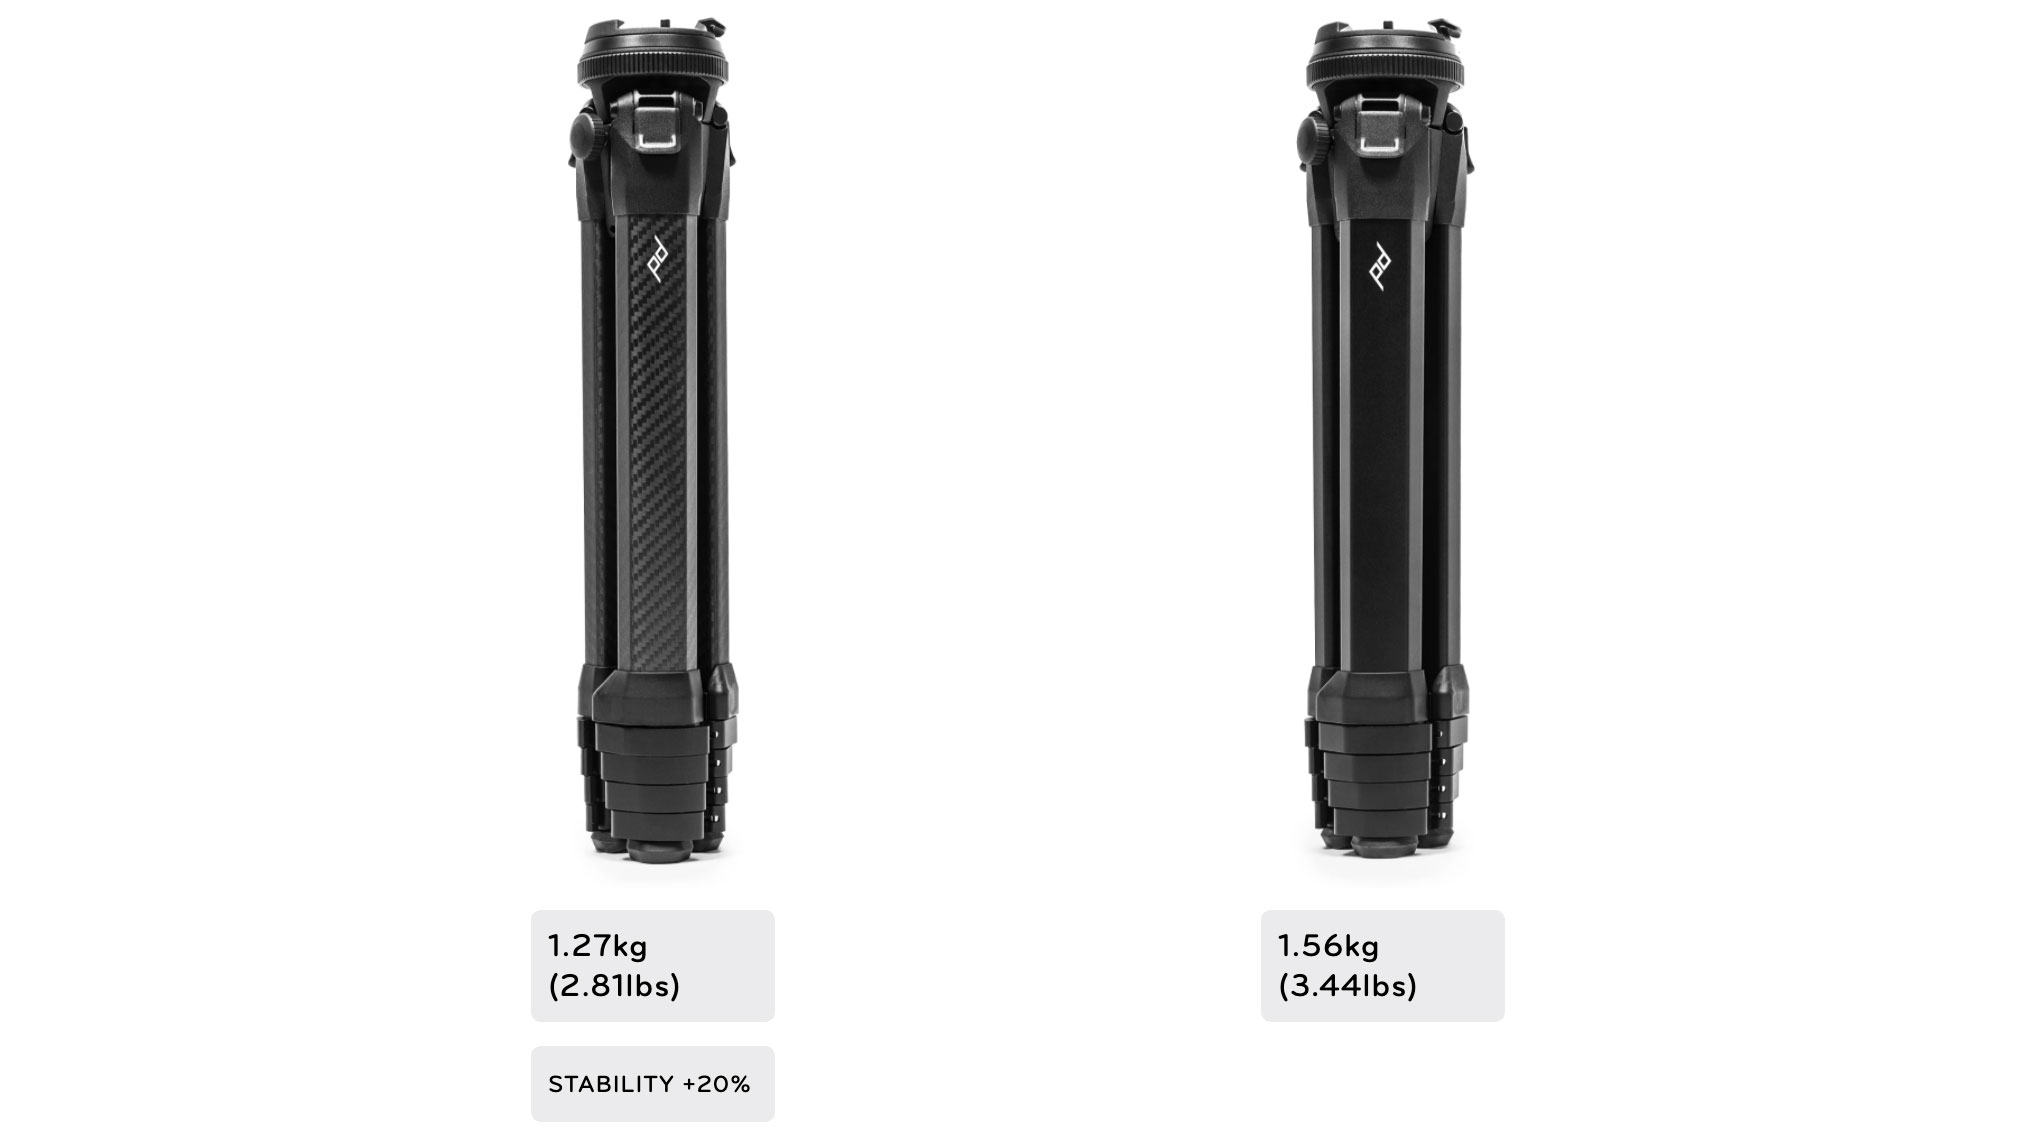
You don’t have to pay over $500/£500 to get all this. That price is for the carbon version. There is a cheaper (a much cheaper) aluminum version which has all the gadgets without the price tag. If you can live with 20% less stiffness, 23% more weight (is that all?) and 42% less cost (whoa!), then get the aluminum one.
Read more:
• These are the best travel tripods right now
• We pick the best tripod for all round photography
• These are the best cameras for travel
• The best camera backpacks right now
• Gitzo 3-way Fluid Head

Rod is an independent photography journalist and editor, and a long-standing Digital Camera World contributor, having previously worked as DCW's Group Reviews editor. Before that he has been technique editor on N-Photo, Head of Testing for the photography division and Camera Channel editor on TechRadar, as well as contributing to many other publications. He has been writing about photography technique, photo editing and digital cameras since they first appeared, and before that began his career writing about film photography. He has used and reviewed practically every interchangeable lens camera launched in the past 20 years, from entry-level DSLRs to medium format cameras, together with lenses, tripods, gimbals, light meters, camera bags and more. Rod has his own camera gear blog at fotovolo.com but also writes about photo-editing applications and techniques at lifeafterphotoshop.com

