Shoot Amazing Artistic Architecture
Top tips for sensational images of the urban environment
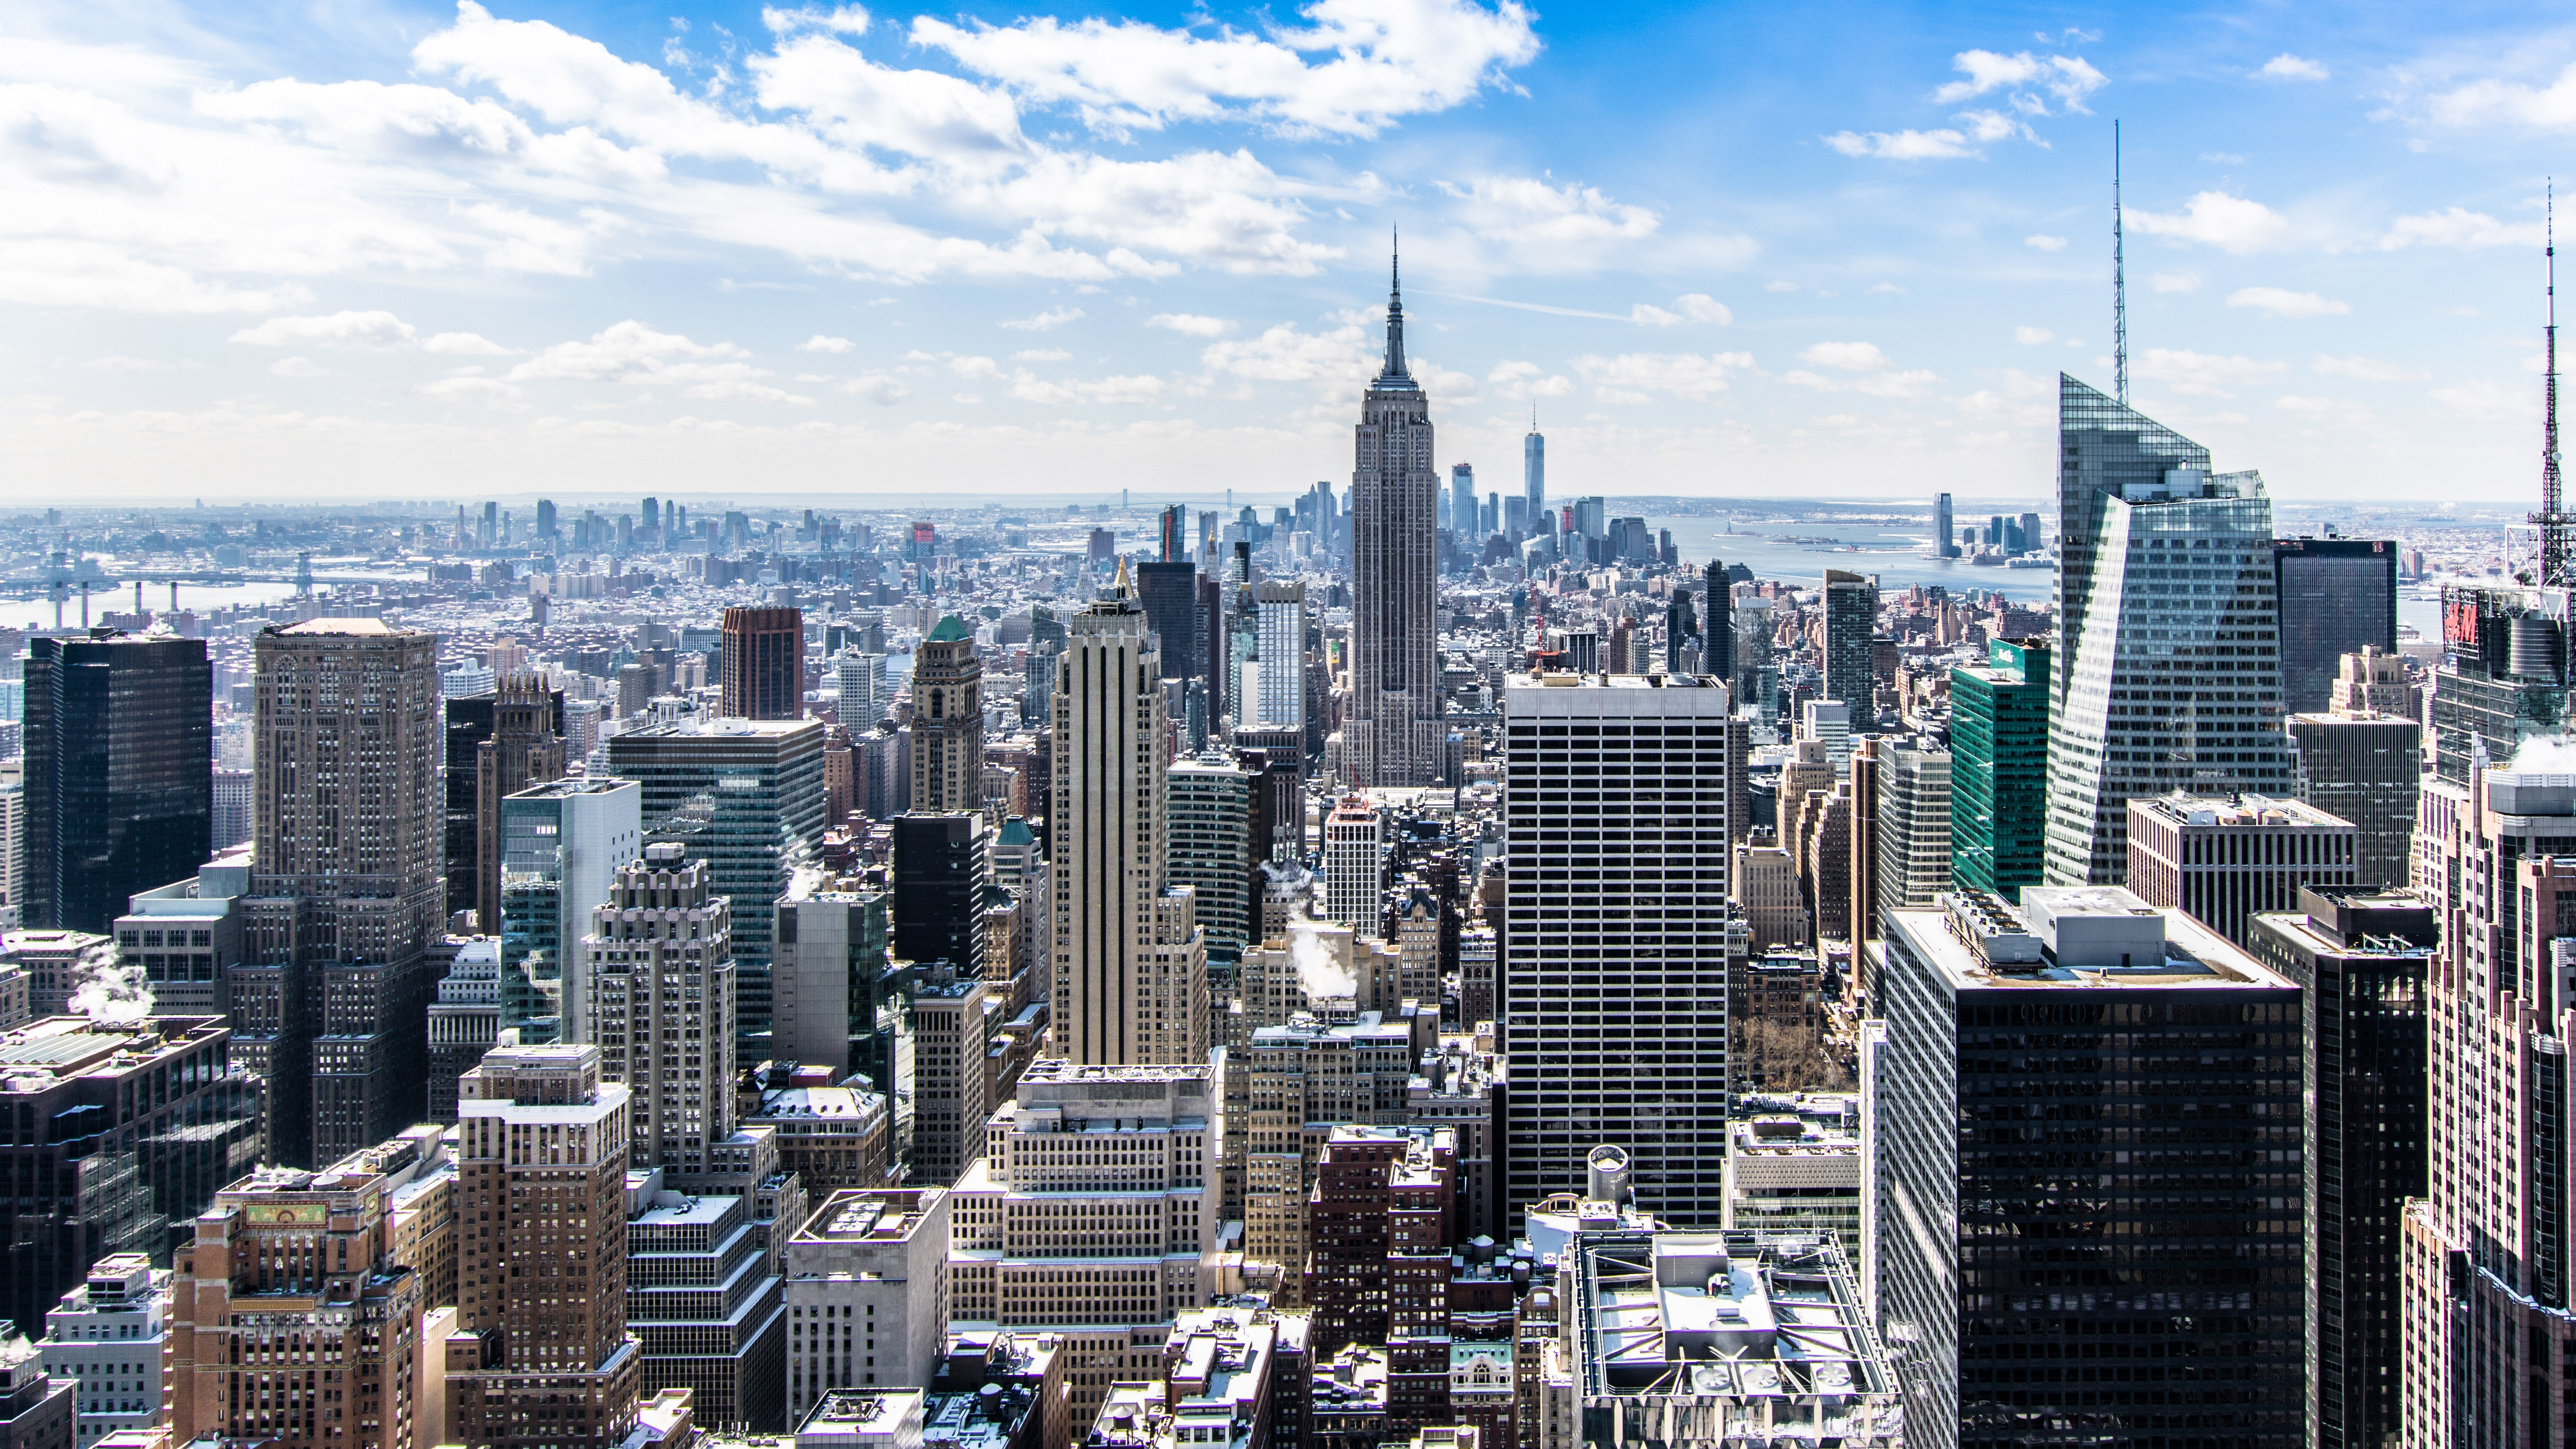
Architecture is a very popular, yet specialized area of photography. This is likely due to the innately artistic nature of building design itself - older structures convey the grandeur of times past, while newly-built, modern structures show the progressive nature of current trends and construction technologies.
Much like human portraiture, every building has a character that can be challenging to accurately capture in an image. Exploring the nature and form of a structure appeals to our creative tastes as photographers and allows us to experiment with a seemingly unlimited number novel and exciting compositional approaches.
The key challenges of this genre are capturing a flattering perspective, which accurately depicts the shape and design and showing or controlling the context of the building’s environment. Additionally, finding unique angles and dealing with distractions within the frame, can challenge our artistic abilities. Beyond this, there are the many legal considerations we must keep in mind - it is easy to forget that buildings are property and we must take care not to infringe the rights or privacy of the owners.
All of these aspects may make urban photography seem like a complex and potentially intimidating area to tackle. However, with some forethought, a creative skillset and a proper understanding of what we are entitled to shoot, it is possible to enjoy urban areas as photographic ‘playgrounds’, exploiting the endless opportunities for stunning and dramatic imagery that they present to us.
1- Vary your style
Not all buildings are the same. This might seem like an obvious statement, but from a photographers perspective there are some important consequences. Depending on the style of the buildings around you, your creative approach needs to be adapted.
When you arrive on location in any major urban area, it is possible to feel slightly overwhelmed by the vast array of potential engaging subjects for our attention and study. Knowing where to start and how best to capture the atmosphere and tone of a city, in a two dimensional photograph, can seem like an impossible task. A common strategy adopted by beginners is to try and capture everything, all at once, often employing very wide angle lenses and creating extensive compositions. This is likely a mistake, as the dense levels of detail can quickly swamp an image, and reduce the overall dramatic effect.
One style does not fit every building type and design. The age of the structure has a great influence on how the photographer should approach the subject.
The best camera deals, reviews, product advice, and unmissable photography news, direct to your inbox!
Old buildings frequently feature a large amount of coloured, high textured stone, with an often angular profile. The difficulty this presents is that these building materials reflect very little light back towards the camera, resulting in the subject appearing dull when lit from the front and easily underexposed with back-lighting.
Warm-coloured stone can also introduce White Balance problems, by confusing auto-WB systems into making unsightly cyan or green colour casts. To combat exposure issues, take a meter reading from a neutral mid-tone, such as grey) and use +⅔ EV exposure compensation to lift the shadows, while simultaneously neutralising unexpected colour shifts. Using a preset WB or manual colour temperature also offers more predictable colour control.
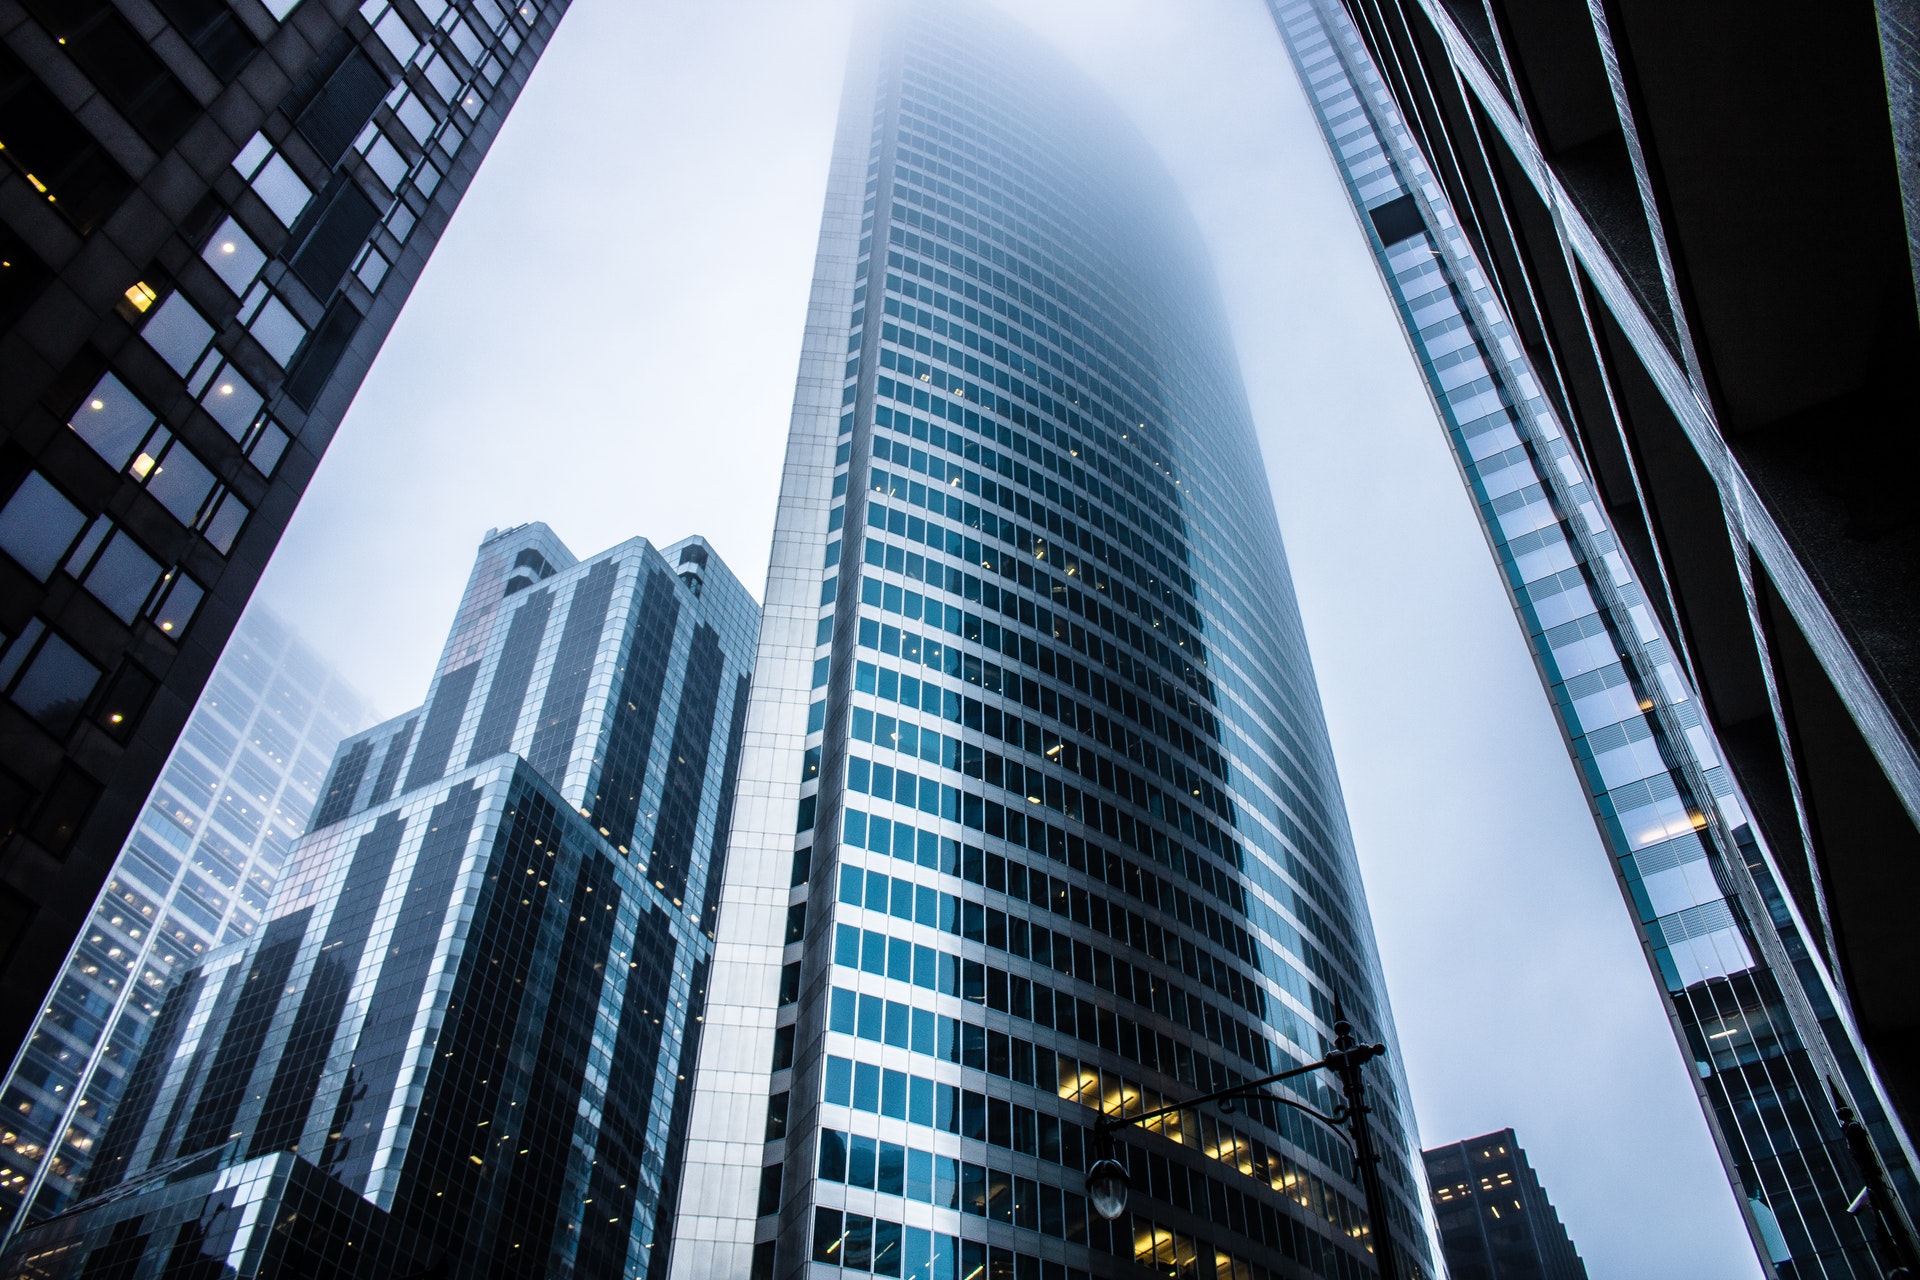
When shooting modern structures, which use large amounts of glass in their construction, be prepared to adjust camera settings to compensate for the highly reflective properties. Bright ‘hotspots’ are common, especially under midday sun, so use -1EV approximately, to avoid loss of highlight detail. Compose so that the sun is not directly visible in a reflection, to make exposure calculation manageable.
Contemporary designs use more curves and sinuous lines than pre- 20th Century architecture, so try wider framing, to emphasis the ‘direction’ of the design philosophy - the leading lines. Another challenge is lack of contrast, where reflections blur boundaries between building and sky. In these cases, focus on colour contrasts, even when small in the frame, to better define where one part of the composition ends and another begins.
More: Shoot a city skyline indoors!
2- Look for unusual angles
Composition can make or break any image. Cities and other built-up urban areas are usually densely populated, with both people and buildings, making it challenging for the photographer to correctly isolate a single subject on which viewers can concentrate. Furthermore, buildings themselves often feature a great amount of detail and engaging design elements that need to be arranged with some thought if the final image is to have the desired impact.
One of the key aspects that may let an architectural image down is the angle from which the structure is shot. If a photo shows a building at eye-level, it is simply recreating a scene anybody could view with their own eyes, stripping away the potential intrigue of the scene. In addition, selecting a perspective on a building that merely shows it from one well-known angle is far from creative and wastes the potential demonstrated by all details that are out-of-shot. Although many have an iconic facade, that is instantly recognizable, it is good photographic practise to explore new angles.
Try changing camera height, to exaggerate or hide low-level foreground detail. Then experiment with tilting your camera up or down, to see how perspective is altered and how this impacts depth.
'Iconic’ is a theme that can add sales value to your images, but explore other angles too
3- Exclude the ground
By excluding the often busy lower half of the frame, which contains people, cars and street furniture, producing a bottom-heavy feel, you can produce a more balanced frame. Cityscapes really benefit from an immersive atmosphere, where the vibrant tone of the environment is clear to viewers. This can be lost if the incorrect lens focal length is used - too wide and details seem overly distant, too long and points of interest may be excluded. Vary lens choice to intentionally experiment with placing a building or architectural design in or out of context, by showing more or less of the surroundings. An entirely different theme can be conveyed by simply zooming a few millimeters.
4- Experiment with exposure
There is a great deal of movement in urban locations. From traffic speeding through busy road intersections, to commuters flowing along pavements during the morning rush hour, cities are full of energy. It is therefore vital that we consider how this will appear in our images and take control of exposure, to ensure the dynamism of our subject shows through. Ultra-short shutter speeds won’t often find a place in an architectural and cityscape photographer’s arsenal, since the frozen movement these generate produces unnaturally static compositions.
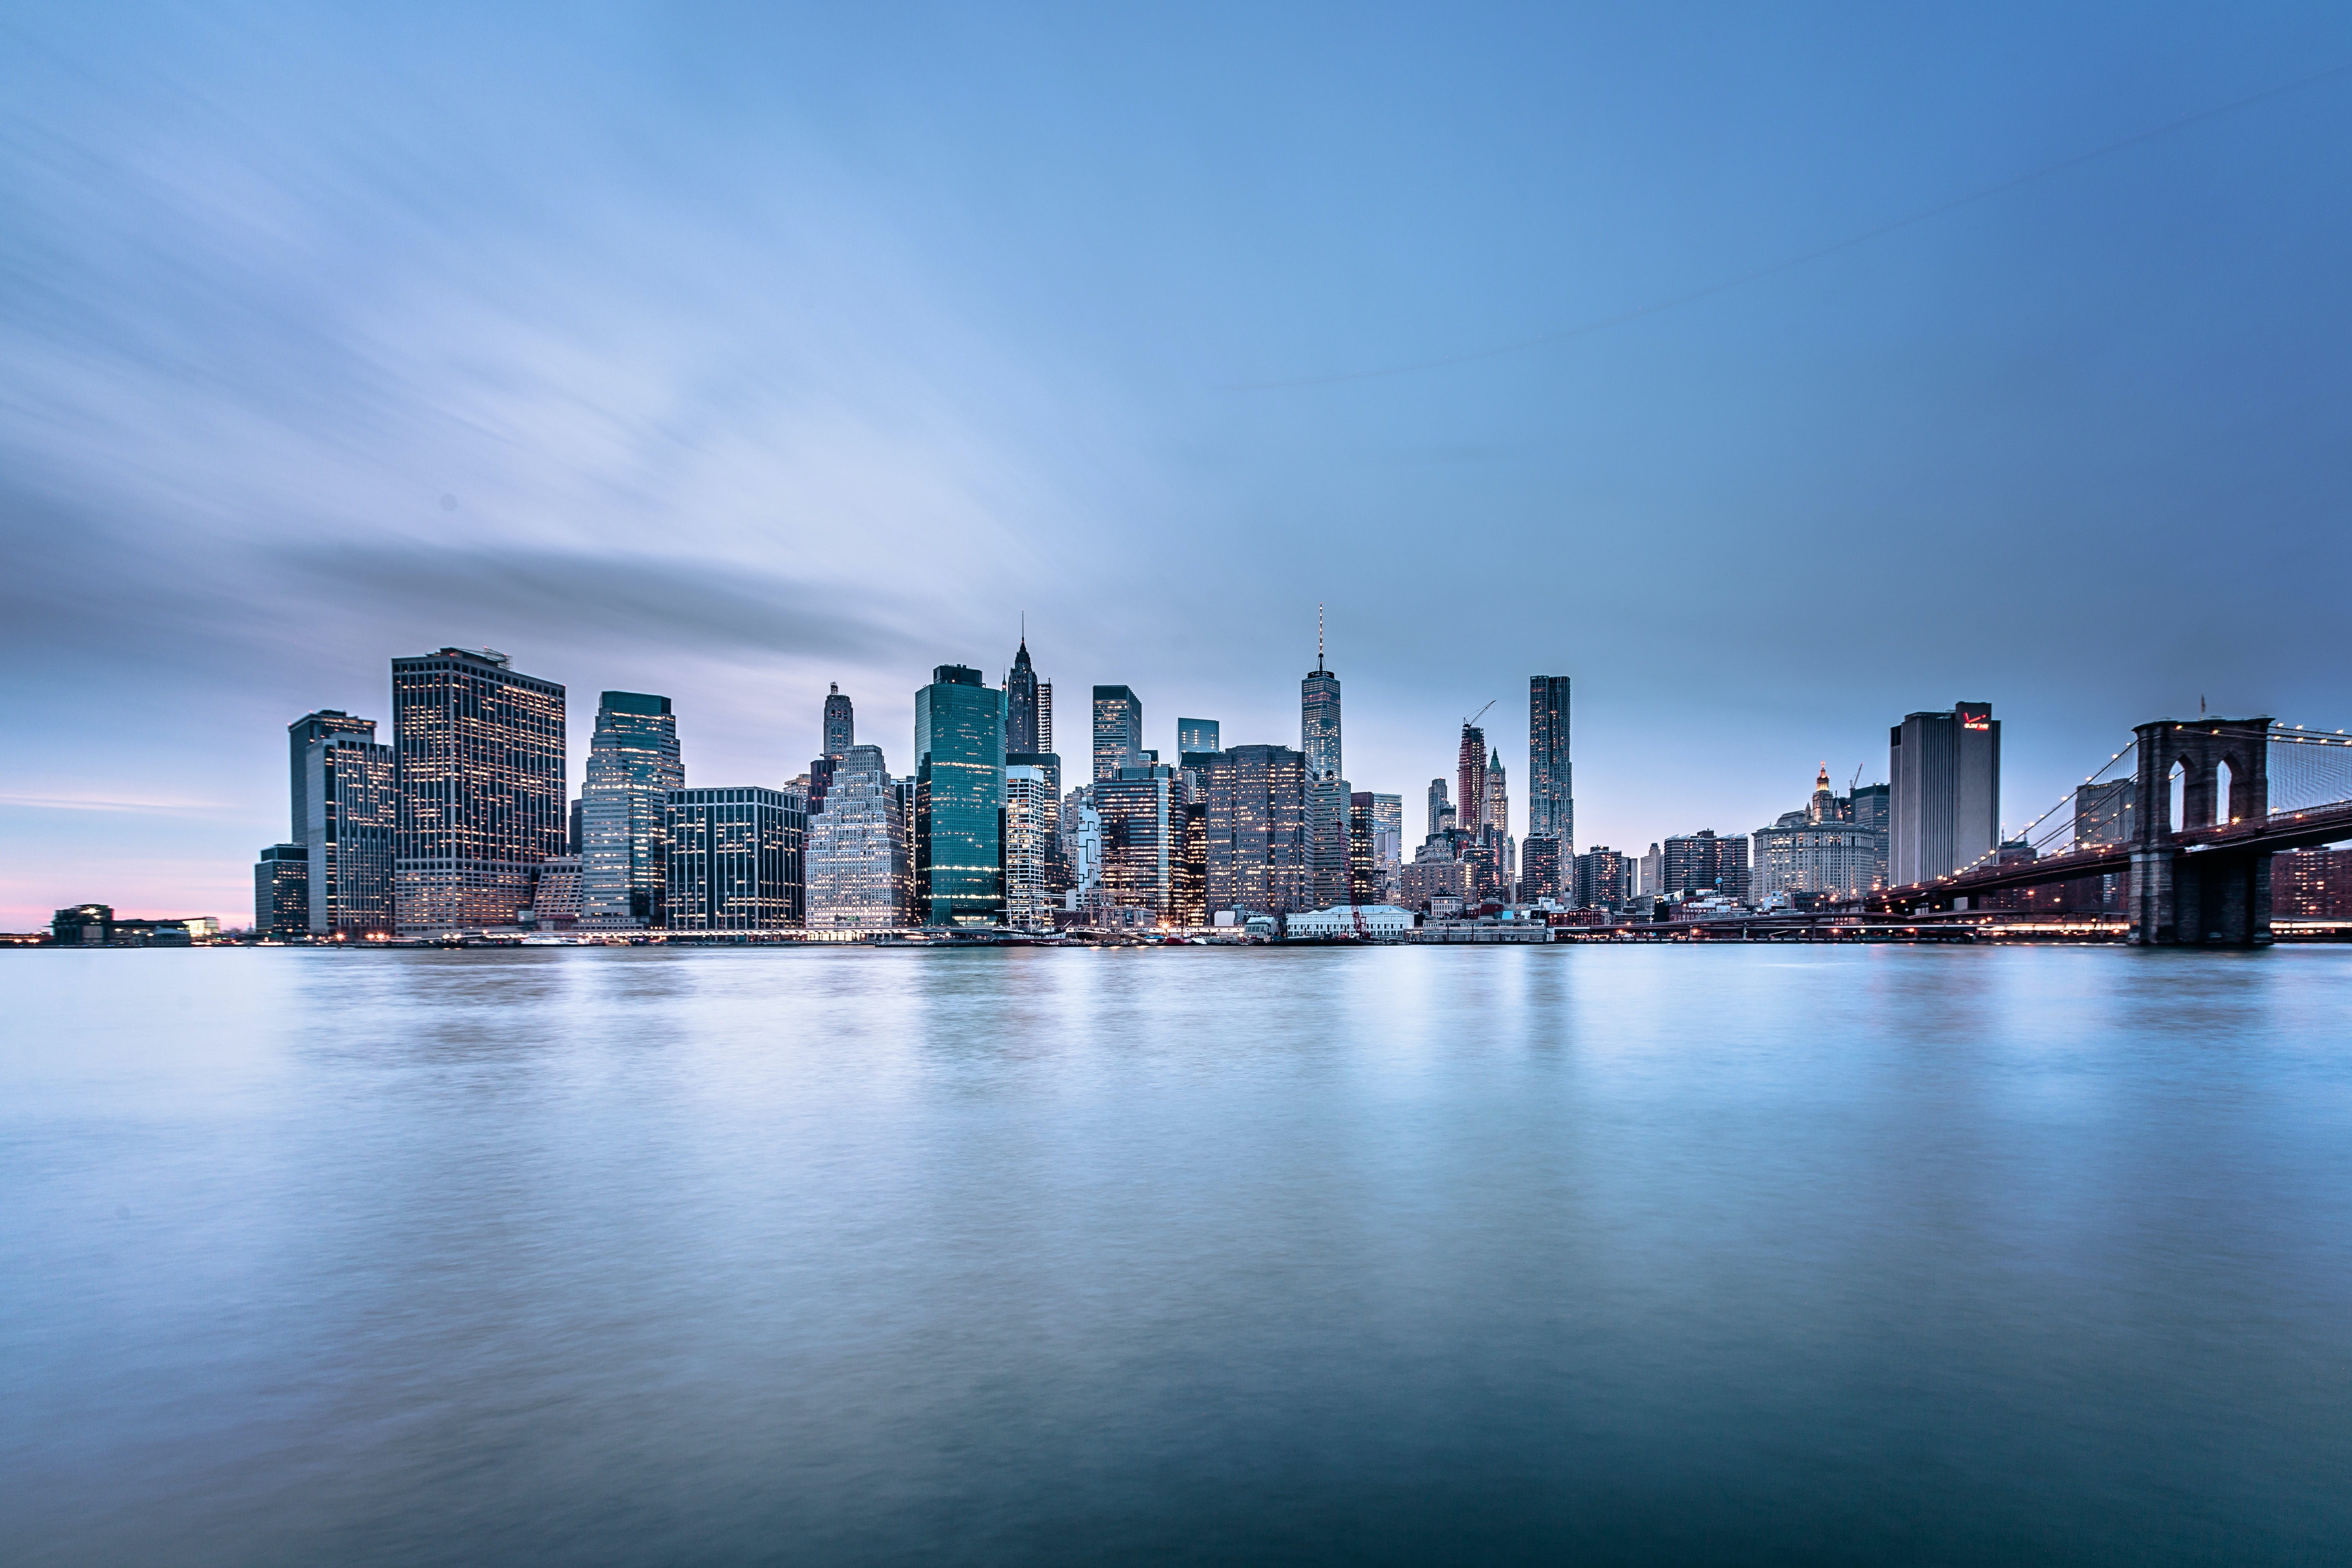
Long exposures can be used for a multitude of purposes. They can be employed to soften skies for contrast against sharp structural detail, and to produce a soft light quality, that creates a painterly style. This balances the distribution of detail throughout the frame.
Exposures of several minutes will also help to minimize distracting elements by removing people and traffic, providing they are not stationary for extended periods.
5- Shoot at different times of day
Many tourists only shoot in the middle of the day. This is bad for their photos, but is good news for you! This means by shooting at other times, in different light, you can create photos with a difference.
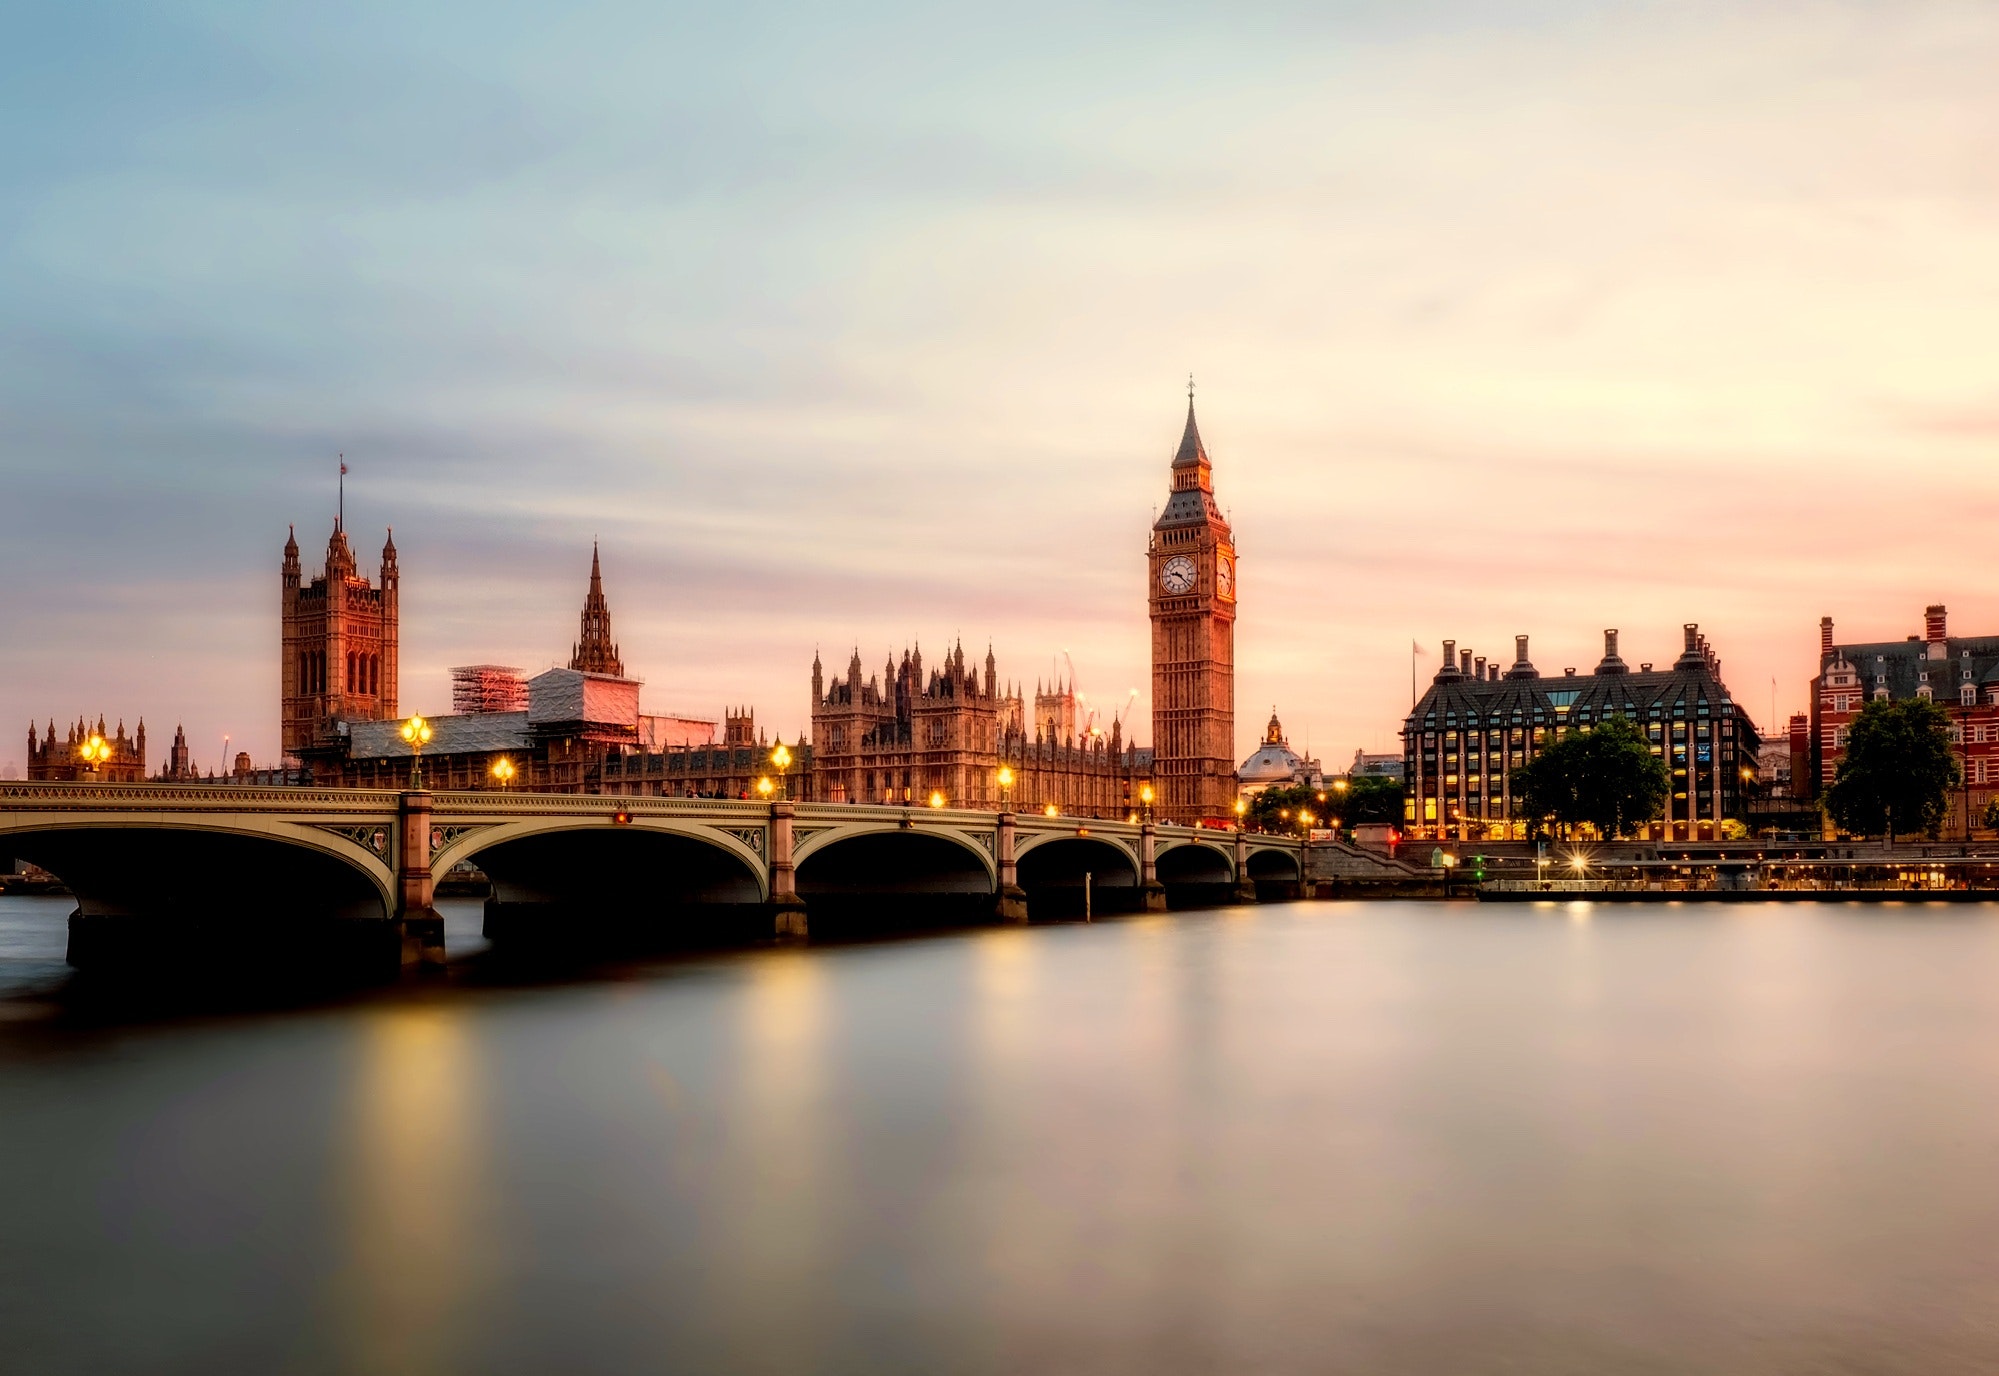
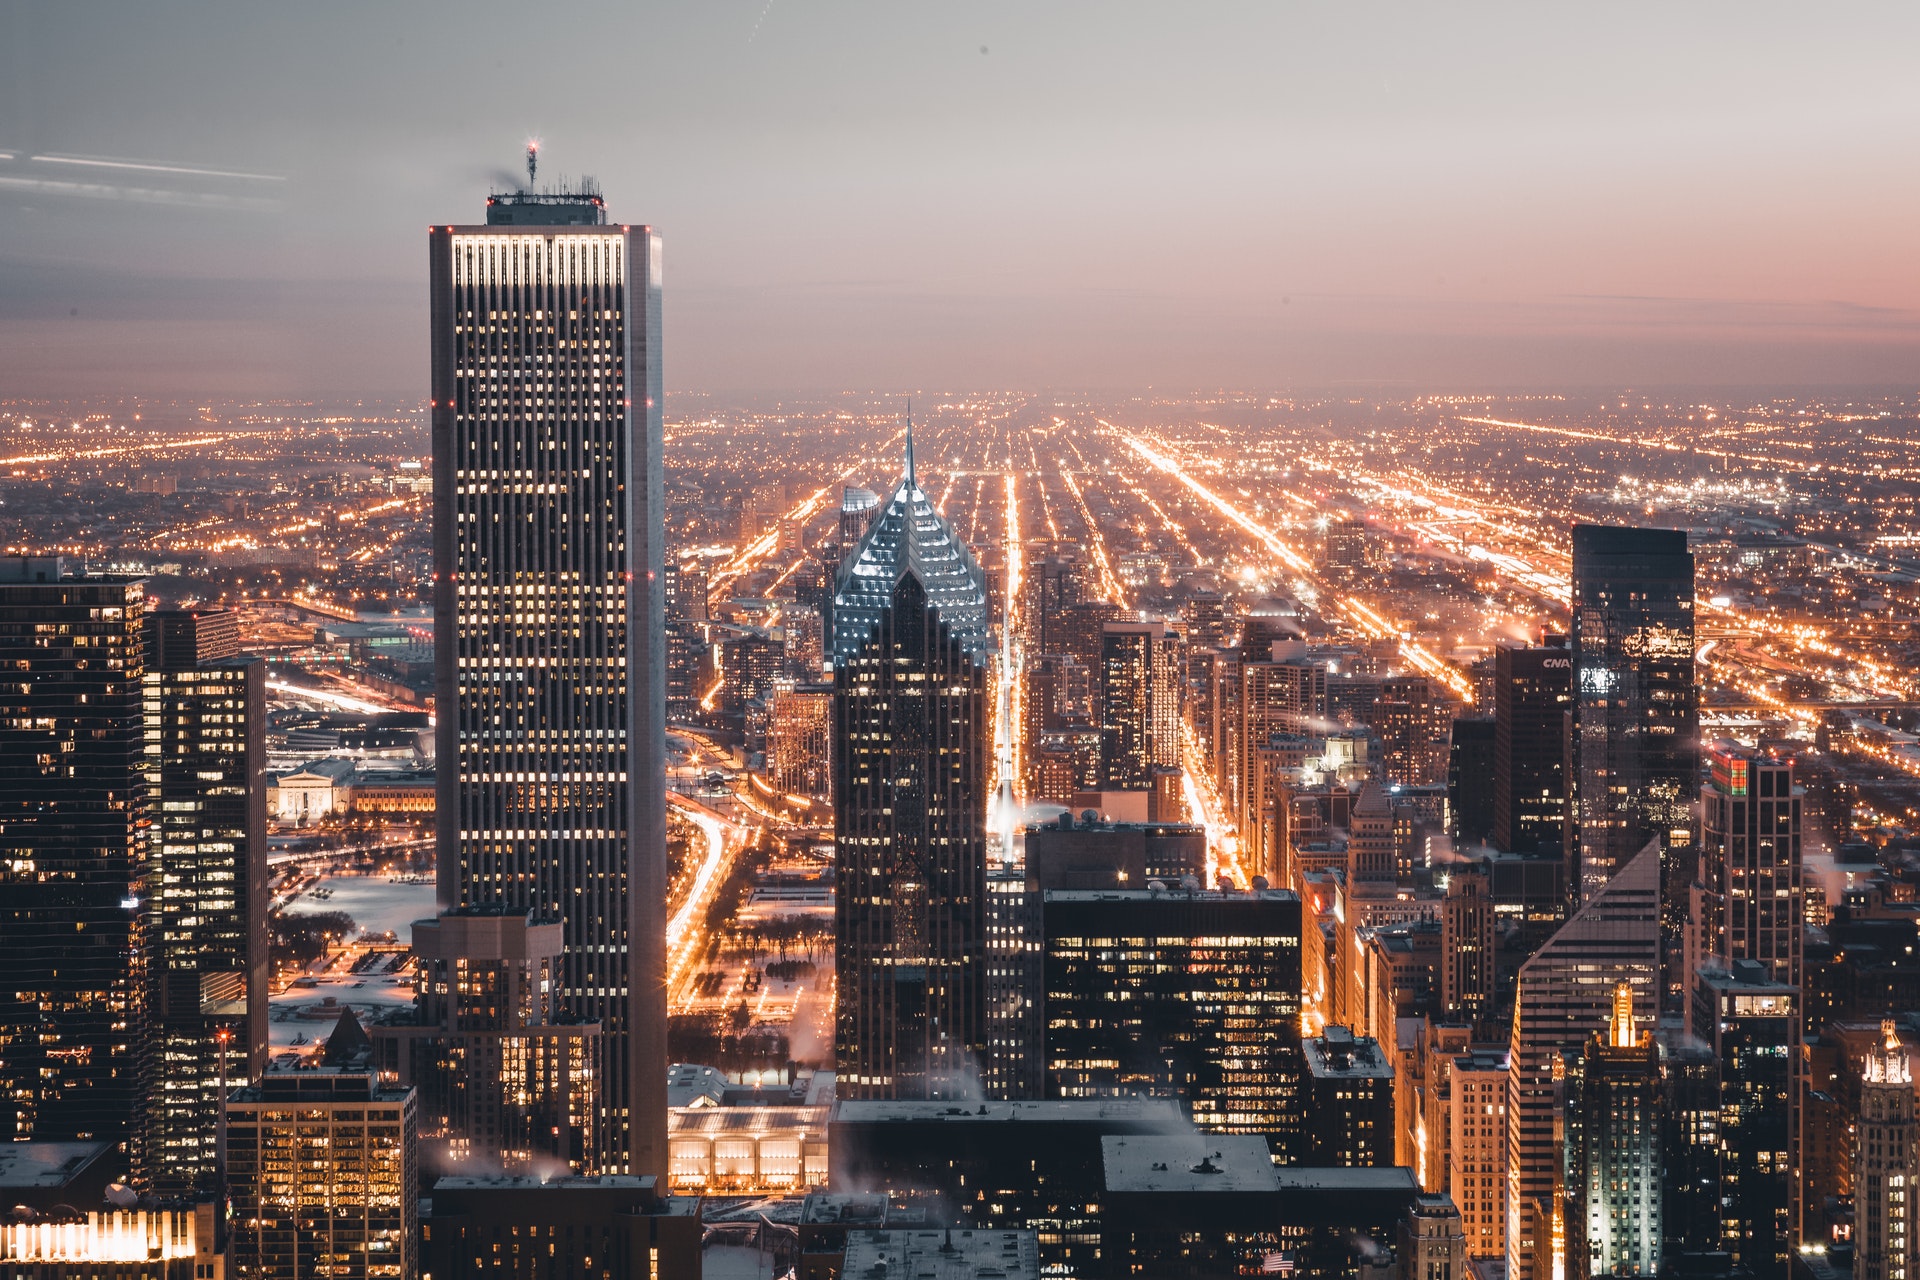
One of the great qualities of urban environments, is that the densely populated scenes very easily take on new appearances as the light changes, either reflecting or absorbing colour and tone from the sky. In modern cities, for example, the predominance of glass results in light ‘bouncing’ between buildings, altering its softness and hue. It is possible to shoot the same scene at sunrise, midday and sunset and produce an almost entirely unique atmosphere in each frame. Meanwhile, after dark, a city can adopt an otherworldly style as the artificial light from within buildings produces vibrant contrast against the low light surroundings.
6- Experiment with colour
Try shooting with the 'wrong' white balance to exaggerate the colour of the light. At sunset, for example, use the Shade WB preset on your camera to make the reds and yellows really pop. Meanwhile, after dark, use Tungsten to push the blues and other 'cooler' colours. Shooting in RAW allows you to play with colours further in post processing.
Read more
Canon EOS R3 has motorsport AF mode, flip screen, optical joystick, 8 stops of IBIS
As the Editor for Digital Photographer magazine, Peter is a specialist in camera tutorials and creative projects to help you get the most out of your camera, lens, tripod, filters, gimbal, lighting and other imaging equipment.
After cutting his teeth working in retail for camera specialists like Jessops, he has spent 11 years as a photography journalist and freelance writer – and he is a Getty Images-registered photographer, to boot.
No matter what you want to shoot, Peter can help you sharpen your skills and elevate your ability, whether it’s taking portraits, capturing landscapes, shooting architecture, creating macro and still life, photographing action… he can help you learn and improve.
