A vision in pink: shoot incredible images of blossom
Make the most of blossom in bloom and shoot the bucket list tree avenue shot
Blossom emergence is one the natural events many photographers set their calendar by, the others being snow, spring shoots and autumn colour, amongst others. The vibrant pinks, purples and delicate whites are a magnet to both landscape and cityscape photographers, while portrait shooters also find ways of making great use of the colourful flowers.
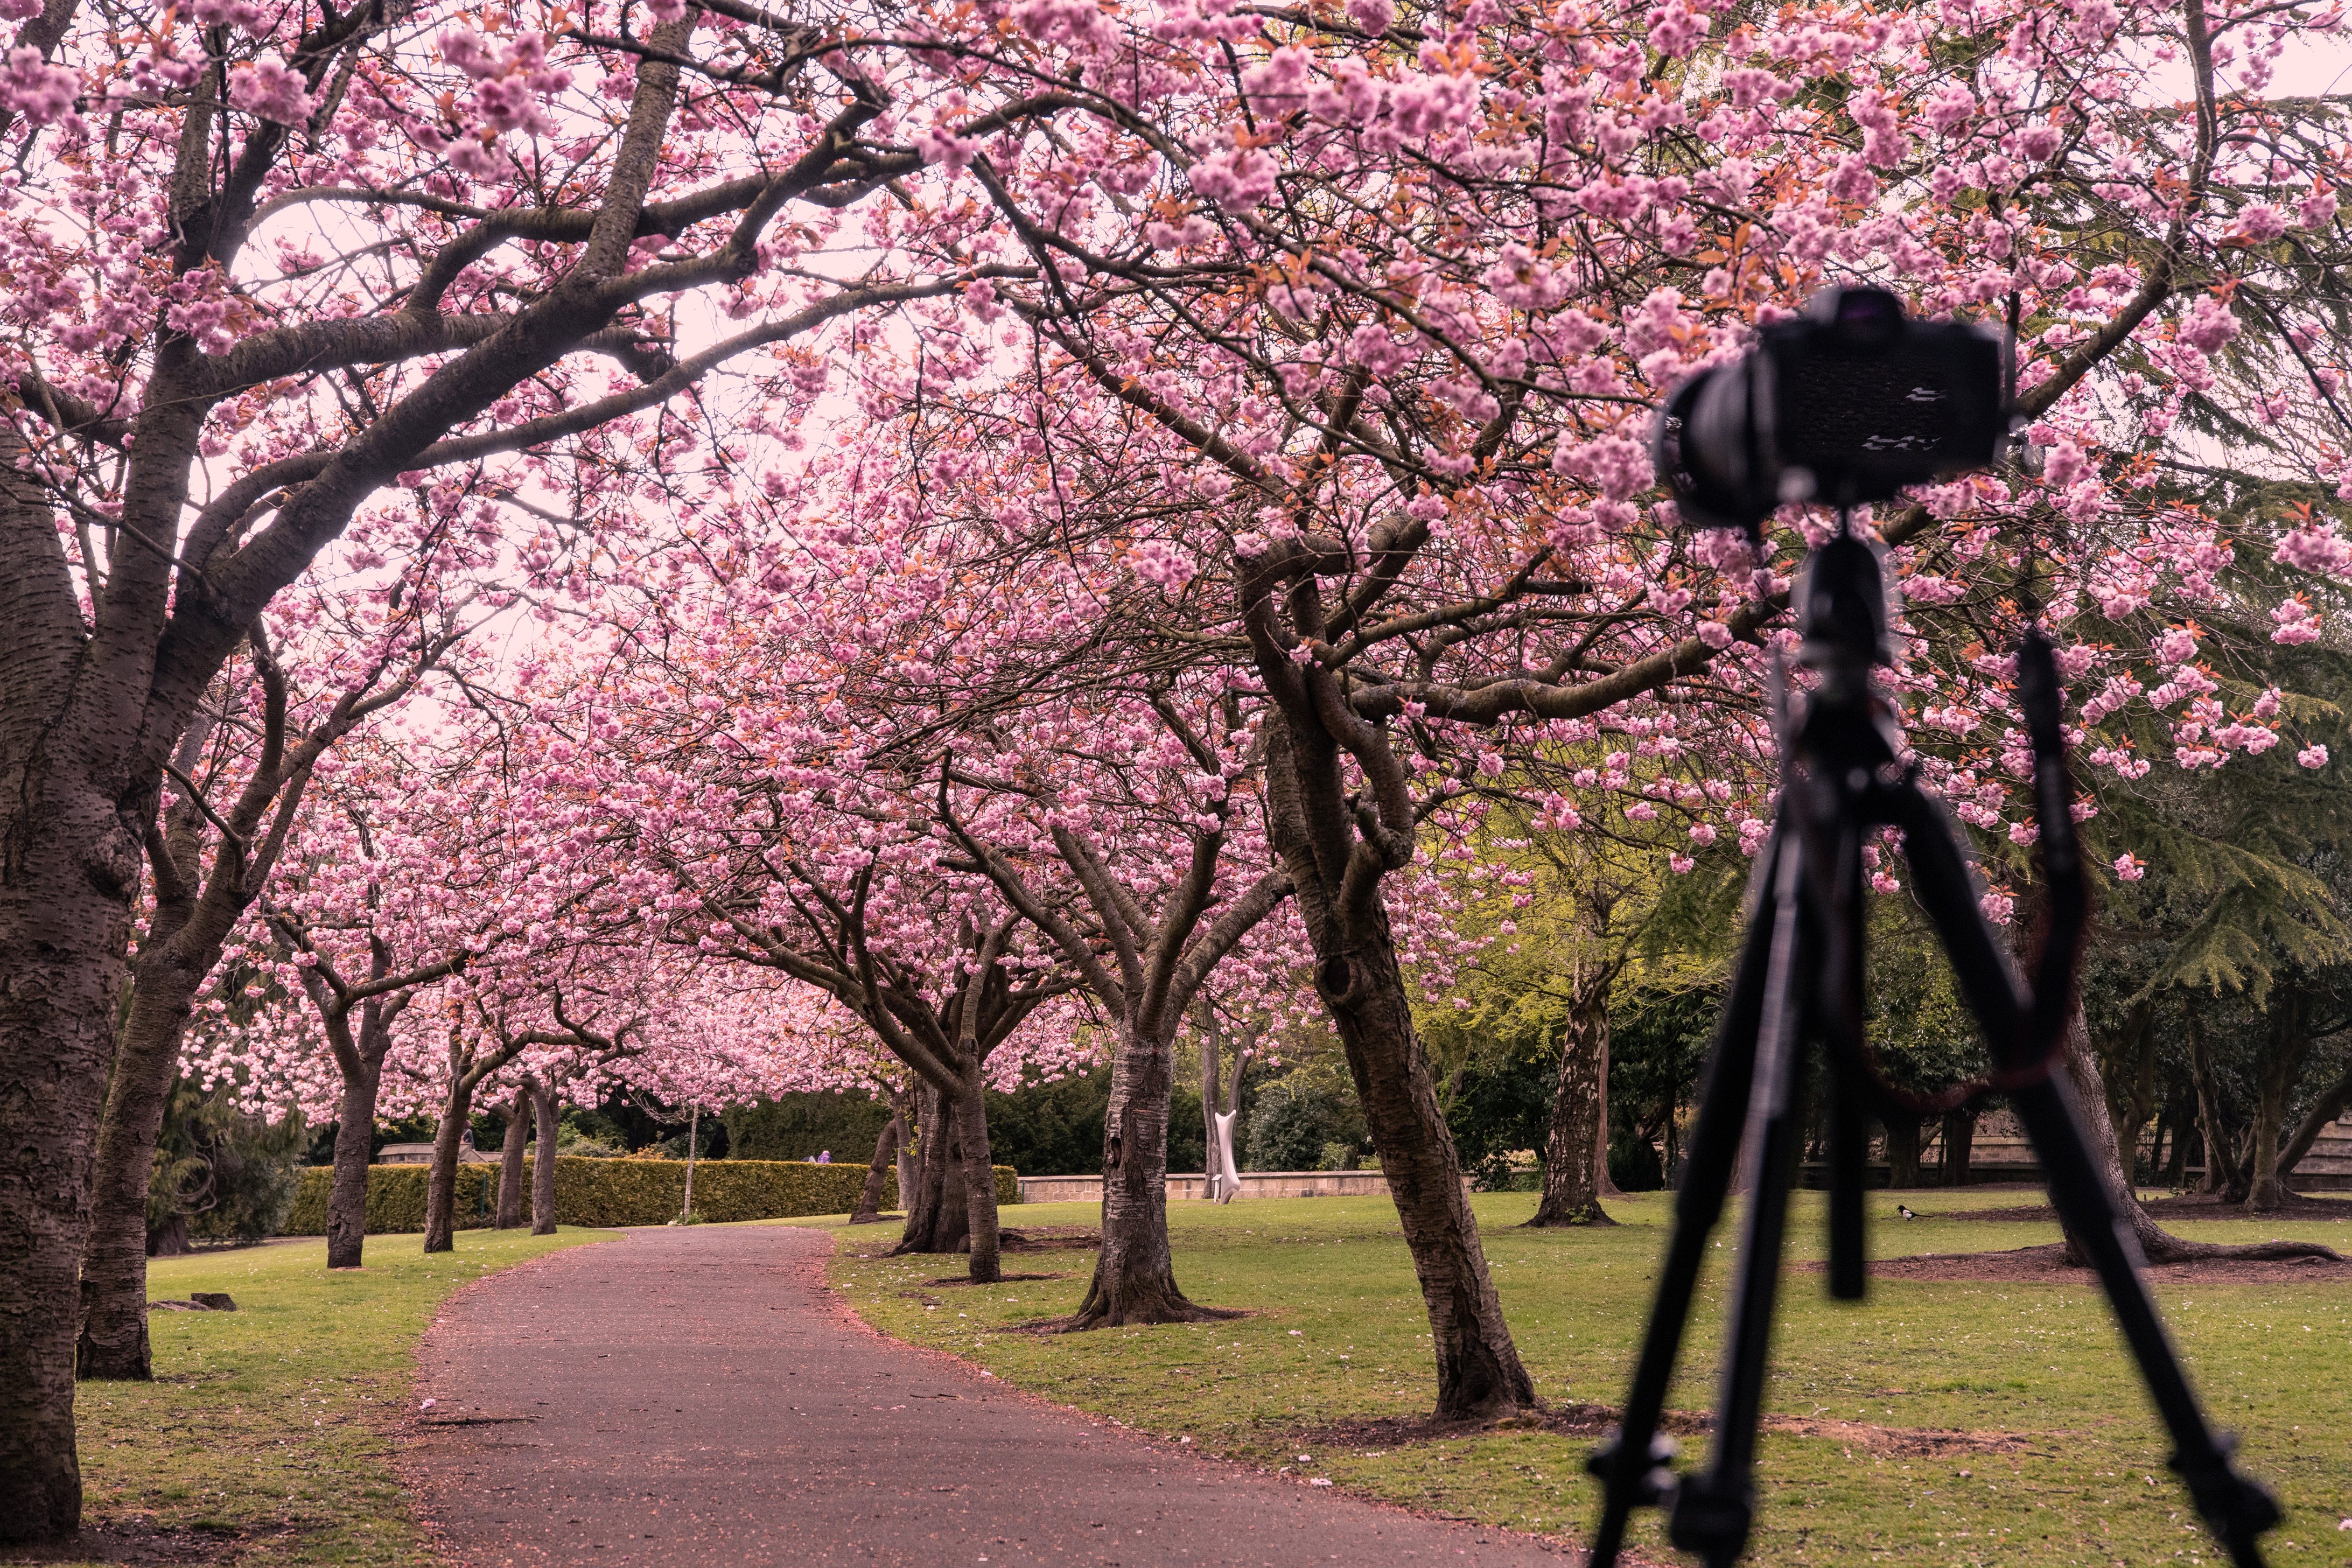
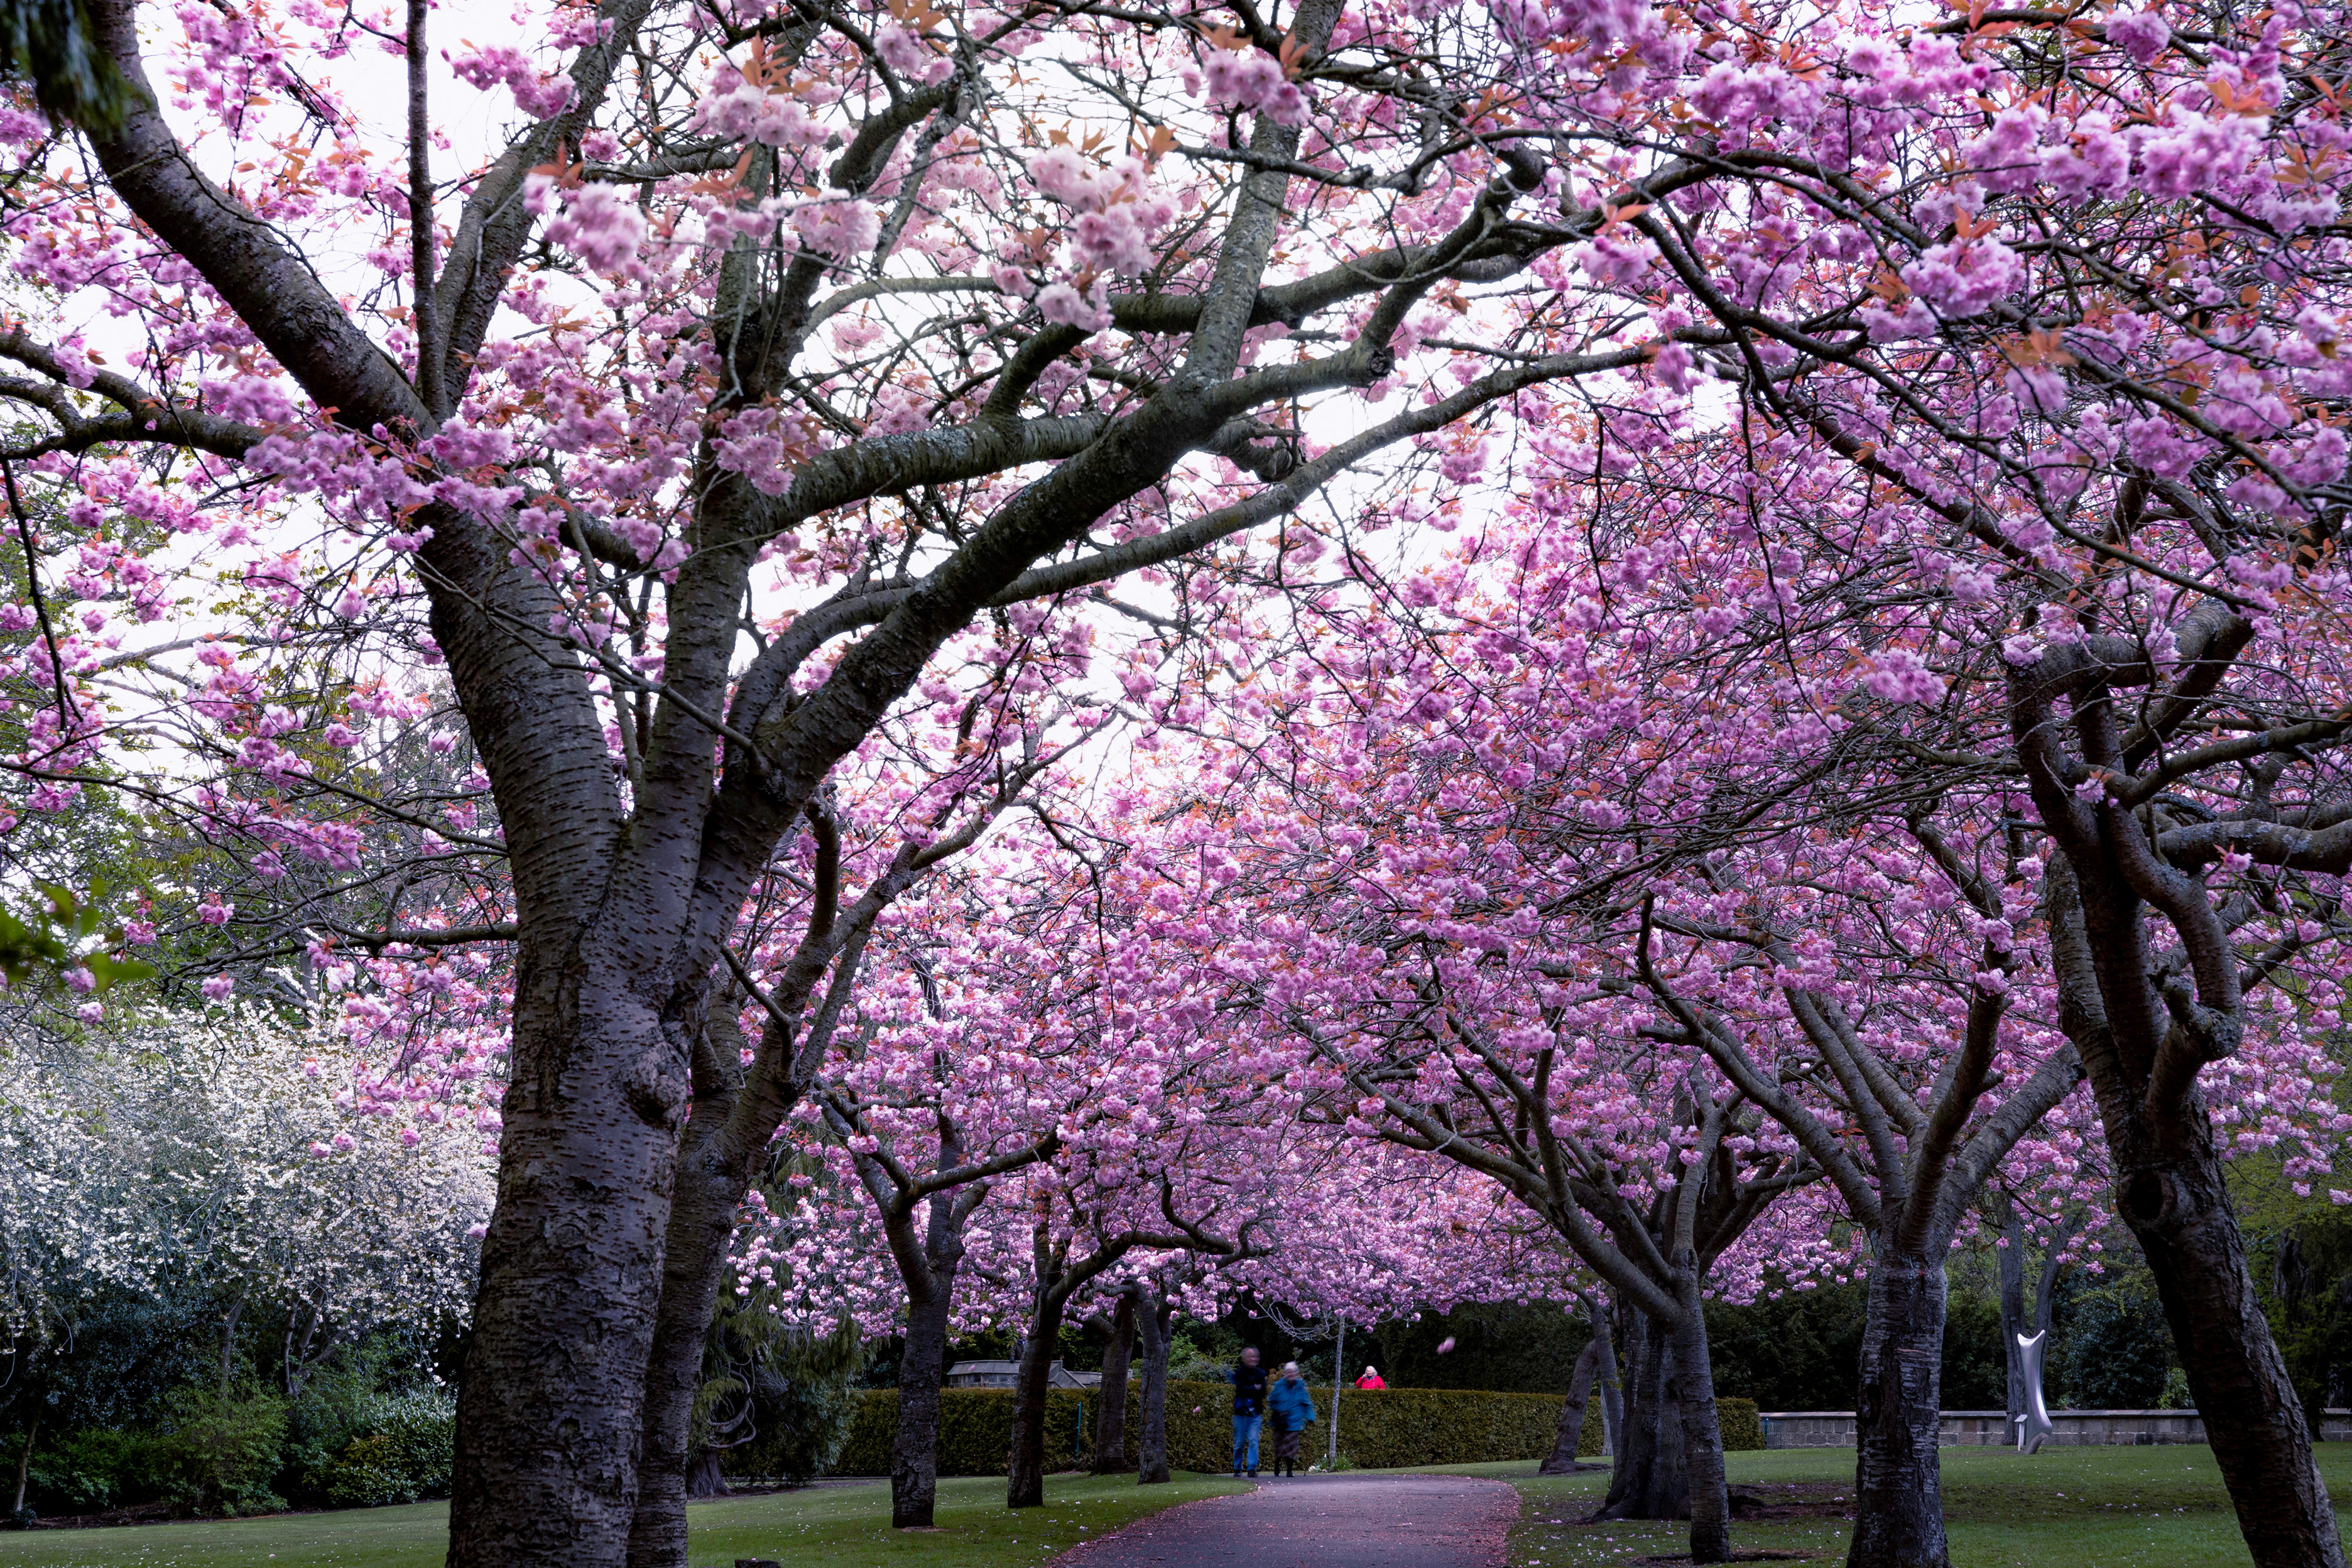
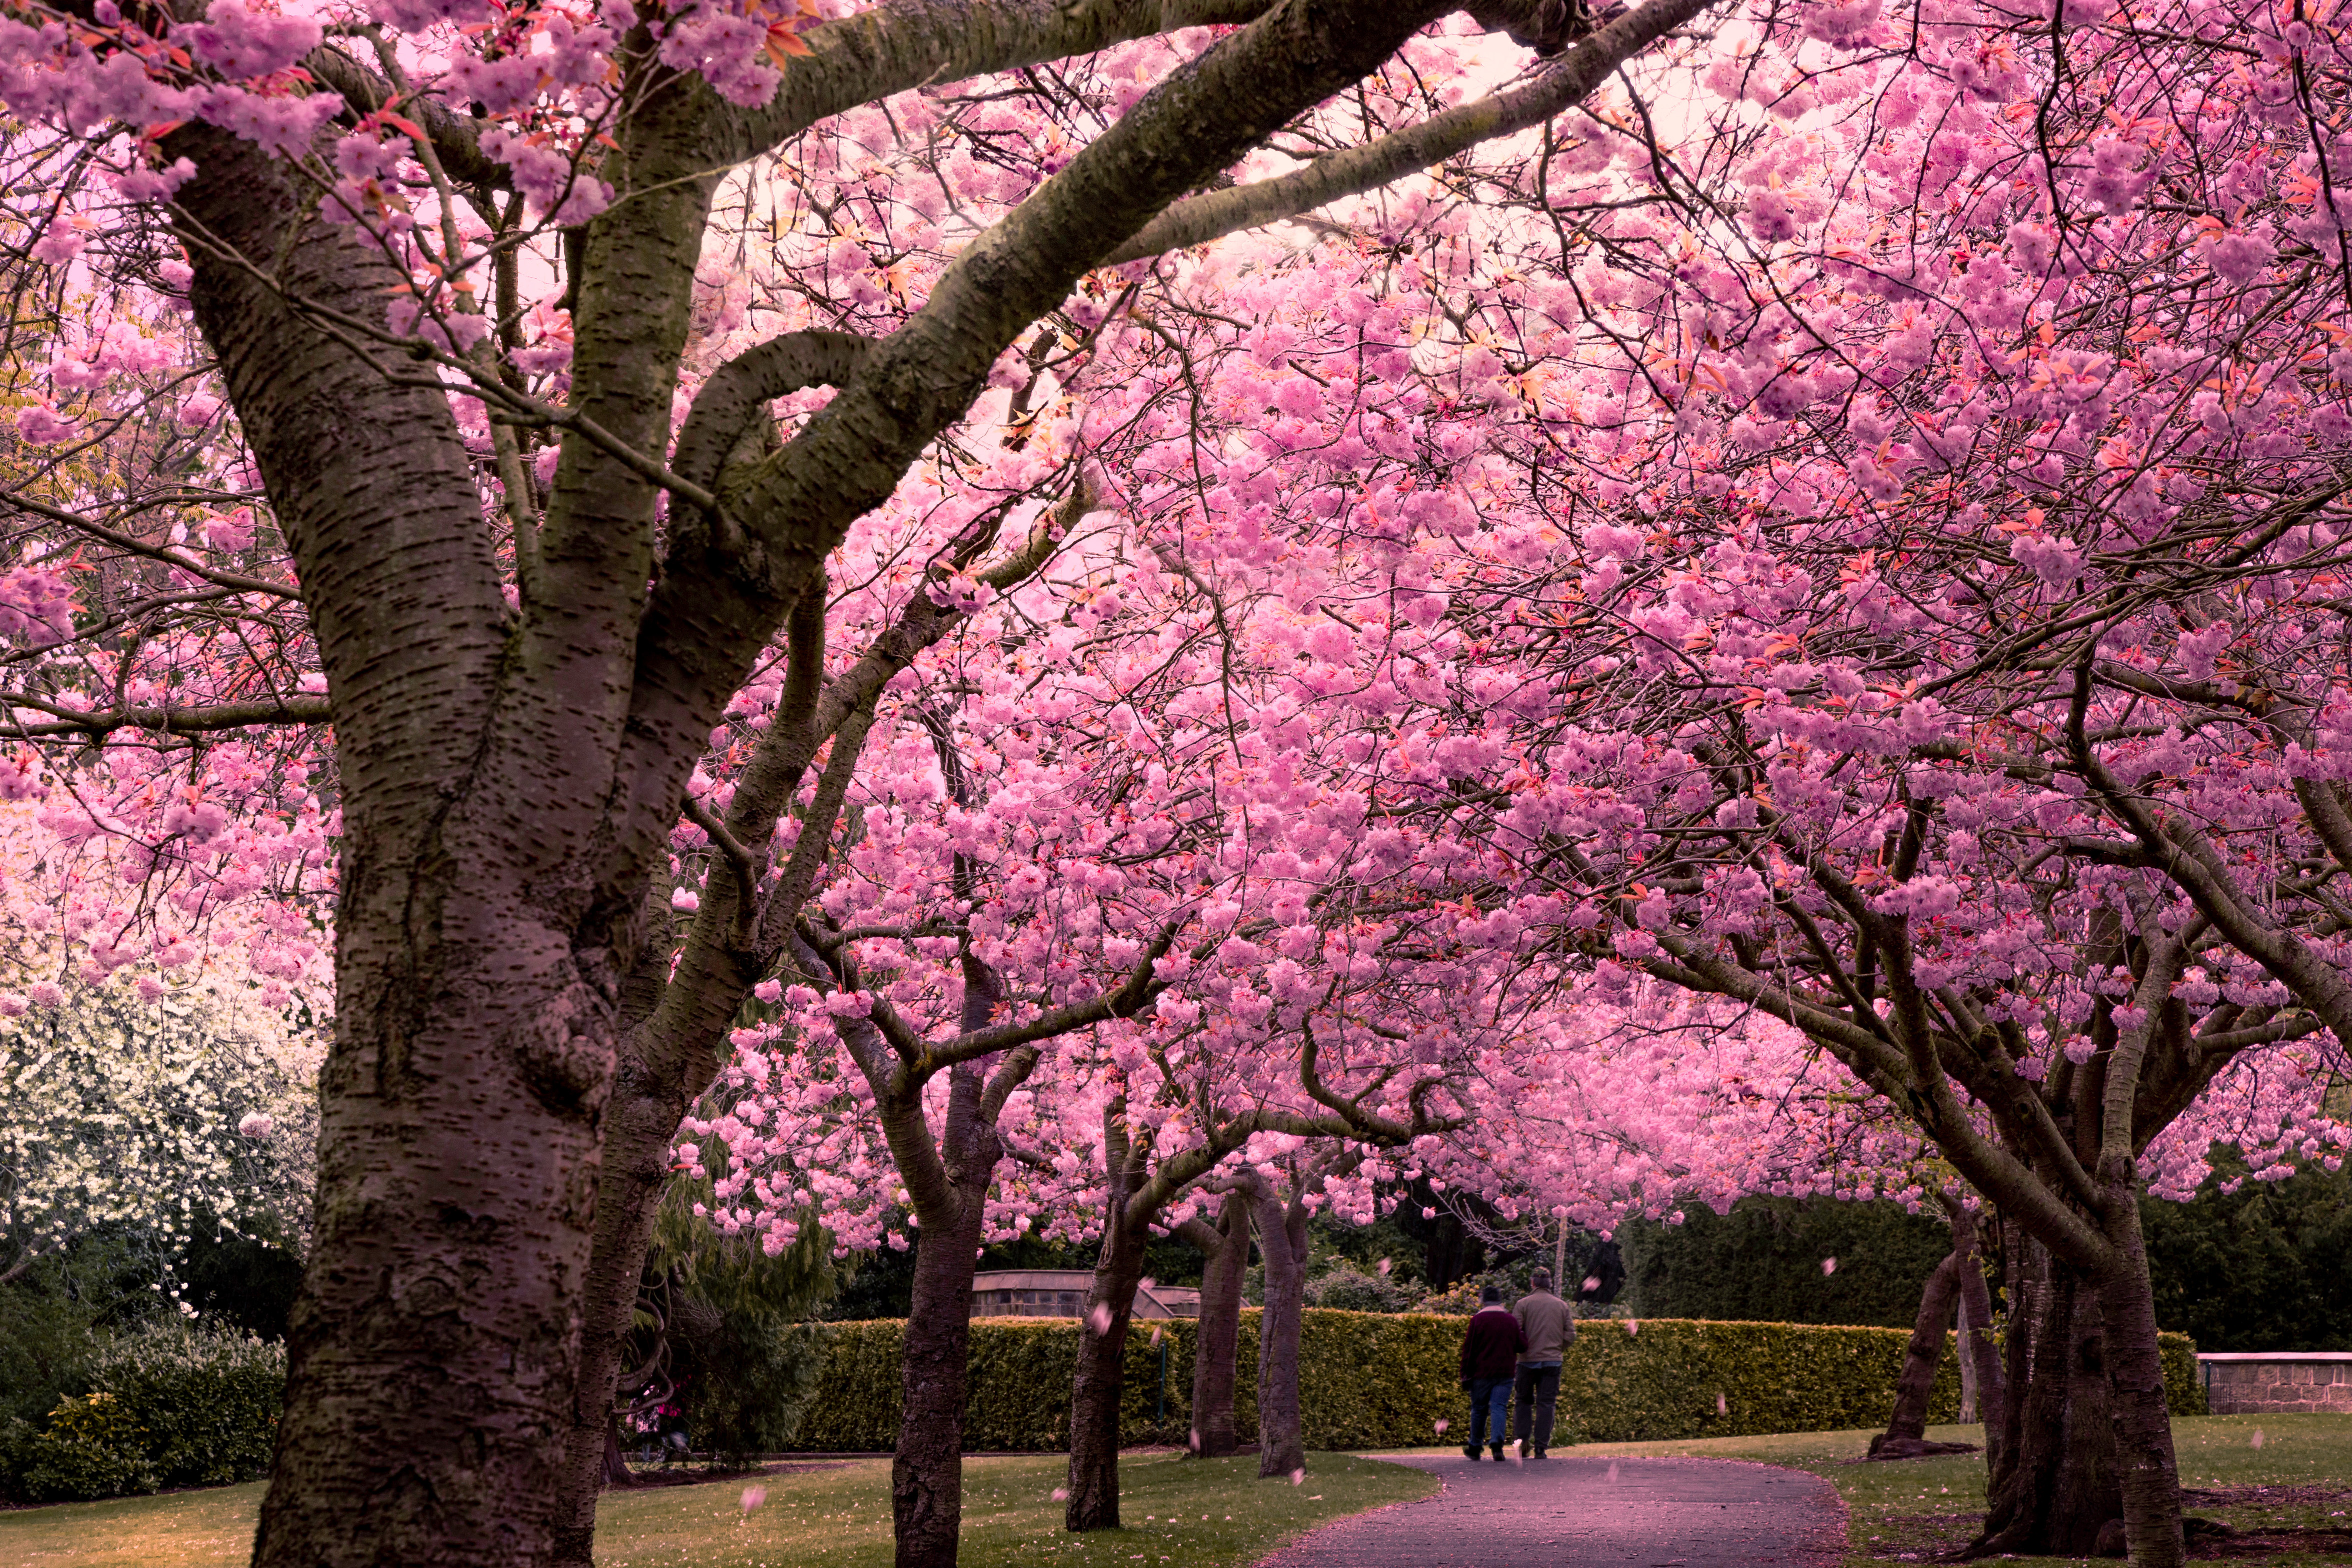
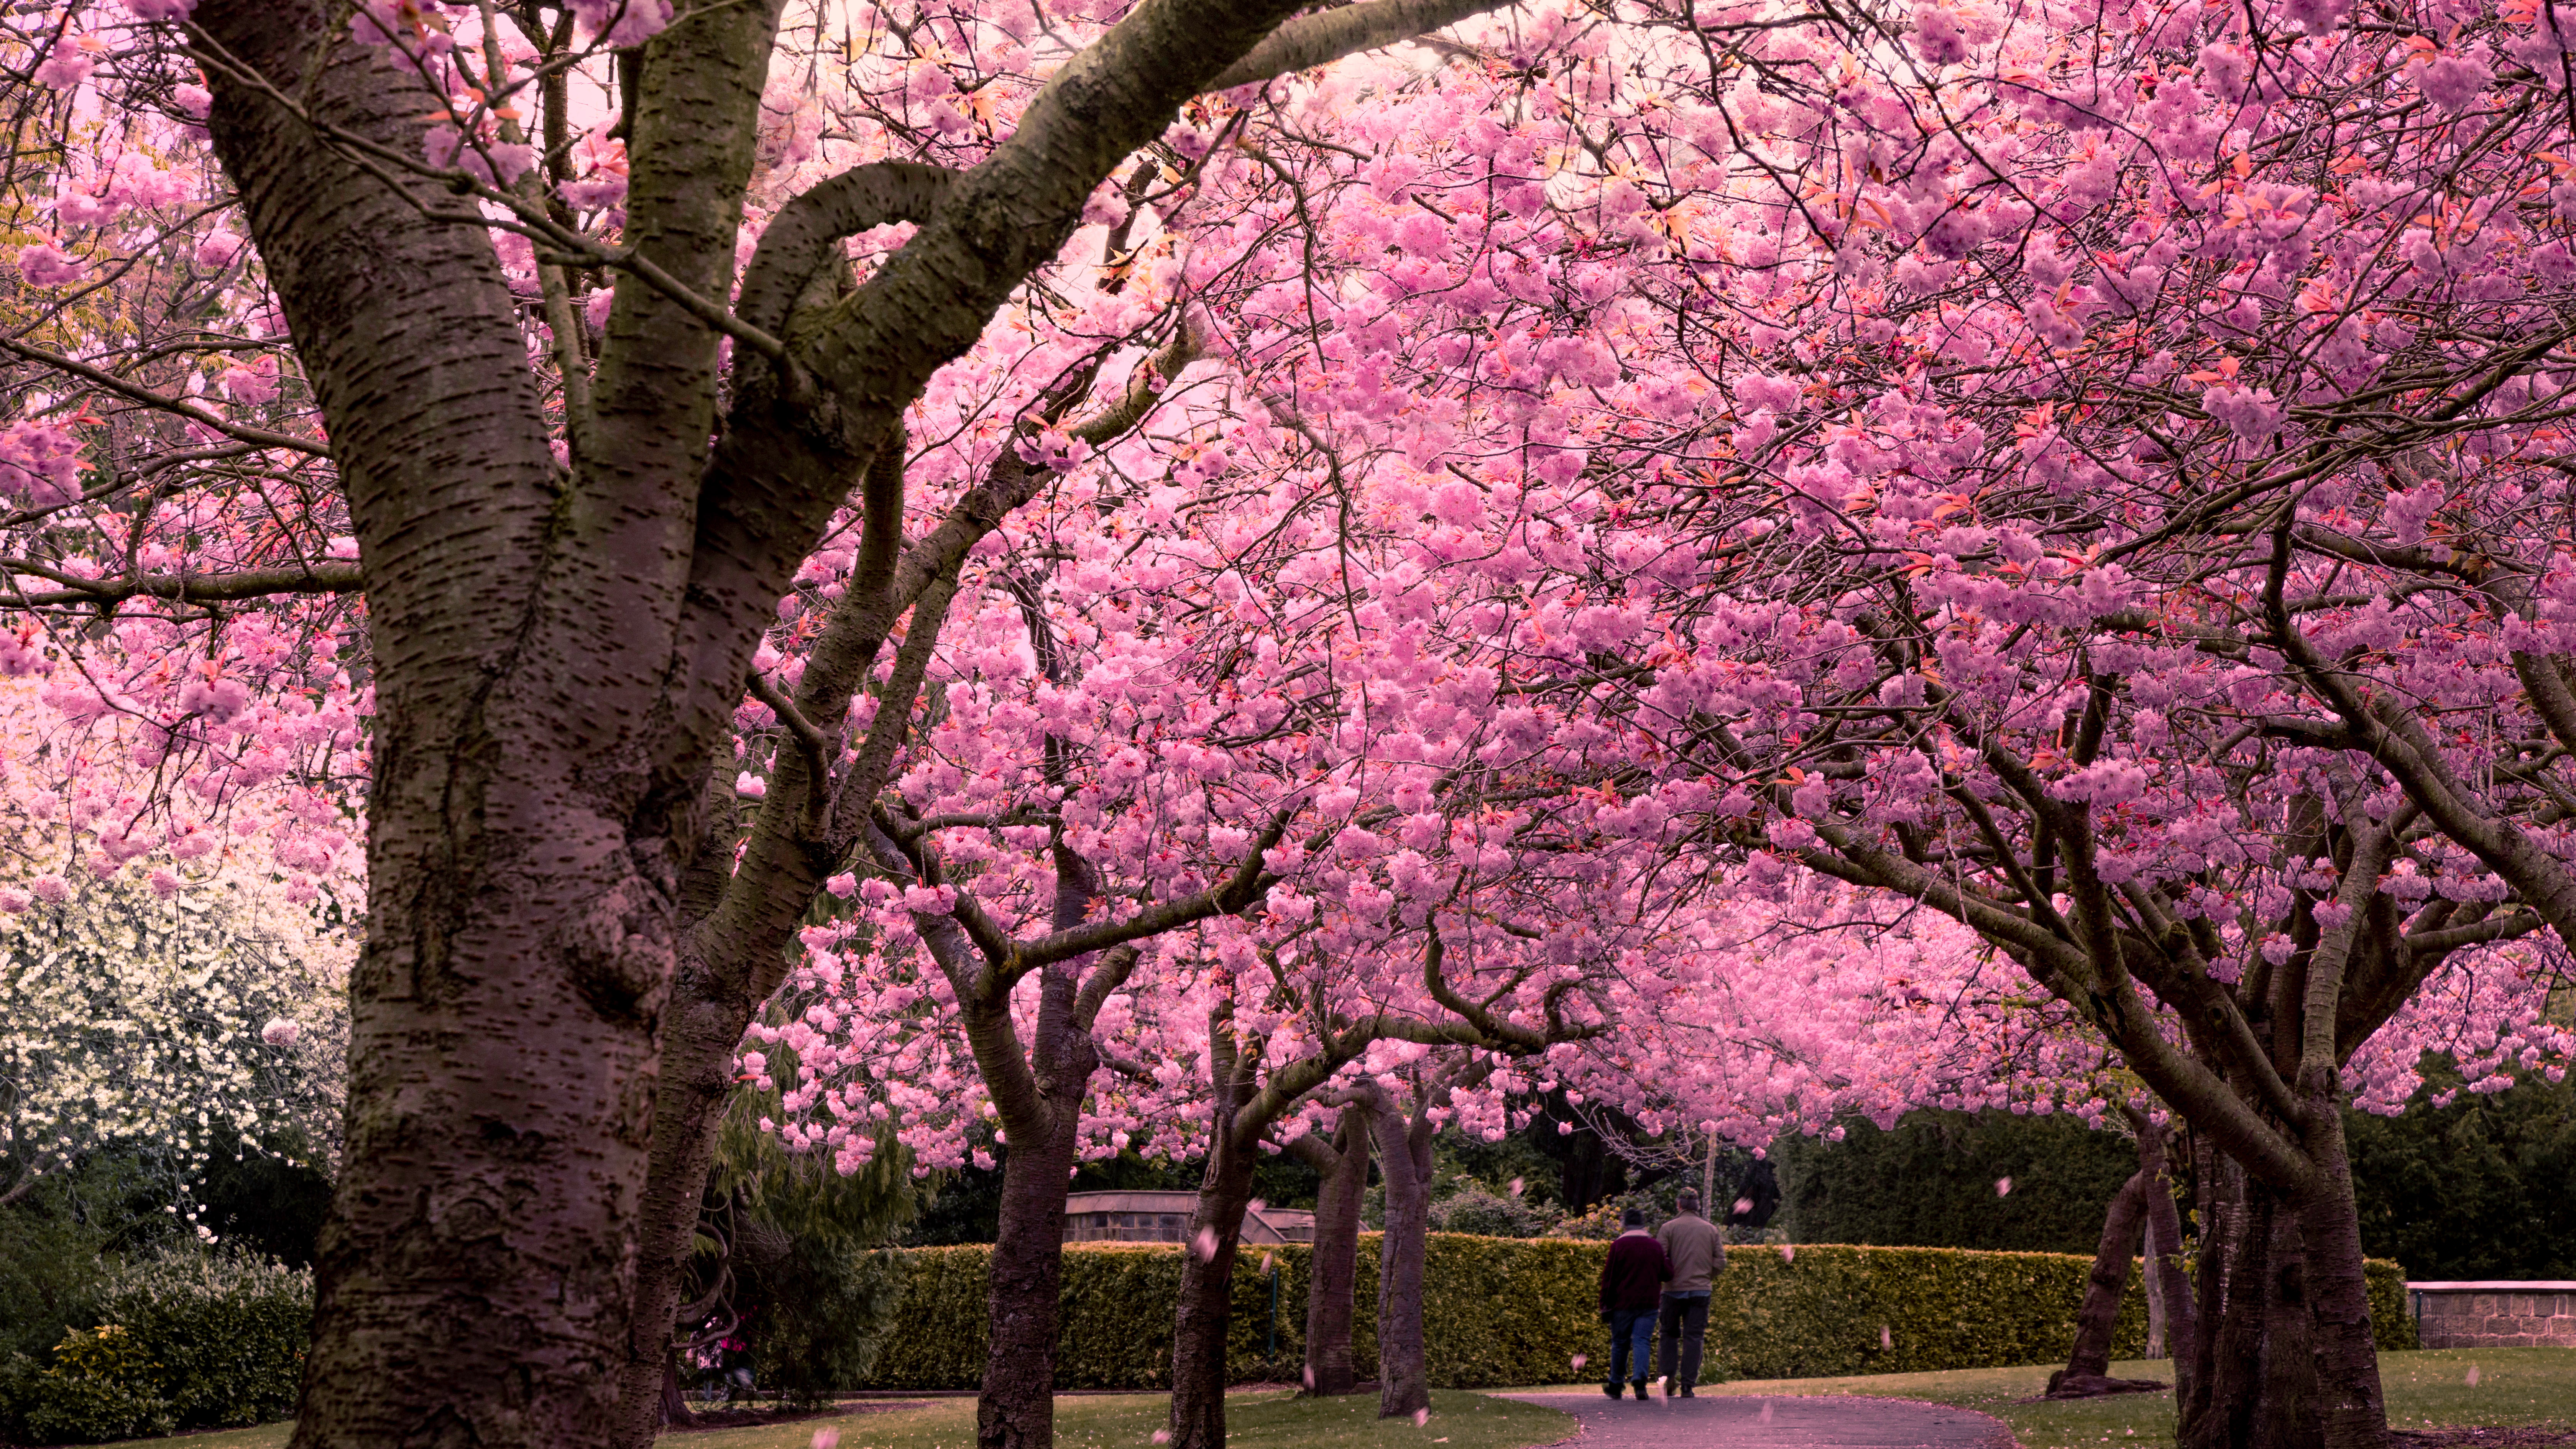
One of the bucket list shots each year is the avenue of blossom trees, receding into the distance. This type of shot is often accompanied with a sense of scale - most commonly a boat floating down a river the trees are overhanging, or a person walking into the scene. This adds to the depth and creates the immersive feeling, which makes the viewer want to walk into the picture themselves. There are some difficulties, namely minimising gaps in the lineup, caused by irregular placement, which can interrupt the flow of the composition. Furthermore, making the avenue seem longer than it actually is may often be necessary, where space is limited.
With this shot the aim is to contain the viewer’s attention within the avenue of trees, preventing their eyes from fixing on other environmental details, which break the depth of the line. Limit the wider context through a combination of focal length and camera height, while concentrating on accurate colour.
1- Find a good alignment
Start by searching for an arrangement of blossom trees which line up well, enabling you to capture a tunnel-like effect. Avoid bends or wide curves where possible, which show tree gaps more prominently.
2- Compress the scene
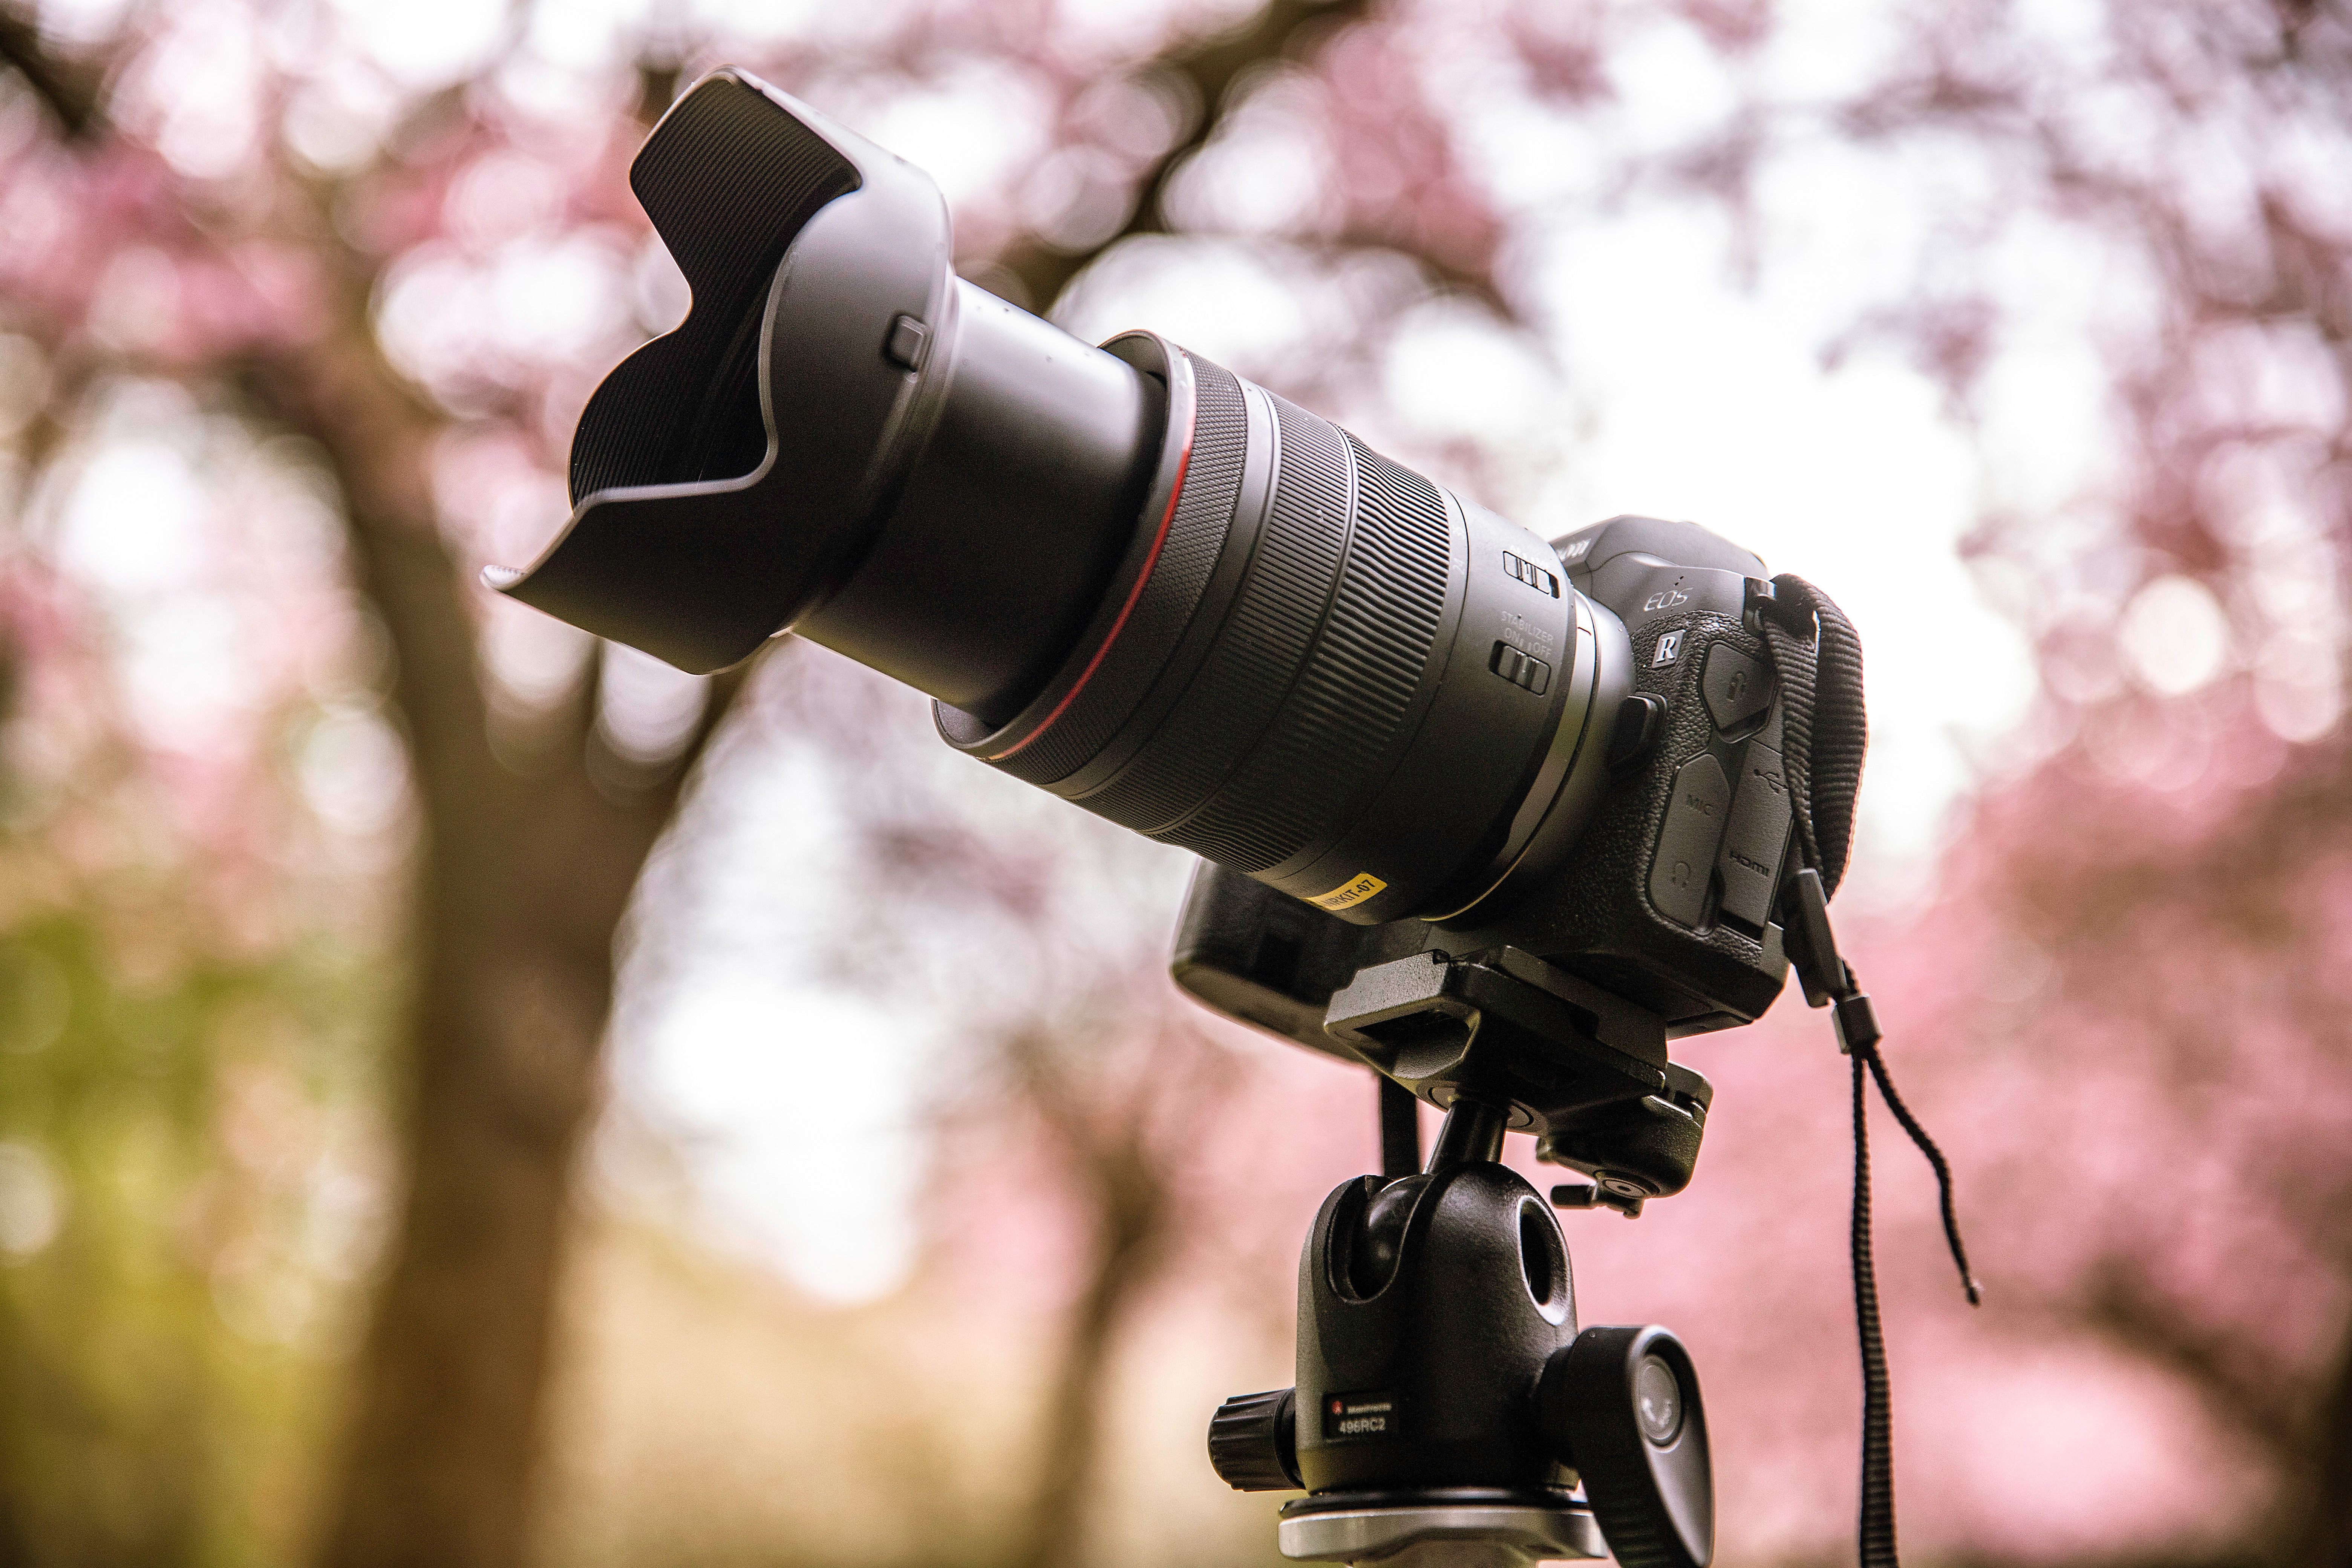
Use a zoom lens of greater than 50mm to bring the trees together. A 100mm optic is ideal for this but if the trees are more widely spaced use a longer focal length. Try multiple settings to find the ideal balance.
3- Minimize ground visibility
To make more of a feature of the canopy of flowers try pitching the camera up slightly, minimizing the presence of the ground. Don’t omit it completely, just alter the frame balance to exaggerate perspective.
4- Look for gaps
The issue with pitching up from a lower angle is that you can reveal gaps in the avenue. If this happens raise the camera height slightly and try moving laterally to cover them up with overlapping branches.
The best camera deals, reviews, product advice, and unmissable photography news, direct to your inbox!
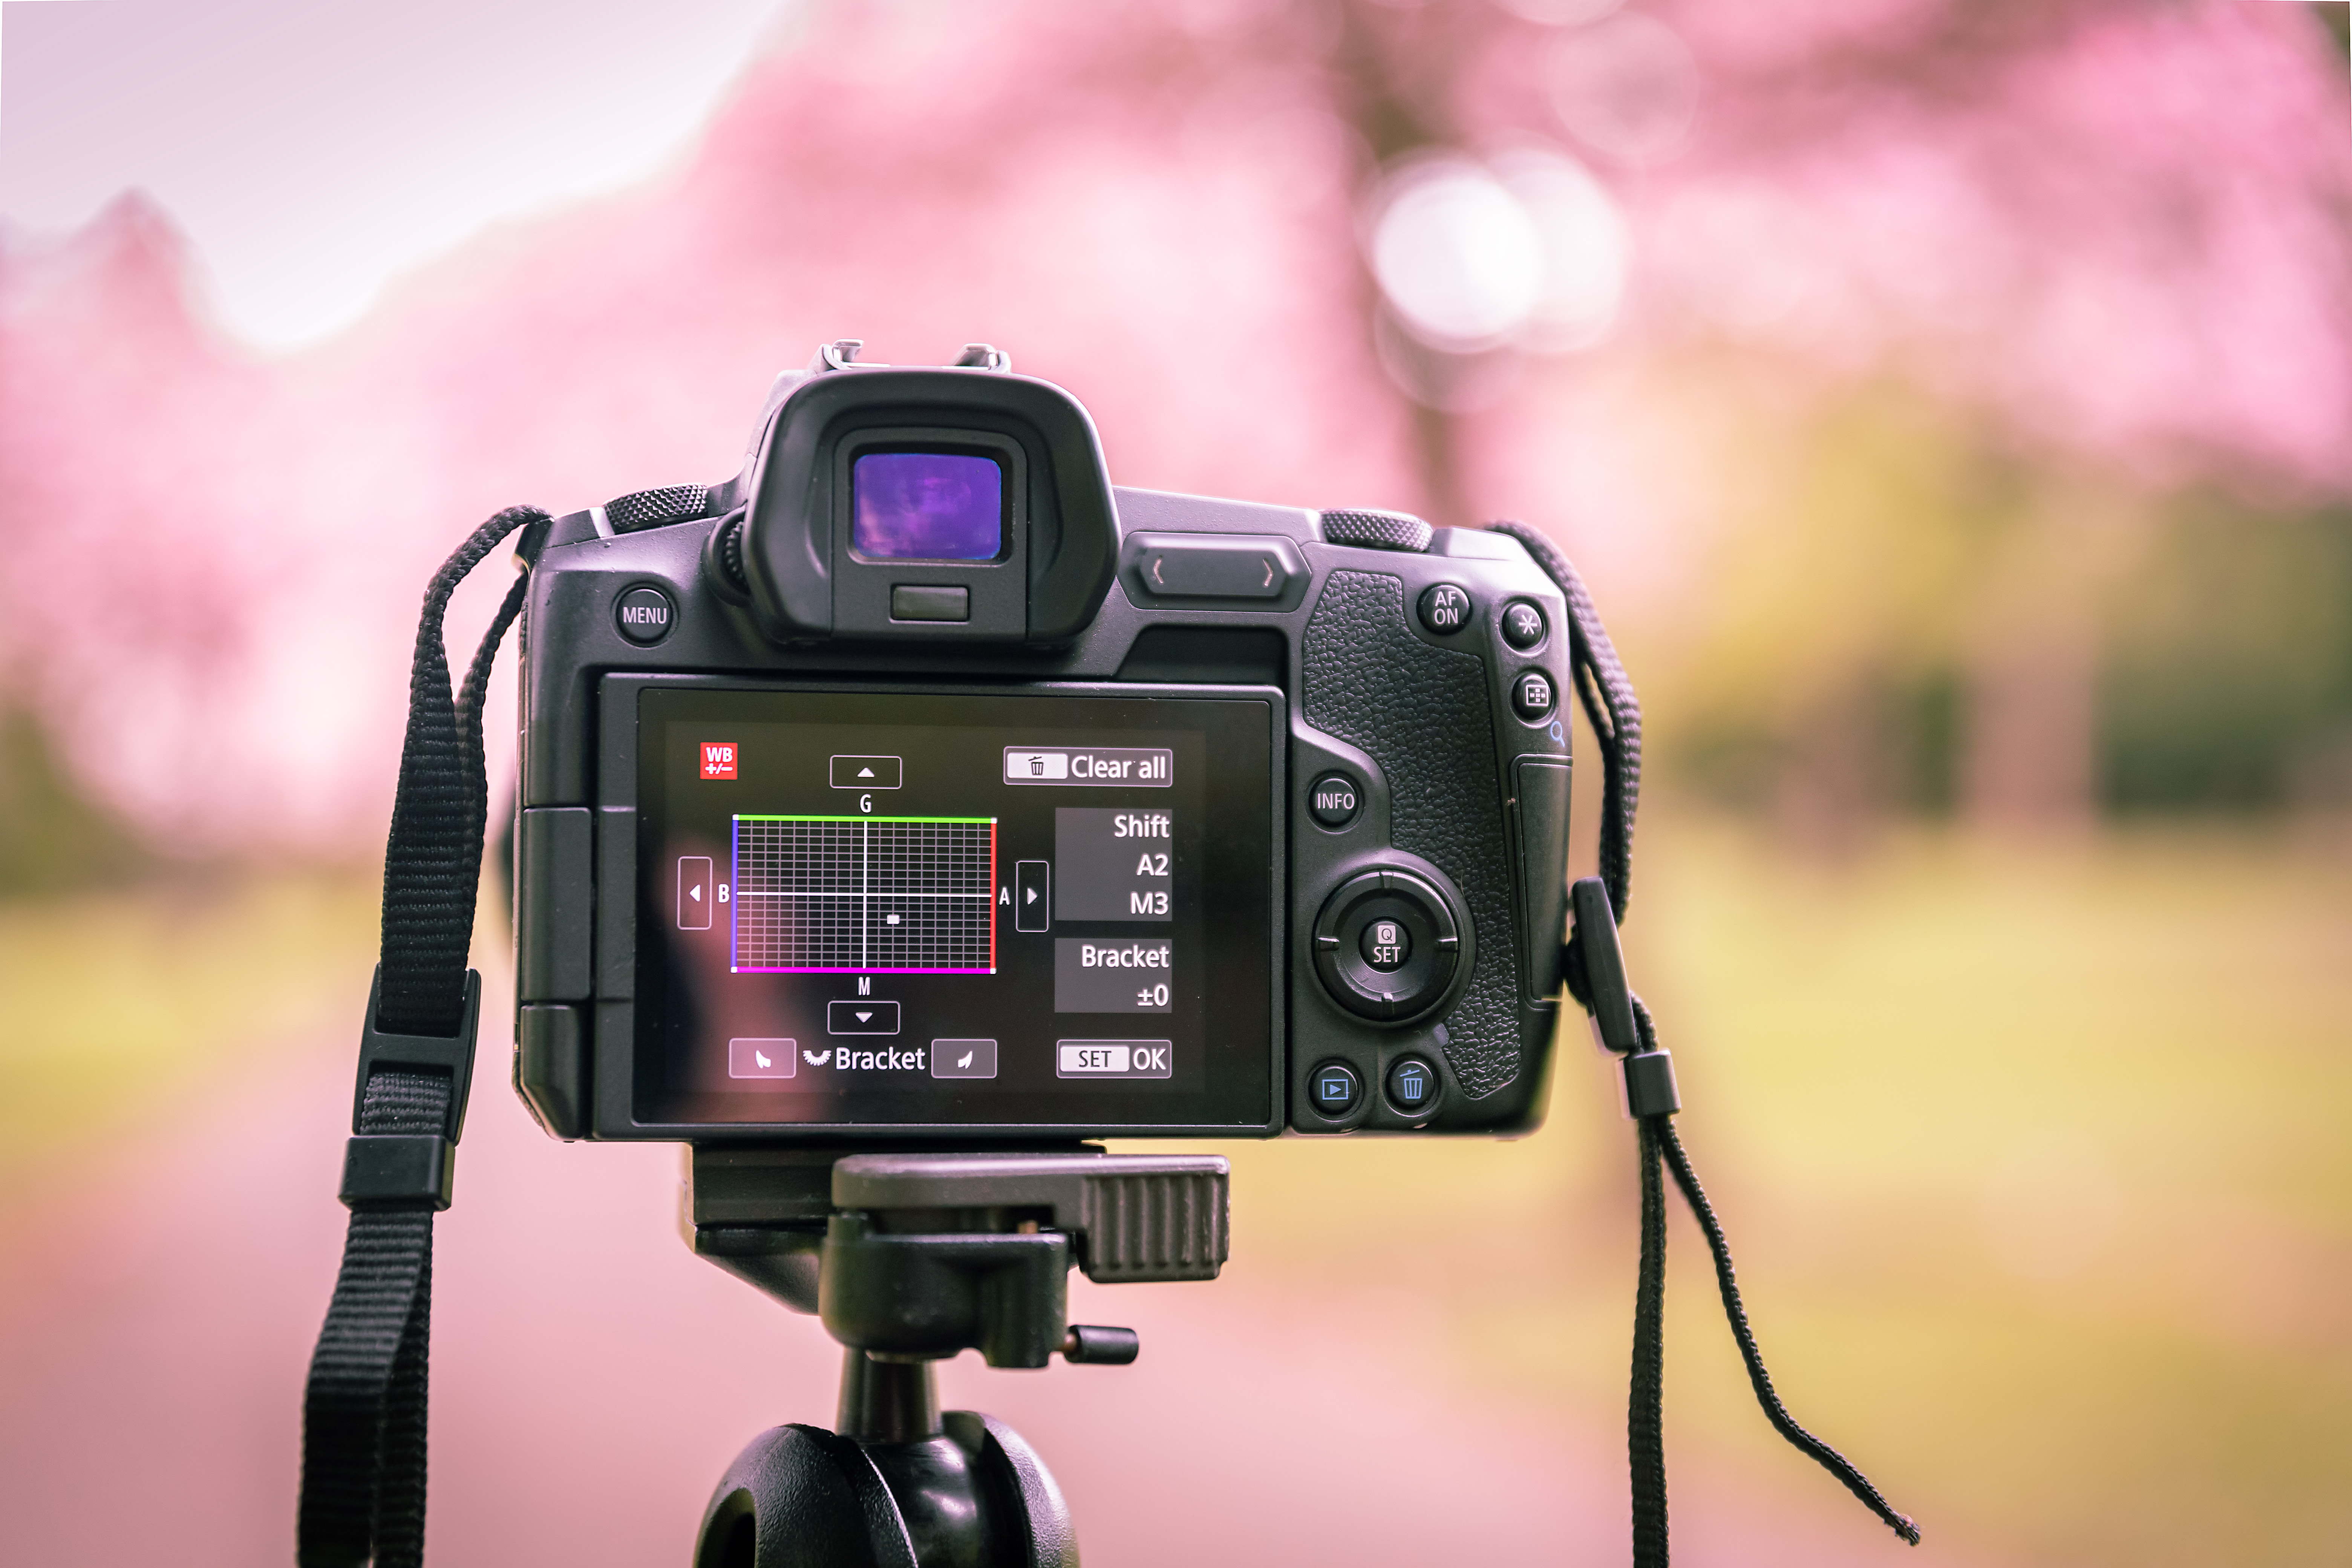
5- Customize WB
Blossom always has a delicate colour so tailor your white balance to compliment the hues present. Try adding a little more magenta to emphasise the pinks, while being mindful of holding cooler shadow casts.
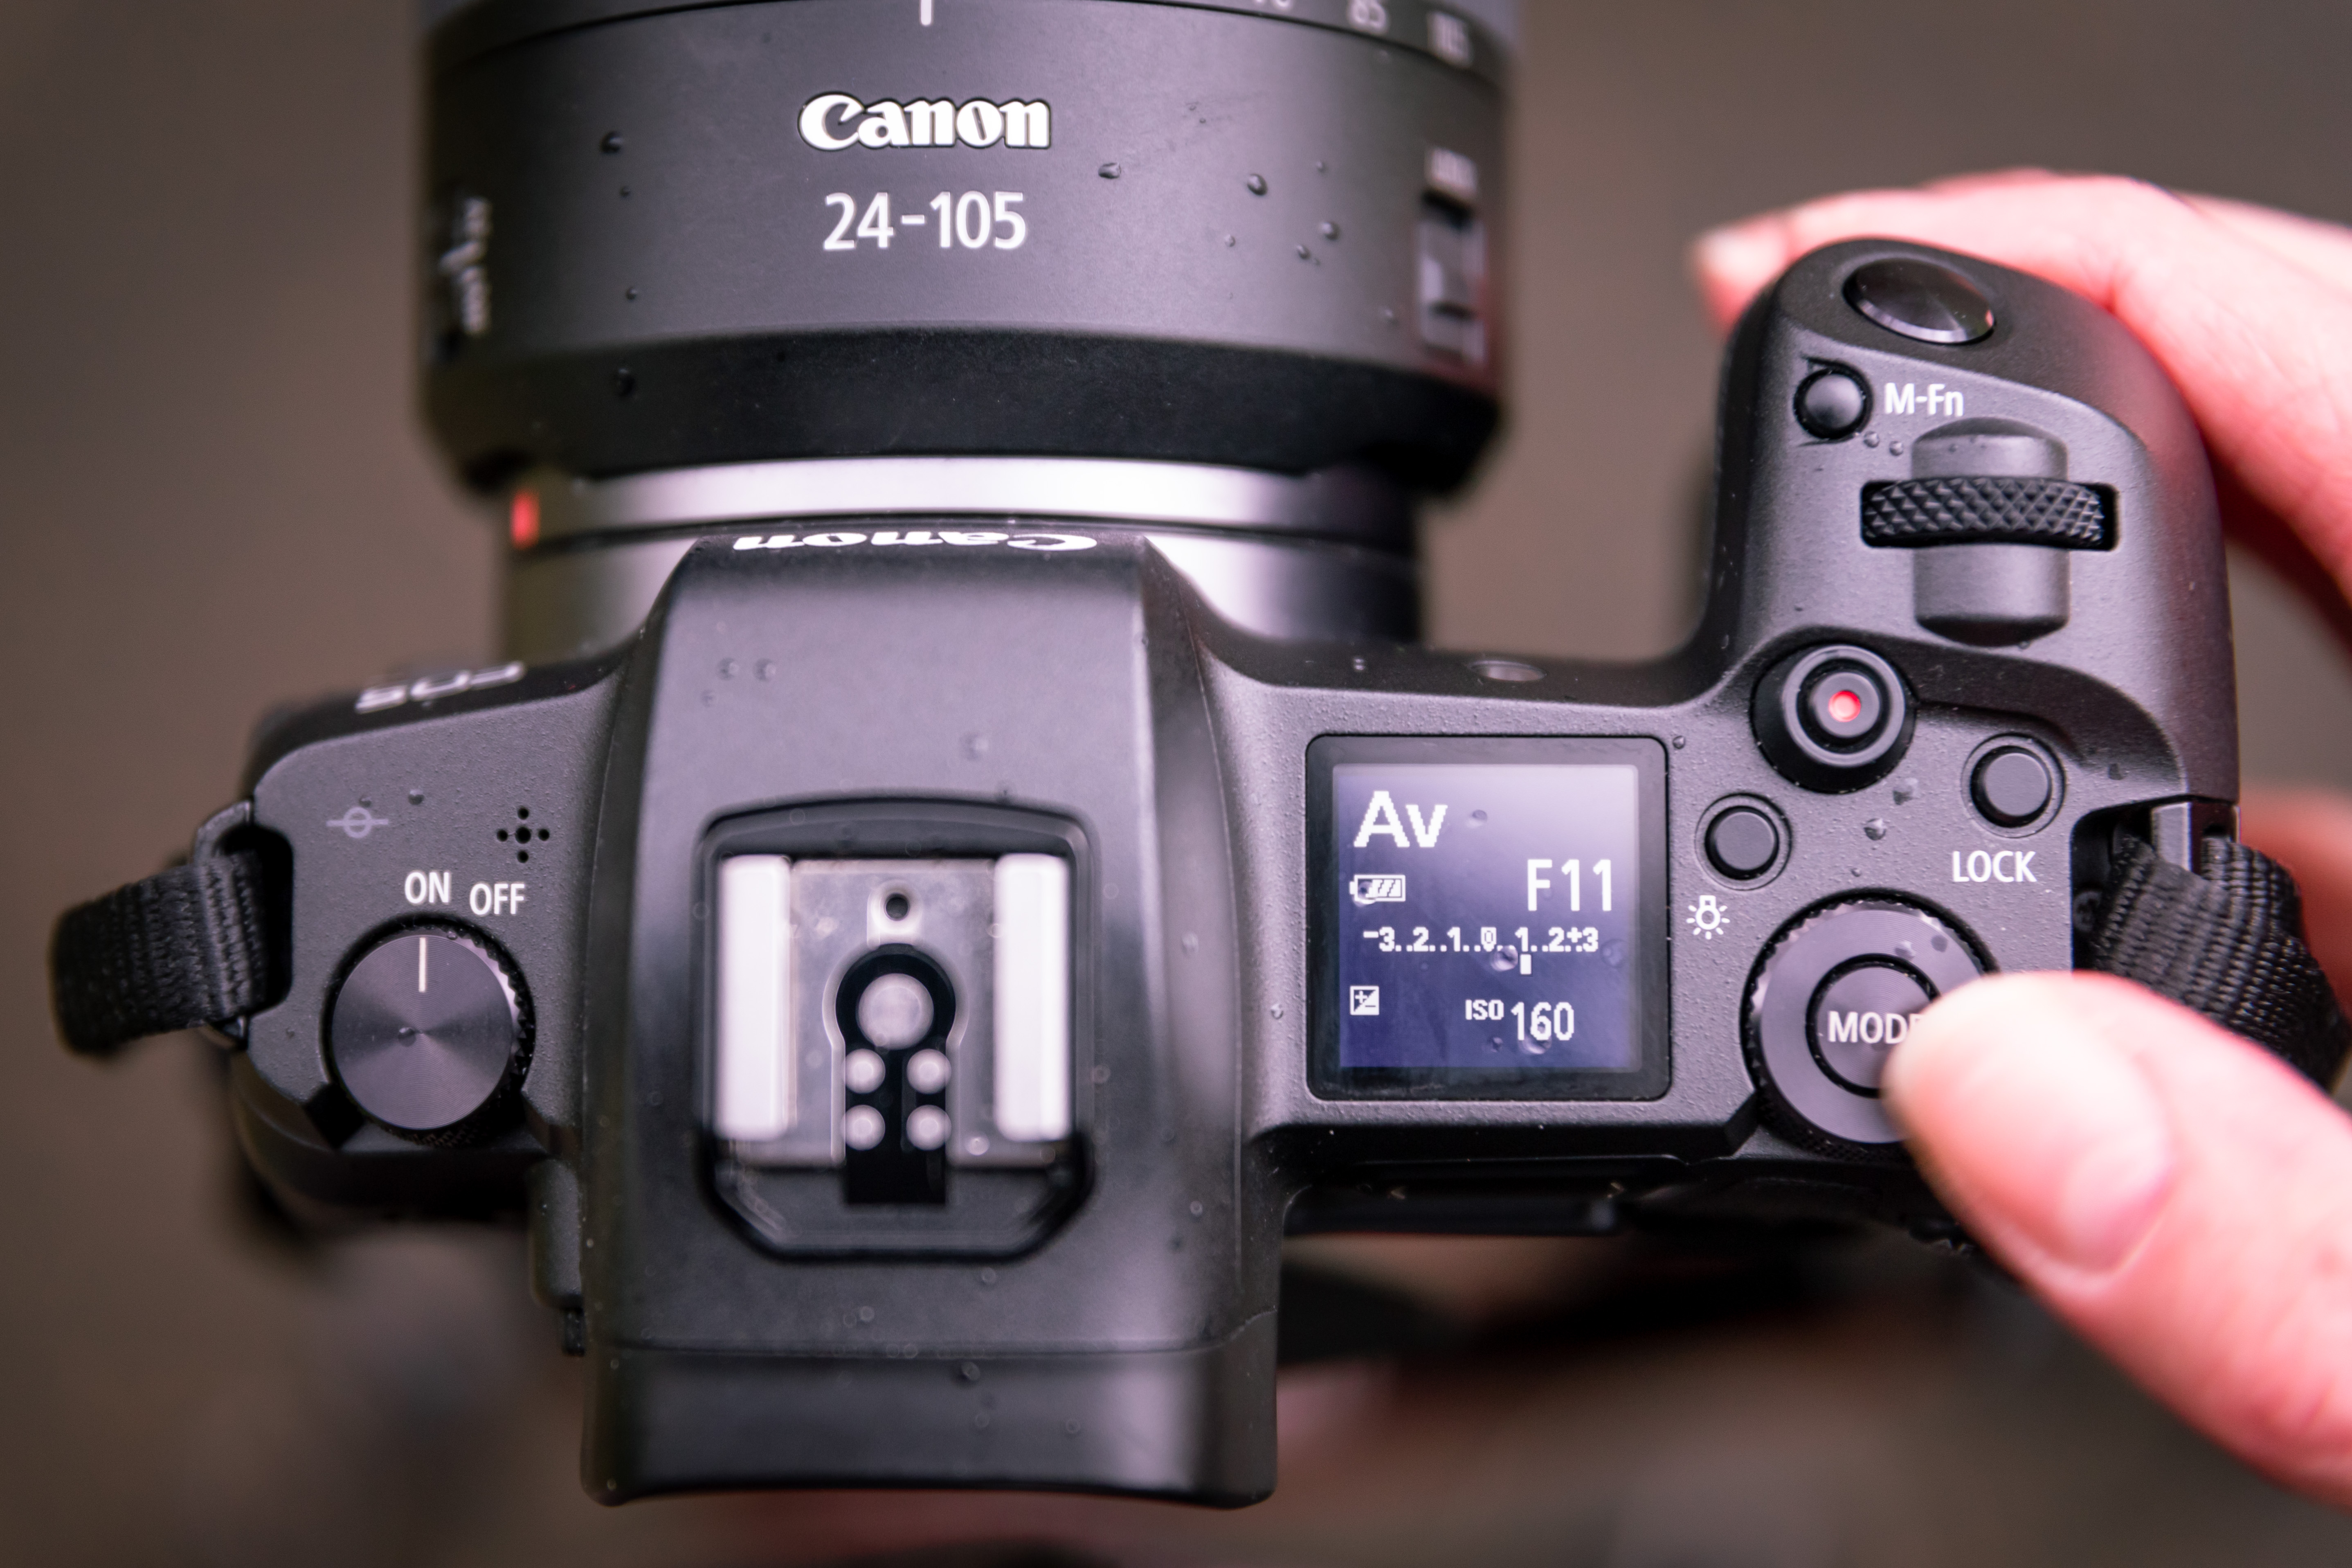
6 - Adjust exposure
Avoid underexposure, as this can produce muddy tones in the flowers. Push the highlights as high as possible for an airy look, which will also blur falling petals, for a sense of movement and a dreamy style.
Read more:
LEAKED: This is the Canon RF 100mm f/2.8L Macro (Canon's first true EOS R macro lens)
Digital Photographer is the ultimate monthly photography magazine for enthusiasts and pros in today’s digital marketplace.
Every issue readers are treated to interviews with leading expert photographers, cutting-edge imagery, practical shooting advice and the very latest high-end digital news and equipment reviews. The team includes seasoned journalists and passionate photographers such as the Editor Peter Fenech, who are well positioned to bring you authoritative reviews and tutorials on cameras, lenses, lighting, gimbals and more.
Whether you’re a part-time amateur or a full-time pro, Digital Photographer aims to challenge, motivate and inspire you to take your best shot and get the most out of your kit, whether you’re a hobbyist or a seasoned shooter.
