Headshot photography tips: how to shoot the perfect head-and-shoulders portrait
Take professional headshots for social media, official documents and dating sites
The best camera deals, reviews, product advice, and unmissable photography news, direct to your inbox!
You are now subscribed
Your newsletter sign-up was successful
Watch the video: headshot photography tips and set-ups
First impressions count, and the headshot that accompanies an online profile can be as important as the words. A blurred shot taken on a night out won’t create the right impression for many sites, whether it is for Tinder or for LinkedIn. so we’re going to show you how you can produce headshots for a variety of uses.
• More photography tips: how to take pictures of anything
• Get more photoshoot ideas
Taking control of the lighting is the key to taking really effective portraits. This control also enables you to produce shots in a similar style time after time. We’ll demonstrate how to use a basic flashgun plus some simple accessories.
Once you’ve mastered the basics, we’ll use backgrounds and a second flash to give your headshots extra impact.
Remember that you should use a pose and style of lighting that suits the type of site, medium and purpose for which the portrait photograph is going to be used.
• Essential portrait photography tips
The best camera deals, reviews, product advice, and unmissable photography news, direct to your inbox!
1. Camera settings
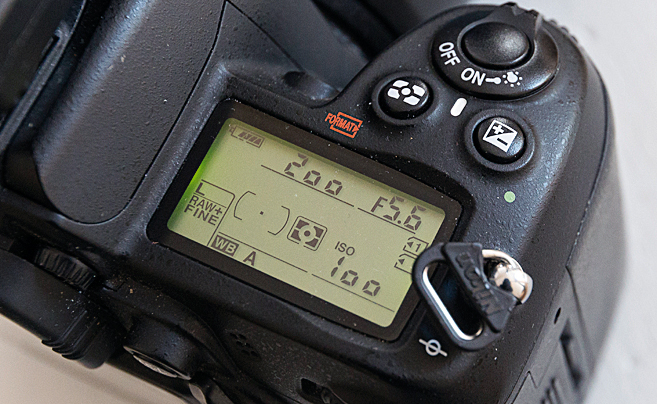
Set the lowest ISO. In manual exposure mode set the fastest shutter speed that will work with your triggers. Set the aperture to f/5.6. Take a test shot. If you can’t see the subject, move on. If you can see the subject clearly, reduce the aperture.
2. Soften the flash
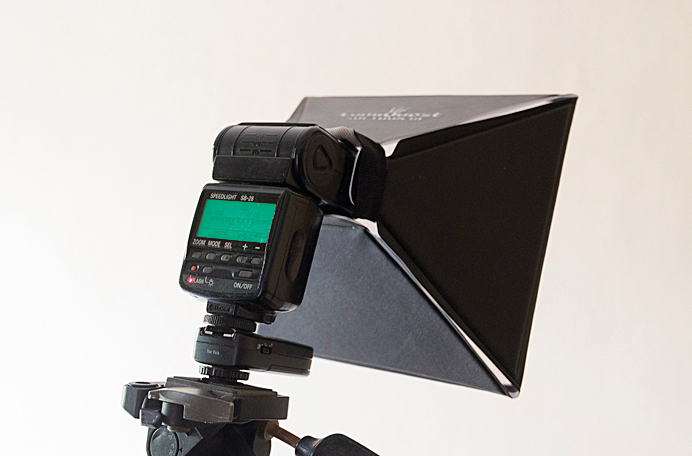
To reduce harsh shadows from the flash, use a softbox or umbrella. The larger the apparent size of the light source to the subject, the softer the light will be. We used an 8x9inch LumiQuest Softbox III.
3. Position the flash
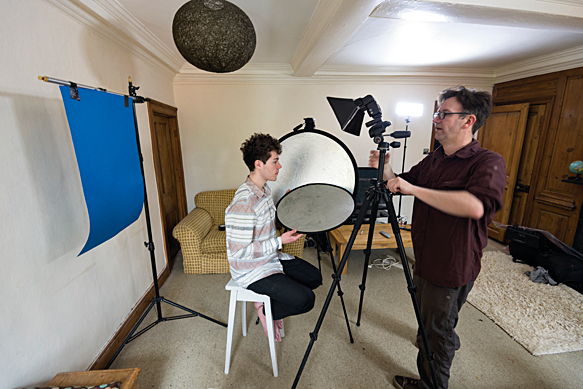
Even with the softbox in place, you need to position the flash close to the subject in order to get the softest results. This should be around two feet (60cm) from the subject, and slightly above their eyeline and to one side.
4. Set the flash power
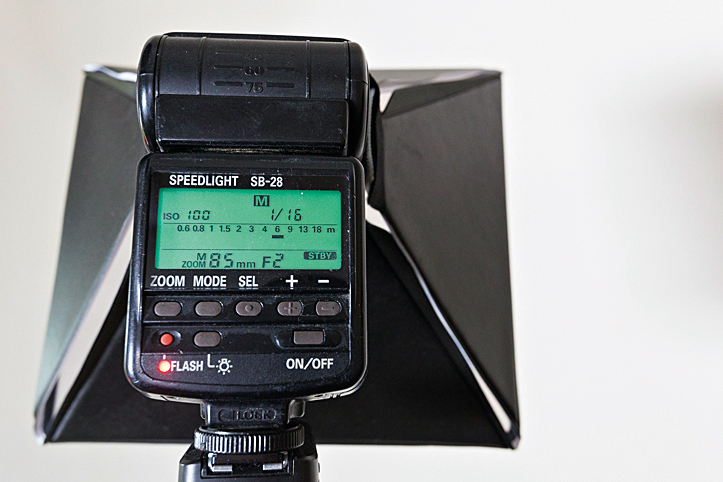
Once the flash is in position you need to set the power level. With the flash close to the subject start by setting a low power, such as 1/16 power, take a test shot and then adjust it until the main subject is correctly exposed.
Setup A: One flash
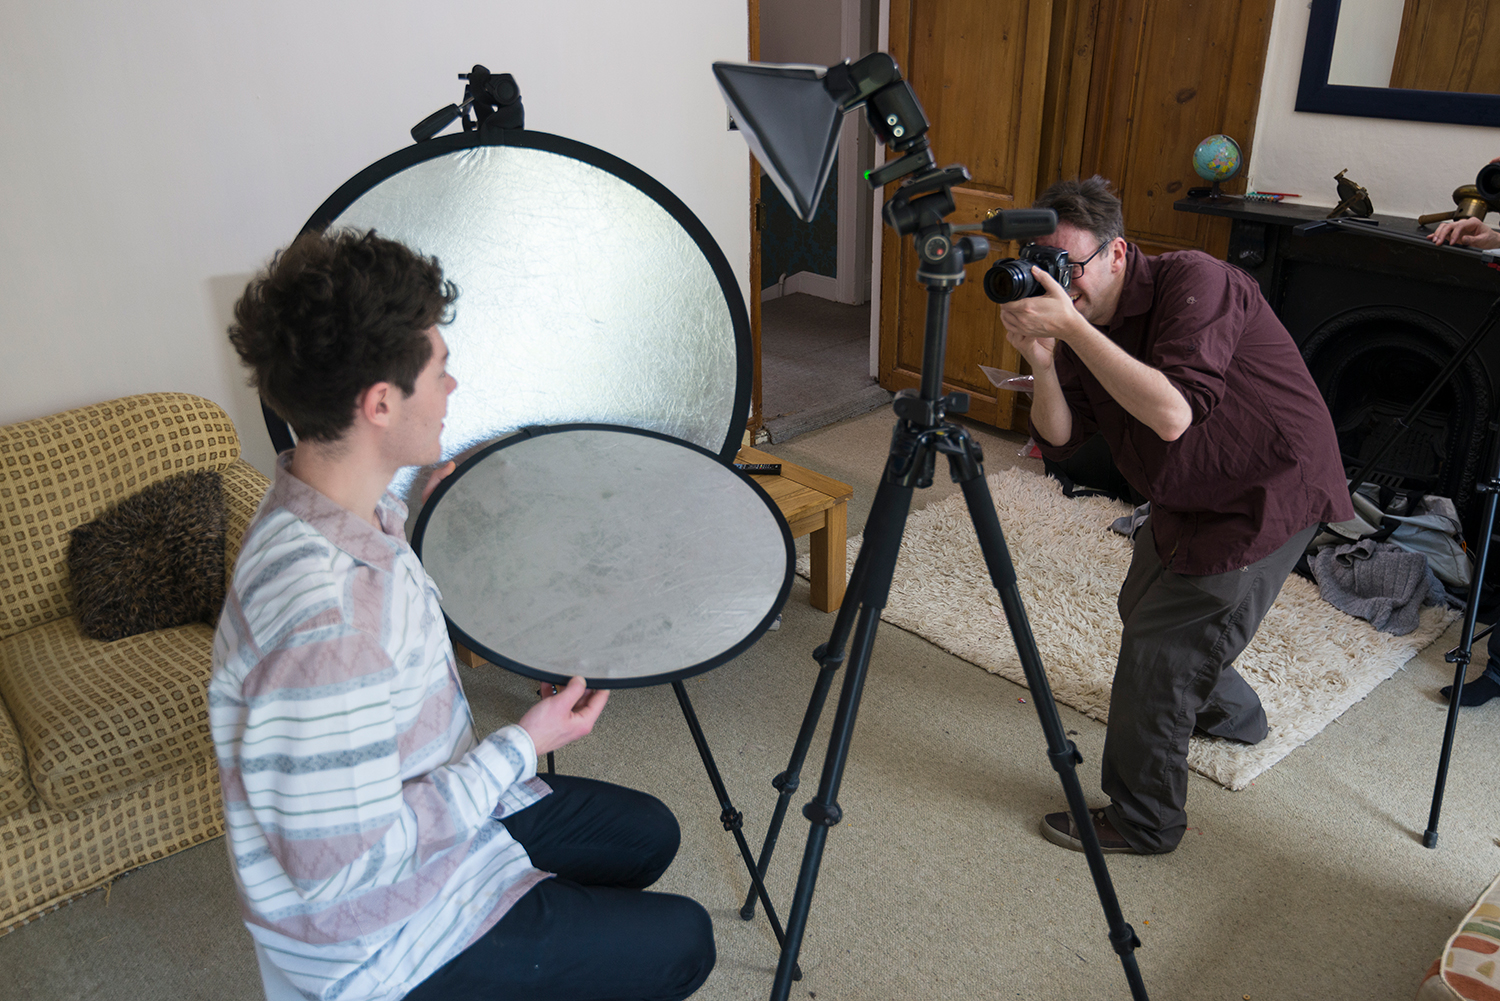
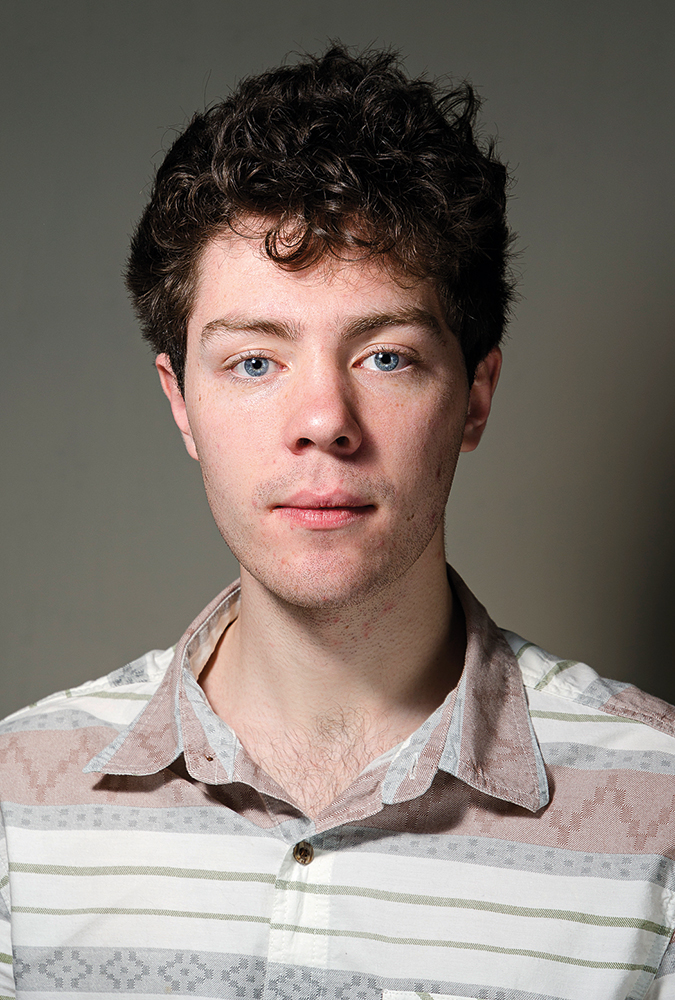
Kit needed Flashgun • Off-camera triggers • Softbox • Reflectors
Firing a flash directly at the subject produces harsh light, so the first step is to soften this. One of the simplest ways to do it is to use a small softbox, but most of these are only around 30cm wide, so you need to position the flash as close to the subject as possible. The other key accessory is a reflector (either a piece of white card or a ready-made reflector), which you should position on the opposite side to the flash to bounce light back into the shadow areas.
• The best reflectors for photography
Setup B: Two flashes
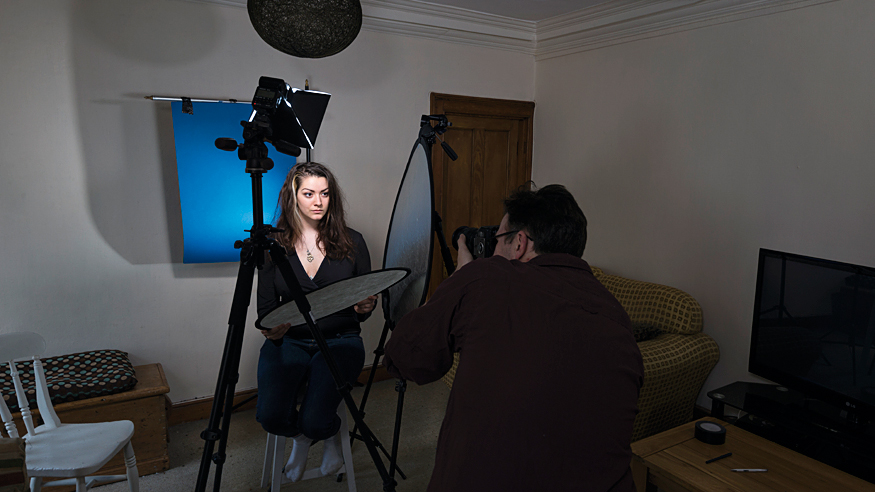
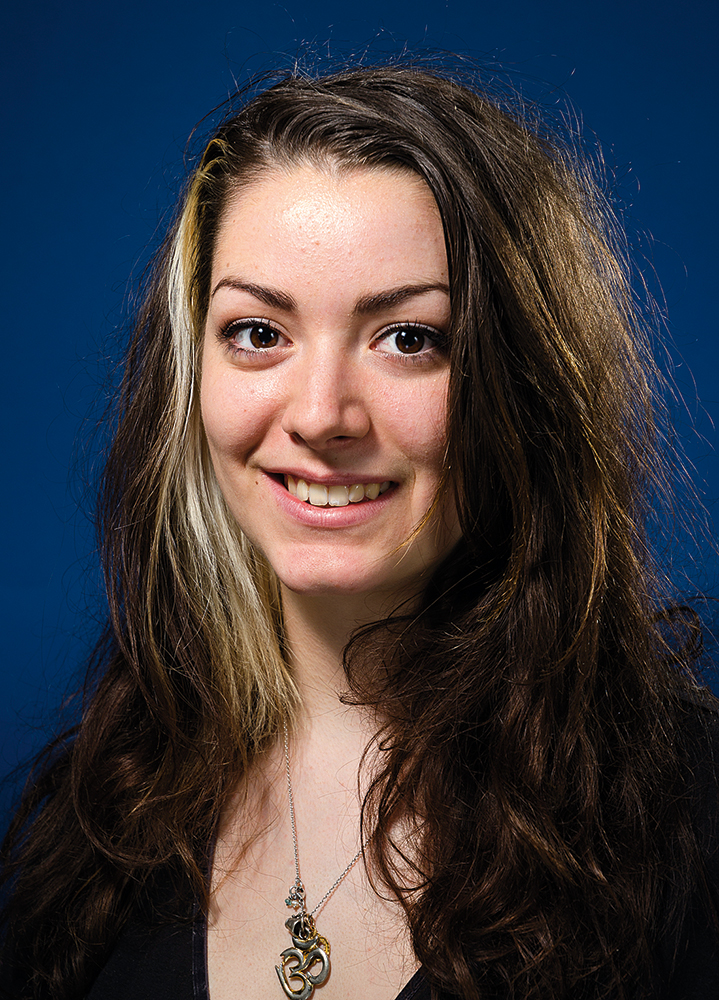
Kit needed Two flashguns • Off-camera triggers • Softbox • Reflectors • Background • Cardboard snoot
Adding a second flash to your lighting setup gives you extra options. Position your main light first to determine the light on the subject, and then you can introduce a second flash to give more lighting options. You can also use your second flash as a background light – position the flash behind the subject to produce a pool of light on the background around the subject; attach a piece of black card to the flash to create a funnel or ‘snoot’.
• The best backdrops for photography
Setup C: Passport shots
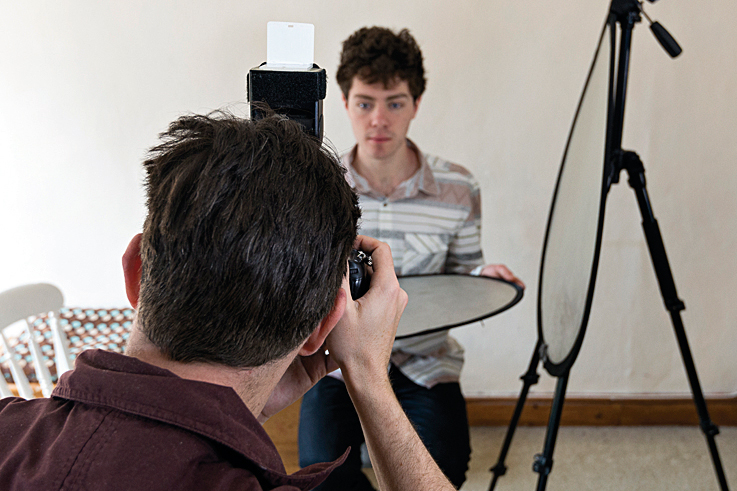
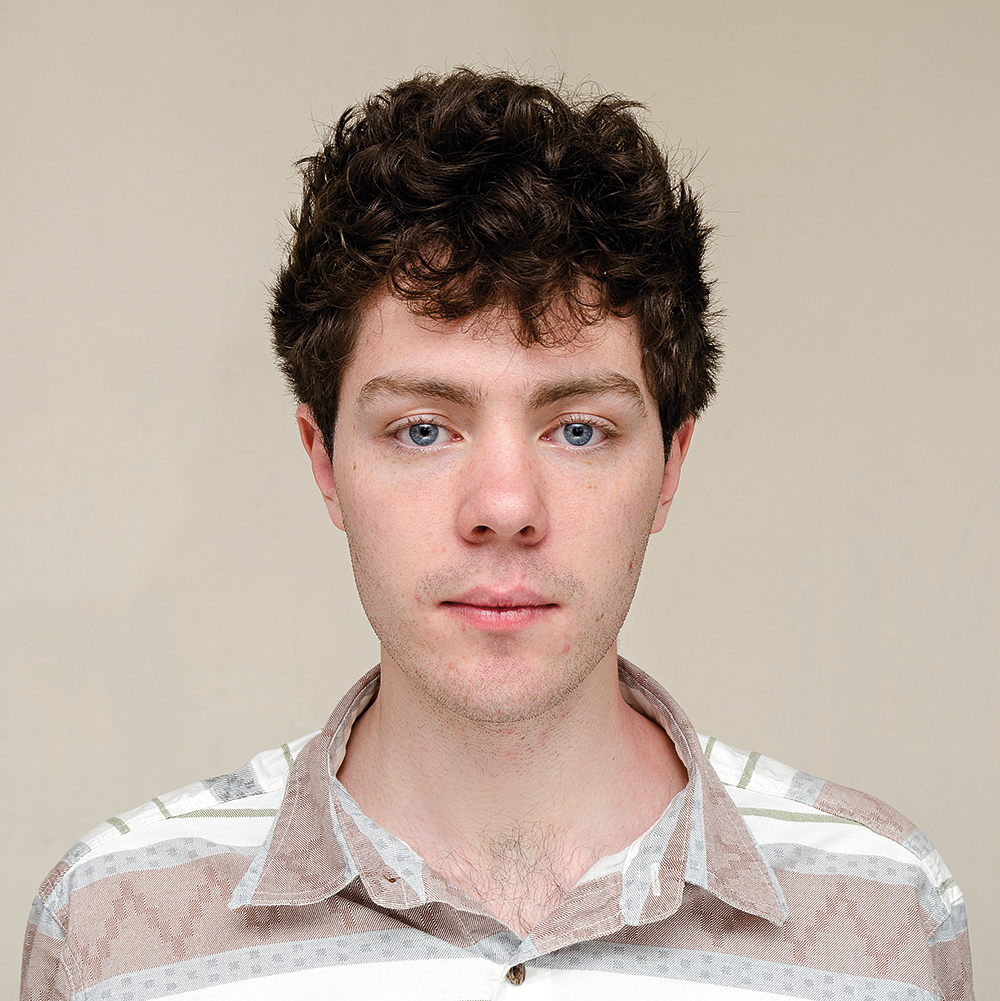
Kit needed Flashgun • Reflectors
Forget about creative lighting for passport portraits; all you need is shadowless light. The easiest way to do this, if you have a white ceiling, is to fit the flash to the hotshoe of your camera then, rather than direct the flash at the subject, move the head into an upright position. If your flash has a built-in bounce card you can twist the head around and use this bounce card to prevent the light reaching the subject directly. Finally, you can also get the model to hold a reflector under their chin to prevent any shadows.
• The best reflectors for photography
Setup D: Informal portraits
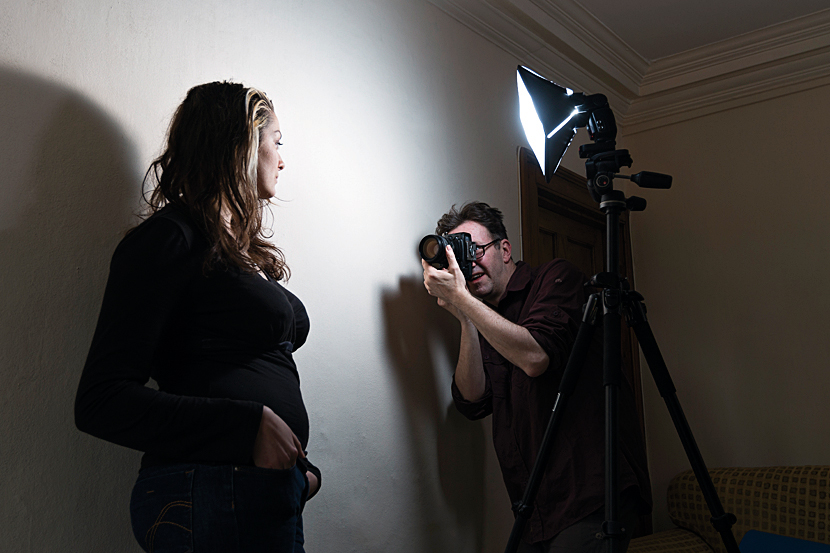
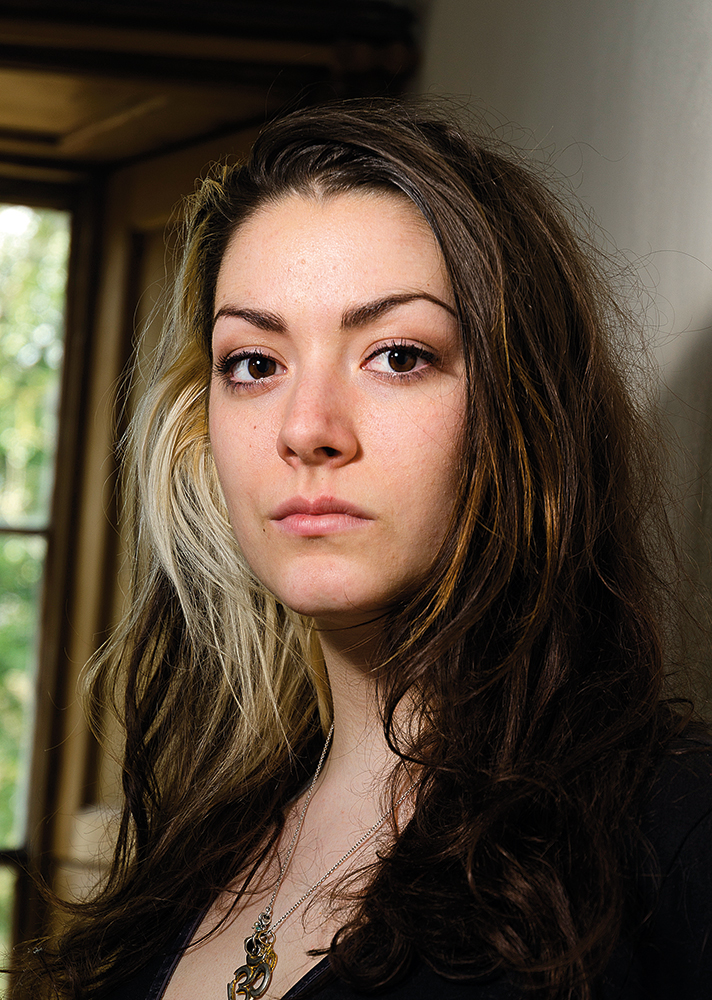
Kit needed Flashgun • Off-camera triggers • Softbox
While face-on shots are great for formal or professional uses, here’s a simple way to get a more casual-looking shot with minimal fuss. Find a white or neutral-colored wall, get your model to lean against it, and then shoot along the wall to give the image a sense of depth and space. You can use a single flash, again with a softbox or umbrella attached, positioned to one side of the model. You’ll find that the wall will act as a reflector to lighten the shadows on their face, so you don’t need any extra gear.
More videos:
147 photography techniques, tips and tricks for taking pictures of anything
Studio portrait lighting: essential tips and setups explained
Couple photography: poses for portraits of pairs of people
Fill-in flash: tips and tricks for using a flashgun in daylight
I’ve been interested in the art and craft of photography since I pestered my parents to buy me a ‘proper’ camera aged about 10. Armed with my new Zorki 4k camera, I set out on a photographic journey that continues to this day.
I learned the ‘nuts and bolts’ of the craft by doing a photographic degree at the University of Westminster, and have been involved in the photographic industry since then. For the last 12 years I have combined taking photos with writing articles and features for some of the UKs best-selling photographic magazines, including Practical Photography, Digital Camera and N-Photo. During this time I have also had two photography books published by Rotovision, on color and composition, and spent three years as a professional car photographer, working for evo magazine.
All of this means that I have experience of shooting almost every type of subject, but I always come back to my first love – landscapes (and particularly the British landscape. I know live in on the Isle of Skye in Scotland.
