Get more from your camera's built-in flash
While it might not seem the first choice for photographers requiring advanced lighting effects, built-in flash can be a valuable and versatile asset
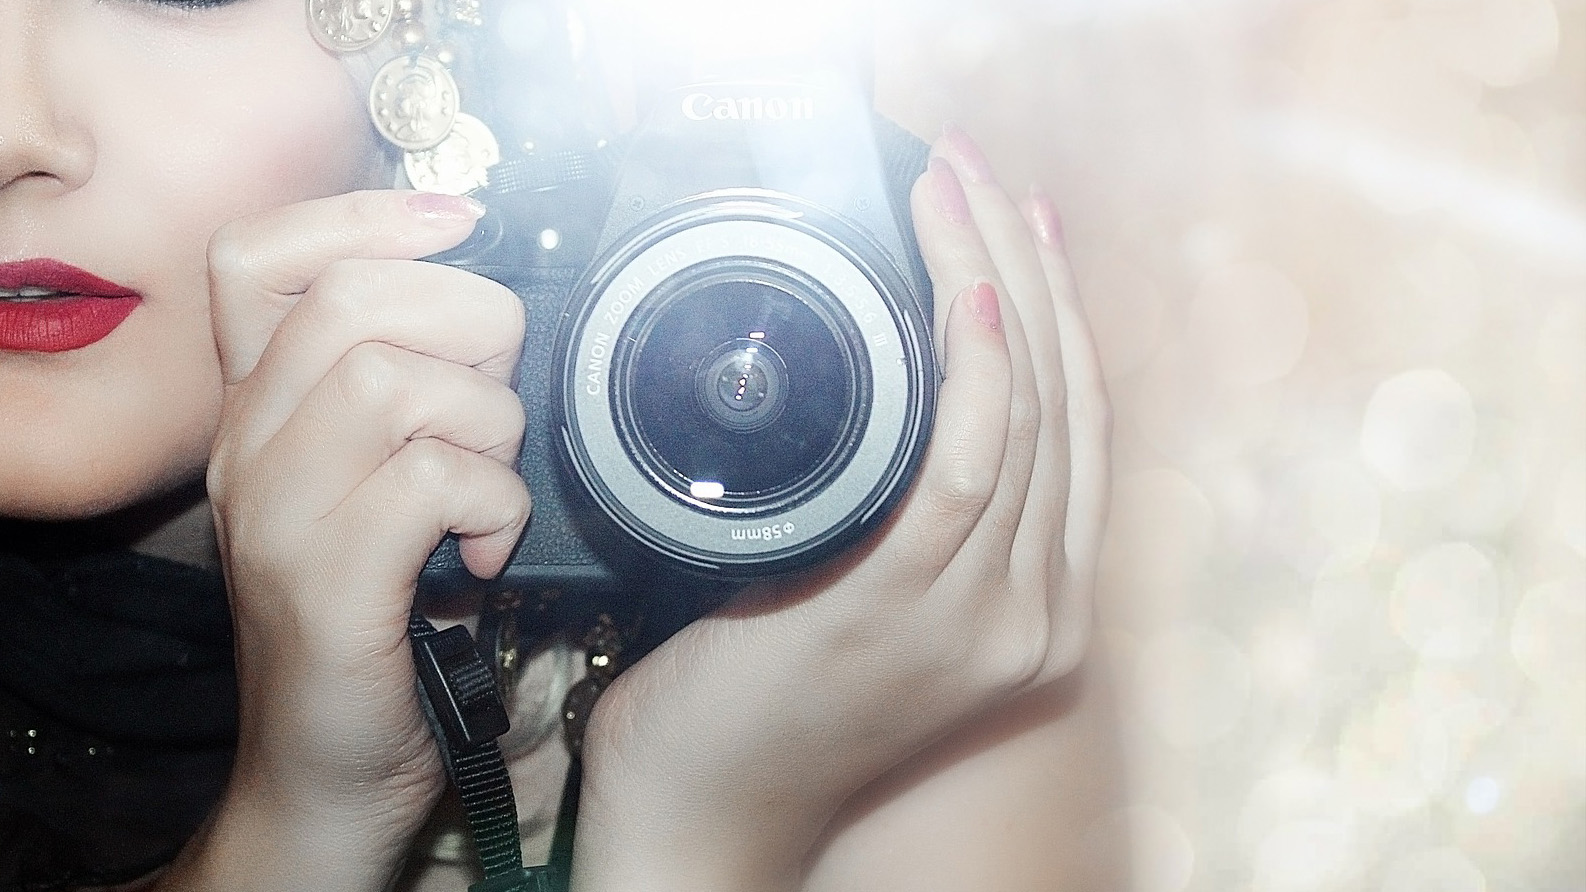
Built-in flash has somewhat of a bad reputation amongst serious photographers, who often do not feel it is flexible enough for regular professional use. It is true that external flashguns provide lighting that is easier to work with and that internal units have their limitations.
Internal flashes are always present. It is impossible to leave for a shoot without a flash
The light from these flashes is known for being harsher, due mainly to their small size, which results in a limited spread of light. The softness of flash light is directly related to the size of the source, resulting in built-in flash producing a harder light ‘hotspot’. Furthermore, the majority of integral units cannot be angled in any way, instead directing the light straight at the subject.
Therefore, unlike with speedlights, which can be angled to bounce flash off a wall or ceiling, it is easy to create an unflattering bleached look to skin, with patchy blown highlights. In addition, it is difficult to produce genuinely directional lighting, for which off-camera flash can be used to enhance texture or structure in the subject.
There is also the matter of limited control - speedlights usually provide full customisation of the flash power and output, to easily blend flash light with the ambient light in the scene. Since this is not possible with integral units, it can be difficult to avoid flash fall-off. There are also a smaller range of accessories designed for these flashes than there are for dedicated external flashes. However, these weaknesses aside, there are benefits to be found.
Firstly, internal flashes are always present and are powered by the main camera battery, meaning it is impossible to leave for a shoot without a flash or for the batteries to run out of power. Beyond this, professional speedlights are large and heavy, so there are weight-saving advantages when travelling. It is possible to adjust flash output to some degree and there are options for diffusing light from your flash, however the greatest method of expanding its usefulness is to use it as a wireless trigger for same-brand external devices. Either way, it is advantageous to know how to make the flash on your camera truly useful.
Diffuse the light
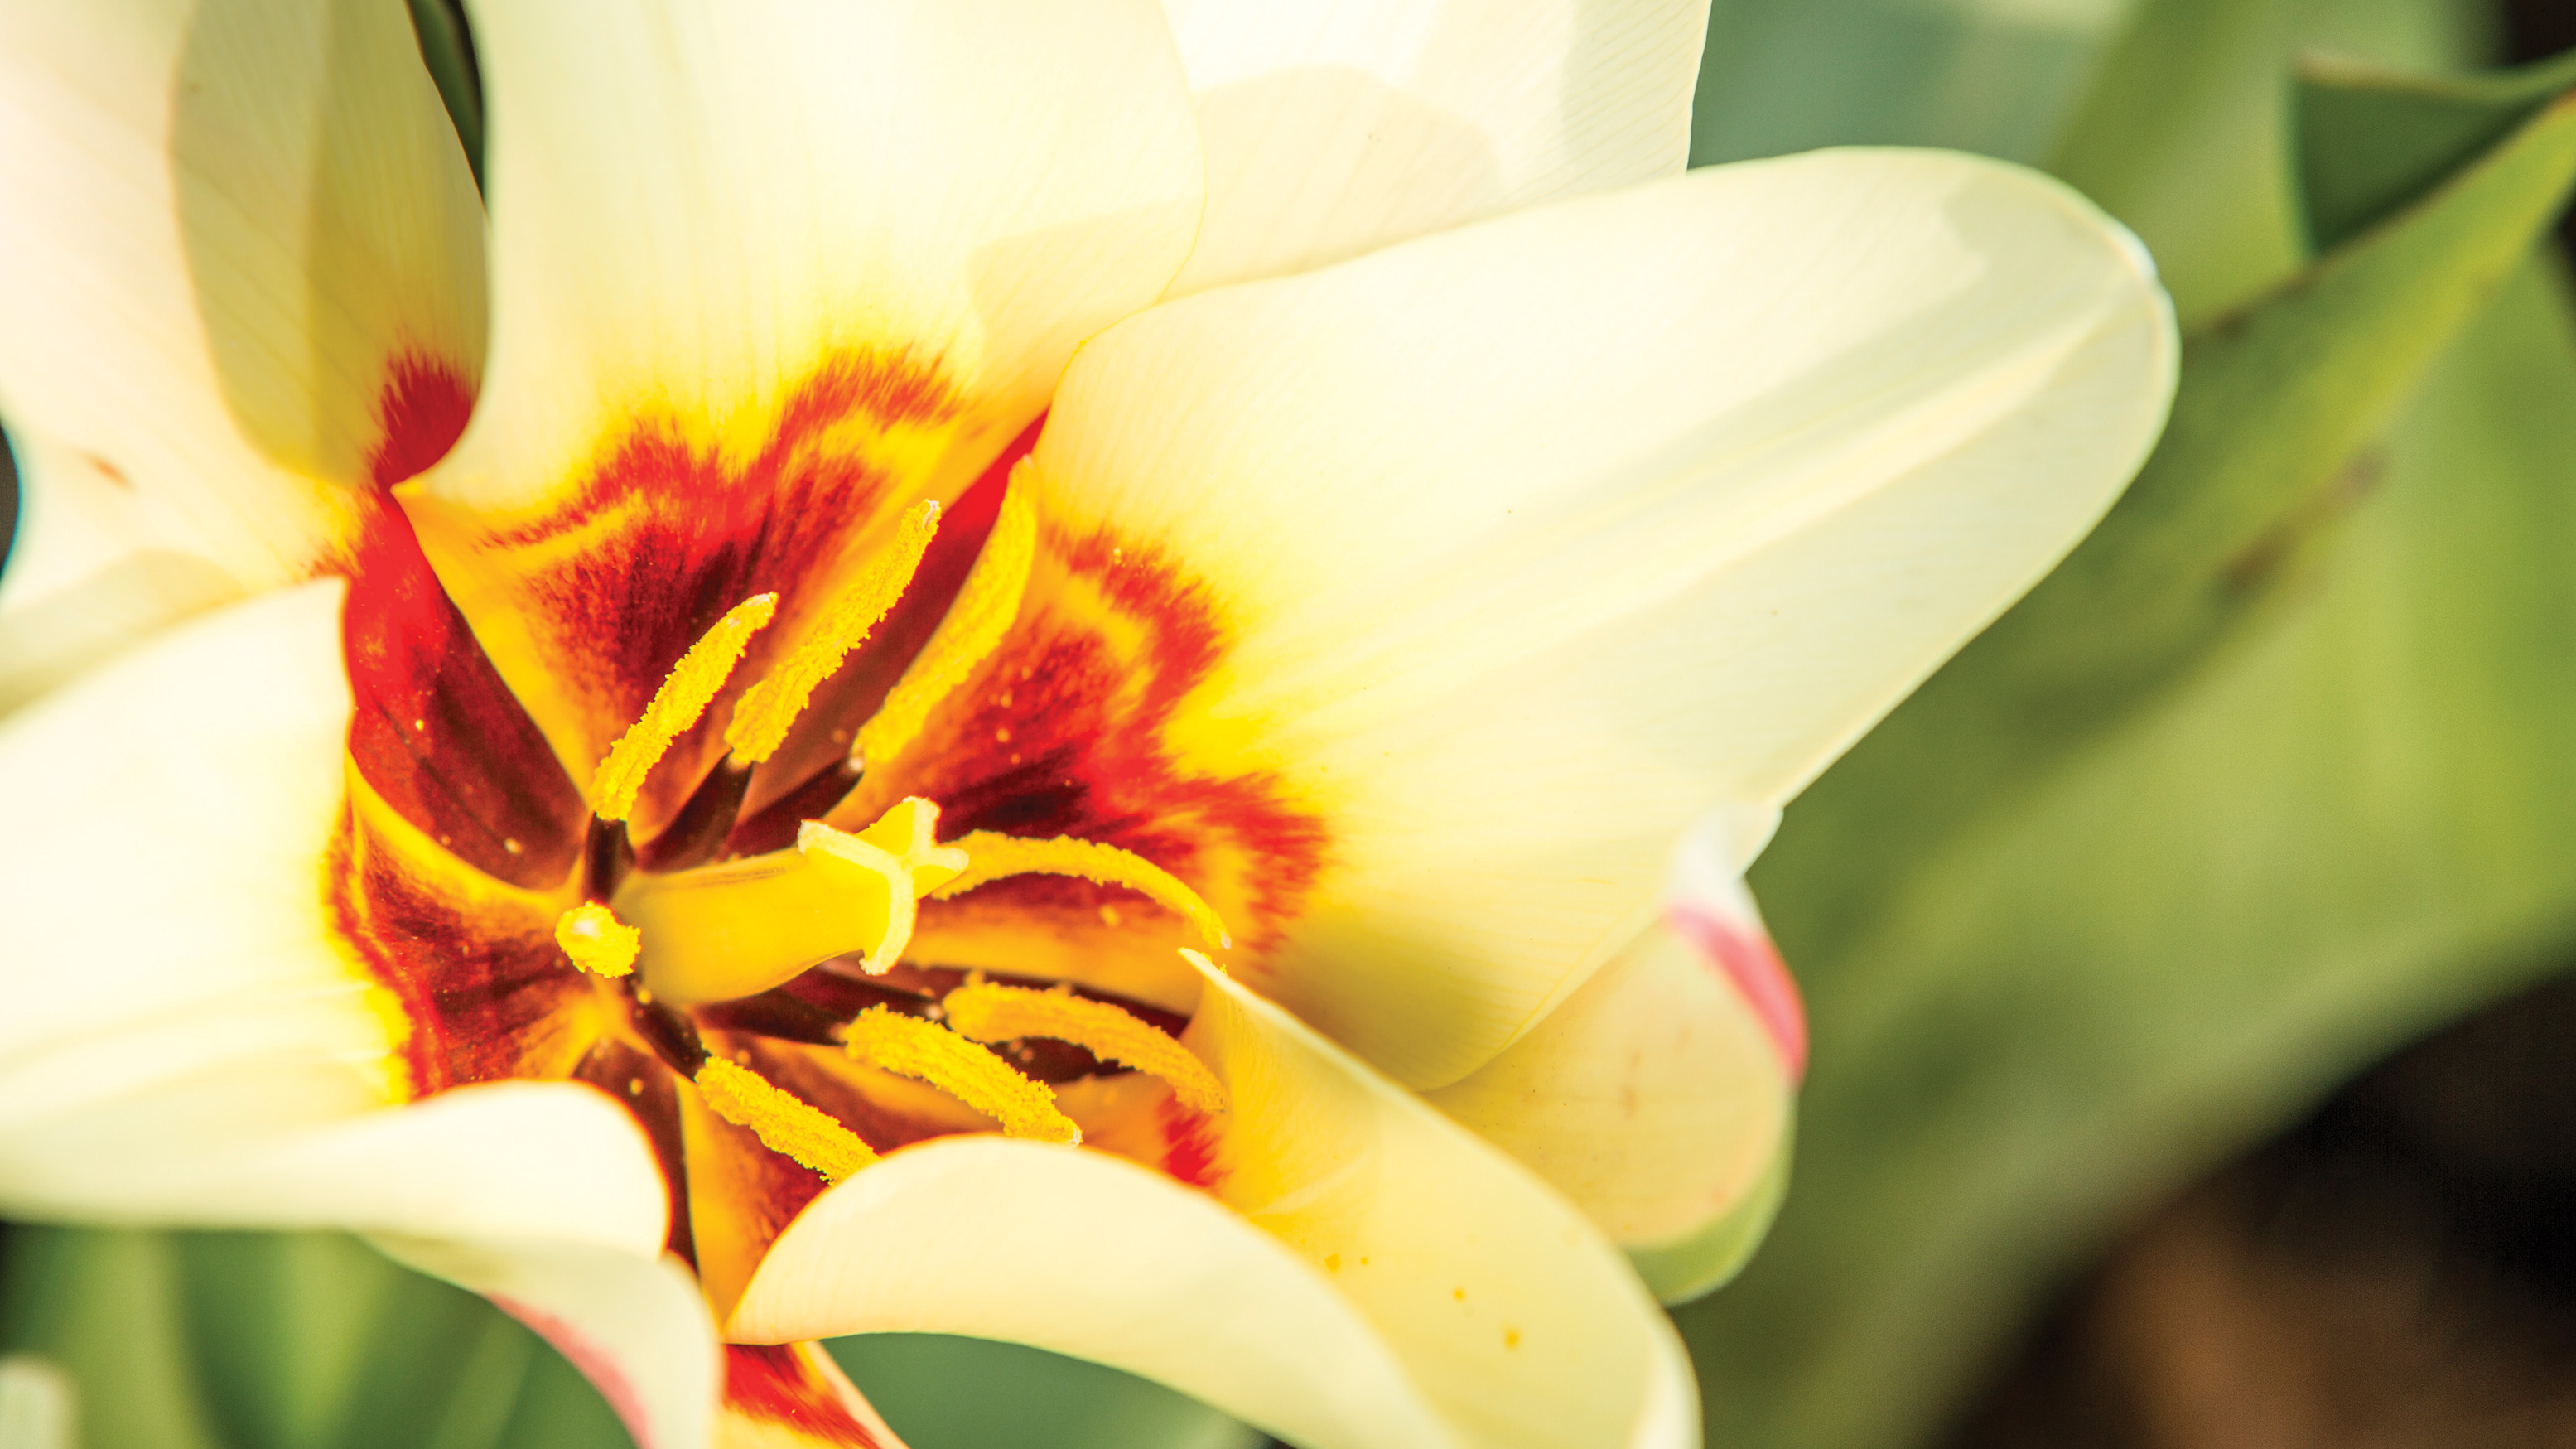
Remember that Flash Exposure Compensation differs from conventional Exp Comp, which adjusts the global brightness of the whole image. With FEC only the relative brightness of the flash is varied, leaving the overall image brightness unaffected.
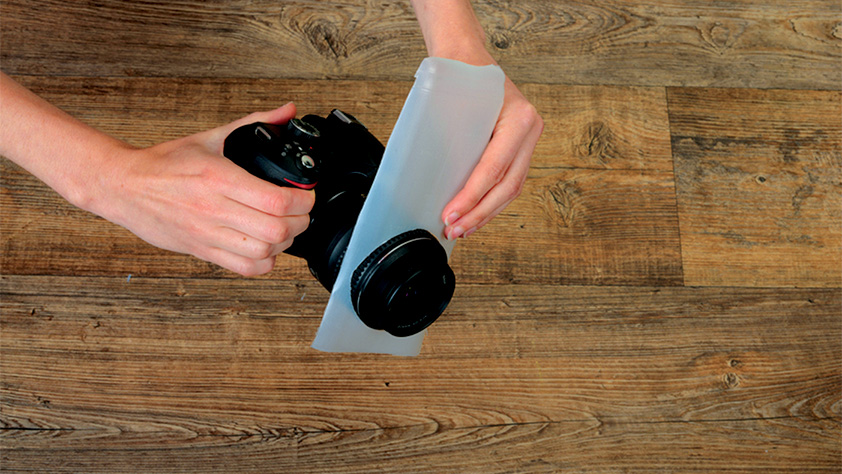
Diffusion domes are common for flashguns, but these can be difficult to find for pop-up variants. Try a universal internal flash ‘softbox’, which can be found inexpensively online or alternatively, craft one yourself from a piece of white plastic or semi-translucent material.
Read more: The best flash diffusers in 2021
The best camera deals, reviews, product advice, and unmissable photography news, direct to your inbox!
Alternatively you can go for a more DIY option! Translucent plastic, such as that found in milk cartons, makes excellent diffusers. It allows much of the light to pass through, enabling high light output, while effectively spreading the light out, for softer shadows. Furthermore, because it is often pure white, or at least close to it, a diffuser made with this material won't introduce unwanted color shifts when the flash is fired through it.
Use flash exposure compensation
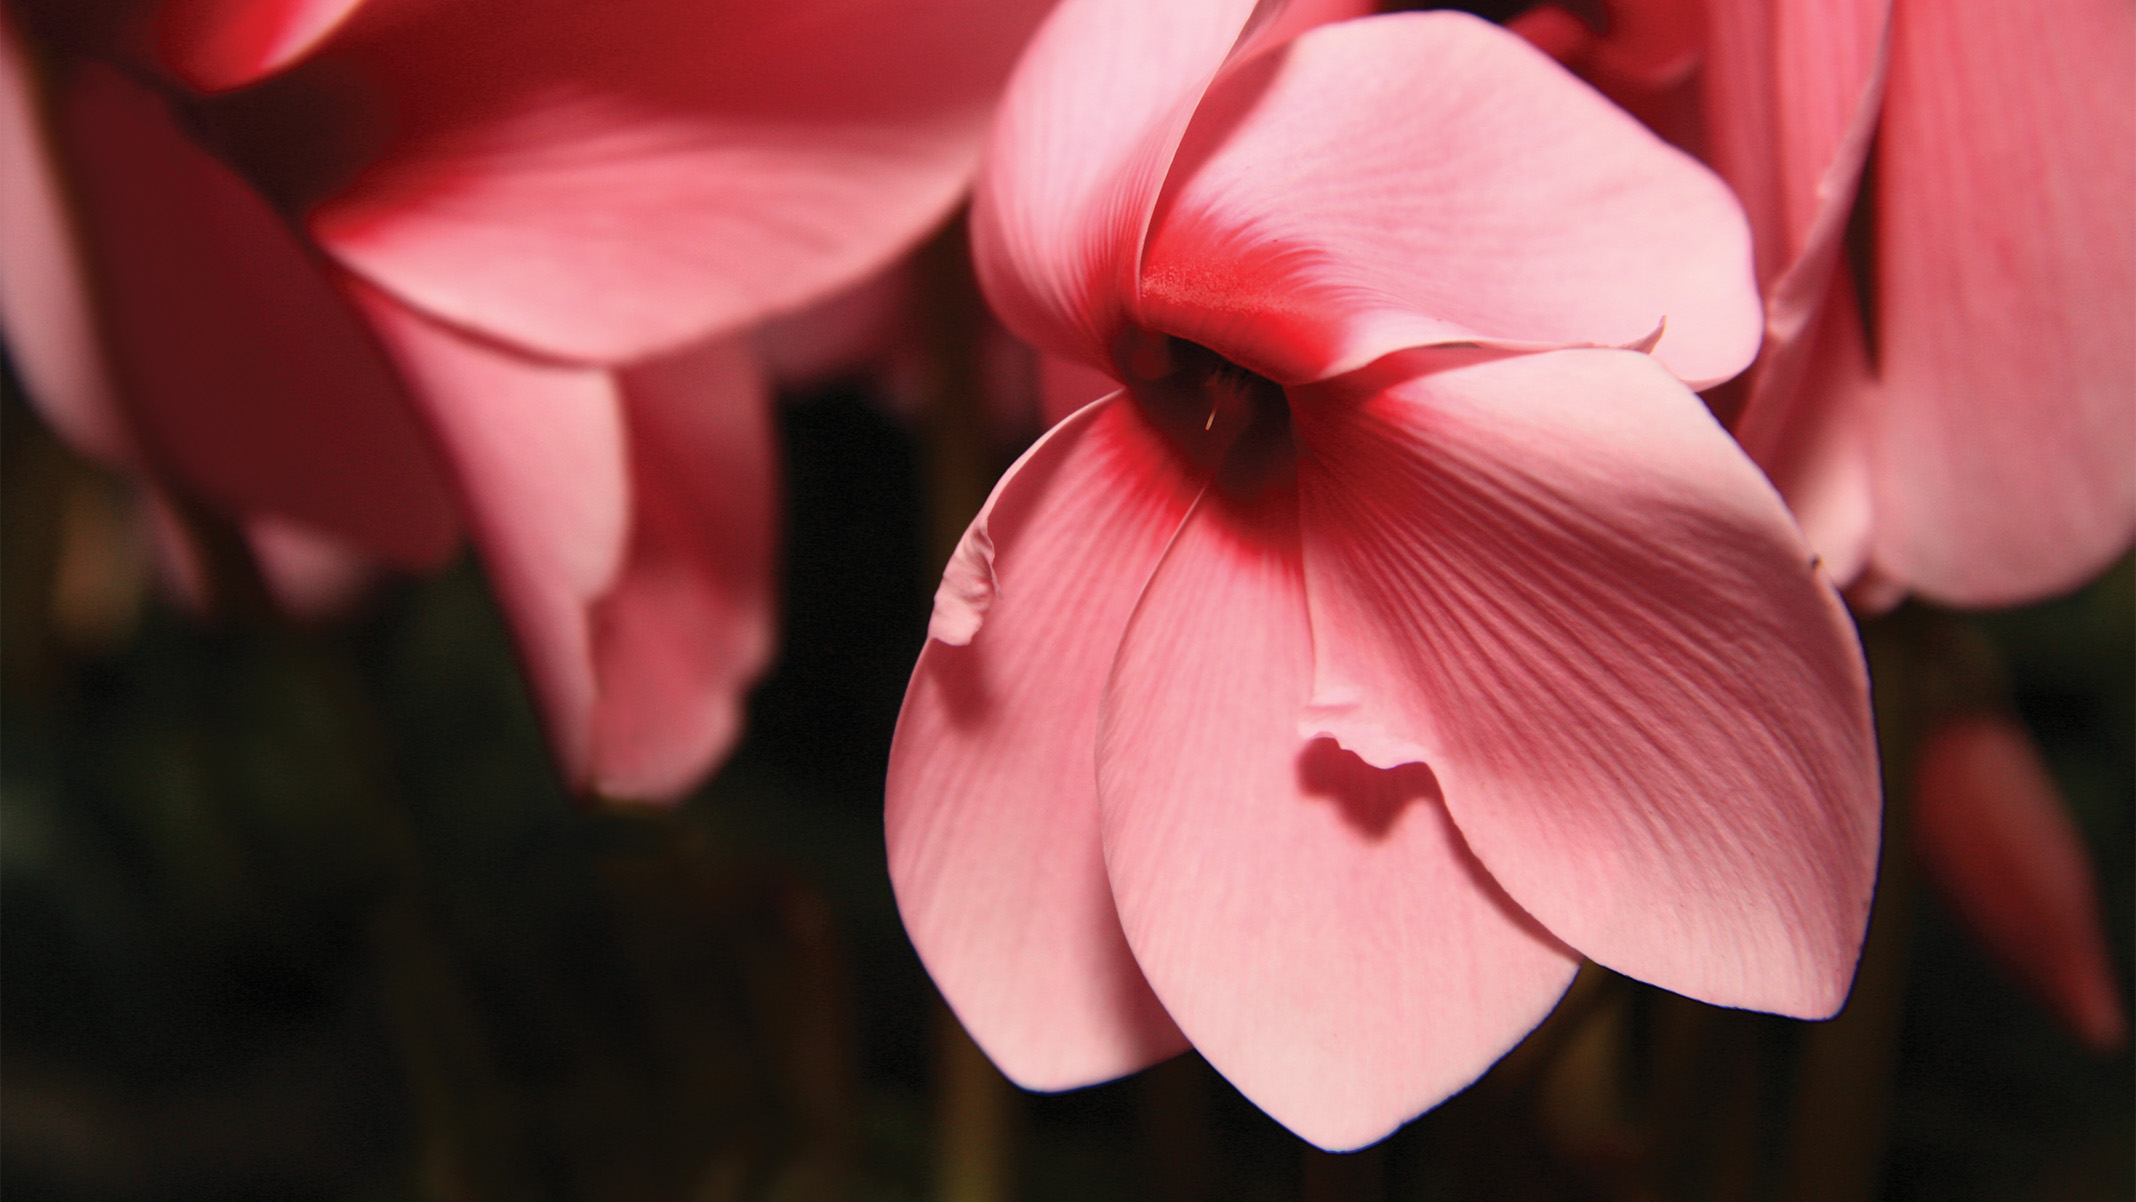
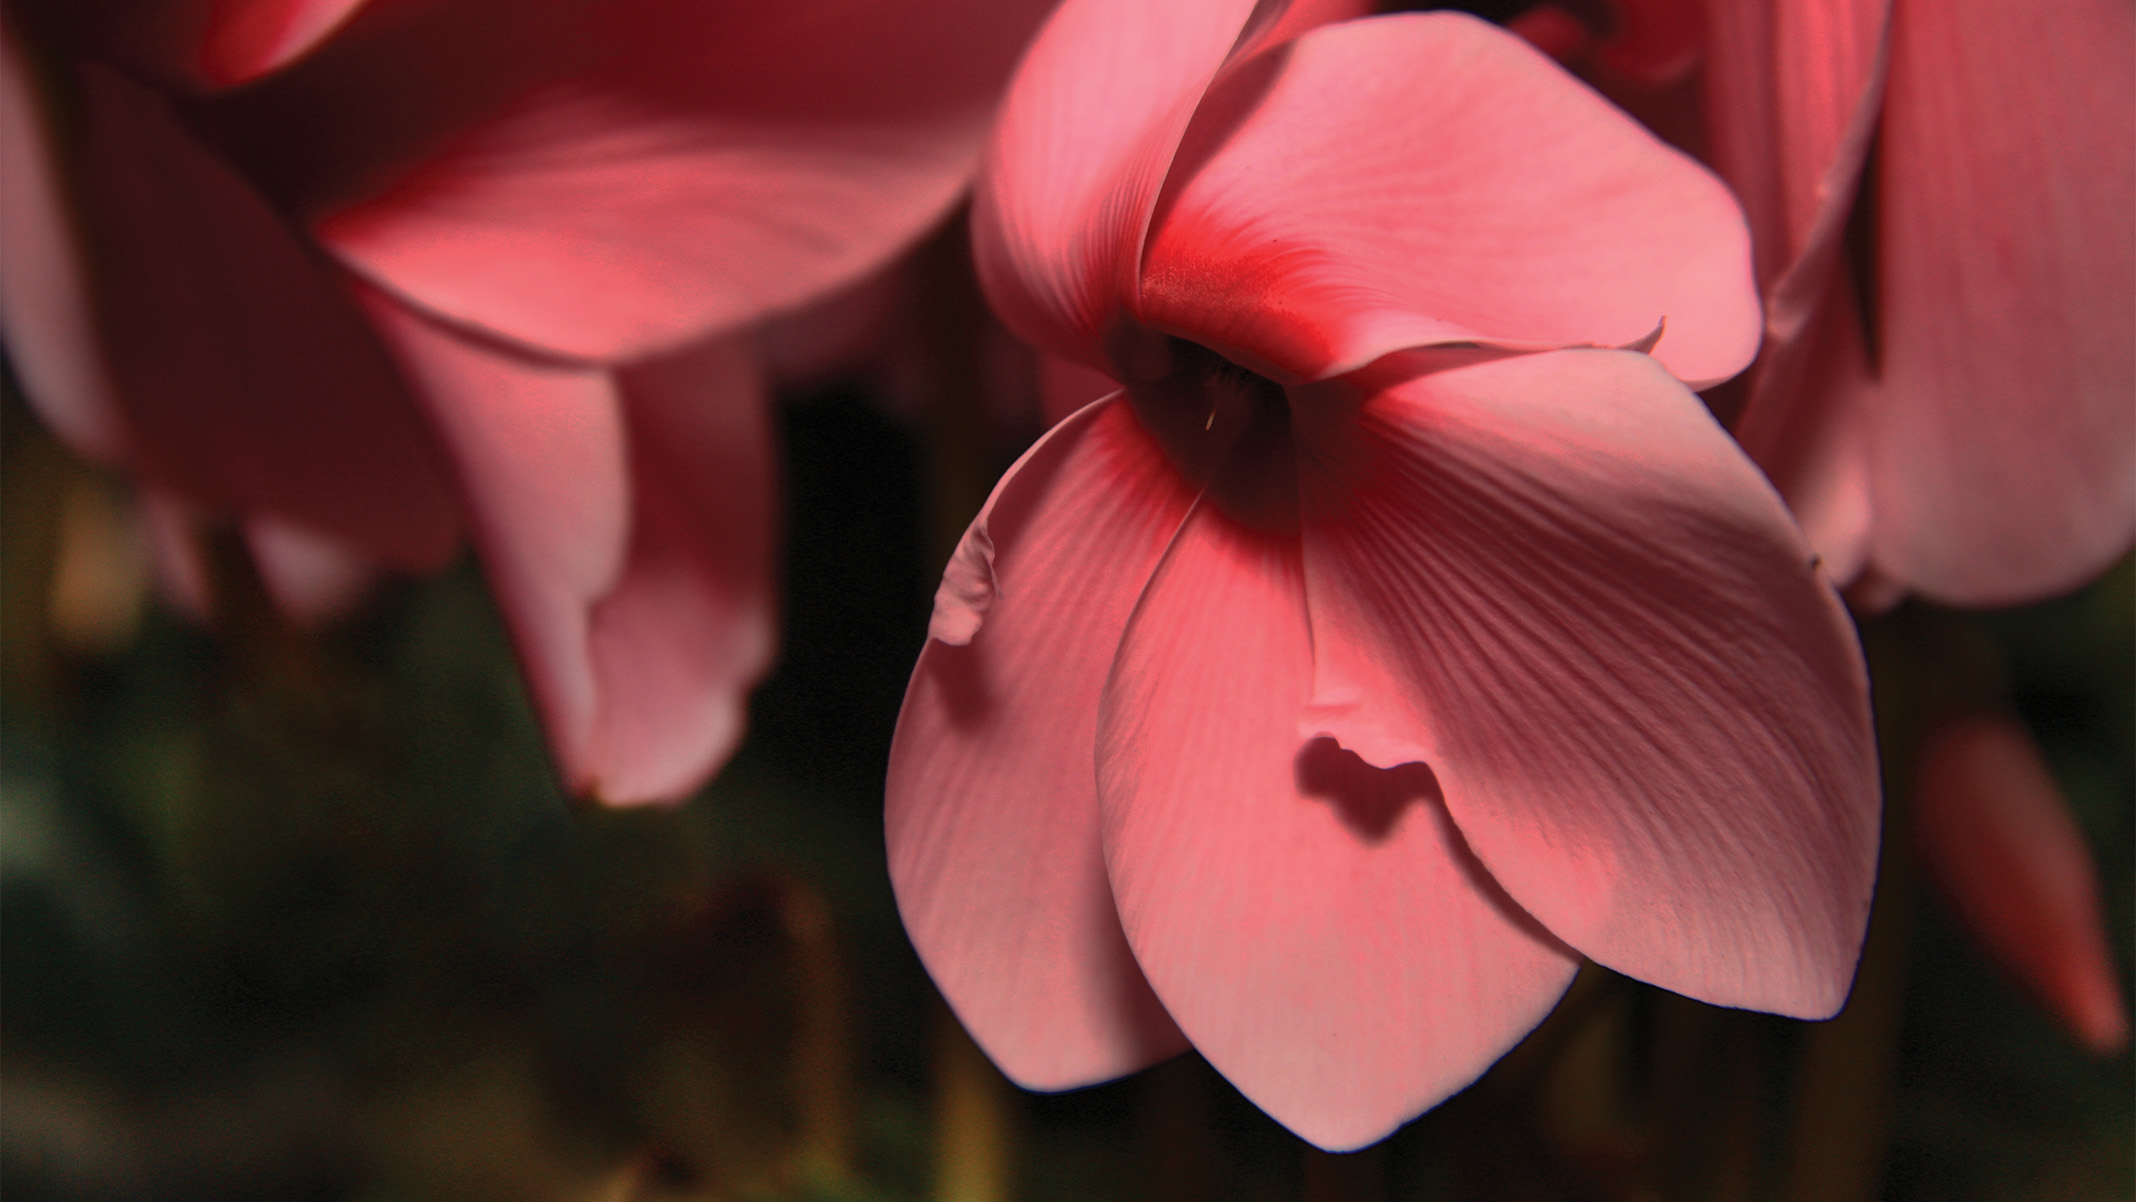
While it may not be possible to adjust flash output manually, in the same way as on dedicated flash units, you can ‘turn down’ the presence of flash in your shots, using Flash Exposure Compensation. If the flash light overpowers natural or ambient light, use negative compensation to reduce the flash effect, relative to overall exposure. This reduces the harsh lighting associated with internal flash and makes its use for fill flash for more practical.

Use it to control external units
There is another function for your integrated flash. If you invest in an external flash, even a single unit, you will need something to trigger it with, wirelessly. You can do this with radio triggers, but these require extra investment. Until you are ready to make this jump, you can extend your flash shot flexibility by triggering speedlights with your built-in flash, without any further investment.
1- Locate flash control menu

Activate your built-in flash and then navigate to the dedicated flash settings menu on your camera LCD. At this stage, place your external flash on a light stand, or attach a flash stand to the base of the flash, then place it on a flat surface
2- Set flash command mode
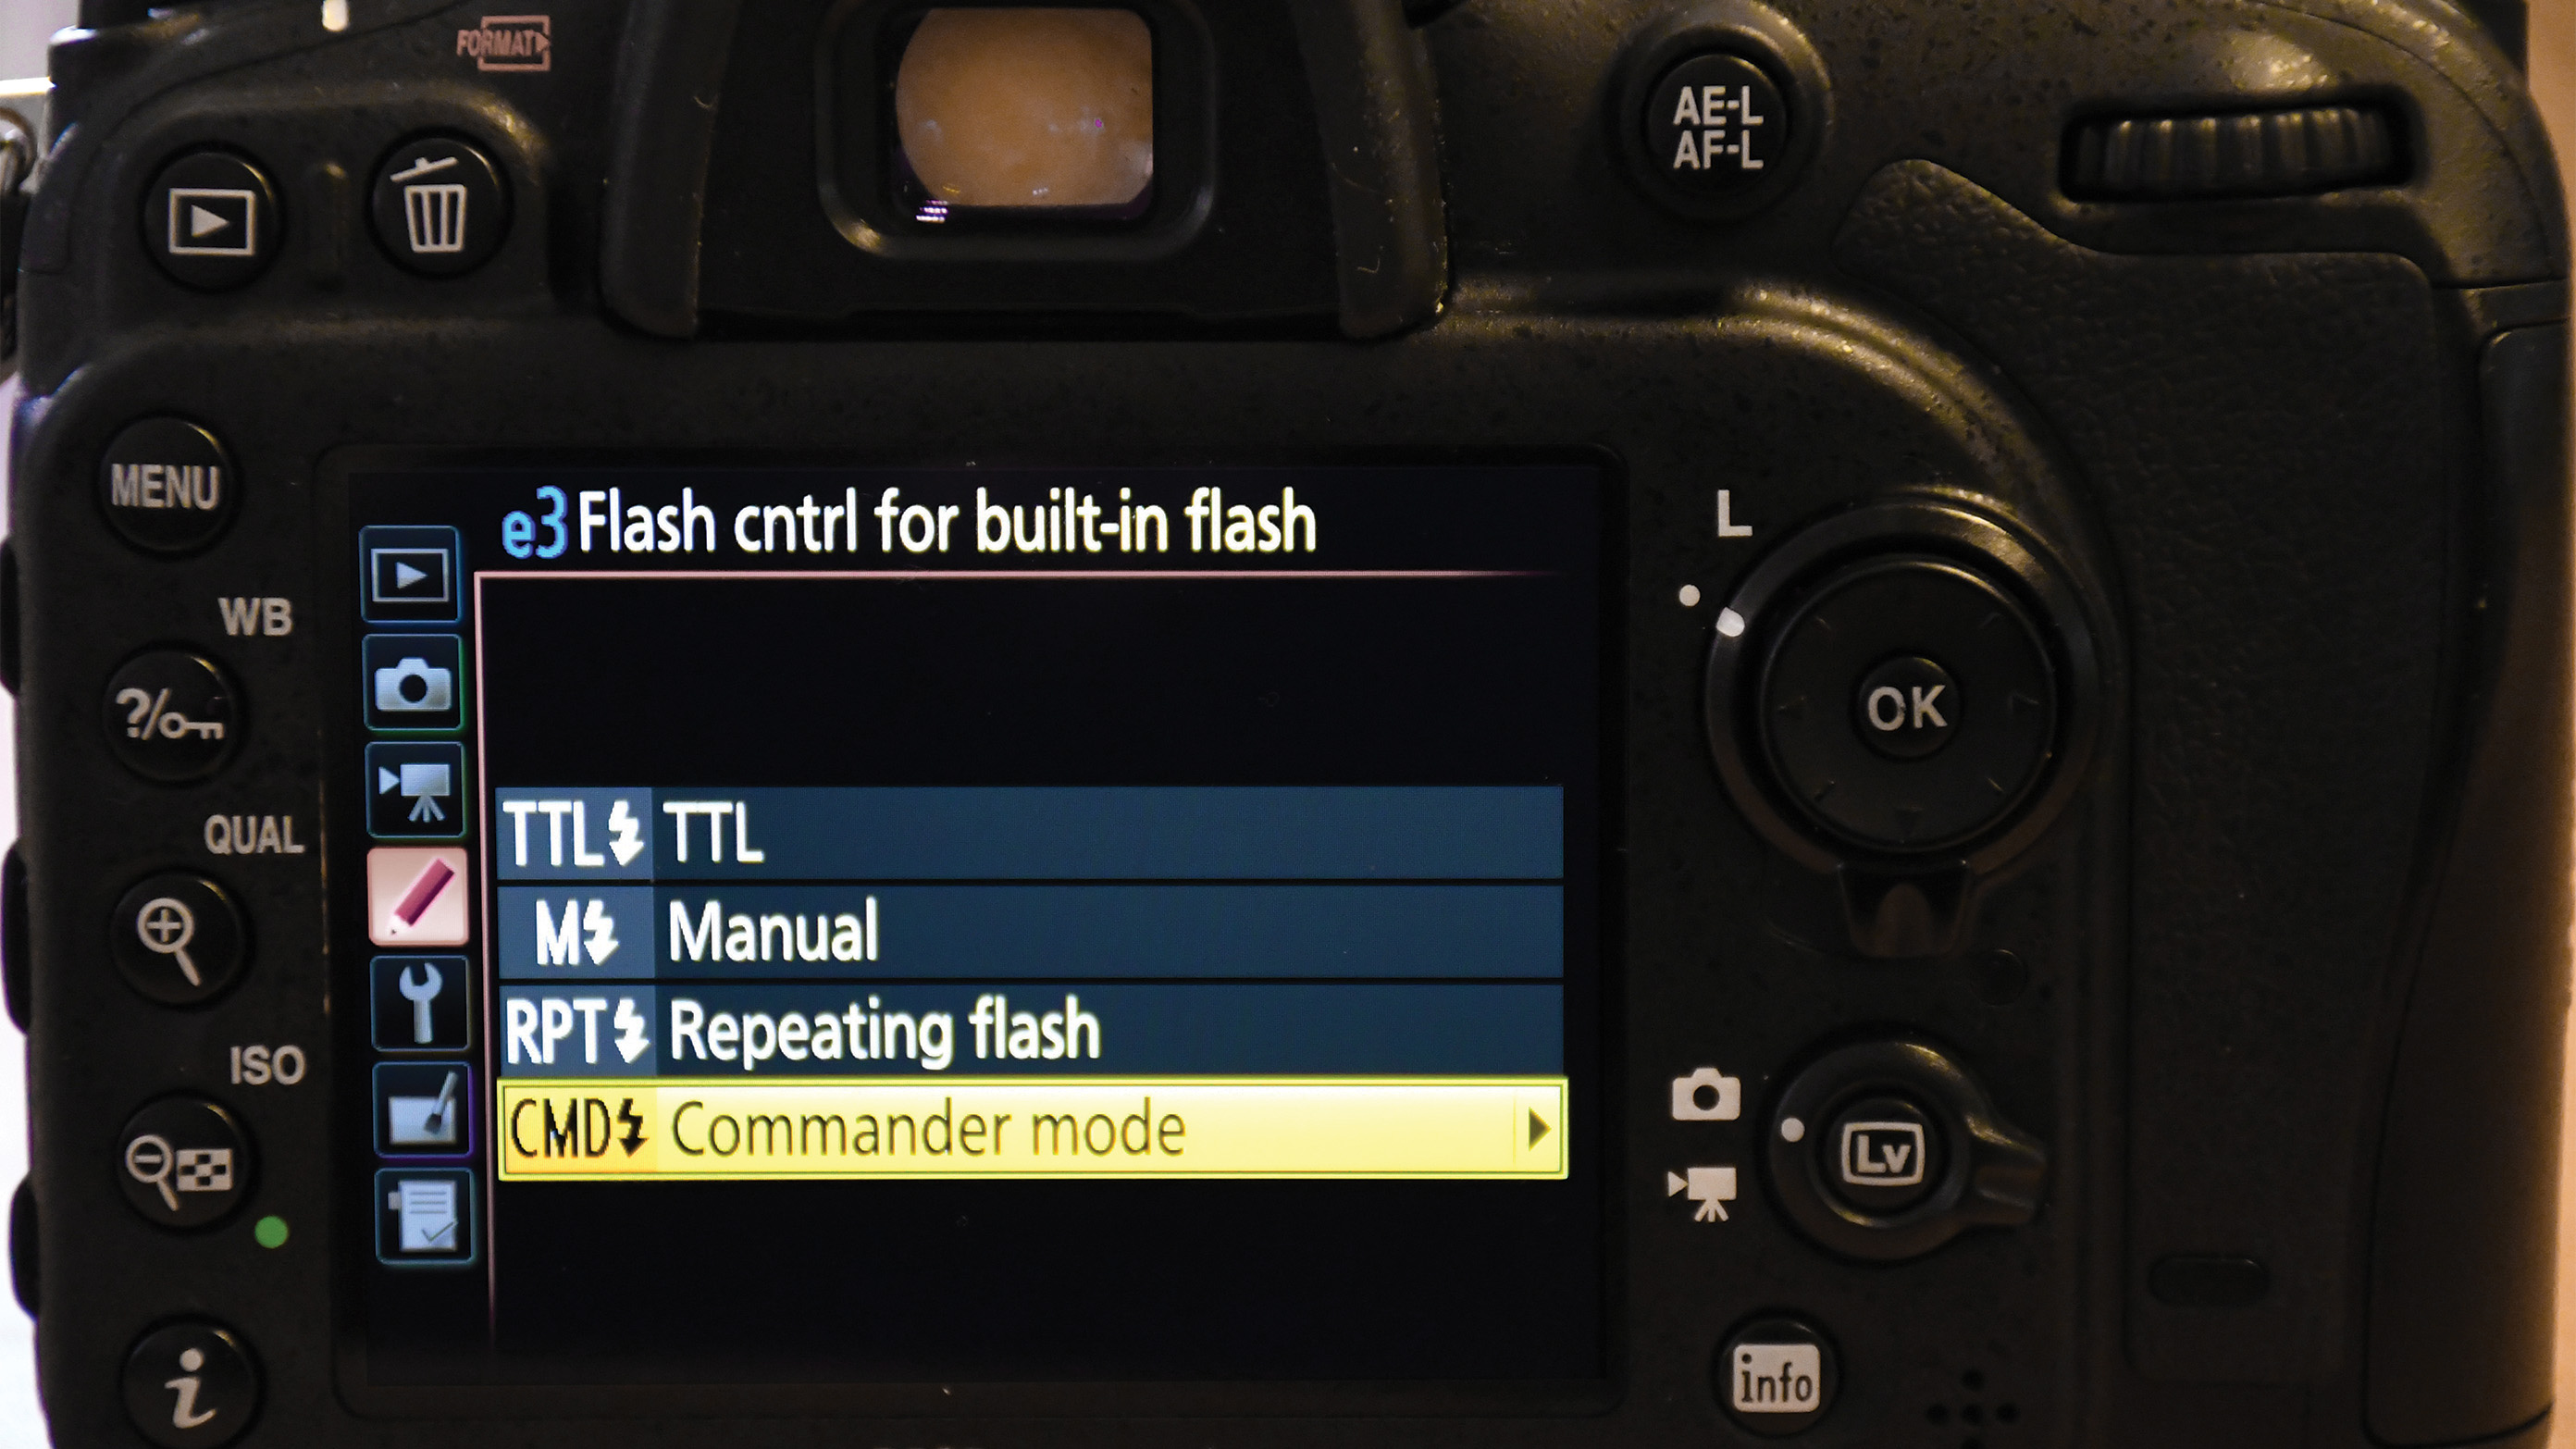
To get your internal flash to ‘speak’ to the external flash units, you’ll have to activate the command mode. From the flash control menu, select wireless command On (terminology differs between brand). You may have the option to keep fill flash functionality from the internal unit.
3- Set speedlight as slave
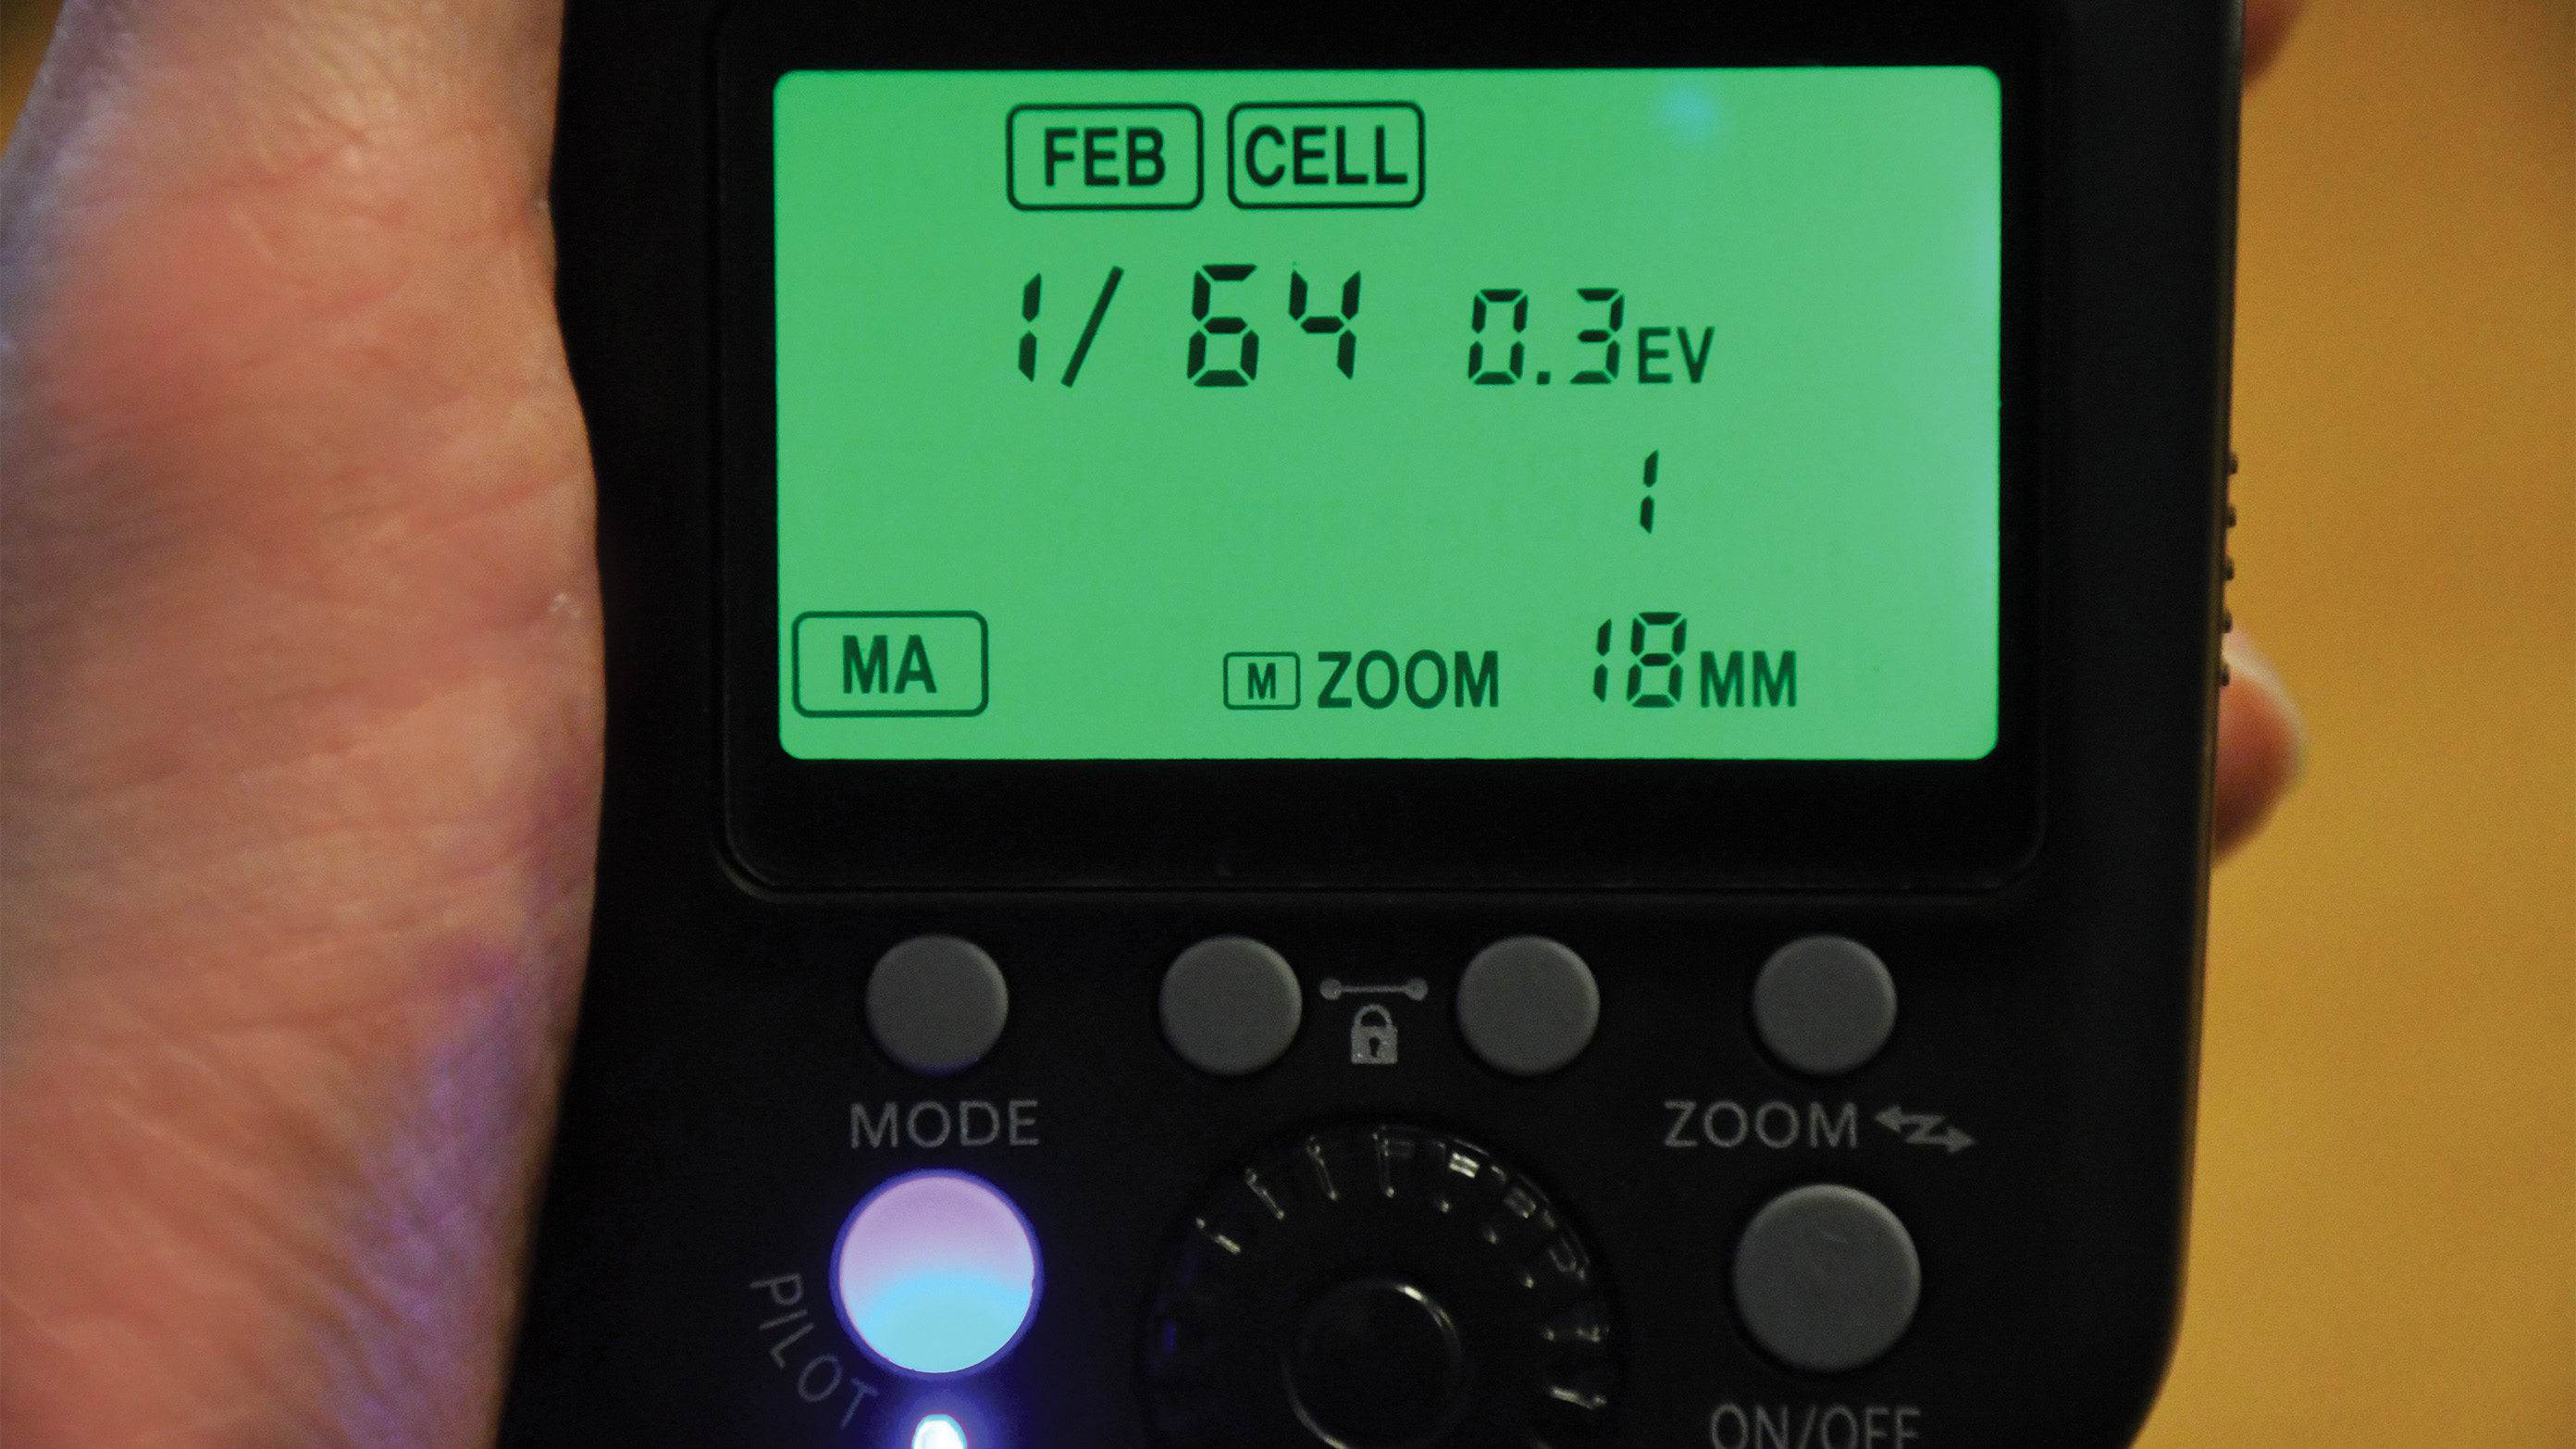
On the external flash unit, use the LCD to scroll through modes and activate the wireless receiver, by choosing Slave Mode. The on-camera flash will now act as a master, triggering the speedlight when the shutter is fired. Ensure good line-of-sight between camera and flash
4- Choose a channel
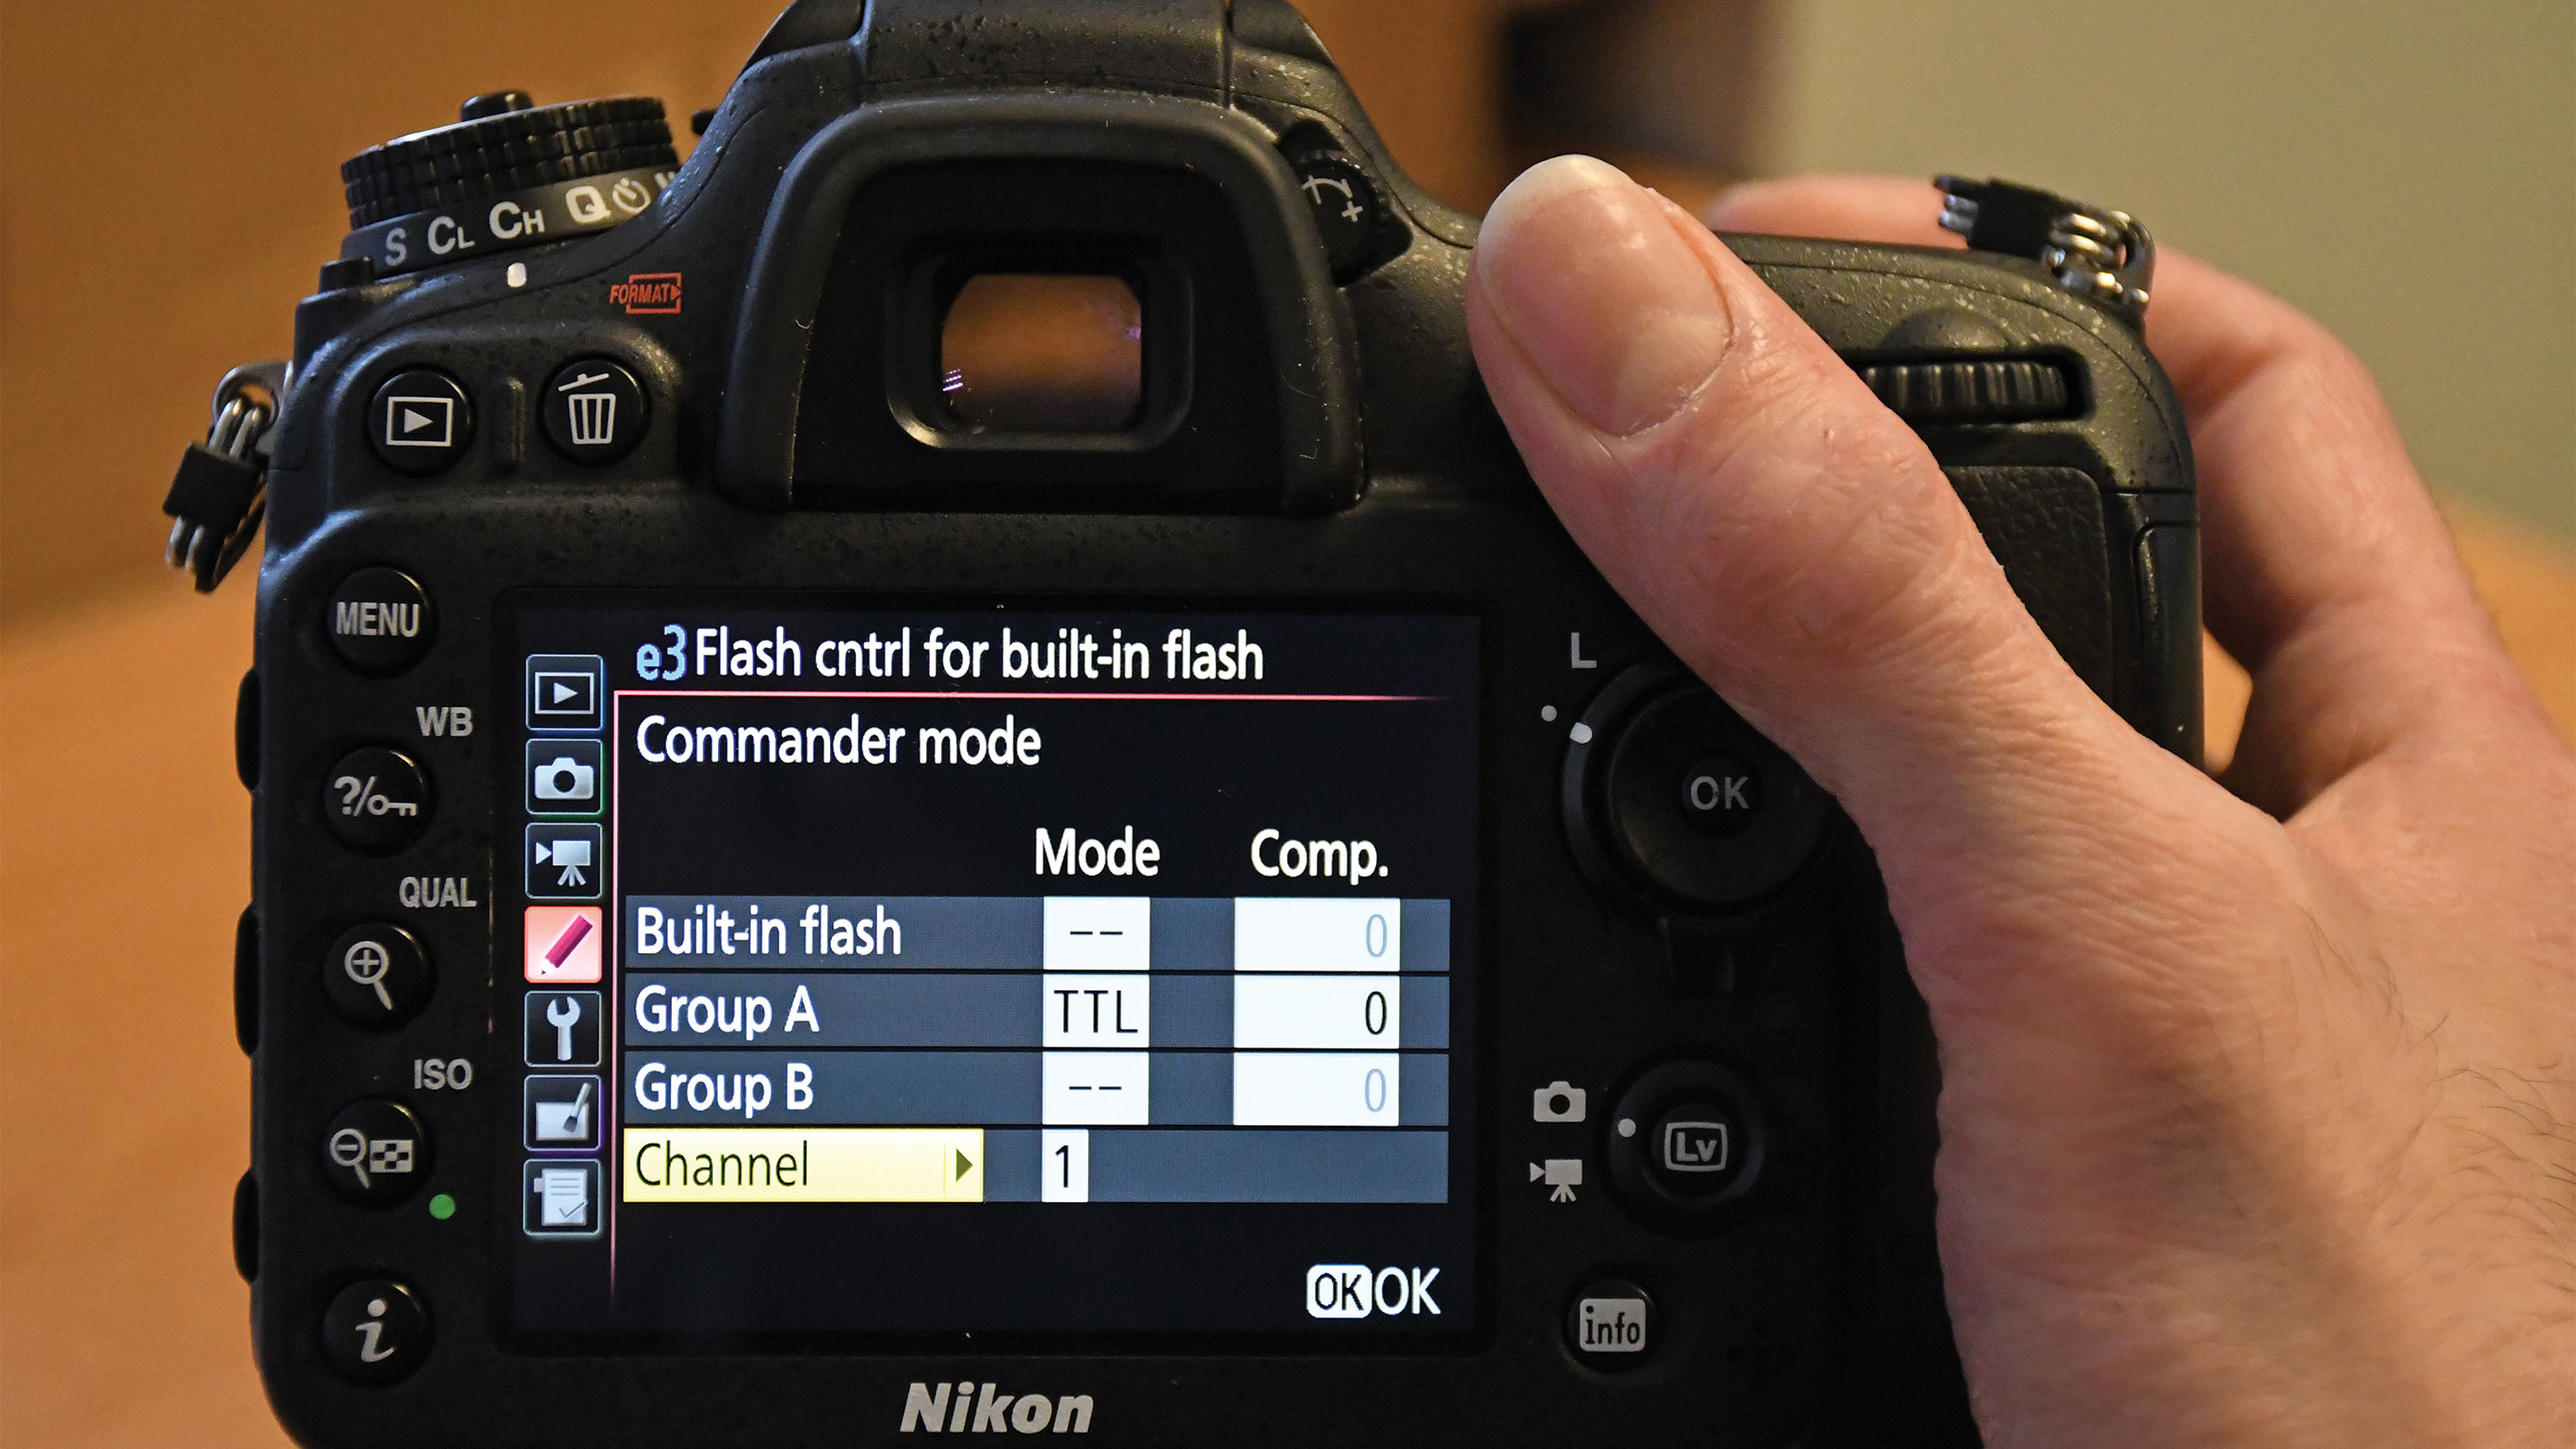
Assign a channel to your flash and ensure this corresponds with the currently selected channel on your camera. This will ensure your flash will be triggered correctly and your work won’t be disrupted by other photographers working nearby, when shooting an event for example.
5- Choose a flash group
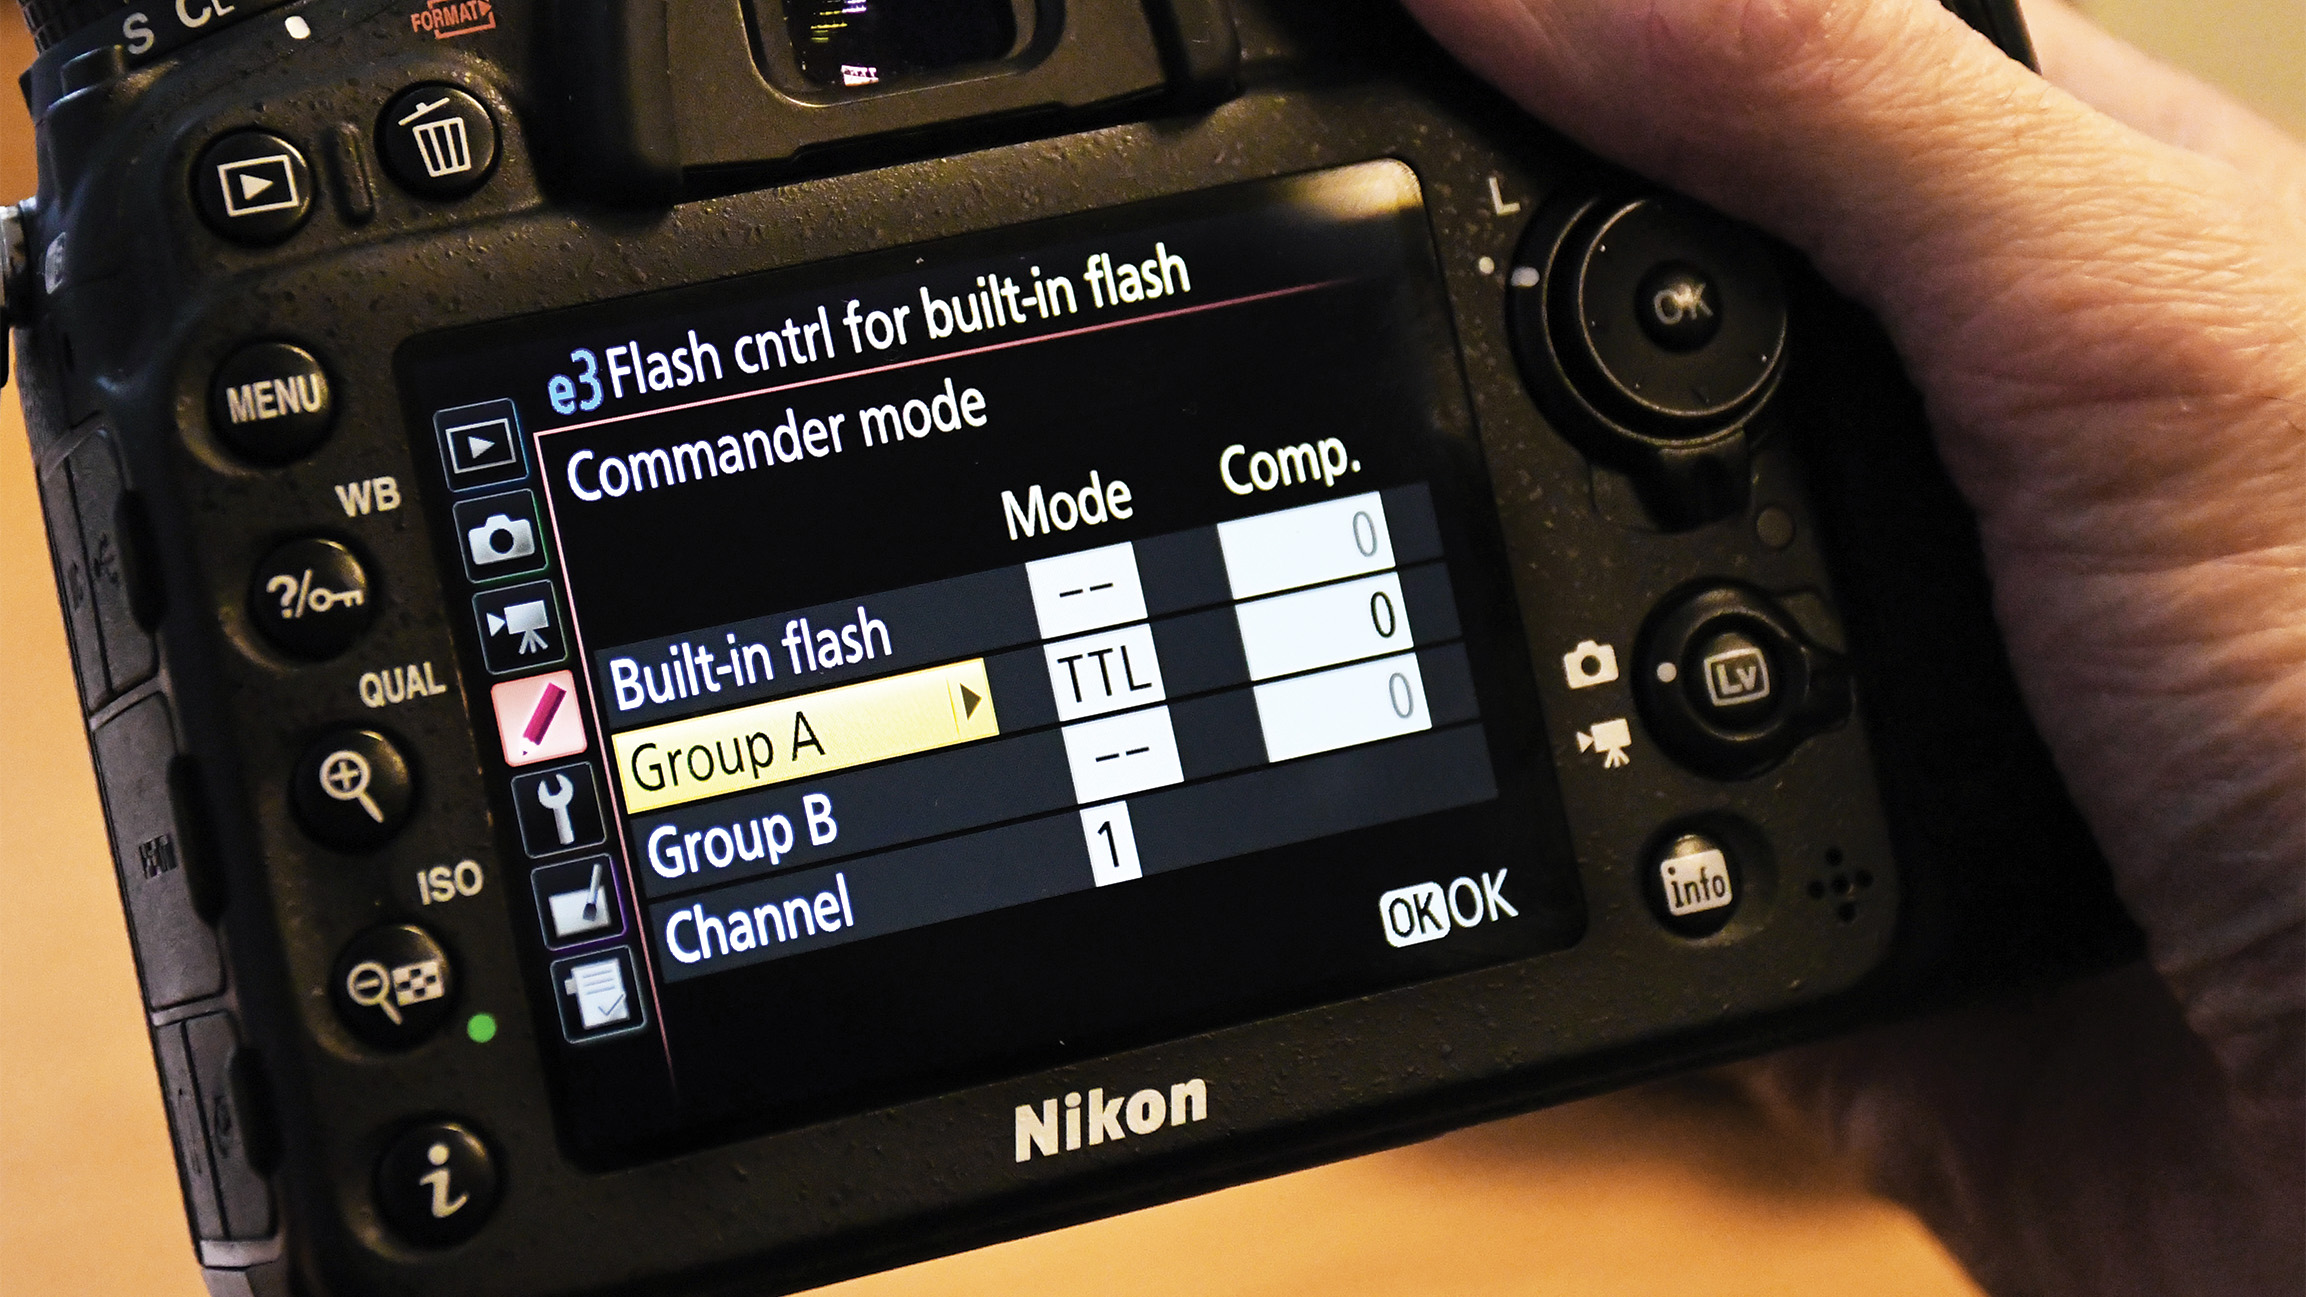
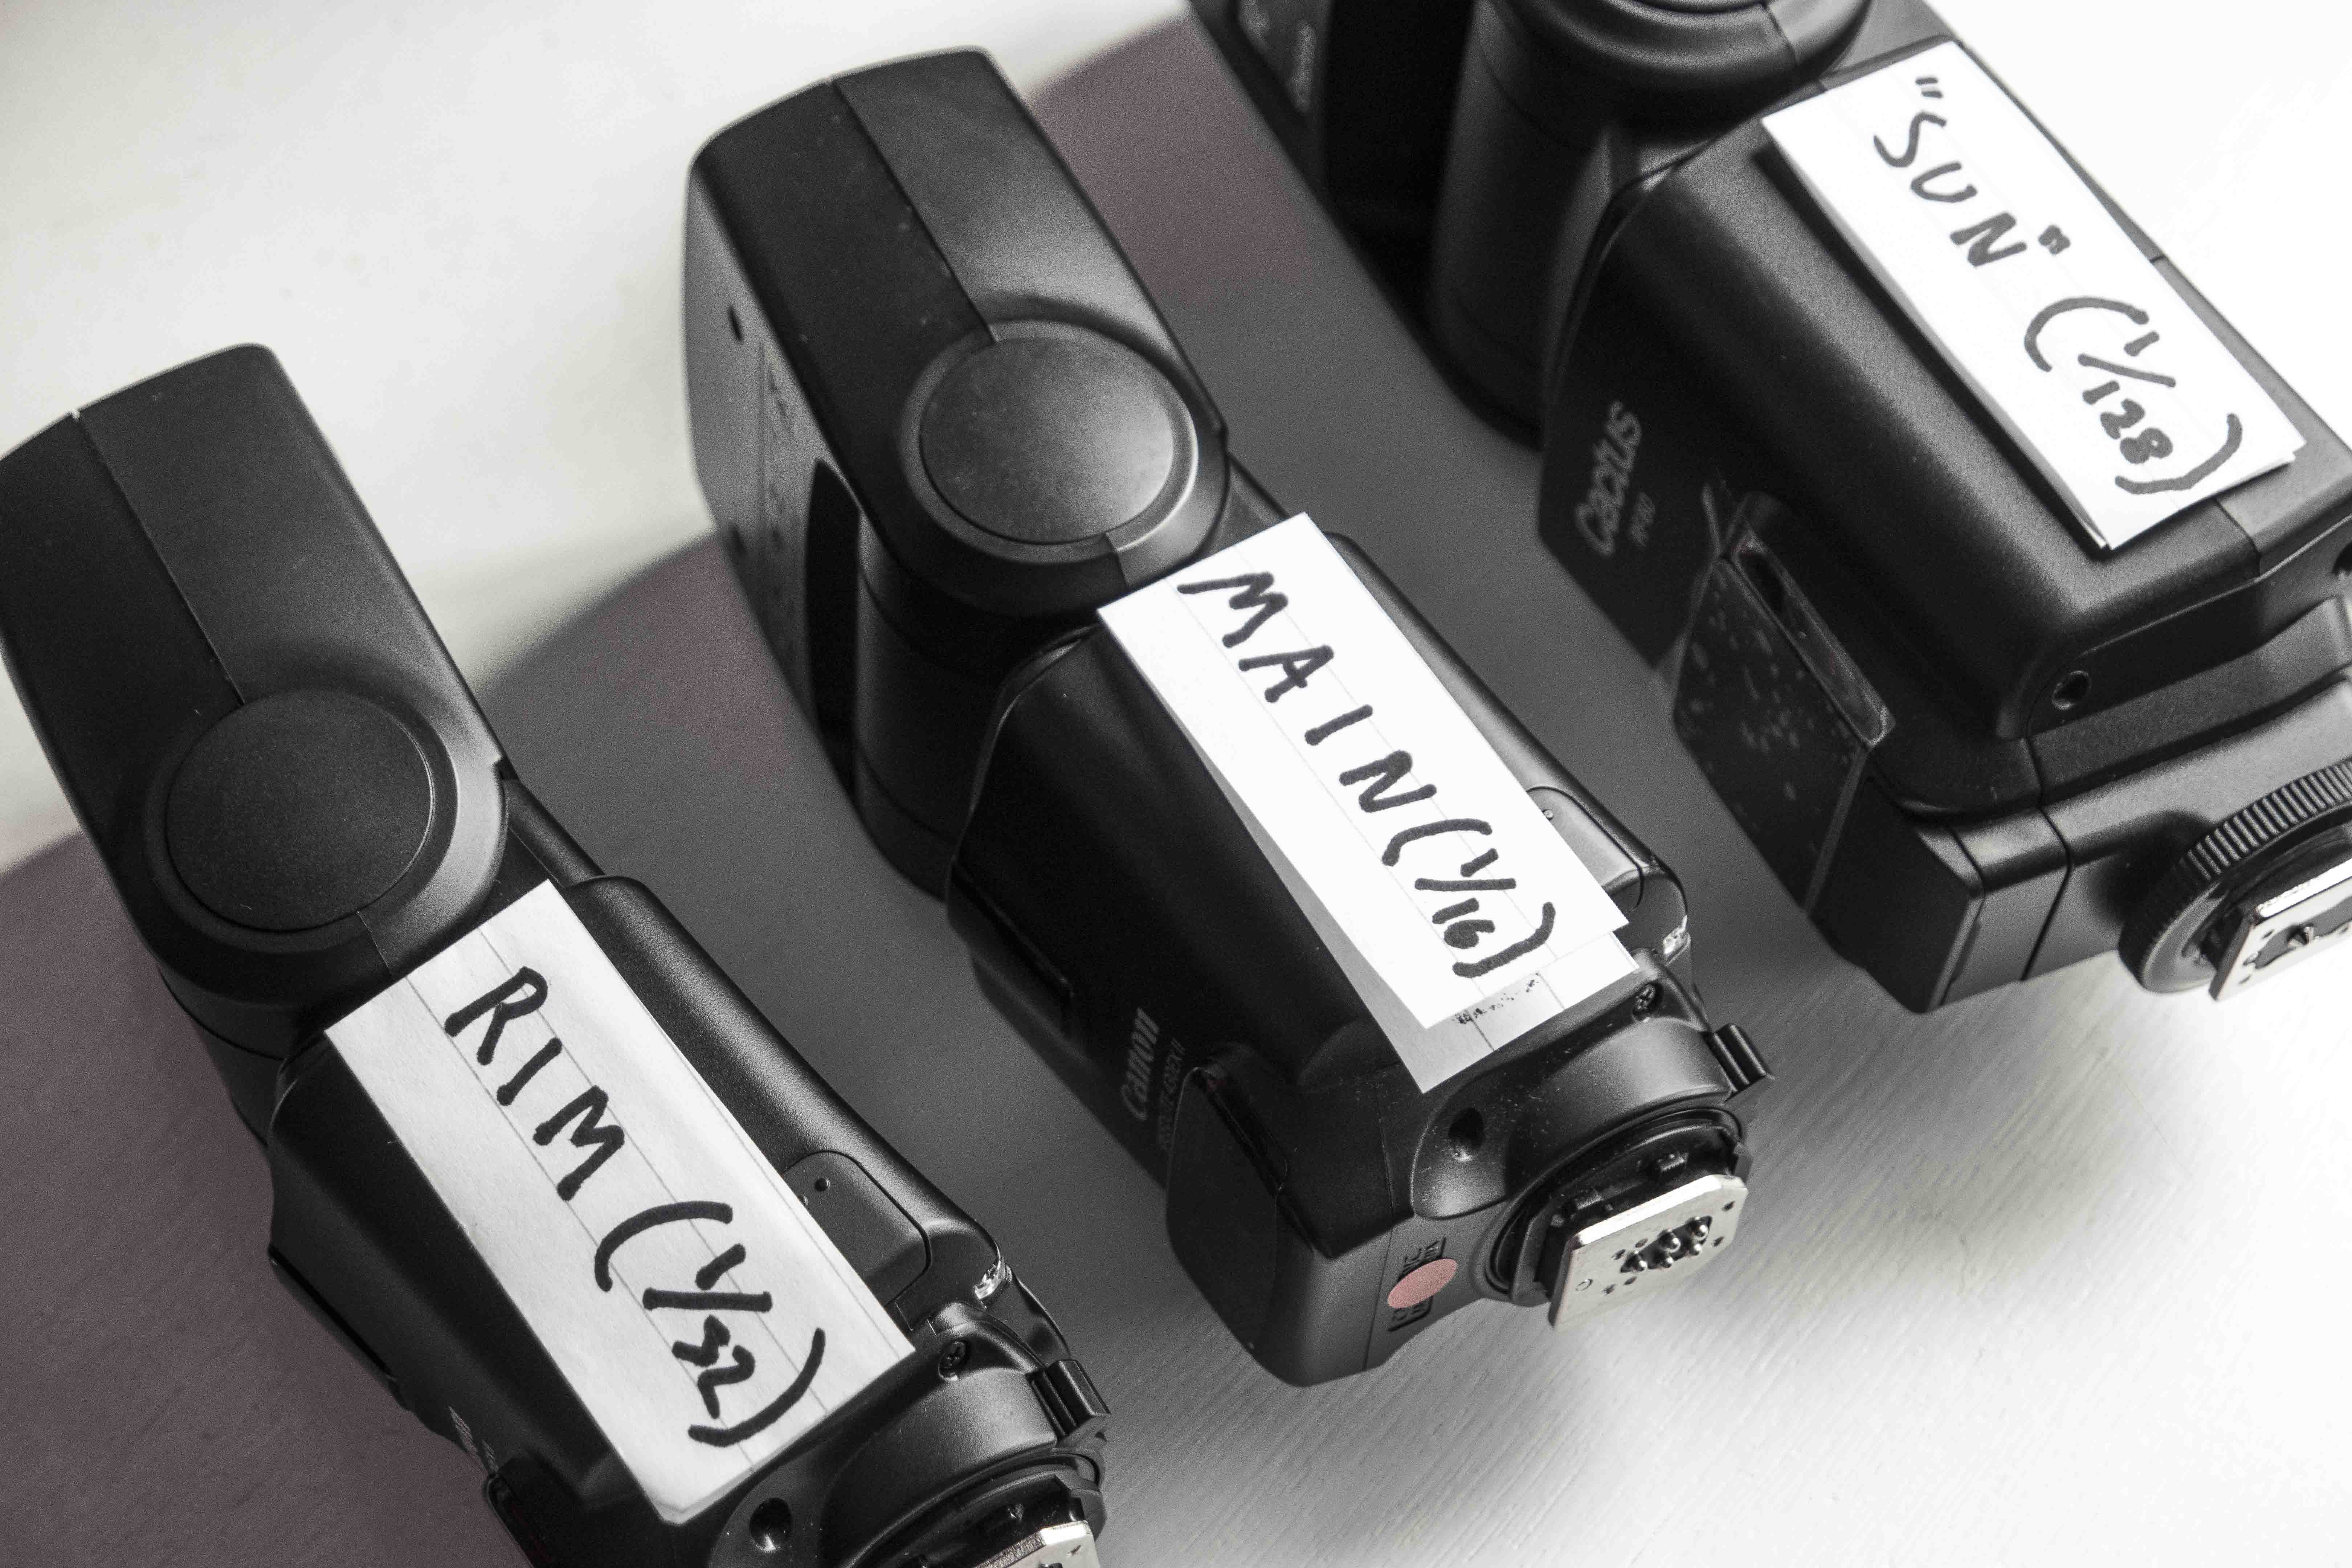
If you are using more than one flash and would like to control them all separately, assign them to groups. This provides the flexibility to have flashes fire independently and to have different power settings for each (such as when shooting with front, rim and hair lights).
6- Control flash output
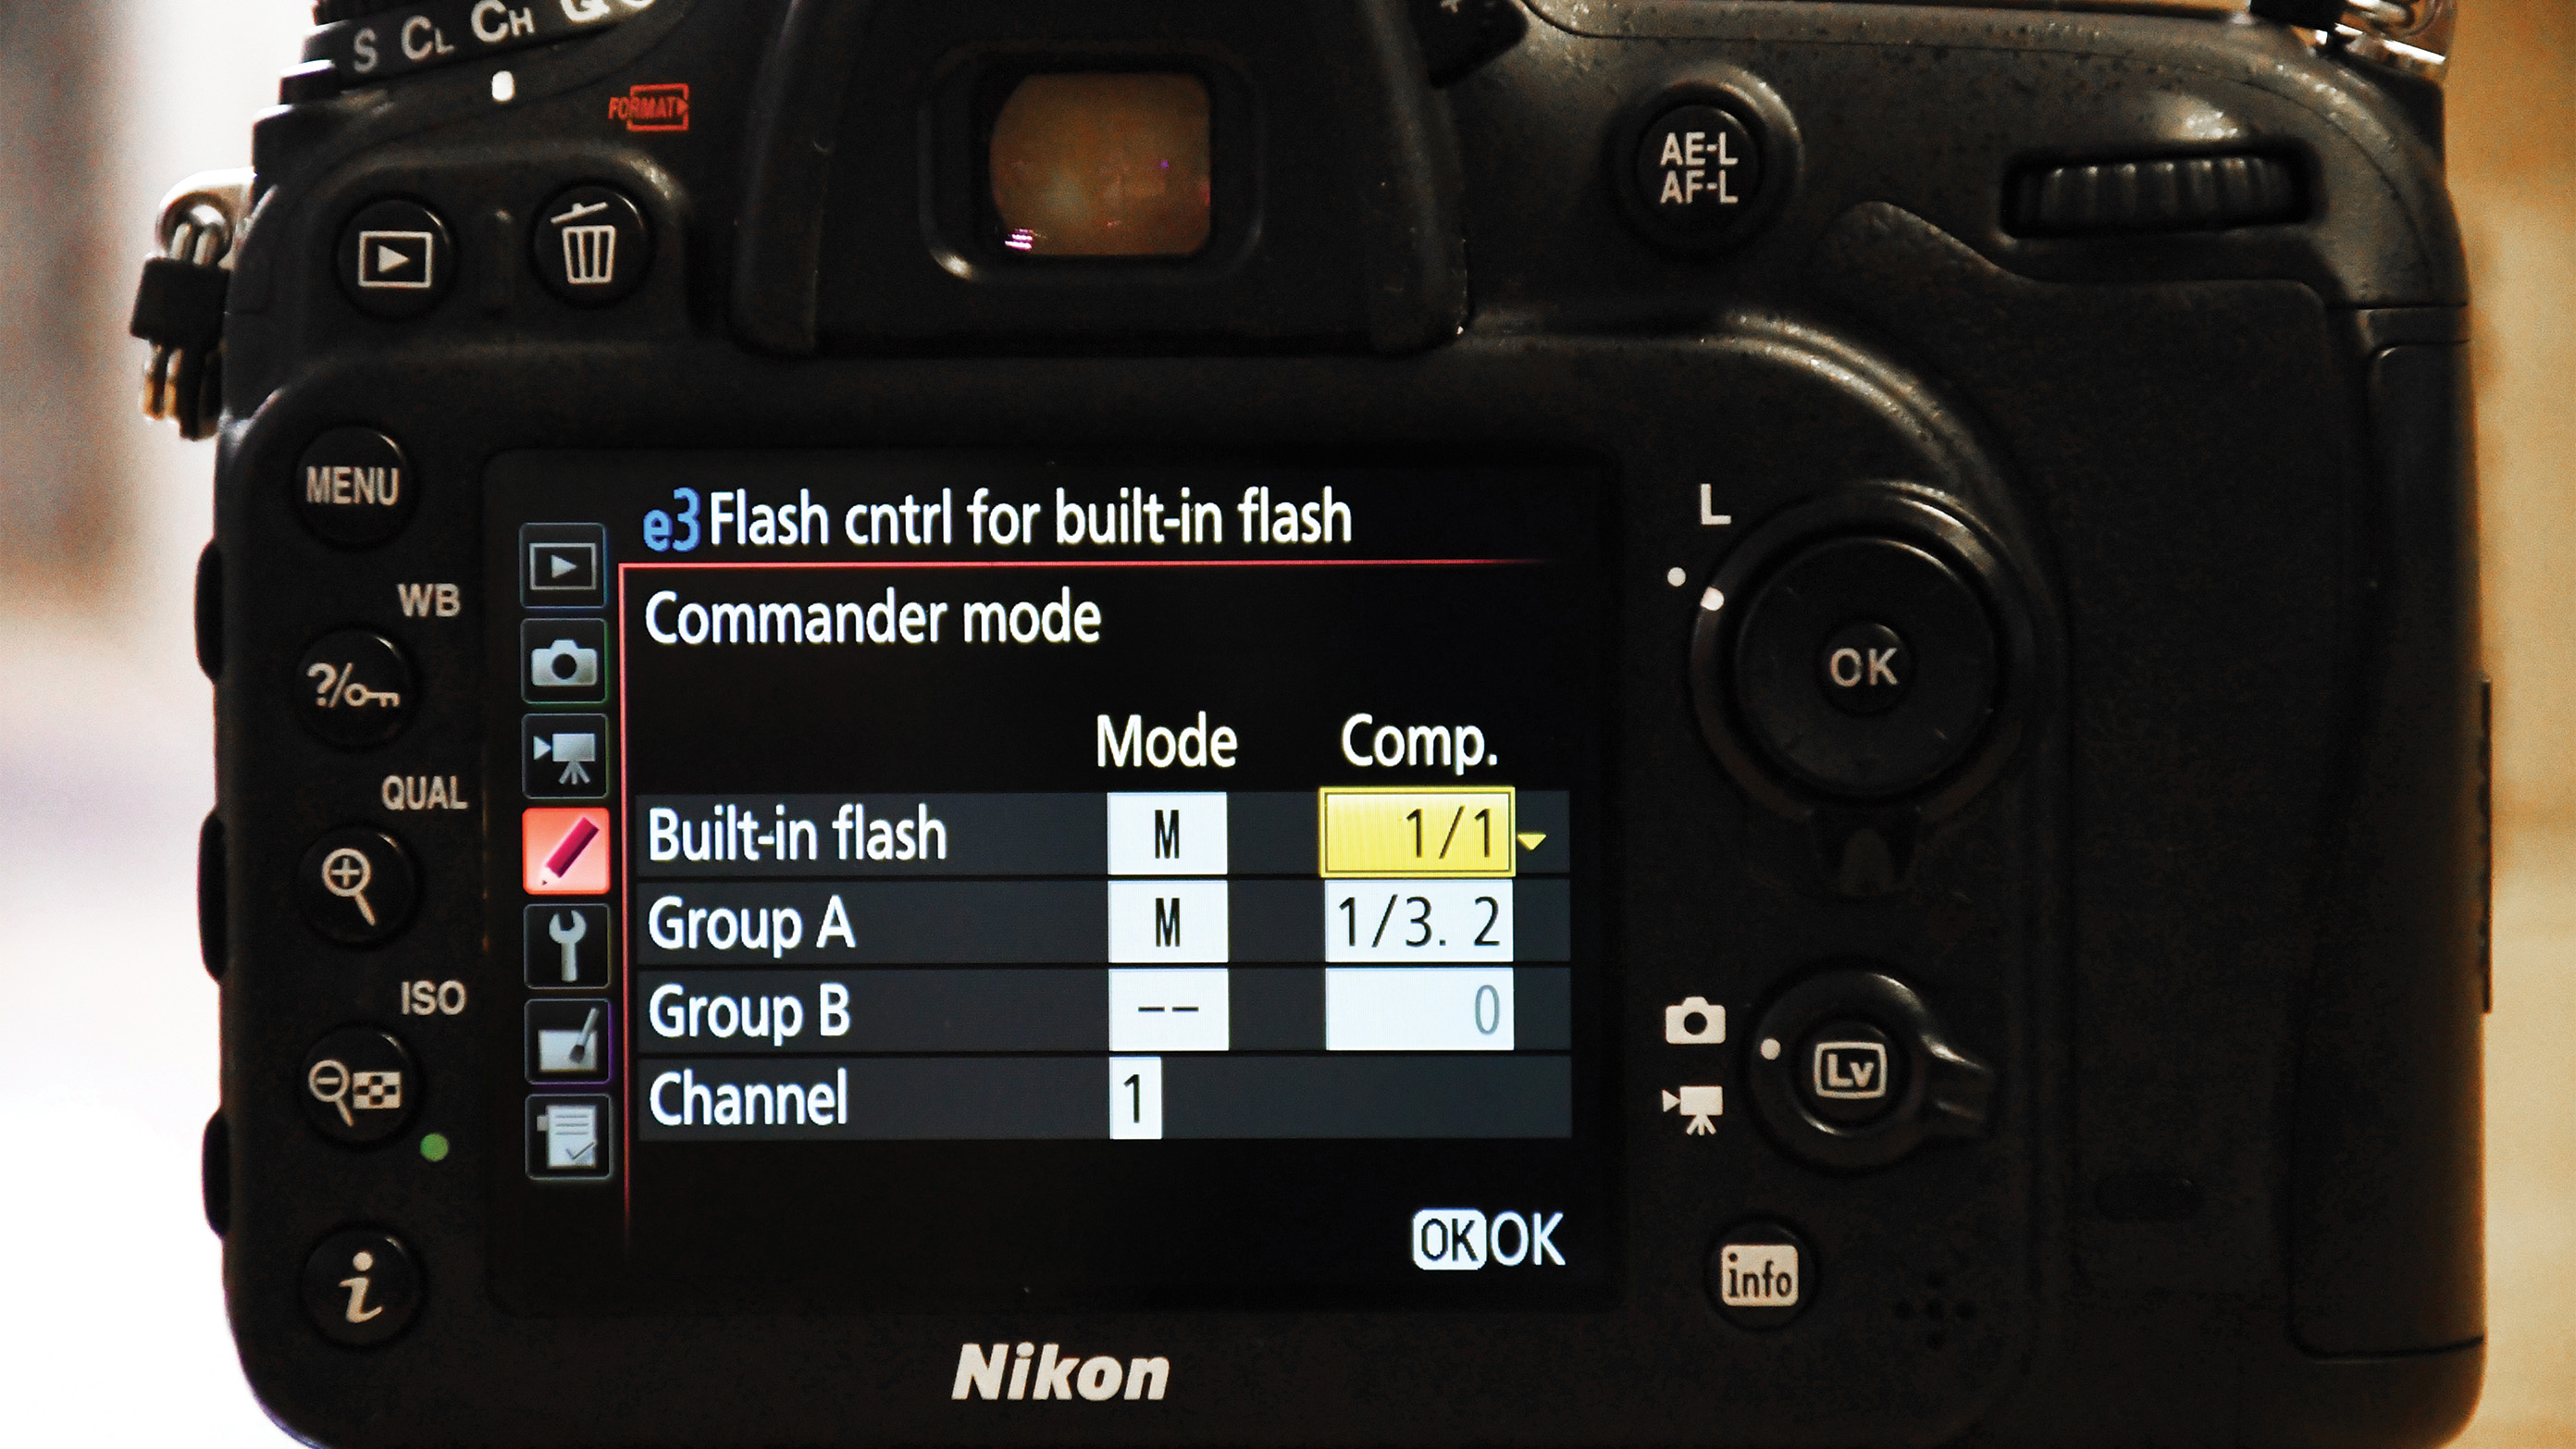
When using dedicated flashes - those made by the same manufacturer as your camera - it is almost always possible to control flash output wirelessly, directly from your camera. Select a group and adjust power to vary light produced by each of your external devices.
Read more
Ready in a flash: how to capture editorial-style location portraits
The best flash triggers for your camera: wireless control for off-camera flashguns
Home photography ideas: Flash & splash with water balloon portraits
As the Editor for Digital Photographer magazine, Peter is a specialist in camera tutorials and creative projects to help you get the most out of your camera, lens, tripod, filters, gimbal, lighting and other imaging equipment.
After cutting his teeth working in retail for camera specialists like Jessops, he has spent 11 years as a photography journalist and freelance writer – and he is a Getty Images-registered photographer, to boot.
No matter what you want to shoot, Peter can help you sharpen your skills and elevate your ability, whether it’s taking portraits, capturing landscapes, shooting architecture, creating macro and still life, photographing action… he can help you learn and improve.
