Urban abstract photography: transform everyday street scenes into evocative art
Learn how to go abstract with your photography! Transform street scenes into evocative art using simple camera skills
The best camera deals, reviews, product advice, and unmissable photography news, direct to your inbox!
You are now subscribed
Your newsletter sign-up was successful
Watch video: Urban abstracts
Urban environments can be a frenetic mass of contrasts, vibrant or mundane, lively or eerie, beautiful or drab. For a photographer, it’s easy enough to capture how places like this look, but it’s more of a challenge to convey how they feel.
To get a sense of a place without the distractions of detail, we can turn to abstract techniques. Intentional blur, multiple exposures, unusual camera angles and digital mash-ups can all help us emphasize the emotion of the place, and create wall-worthy art that feels more in touch with the work of impressionist painters than it does with what you might call ‘normal photography’.
In this project we’ll look at a range of techniques you can try out on the streets. Camera skills are often about eliminating shake, keeping scenes in focus and preventing wonky horizons, but here we’ll throw all that out the window. Instead, we’ll celebrate the blur and the softness. When you think about it, streets and buildings are these rather simple geometric shapes and lines, dotted with people and lights. As such, they’re ripe for an abstract treatment, as we can reduce the elements down to blurry strokes of color, impressions of people and flowing shapes, while still retaining the spirit of the scene.
You don’t need any special equipment or lenses for this – in fact, even the cheapest lens will produce results just as good as premium optics. What’s more, you can try this in all conditions – sunny, overcast, rainy, even at night. So embrace the abstract, grab your camera and hit the streets…
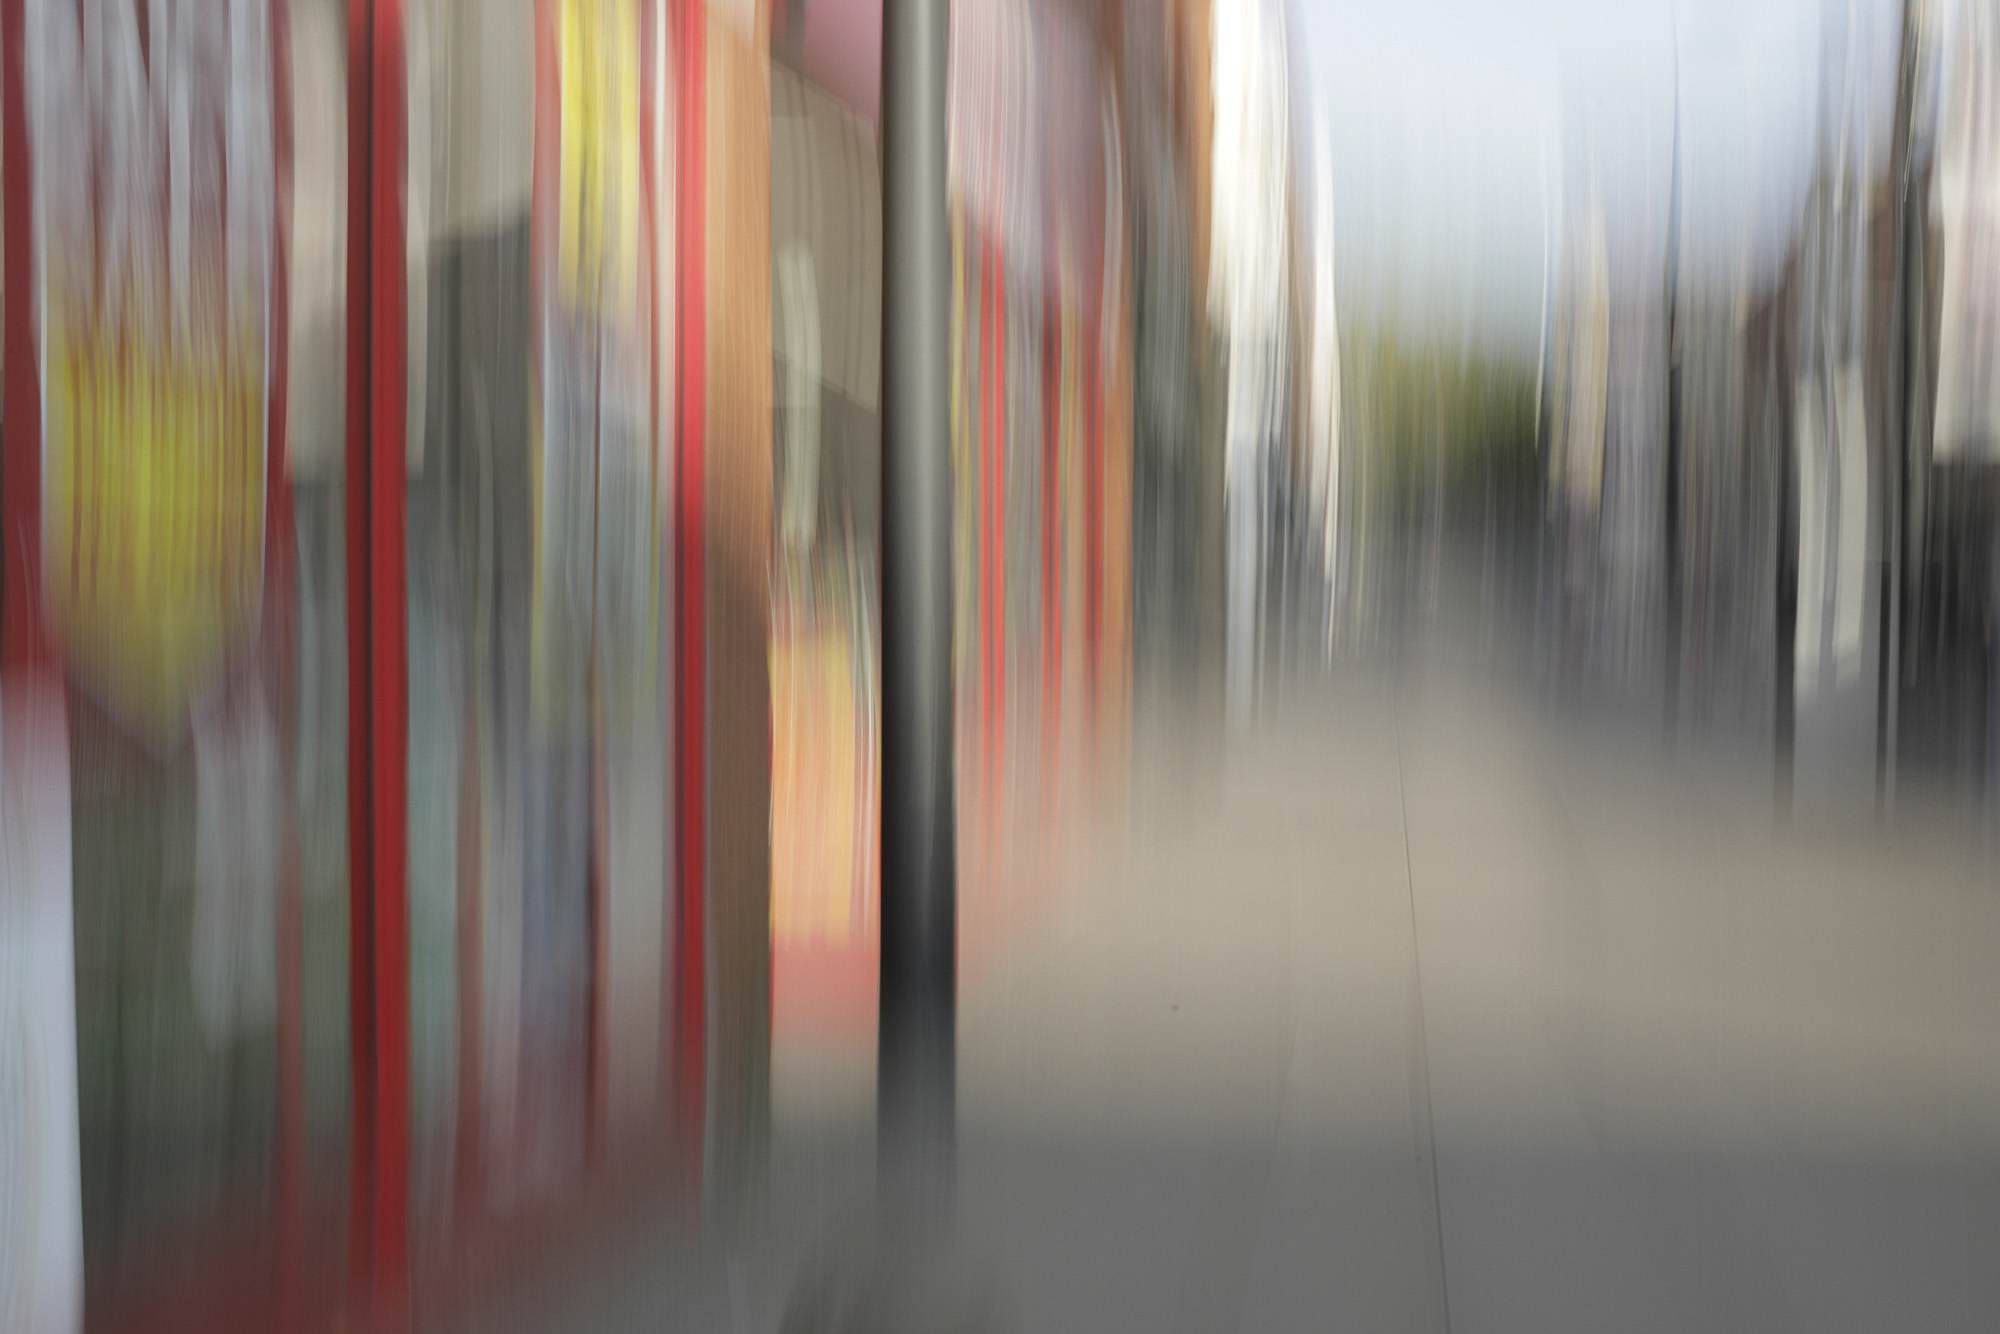
1. Intentional camera movements
Look for bold colours and vertical lines of shop windows or lamp posts, then try an up/down camera movement over a 1/15 sec exposure to create streaks of blur. A side to side, or a camera swivel can produce interesting results.
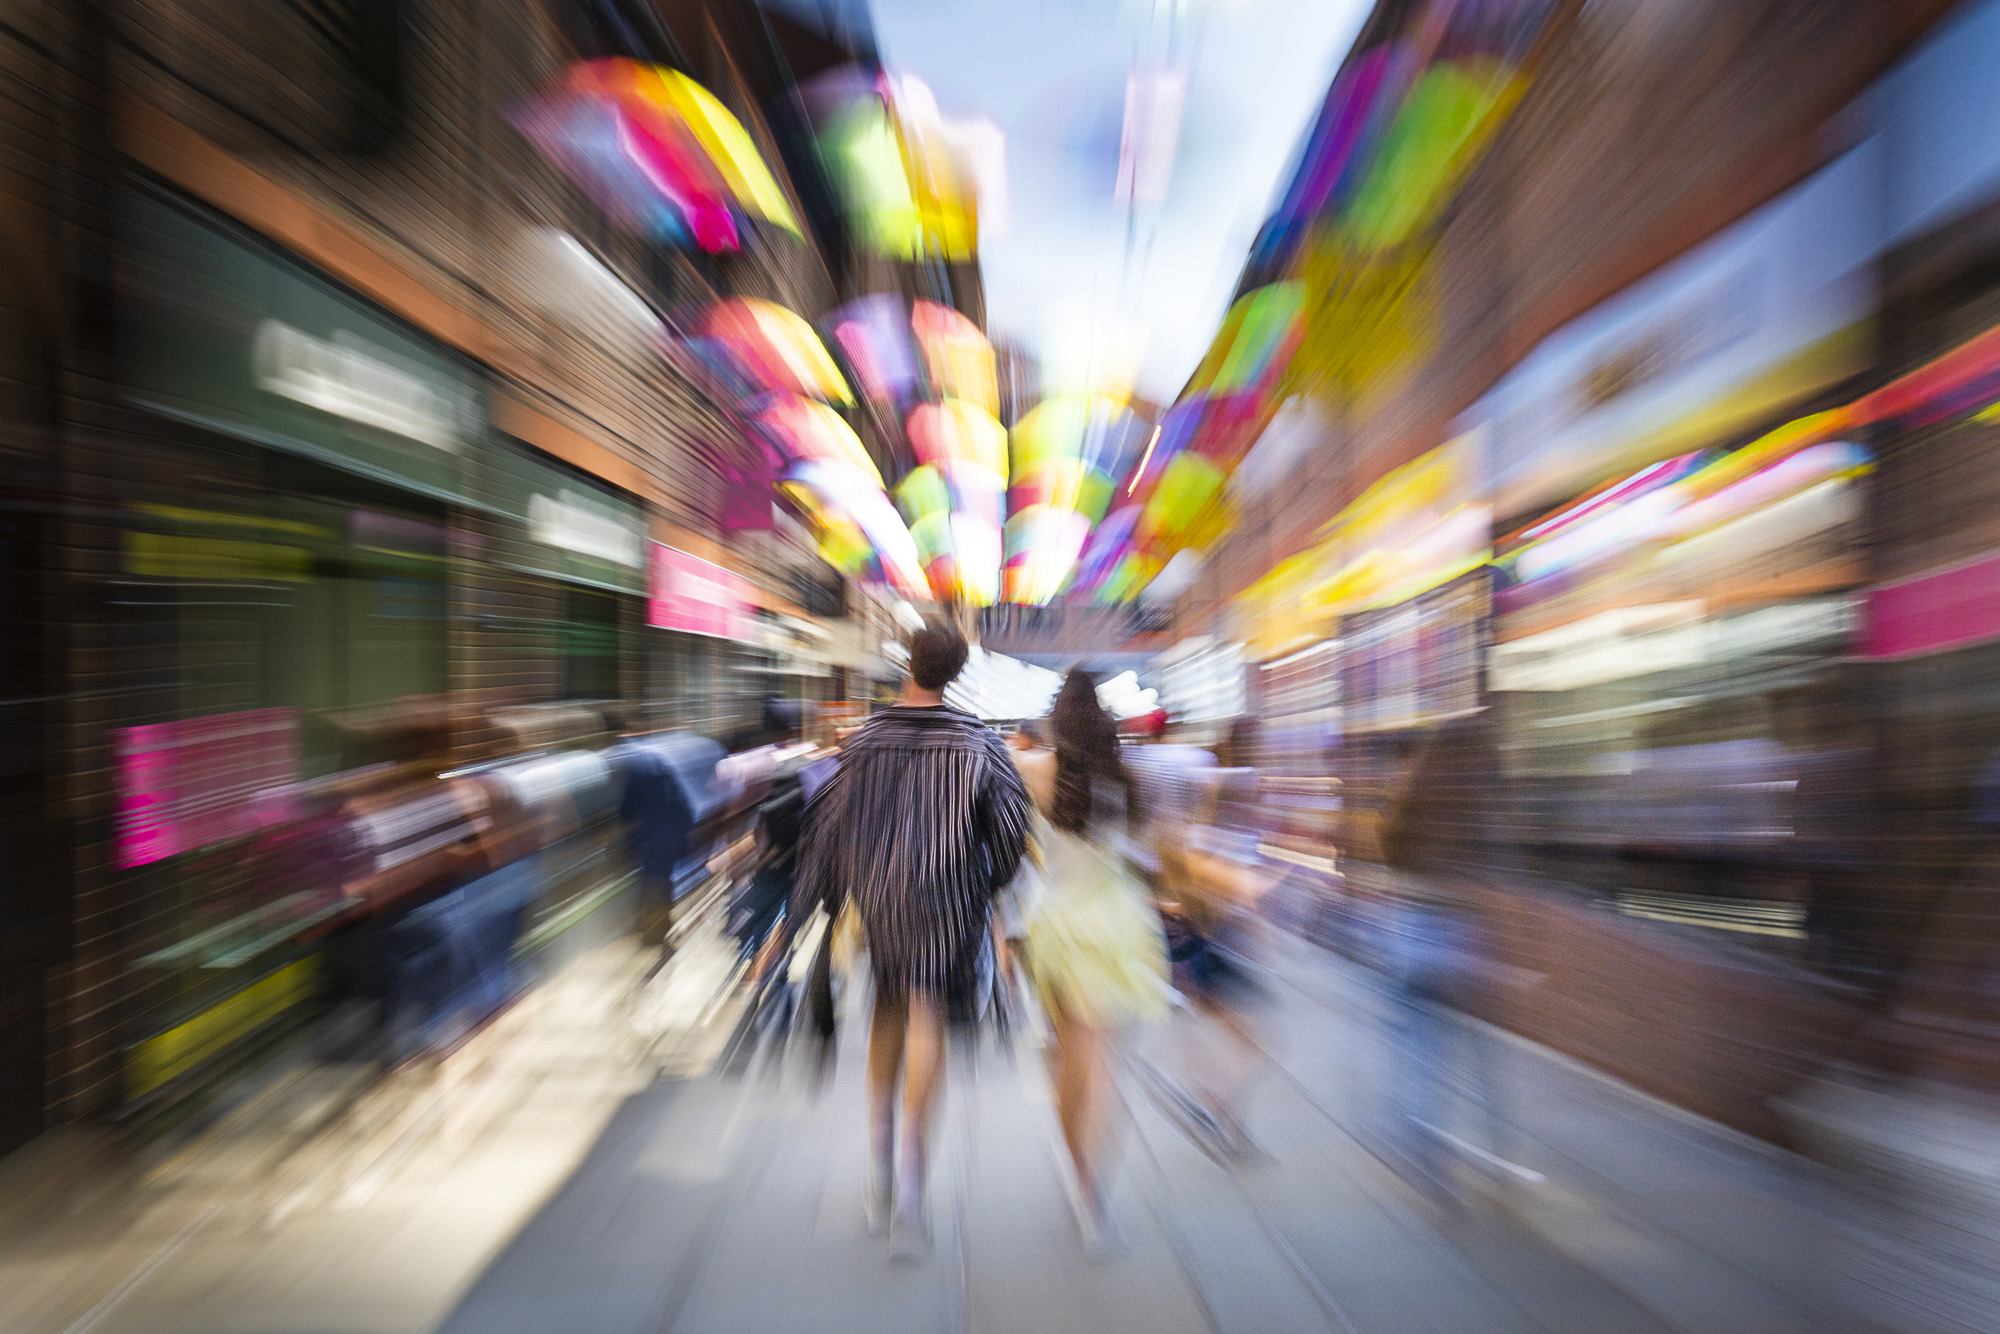
2. Try a zoom burst
A zoom burst is like a intentional camera movement, but with a twist. During a long exposure (start with 1/10 sec) we used a zoom lens and quickly zoom in or out. The edges of the frame will be transformed into streaks of blur. A tripod is handy for stability.
The best camera deals, reviews, product advice, and unmissable photography news, direct to your inbox!
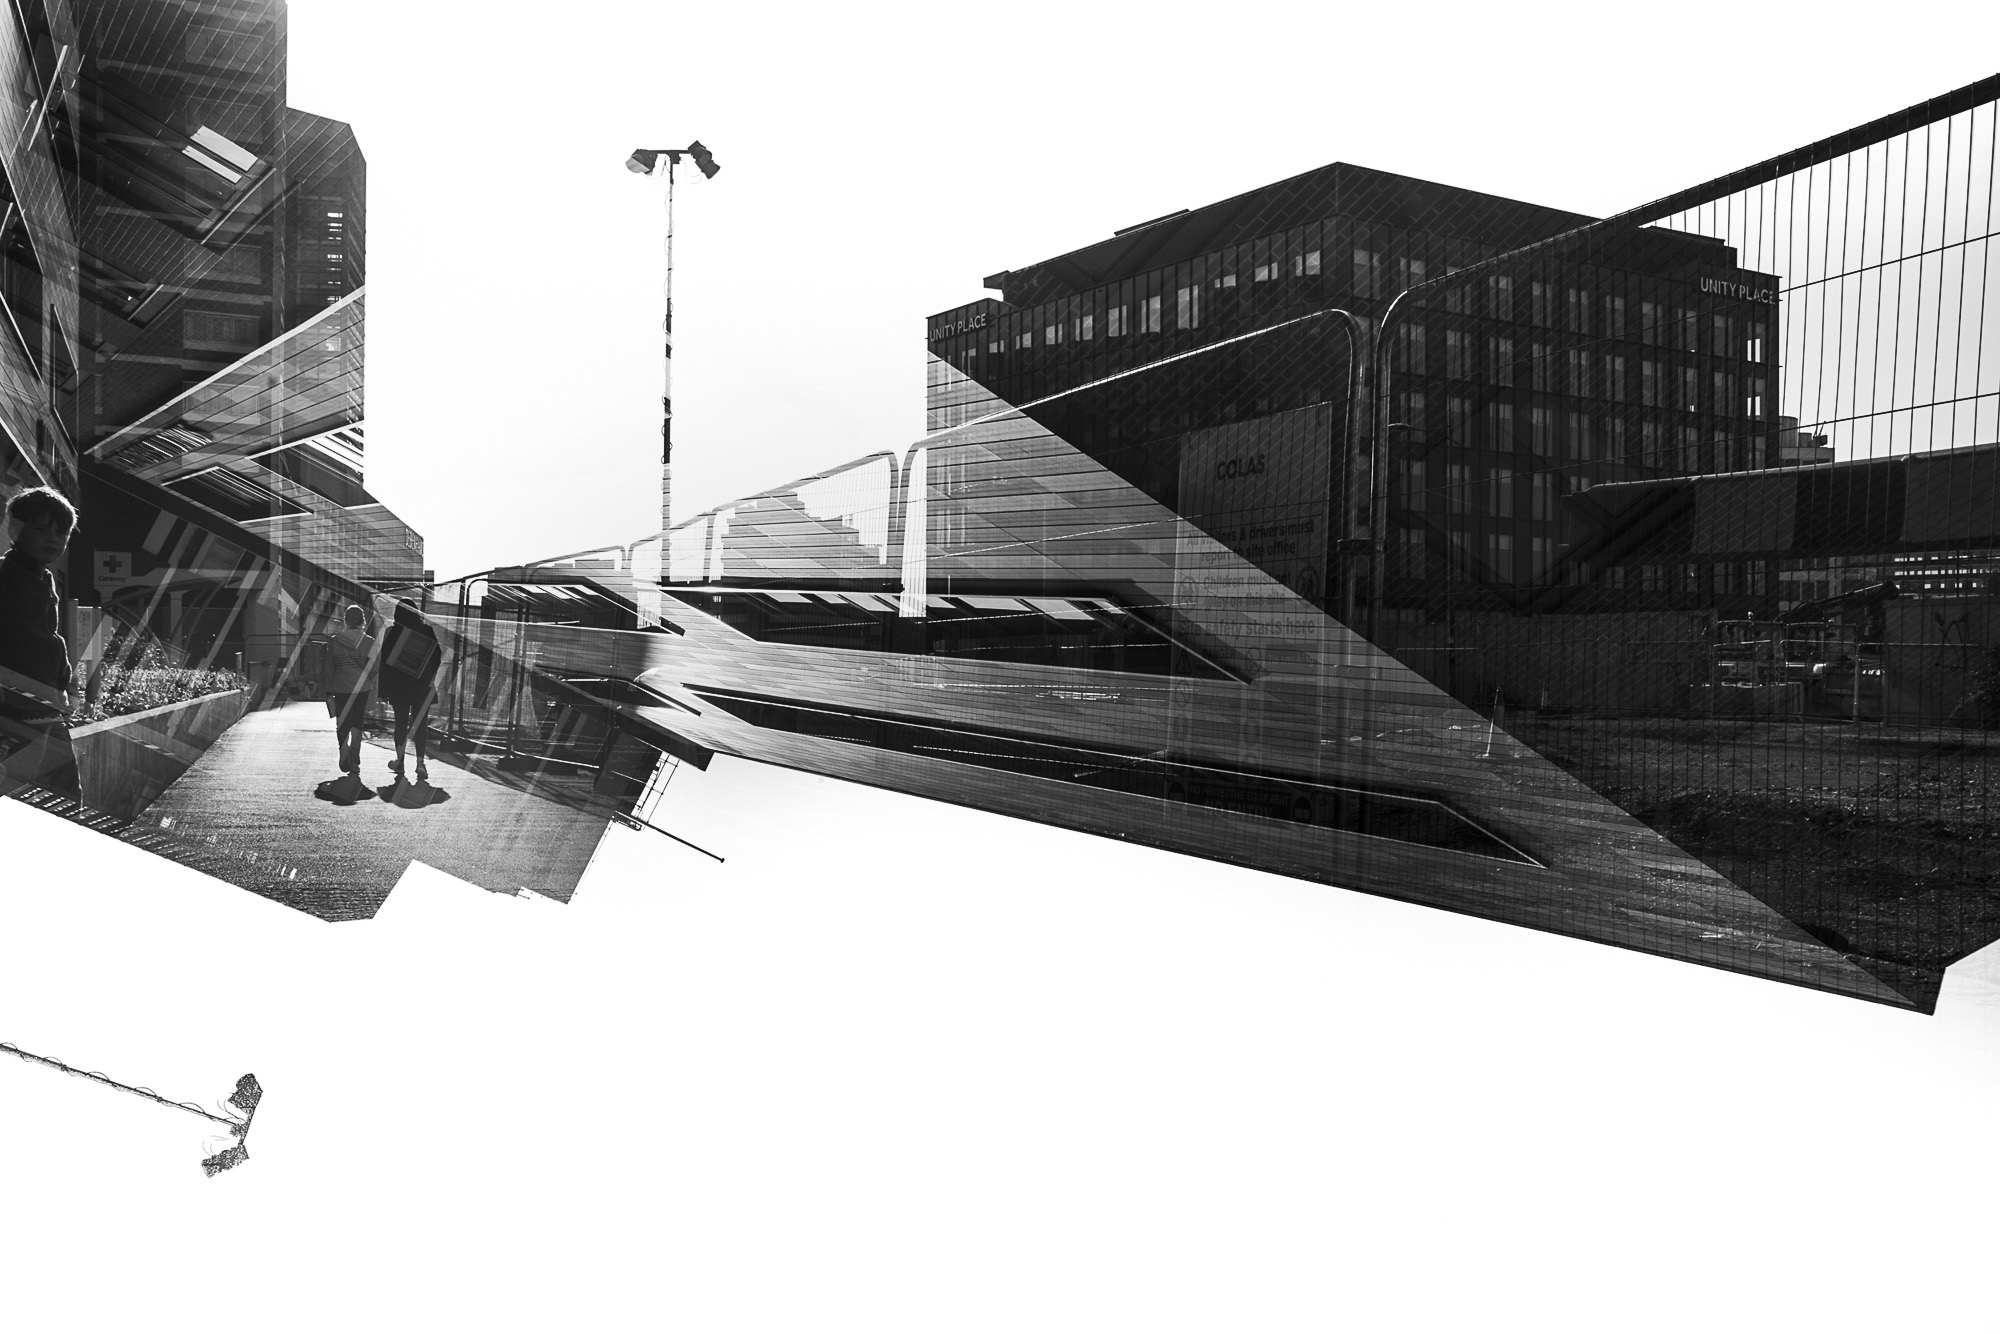
3. Double flips
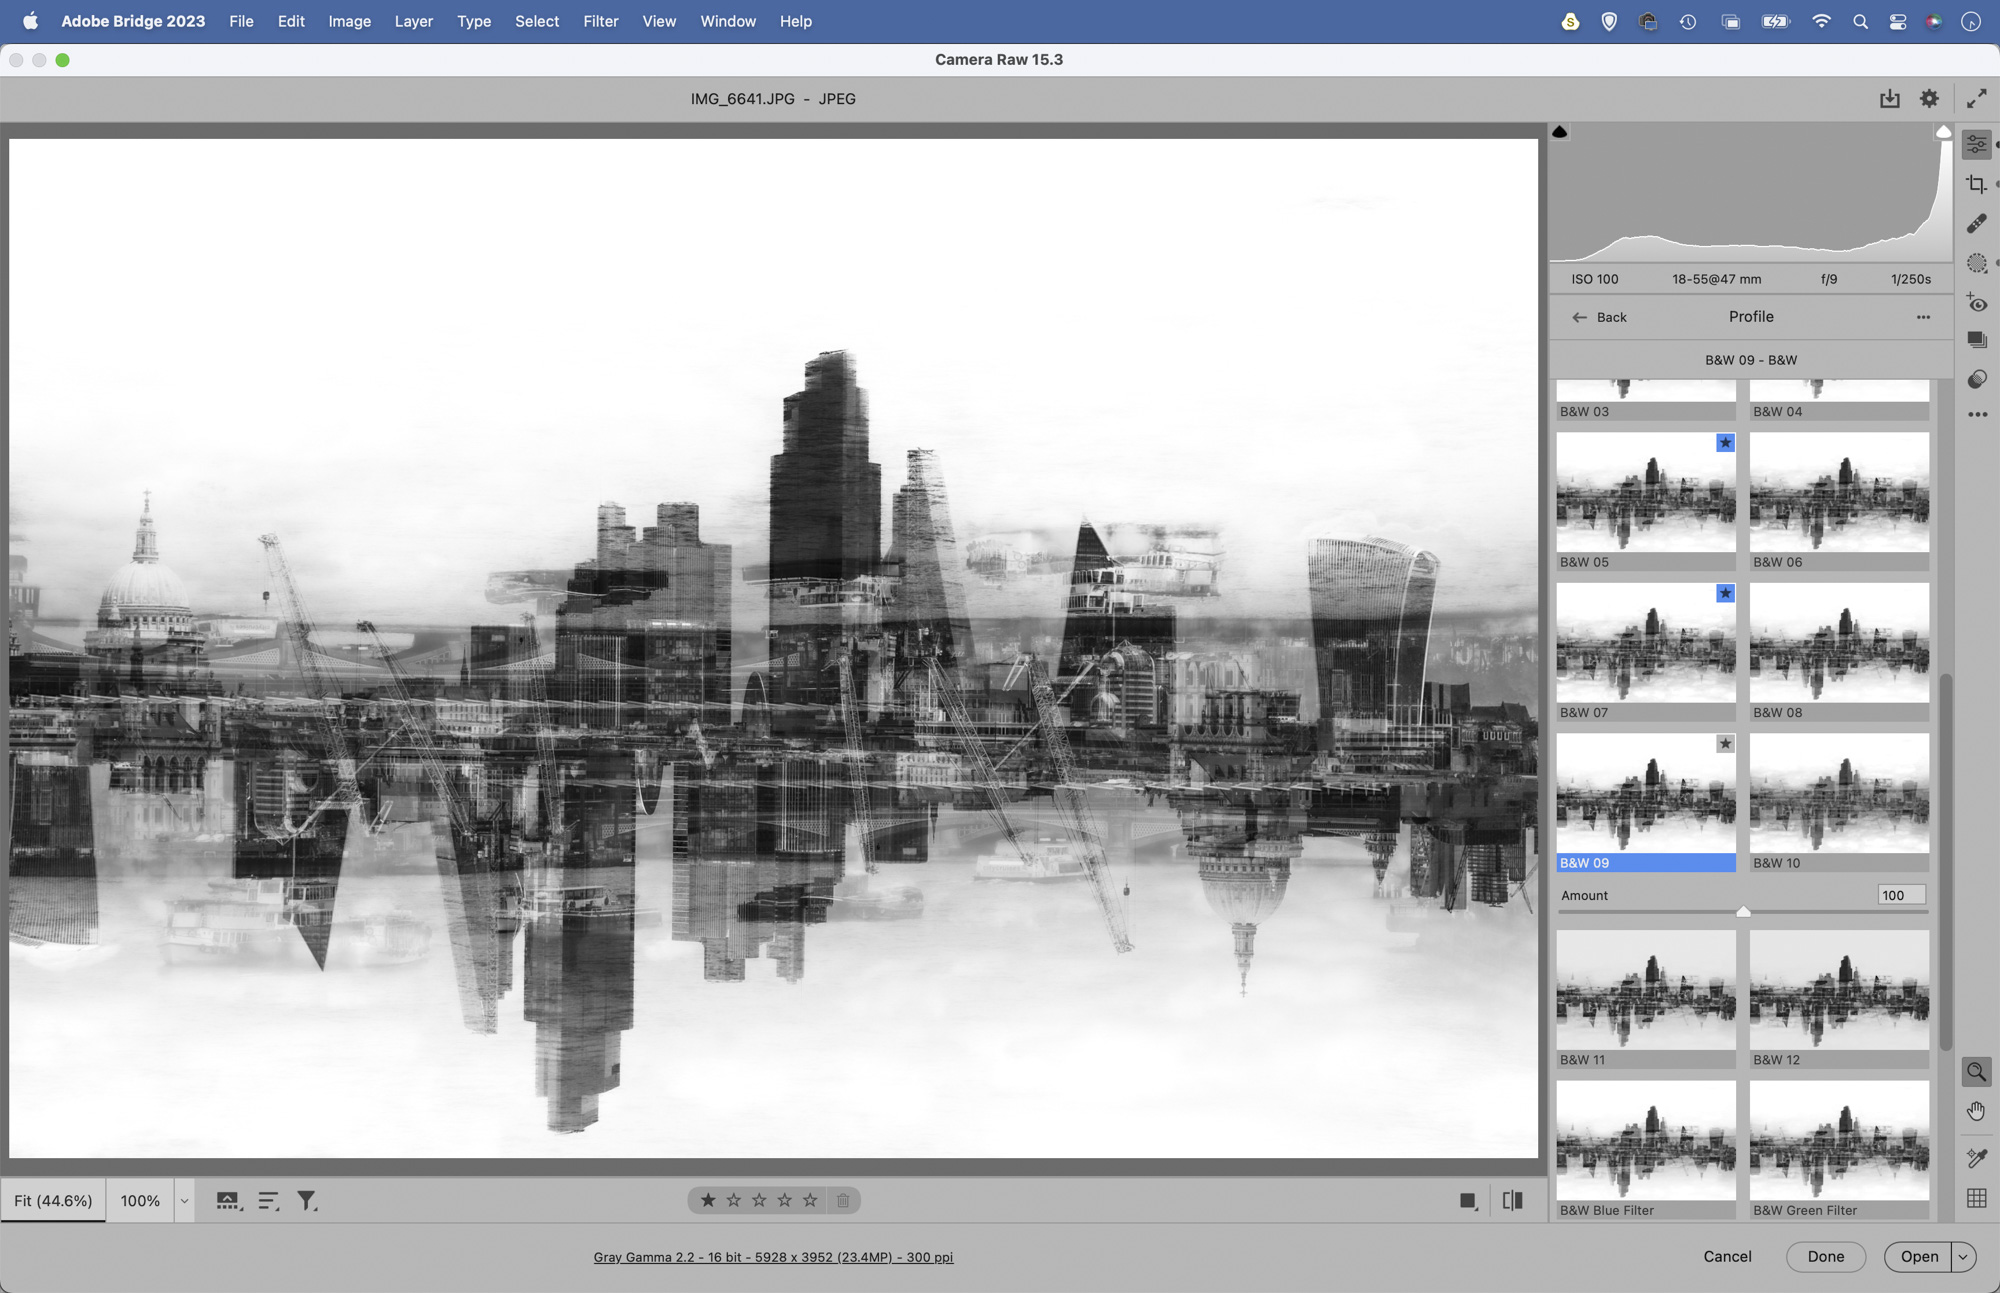
Enable the double exposure mode in your camera’s menu, set the blending to Add and set the number of frames to two. Shoot a skyline, above the centre of the frame, then flip the camera upside down and shoot another skyline.
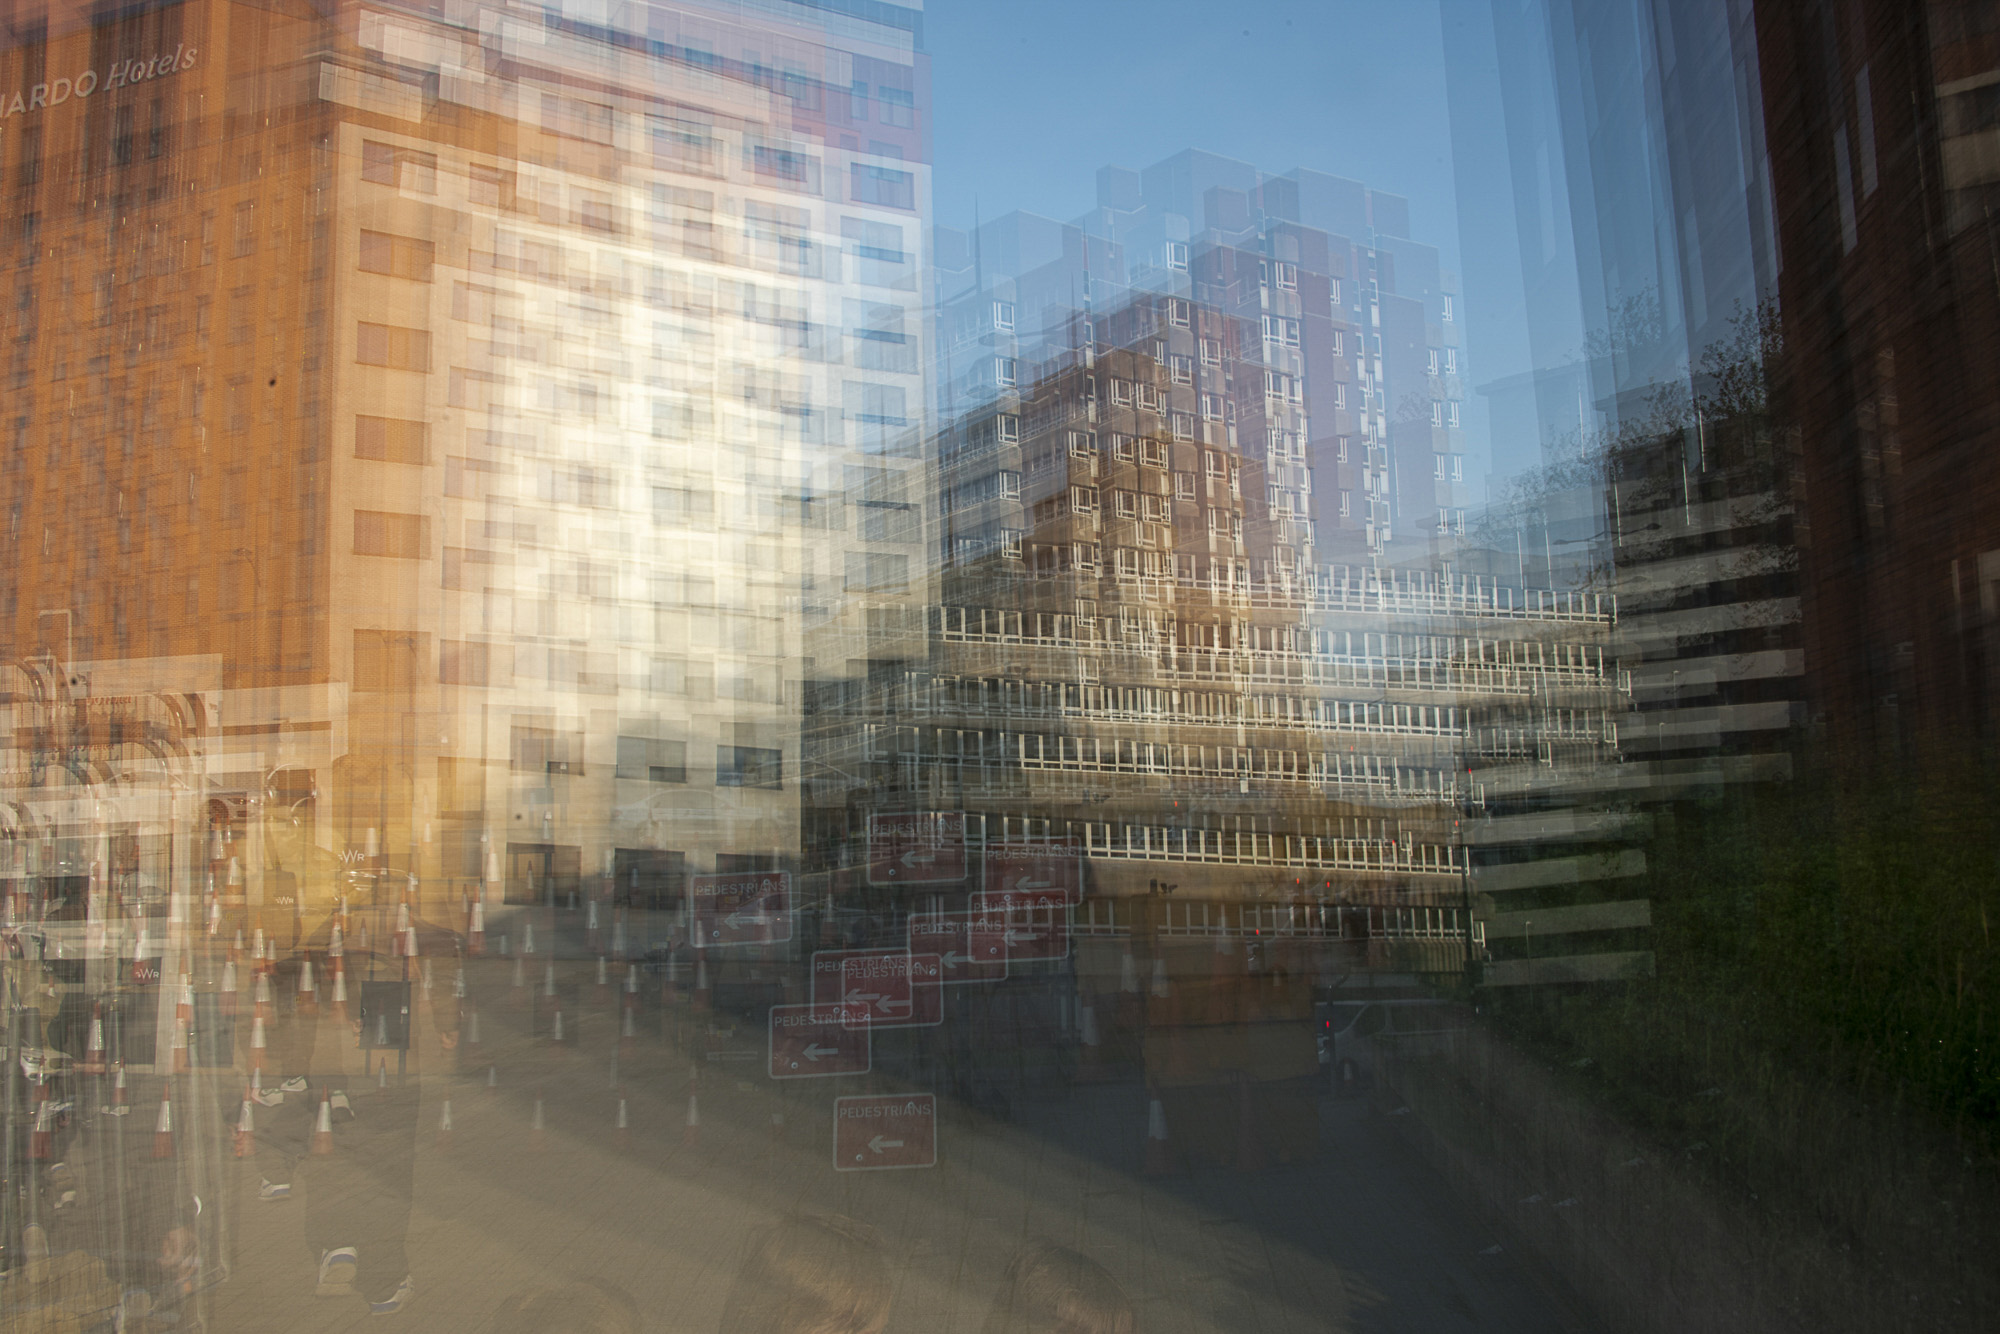
4. Multiple exposures
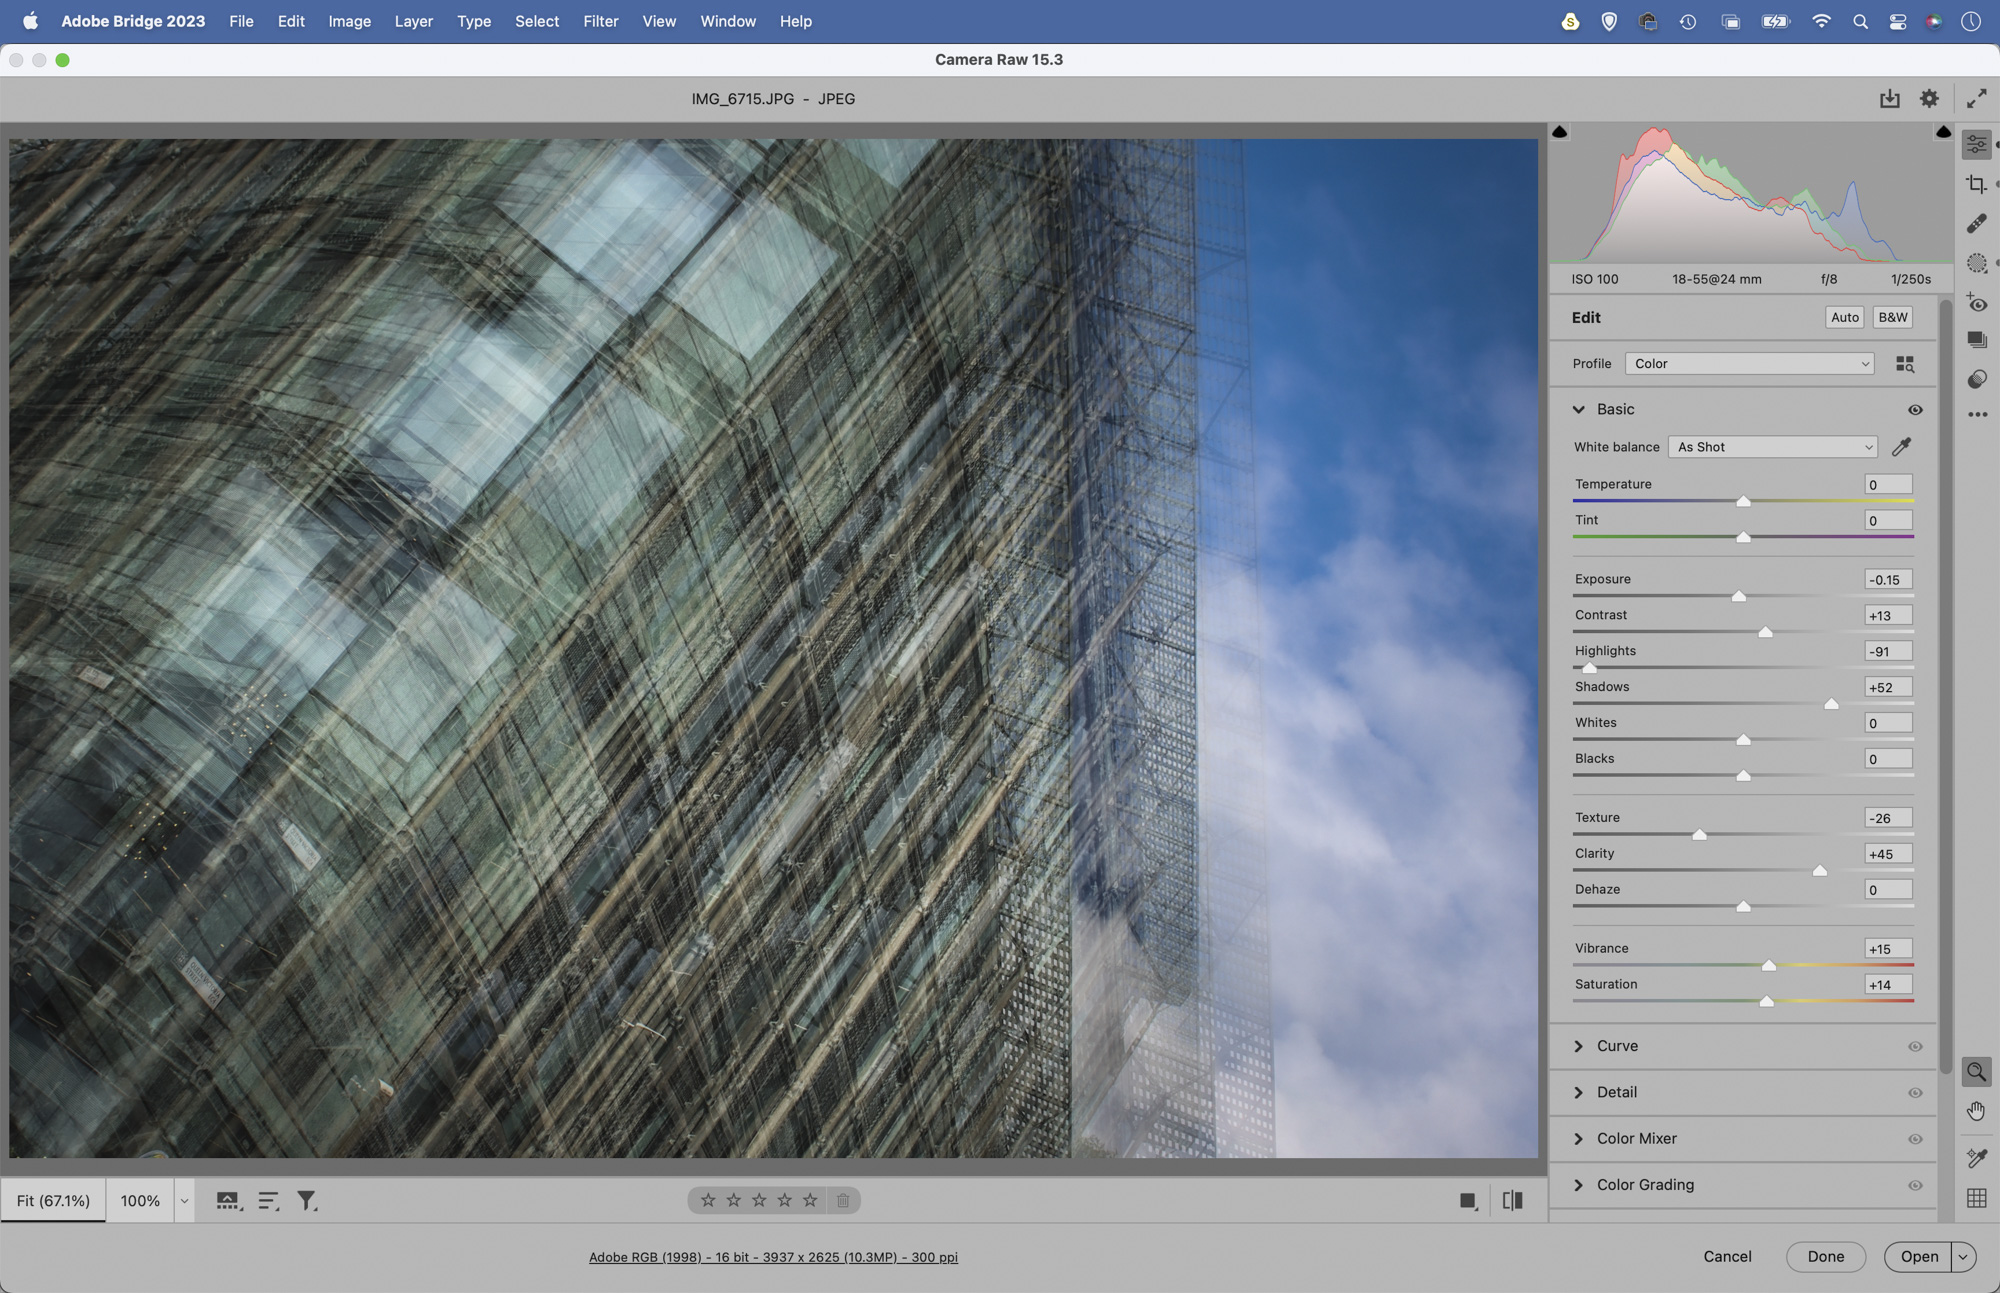
This is another multiple exposure trick, but this time we set the number of frames to higher to nine, then simply shoot a building or object lots of times while slightly varying the position, framing or zoom. The images will overlay to form a striking abstract.
5. Pick out the details
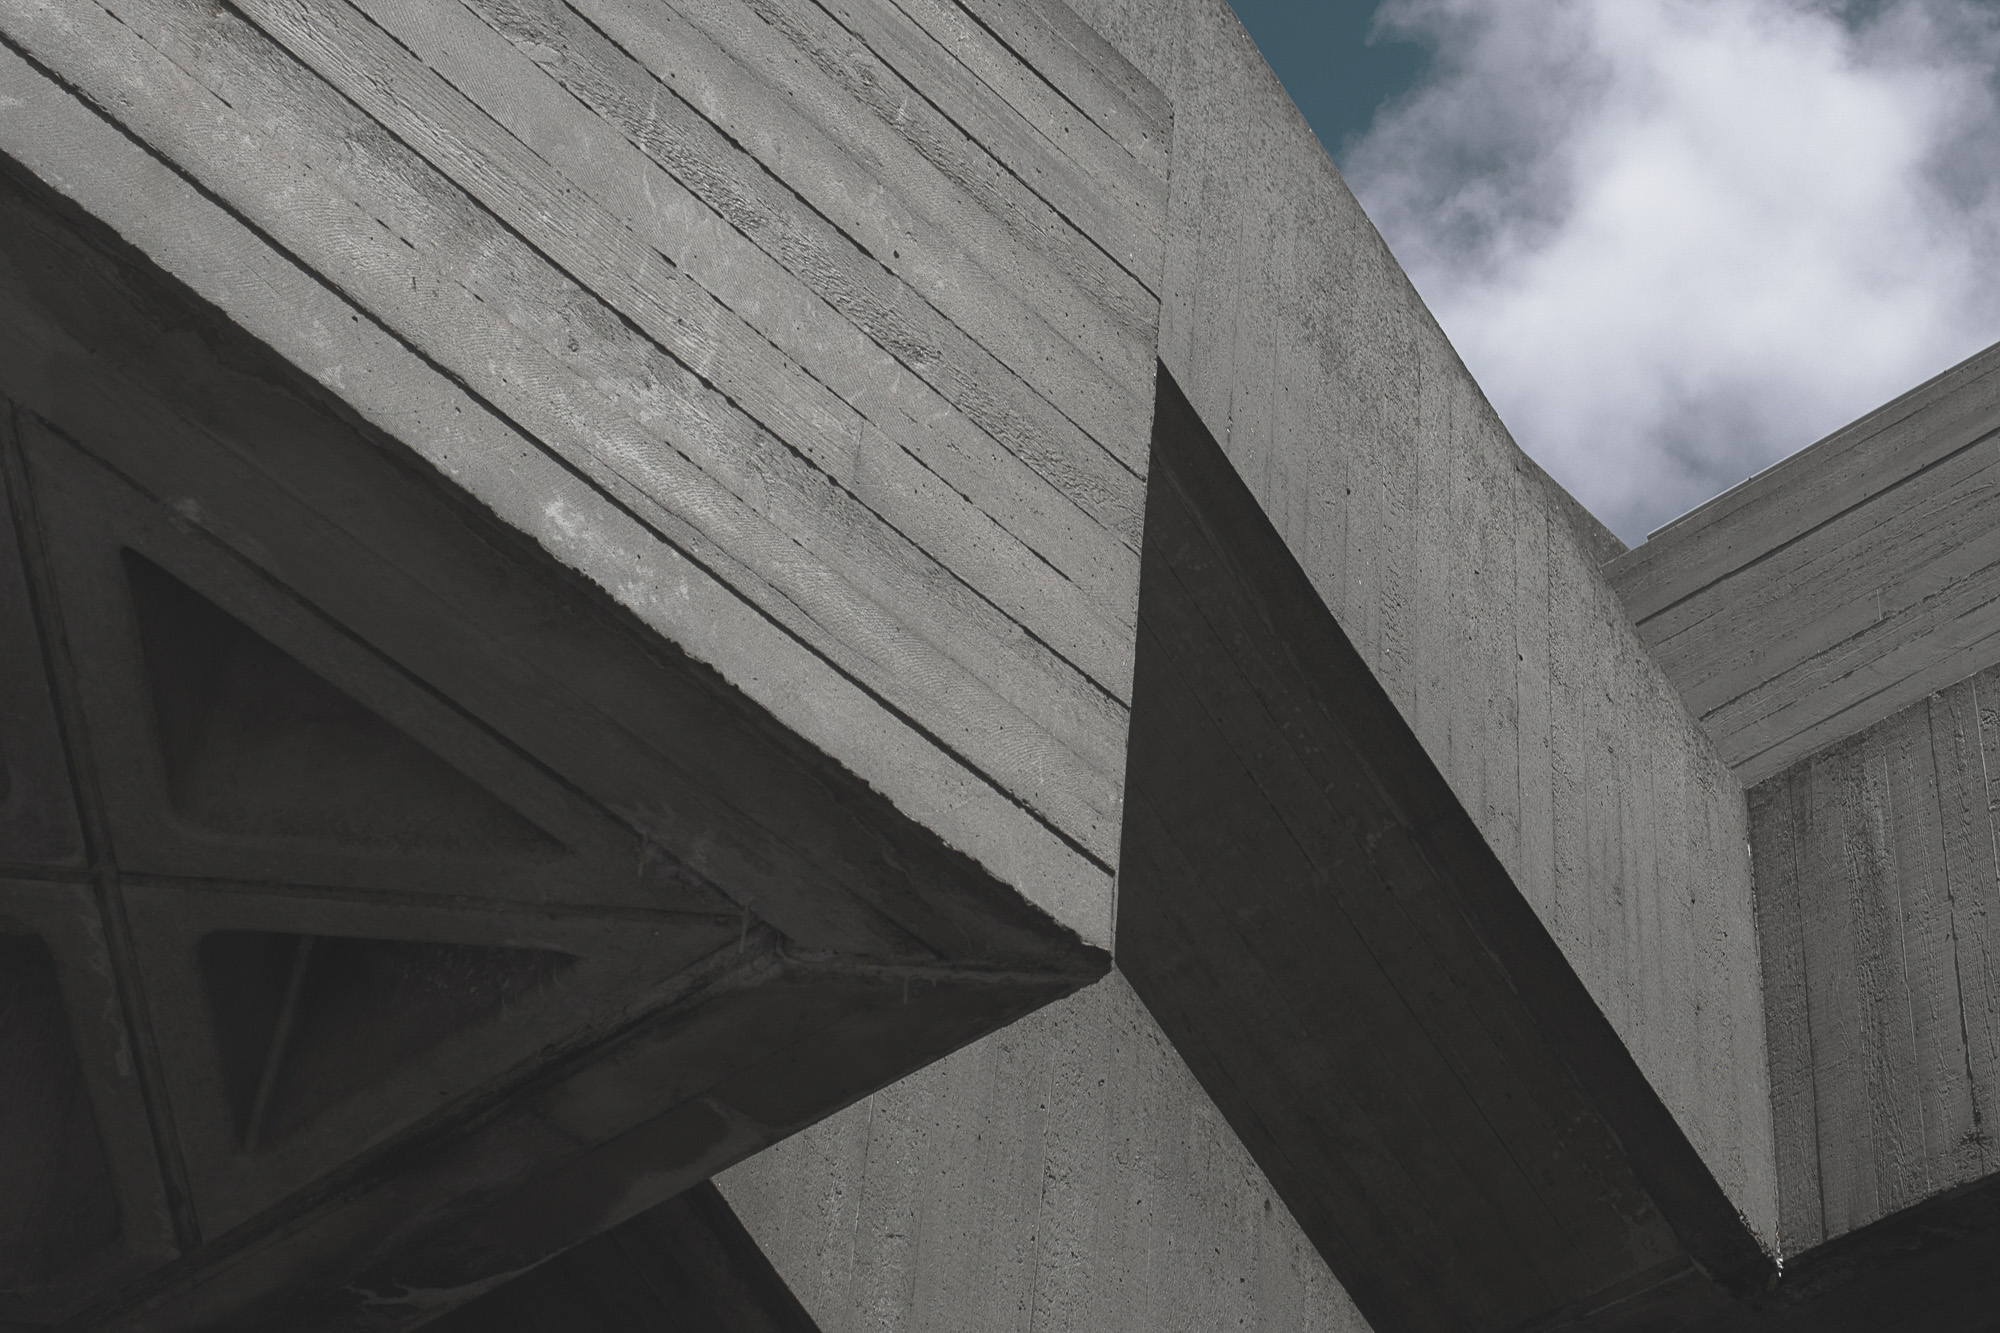
When taken out of the context of their surroundings, little details, interesting shapes and blocks of colour can be used to striking effect. Start to look for these details and you’ll find them all around. Use a tight crop and frame with lines, textures and shapes in mind.
6. Turn upside down
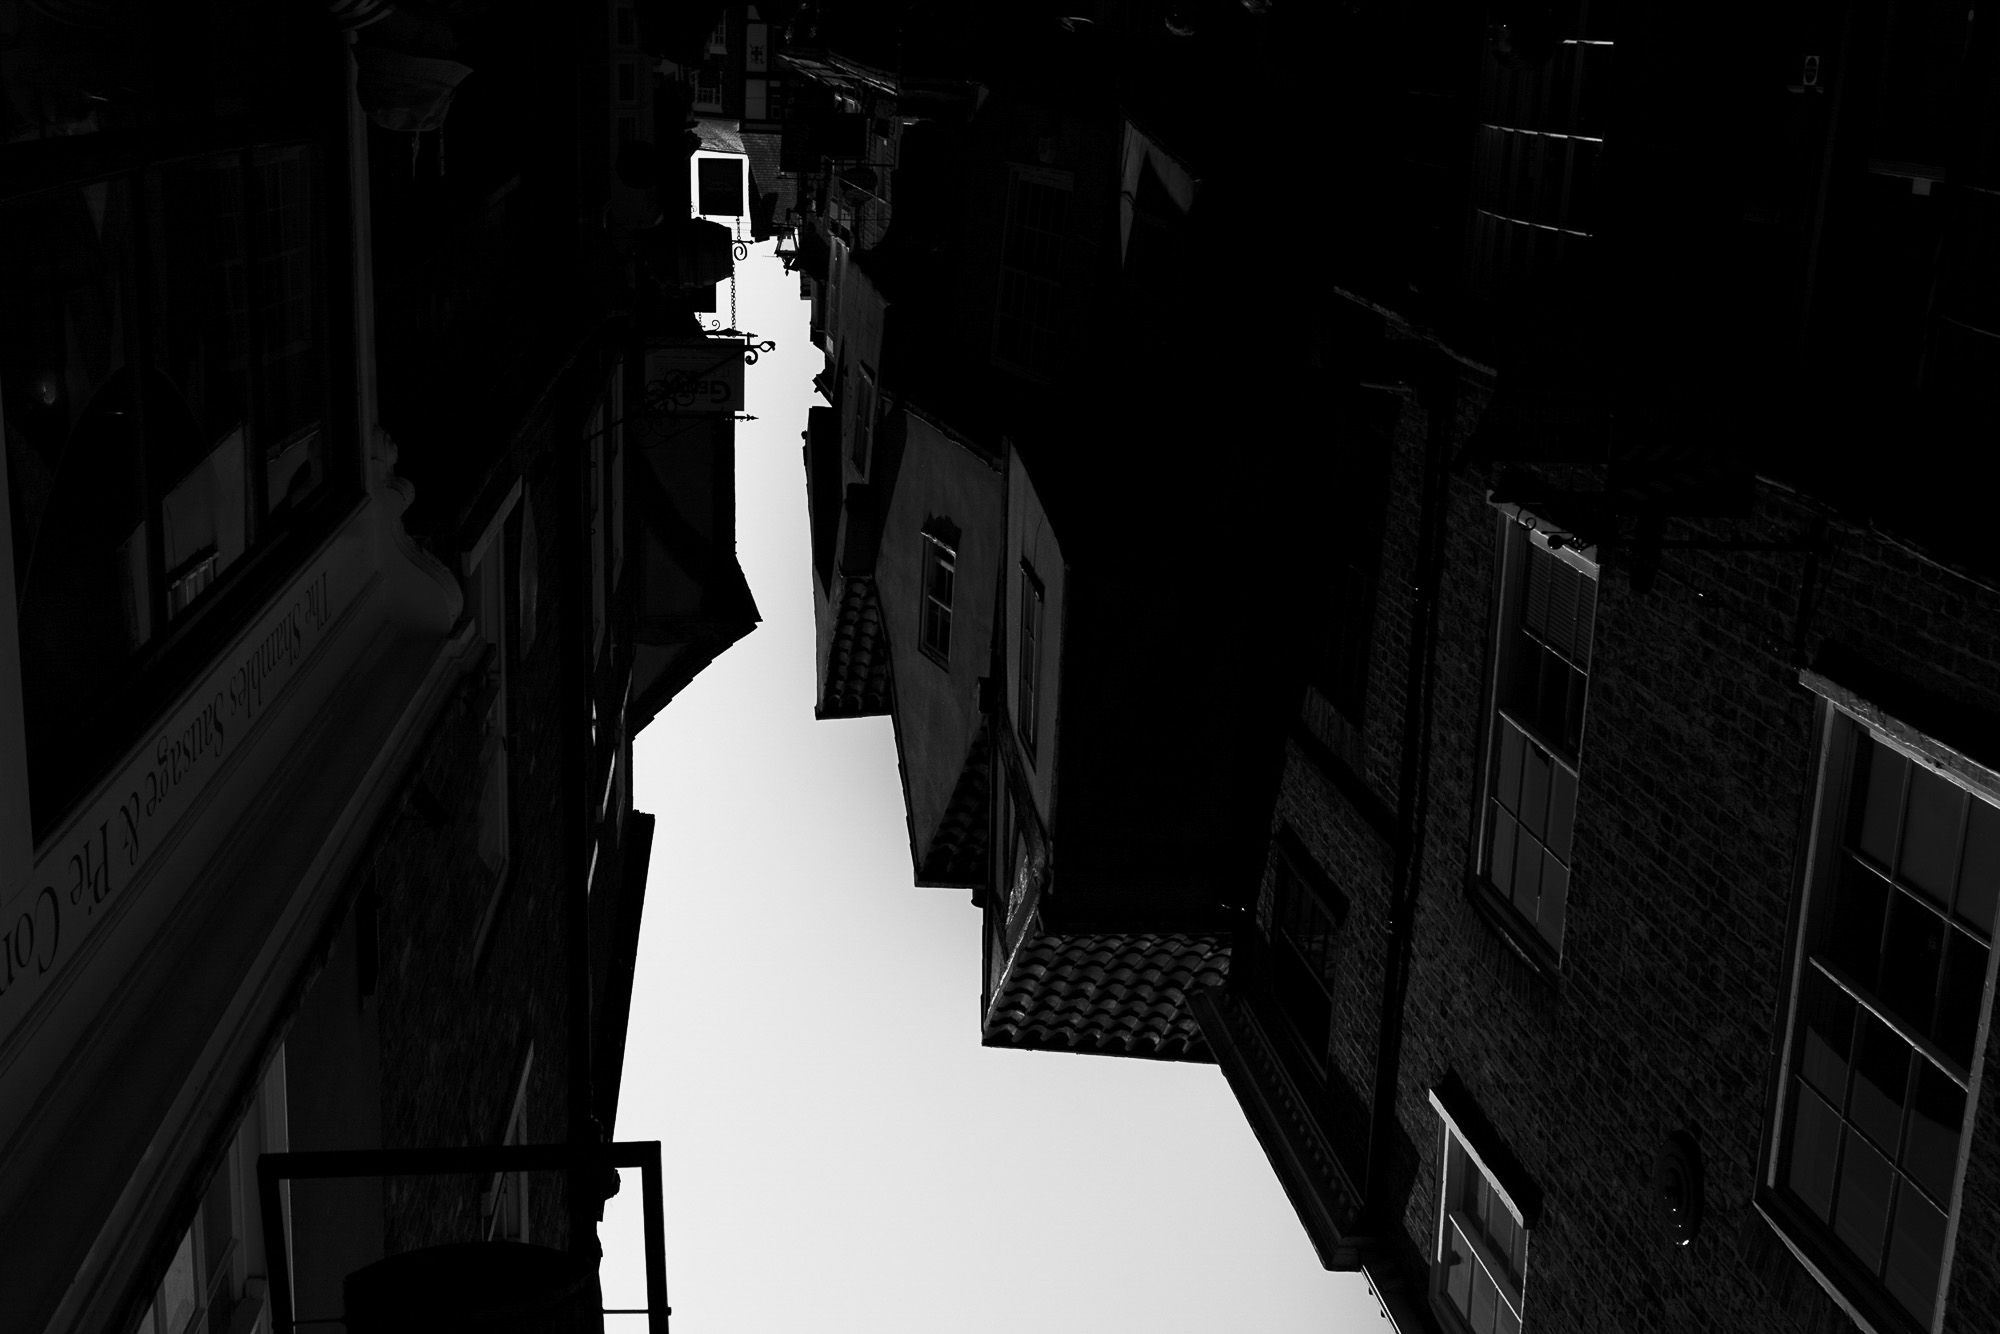
Look up from the street and you’ll seen the buildings form a jagged edge against the sky. On a clear day the sky will be much brighter than the buildings below. Use negative exposure compensation to expose for the sky and the street will go very dark.
7. Blend exposures
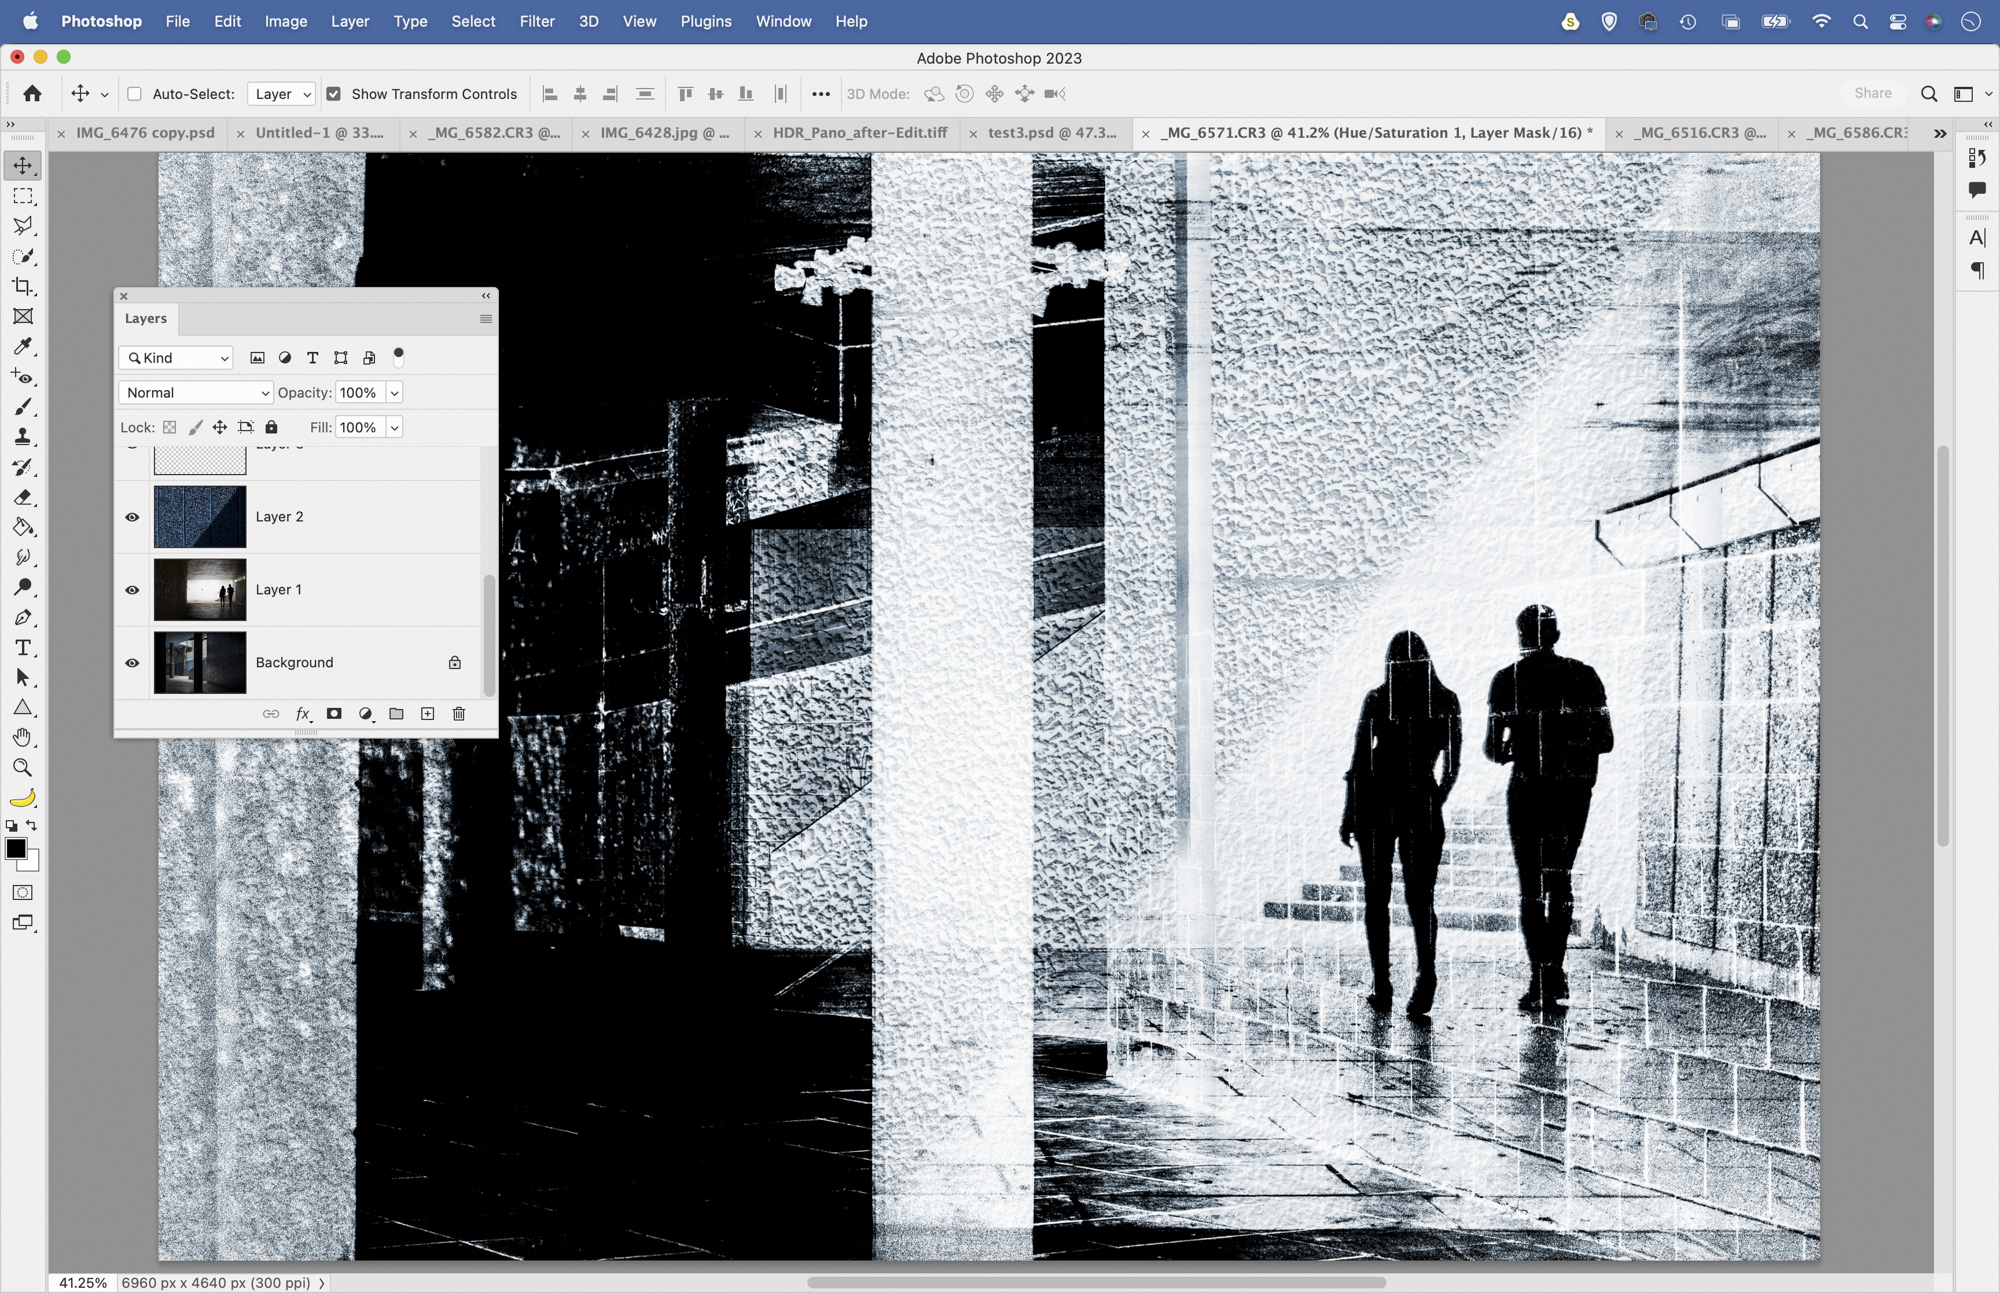
As well as in-camera multiple exposures, we can also craft our own in Photoshop by copying one image on top of another, then changing the Layer Blend Mode to Screen. We can also experiment with the 26 other layer blending modes, and come up with all sorts of creative combinations.
8. Experiment with tilt
City scenes are often dominated by straight vertical lines and strong geometric shapes. But diagonal lines can be aesthetically pleasing, so why not get creative with tilt? Grab the Crop tool and rotate the crop to set the horizon off-kilter. You can do this at the time of shooting too.
9. Try black and white
Creative techniques like multiple exposures can look very busy, so why not convert them to black and white. The absence of colour emphasises patterns, shapes and textures in the scene. Use the black and white profiles in Camera Raw/Lightroom for a simple, punchy look.
PhotoPlus: The Canon Magazine is the world's only monthly newsstand title that's 100% devoted to Canon, so you can be sure the magazine is completely relevant to your system. Every issue comes with downloadable video tutorials too.
If you're serious about scenery, take a look at the best cameras for landscape photography along with the best lenses for landscapes.
The lead technique writer on Digital Camera Magazine, PhotoPlus: The Canon Magazine and N-Photo: The Nikon Magazine, James is a fantastic general practice photographer with an enviable array of skills across every genre of photography.
Whether it's flash photography techniques like stroboscopic portraits, astrophotography projects like photographing the Northern Lights, or turning sound into art by making paint dance on a set of speakers, James' tutorials and projects are as creative as they are enjoyable.
He's also a wizard at the dark arts of Photoshop, Lightroom and Affinity Photo, and is capable of some genuine black magic in the digital darkroom, making him one of the leading authorities on photo editing software and techniques.
