Stock photography essentials: work in two dimensions with a lay-flat photo!
Create an effective lay-flat photograph by controlling depth using lighting and careful camera positioning

The best camera deals, reviews, product advice, and unmissable photography news, direct to your inbox!
You are now subscribed
Your newsletter sign-up was successful
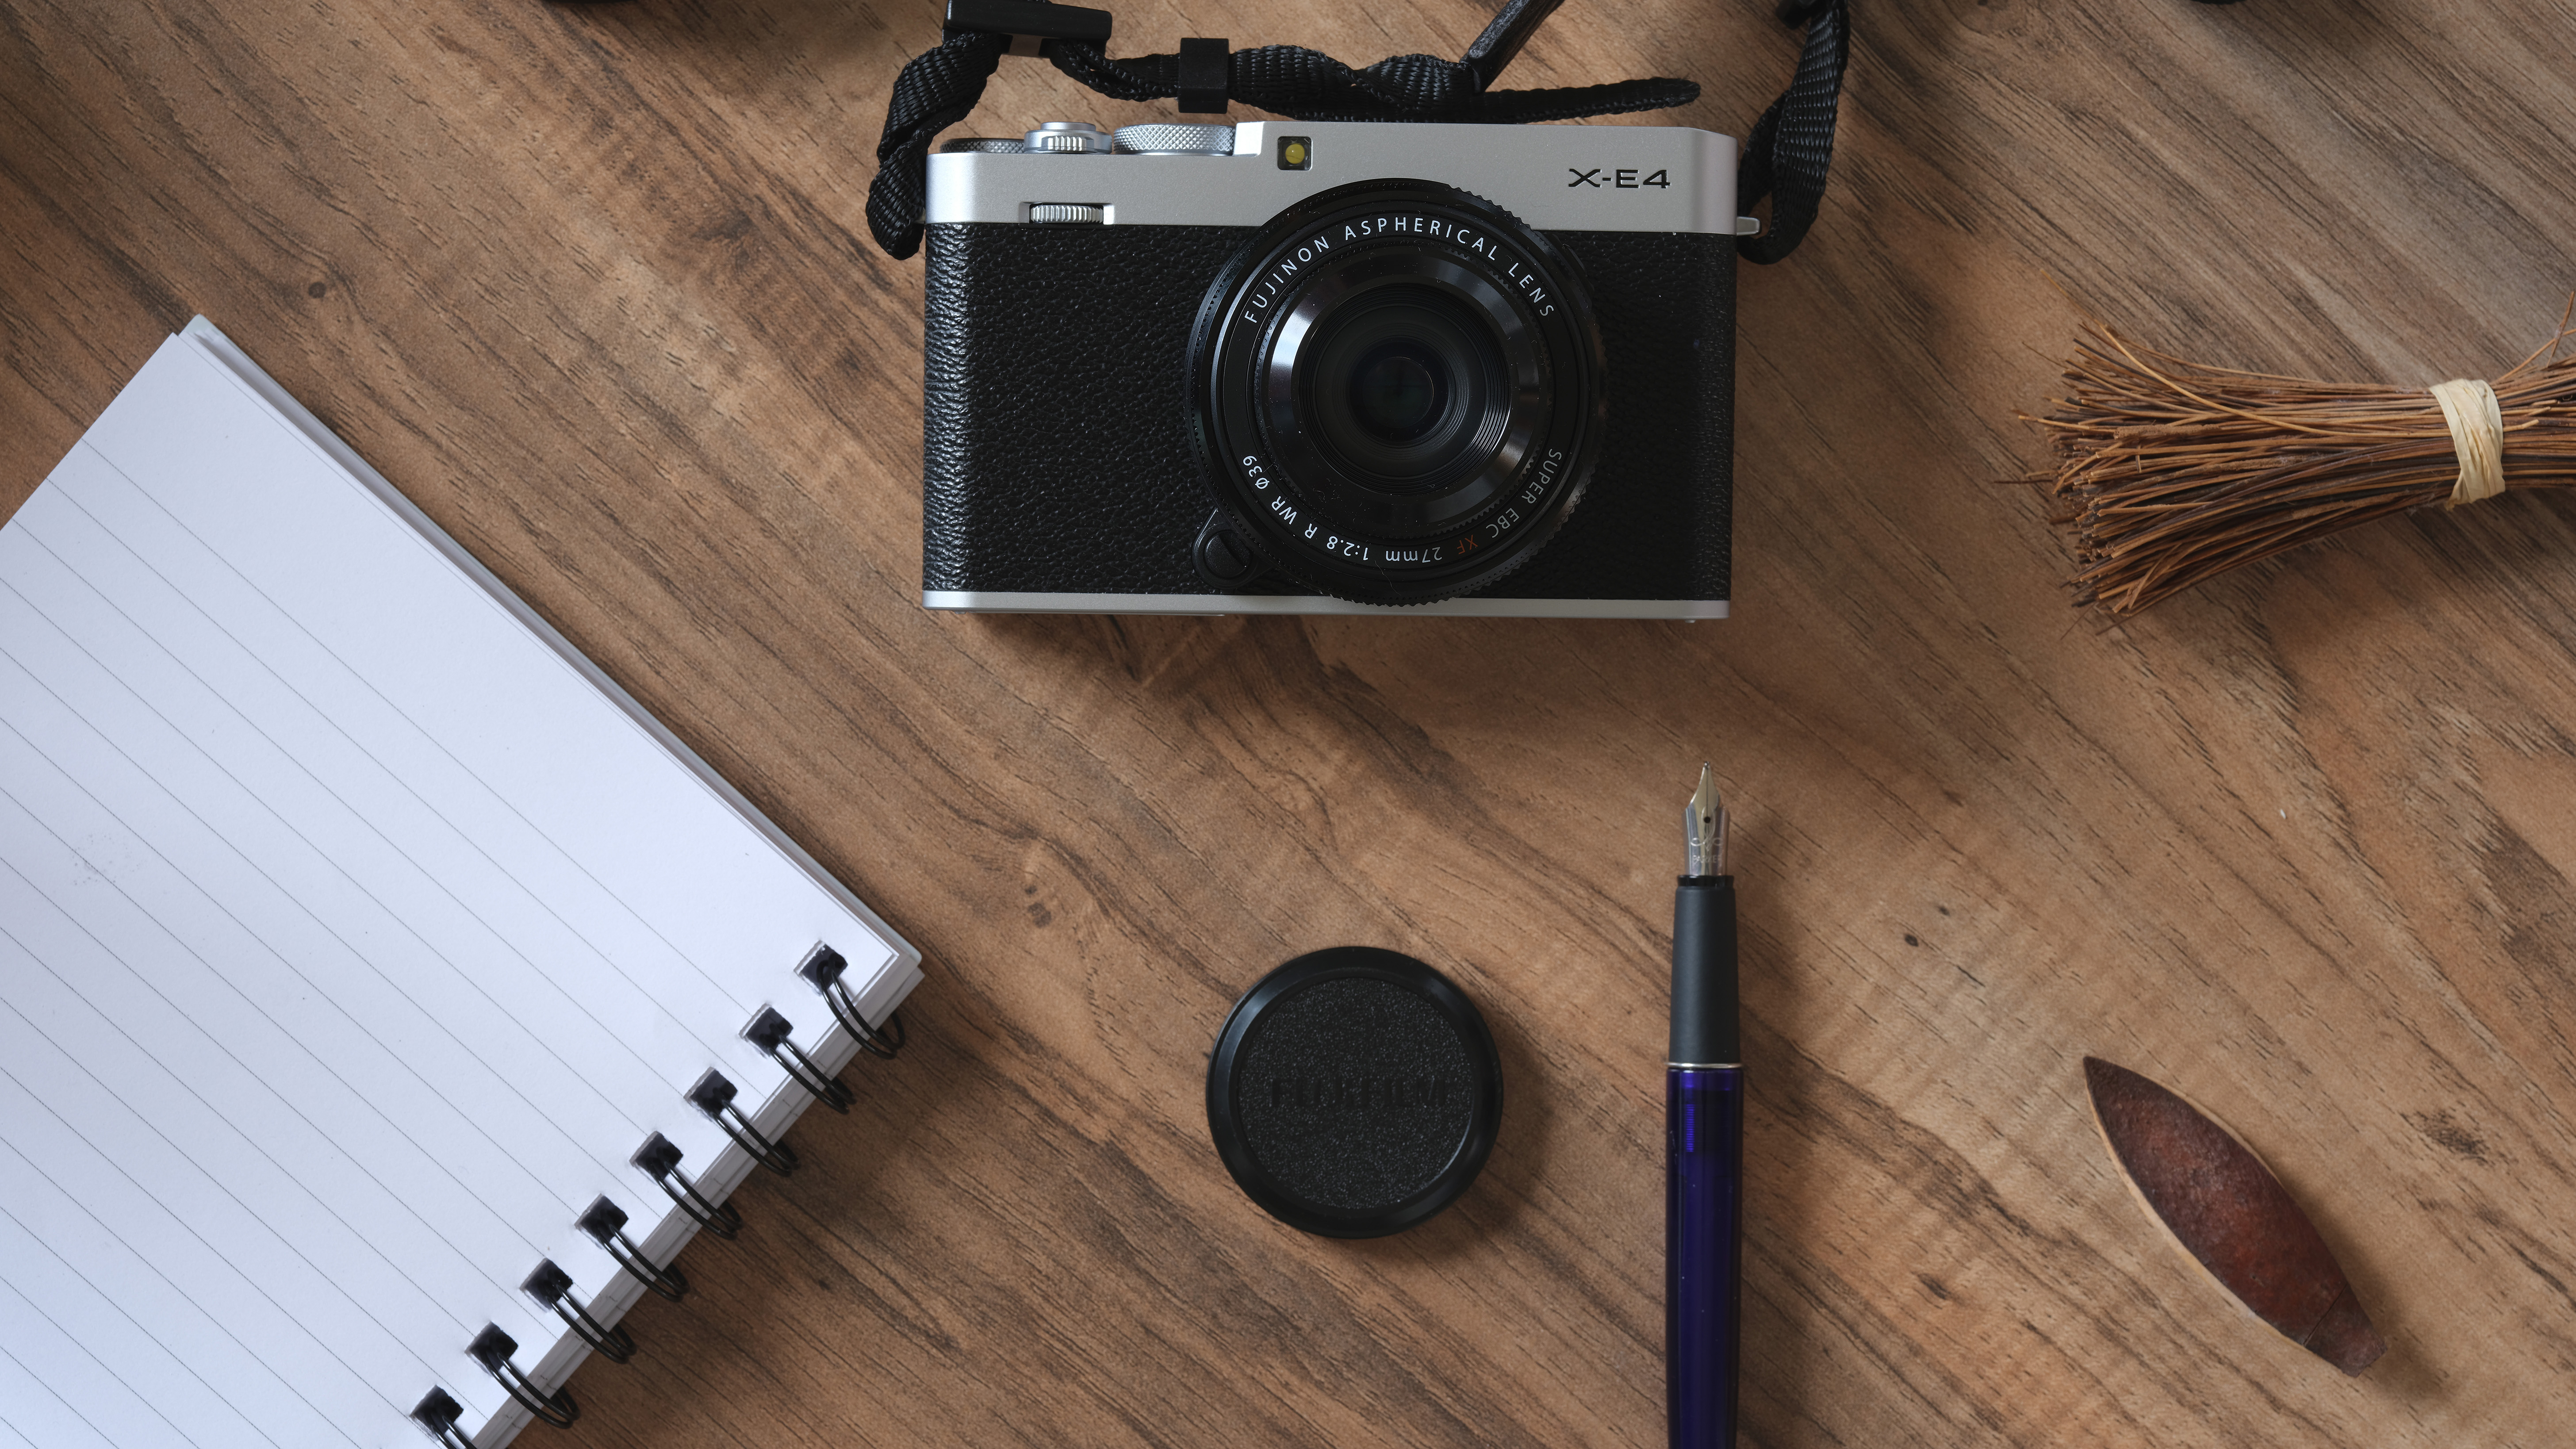
The lay-flat shot is an incredibly popular style in this age of social media, online marketing and web design. Arguably stock photography has gained a new purpose with the advent of ecommerce and online advertising; the appetite for image content bound for web page headers, blog posts, social media marketing campaigns and newsletters seems insatiable. The top-down lay-flat image fits these uses perfectly for several reasons.
Firstly the lack of depth is undistracting, enabling the image and written content to work seamlessly together without either overpowering the other. Secondly, any objects placed in the shot are all equally visible, which is ideal for product-based images. Shots can also be quite conceptual in nature, meaning they are generally interchangeable between pages, posts and stories. Finally they can be easily adapted for purpose, through the addition of other graphics or copy.
This type of image is therefore a hugely useful one with which to become acquainted. They are deceptively challenging to get right, however, presenting some unique problems to identify and overcome. The two-dimensionality is effective, but can strip energy and interest if not balanced. Here we’ll take a look at some quick ways to set up, compose and light a stock-type lay-flat scene with movement and texture to complement the shallow physical depth.
1. Secure your props
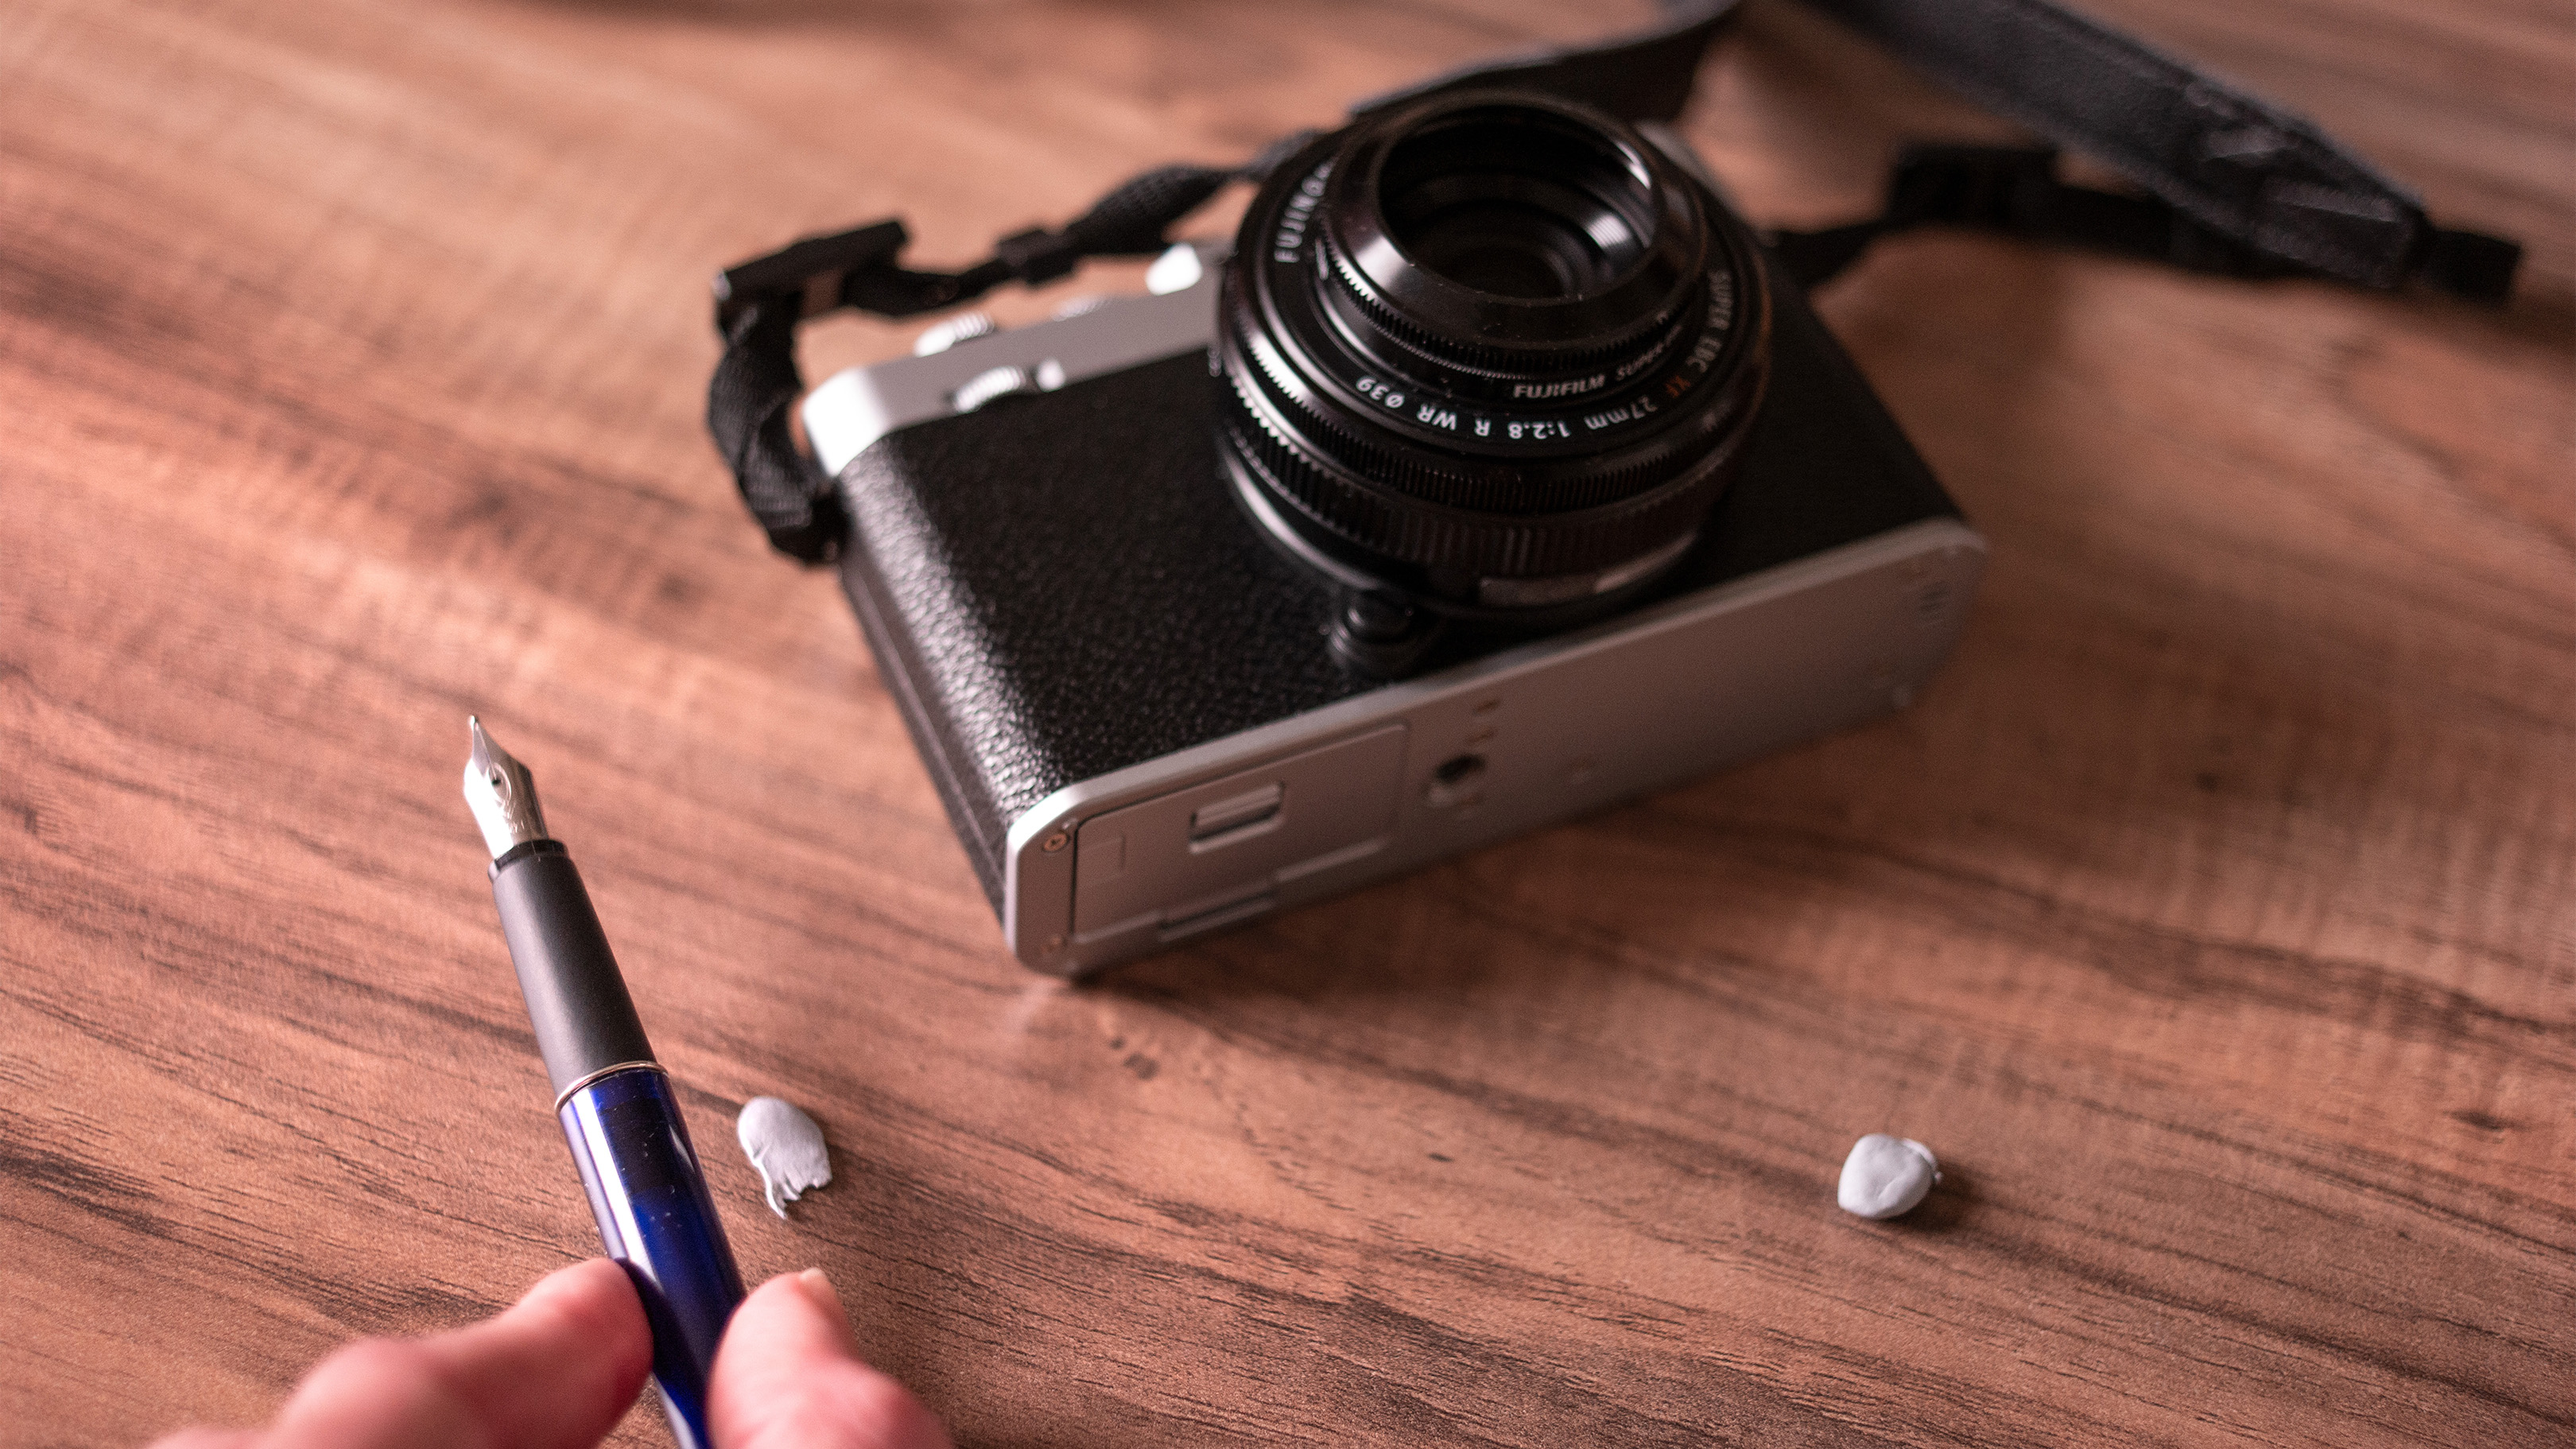
It is endlessly frustrating to set out your elements for the shot only to have them move during the process. Use hidden adhesive tack or double-sided tape to secure each item in-place. Consider symmetry.
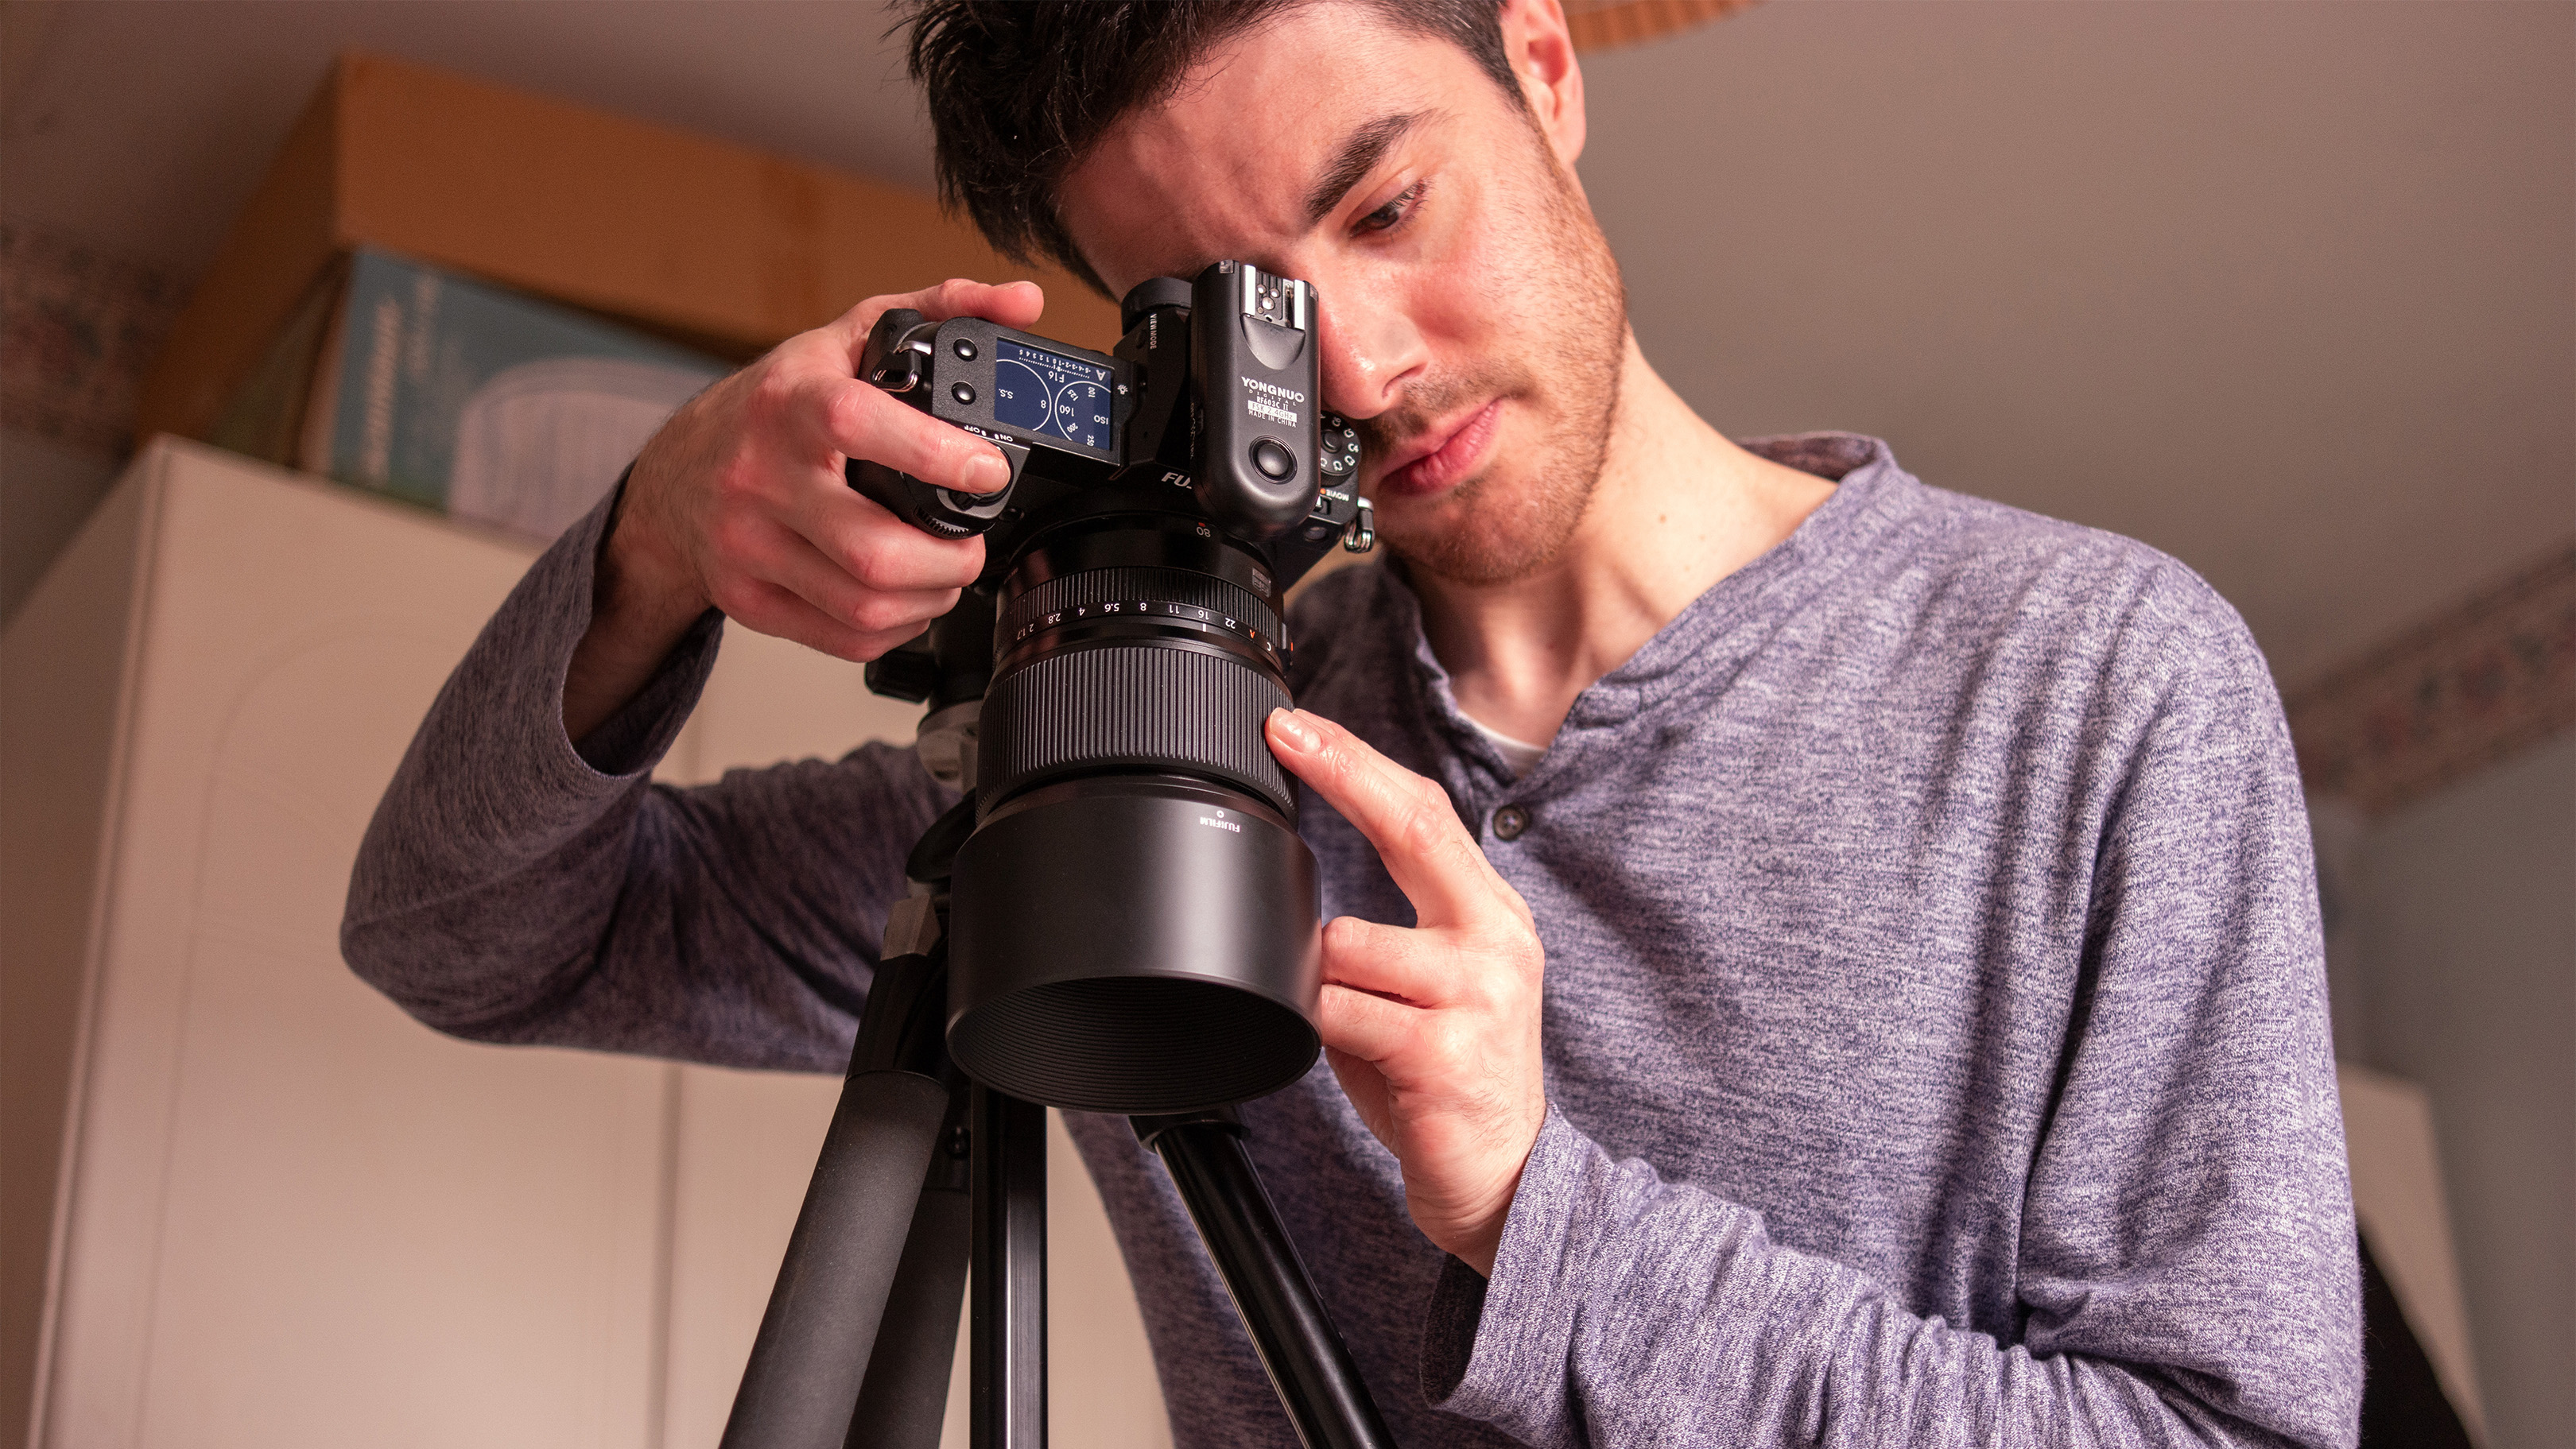
2. Ensure 90° angle
It’s important to make sure that your camera is directly aligned over your arranged objects to avoid distortion. Extend your tripod legs as tall as they will go then use a lens setting that keeps the feet out of frame.
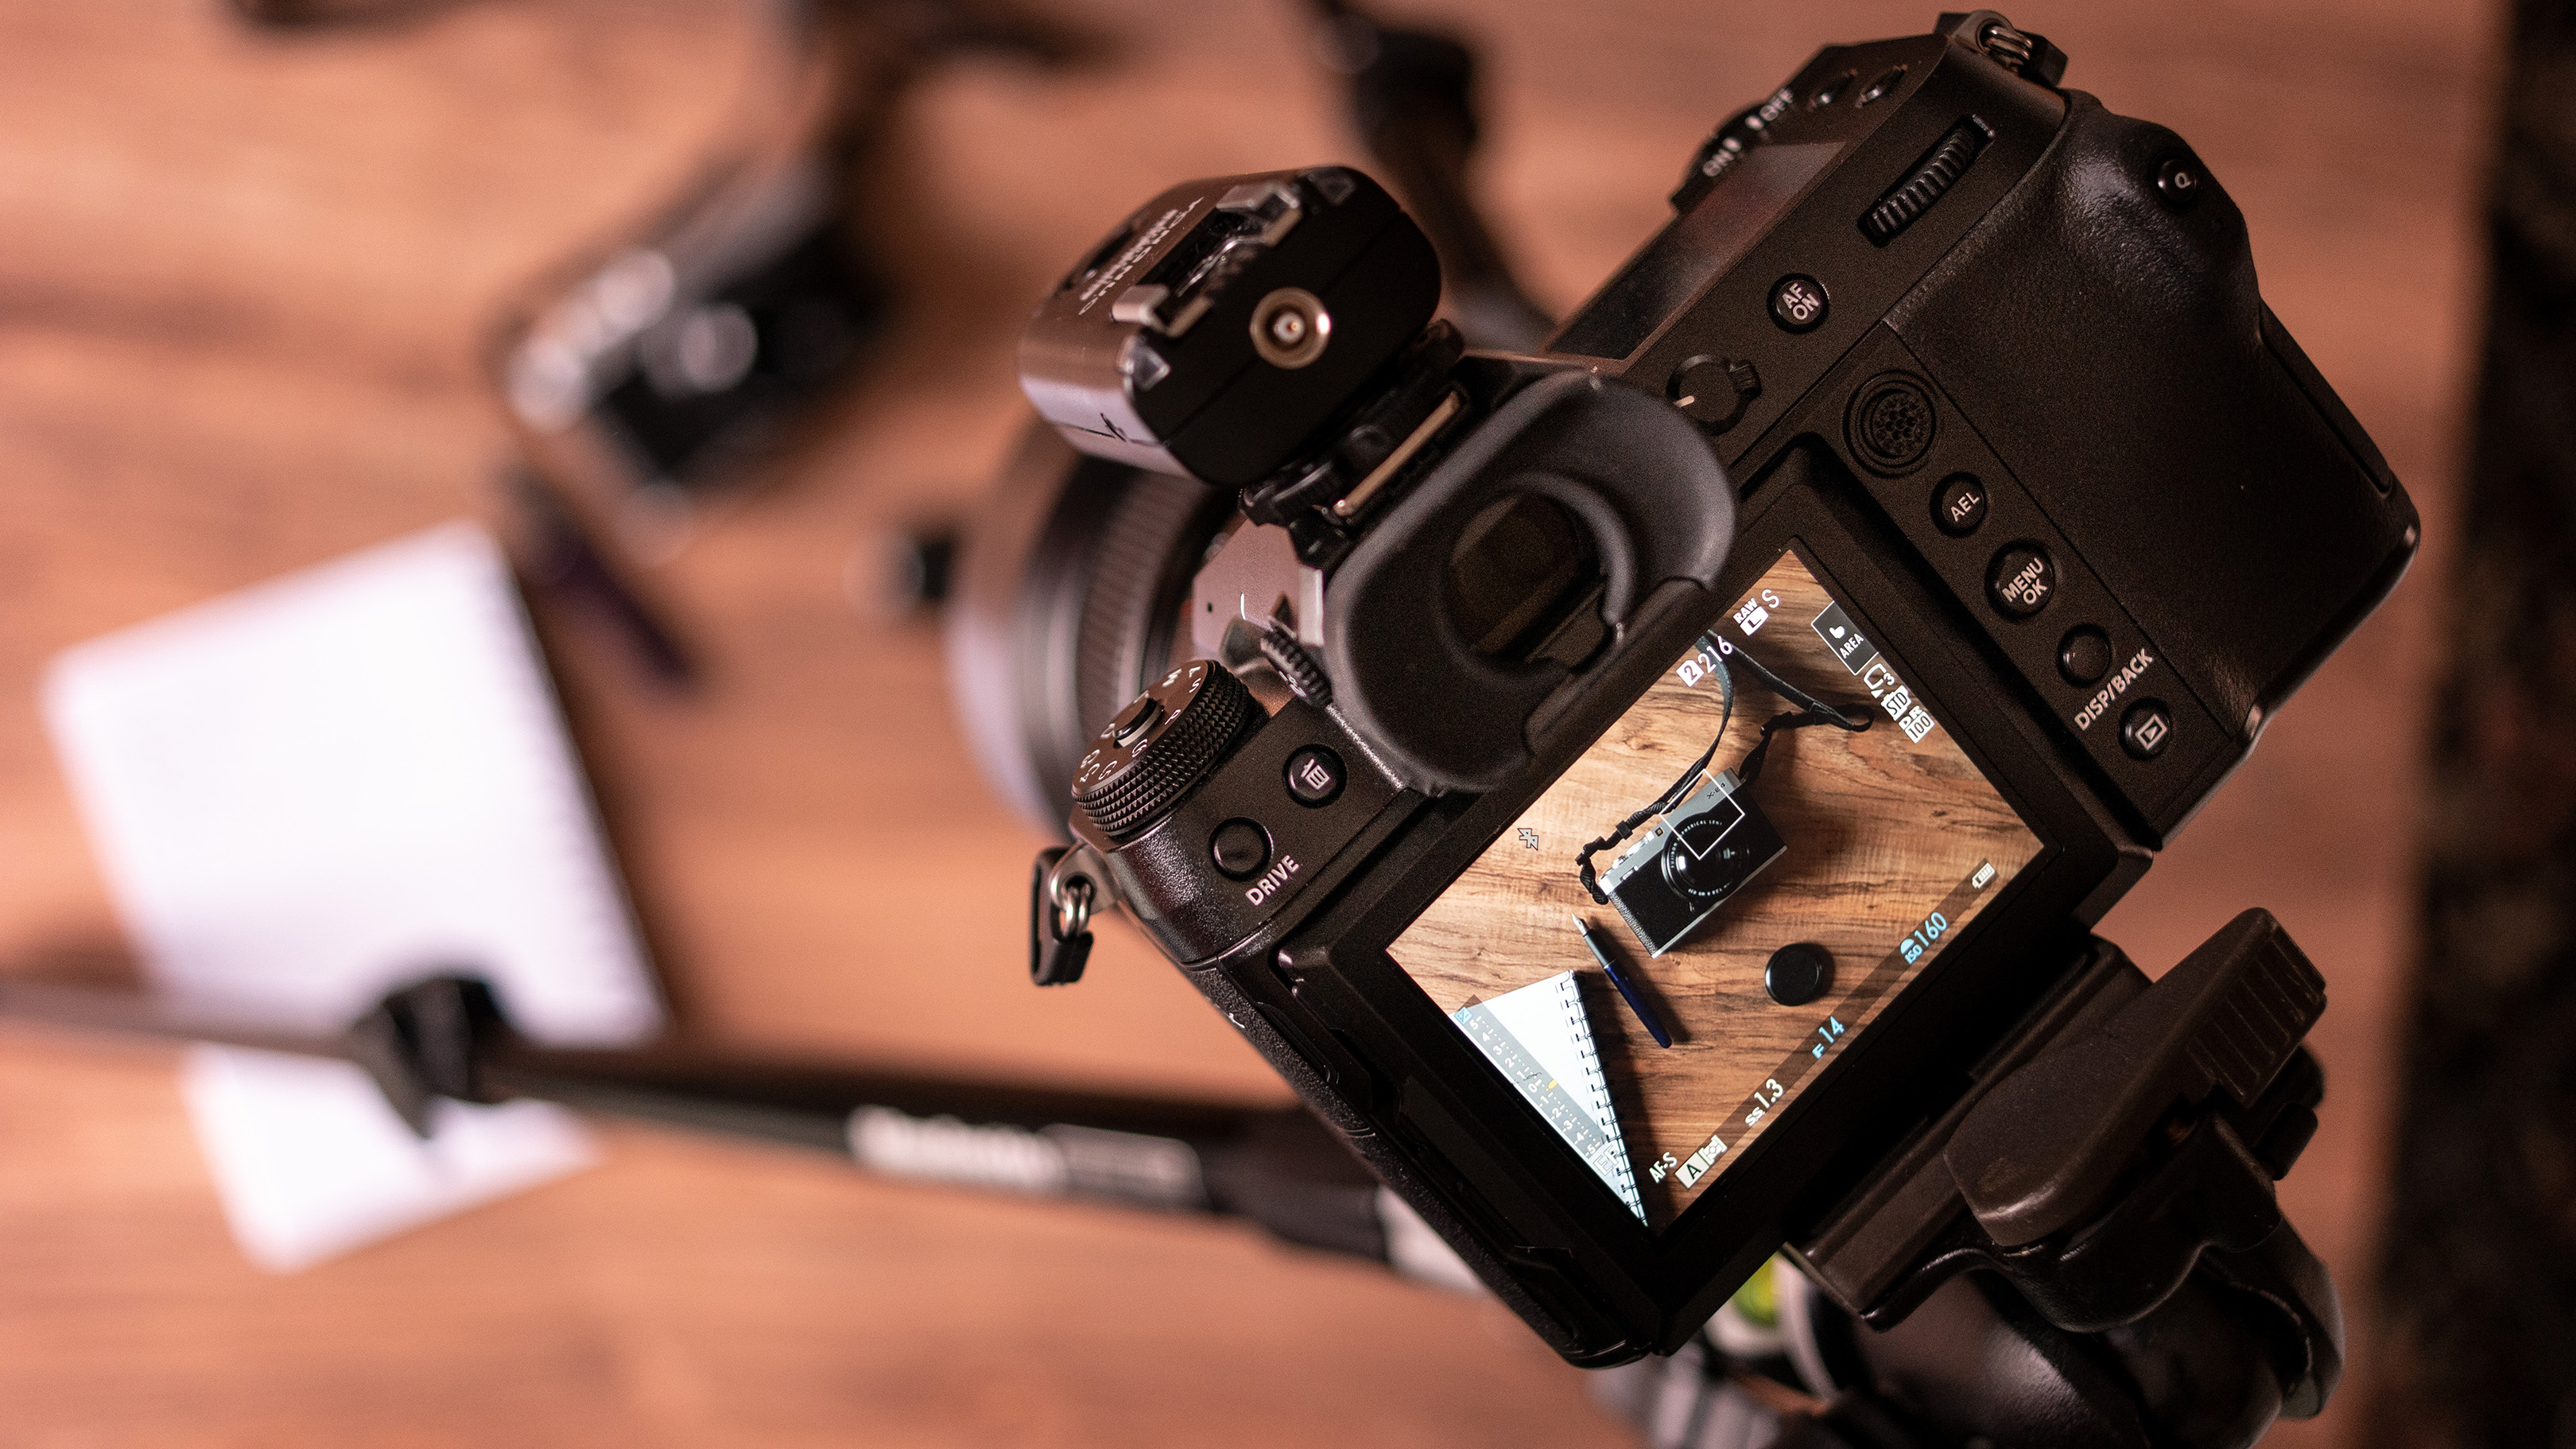
3. Rotate camera
Due to the disorientation caused by the extreme angle, it’s easy to produce misaligned frames. Use the tripod head’s pan feature to swing the camera laterally until all lines in the shot are horizontal.
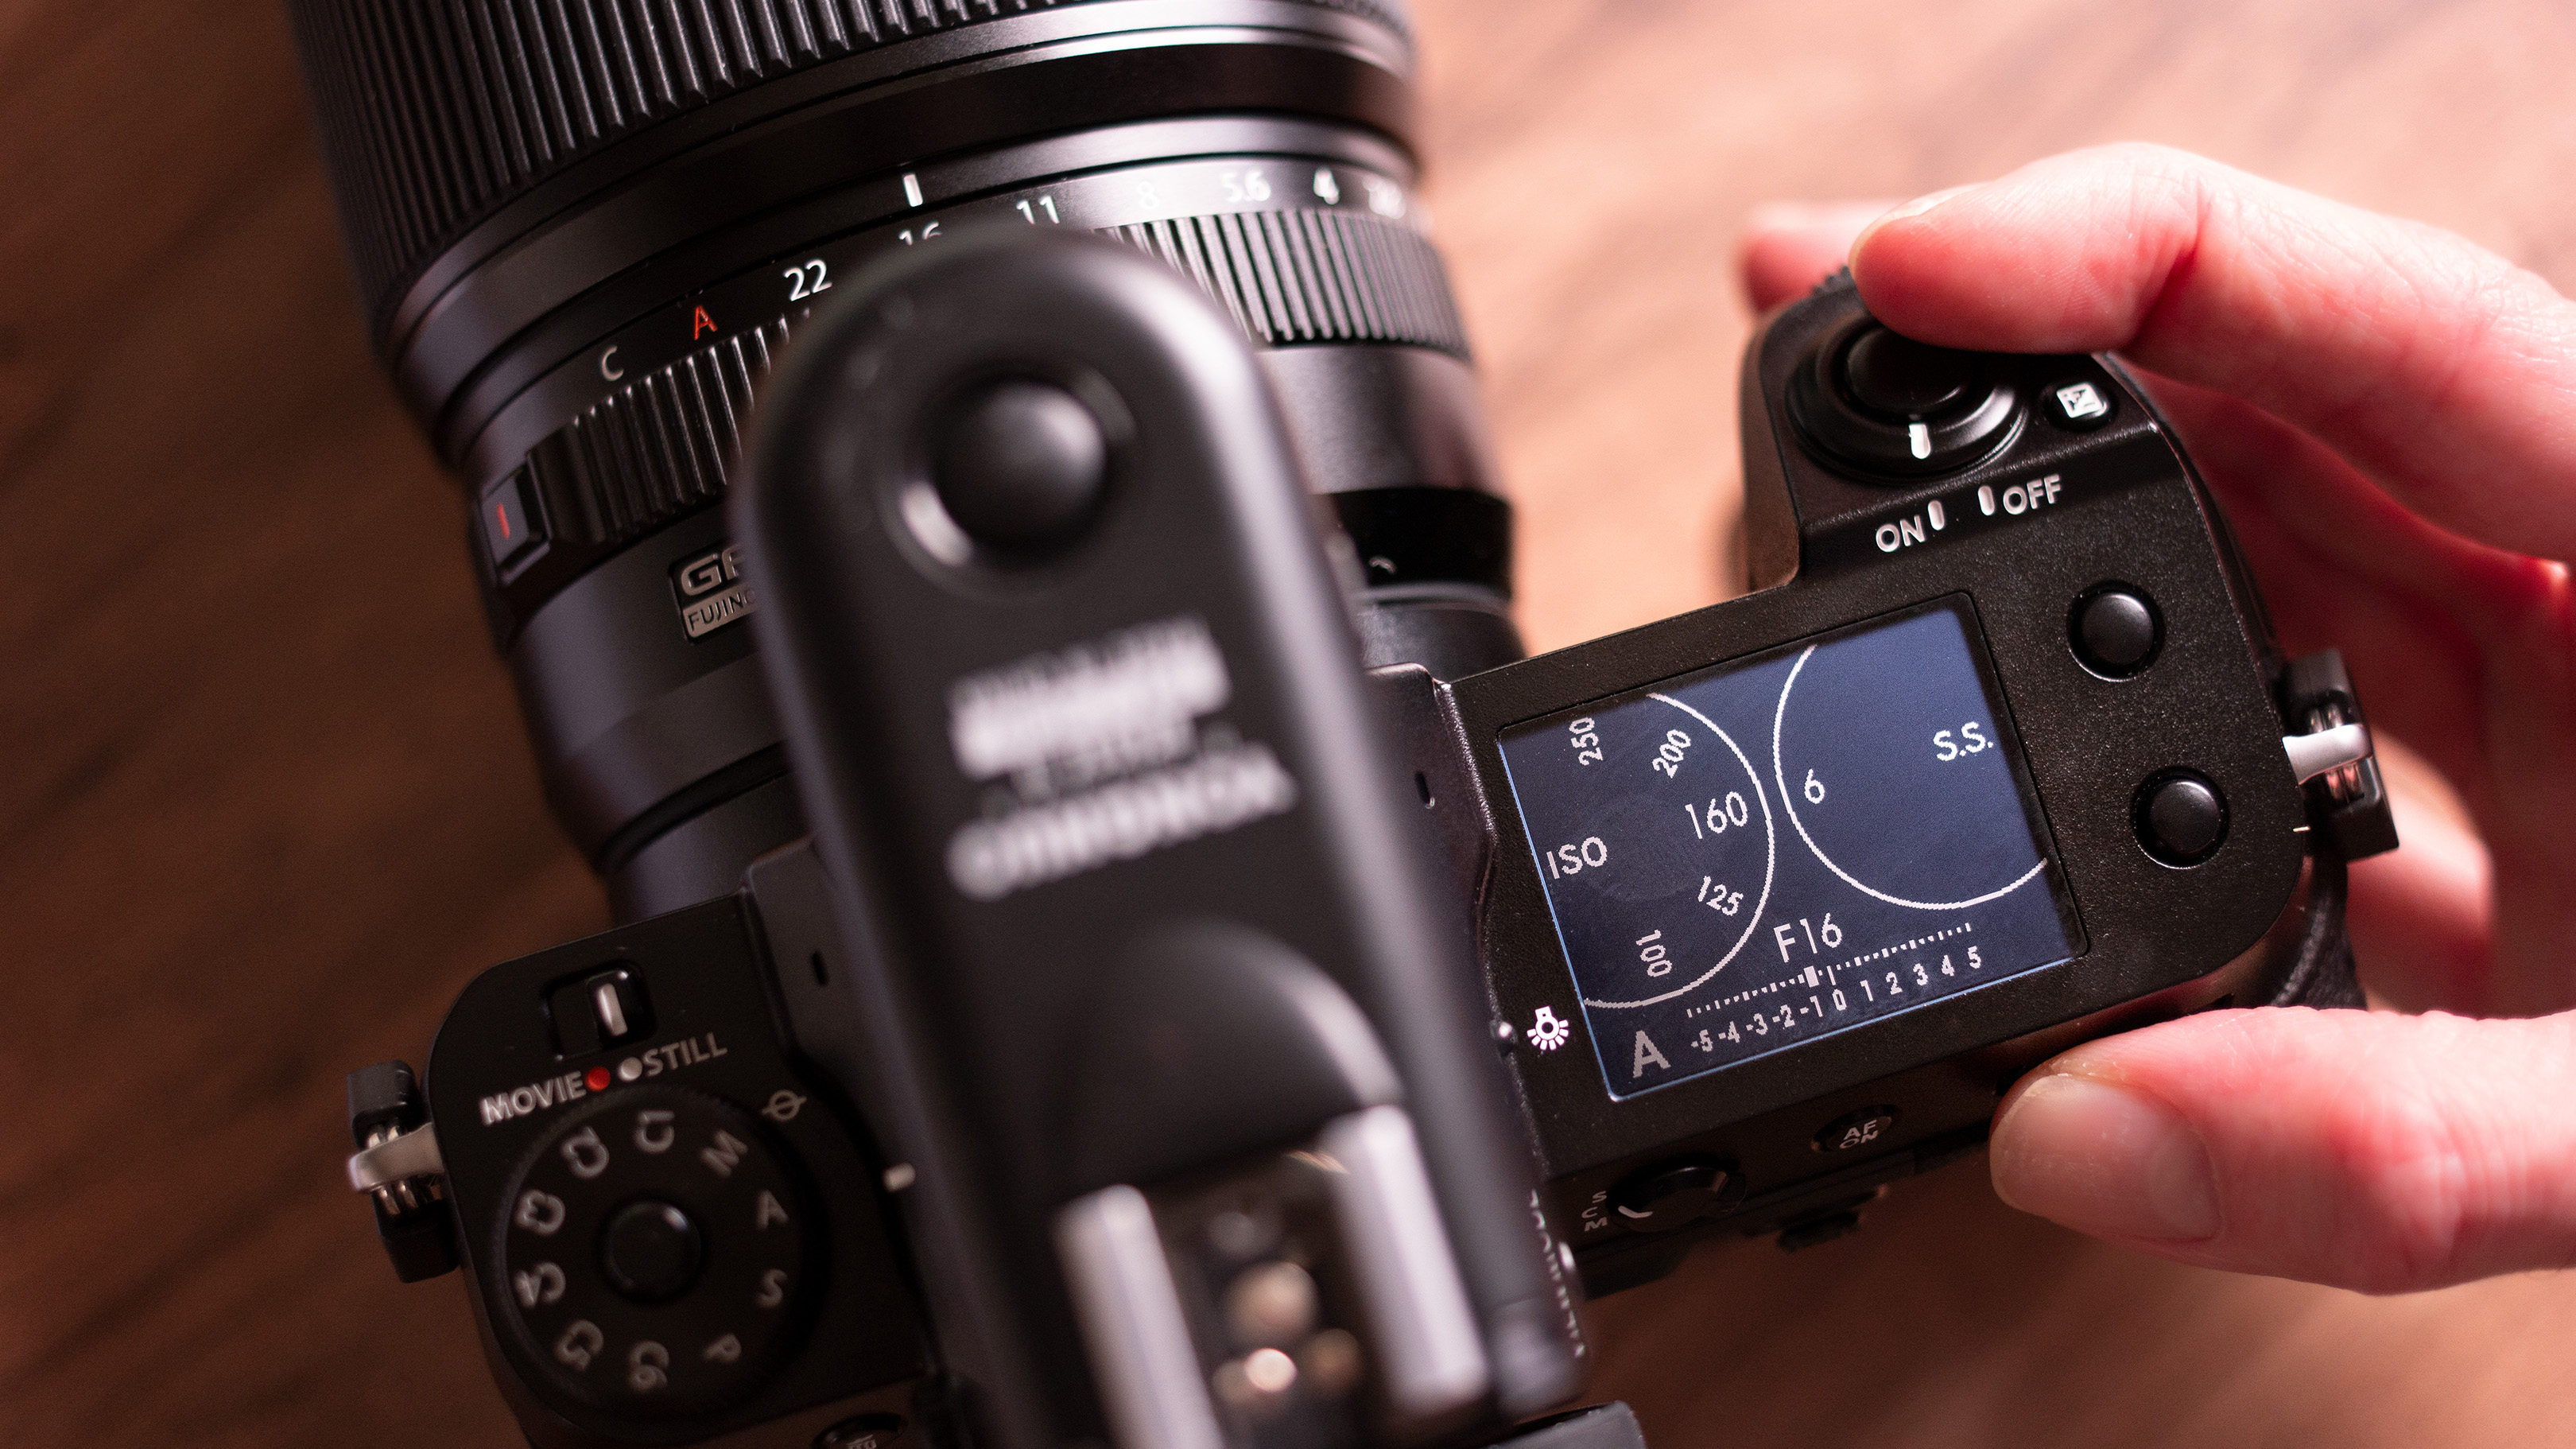
4. Stop down your lens' aperture
While depth of field is less of a problem with such a shallow scene, any fall-off may spoil the flat feeling. Since we’re using a medium format camera (the Fujifilm GFX 100S), f/16 and higher was required to keep all objects sharp.
The best camera deals, reviews, product advice, and unmissable photography news, direct to your inbox!
5. Set flash power
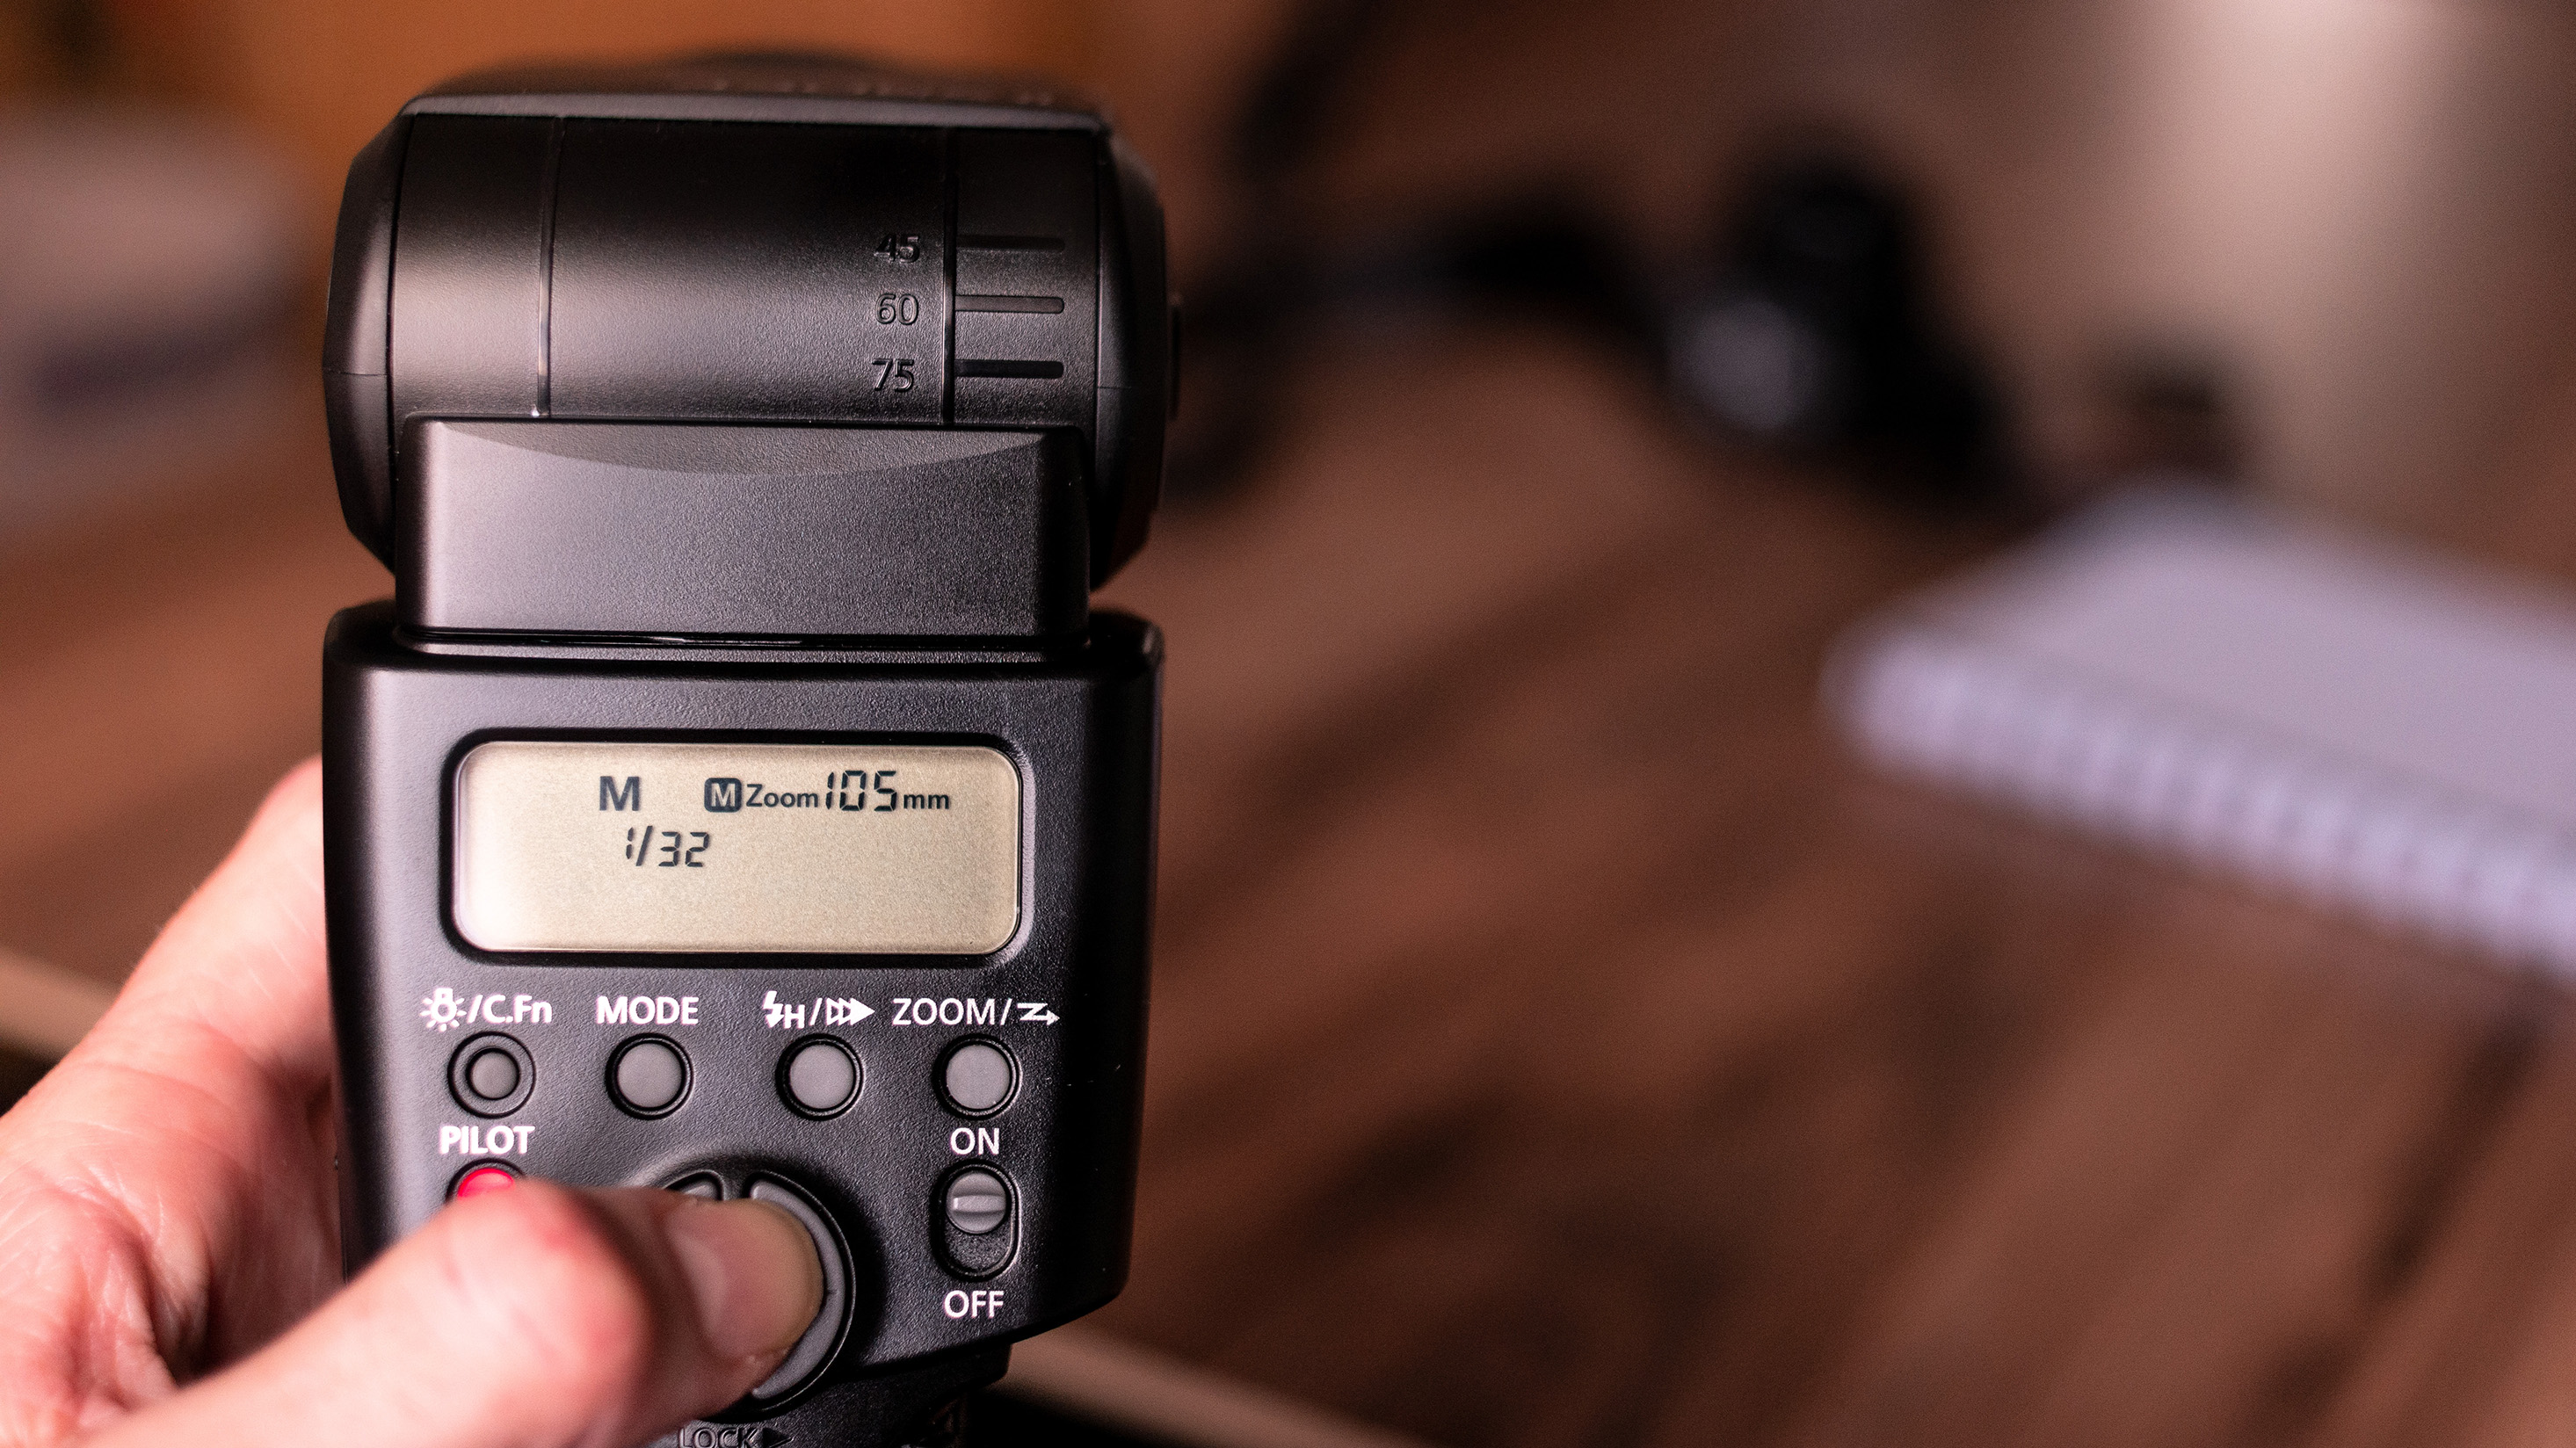
We need quite an intense light to simulate sunshine, so zoom the flash to near the maximum focal length value and start at a mid-range output. Increase this incrementally as required, avoiding too many hotspots.
6. Shape the light
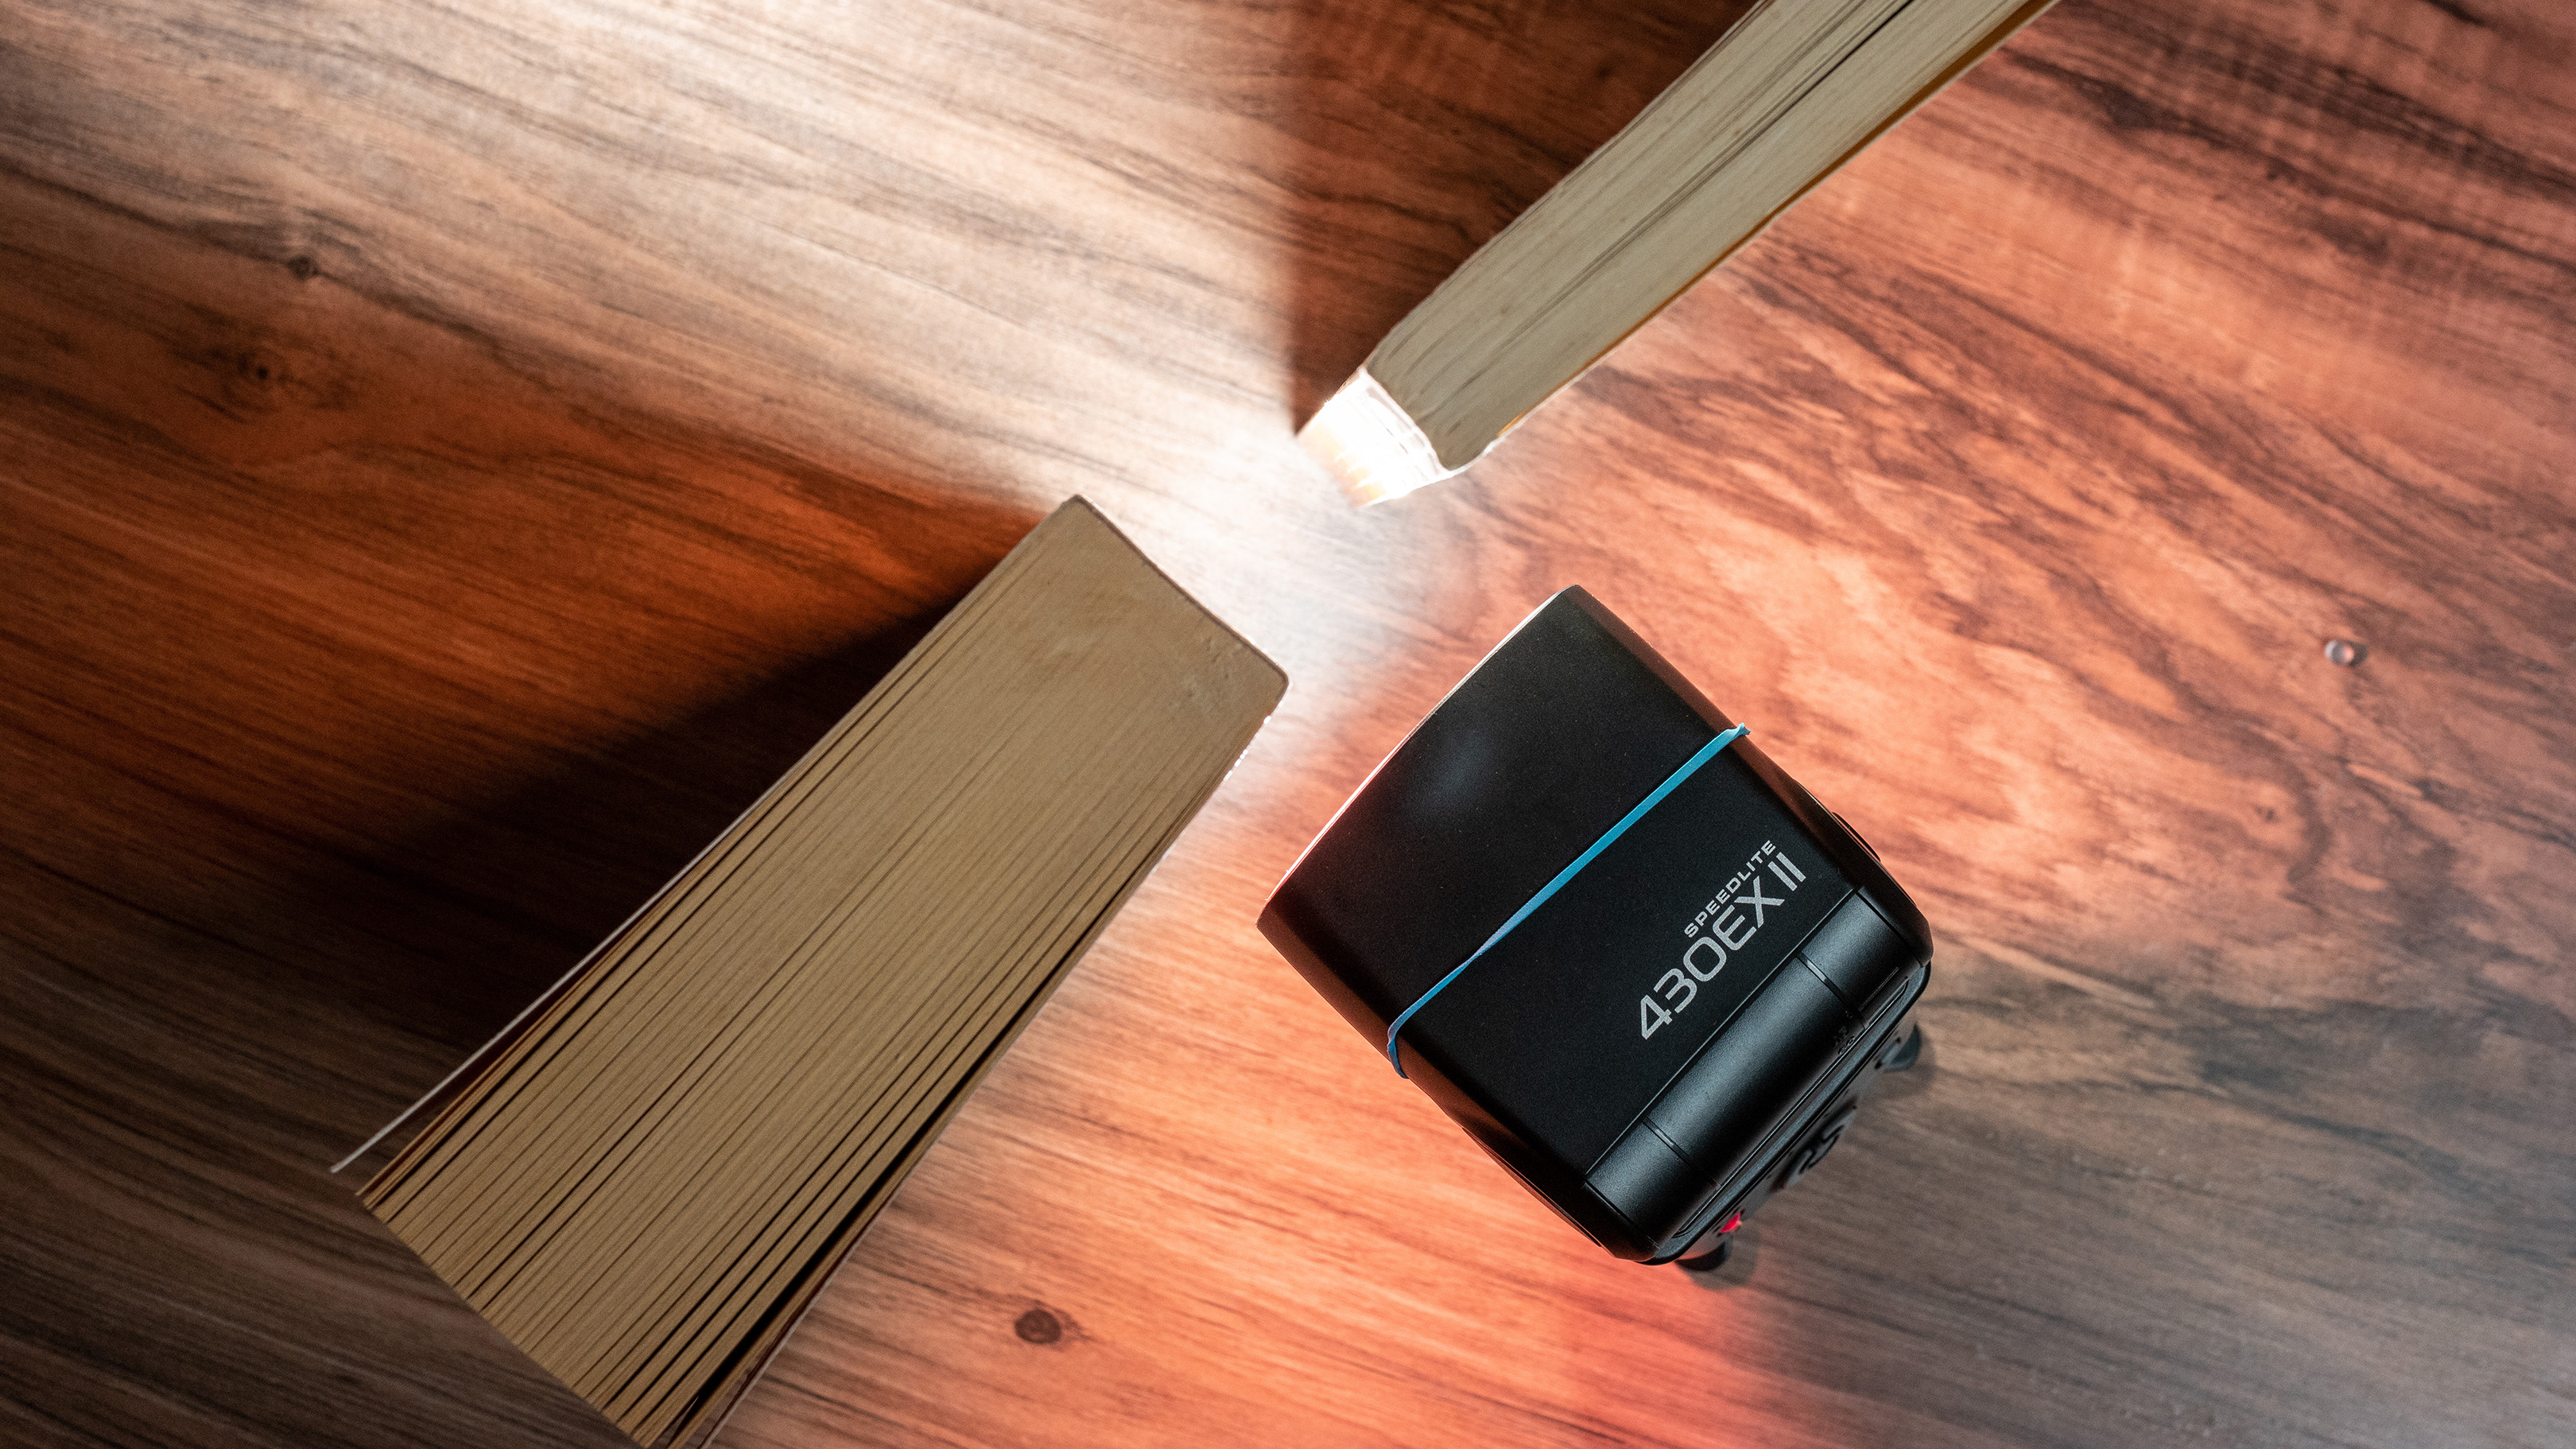
Create a narrow light beam using a gobo, if you have one – though we just fired the light between two books to control direction. Preventing light spill also enabled the falling petals to remain blurred, introducing some energy.

Read more:
Best medium format cameras
Best macro lenses
Best professional cameras
As the Editor for Digital Photographer magazine, Peter is a specialist in camera tutorials and creative projects to help you get the most out of your camera, lens, tripod, filters, gimbal, lighting and other imaging equipment.
After cutting his teeth working in retail for camera specialists like Jessops, he has spent 11 years as a photography journalist and freelance writer – and he is a Getty Images-registered photographer, to boot.
No matter what you want to shoot, Peter can help you sharpen your skills and elevate your ability, whether it’s taking portraits, capturing landscapes, shooting architecture, creating macro and still life, photographing action… he can help you learn and improve.
