Watch video: Portrait photography hack – customize out of focus highlights
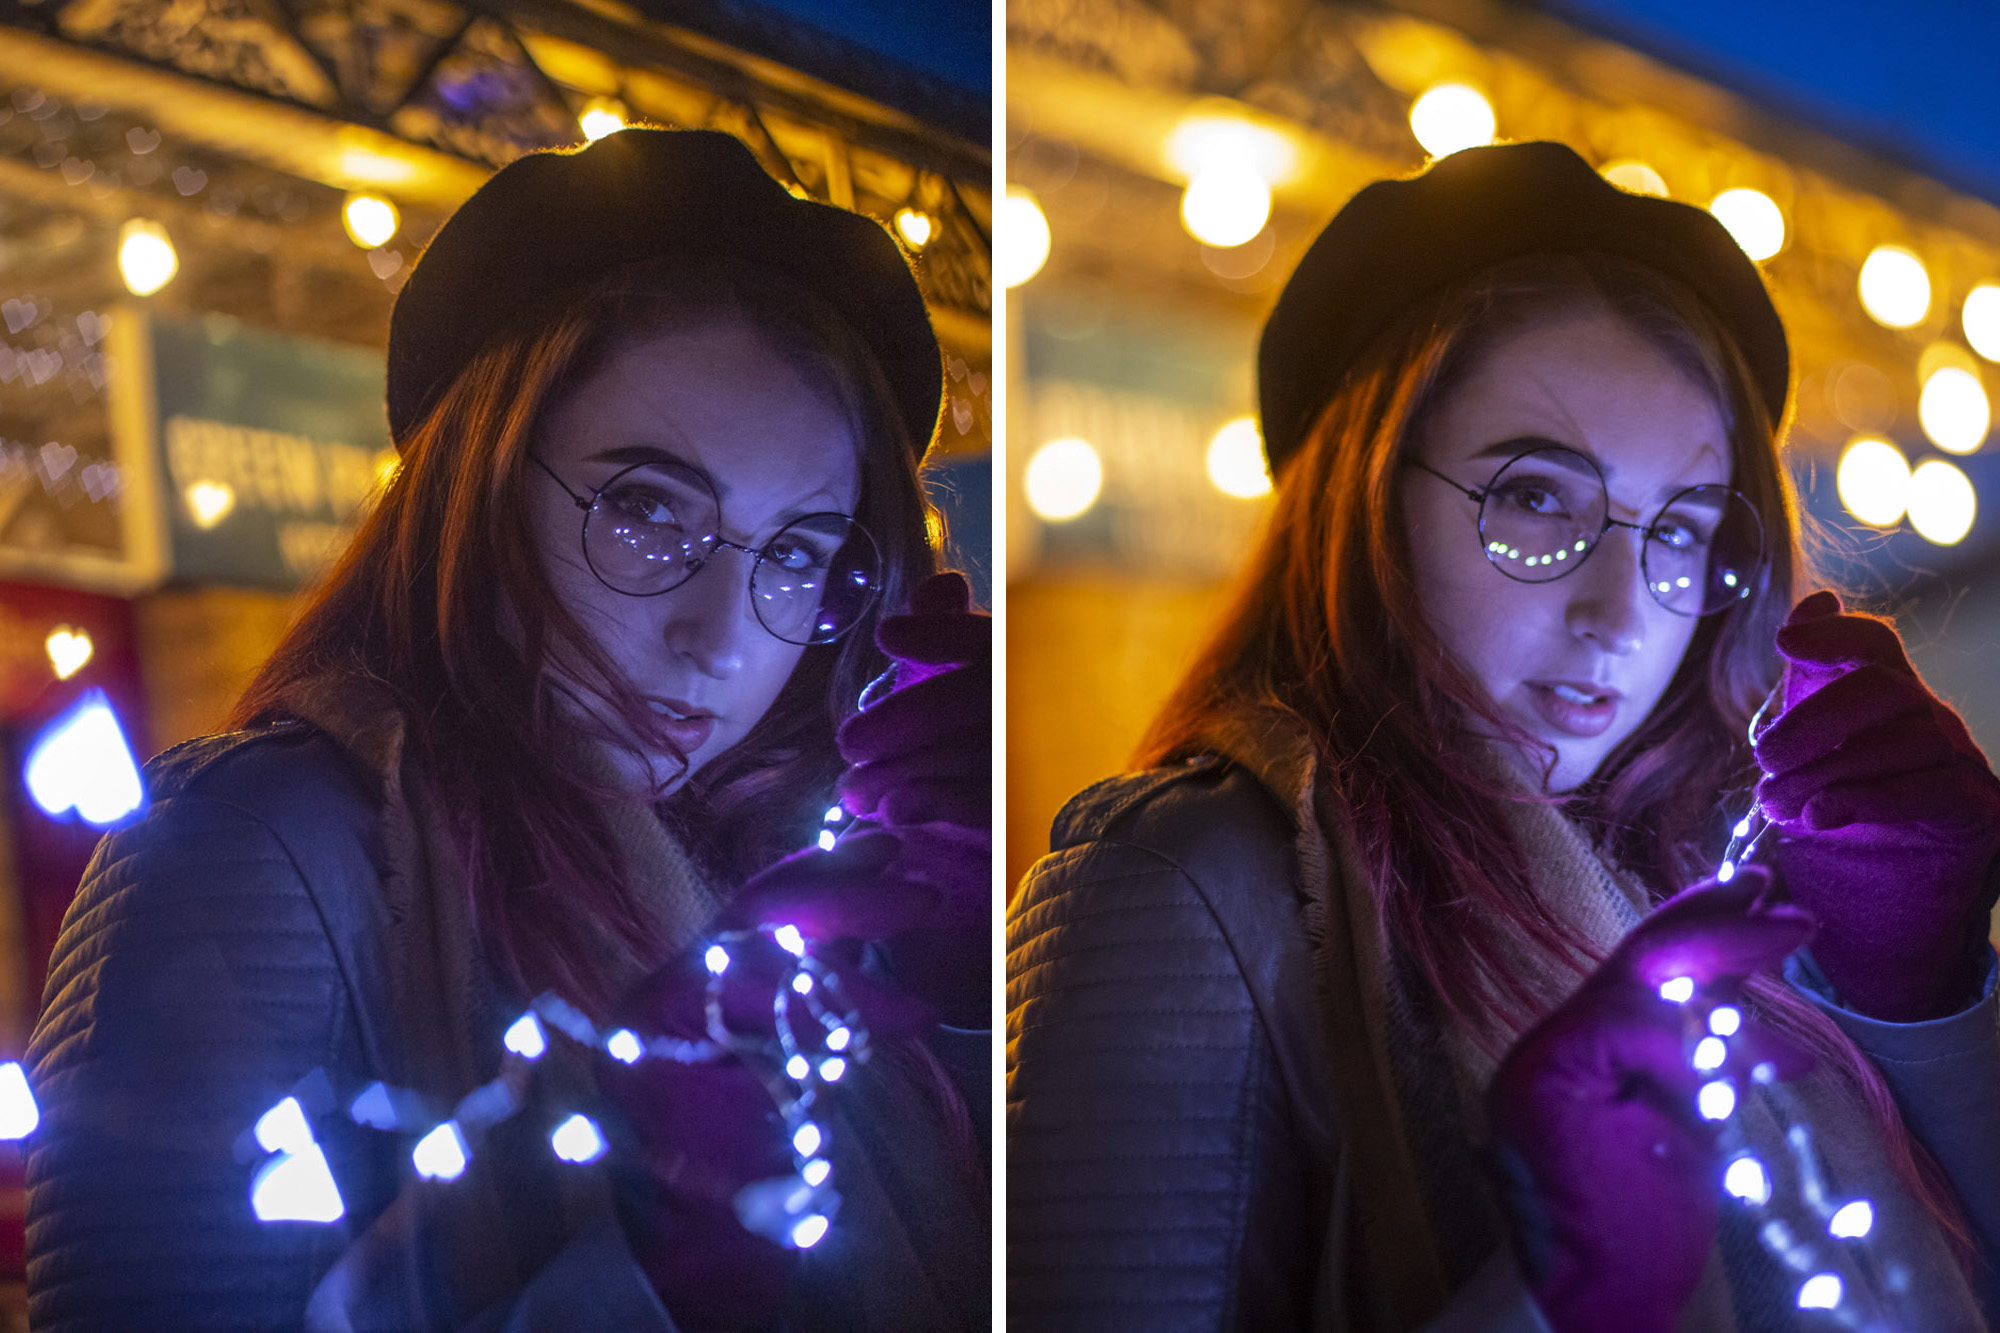
If you’ve held an interest in photography for a while, you’ll probably have come across the term 'bokeh'. It’s the word of Japanese origin that we use to describe the quality of out-of-focus areas – particularly the specular highlights – in the foreground and background of your pictures, often in portraits taken with wide apertures.
The shape of your highlights are determined by the shape of your aperture, which will be circular if the aperture is made up of enough blades. However, lenses such as Canon's original EF 50mm f/1.8 ‘nifty-fifty’ employ a five-sided aperture – and this gives the highlights a distinctive pentagonal look.
Some people prefer the circular-shaped 'bokeh balls', and perhaps that’s why the latest Canon EF 50mm f/1.8 STM version has a seven bladed aperture to smooth this out and give it a more circular look.
When you shoot at your widest maximum aperture value, such as f/1.8, you move the aperture blades totally out of the way so that the shape becomes circular regardless, as it is then defined by the circular lens barrel.
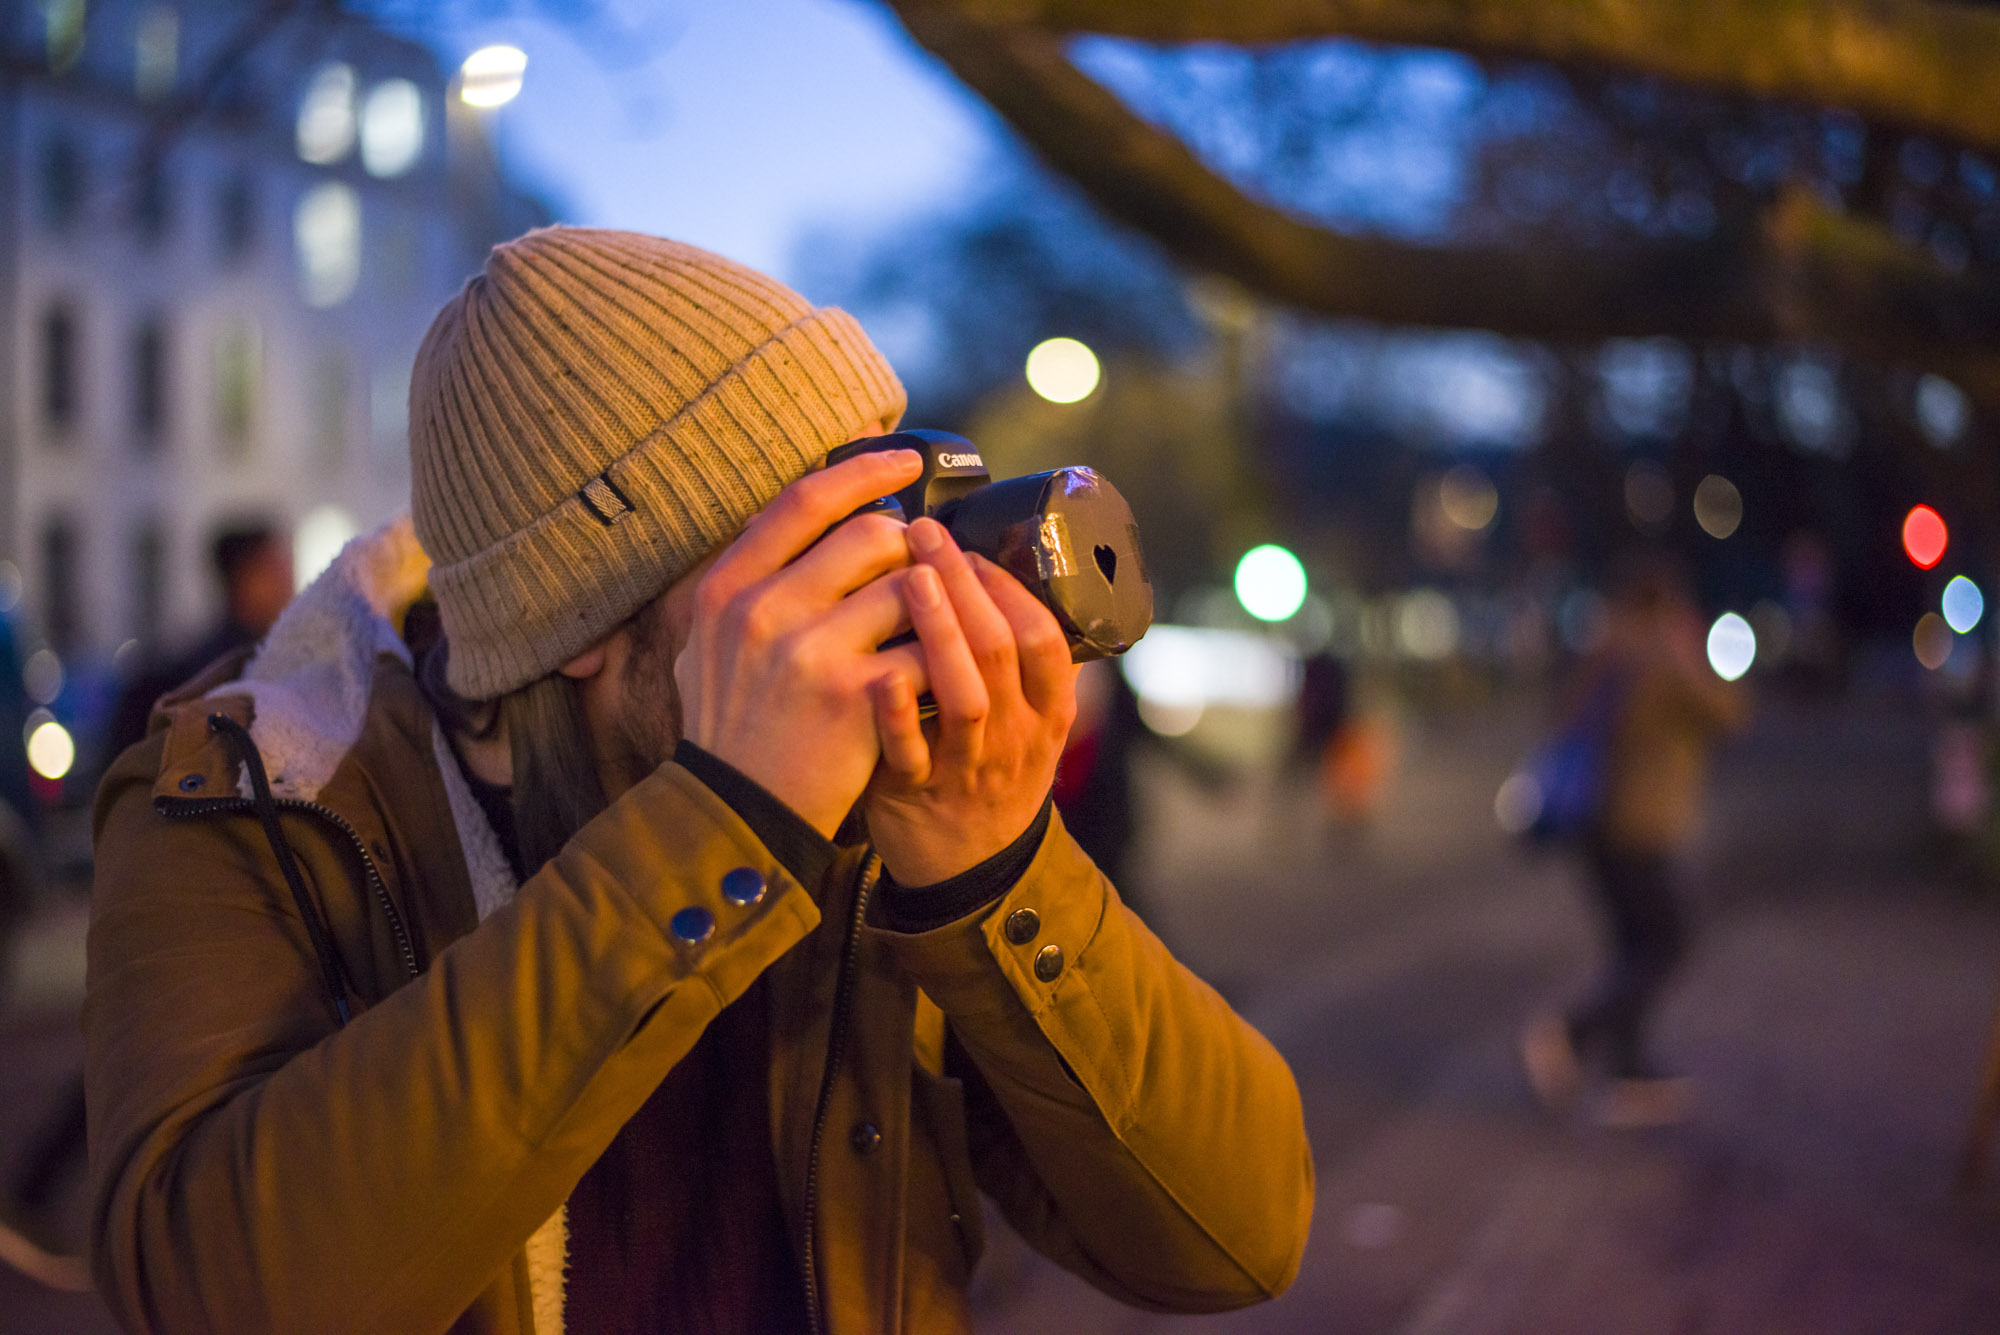
In this technique, we’re going shoot wide open but add our own patterned aperture shape to the front of the lens – and this will completely transform the shape of the out-of-focus highlights in the image. We went for a classic love heart, but you could go for any pattern you wish to help you add to the narrative.
It’s easy to do, only taking a few household objects that you likely already have along with some black card. Then all you need is a good dose of creativity and imagination – here’s how to go about it…
The best camera deals, reviews, product advice, and unmissable photography news, direct to your inbox!
• Read more: Photography tips
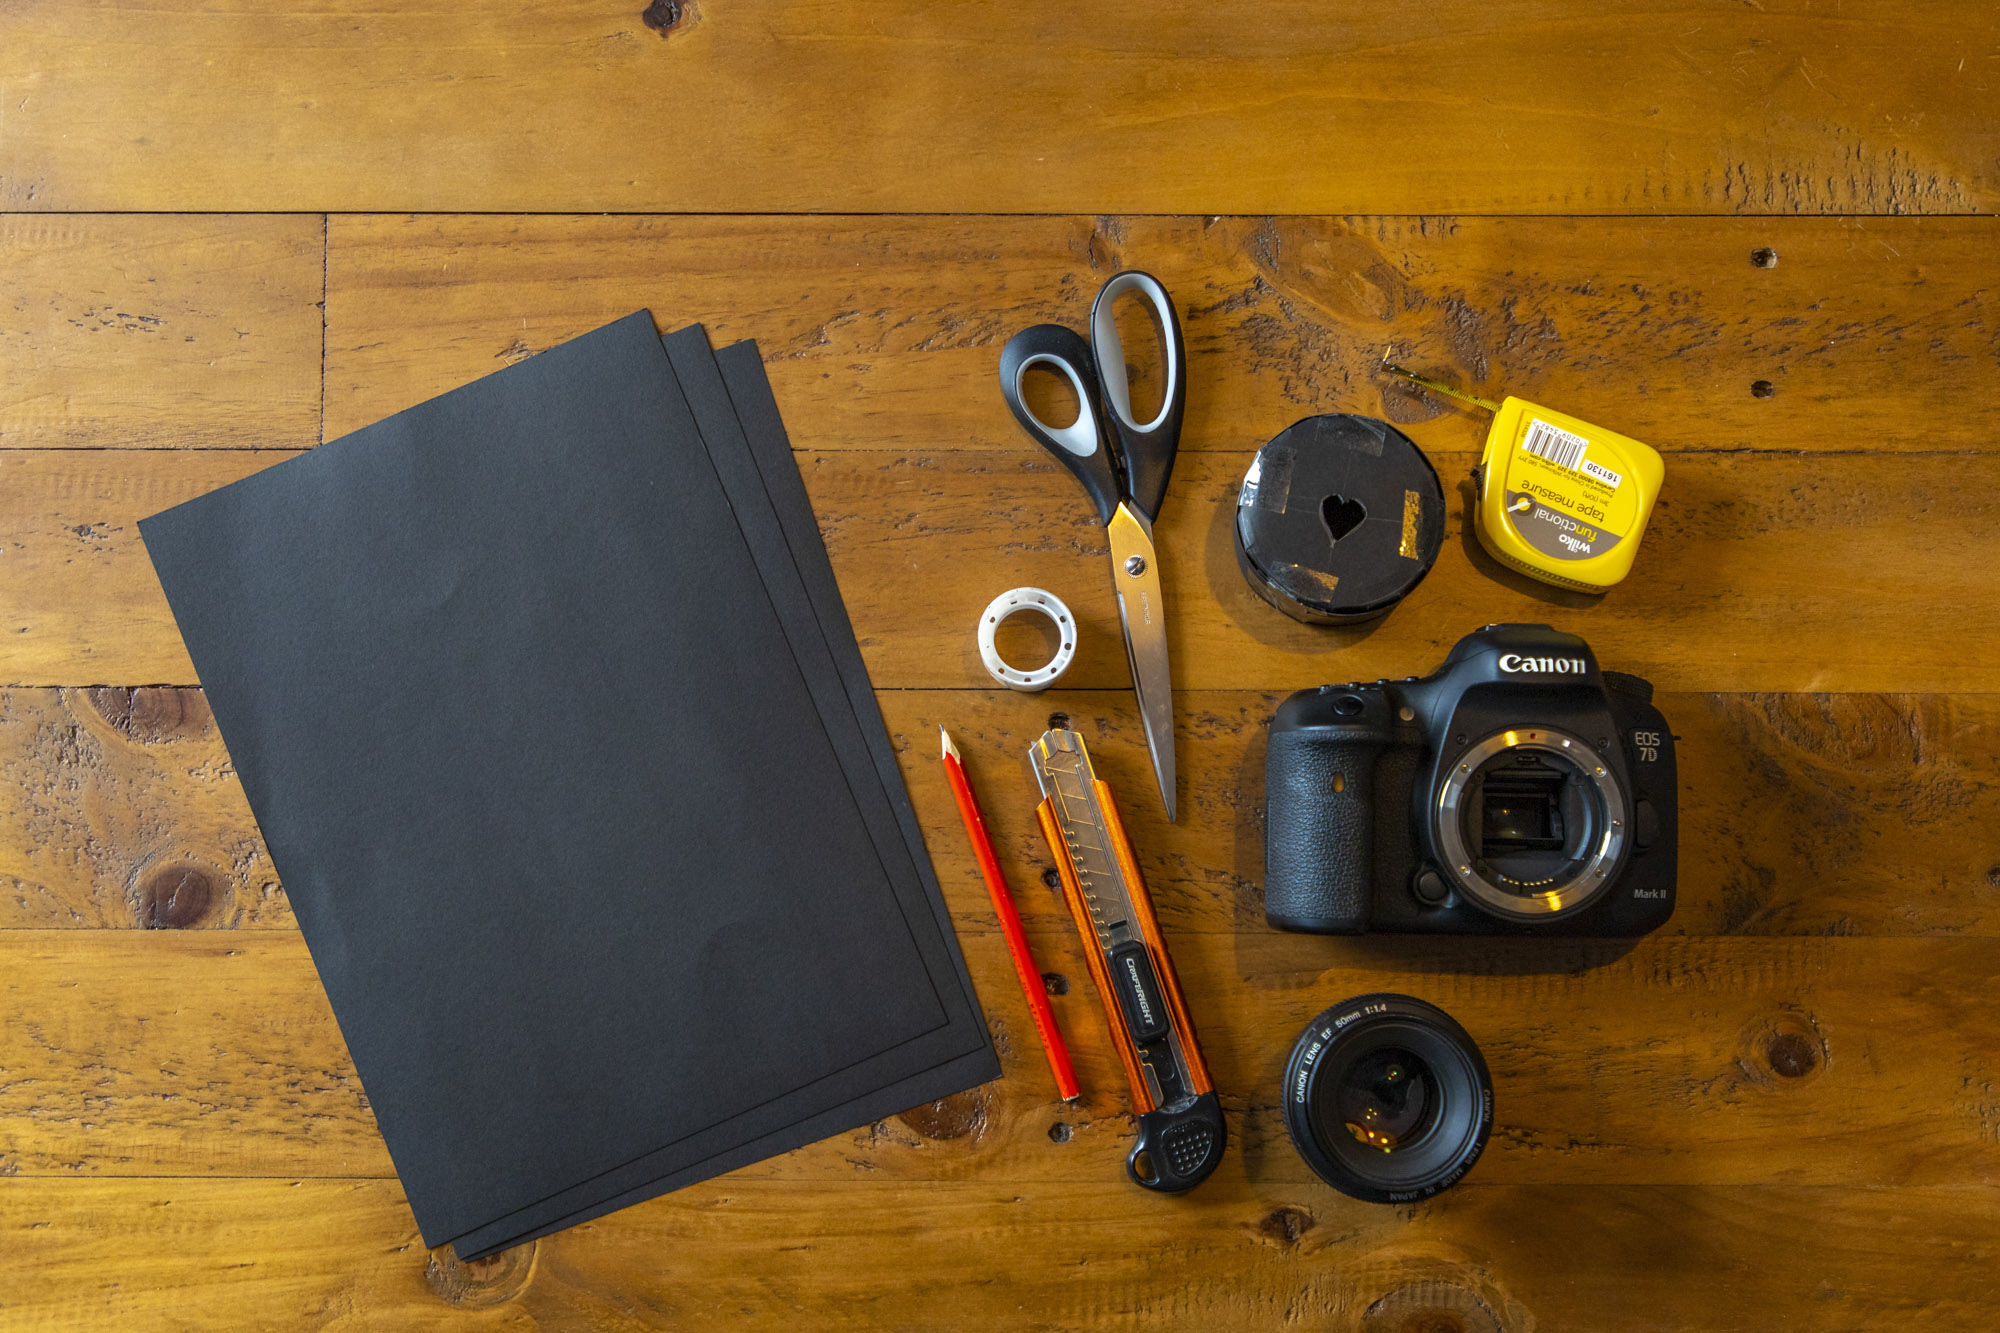
Household items you'll need…
Black card
This is what you’ll use to create a unique aperture hole in any shape you wish, which will become the shape of the aperture when placed in front of the lens. This will also change the shape of your out of focus highlights.
Tape, scissors & pencil
These are a few household items you’ll likely already have – you’ll need the pencil to make your markings on the black card and then the tape and scissors to cut it all out and stick it together so that is stays in one piece when you’re out shooting with it.
Tape measure or ruler
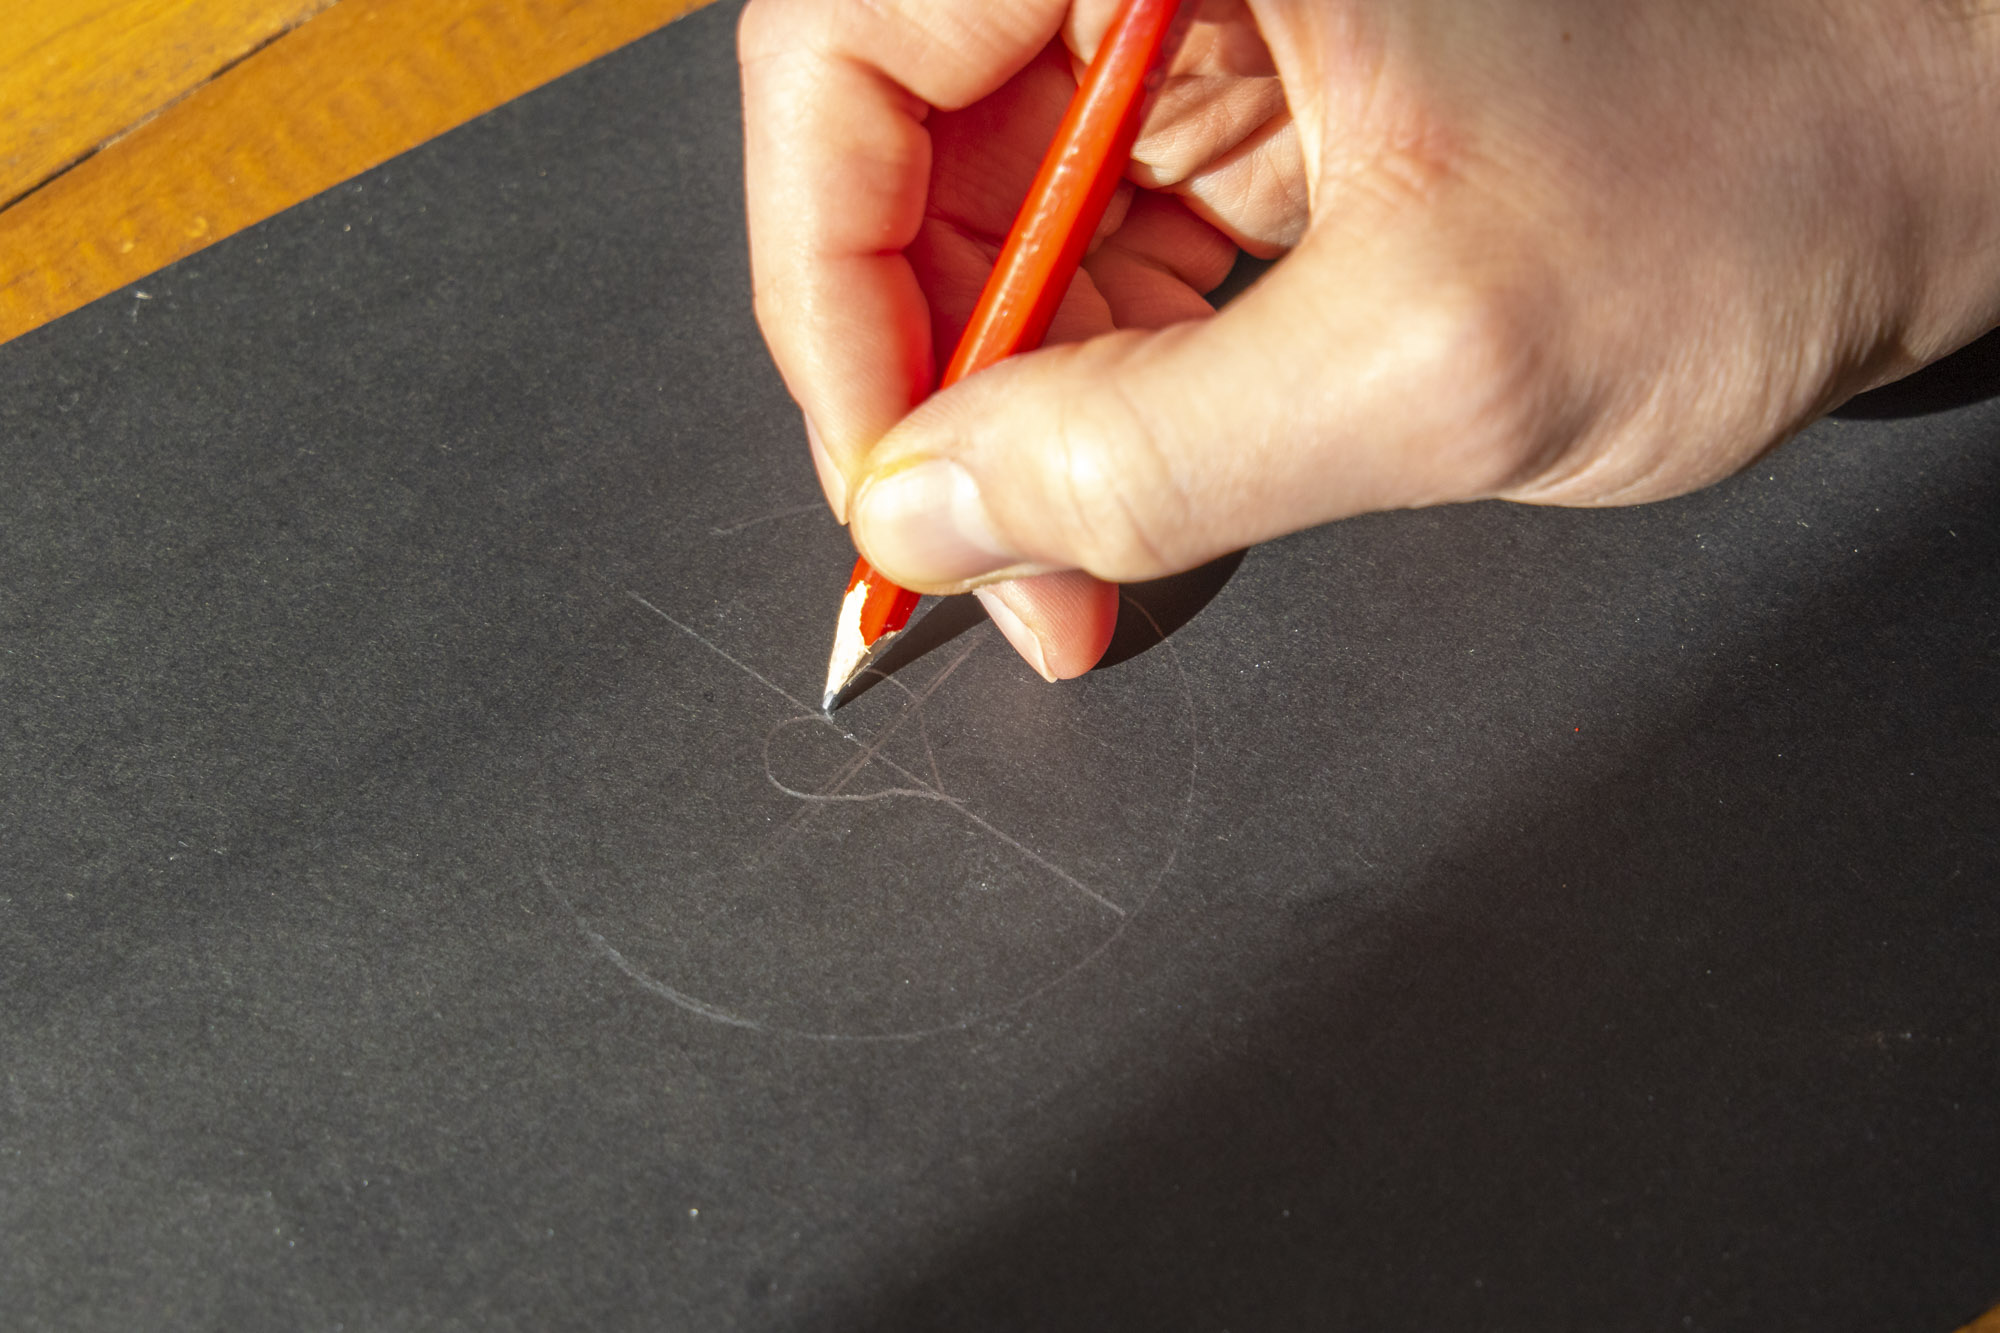
You’ll need one of these to work out the center of the circle you draw as this is where you need to position your new ‘aperture’. Find the diameter of the circle and draw lines horizontally and vertically – where they meet will be the center.
Sharp craft knife
You’ll need a super sharp craft knife or scalpel blade to cut out your pattern for crisp lines – any rough edges from a blunt blade will show up in the bokeh of your final images. Be sure to use a cutting mat as well, to protect your furniture!
Fast prime lens
A prime lens is a lens with a fixed focal length (no zoom) such as a 50mm, which is ideal for this project. Many primes have super-fast maximum apertures such as f/1.8 or f/1.4 which will make it easier to create large bokeh shapes.
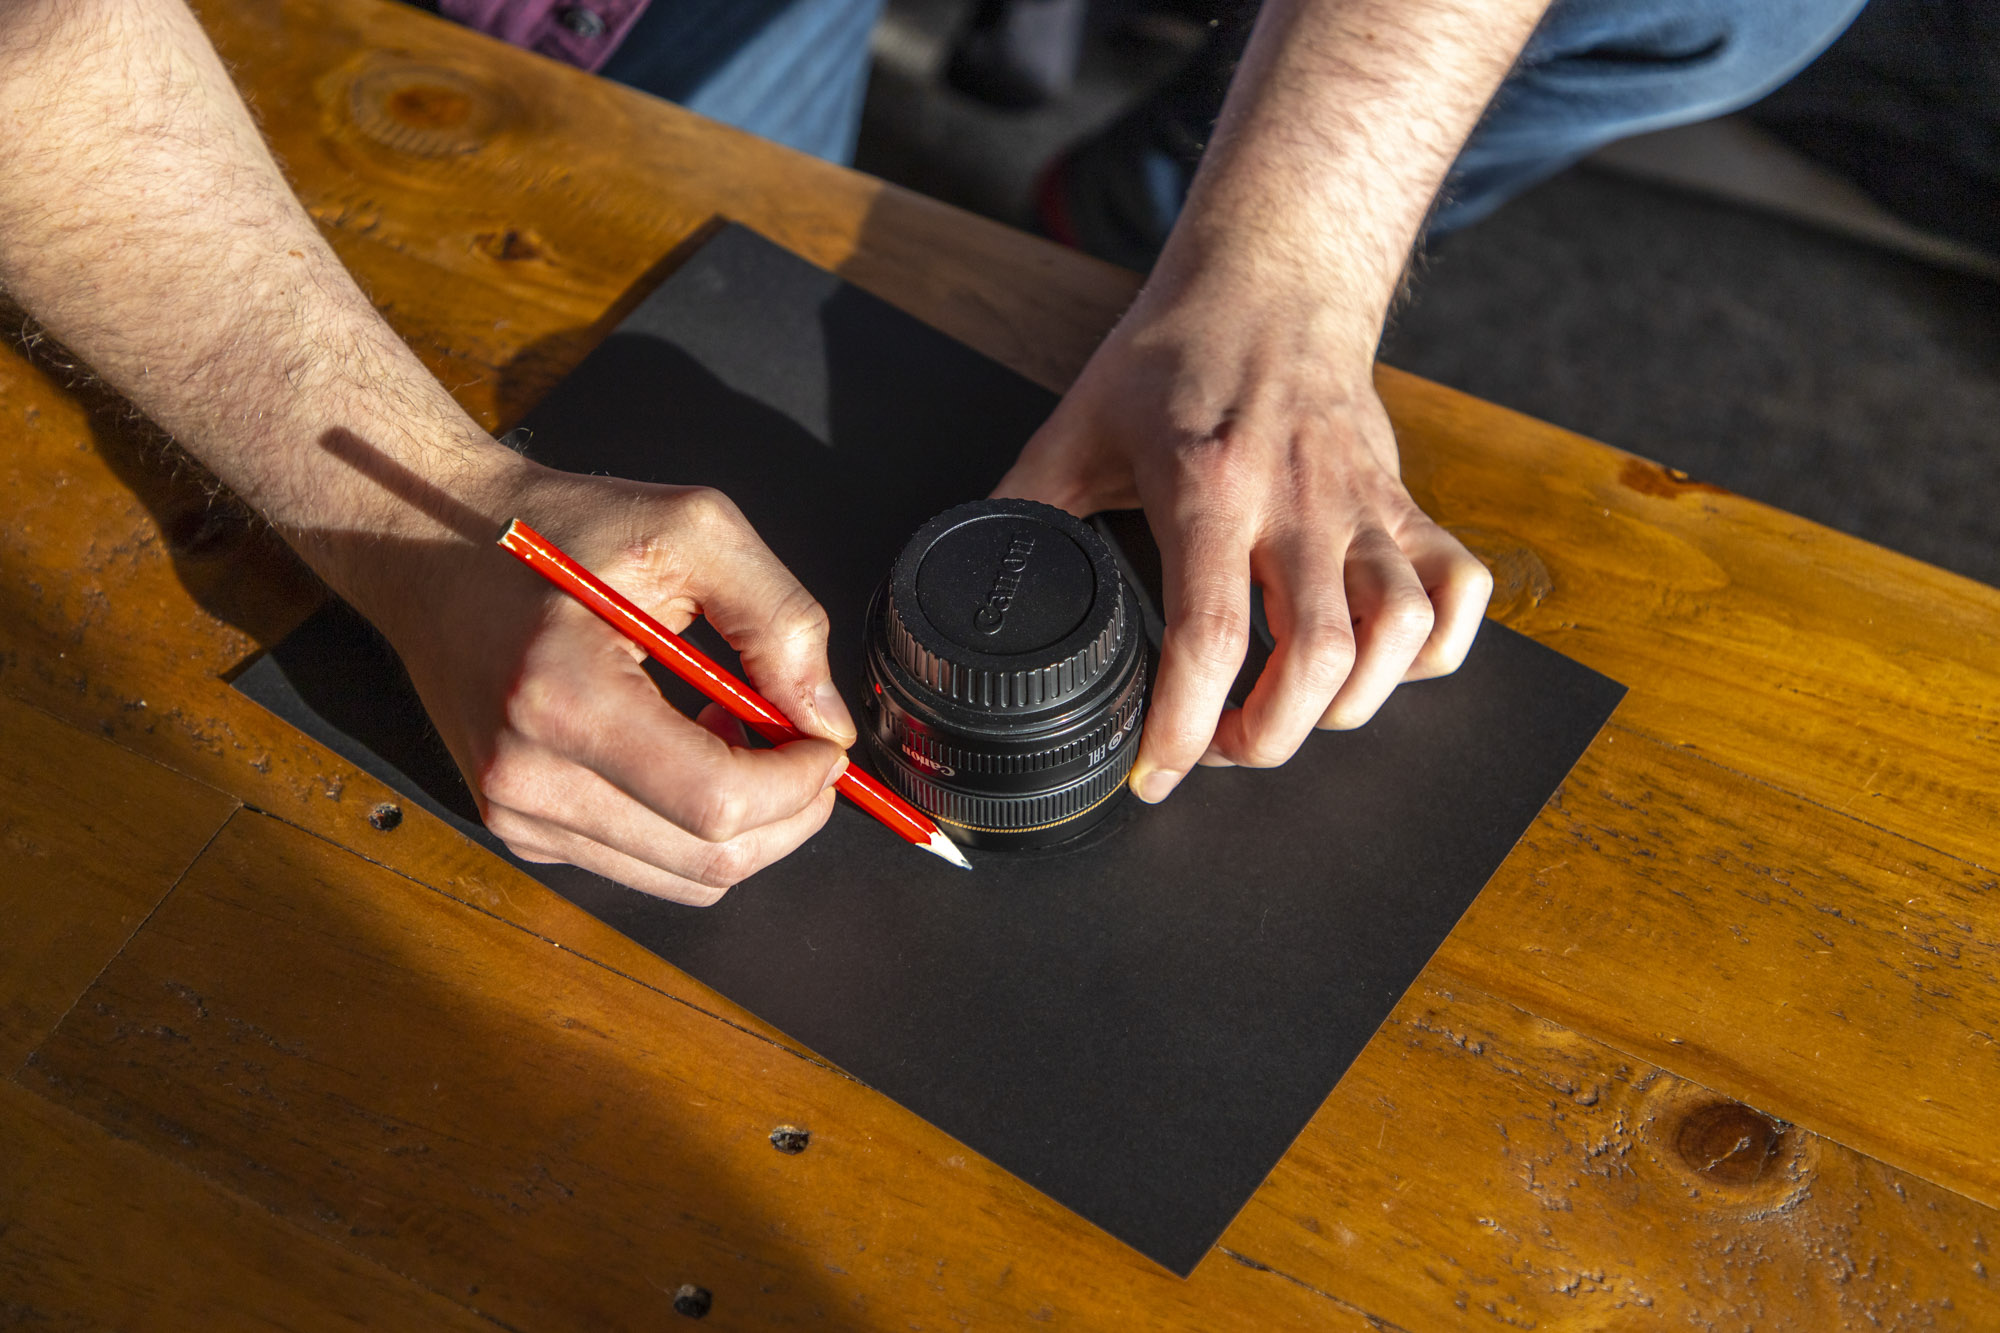
01 Draw around the circumference of the lens
Place your black card on a hard surface like a table and place it in the middle of the card with the front element facing down. Any prime lens such as a 50mm f/1.8 will work well. Hold your lens with one hand and with your other draw around the circumference of the lens on to the card with a pencil.
Use a ruler or tape measure to draw the diameter of the circle in two directions - they’ll meet in the middle and this is where you need to draw your the shape that you want to see in your bokeh highlights. We went for a simple love heart – this should be around 1.5cm to 2cm tall and wide, though you may need to change this a little depending on your lens.
02 Add some tabs and cut it out
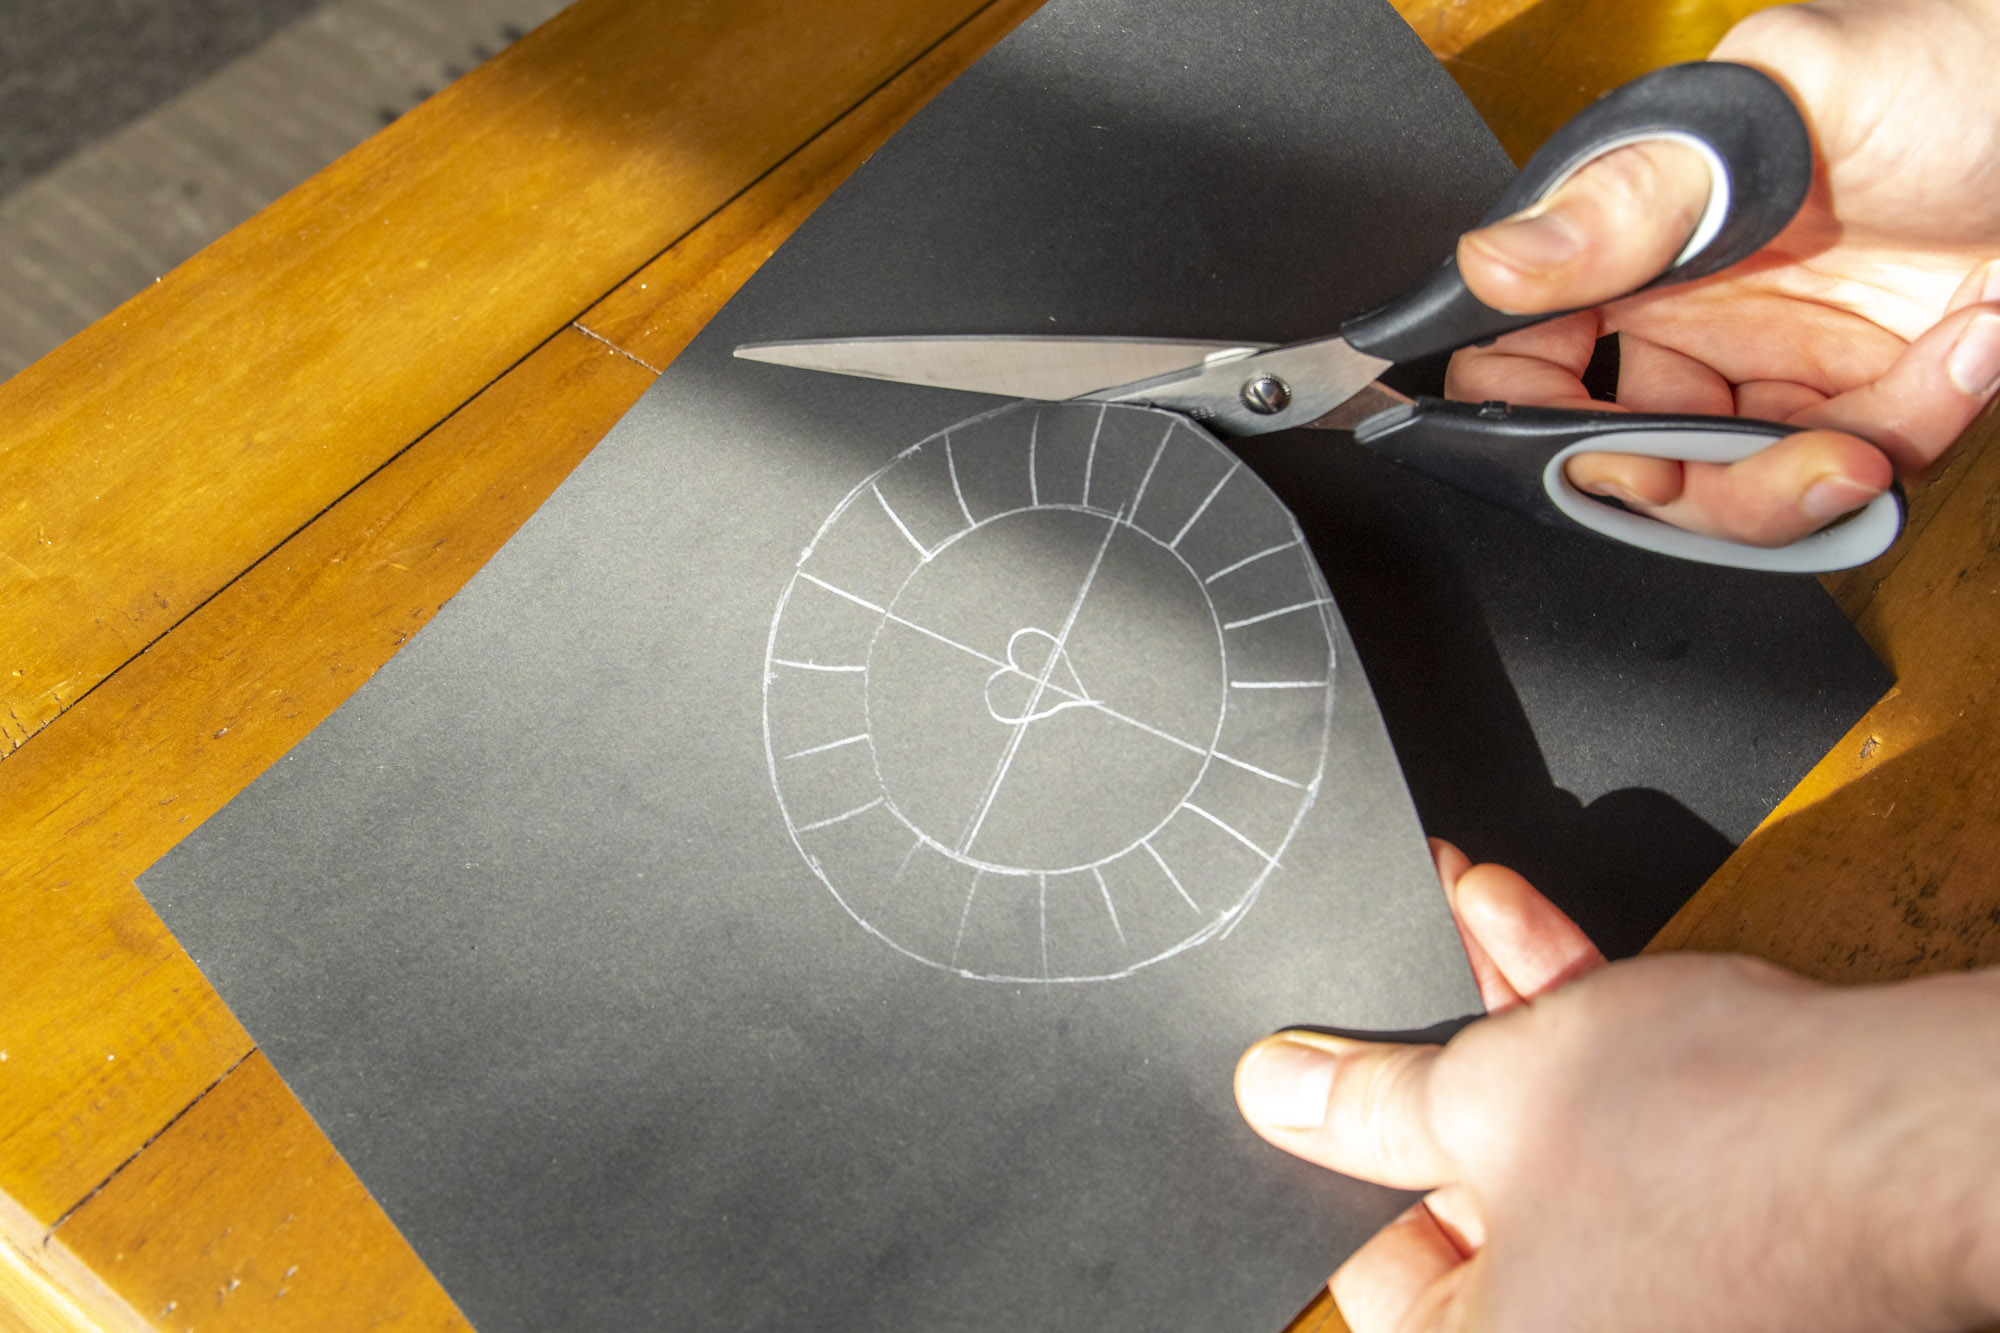
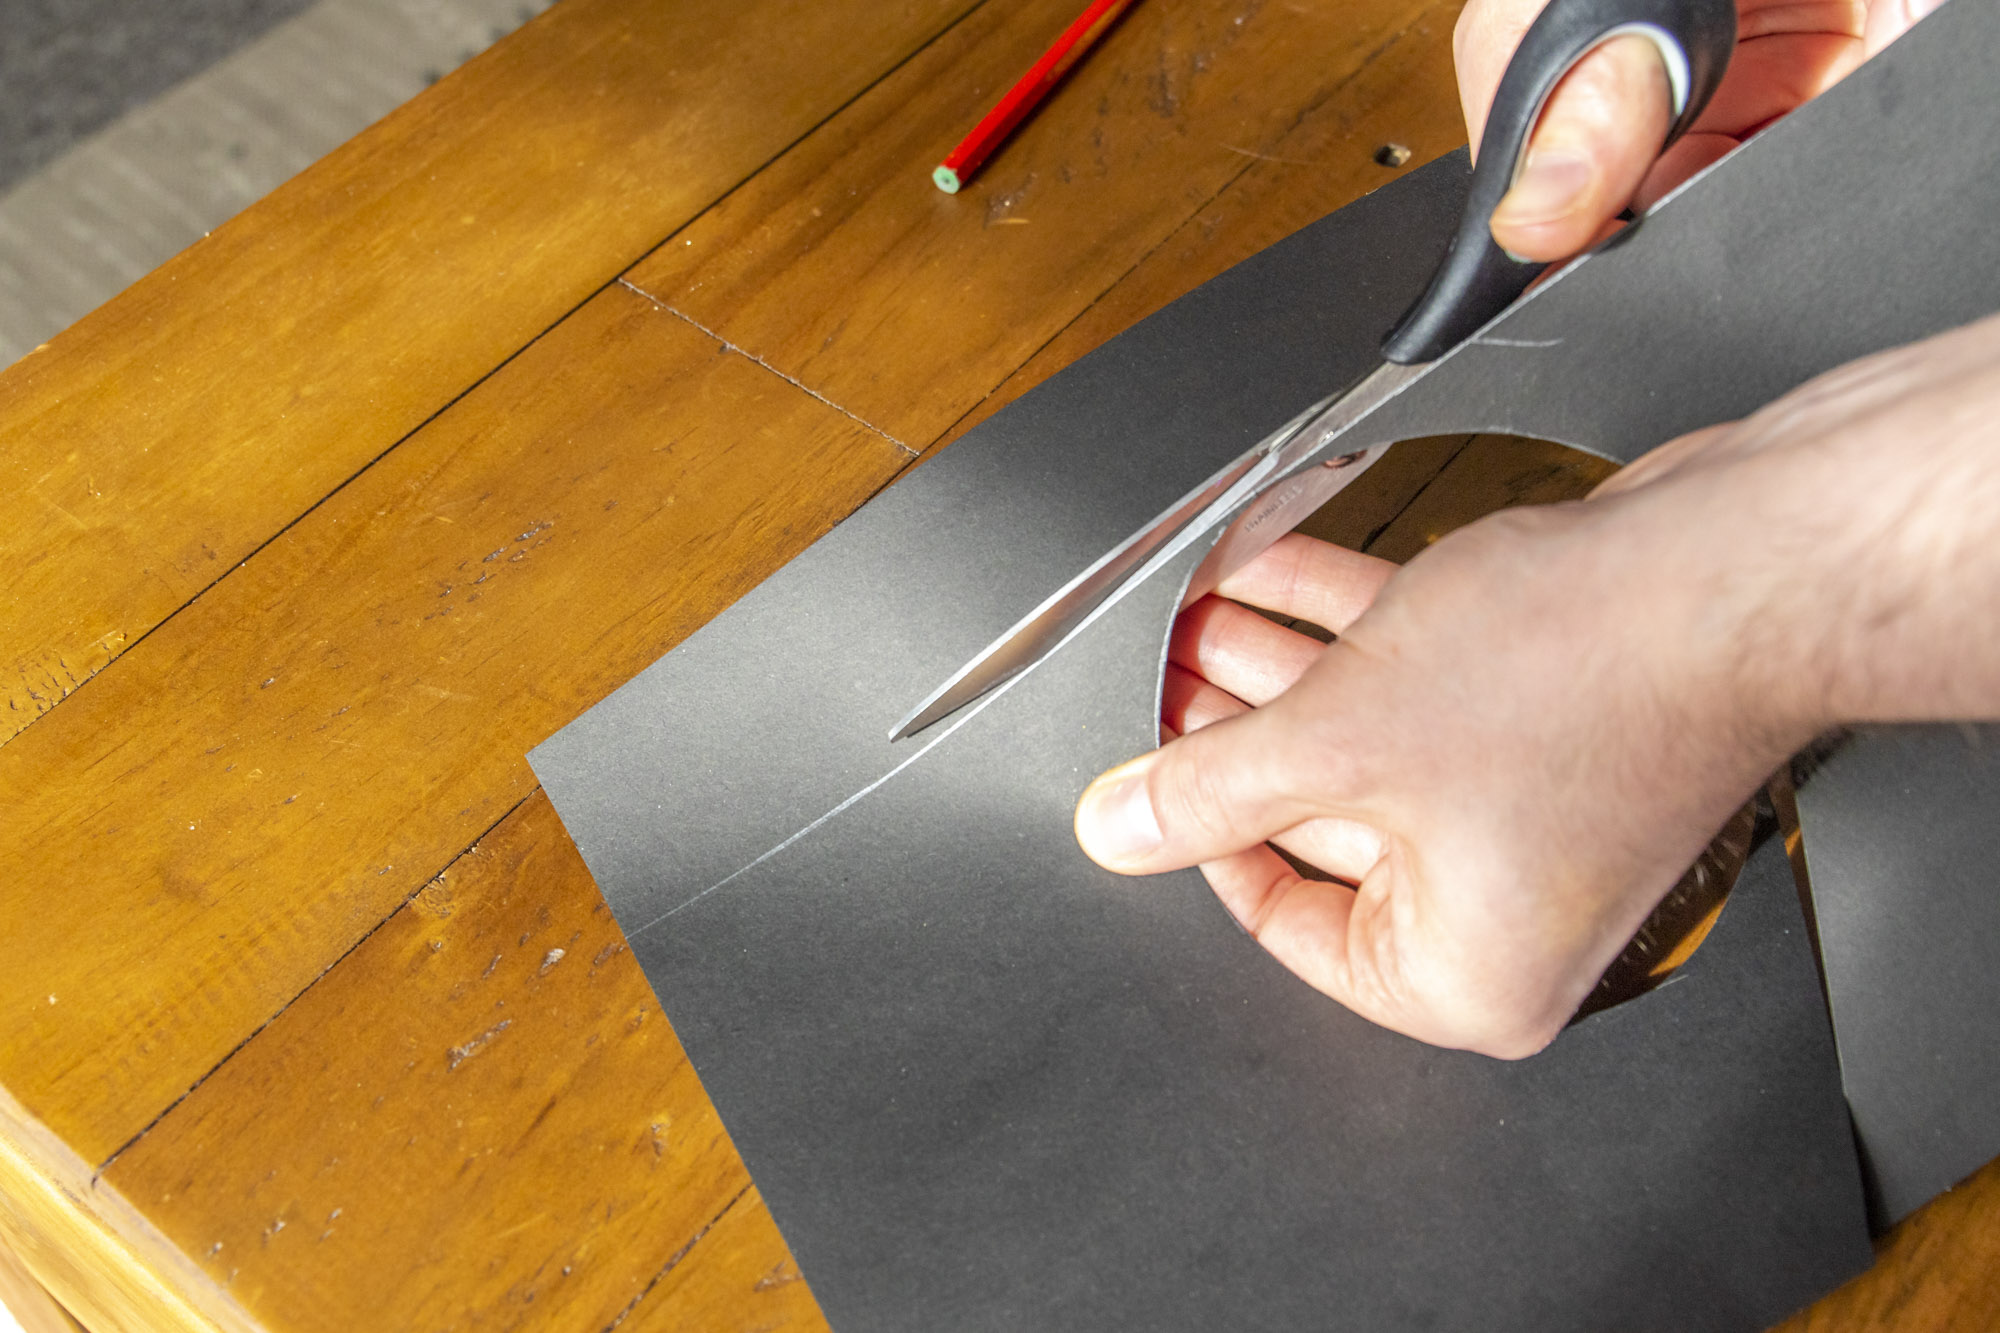
Now you need to make another, larger circle around the one that you’ve just drawn. This will be where you’ll make the tabs to fold inwards, to neatly fold around the lens and keep it in place when put together. Use a tape measure or ruler to make marks 2cm further out than the existing circle, then connect them up. Now cut around this larger circle and then make cuts going from the outer circle to the inner one every centimeter or so to create the tabs.
From the excess card that you’re left with draw a band 5cm wide that runs along the longest side of the card and cut this out. This will go around the side of your template and get stuck to the tabs you’ve just created.
03 Construct your custom bokeh template
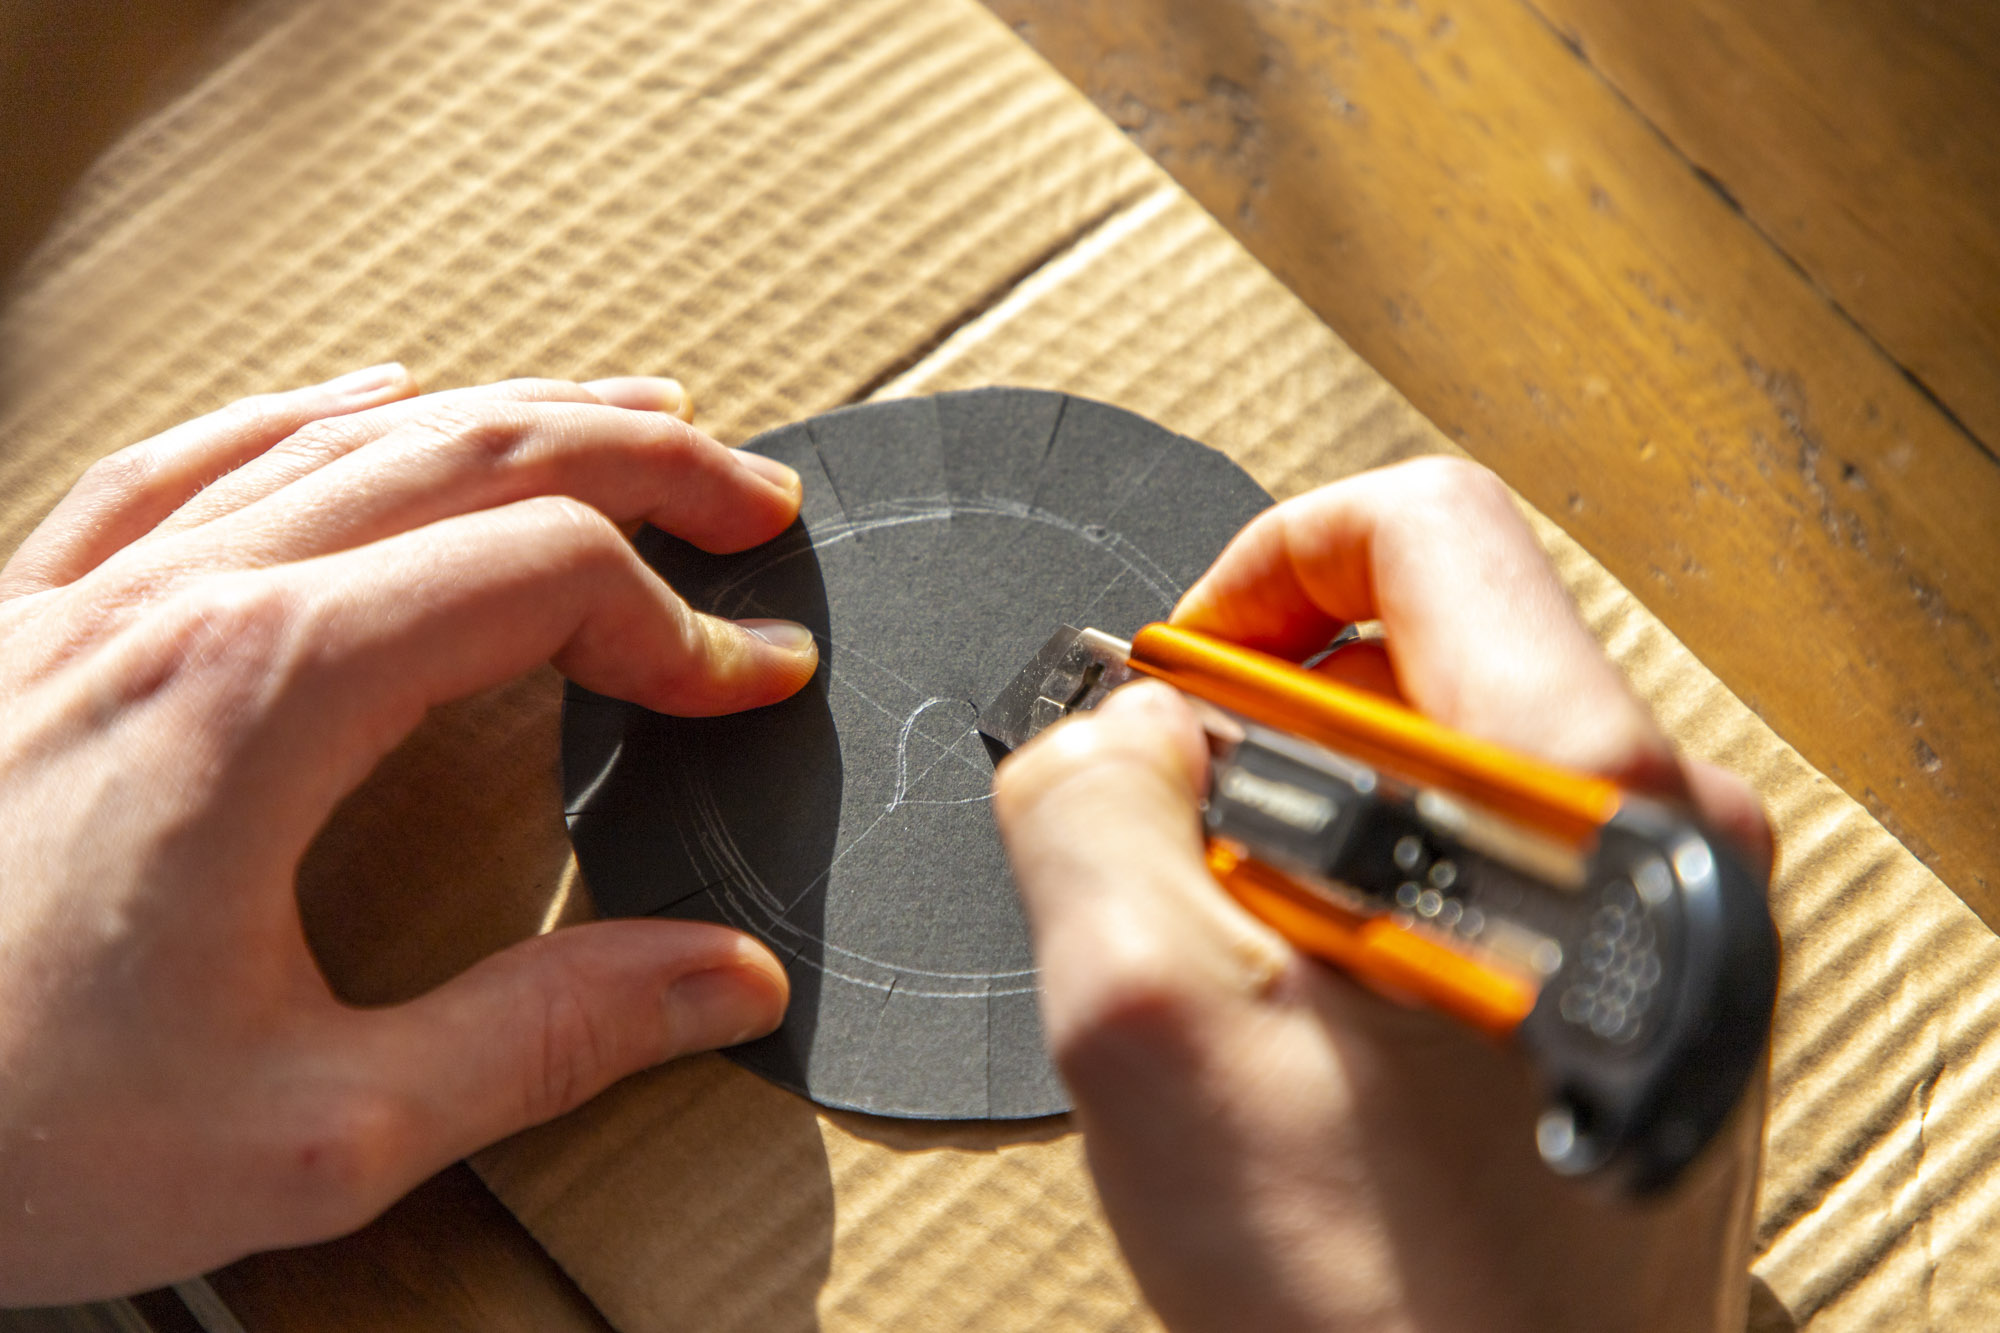
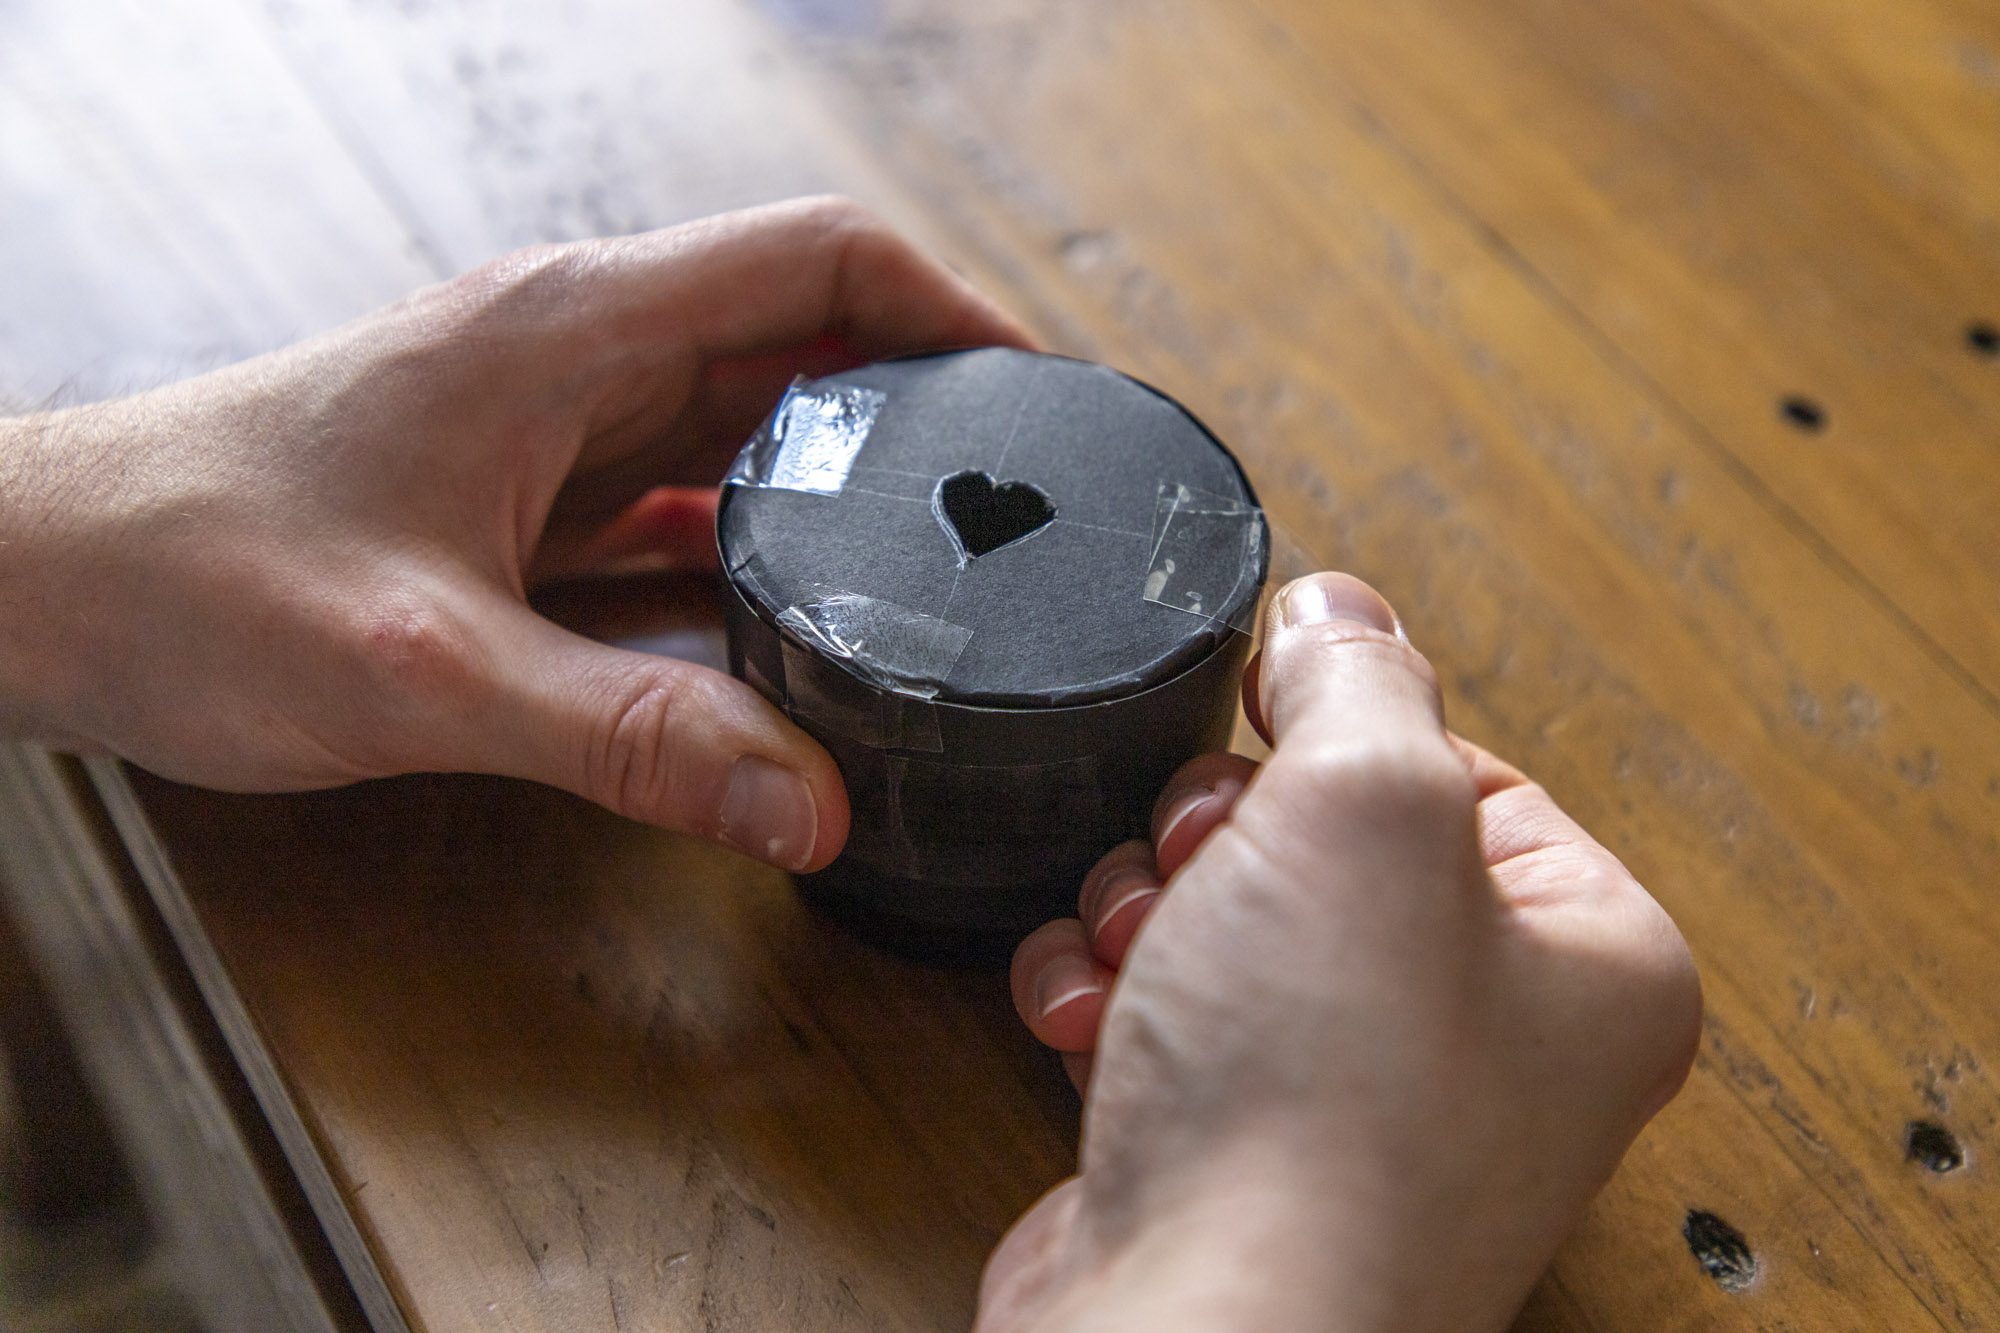
Now it’s time to carefully cut out your bokeh pattern – in our case a love heart – with a sharp craft knife or scalpel for crisp lines. Now put the circular part of your template onto the front element of your lens, and fold the tabs down so that they’re flush with the lens barrel. Then carefully wrap the long rectangular piece of card around the tabs, and secure it all in place with a few pieces of tape as below.
The end result should fit snugly on your lens, but can be removed if needed, and your bokeh shape should sit perfectly in the middle of the lens. It should also be fairly light tight, so that the only incoming light is through your custom shape.
04 Set up your camera and get shooting!
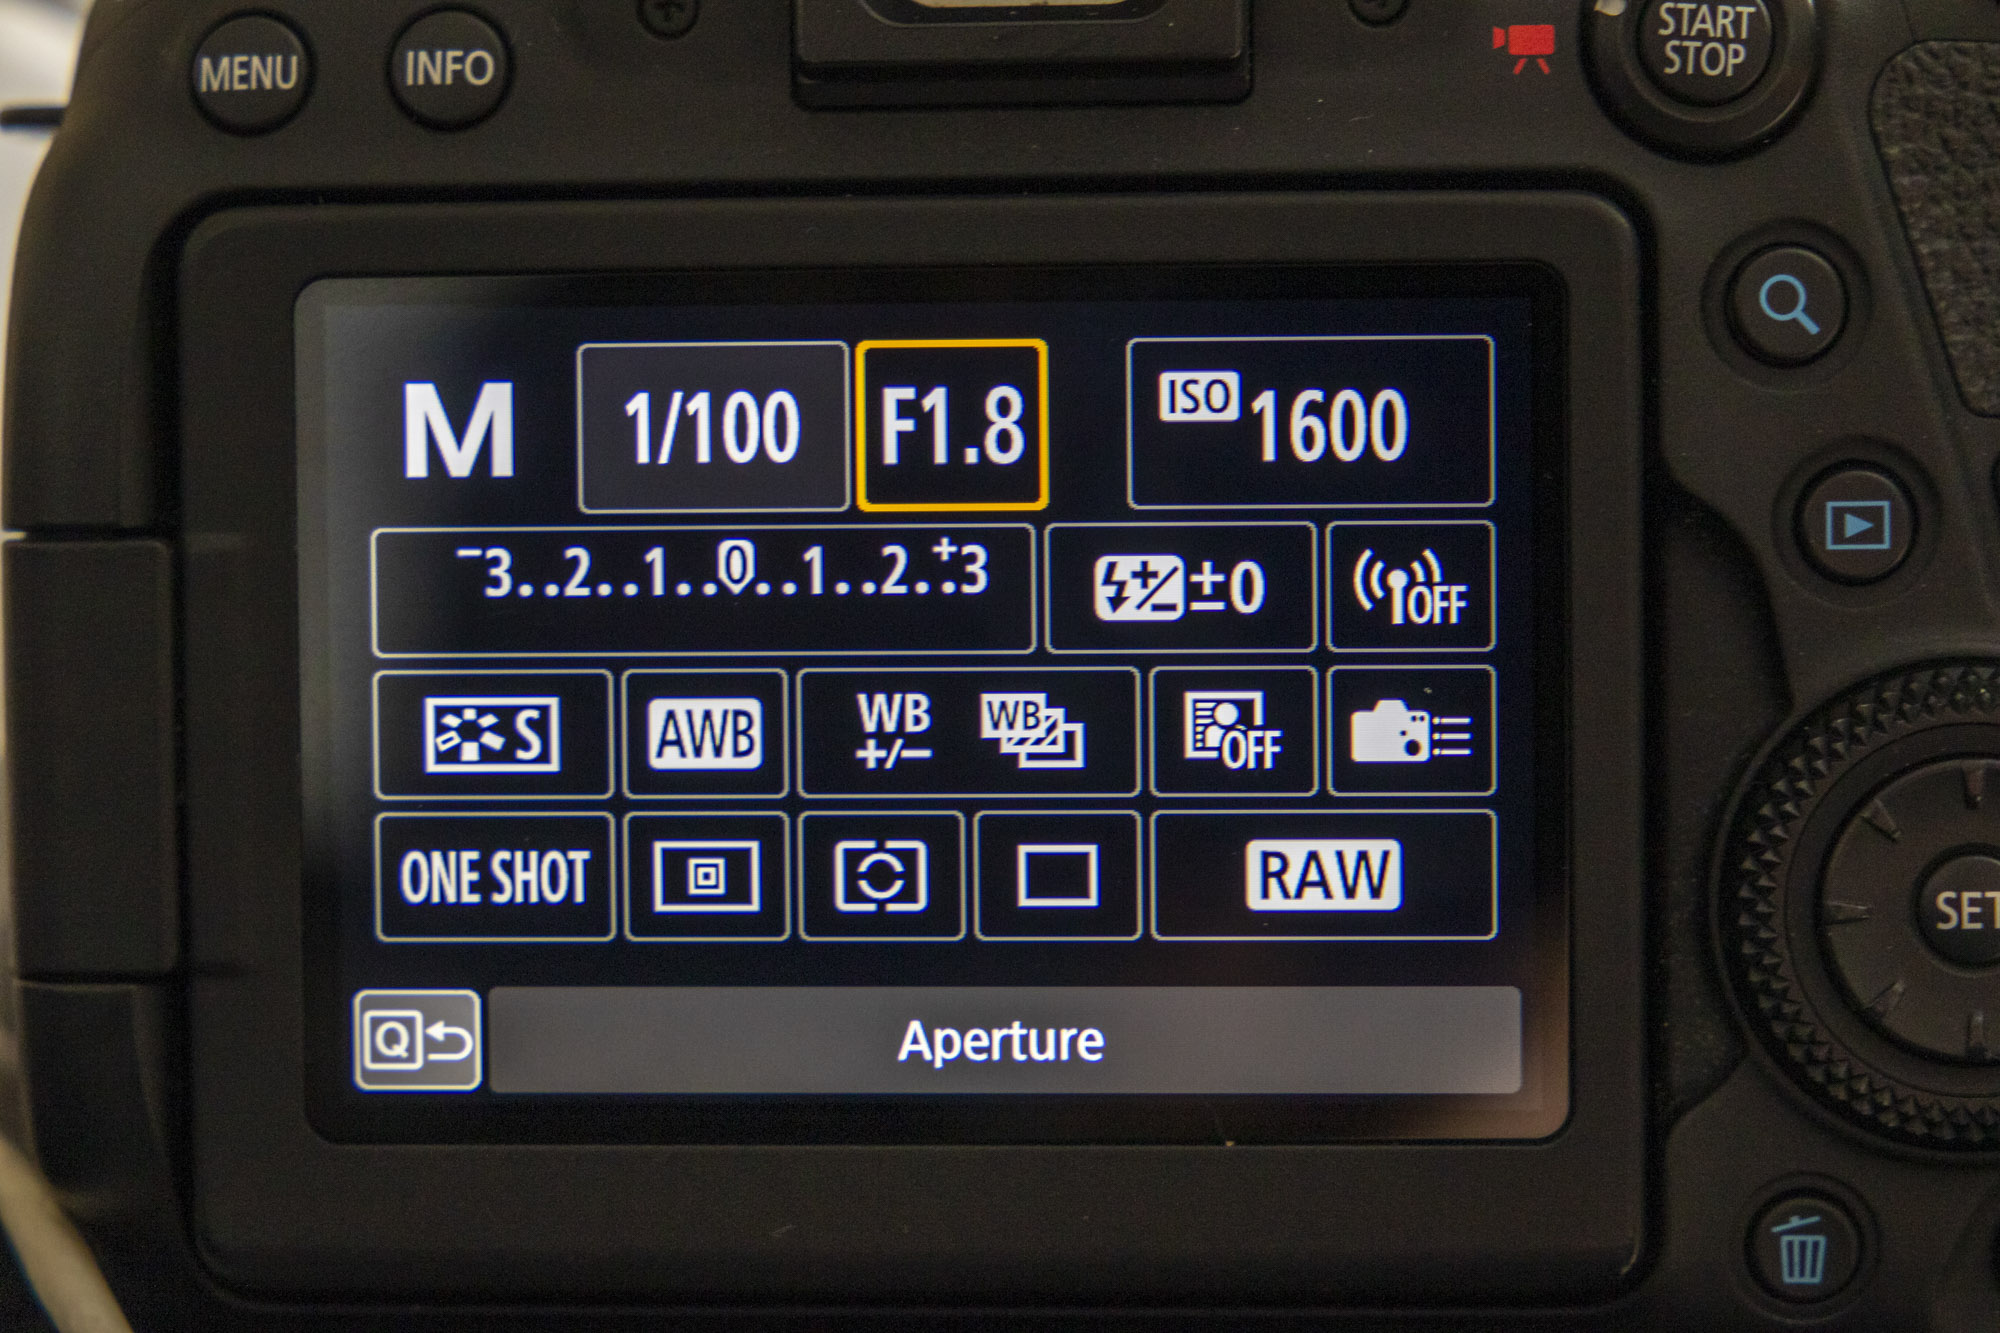
Use aperture priority mode and dial in the widest available aperture (such as f/1.8). This will make it easier to blur your background and create lots of bokeh – getting close to your subject will also make this easier to do. Then attach the bokeh template to the front of your lens and adjust the ISO until you get a shutter speed of around 1/100 sec, which will eliminate camera shake when shooting handheld.
Use single AF and place the active point in the middle of the frame, and use this to focus on the closest eye of your model to make sure that it’s sharp. The resulting picture may come out a little dark, so be sure to shoot in the raw so you can rescue any deep shadows easily in post production.
More videos:
Photography tips and techniques videos
Portrait photography how to: how to take perfect people pictures
The best 50mm lens: which 'standard prime' is the right one for you?

In addition to being a freelance photographer and filmmaker, Dan is a bona fide expert on all things Canon and Adobe. Not only is he an Adobe-certified Photoshop guru, he's spent over 10 years writing for specialist magazines including stints as the Deputy Editor for PhotoPlus: The Canon Magazine, Technical Editor for Practical Photography and Photoshop Editor on Digital Photo.
