The best camera deals, reviews, product advice, and unmissable photography news, direct to your inbox!
You are now subscribed
Your newsletter sign-up was successful
Watch video: Photo ideas – Use colored plastic cups for stunning light painting
Photography projects at home
• More home photography ideas
Useful home photography kit
• Best tripods
• Best lighting kits
• Best reflectors
• Best macro lenses
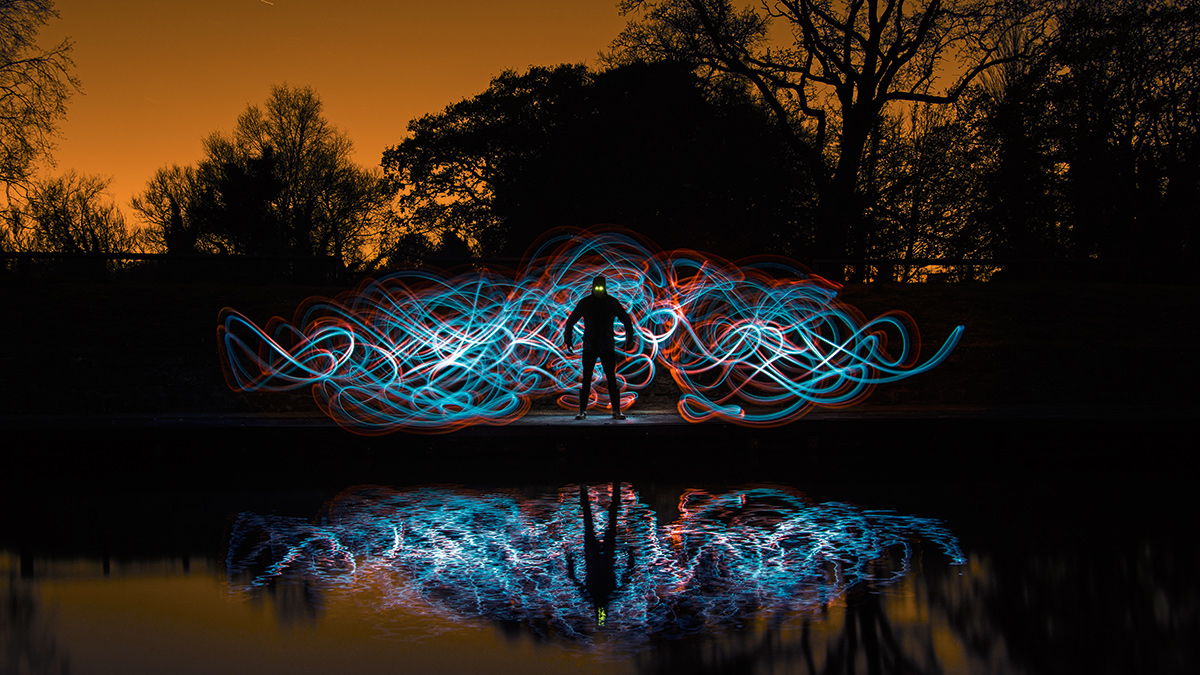
Ever since pioneering photographer Georges Demeny attached light bulbs to an assistant and told him to jump, back in 1889, photographers have been ‘painting’ with light. So it’s time for a fresh approach to the popular technique – why not use reflective surfaces to enhance the effect? Whether you use water, glass, mirrors or even Photoshop image-flipping, a little reflected symmetry can take amazing light-painted patterns to a whole new level.
If you’re new to light painting, you’re in for a treat. Less challenging than wire wool spinning, it shows how exciting photography can be when you experiment with your exposure. A light painting is made by moving a light source through a dark scene while the camera’s shutter is locked open. The light builds through the exposure, so your torch acts like chalk on a blackboard.
You can do this outside at night or in a dark room. Once you get the basics right, enjoy experimenting with different light sources and moves to create wonderful patterns.
Get creative with colored cups
01. Use a tripod
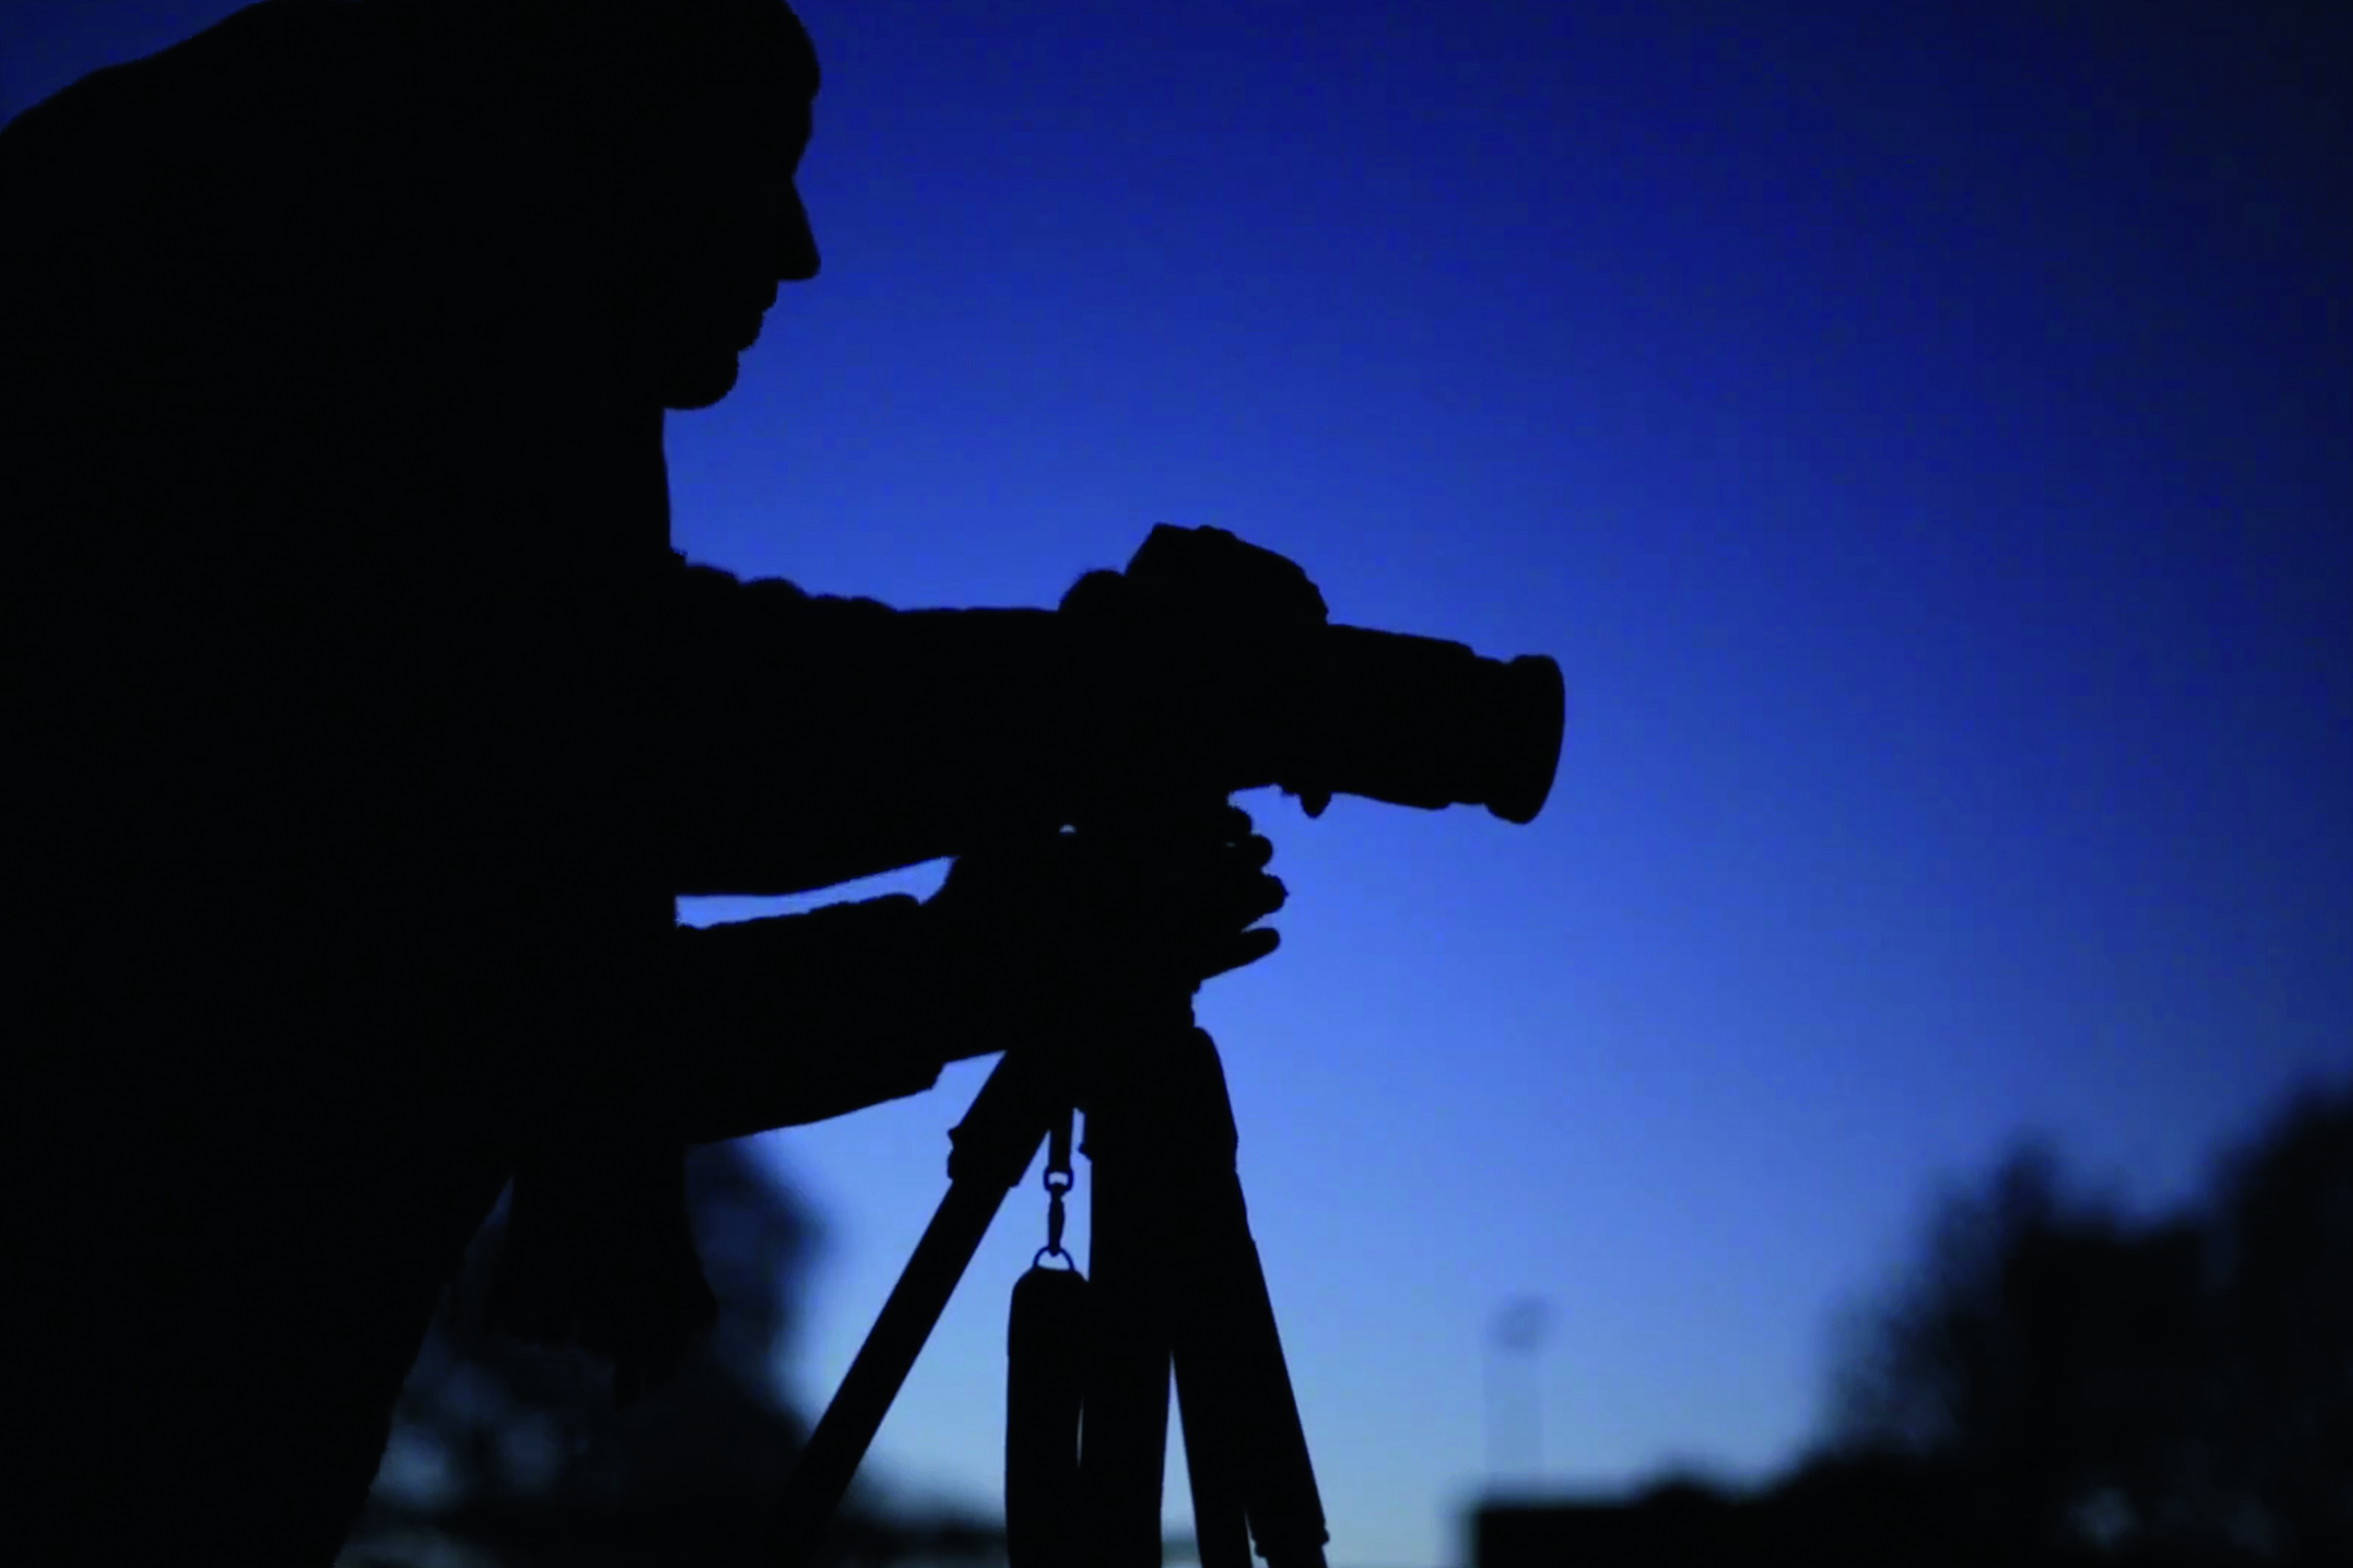
Wait for near-dark then set up on a tripod. It can be hard to get the framing right, so compose loosely. You don’t want the lens hunting to focus, so pre-focus on a point in the scene and then switch to manual focus to lock it. Take care when shooting in the dark near deep water.
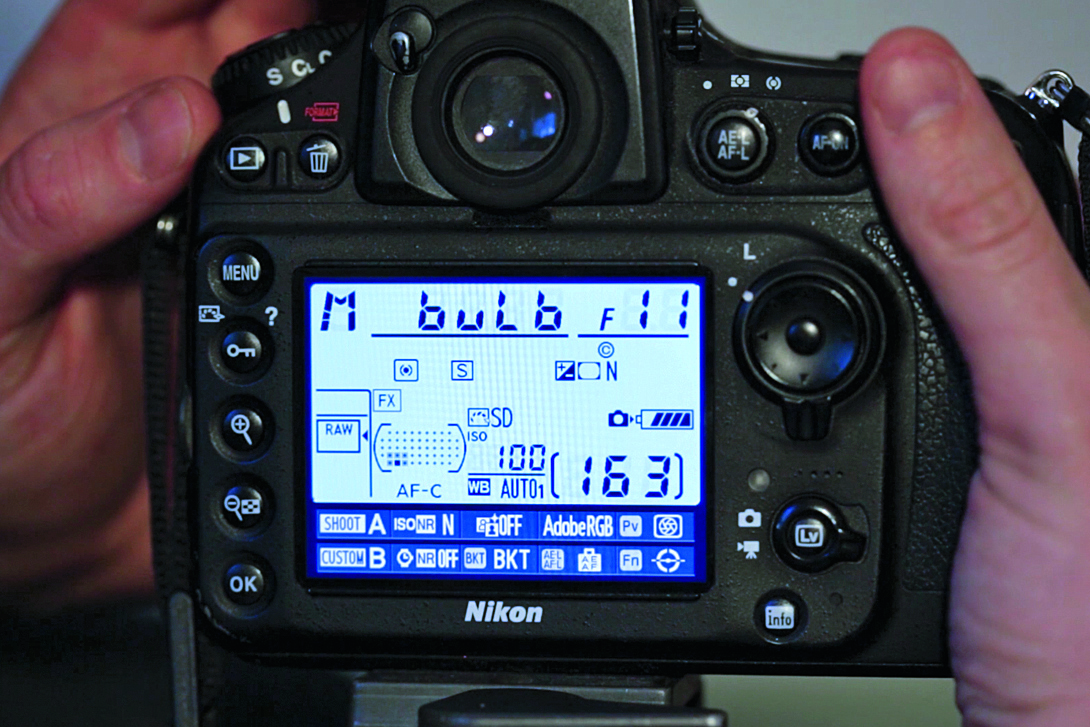
02. Set bulb mode
The best camera deals, reviews, product advice, and unmissable photography news, direct to your inbox!
The shutter speed on a Nikon maxes out at 30 seconds, which isn’t long enough when you’re fumbling around with torches in the dark. So set Manual Mode and dial the shutter speed down to Bulb. This way the shutter stays open for as long as the shutter button is engaged.
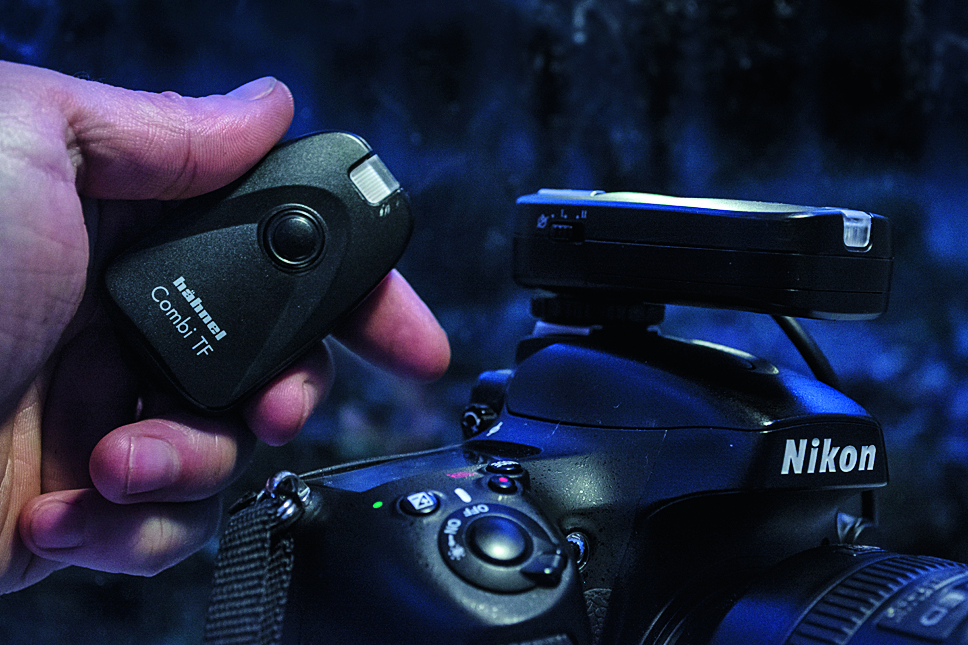
03. Attach a shutter release
Use a remote release to lock open the exposure – either a cable release or a wireless one like this Hahnel release. Alternatively, if your Nikon has Wi-Fi, you could use your smartphone app. Start and end the bulb exposure remotely while concentrating on the light painting.
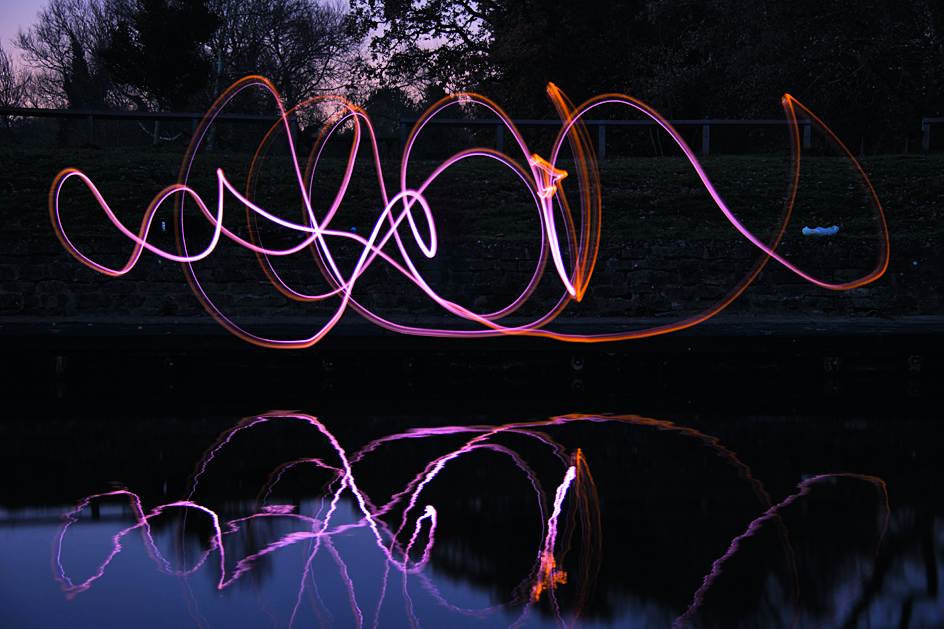
04. Take a test shot
Your aperture and ISO depend on the strength of your torches and ambient light. Use test shots to work it out; start at ISO100 and aperture f/8, begin an exposure and shine your lights. If it’s too dark, open the aperture or bump up the ISO. If it’s too light, do the opposite.
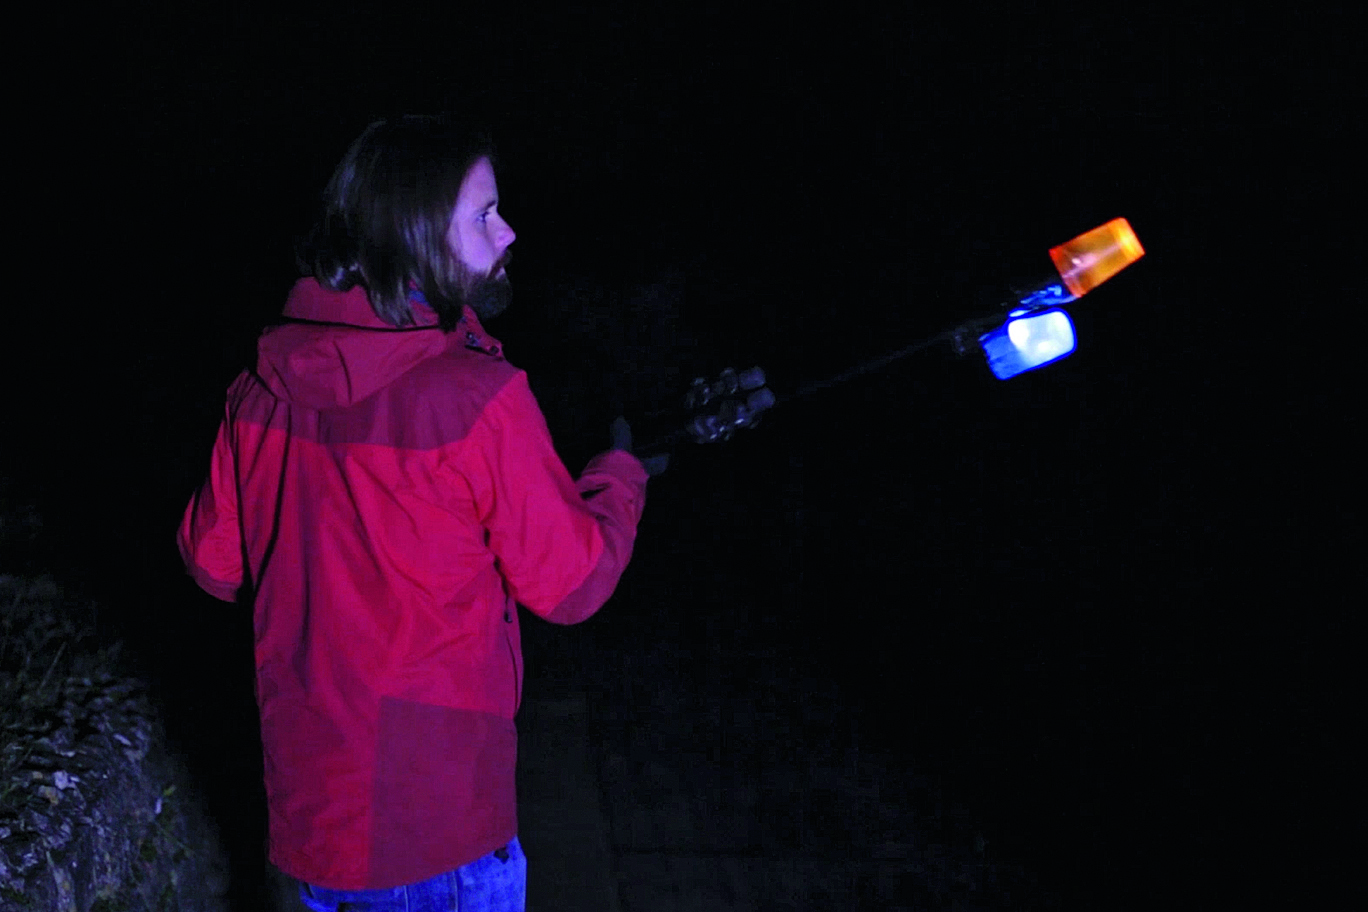
05. Make your own kit
There are specialist light painting products out there, but you probably have items at home that will work well. We used a couple of colored cups and shone torches through each. We taped these to a tripod leg (but any stick or pole would work), which we swung to and fro.
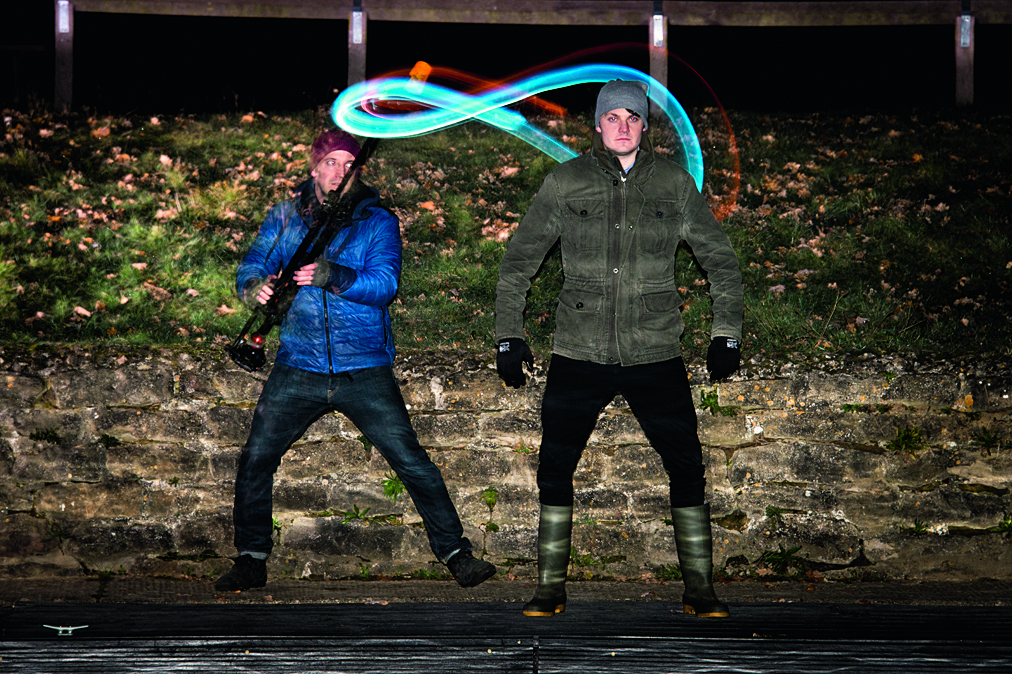
06. Create sinister figures
Creating sinister-looking silhouette figures like the one on the previous page is fun. All you need to do is move the lights behind a person while they stand perfectly still. Next, flash a light twice through a green colored cup in front of their face to create the glowing eyes.
Photo idea: Riverside symmetry
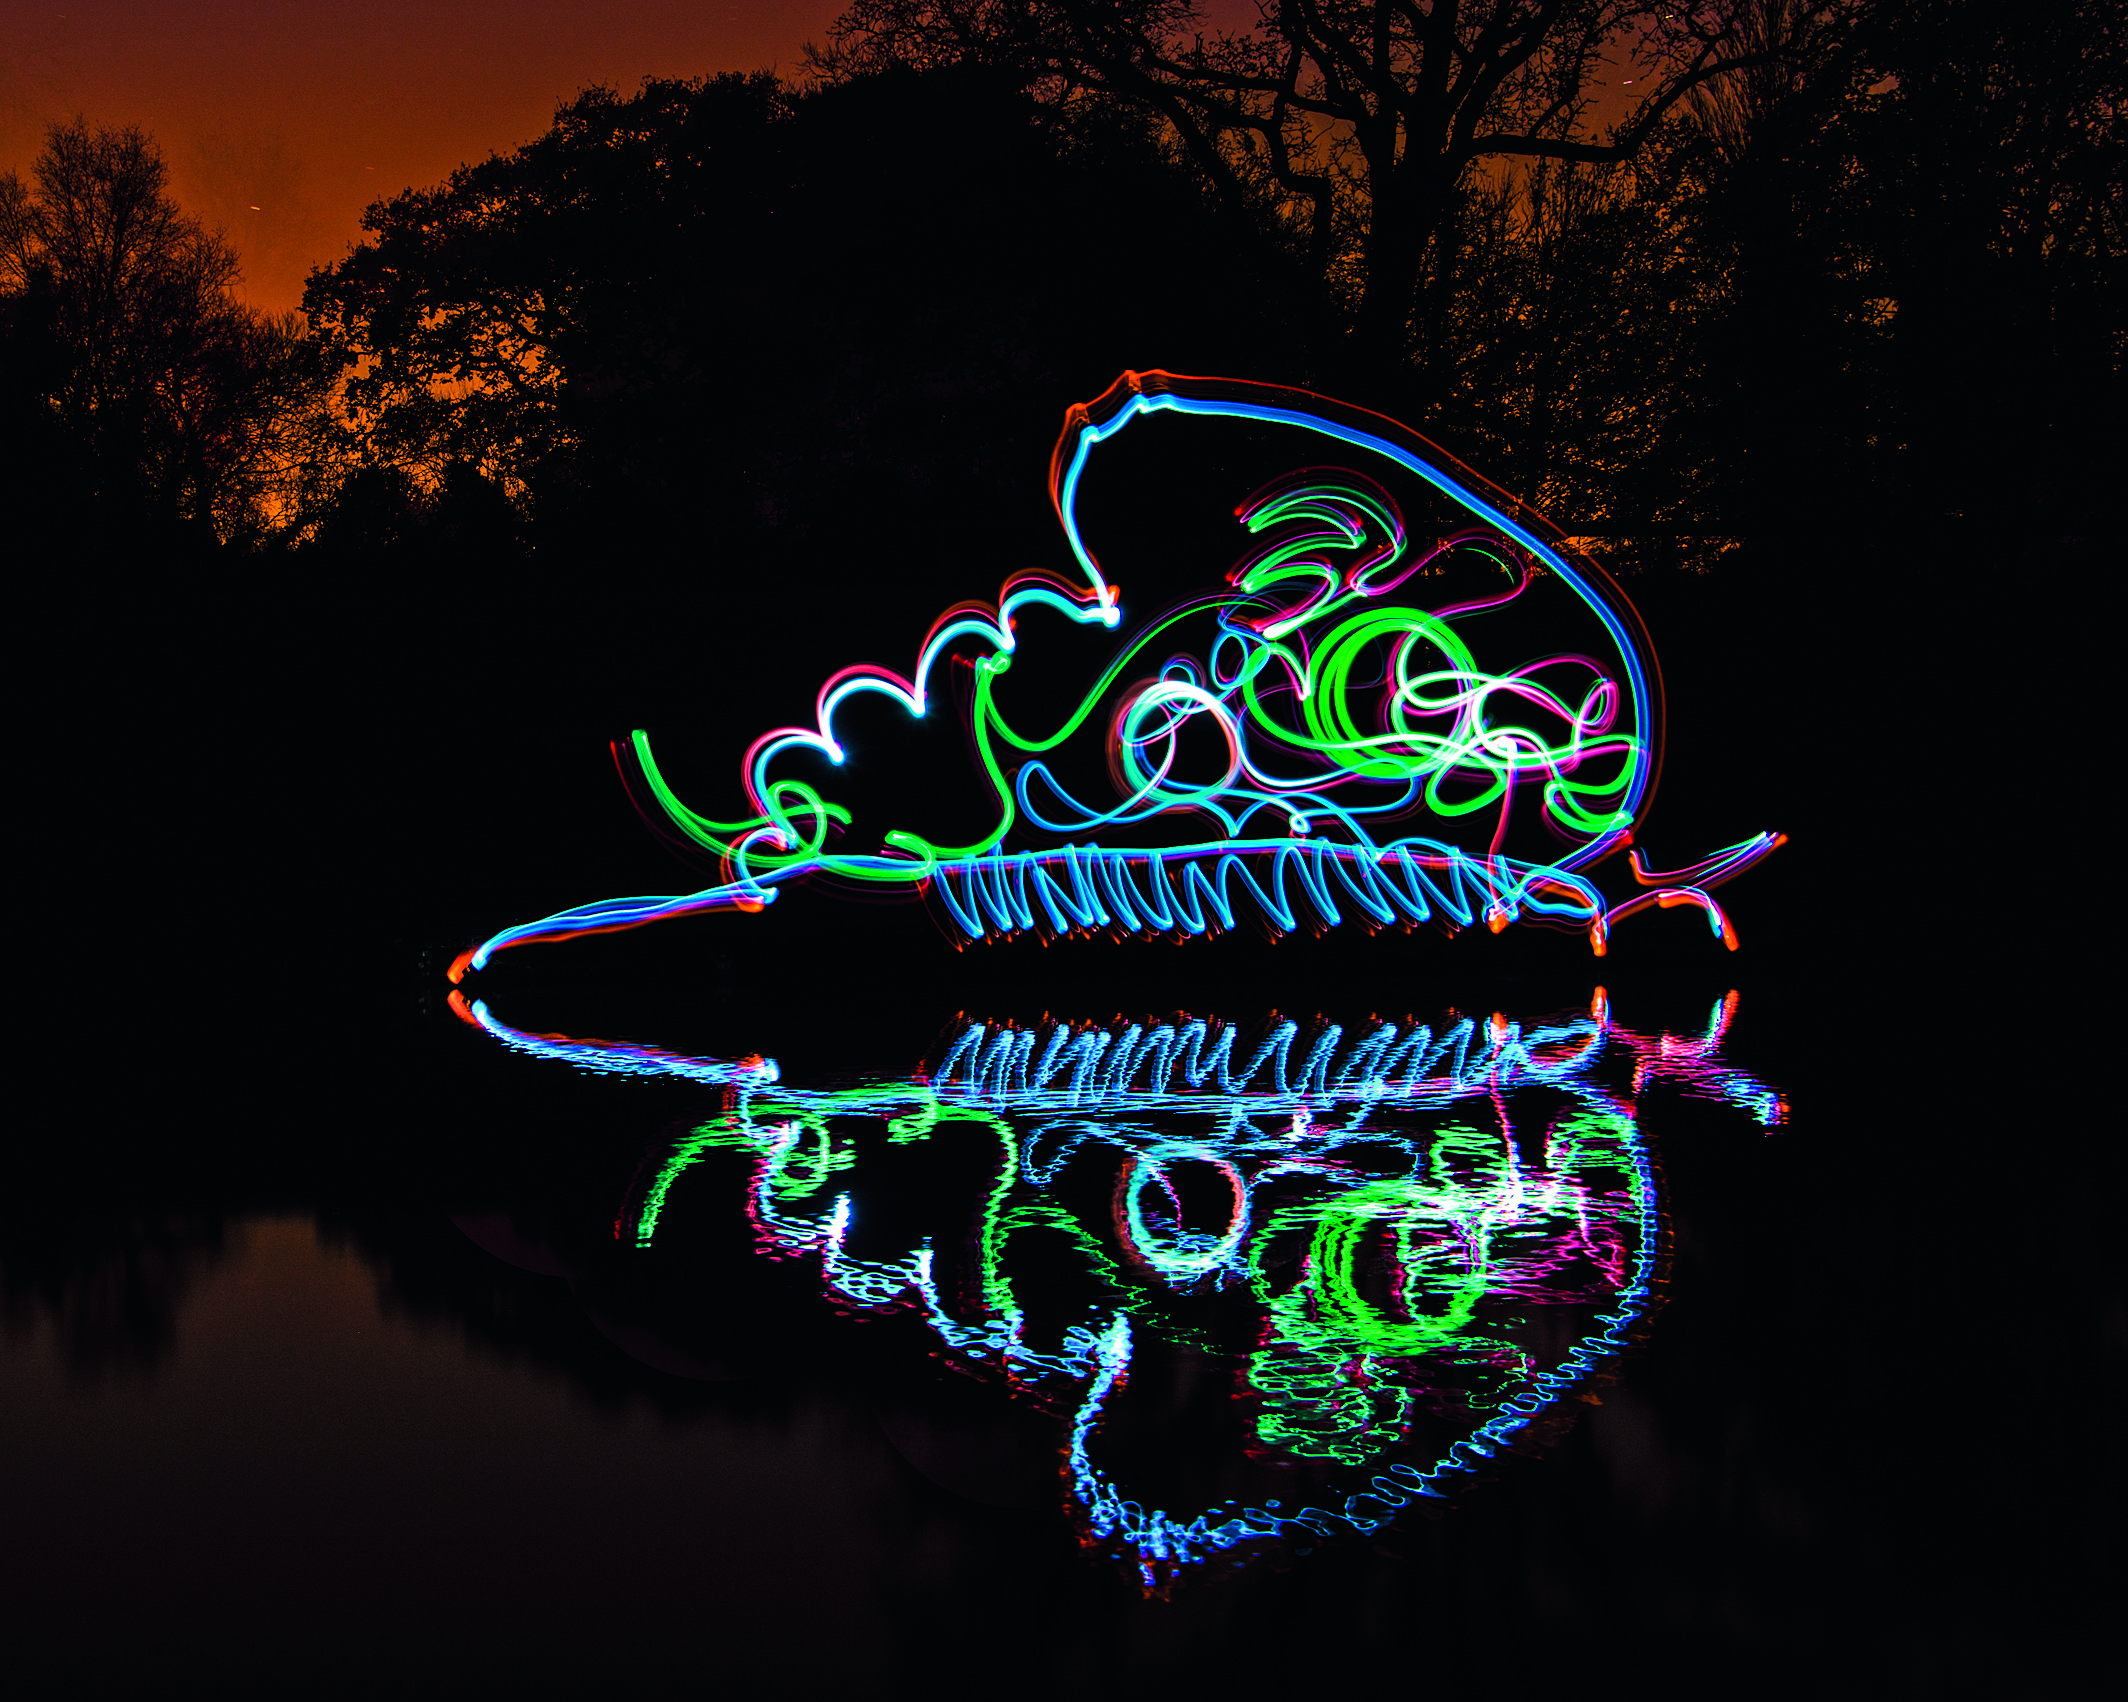
Sketch out half a shape with a torch
Kit needed:
• Nikon D-SLR
• Tripod
• Remote release
• Torch and colored cups
Light painting with a torch is like drawing with a computer mouse – the results can be wobbly and childlike, but that’s part of their charm. To make a symmetrical light painting using outdoor water, position the camera across the river or pond and lock open the shutter, then use a torch and colored cups attached to a stick to paint half a symmetrical shape, starting at the water’s surface and changing colors quickly. The reflection does the rest. Keep your picture in mind as you paint with the torches. It’s a bit of a guessing game, but each time you try you’ll learn more and get even better.
Photo idea: Painting indoors
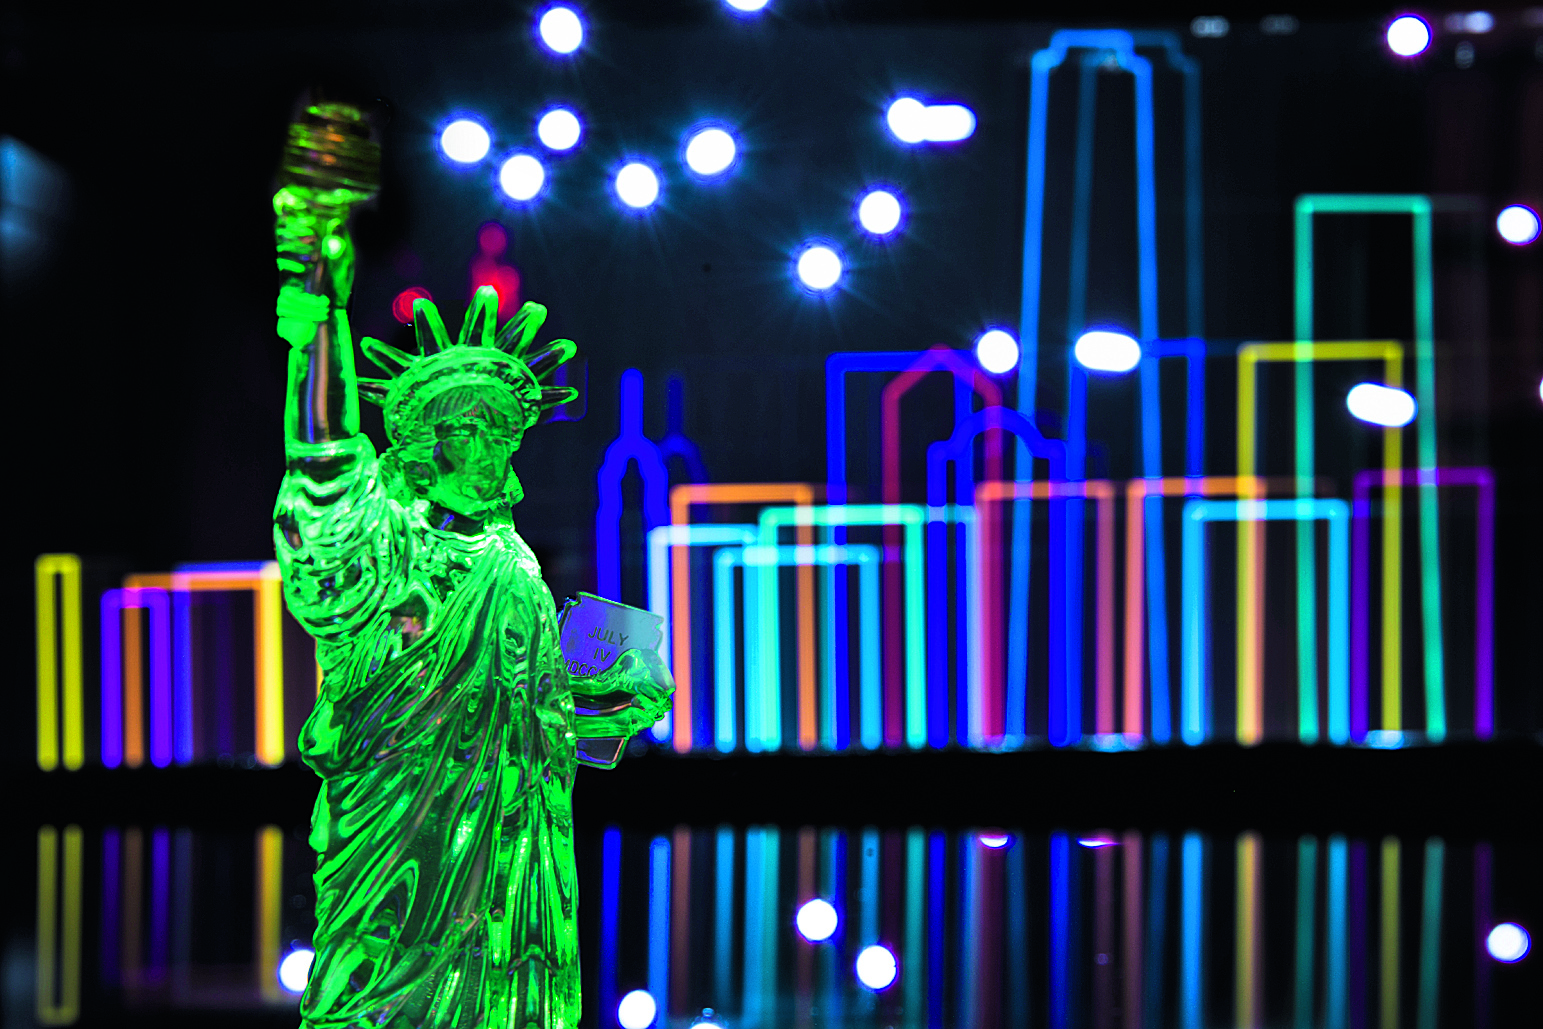
Paint a familiar skyline with an iPad
Kit needed:
• Nikon D-SLR
• Tripod
• Remote release
• iPad or tablet
• Torch
• Water tray
Whether painting outside at night or in a dark room, the technique for light painting remains the same. To recreate this image, place a toy figure like this Statue of Liberty in front of a tray of water. Then, use an iPad screen to paint the buildings. Prepare a set of images of simple colored outlines for each individual building, then slowly scroll through the images while shifting the iPad across the water’s edge to build the city, one building at a time. A few torch flashes in the background complete the effect.
N-Photo: The Nikon Magazine is a monthly publication that's entirely dedicated to Nikon users. For the best news, reviews, projects and more, subscribe to N-Photo today! Summer sale now on - get six issues for $9.99 or £9.99.
Read more
Best DSLR in 2020: DSLR cameras for beginners, enthusiasts and pros
Best tripod for photographers in 2020: get sharper shots in any conditions
Best wide-angle lens in 2020: ultrawide zooms that get everything in the picture
N-Photo: The Nikon Magazine is a monthly publication that's entirely dedicated to Nikon users. As a 100% independent magazine, you can be assured of unbiased opinion from a trustworthy team of devoted photography experts including editor Adam Waring and Deputy Editor Mike Harris.
Aimed at all users, from camera newcomers to working pros, every issue is packed with practical, Nikon-specific advice for taking better photos, in-depth reviews of Nikon-compatible gear, and inspiring projects and exciting video lessons for mastering camera, lens and Photoshop techniques.
Written by Nikon users for Nikon users, N-Photo is your one-stop shop for everything to do with cameras, lenses, tripods, bags, tips, tricks and techniques to get the most out of your photography.
