The best camera deals, reviews, product advice, and unmissable photography news, direct to your inbox!
You are now subscribed
Your newsletter sign-up was successful
Learn how to improve tonal details in high-contrast scenes
Time needed: 45 minutes
Skill level: Beginner
Kit needed: Standard zoom lens, sunny scene, Adobe Photoshop or similar
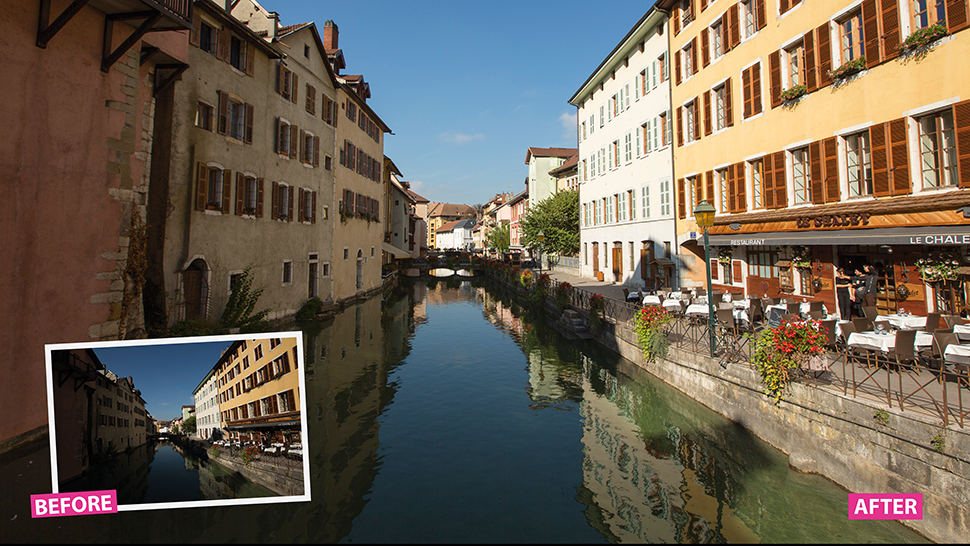
Photographing beautiful scenes in sunny conditions is a rare treat during gloomy winter months, but when inviting conditions do appear, it’s sometimes tricky to capture an image that retains detail in every part of the frame.
Problems arise when the whole scene isn’t evenly lit. As the sun is lower in the sky during winter, you’re often faced with a high-contrast scene, with lots of dark shadows and bright highlights to contend with.
Thankfully, many DSLRs are equipped with a choice of built-in solutions to help when shooting high-contrast scenes. Lighting Optimisation uses selective tone curve adjustments that can be used to tweak the shadows and highlights. This is useful for opening up darker areas in images, but in our experience, the effect is a little too subtle. Enthusiast DSLRs have a handy HDR (High Dynamic Range) mode that takes three exposures and merges them in-camera for a JPEG image with detail in the midtones, highlights and shadows.
Article continues belowRead on to find out how to get the best from these settings.
Step-by-step guide: Key camera settings
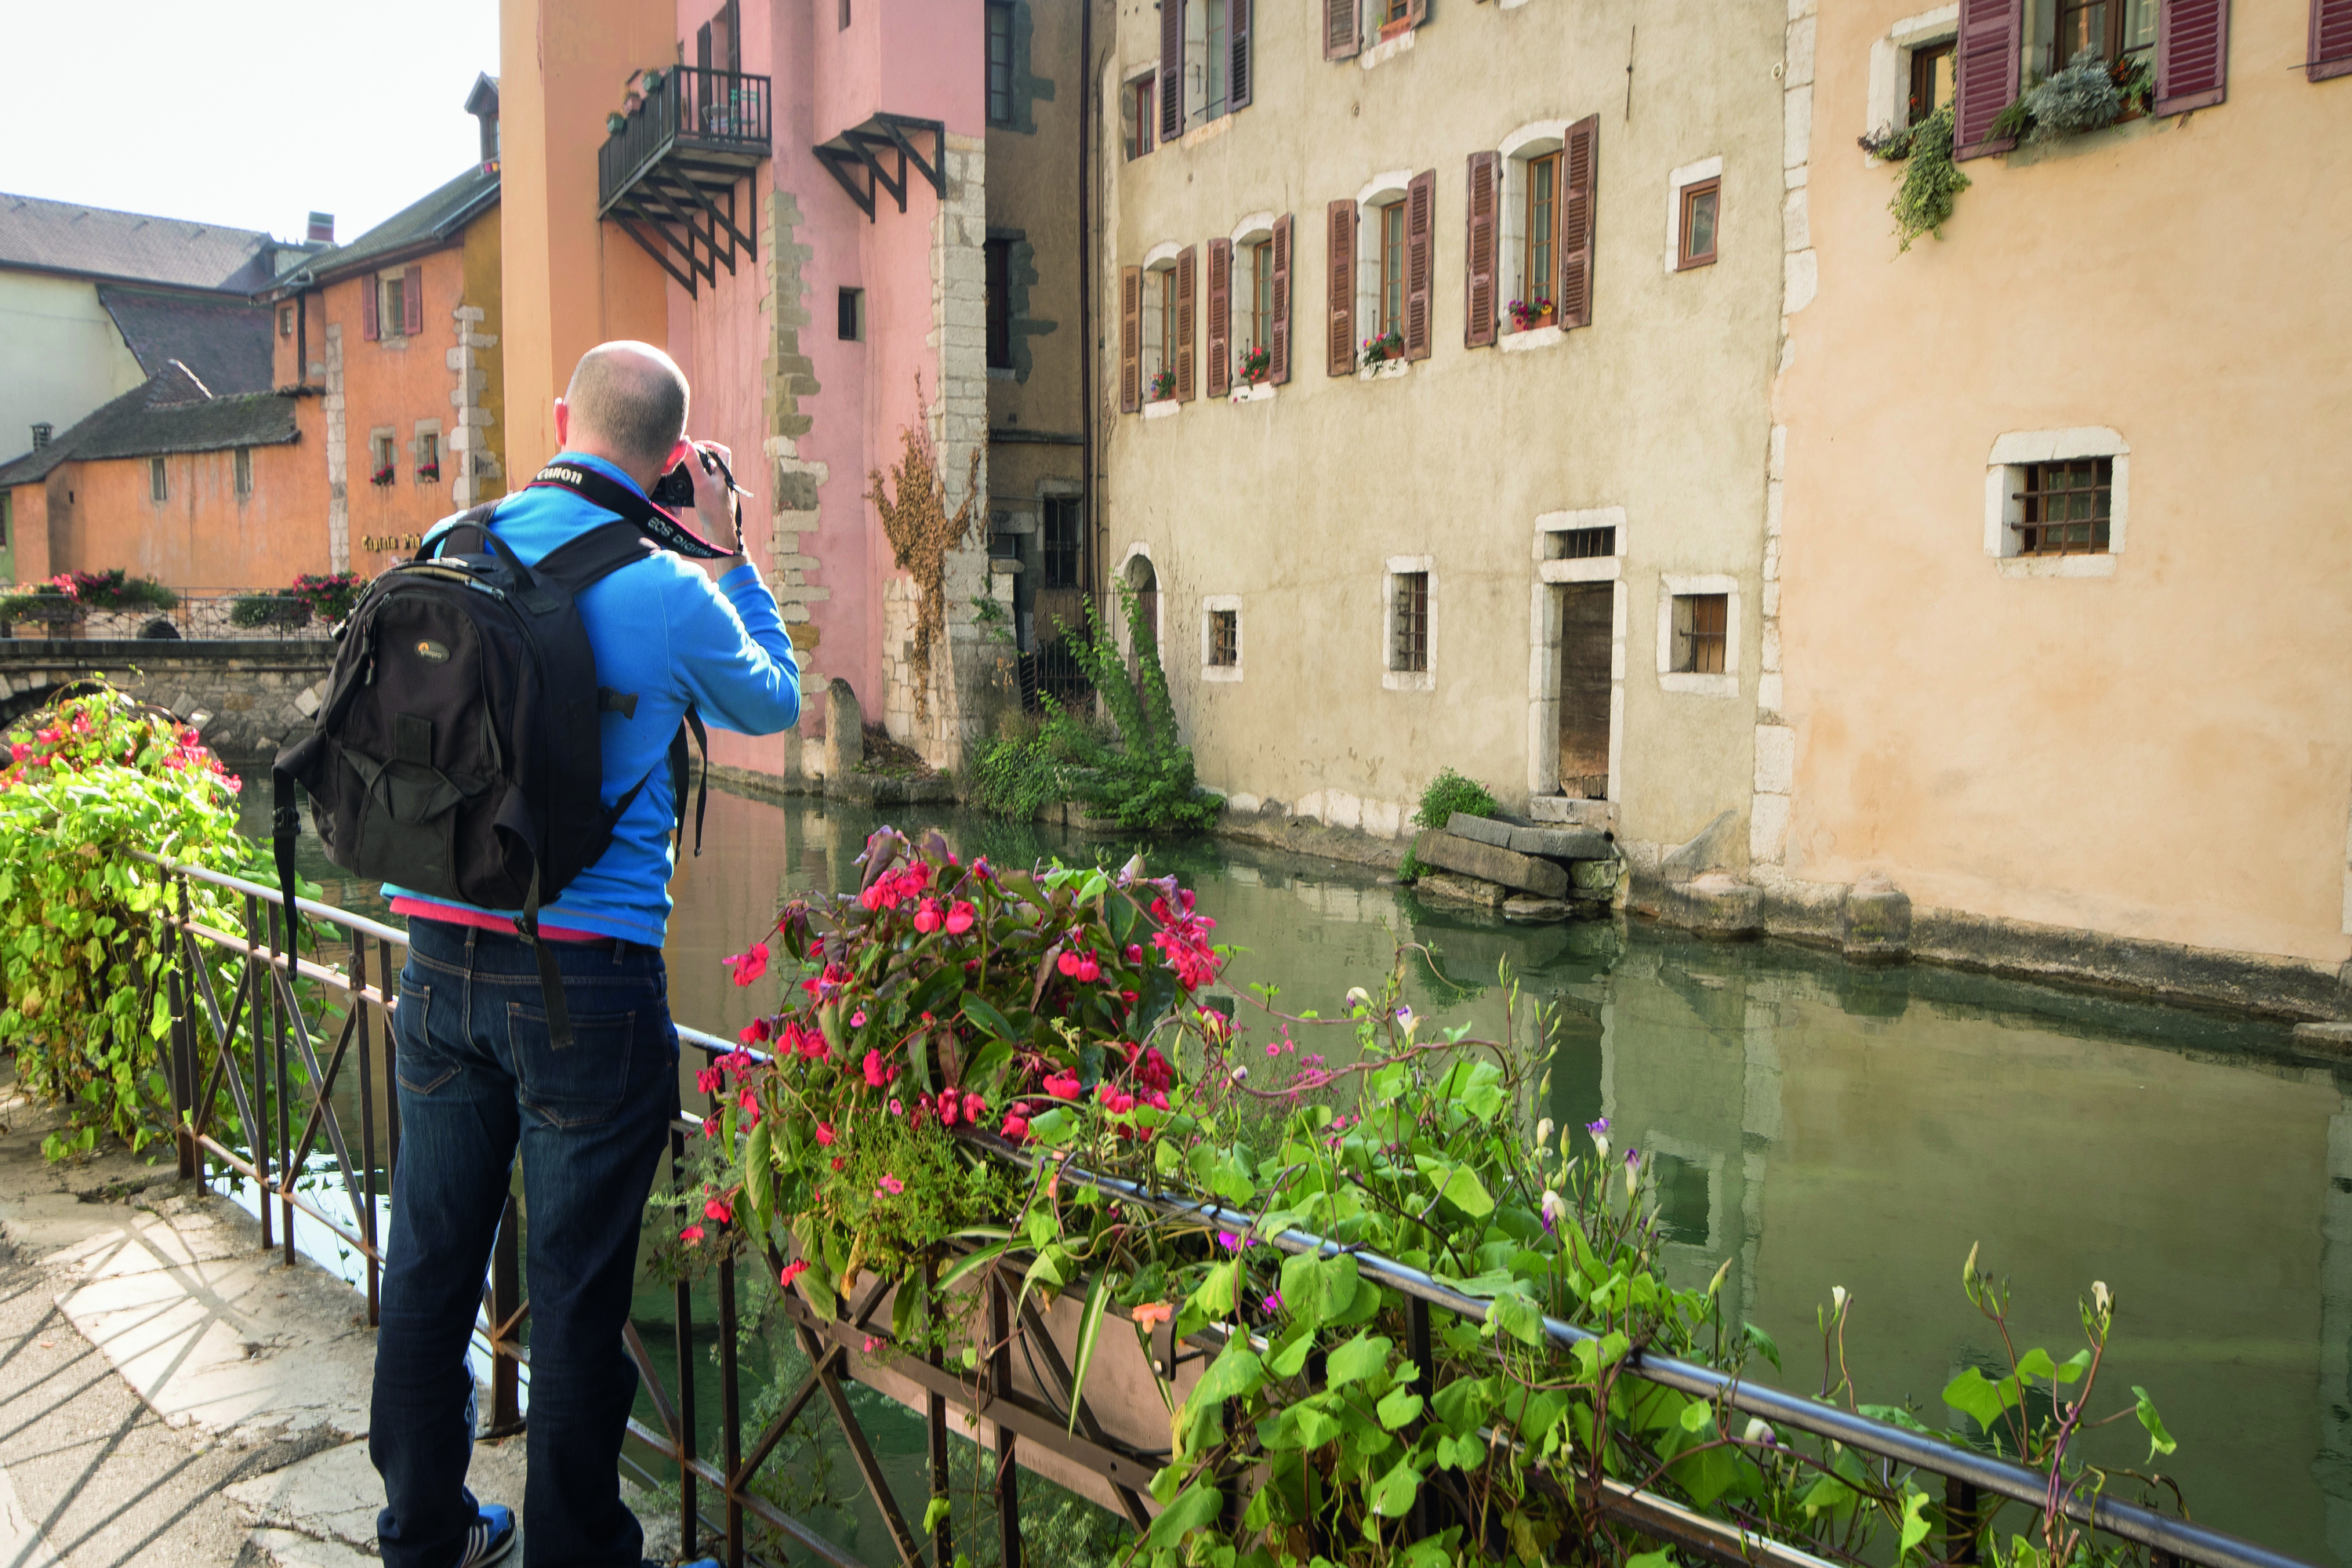
On some DSLRs you need to set the camera to JPEG image quality to enable the HDR Mode
1. Set up your camera
When we’re on our travels we like to work quickly, so we use Aperture Priority (Av) mode and shoot with our standard zoom at apertures around f/8. We then only increase our ISO to ensure shutter speeds are fast enough for handheld shots – above 1/125 sec.
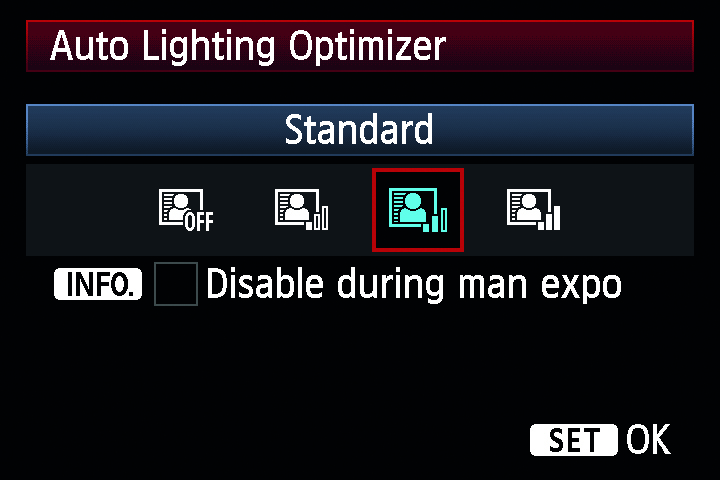
2. Auto Lighting Optimizer
ALO is applied to JPEGs as they’re saved to memory cards, but can also be used on Raws when they’re processed in some camera software. ALO uses clever tone-curve adjustments to tweak the shadows and highlights, similar to Curves in Photoshop.
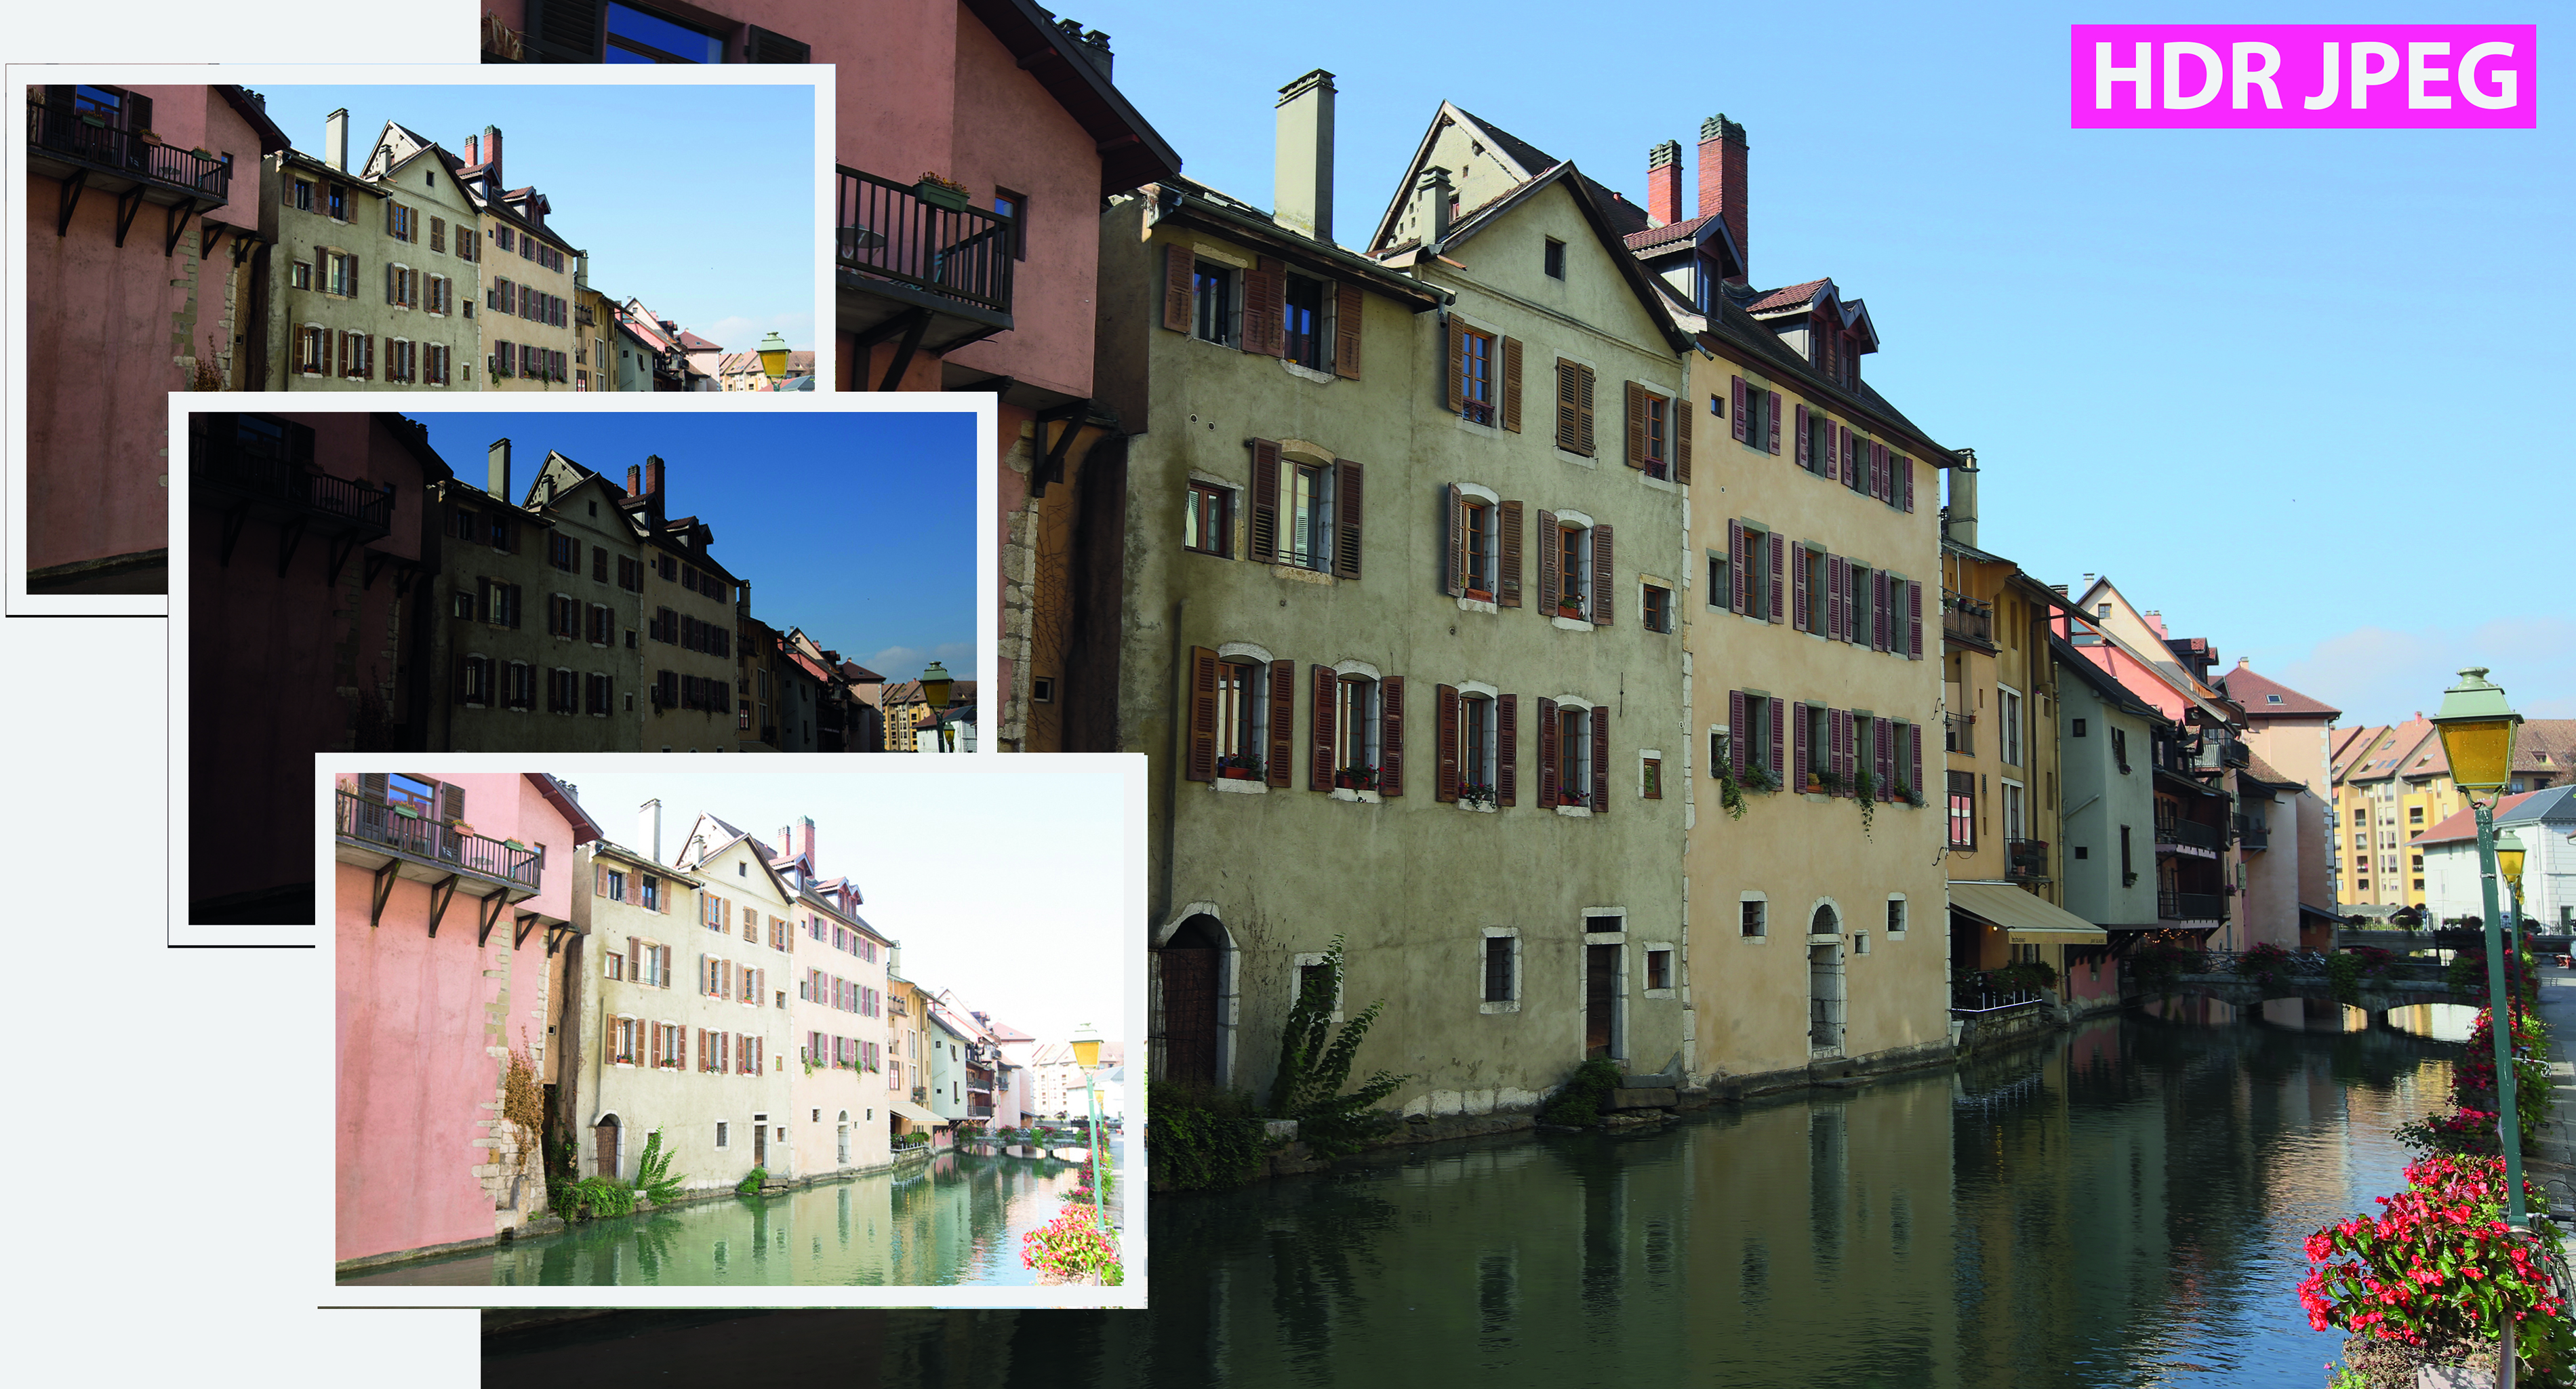
3. In-camera HDR mode
In HDR Mode, your DSLR takes three continuous frames for highlights, shadows and mid-tones, and then automatically blends these into a single JPEG, which is saved separately to the memory card. For the neatest alignment in your JPEGs, shoot on a tripod.
The best camera deals, reviews, product advice, and unmissable photography news, direct to your inbox!
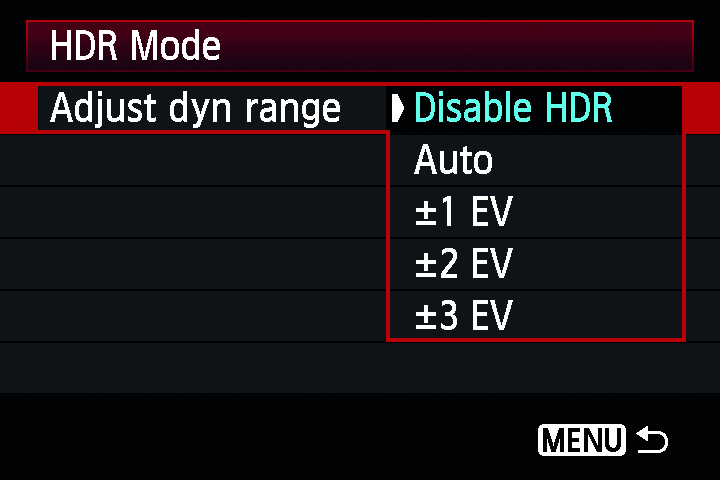
4. HDR mode fine tuning
In HDR Mode, you can adjust the dynamic range from Auto to +/-3 EV (Exposure Value) depending on how much brighter the highlights are compared to the shadows in your scene. You can also change the ‘Art Effects’ from Standard, Vivid, Bold and Embossed.
Photoshop tips: boosting shadow and highlights
Not happy with your results in-camera? Learn how to enhance images on your computer
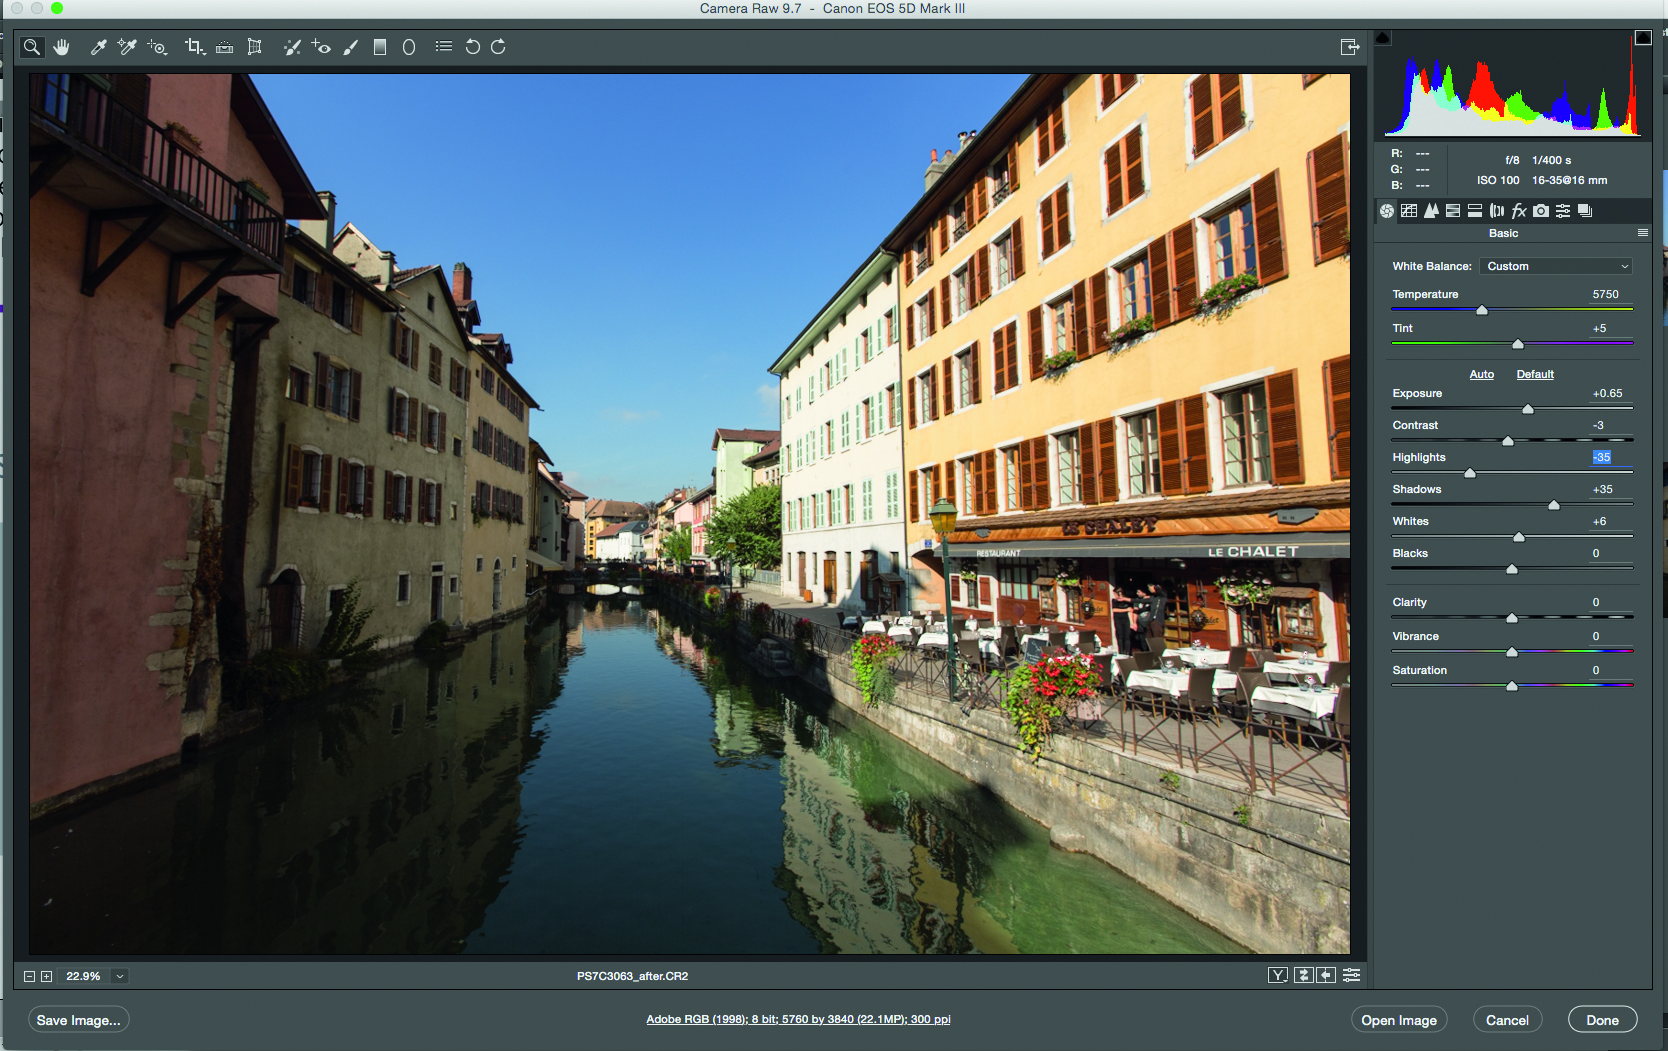
Shooting in Raw makes it easy to lift tone detail from shadows and darken highlights for a more balanced finish. Opening our Raw image in Adobe Camera Raw in Photoshop, we set Shadows to +25 and Highlights to -25; any more looks unrealistic.
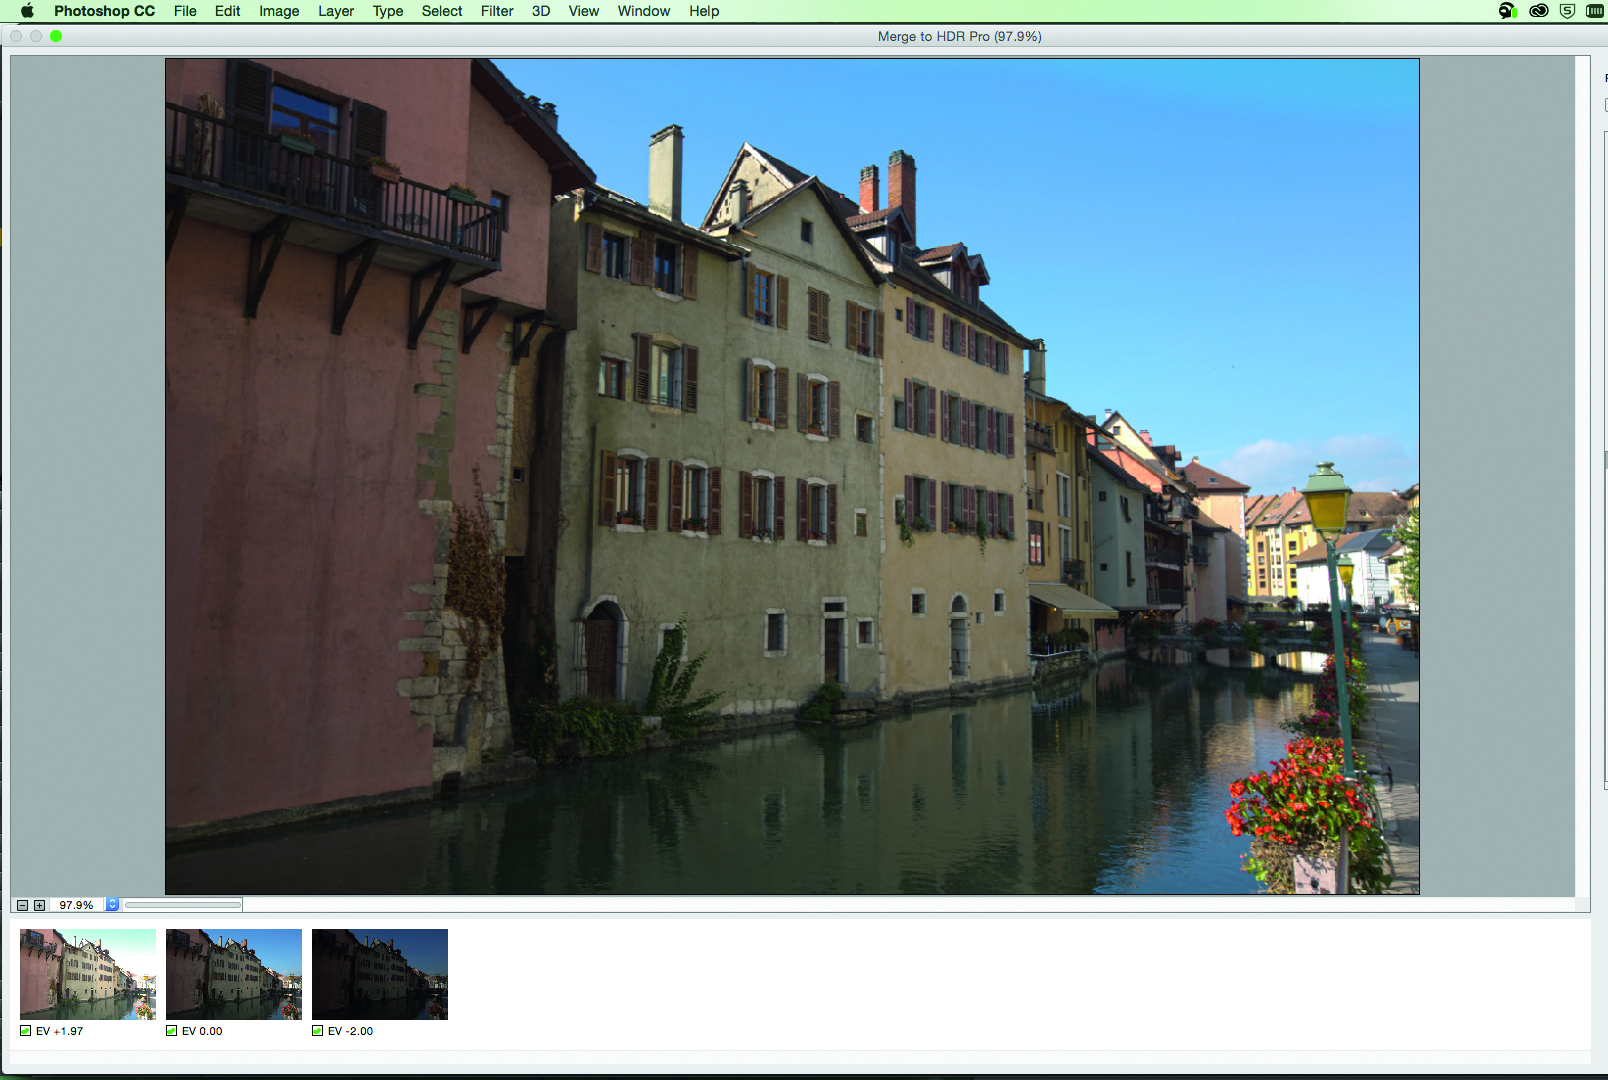
HDR mode on higher-spec DSLRs handily saves the three original bracketed Raw images too. You can process these into one image in ‘Merge to HDR’ mode in Photoshop CC and Lightroom.
PhotoPlus: The Canon Magazine is the world’s only 100% Canon-focused title on the newsstand. Launched in 2007, for 14 years it has delivered news, reviews, buying guides, features, inspirational projects and tutorials on cameras, lenses, tripods, gimbals, filters, lighting and all manner of photography equipment.
Aimed squarely at enthusiast photographers who use the Canon DSLR or mirrorless camera systems, all content is tailored to Canon users – so everything from techniques to product tests are tailored to those using the EOS camera system.
Editor Peter Travers brings 14 years of experience as both a journalist and professional photographer, with Technique Editor Dan Mold shoring up the magazine with his 6 years of expertise.


