The best camera deals, reviews, product advice, and unmissable photography news, direct to your inbox!
You are now subscribed
Your newsletter sign-up was successful
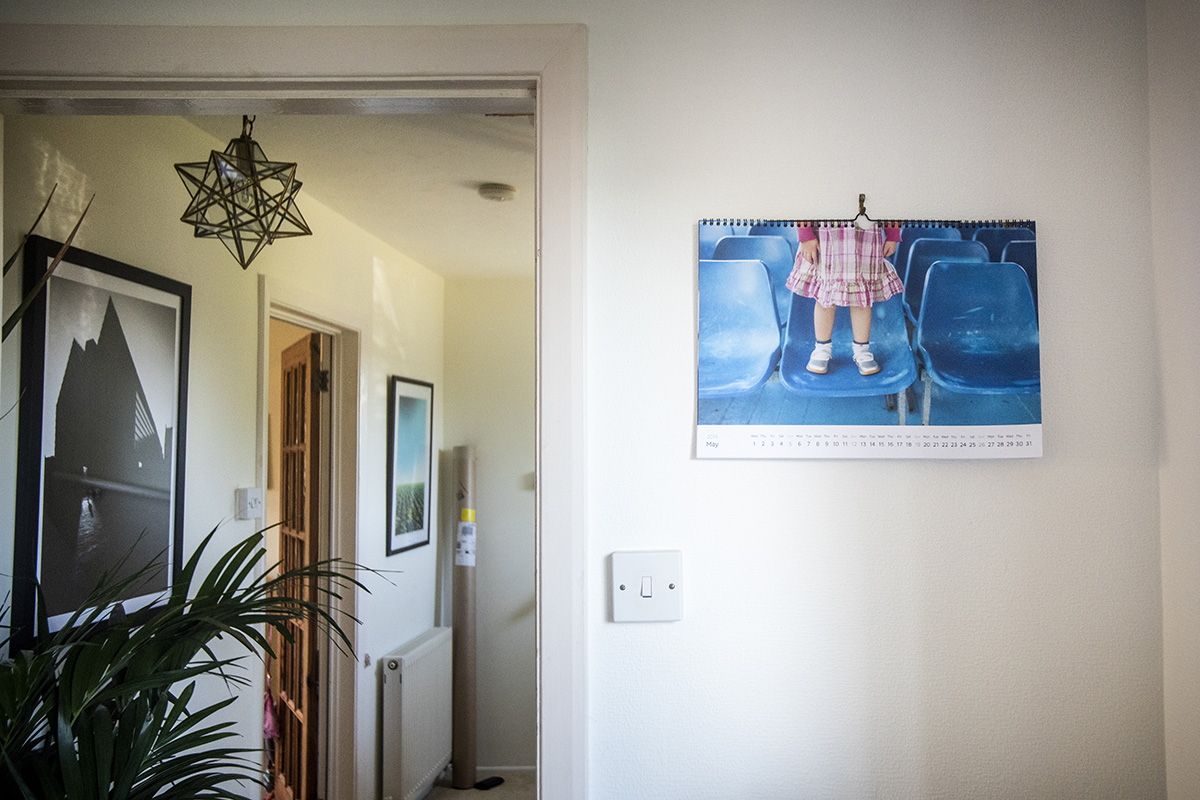
If you have a printer, a spiral-binding machine and a ton of patience, you can try to create your own photo calendar at home. But we opted for the easier option and got a printing company to make one for us! Whitewall is one of the best out there, and on this occasion we used its services, although non-UK readers will be better off sourcing a printing company in their own territory.
You will be able to find cheaper options than the calendar we chose, but try to get a sample of the print and paper quality before you commit: with this type of product, you really want your images to shine, and compromising on these aspects would be a mistake.
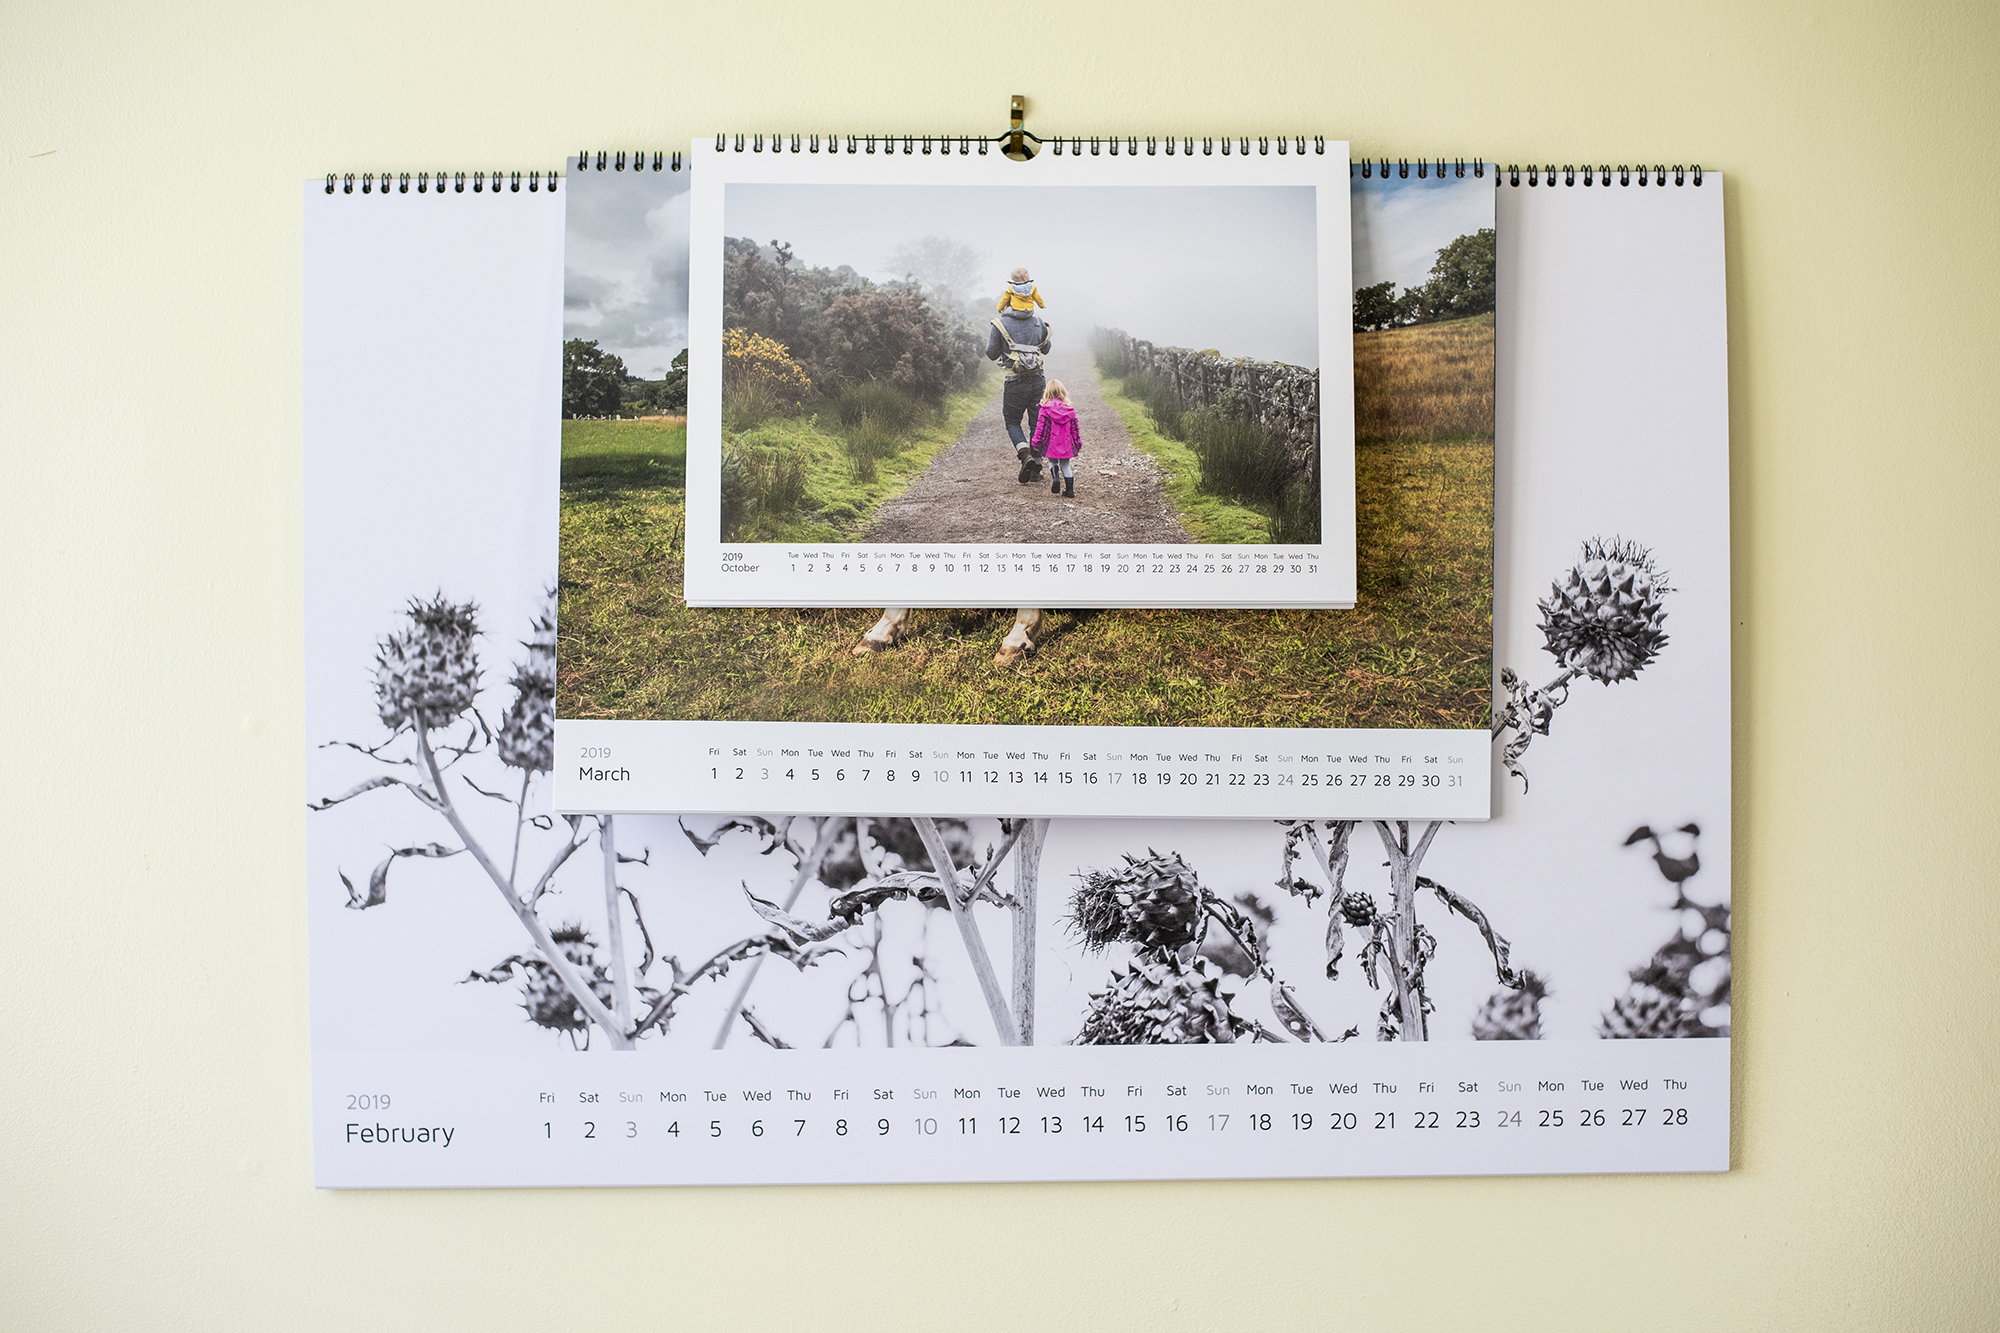
We couldn’t decide on just one genre to pick for our calendar, so we made a selection of three (portrait, landscape and alternative) in different sizes. Hopefully this will give you a better indication of what size you would like yours to be.
Whitewall can make calendars at up to A2 (420 x 594mm) or XXL (460 x 650mm): costs start at £49.95, which is an investment, but it looks amazing hanging on the wall as a work of art!
1. Pick your style and size
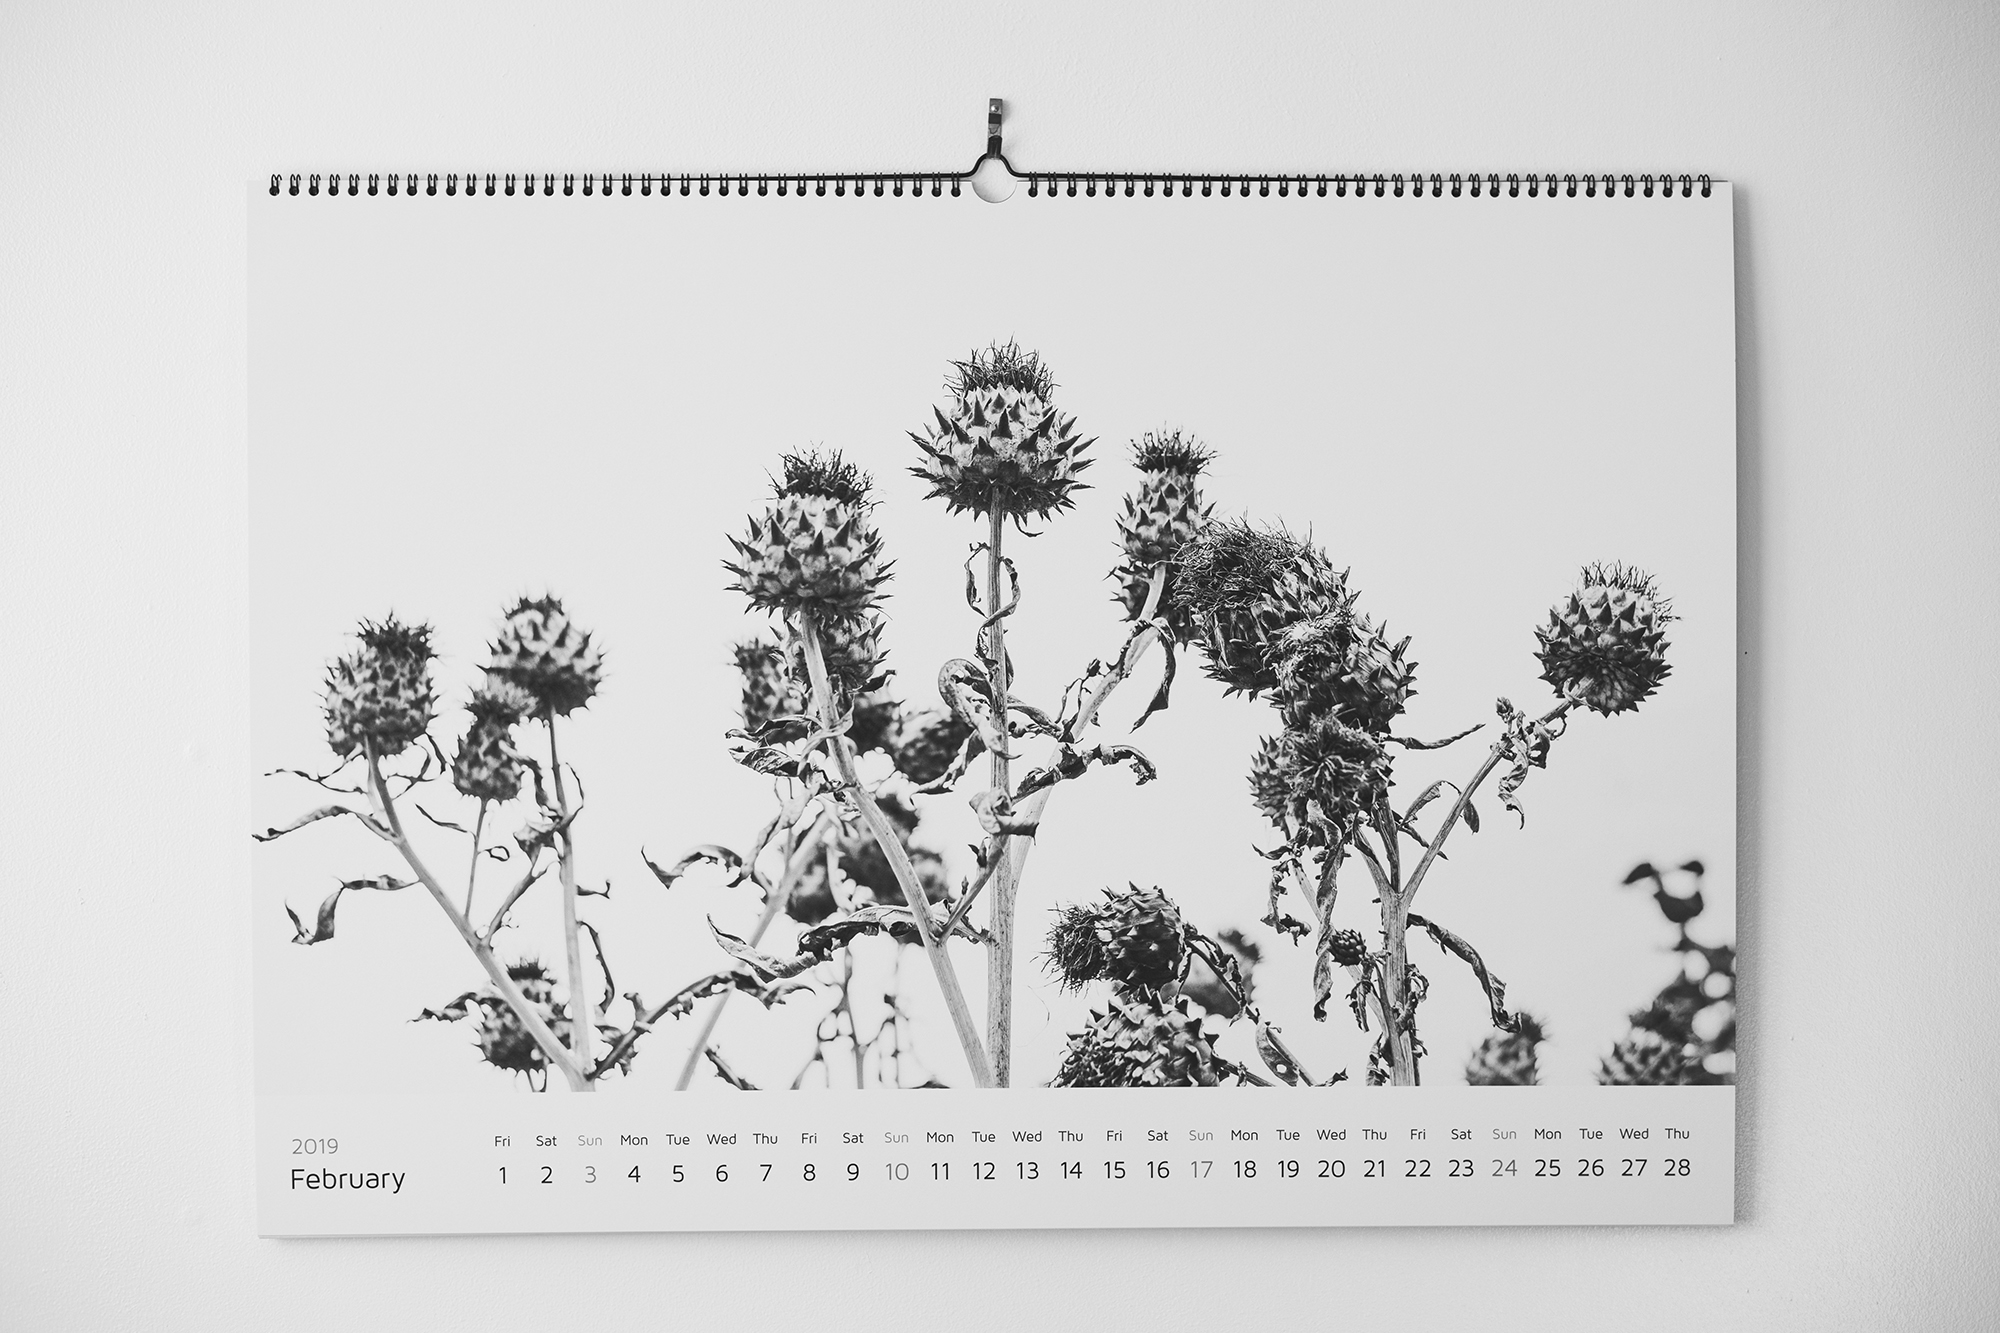
We went for an aesthetically pleasing calendar that lets the images shine in full size. We selected the style with the calendar dates running along the bottom of the page rather than a larger writing space. You’ll also need to decide what colour you want the spiral binding to be, and the orientation of the calendar.
2. Edit your images
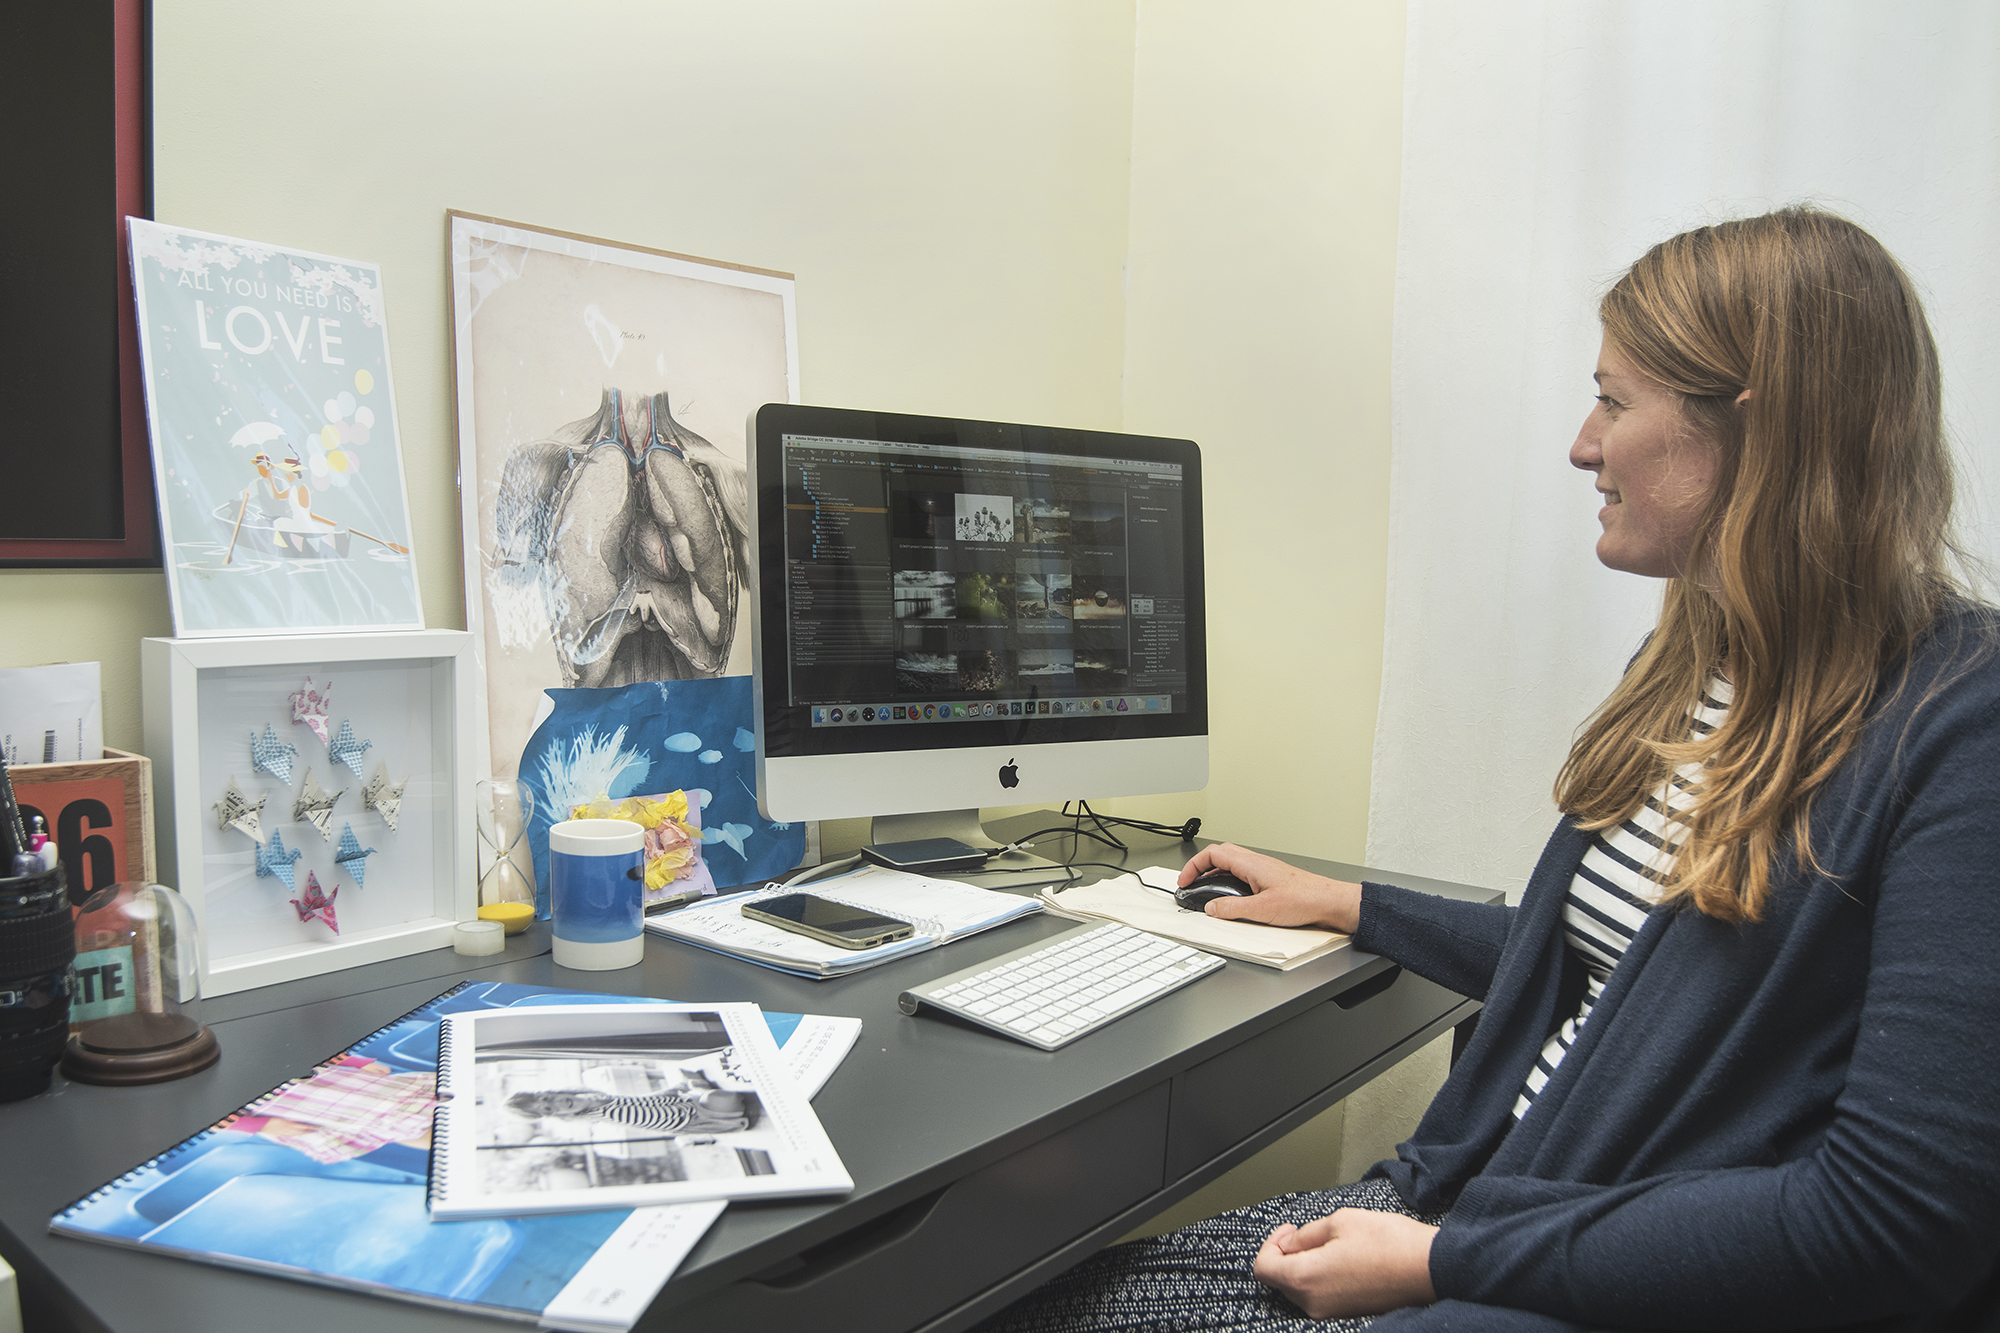
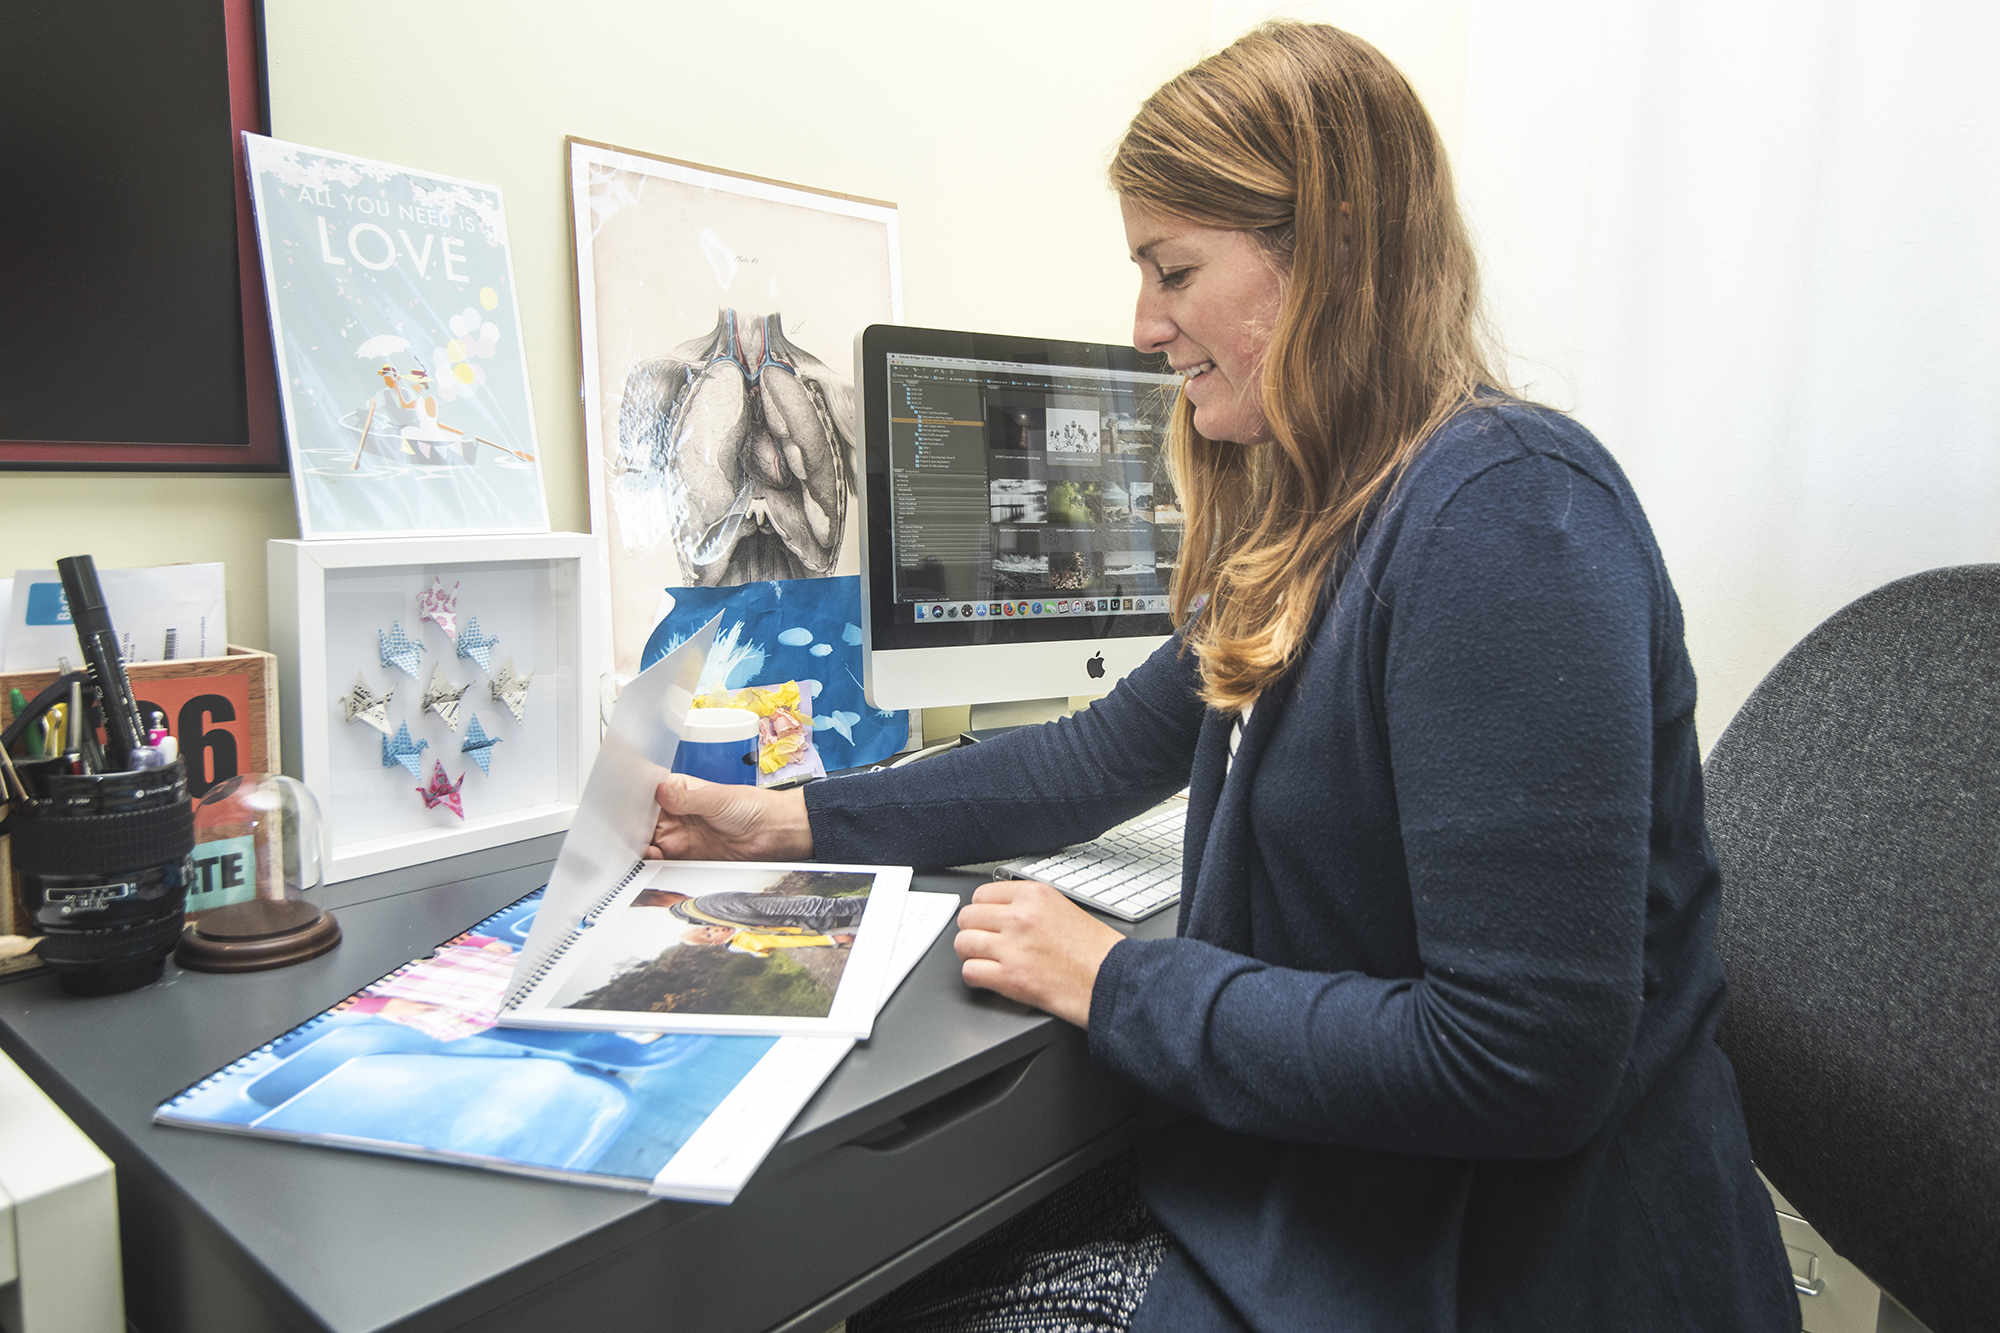
Next you need to edit your images and pick one for each month. The hardest part is finding a stunning image to work for each month while showcasing variety. We opted to use landscape-orientation images; you may have more in a portrait orientation, so think about how it can work for you. We found Adobe Bridge useful for previewing the images in a grid before we started building our product.
3. Paper choices
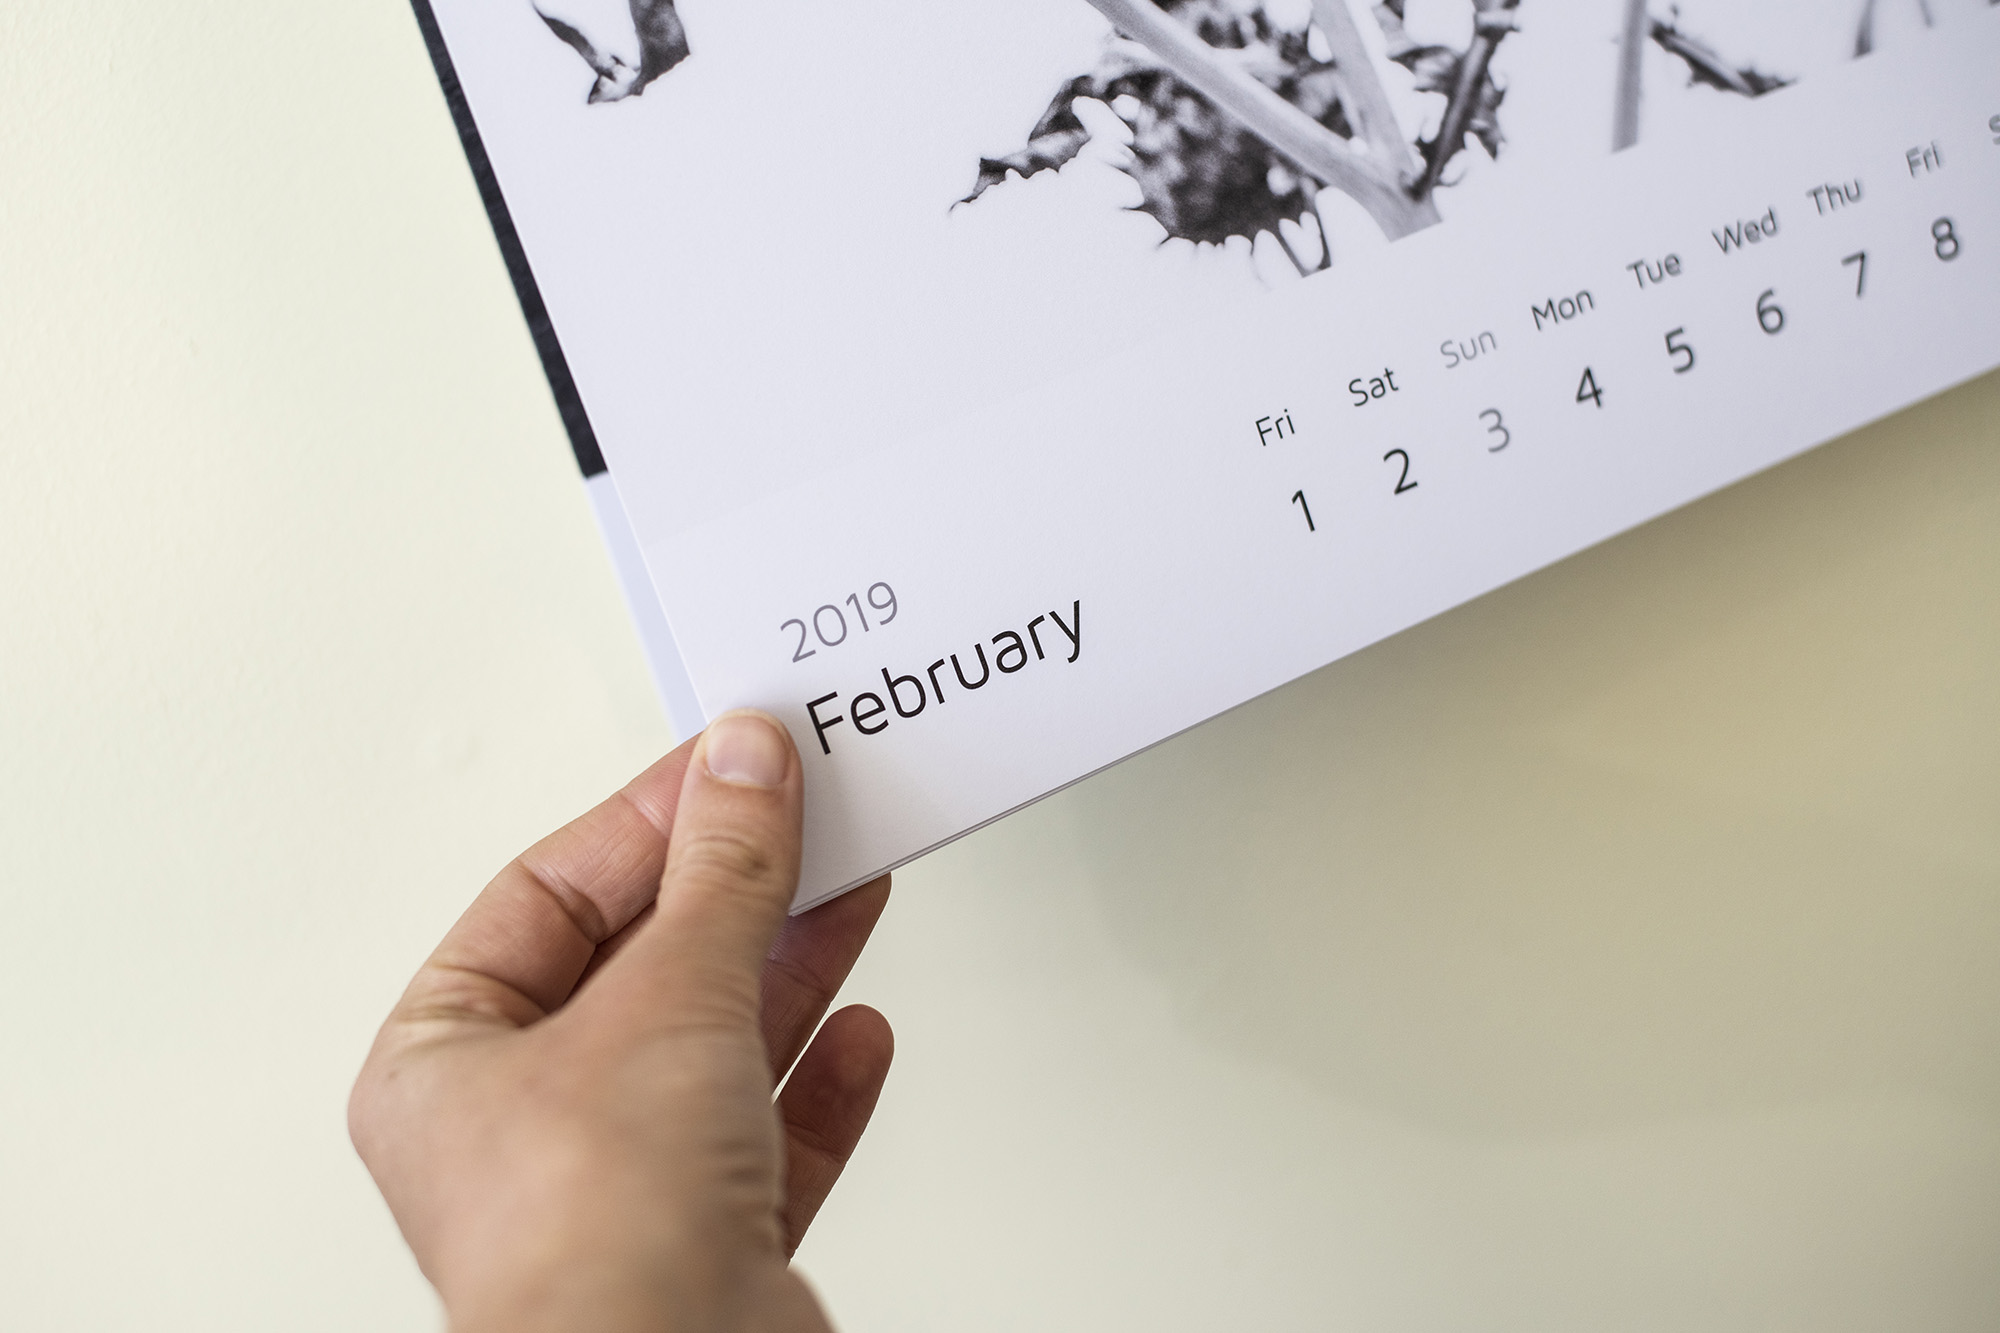
When it comes to paper options, Whitewall has four to pick from: natural paper, high-gloss, textured paper and premium matte paper. All look good with different types of images. We prefer a matte finish over a gloss, so we chose premium matte, but this may not be your personal preference, so go with what works best for yourself and your images.
The best camera deals, reviews, product advice, and unmissable photography news, direct to your inbox!
4. Building your calendar
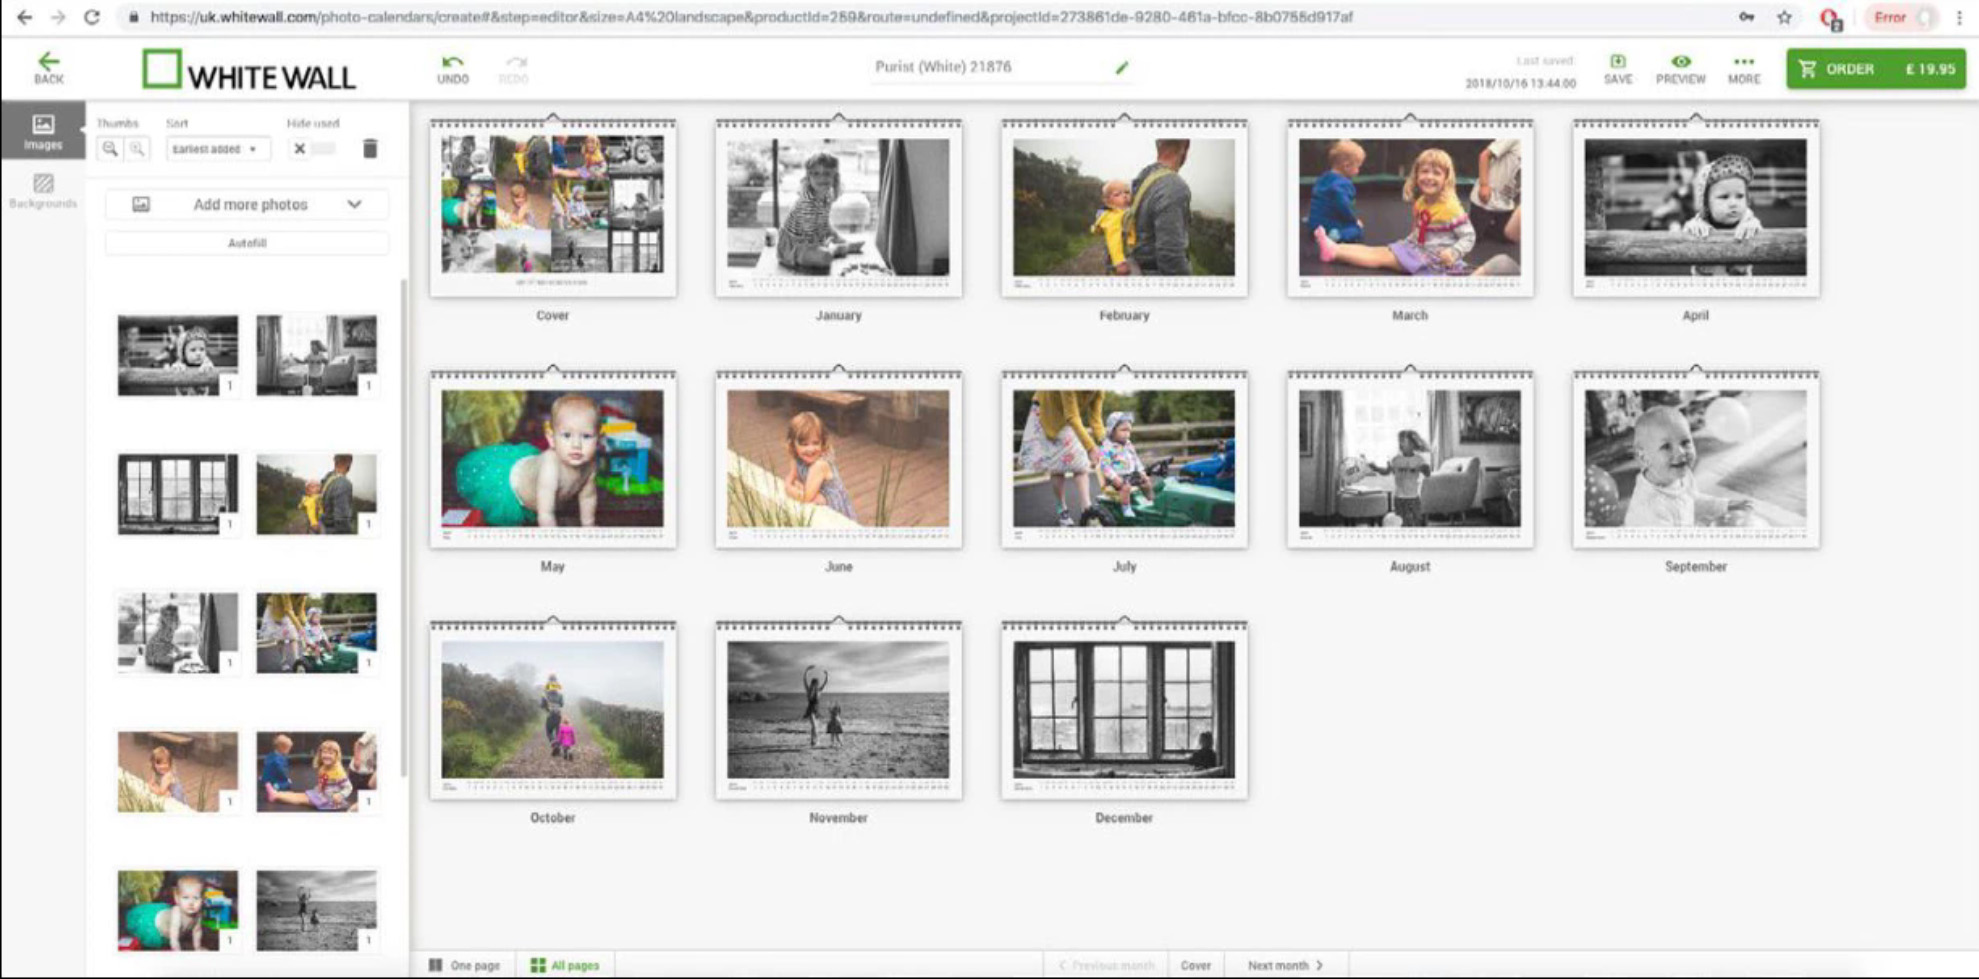
Whitewall has an easy and intuitive program to use online to create your own photo calendar. After going to the site's photo calendar page simply click the ‘Start designing’ button, then pick your style and paper.
Once these have been selected, it will automatically open into the main program where you can build your calendar. Here you can upload all your images (click Computer, or just drag and drop), and alter text styles and layouts.
We’d advise you not to go too overboard and stick to the templates, as really you want the images to speak for themselves. If you have very large images, you may need to resize them if you cannot upload them.
Once everything is in the correct place and you’re happy with the final product, go to the checkout – and don’t forget to enter your discount code! (See ‘Reader offer’ below.)
5. The front cover
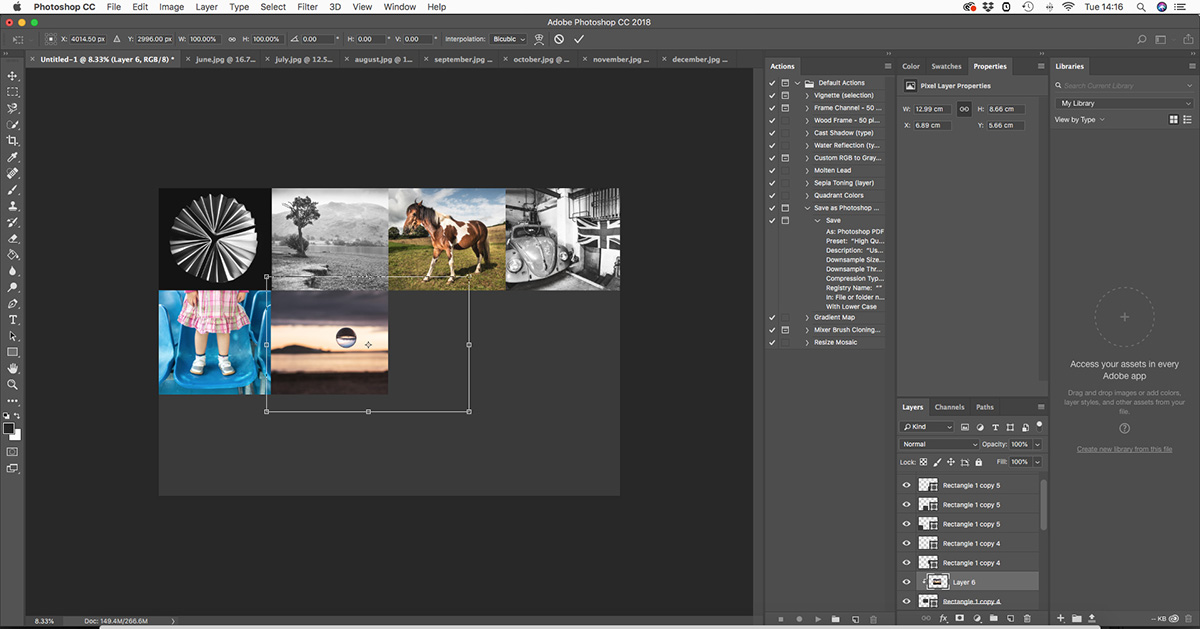
For a finishing touch, make a front cover. We created ours in Photoshop at a 3:2 ratio aspect size. We used the Rectangle tool and divided the page into 12 equal boxes. We then imported all our calendar images into the document and positioned each in place. To do this in the Layers panel, place each main image above the correct rectangle box, right-click and select Create Clipping Mask. You can then adjust the image accordingly inside the box.
Reader offer: UK only
Whitewall is giving Digital Camera readers a 10% discount on all its photo calendar products. Click here to build your calendar and enter VZ62YGZ7BC at the checkout to claim. Offer valid until 11 January 2019. UK readers only; not combinable with other discounts; shipping costs not included.
Digital Camera World is one of the leading authorities on camera and photography news, reviews, techniques, tutorials, comparisons, deals and industry analysis. The site doesn't just specialize in cameras, but all aspects of photography, videography and imaging – including camera phones, gimbals, lenses, lighting, editing software, filters, tripods, laptops, printers, photo books, desks, binoculars and more.
Whether you're using, looking to buy or trying to get the most out of a compact camera, action camera, camera drone, cinema camera, beginner camera or professional camera, Digital Camera World has a roster of experts with combined experience of over 100 years when it comes to cameras, photography and imaging.

