How to create portraits with flare
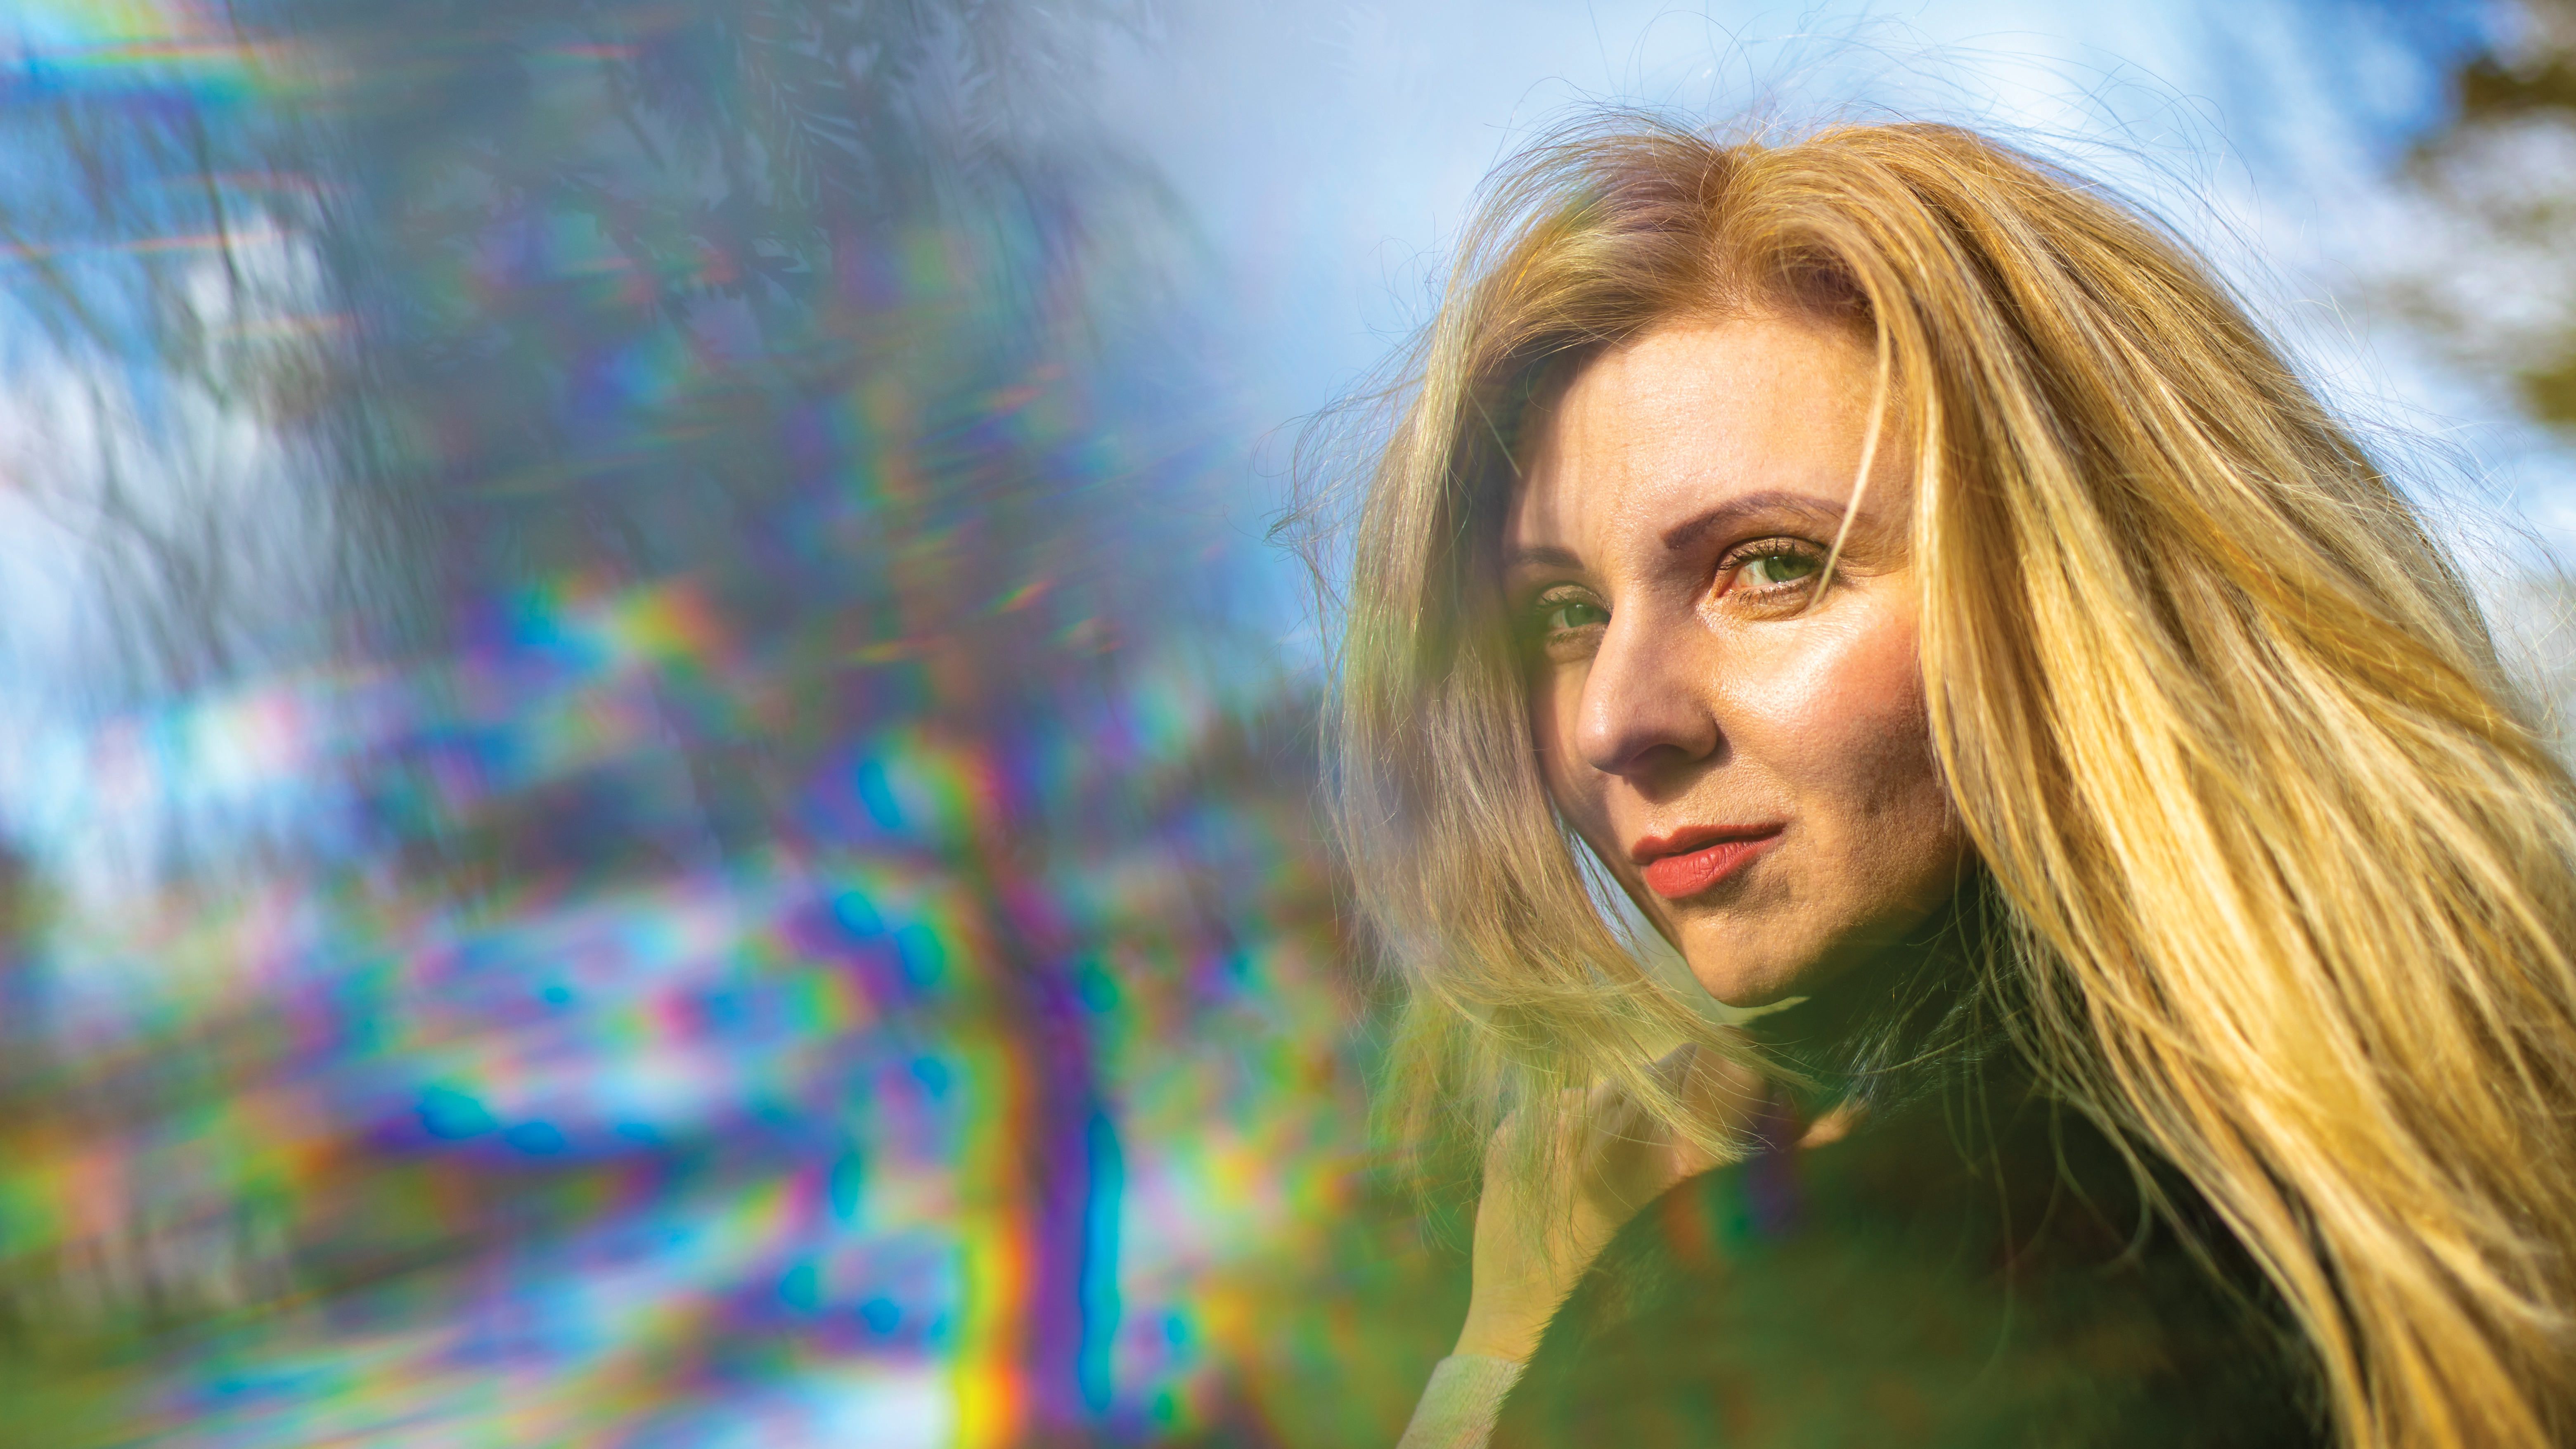
Use a glass prism to capture kaleidoscopic flare effects for a fresh approach to portraits
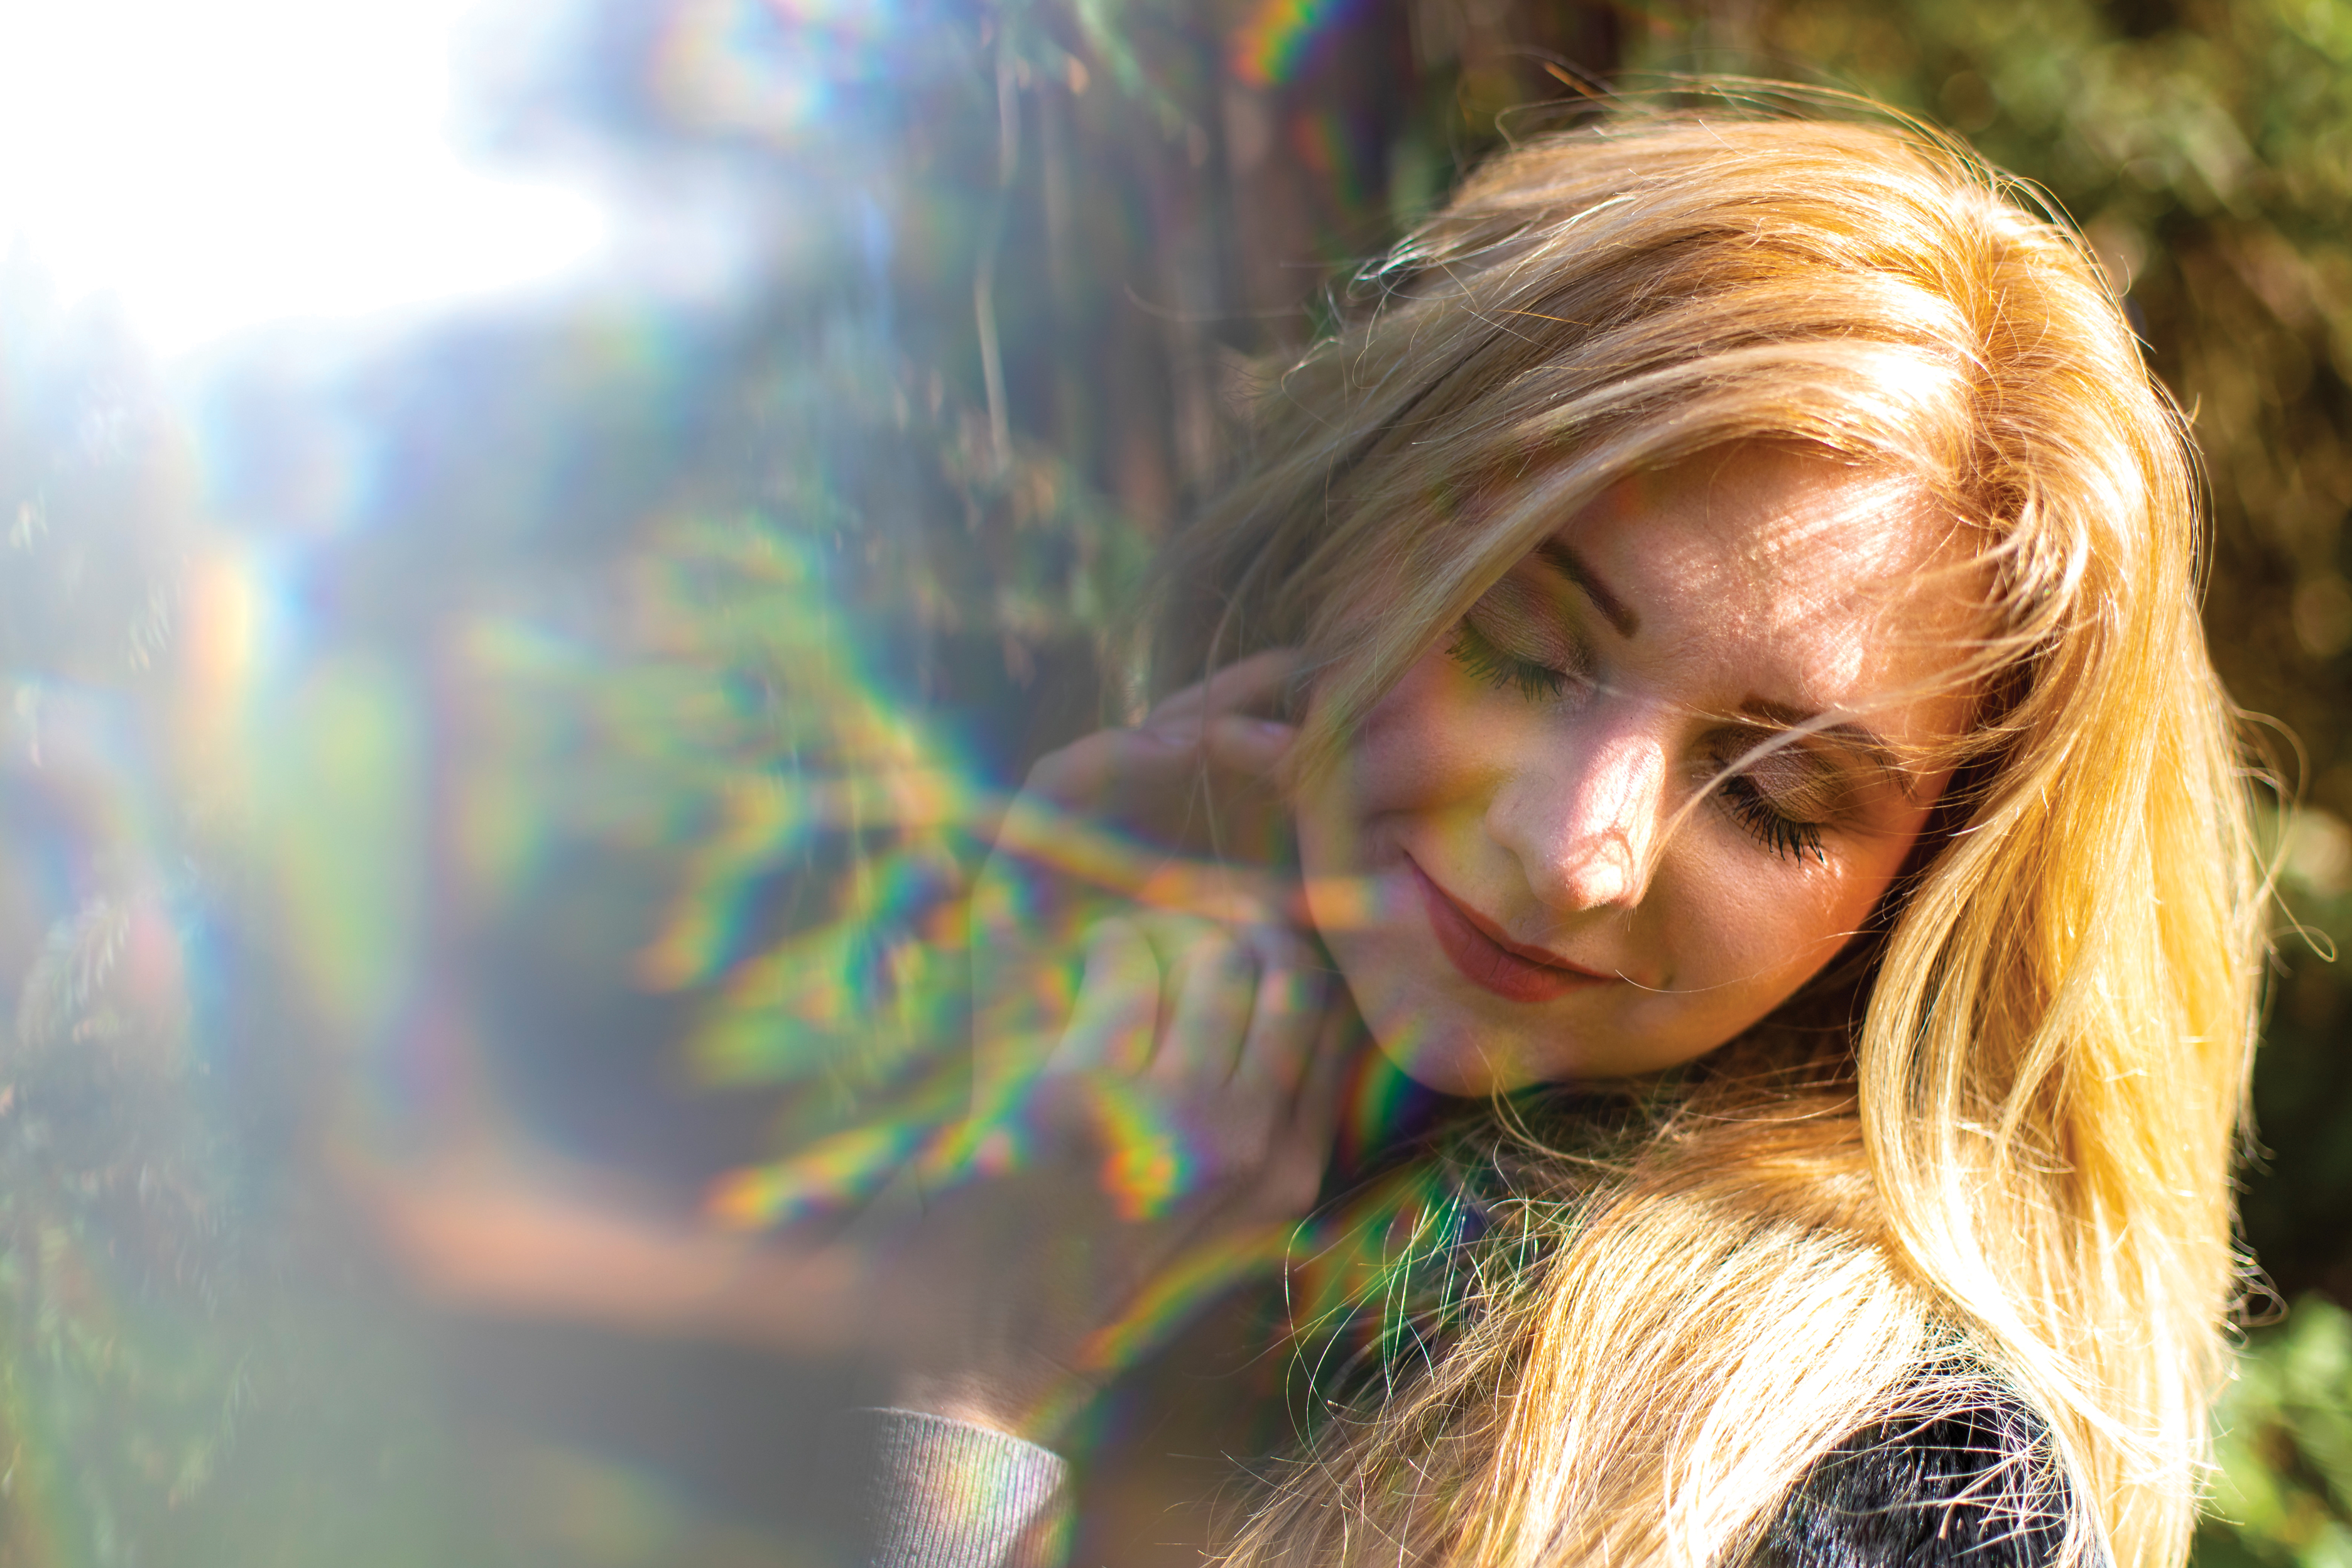
With the advent of digital imagery and websites now enabling us to zoom right in on images to ‘pixel peep’, we’ve become slightly obsessed with megapixels, image quality and getting the sharpest possible shots.
Image quality isn’t the be-all and end-all though – you can get fantastic images by introducing distortion when used with the right corrective vision.
For a flare effect you’ll need some basic photographic kit, such as a DSLR or mirrorless camera with MASP modes, and a lens – a prime for portraits will work best, though you can still get great results even with a kit lens.
You’ll also need a glass prism, which can be picked up for a few pounds online, to open up a world of creative opportunities – particularly for portrait work.
For this technique it’s best to shoot in RAW just in case your exposure is a little off. It’s also generally best to underexpose portraits slightly to preserve skin tones and stop them blowing out to pure white.
You can tweak the RAW to correct the exposure back at your computer. This is useful for these sorts of outdoor portraits, where you’re combating flare and bright, direct sunlight when shooting outside. Here’s how to do it...
01 Get a prism

Triangular glass prisms can be found for just a few pounds on popular online stores like eBay and Amazon, making them an affordable way to drastically change portraits. For more control you could purchase Lensbaby’s OMNI Crystal pack, which allows you to mount crystals on the front of the lens
The best camera deals, reviews, product advice, and unmissable photography news, direct to your inbox!
02 Choose the right lens
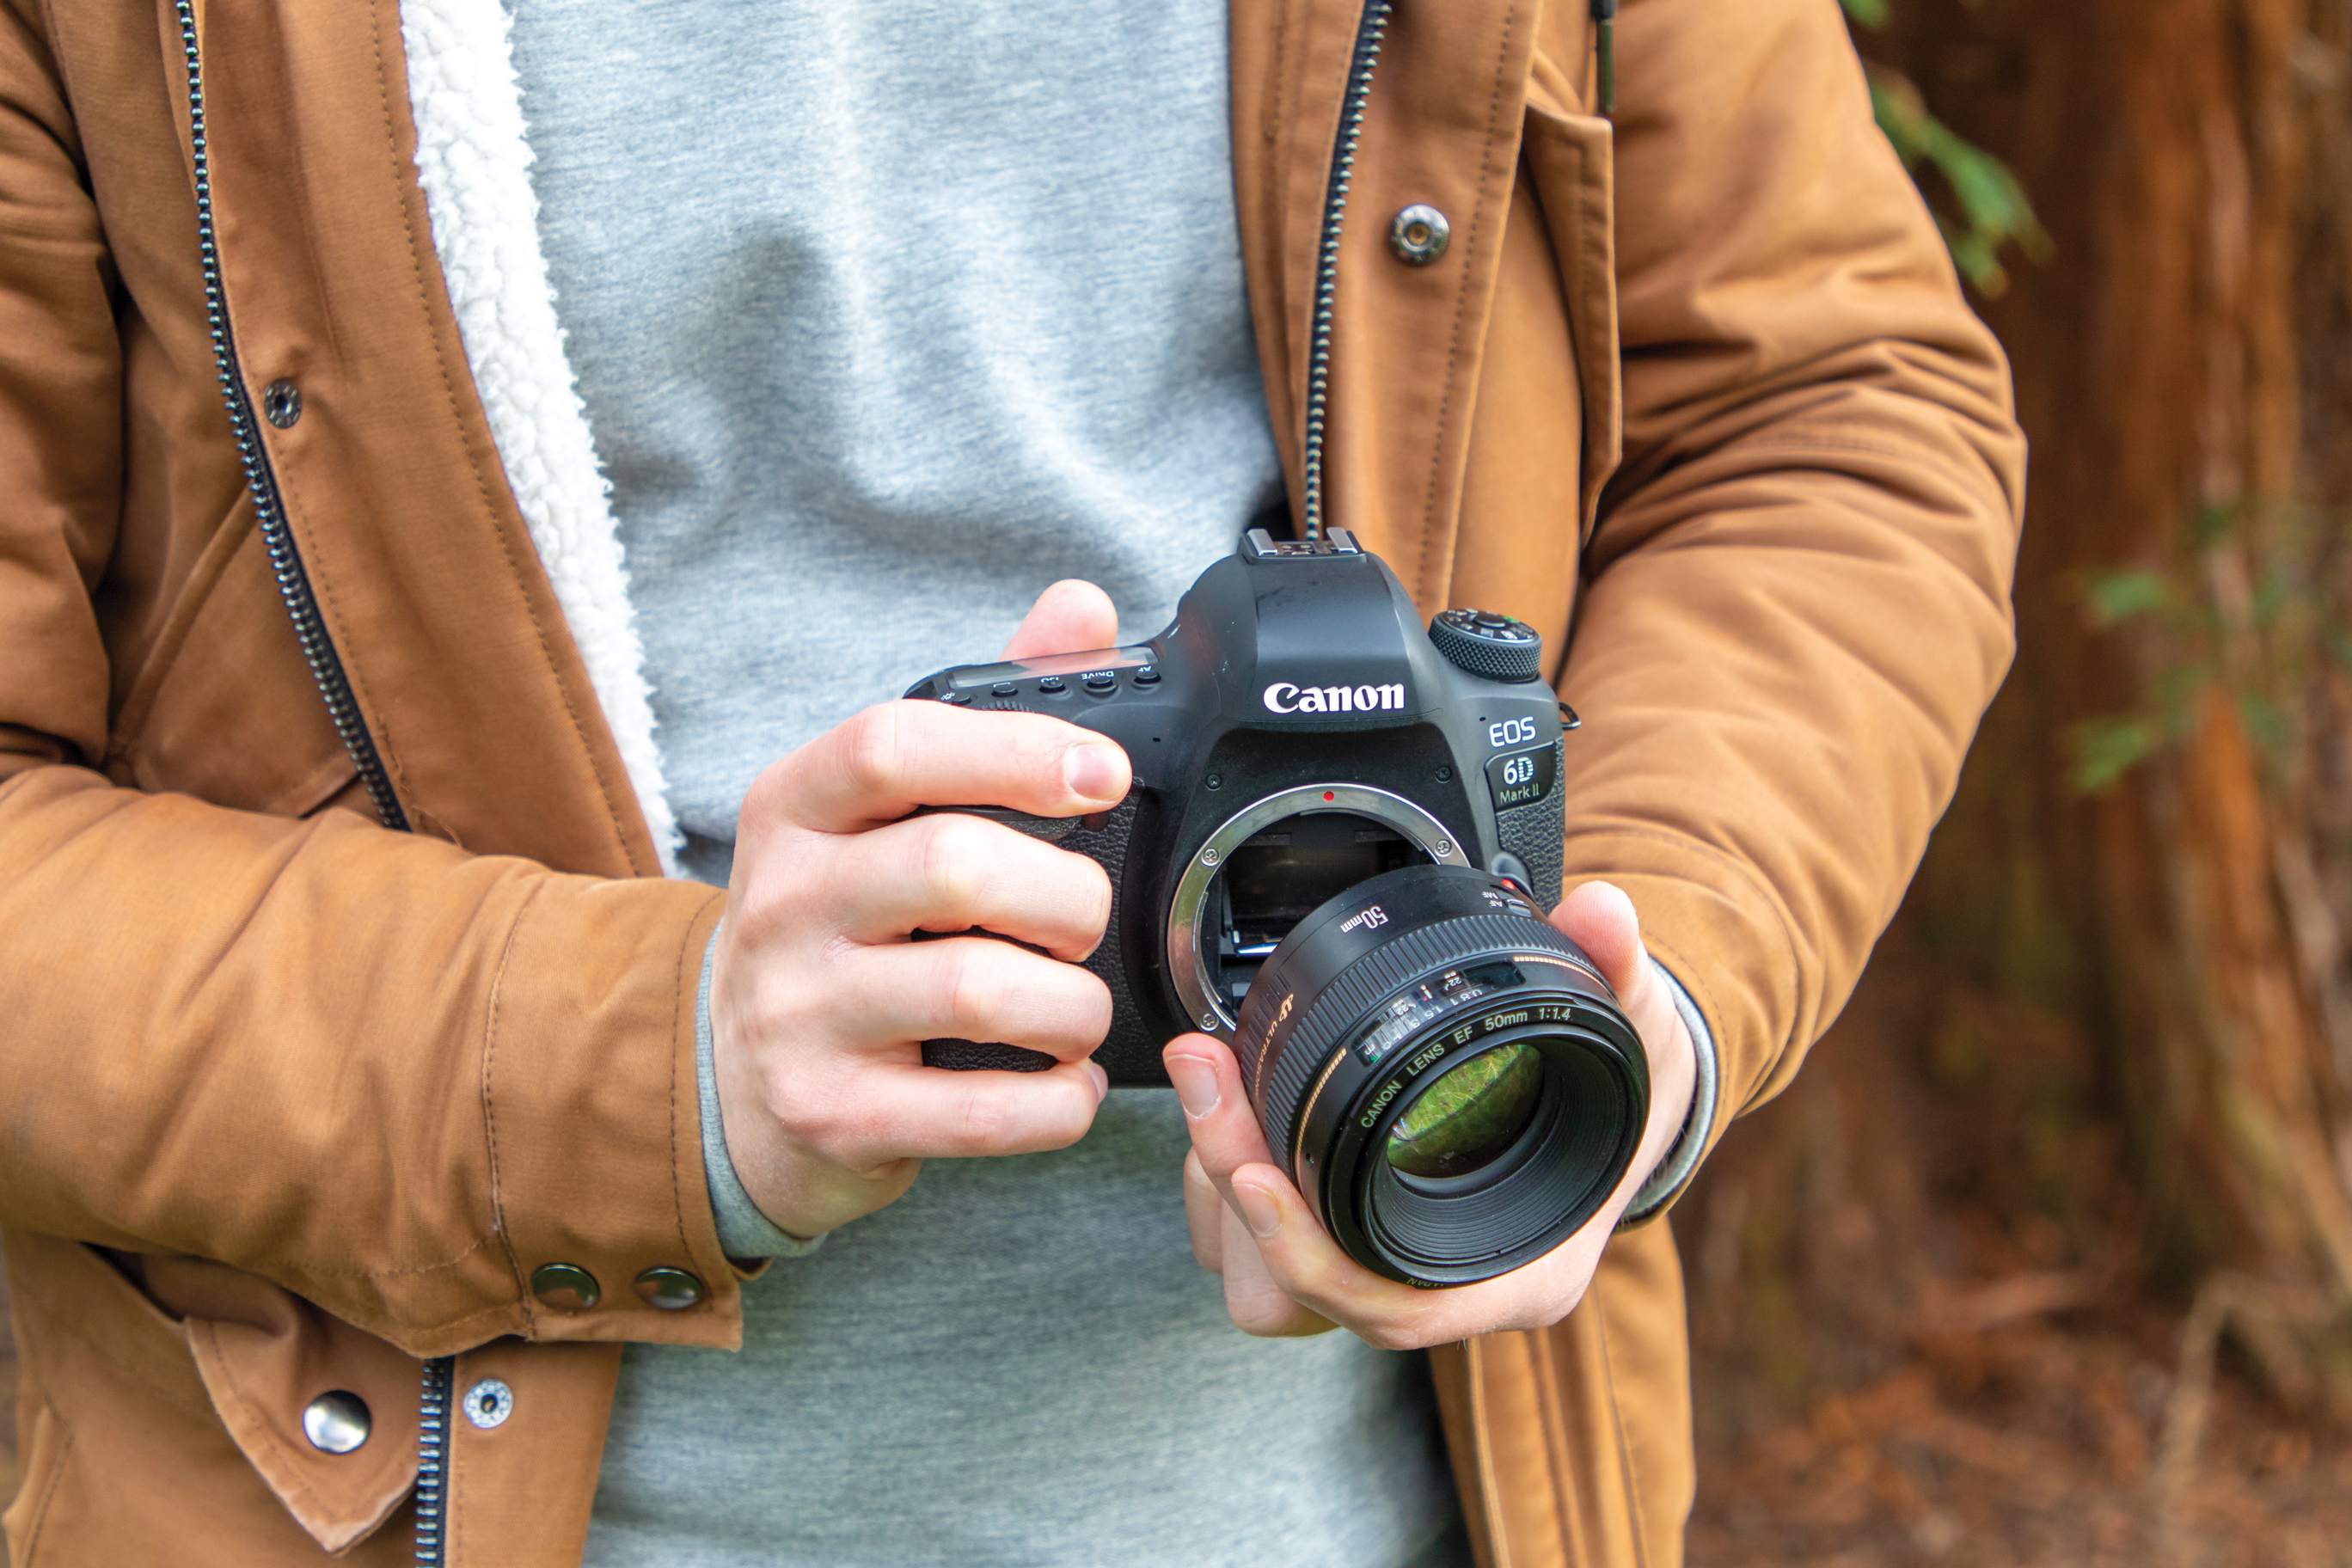
A 35mm is a good choice for cameras with an APS-C sensor, while 50mm is better for tight portraits on a full-frame body. The wide apertures of these primes are usually around f/1.8, making it easy to blur out the prism. A large front element will make it easier to position the prism in the shot.
03 Dial in the settings
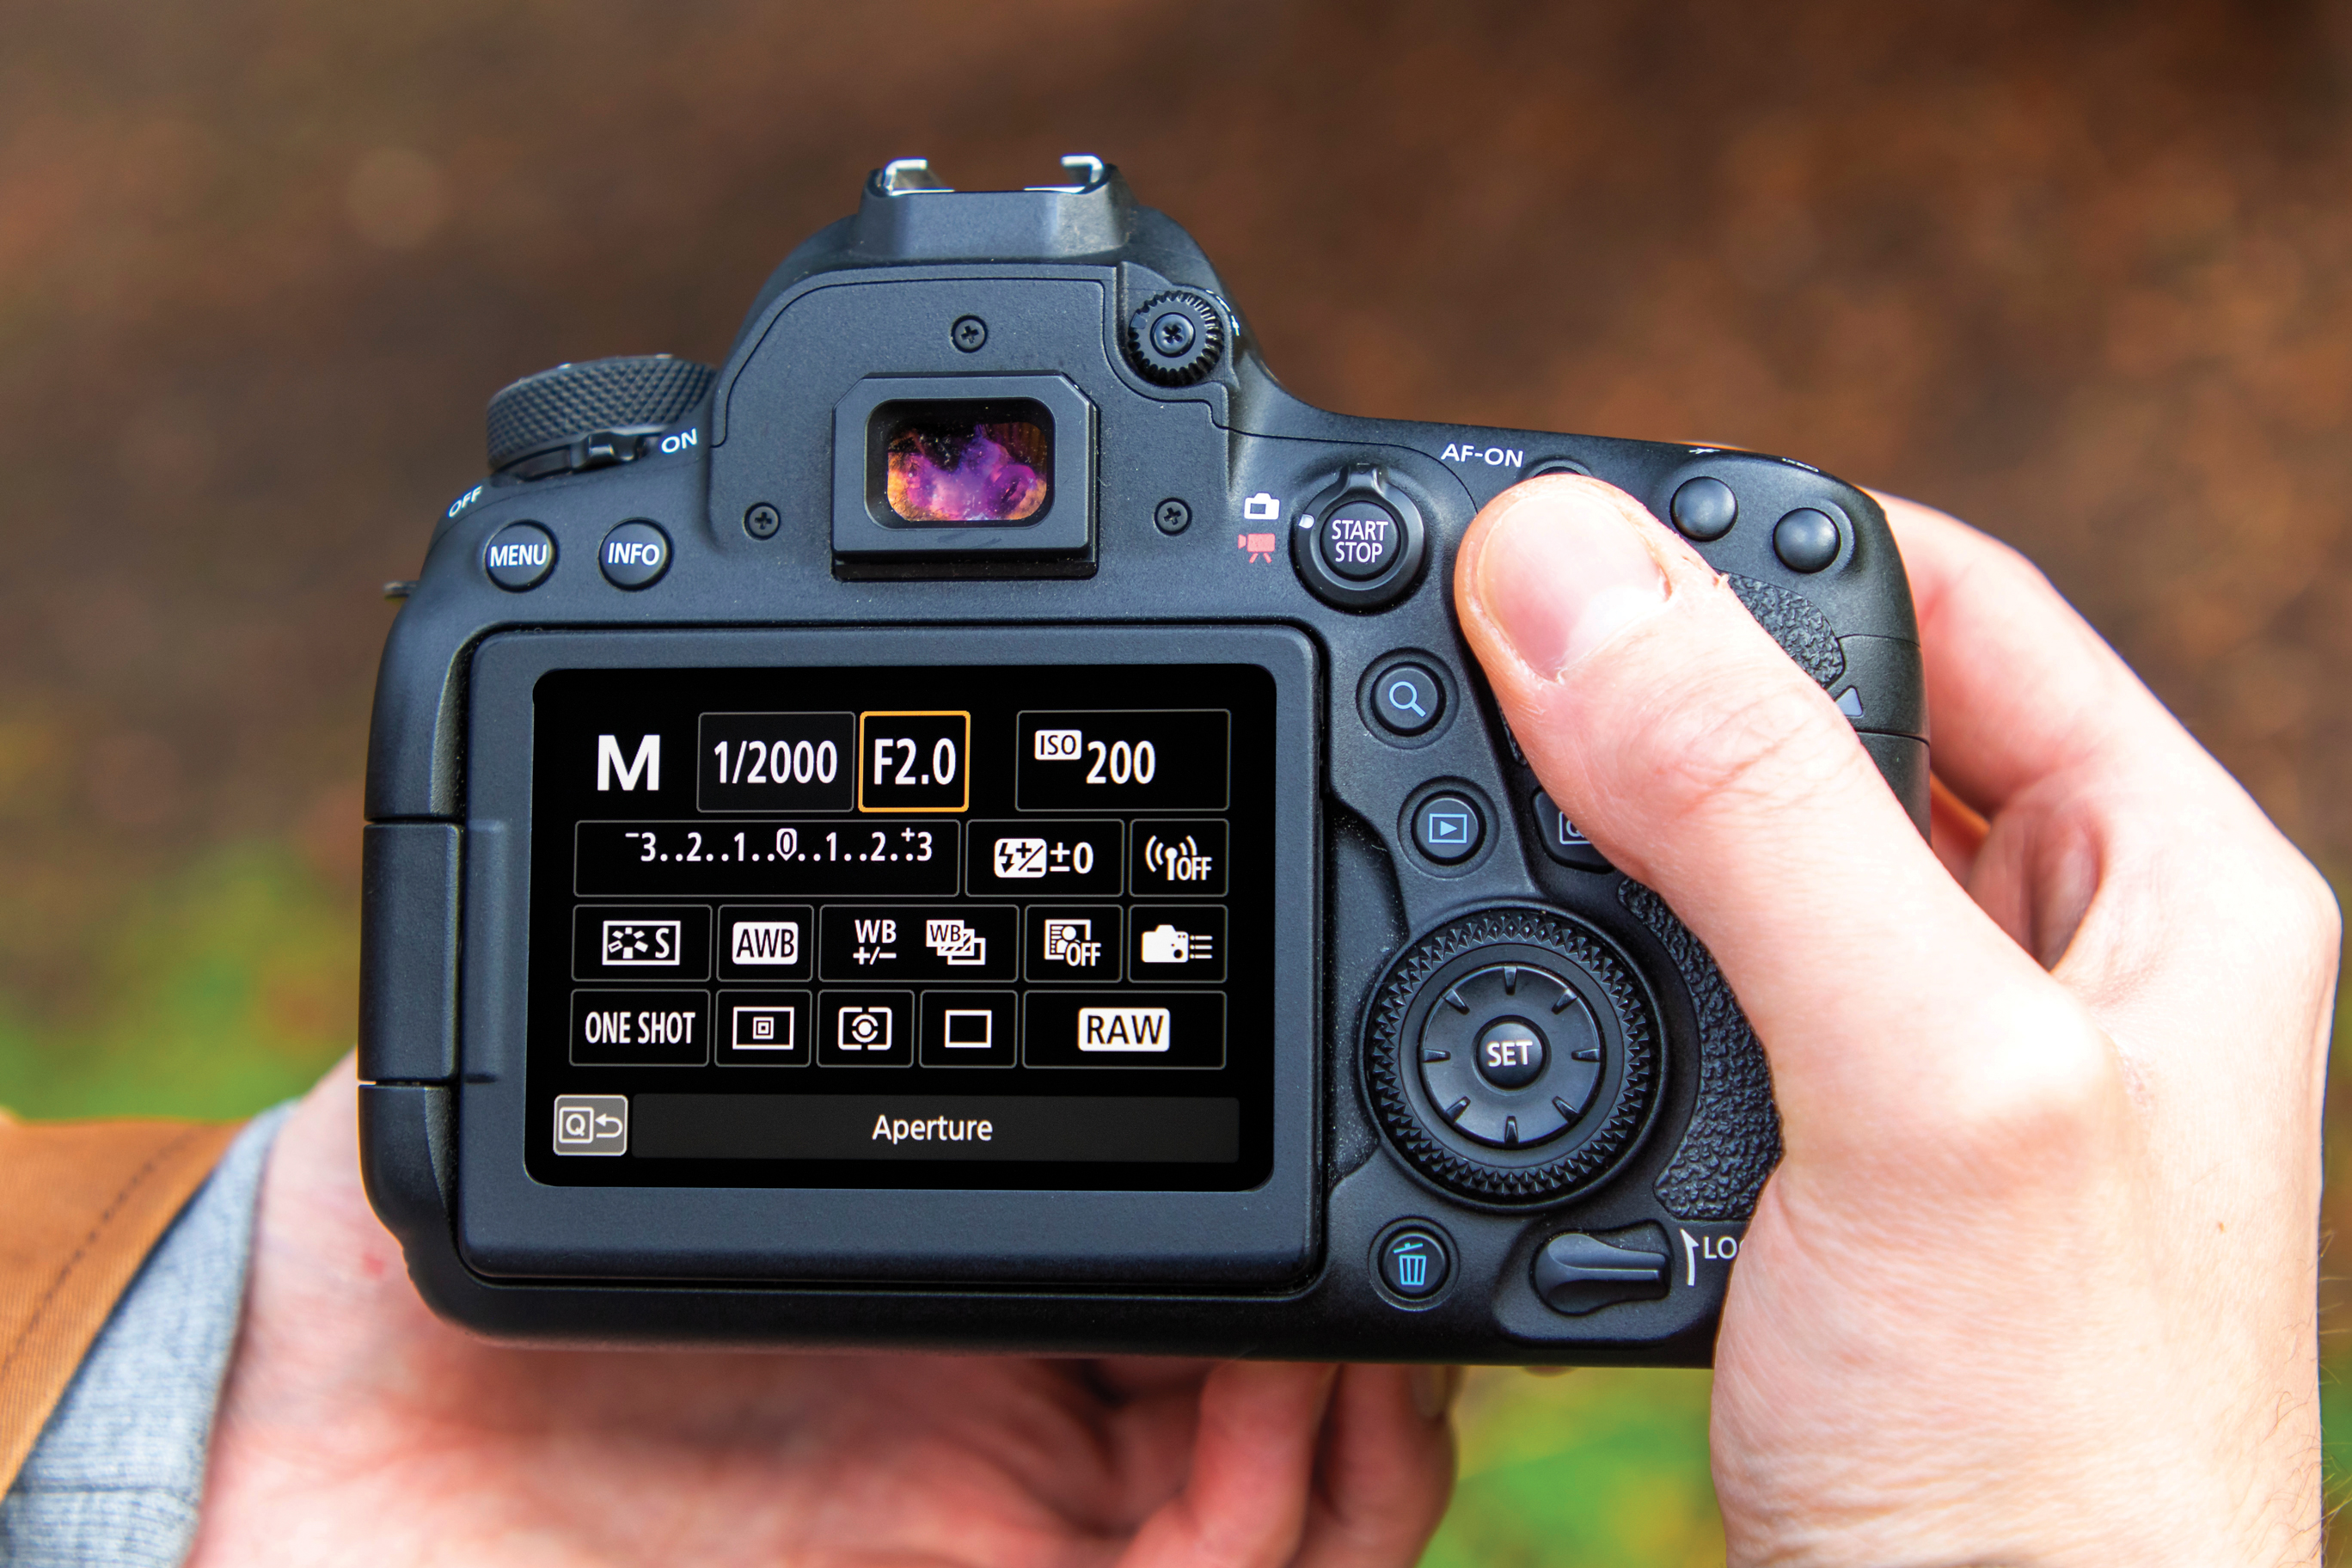
Your hands will be busy, with one holding the camera and the other holding the prism, so dial settings in before shooting. Go into Manual mode so your settings don’t alter, and set an aperture of around f/2, a shutter speed of 1/400sec and an ISO of 100, and enable RAW shooting.
04 Take a test shot

Direct your model into position, then take a test shot, leaving space in the composition for the flare to be injected from the prism. Review the shot – if it’s too bright increase the shutter speed, and if it’s too dark increase the ISO, then take another shot until the exposure is spot on.
05 Use the prism
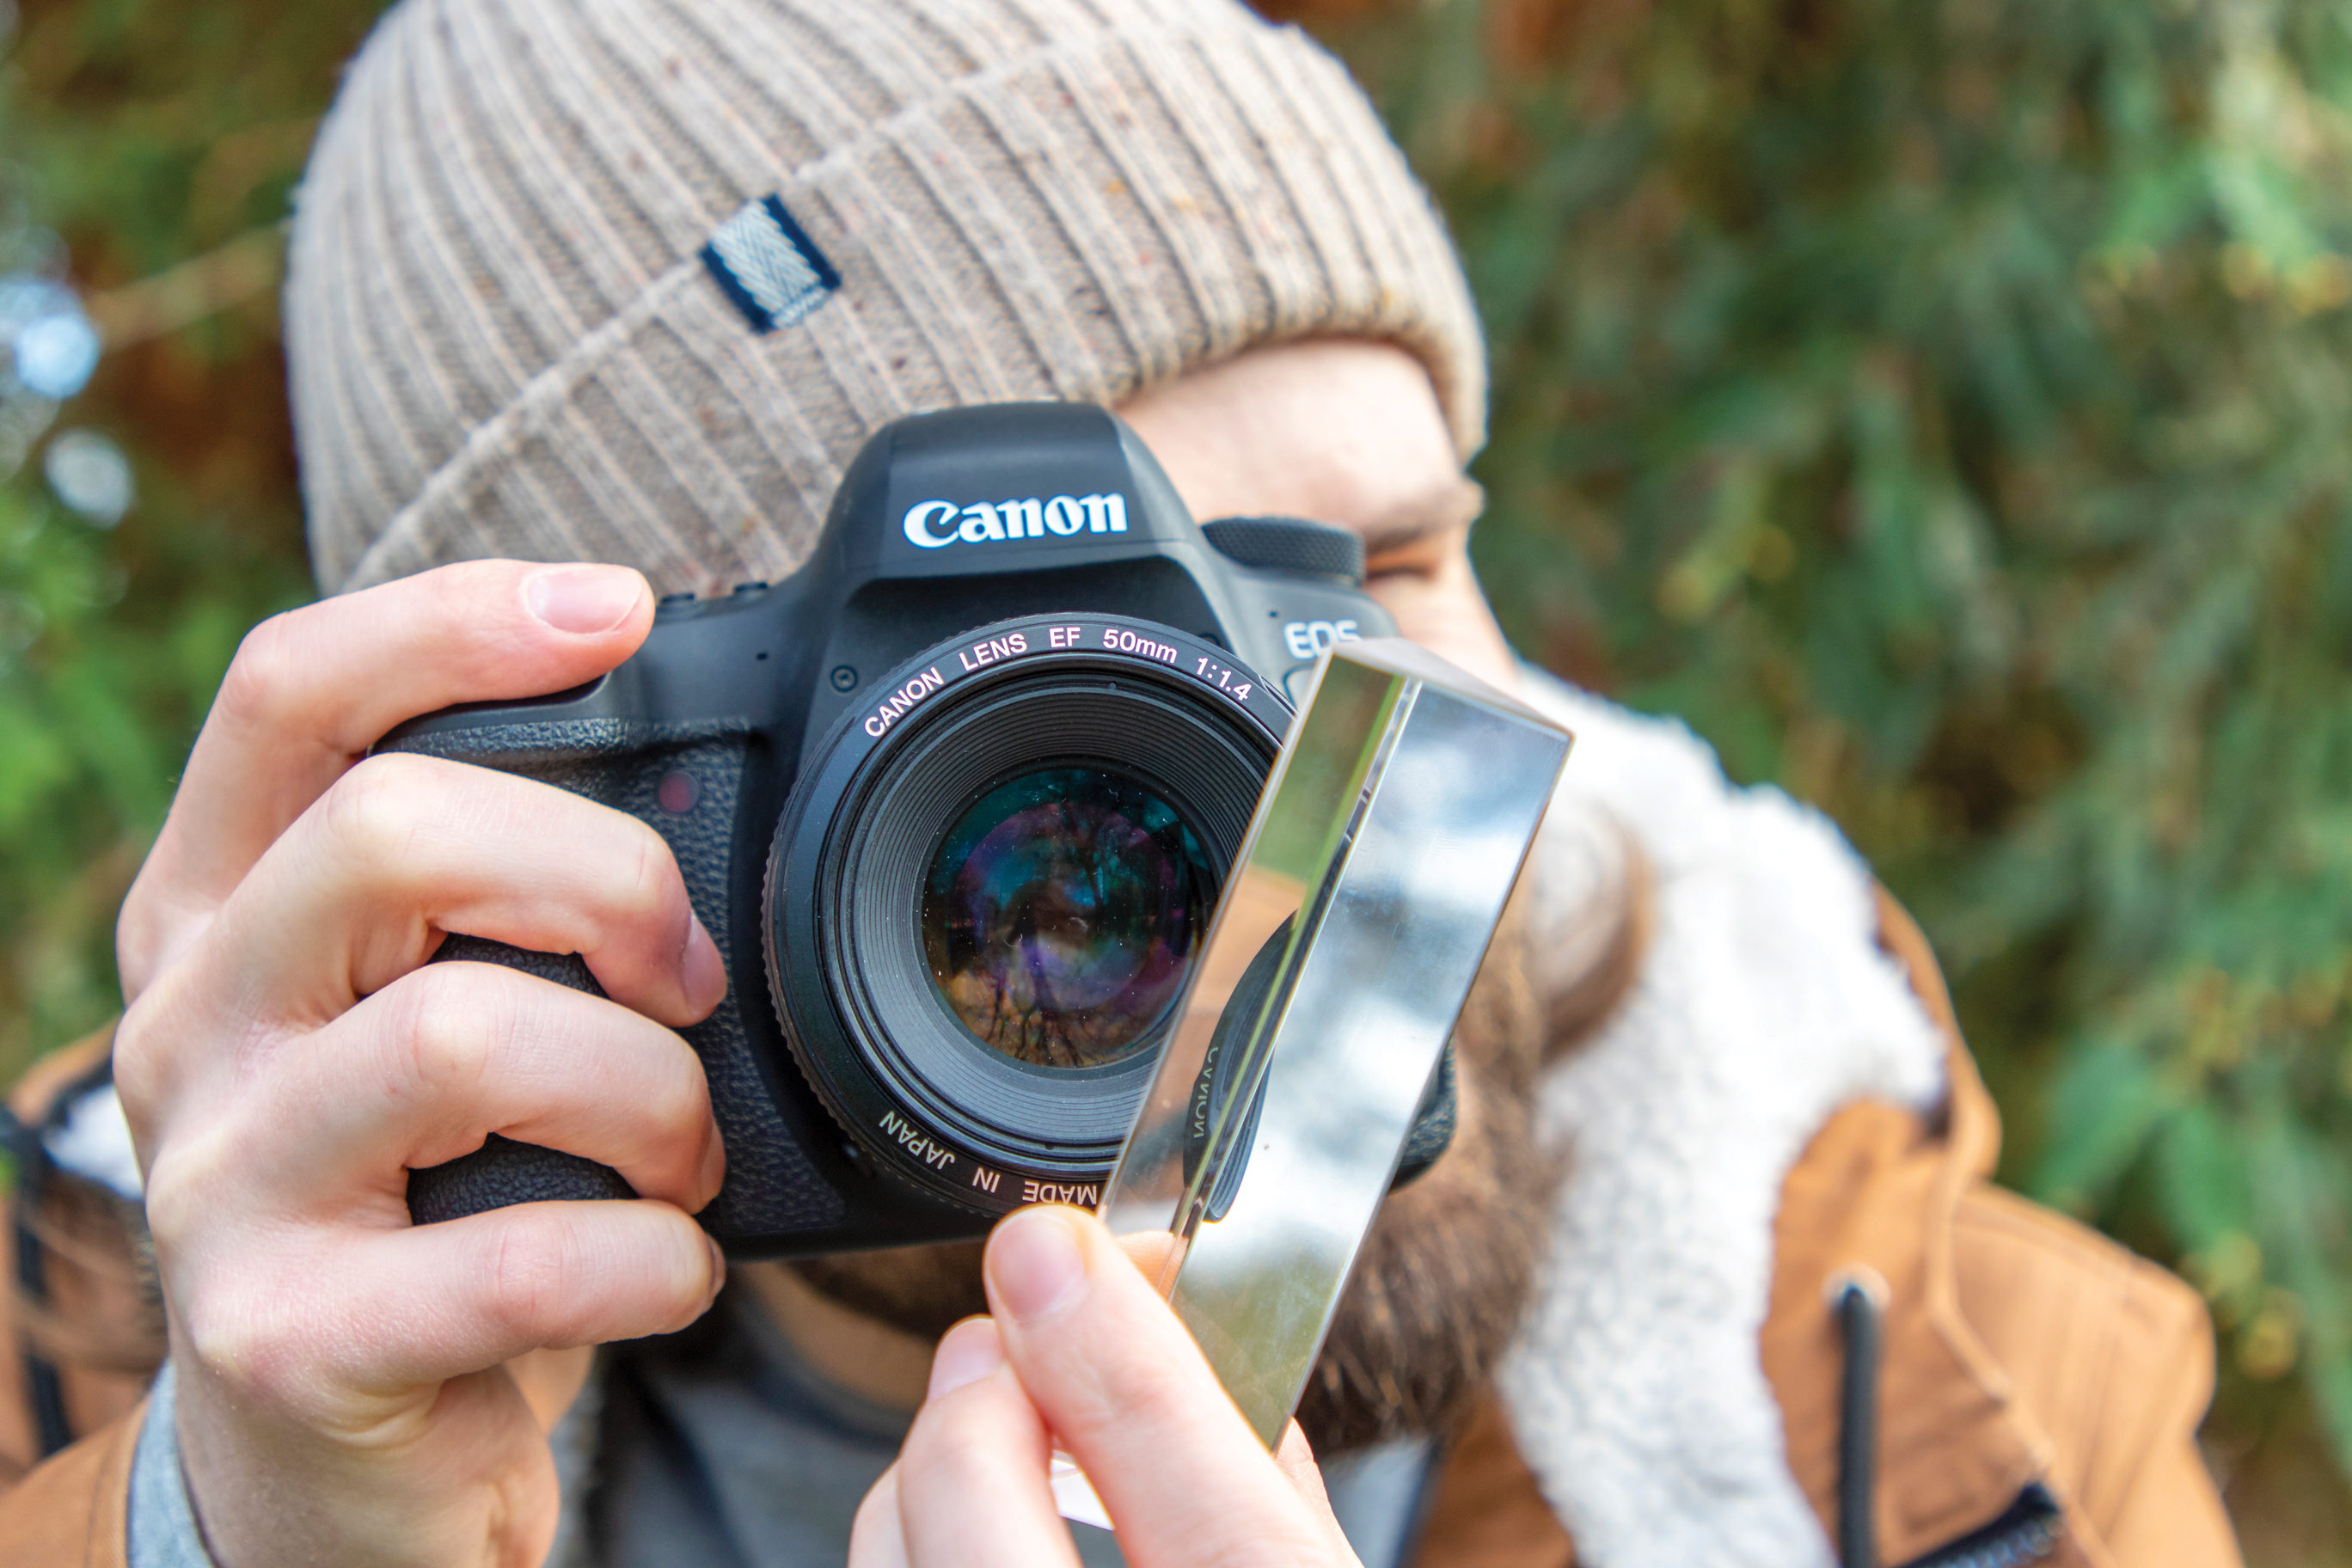
Now you can concentrate on incorporating the flare from the prism without worrying about the exposure. Hold it with your left hand and bring it up to the front element of your lens, then move it around until you get a flare and reflection you like. You may need to reposition yourself and the model.
06 Take the final shots
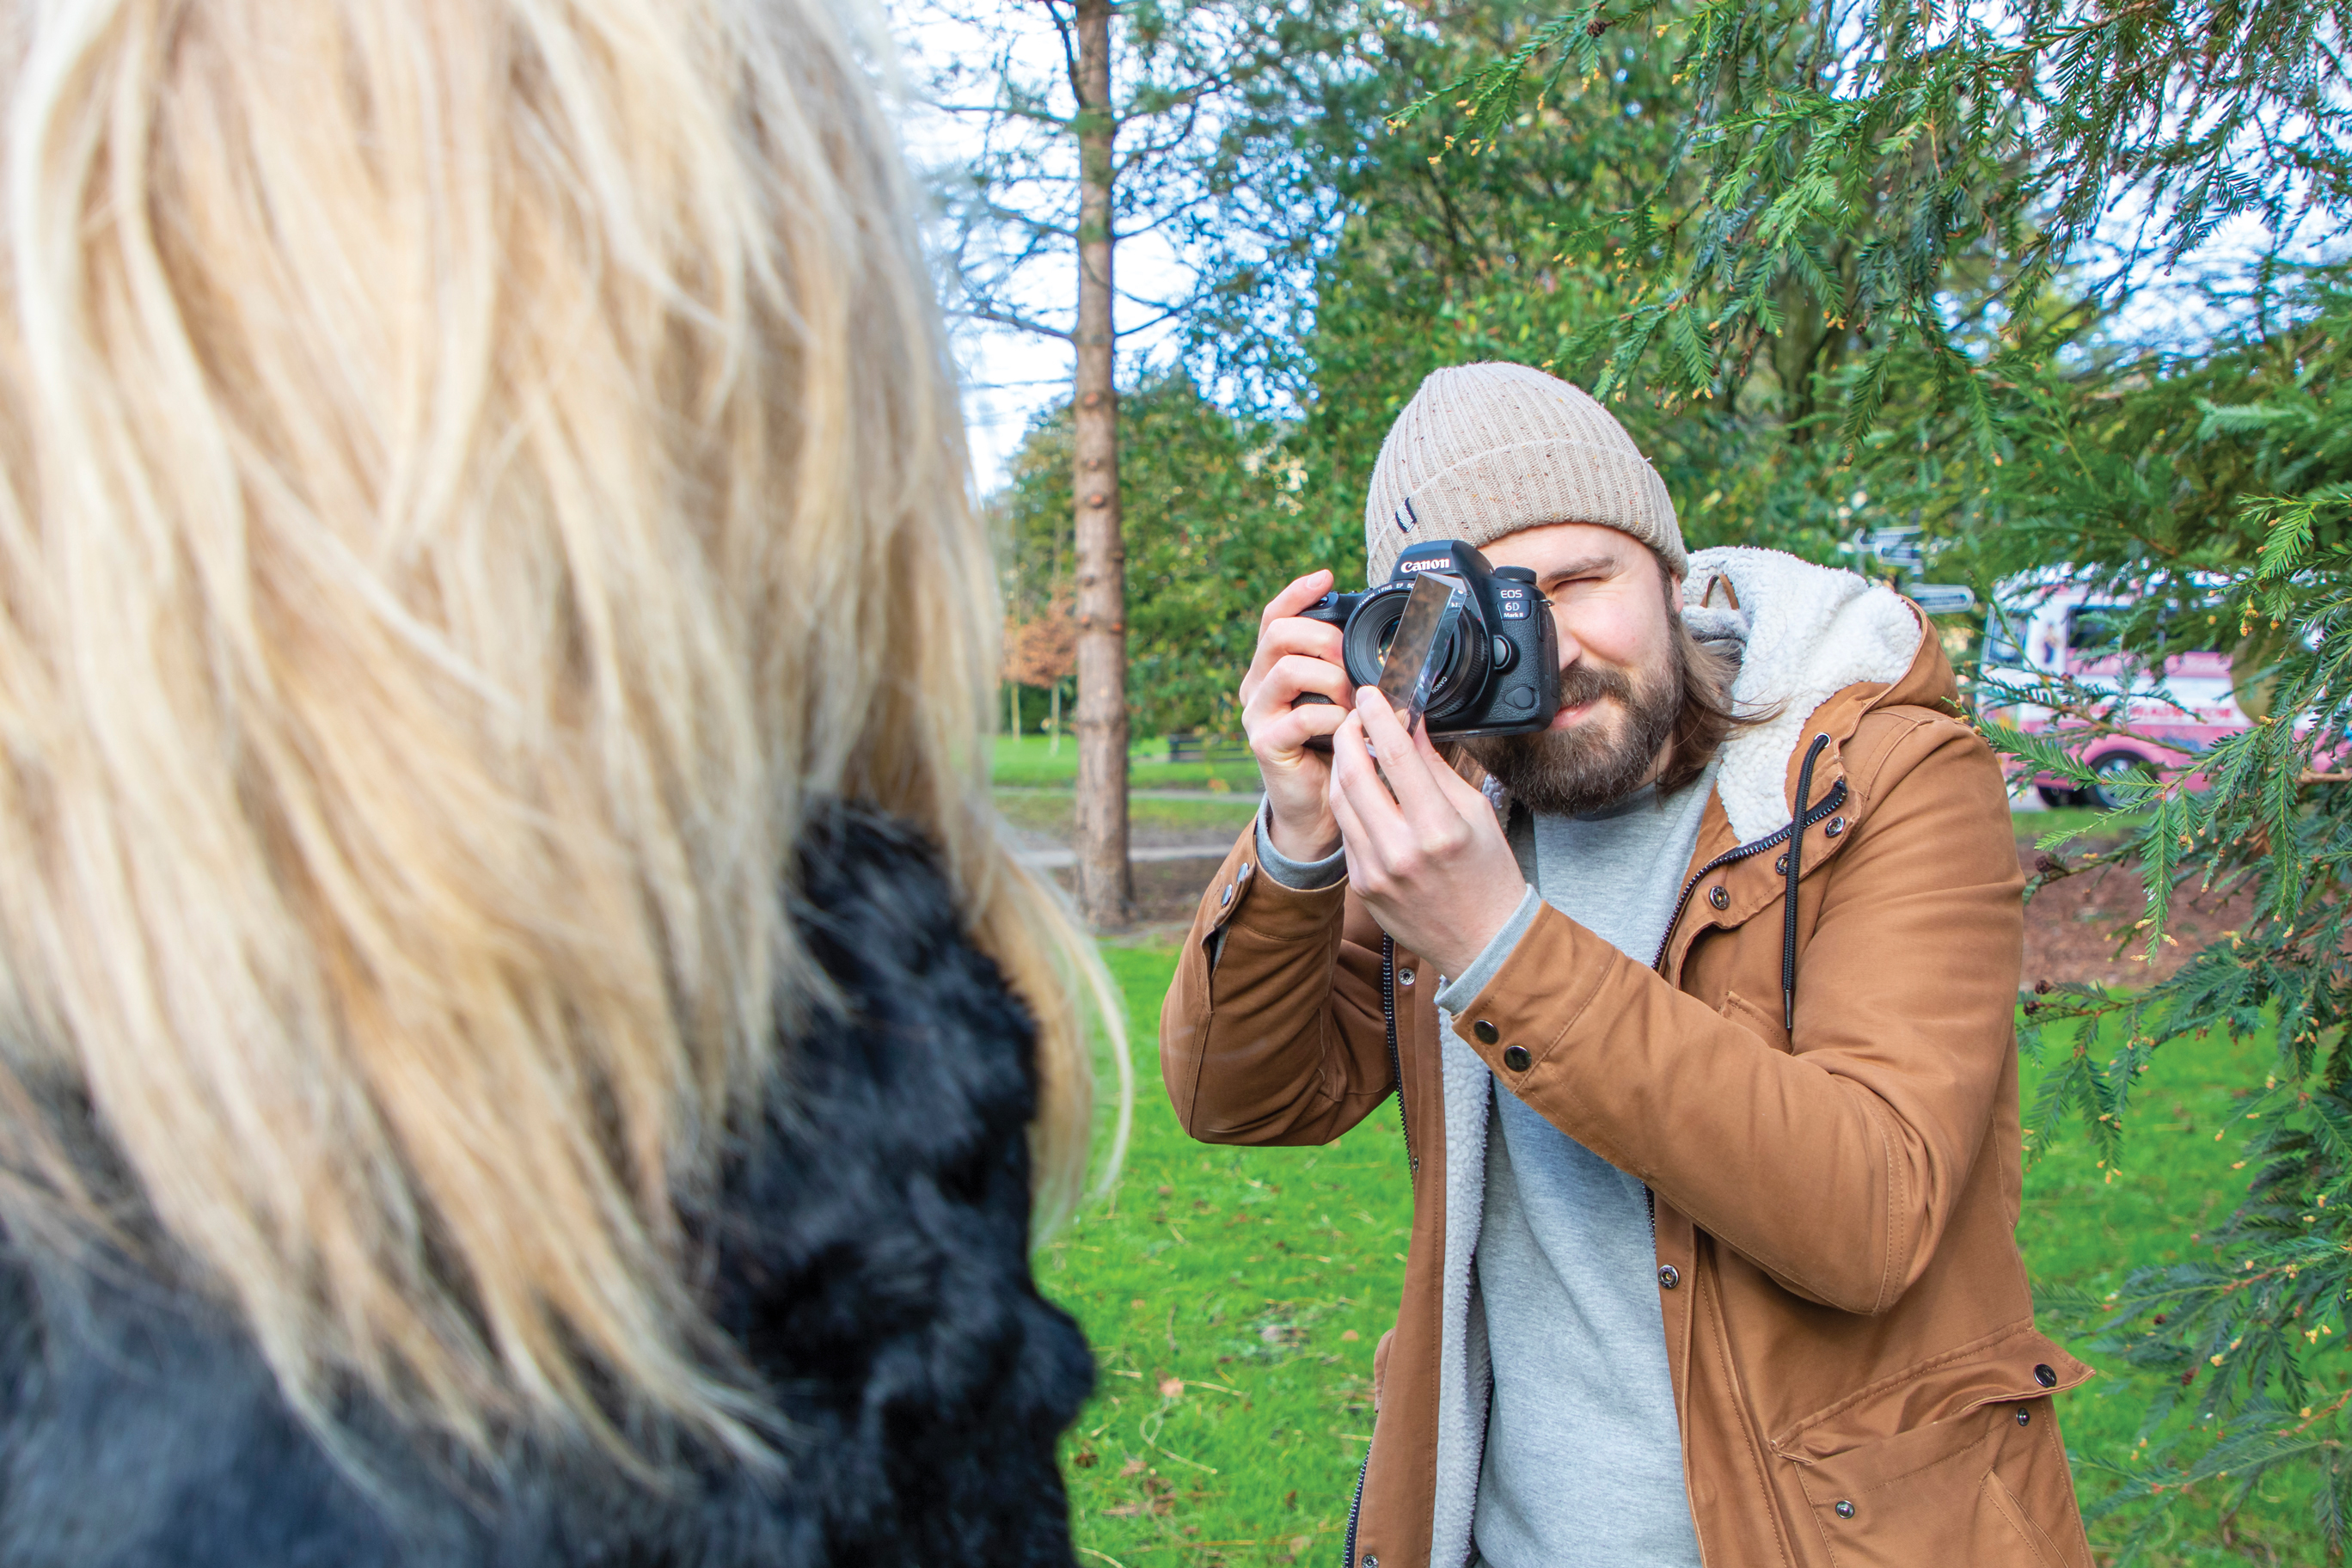
With the flare how you want it and the composition spot on, use the directional pad or joystick on the back of your camera to move the active autofocus point directly over the top of the model’s eye that’s closest to you. Half-press the shutter to focus, and then take the shot.

Lauren is a photographer and journalist with a degree in Marine & Natural History Photography and over a decade of experience in the camera industry. The former Managing Editor of Digital Camera World, she has also headed up the former Digital Photographer Magazine. Today, Lauren specialises in wildlife and landscape photography (although she also takes on wedding photography), frequently testing bird feeder cameras and trail cameras in her local Cotswolds neighbourhood. Her bylines include Canon Europe, Tech Radar, Space.com, and Woman & Home.

