Happy World Food Day! Here's how to capture a finger lickin' food photography flat lay
Natural light is all you need to photograph a delectable food flat lay this World Food Day
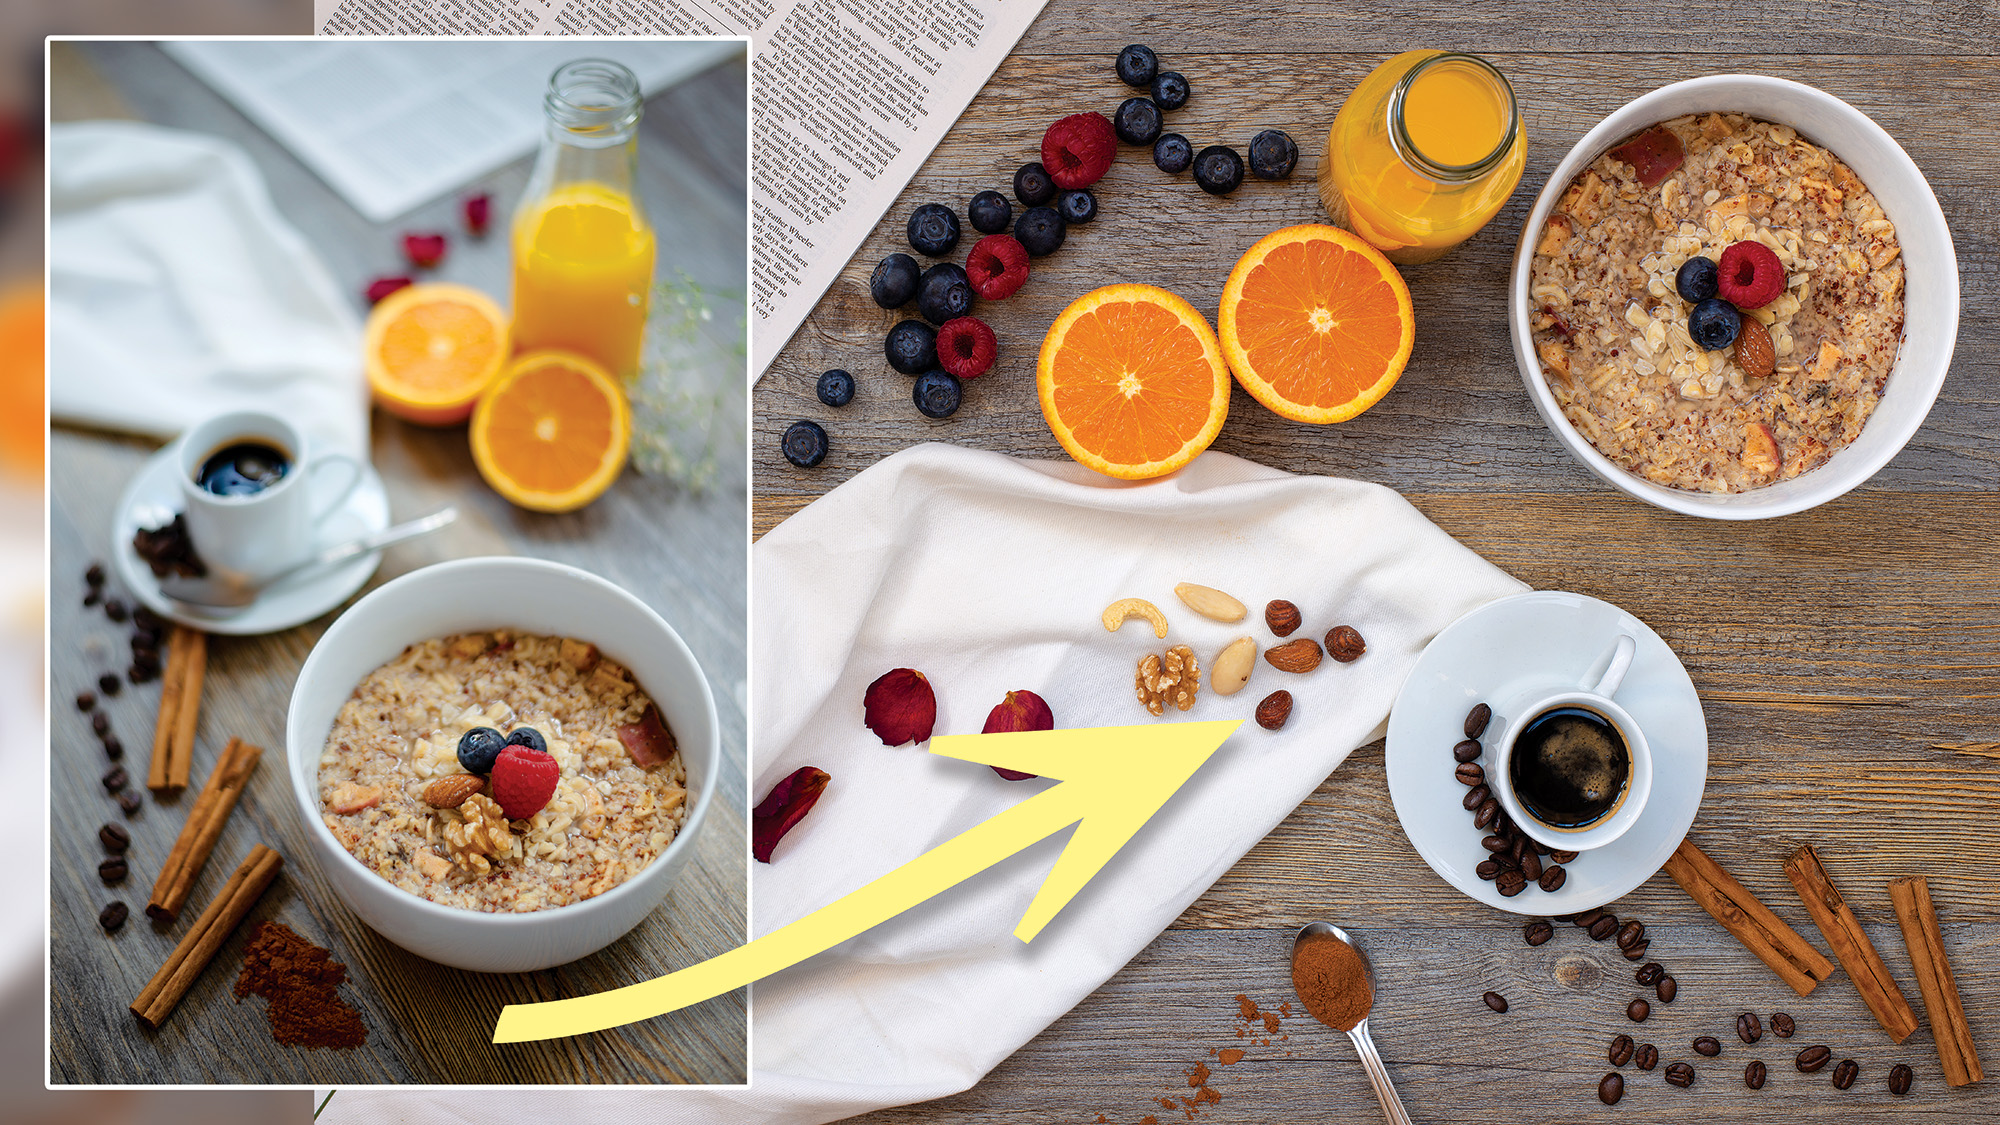
I thought I'd celebrate World Food Day by photographing a flavorsome flat lay. Social media was once teeming with dodgy food snaps, but grainy pictures of pancakes are now few and far between.
Instagram is awash with perfectly lit images of fresh produce, neatly arranged atop quaint kitchen counters. But if you’re intimidated by a lack of studio lighting, culinary skills, attractive kitchen space or access to the best camera for food photography, don't be! Food photography is one of the most accessible genres out there.
In fact, many of the best lenses for food photography are 'nifty fifties', so you don't even need super-expensive optics. I photographed this tantalizing flat lay in natural light. The trick is to shoot the food-themed still life on a lightweight base that can be moved into an area with great ambient lighting. You can then manipulate the light with a reflector.
My base was formed using self-adhesive vinyl planks, which I set up in a bay window. This enabled the sunlight to strike the subjects from multiple directions and soften the shadows for a more even coverage.
The central column of my Manfrotto 190 Go!! tripod can be fixed at a 90º angle. This meant I could adjust the arrangement of my subjects, while keeping the frame fixed, all the while using my Nikon D800's rear LCD to keep tabs on the composition.
That's all there is to it – here's how to rustle up a 'foodie' flat lay…
1. Gather ingredients and 'foodie' props
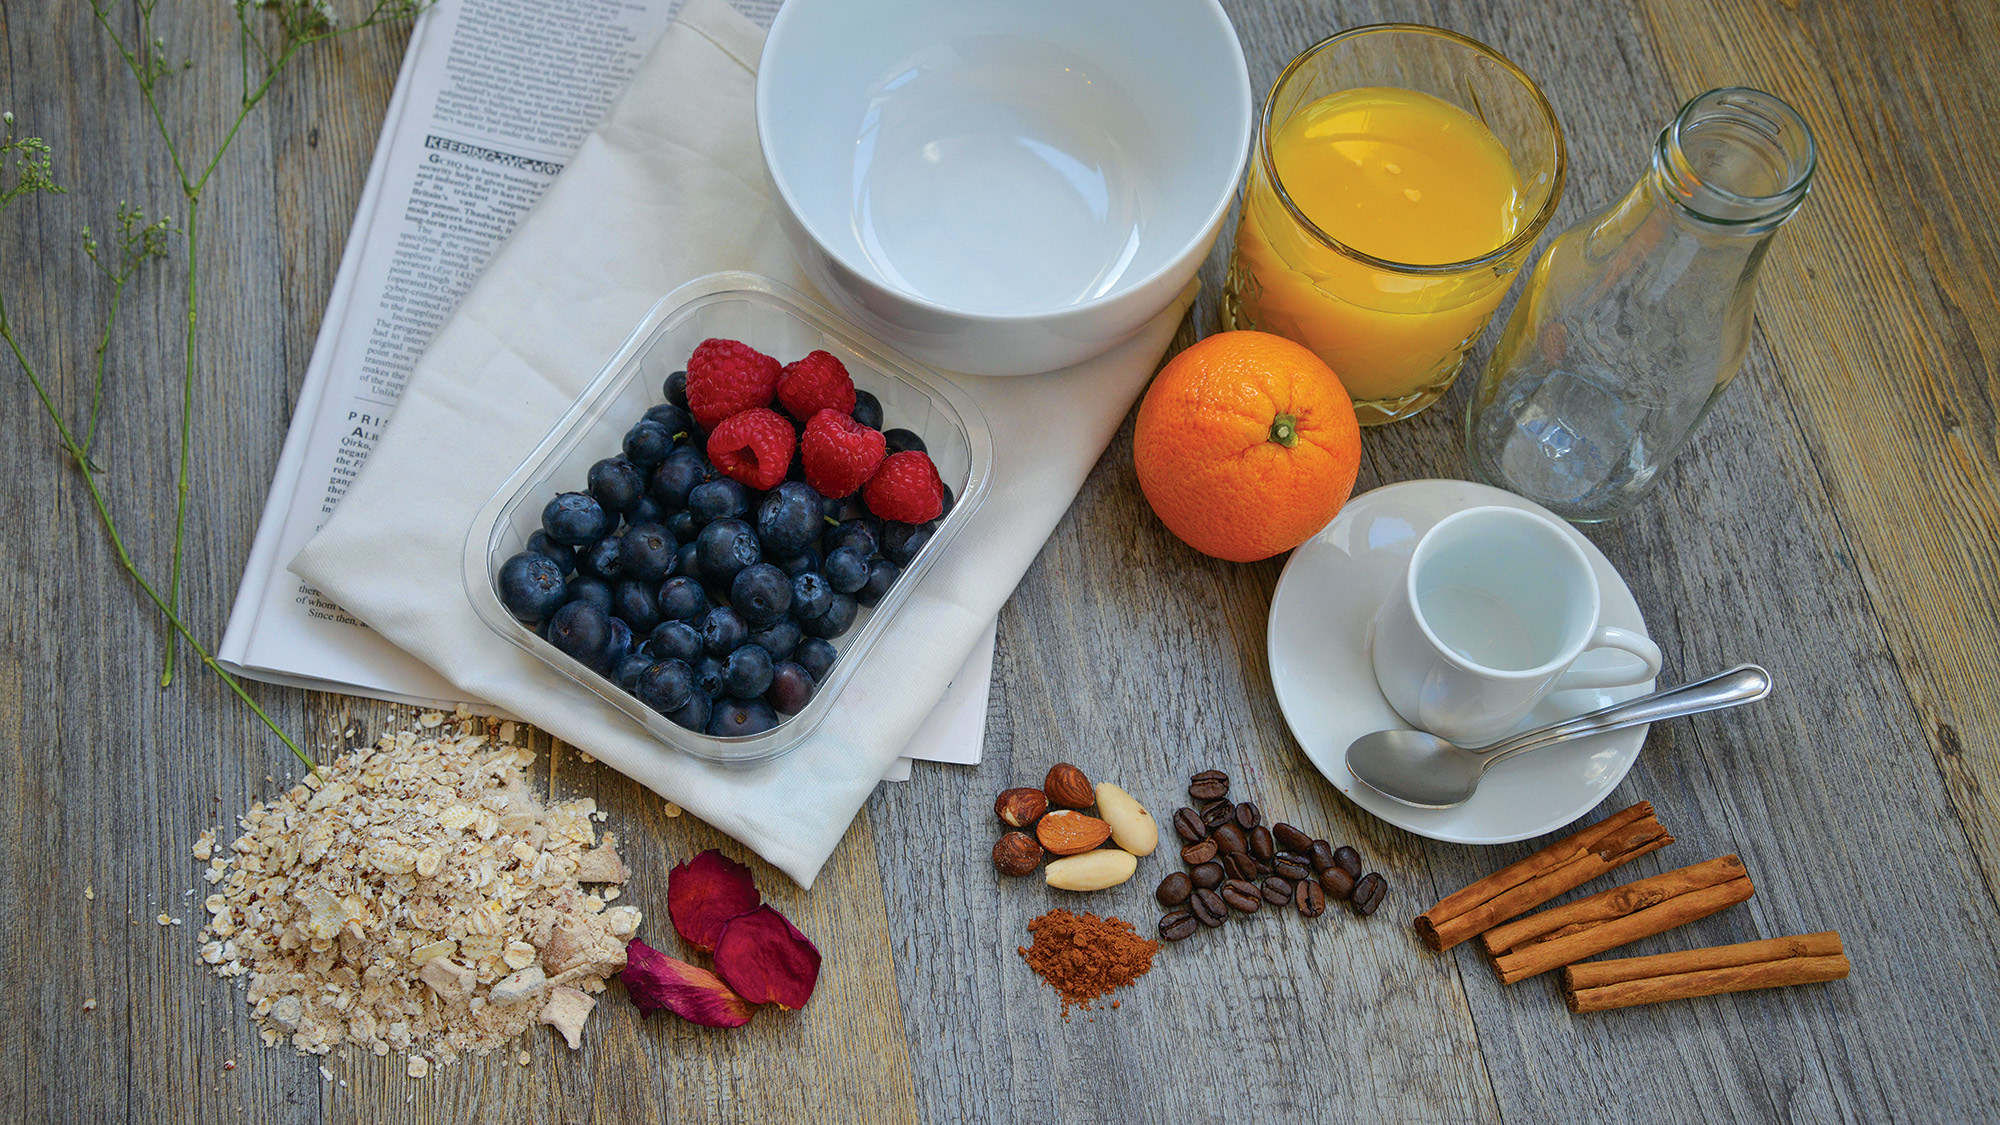
I'm not known for my culinary expertize, so I purchased food from the supermarket. The props are household items but, if you need to buy anything, thrift stores are affordable and full of inspiring trinkets. Your subjects should complement your base. I paired rustic foods with a rustic base and added a few vibrant food items to offset the delightfully earthy tones.
The best camera deals, reviews, product advice, and unmissable photography news, direct to your inbox!
2. Find an attractive surface
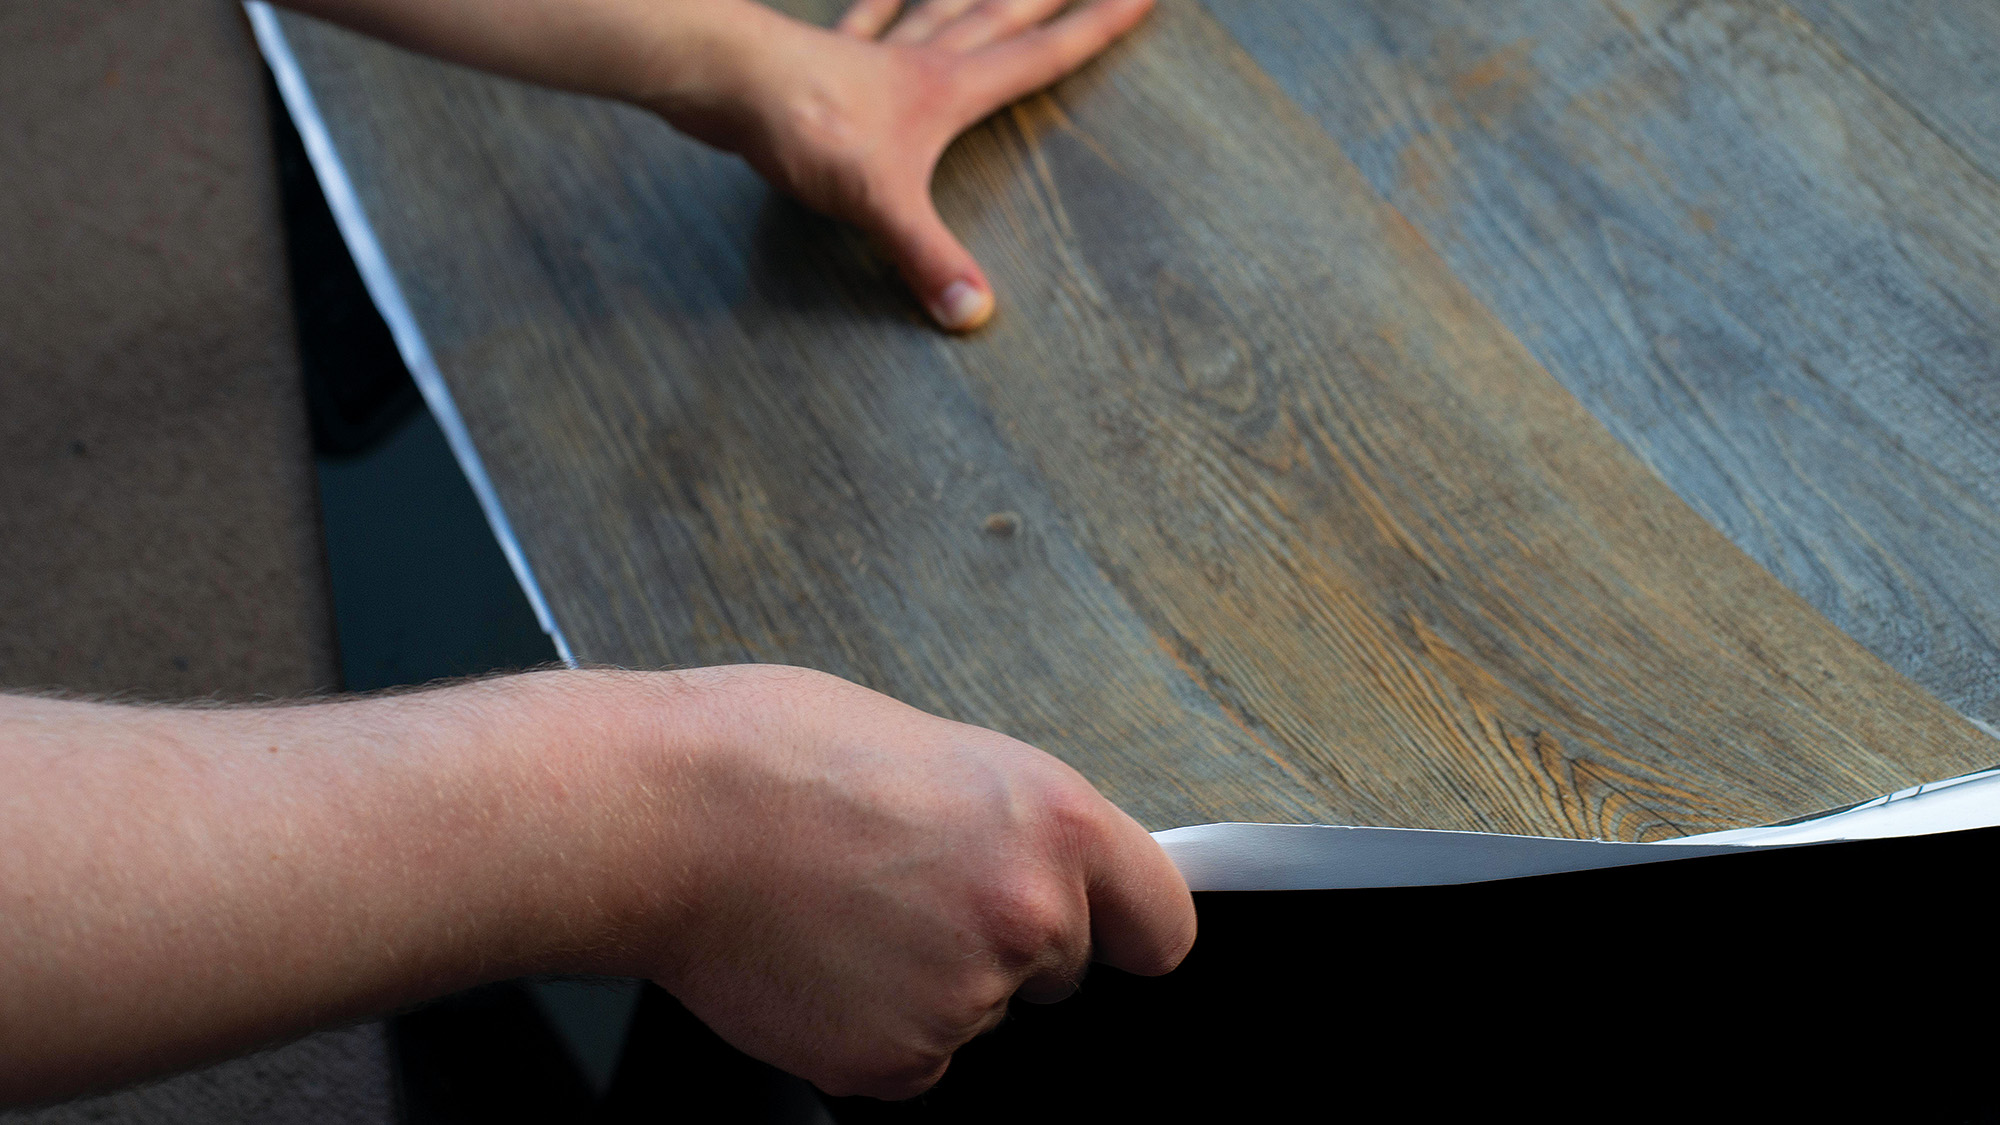
I stuck self-adhesive vinyl planks on construction paper to form my base, but you could use anything from tiles to lengths of wood or fabric. Just make sure your base isn't too heavy – you'll be moving it around to find the best possible source of light.
3. Set up by a window
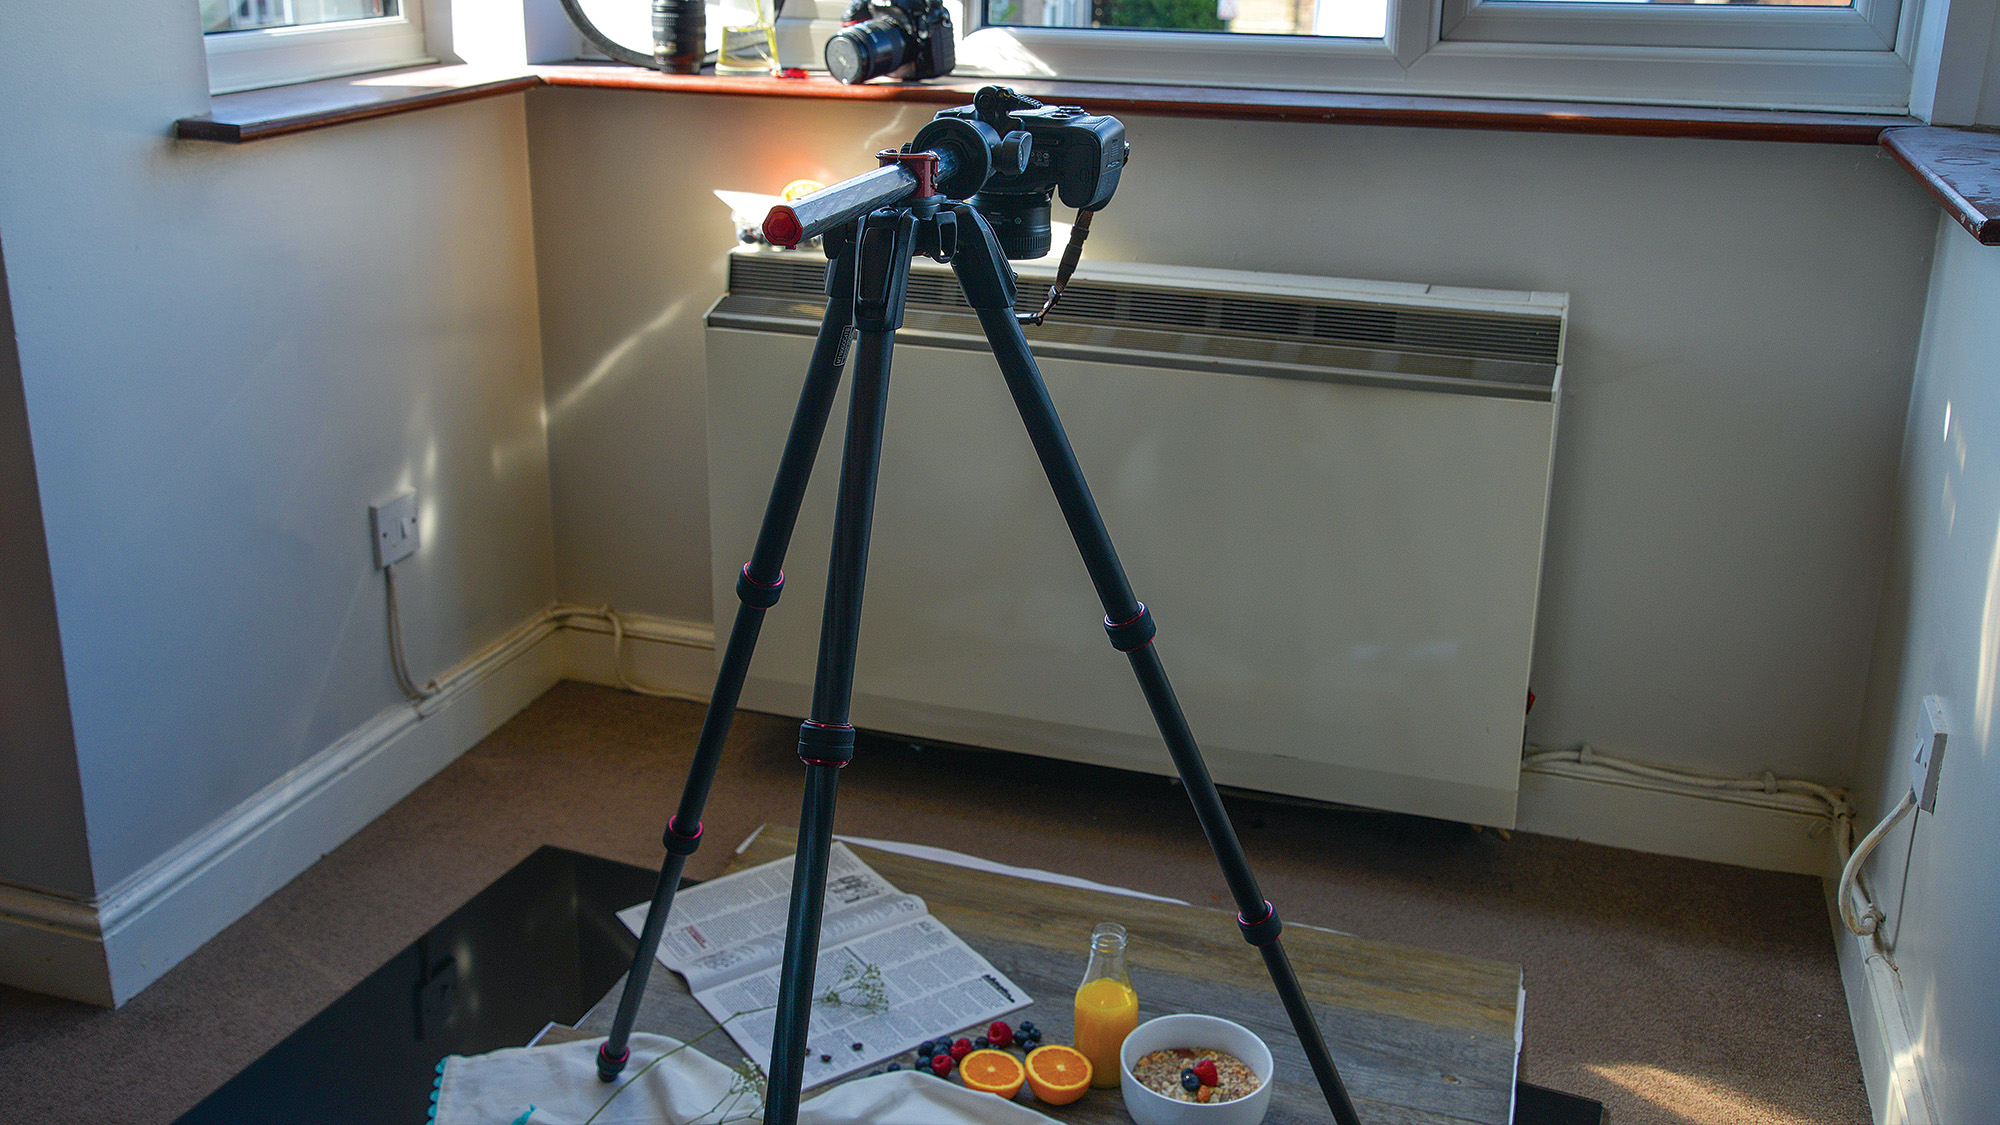
Set up in a well-lit area, like my bay window or outside (if it's calm enough). On a cloudy day, clouds will act as a diffuser and produce softer shadows. If you're shooting on a bright clear day, like me, be careful not to position the base in direct sunlight as the shadows will be too harsh.
4. Tilt your tripod
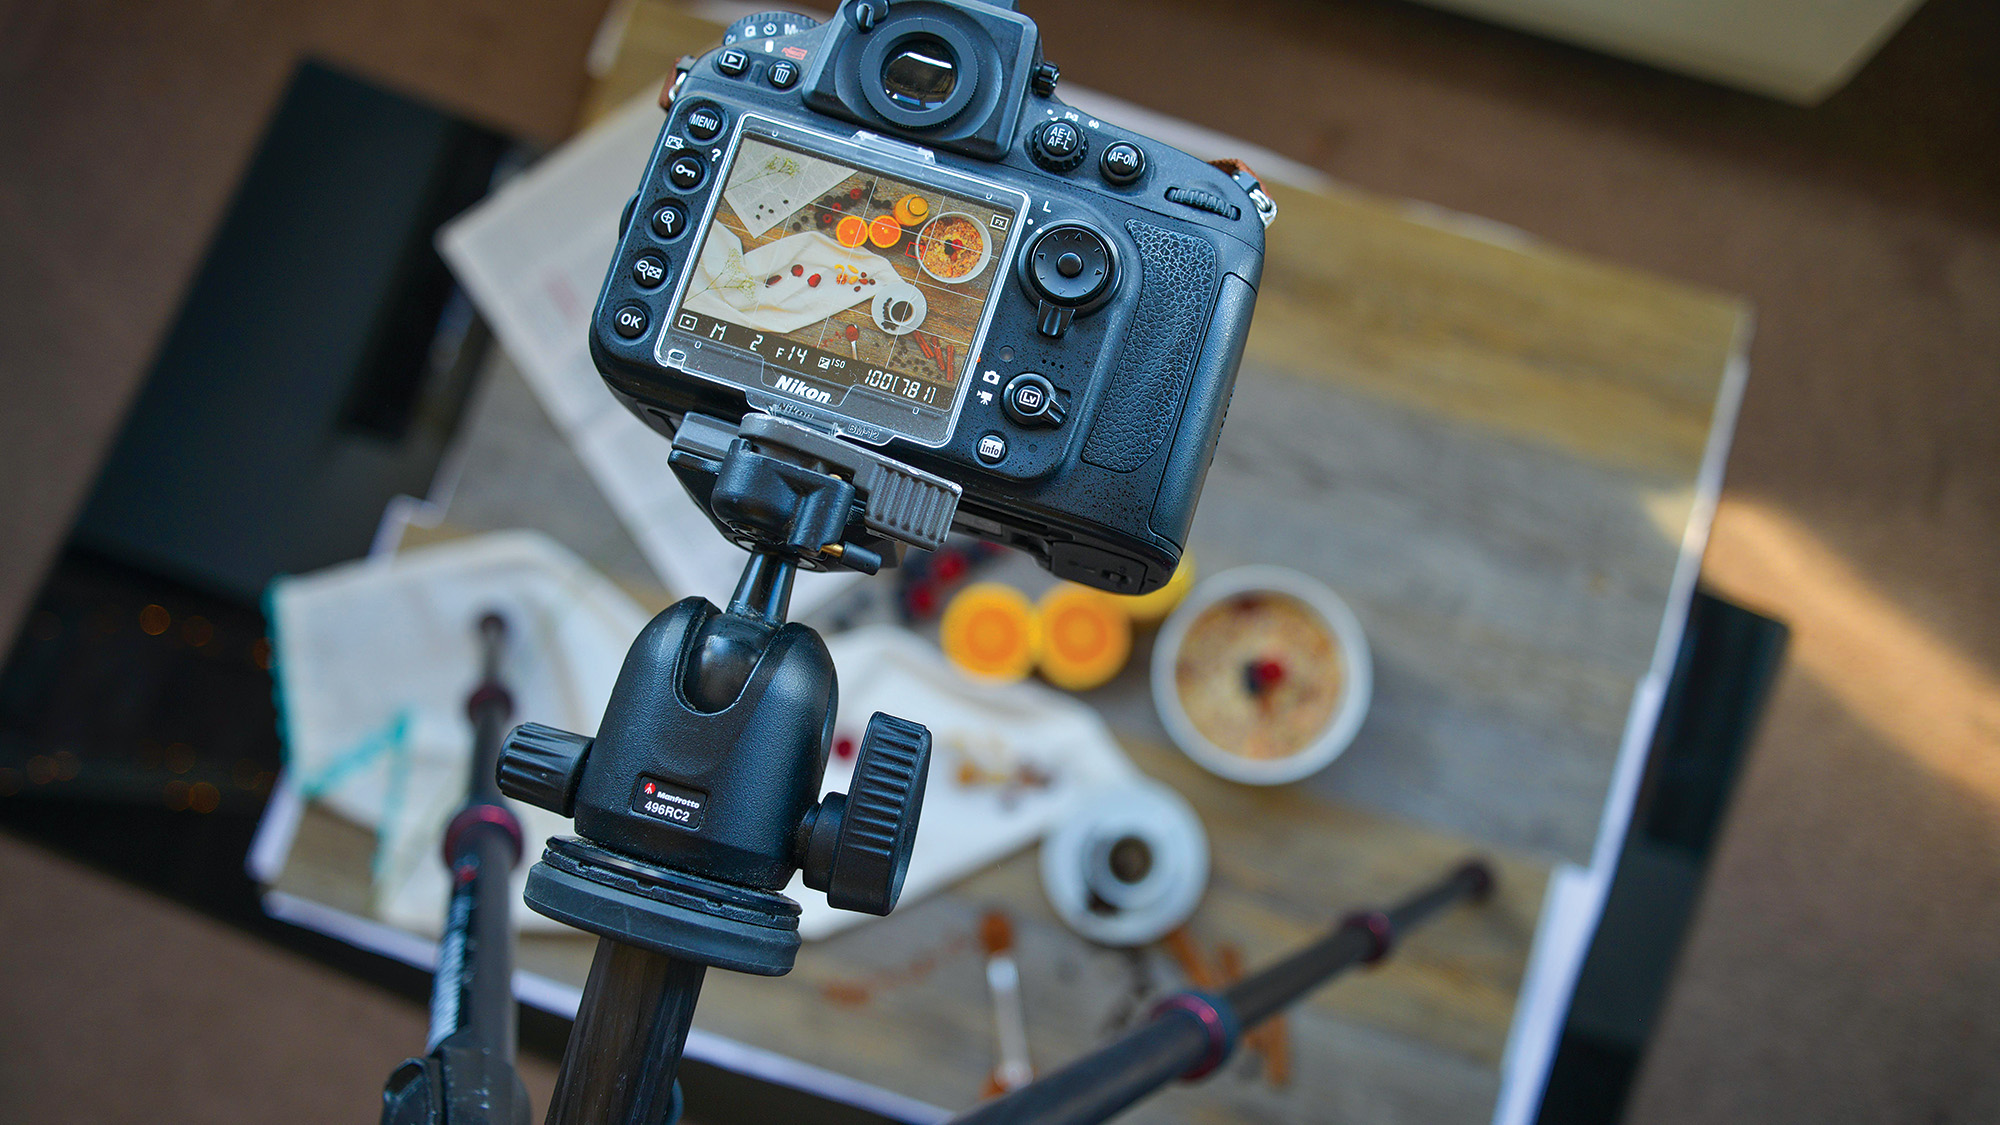
A tripod enables you to adjust the position of your subjects without moving the frame, and ensures you can shoot at low ISOs for maximum quality. If you've no alternative then you can still shoot handheld, but a tripod is recommended.
5. Create your composition
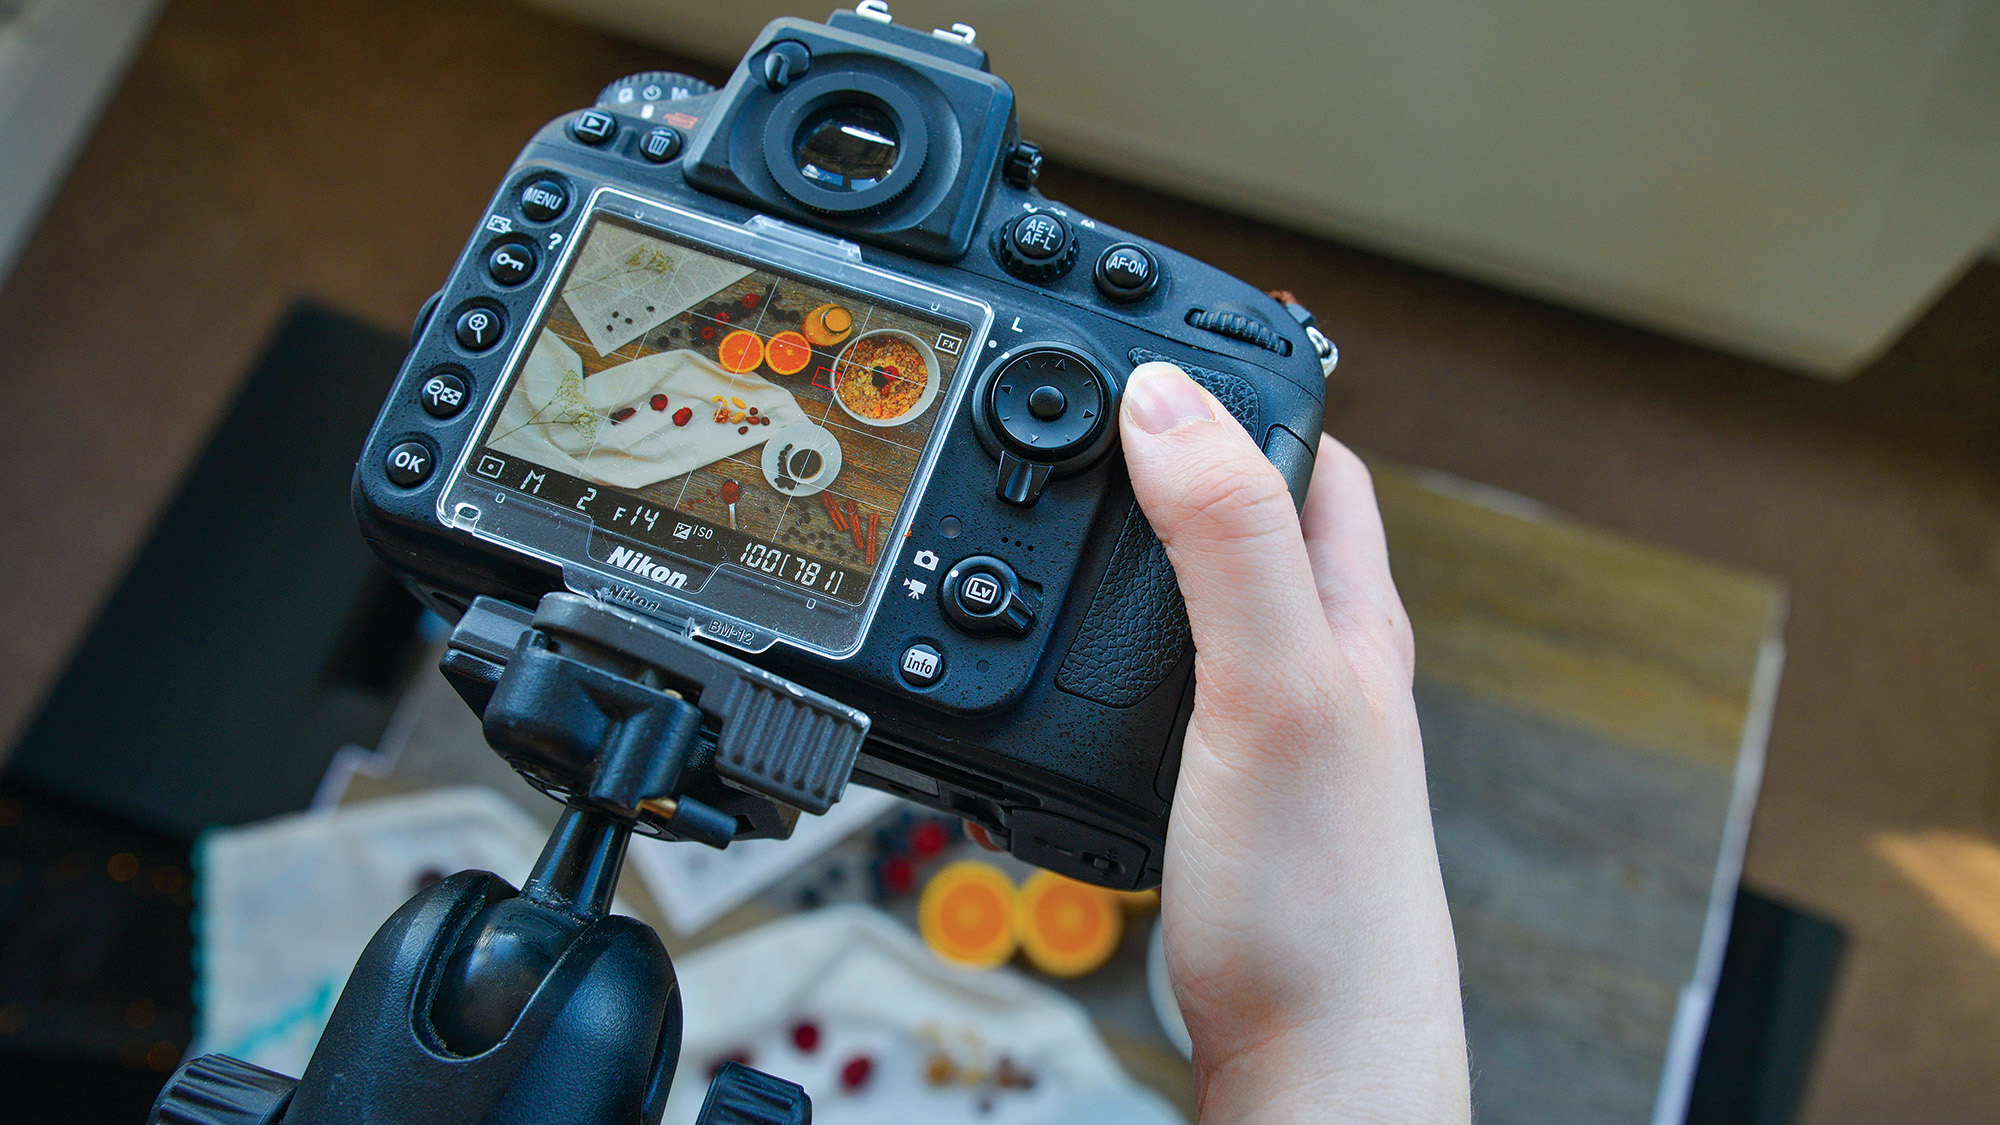
There's no hard and fast rule for arranging your food-themed still life, so experiment. Use the rear LCD to keep tabs on your composition and the grid overlay to ensure the frame is lined up. I used a tea towel to lead the eye toward the main focal points, the espresso and porridge. A standard focal length like my Nikon AF-S 50mm f/1.8G will help minimize distortions at the edges of the frame.
6. Bounce light with a reflector
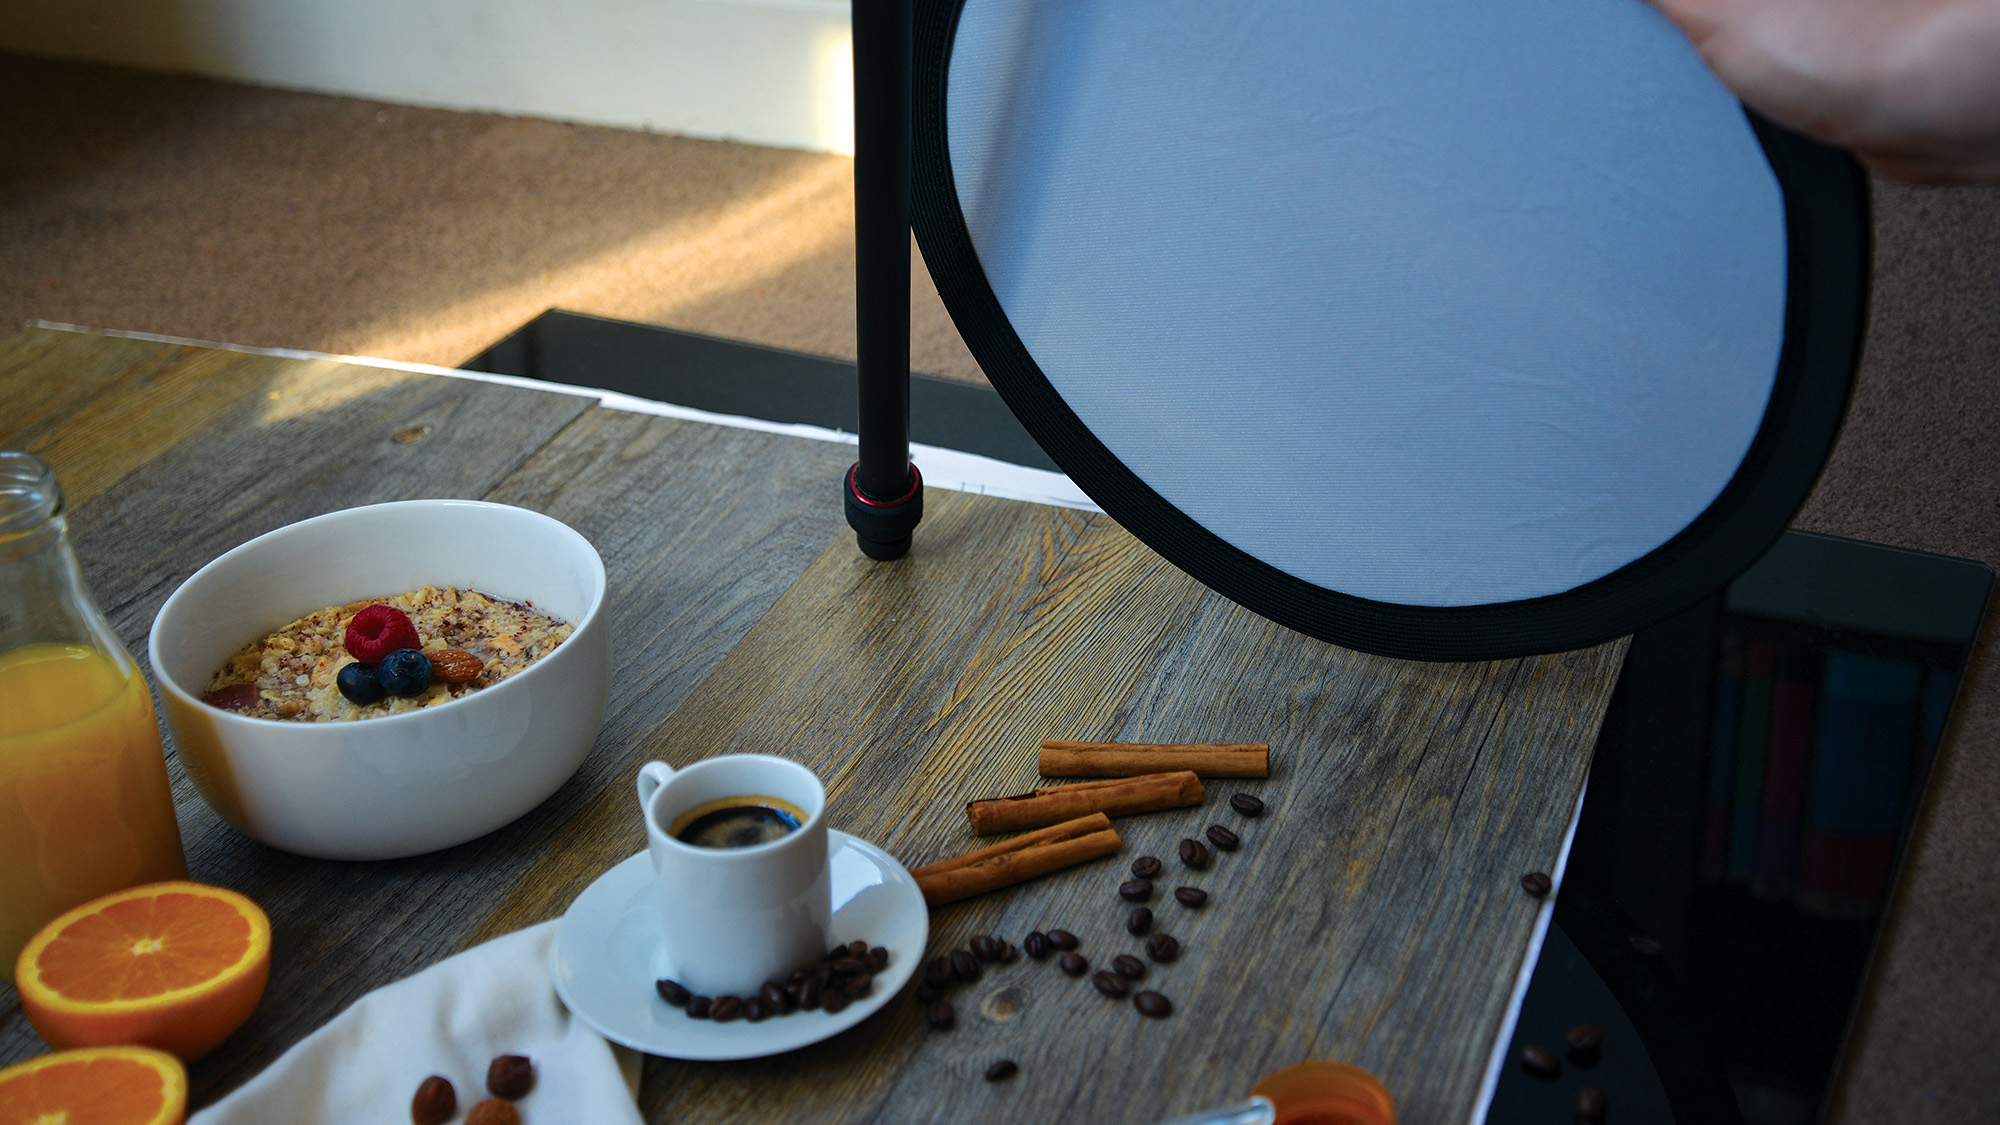
You can soften shadows by using a reflector to bounce light back onto the subjects. If you're shooting on your own, set your camera's timer to ten seconds. This not only provides you with enough time to position your reflector, but it ensures you don't jog the tripod as you press the shutter button.
Quick tip
If you're only shooting short subjects that sit on a similar focal plane to your base, you can get away with shooting flat lays at wider apertures. I shot at f/8 to increase the depth of field enough that it compensated for the tall bottle of orange juice.
Consider yourself a bit of a 'foodie'? You might be interested in the best tripods or the best books on food photography.

Mike studied photography at college, honing his Adobe Photoshop skills and learning to work in the studio and darkroom. After a few years writing for various publications, he headed to the ‘Big Smoke’ to work on Wex Photo Video’s award-winning content team, before transitioning back to print as Technique Editor (later Deputy Editor) on N-Photo: The Nikon Magazine.
With bylines in Digital Camera, PhotoPlus: The Canon Magazine, Practical Photography, Digital Photographer, iMore, and TechRadar, he’s a fountain of photography and consumer tech knowledge, making him a top tutor for techniques on cameras, lenses, tripods, filters, and more. His expertise extends to everything from portraits and landscapes to abstracts and architecture to wildlife and, yes, fast things going around race tracks...
