How to photograph your own bubble planet at home
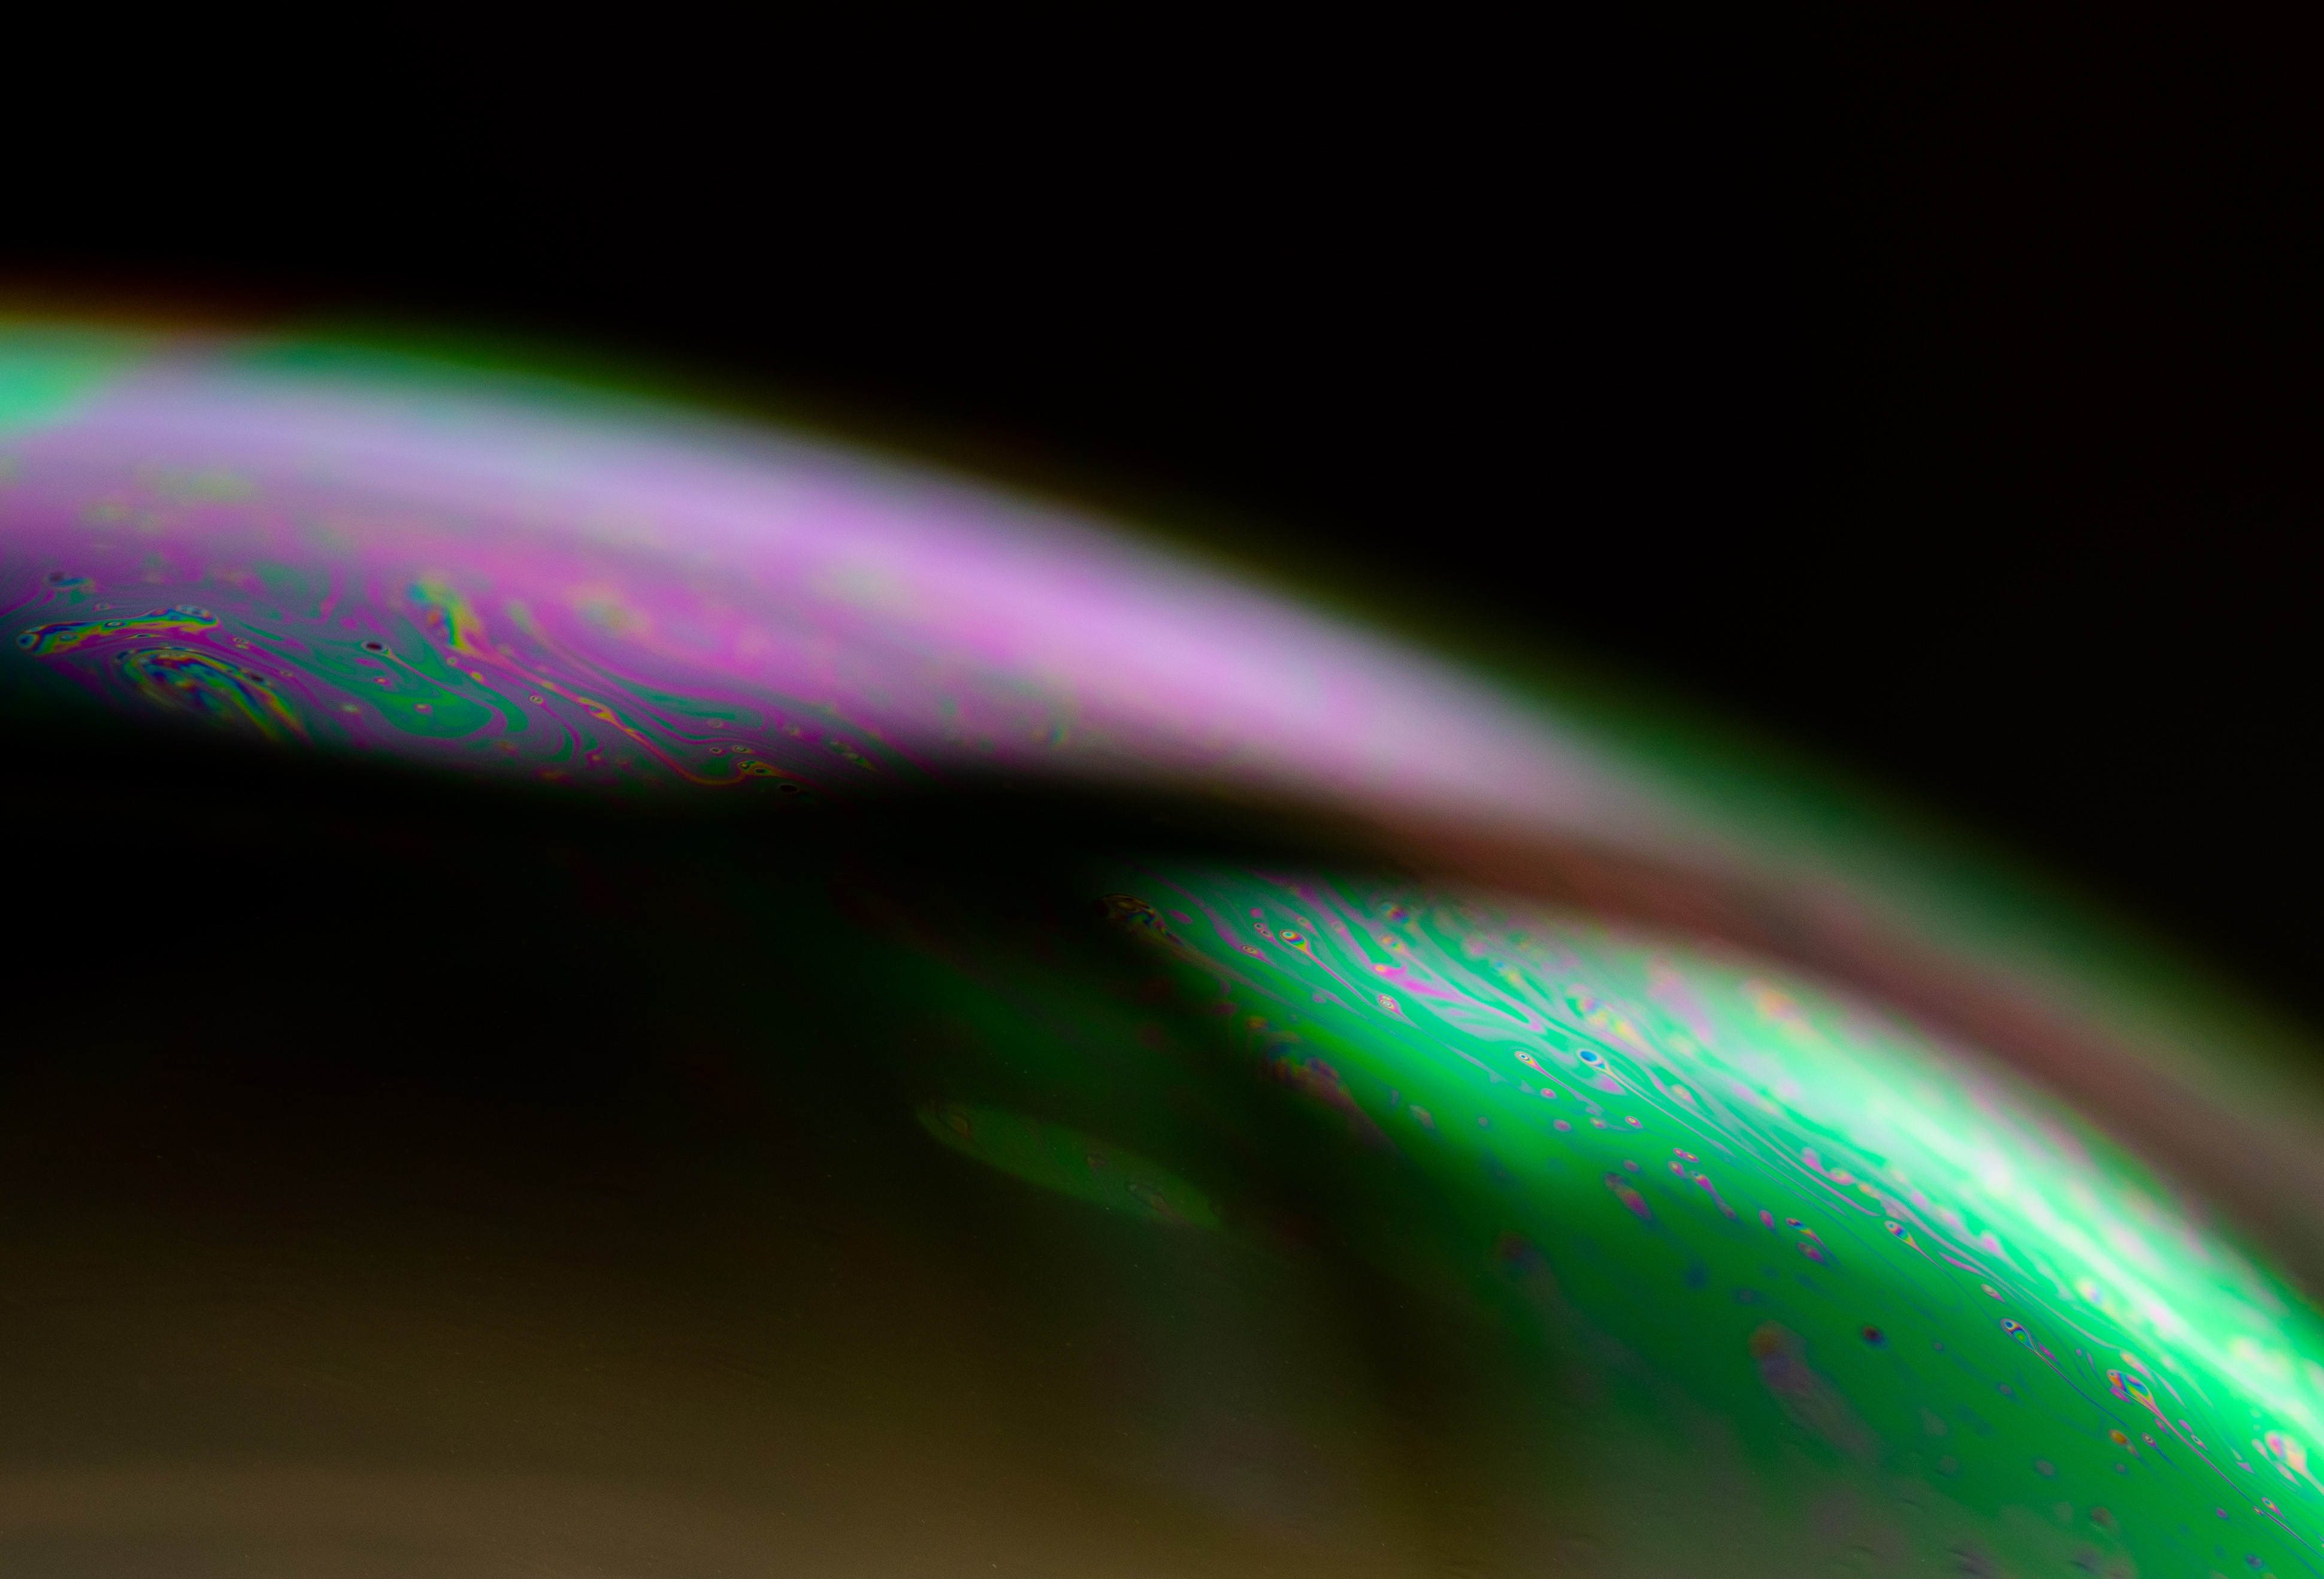
Deborah Pugh gets creative at home with a simple bowl of bubbles
The best camera deals, reviews, product advice, and unmissable photography news, direct to your inbox!
You are now subscribed
Your newsletter sign-up was successful
• Shoot macro water droplets in your garden
• Make a splash with water drop photography
• Commercial product photos at home
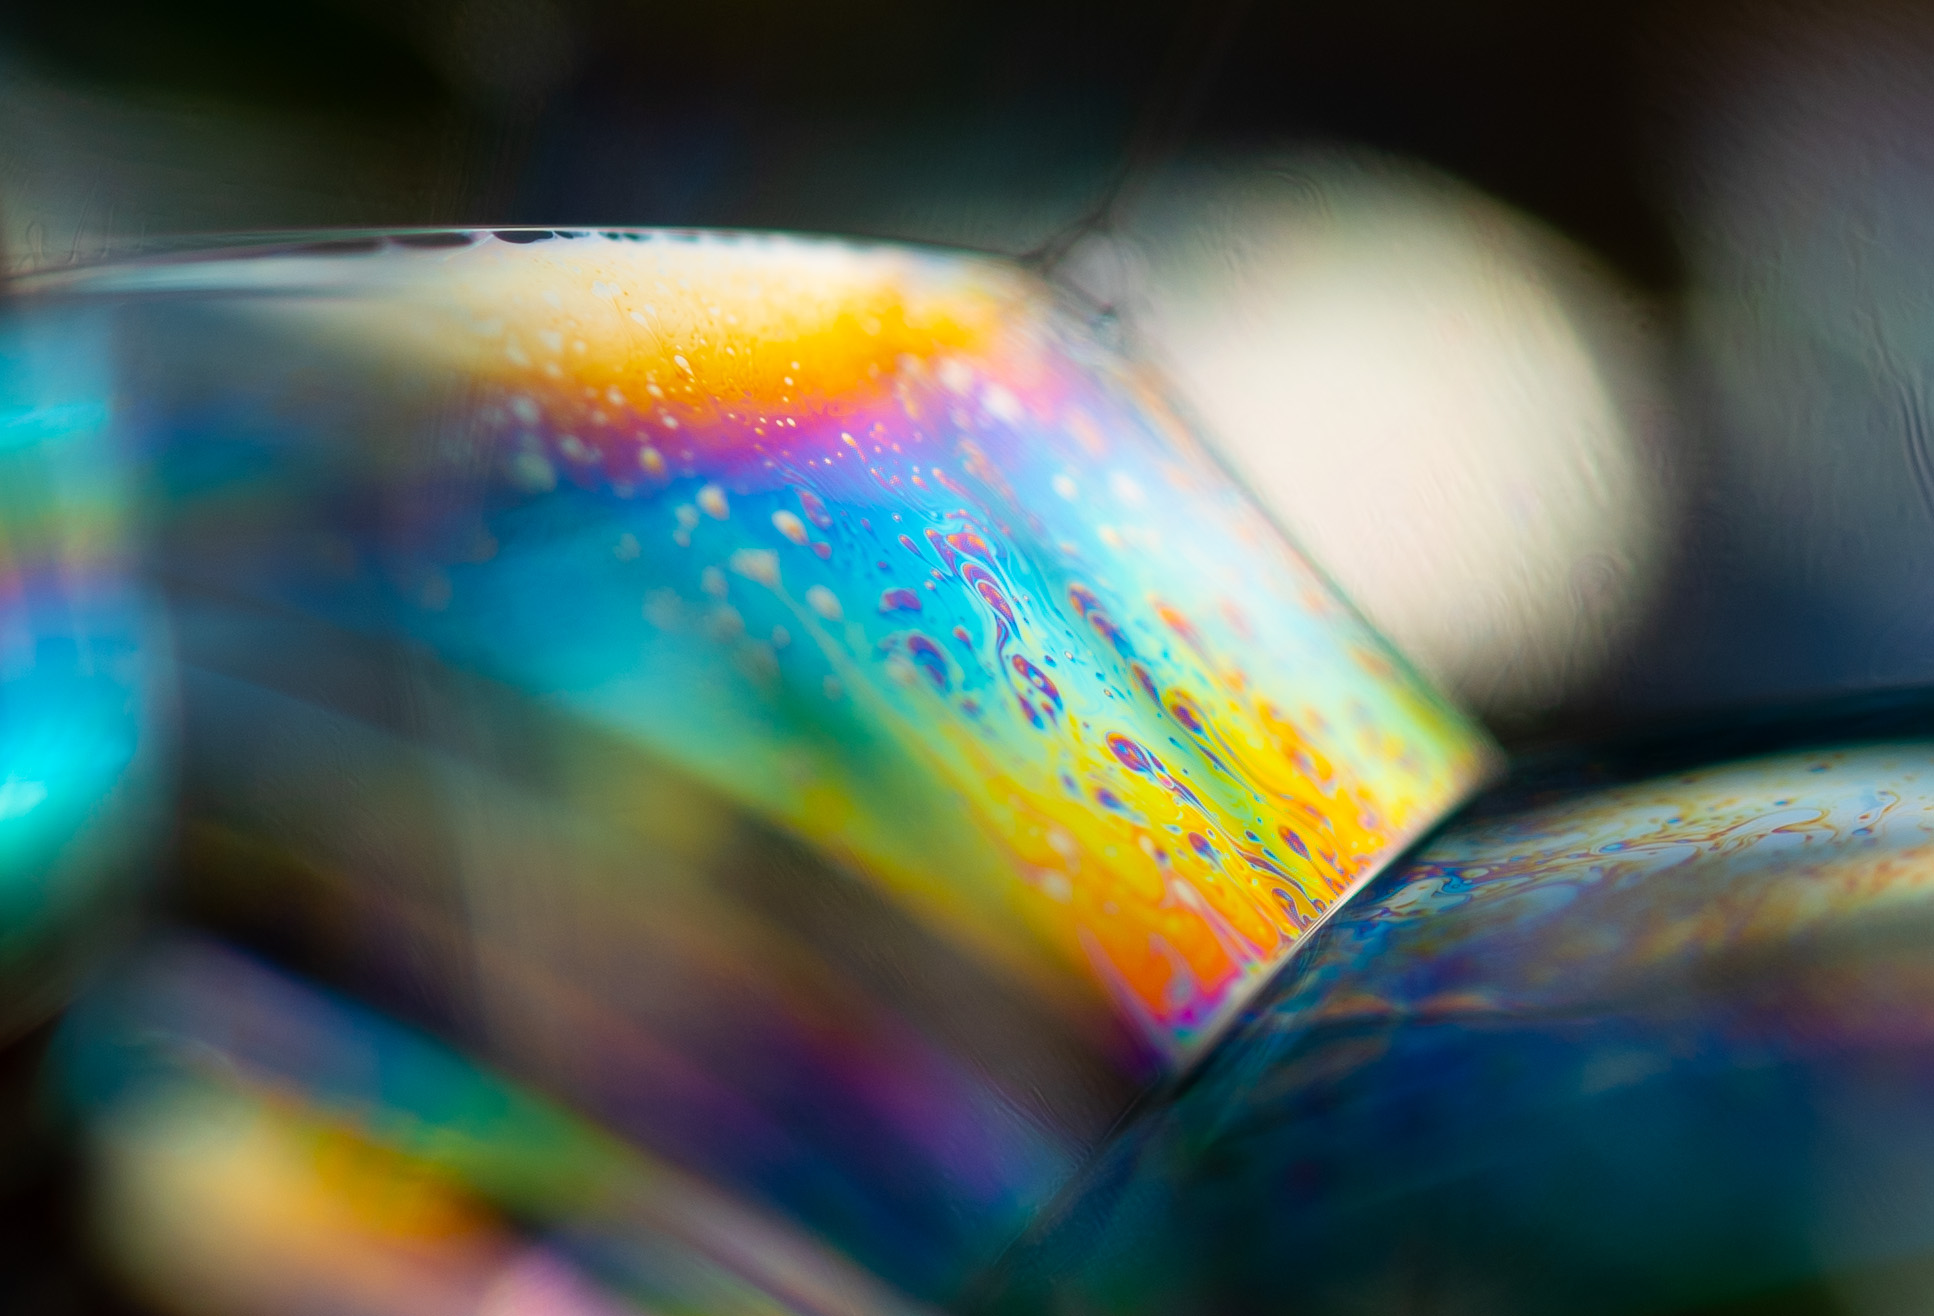
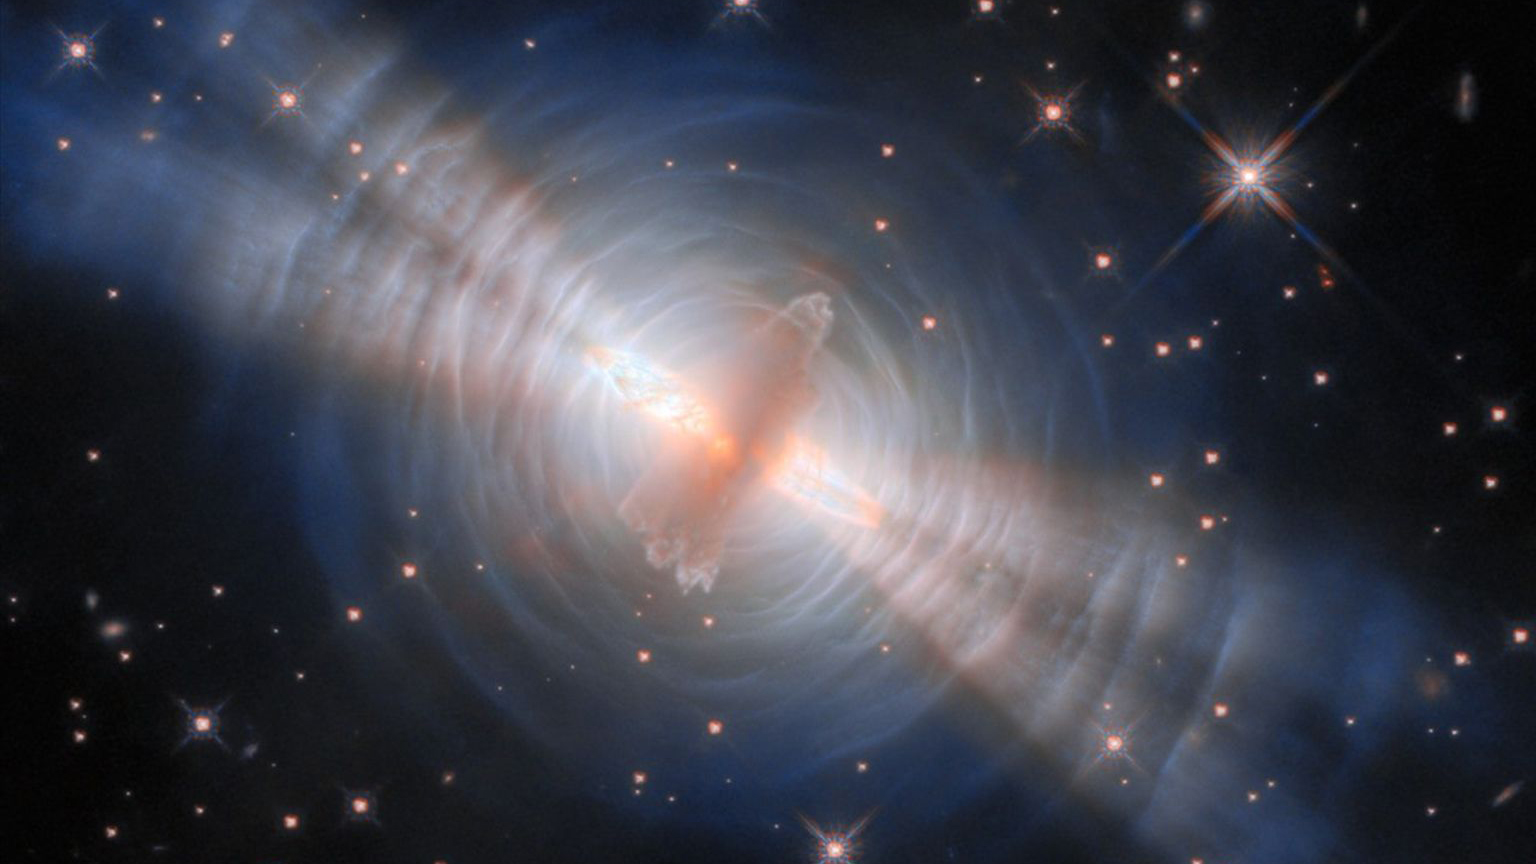
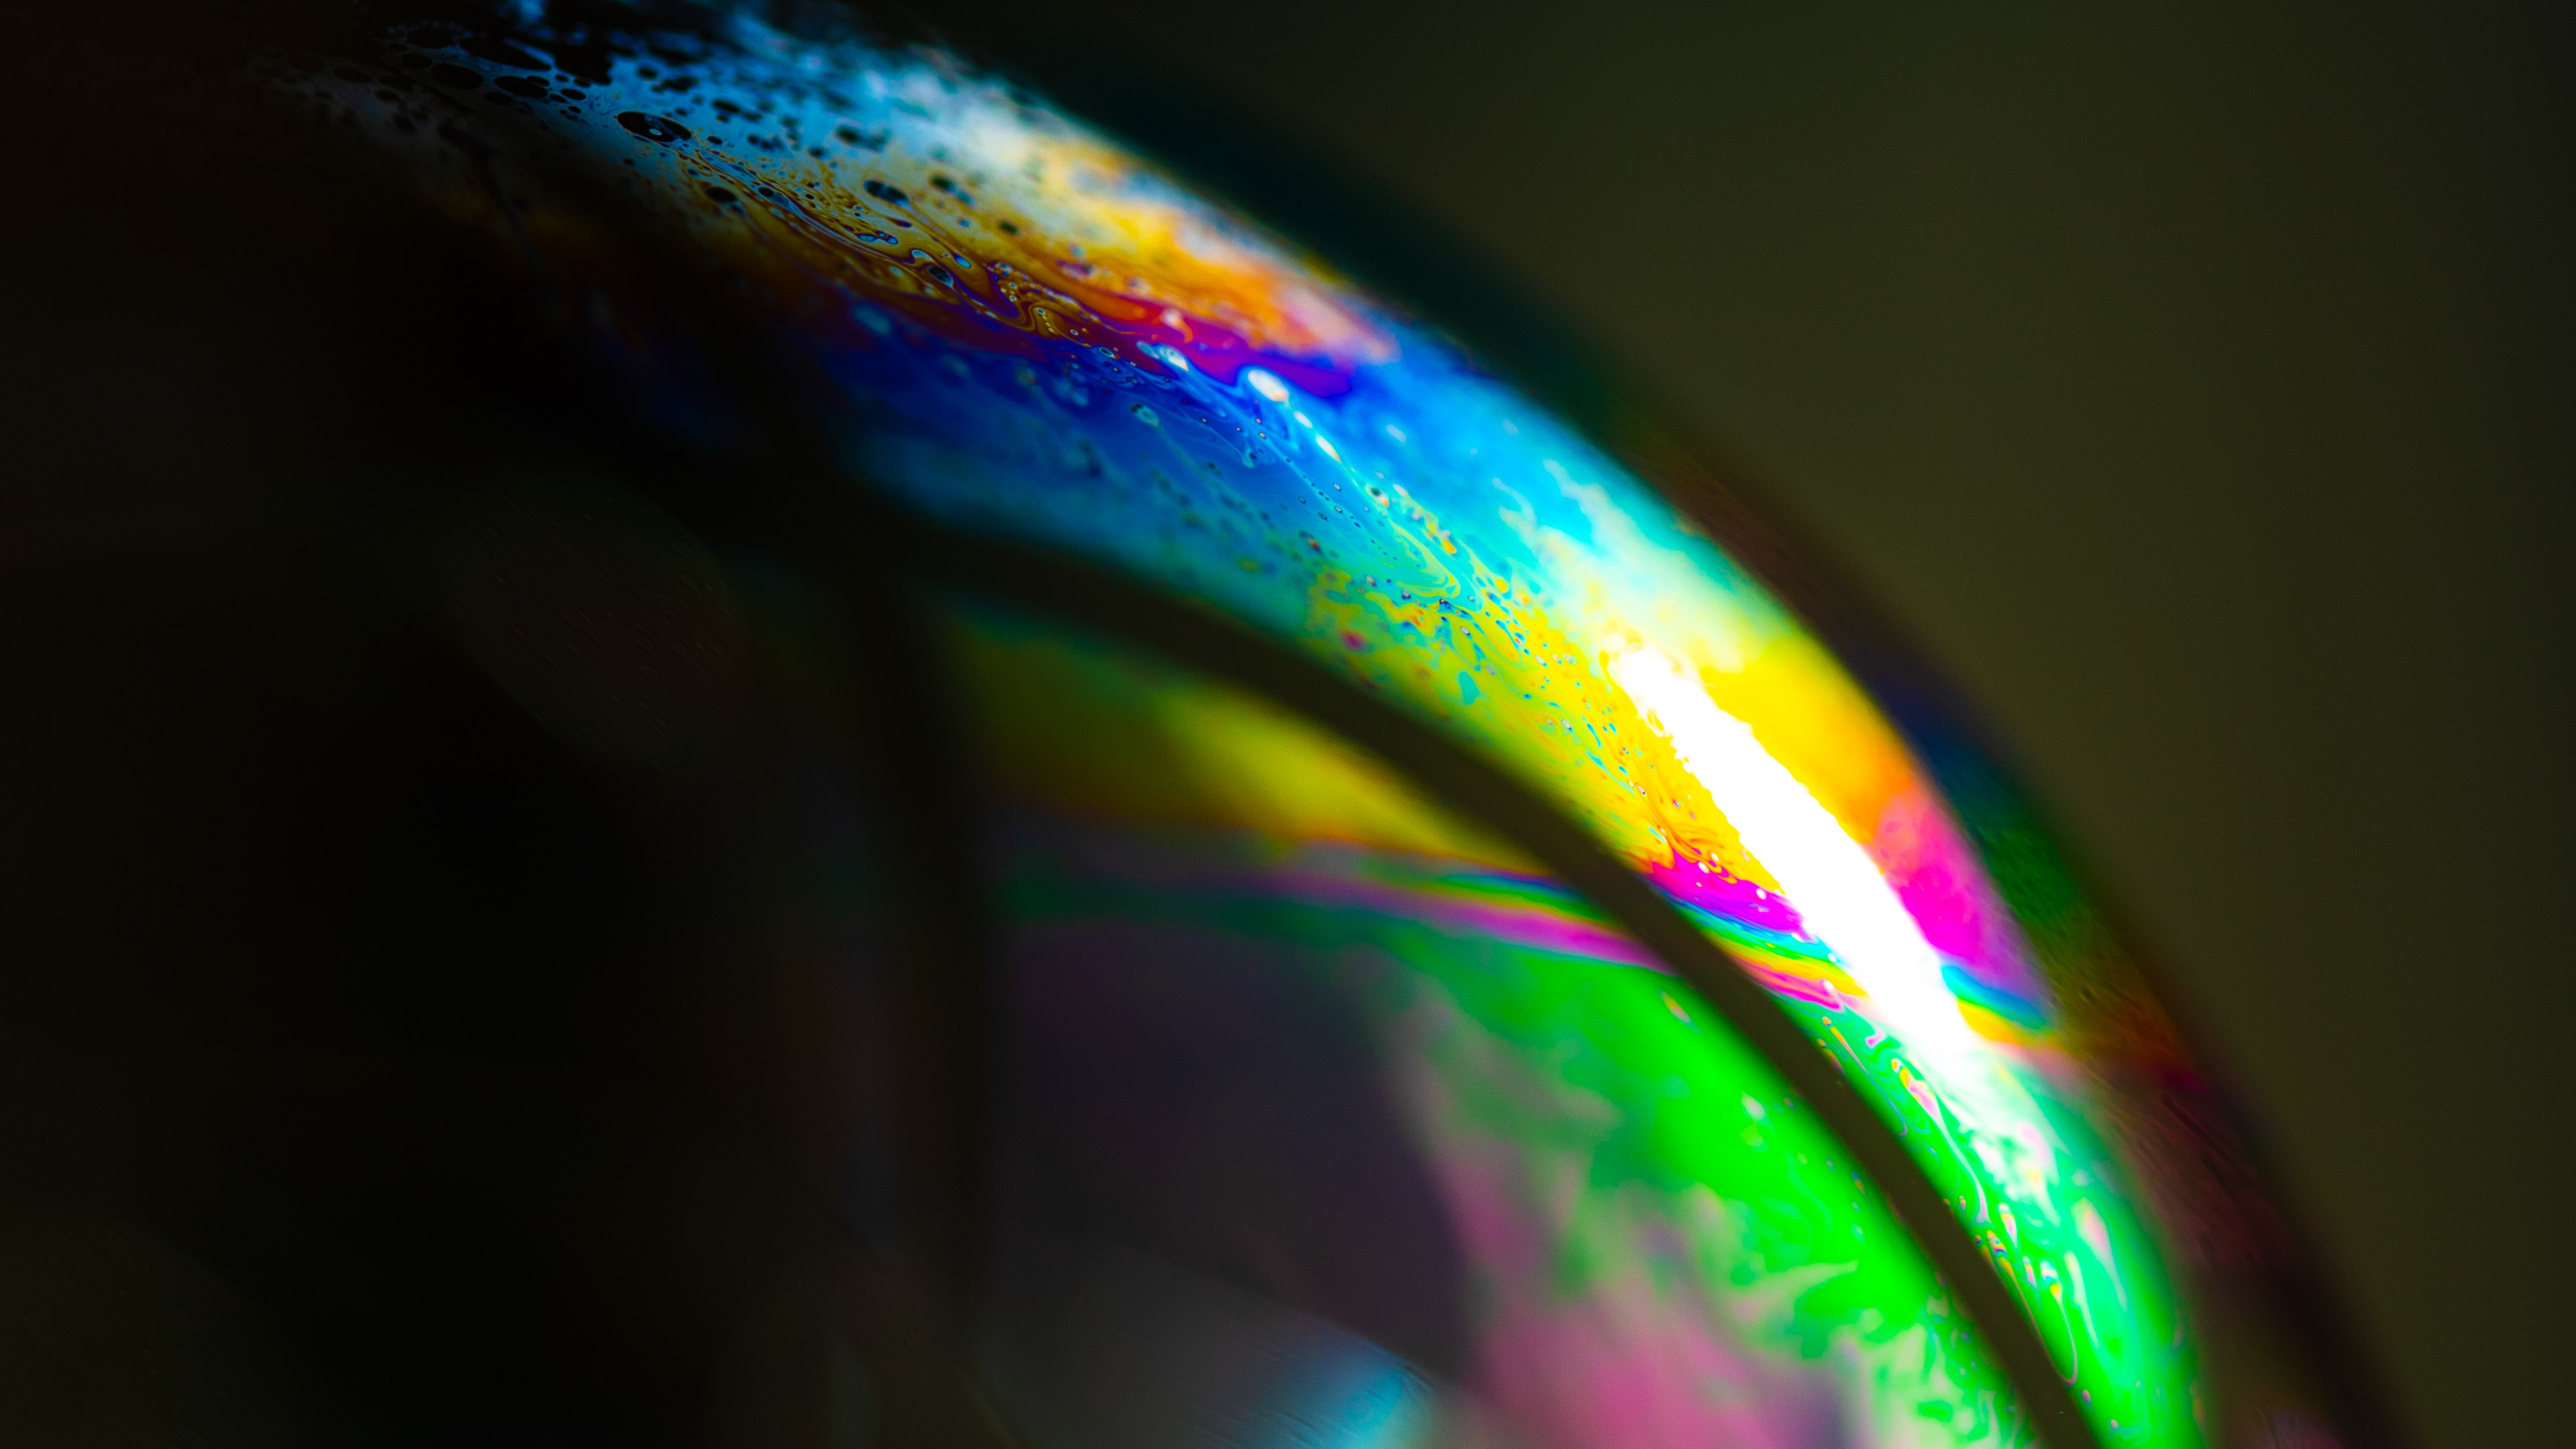
Here is a simple but effective technique to produce and photograph otherworldly images resembling the swirling surface of Jupiter, or unusual 3D shapes with flat, angular, surfaces. To prepare the bubble mixture, you need a ratio of around 1:3 of washing-up liquid to water. You may need to experiment to get the right consistency. I did not use glycerine, but it is supposed to hold the bubble shape for longer and improve color and swirls. Add between a teaspoon to a tablespoon.
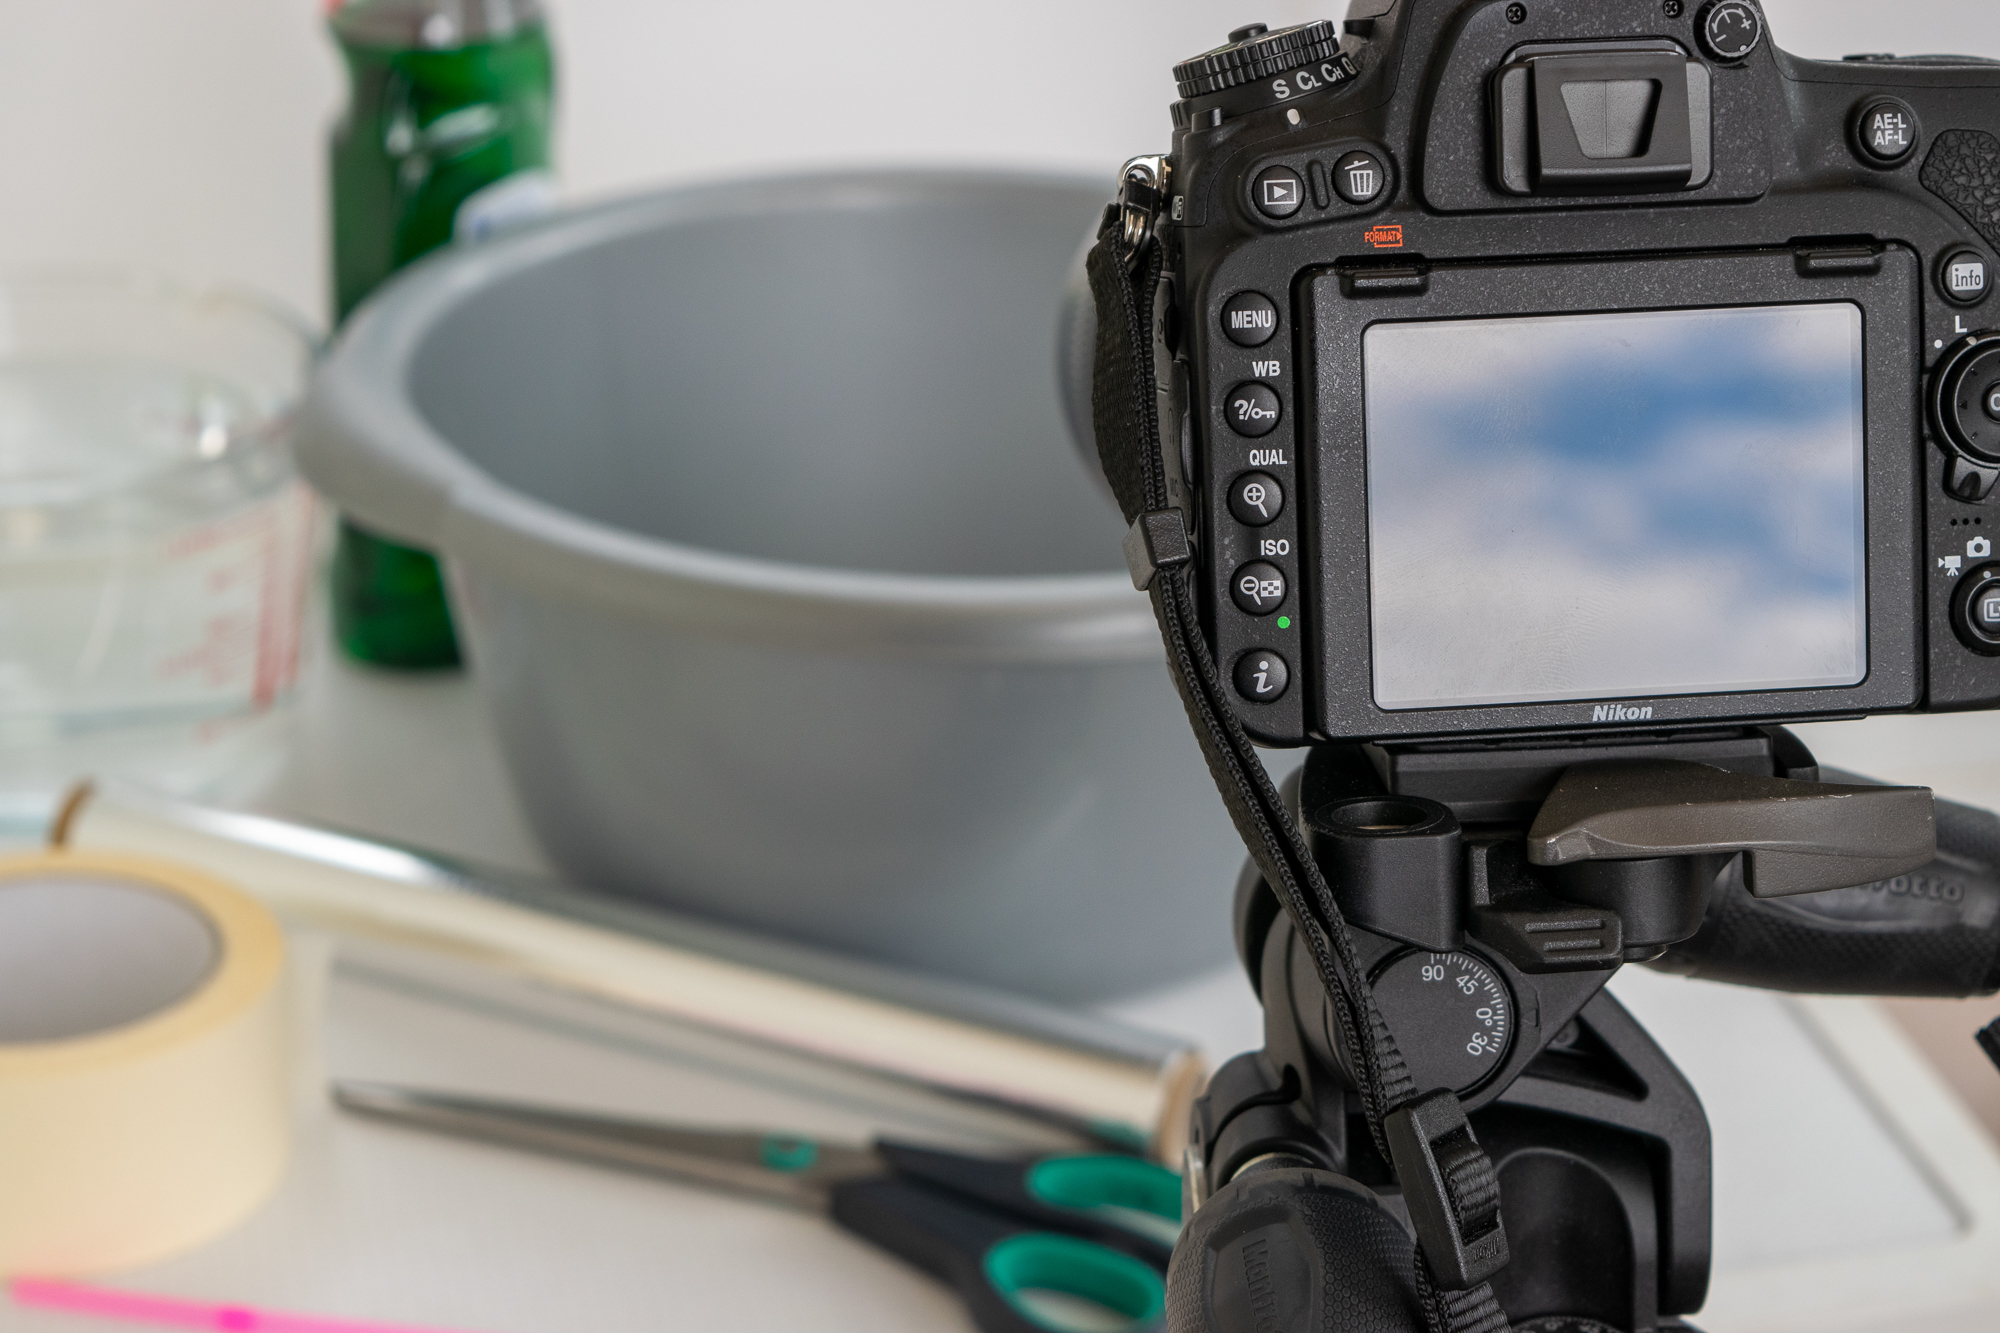
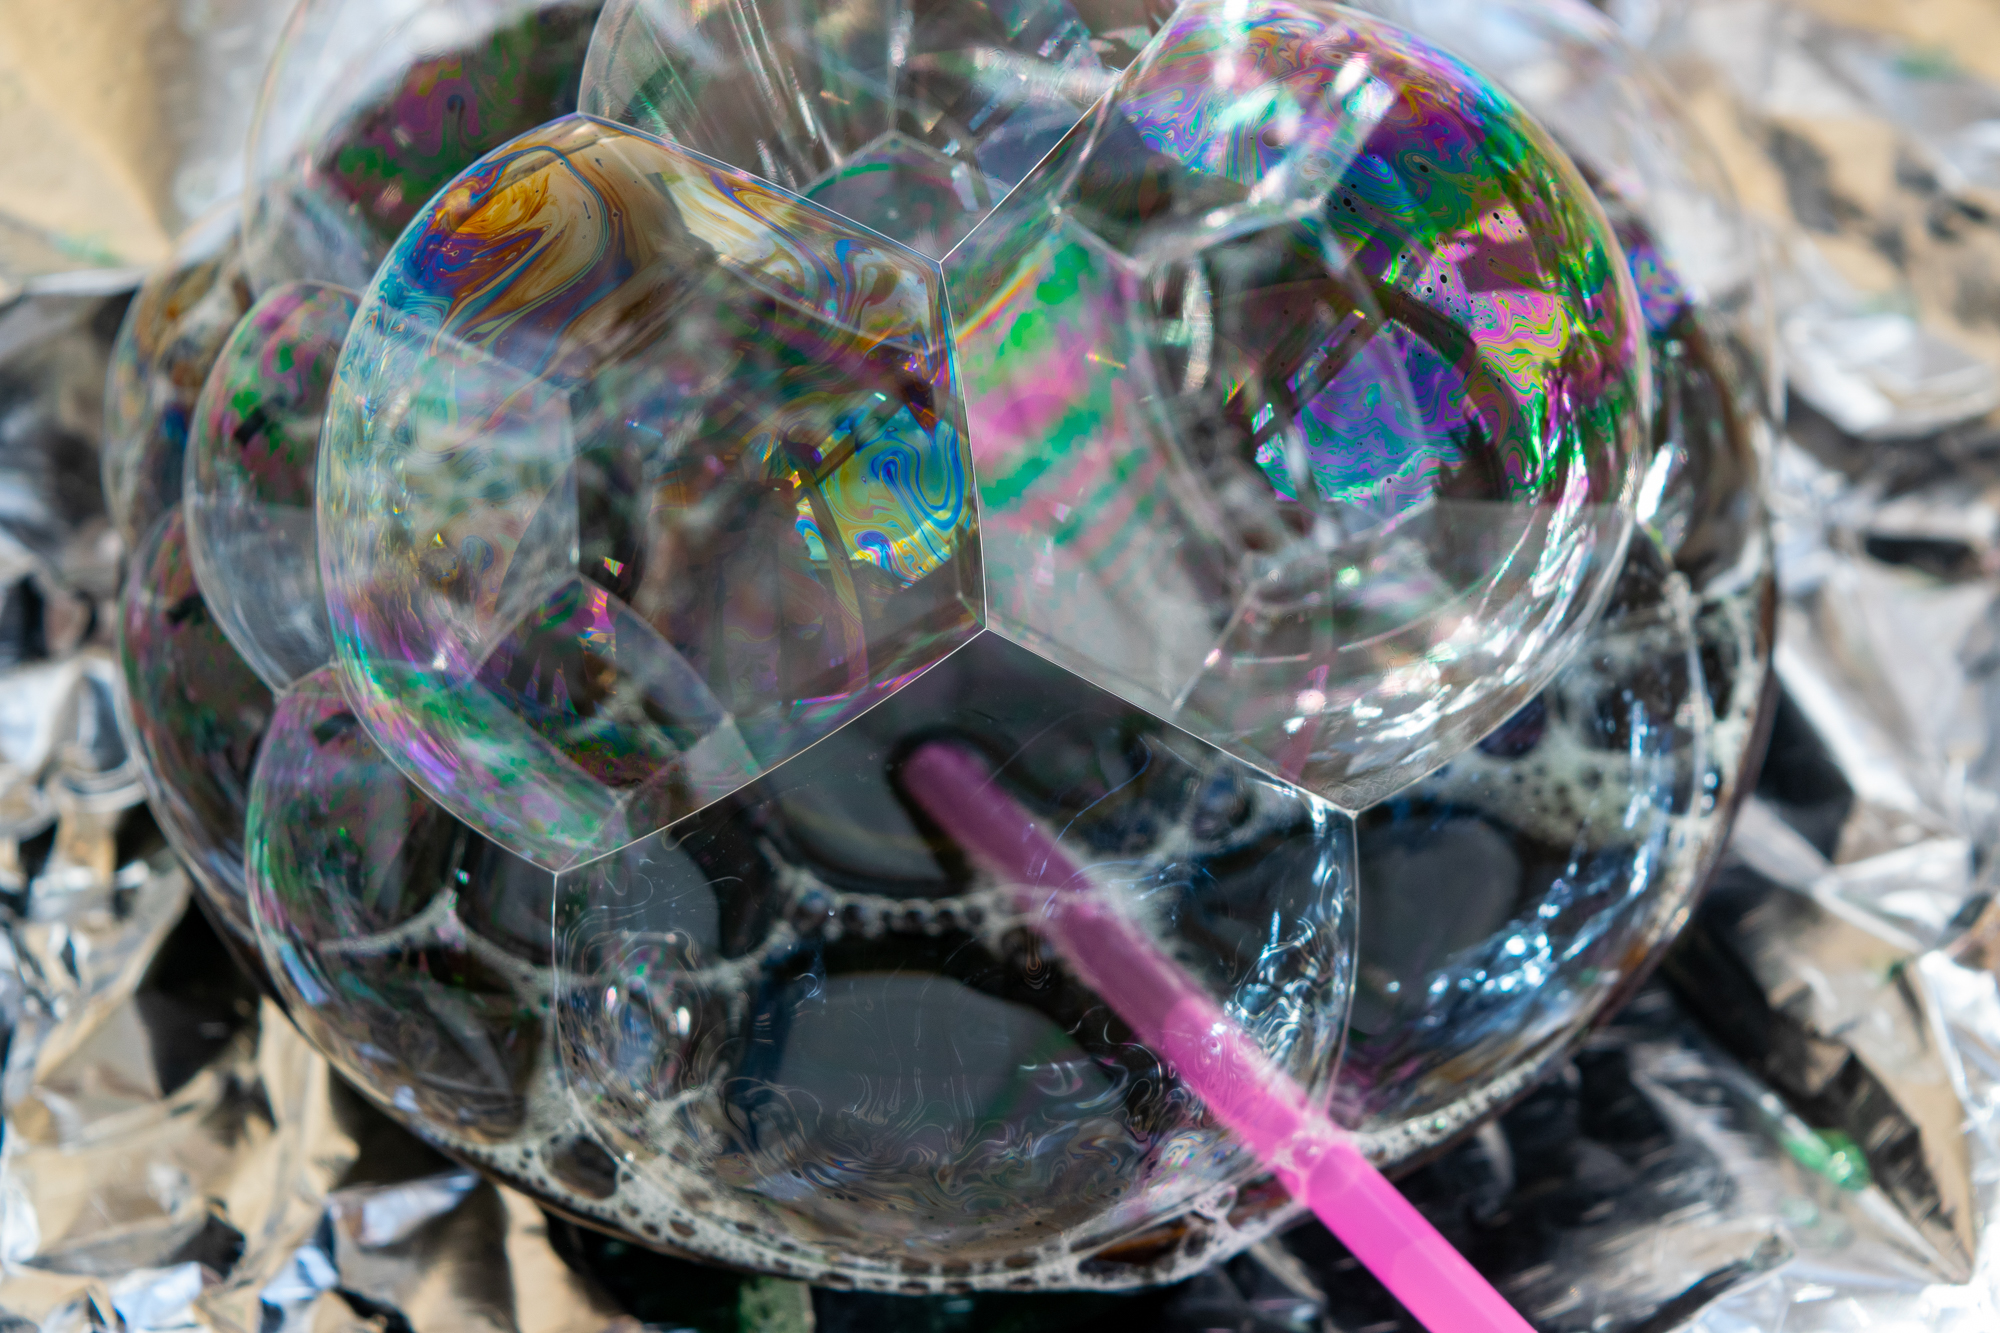
I used a straw to generate the bubbles, but you can use a bubble wand. Initially I used a large, grey bowl full of bubbles, but then discovered that a small black saucer also worked perfectly well. Bubbles stand out on a dark background, and there are fewer reflection problems. Put the camera on a tripod (I use a humble Nikon D750), set the camera to ISO 100 to reduce the amount of noise, then experiment with manual settings. My aperture was set between f/5.6 and f/11, and my shutter speed ranged from 1/40 to 1/1,000 sec. I used a Sigma 105mm macro lens to fill the frame.
Look for patterns and colors to emerge and focus on these (before the bubbles pop!). You could experiment with stacking images during postproduction: you would need to take a series of shots zooming in, focusing and zooming out. But you will have to work quickly. Be patient and do a little experimentation to get the desired effects, but the results can be quite rewarding.
Deborah's four steps to shooting your own bubble planets
01 Prepping your kit
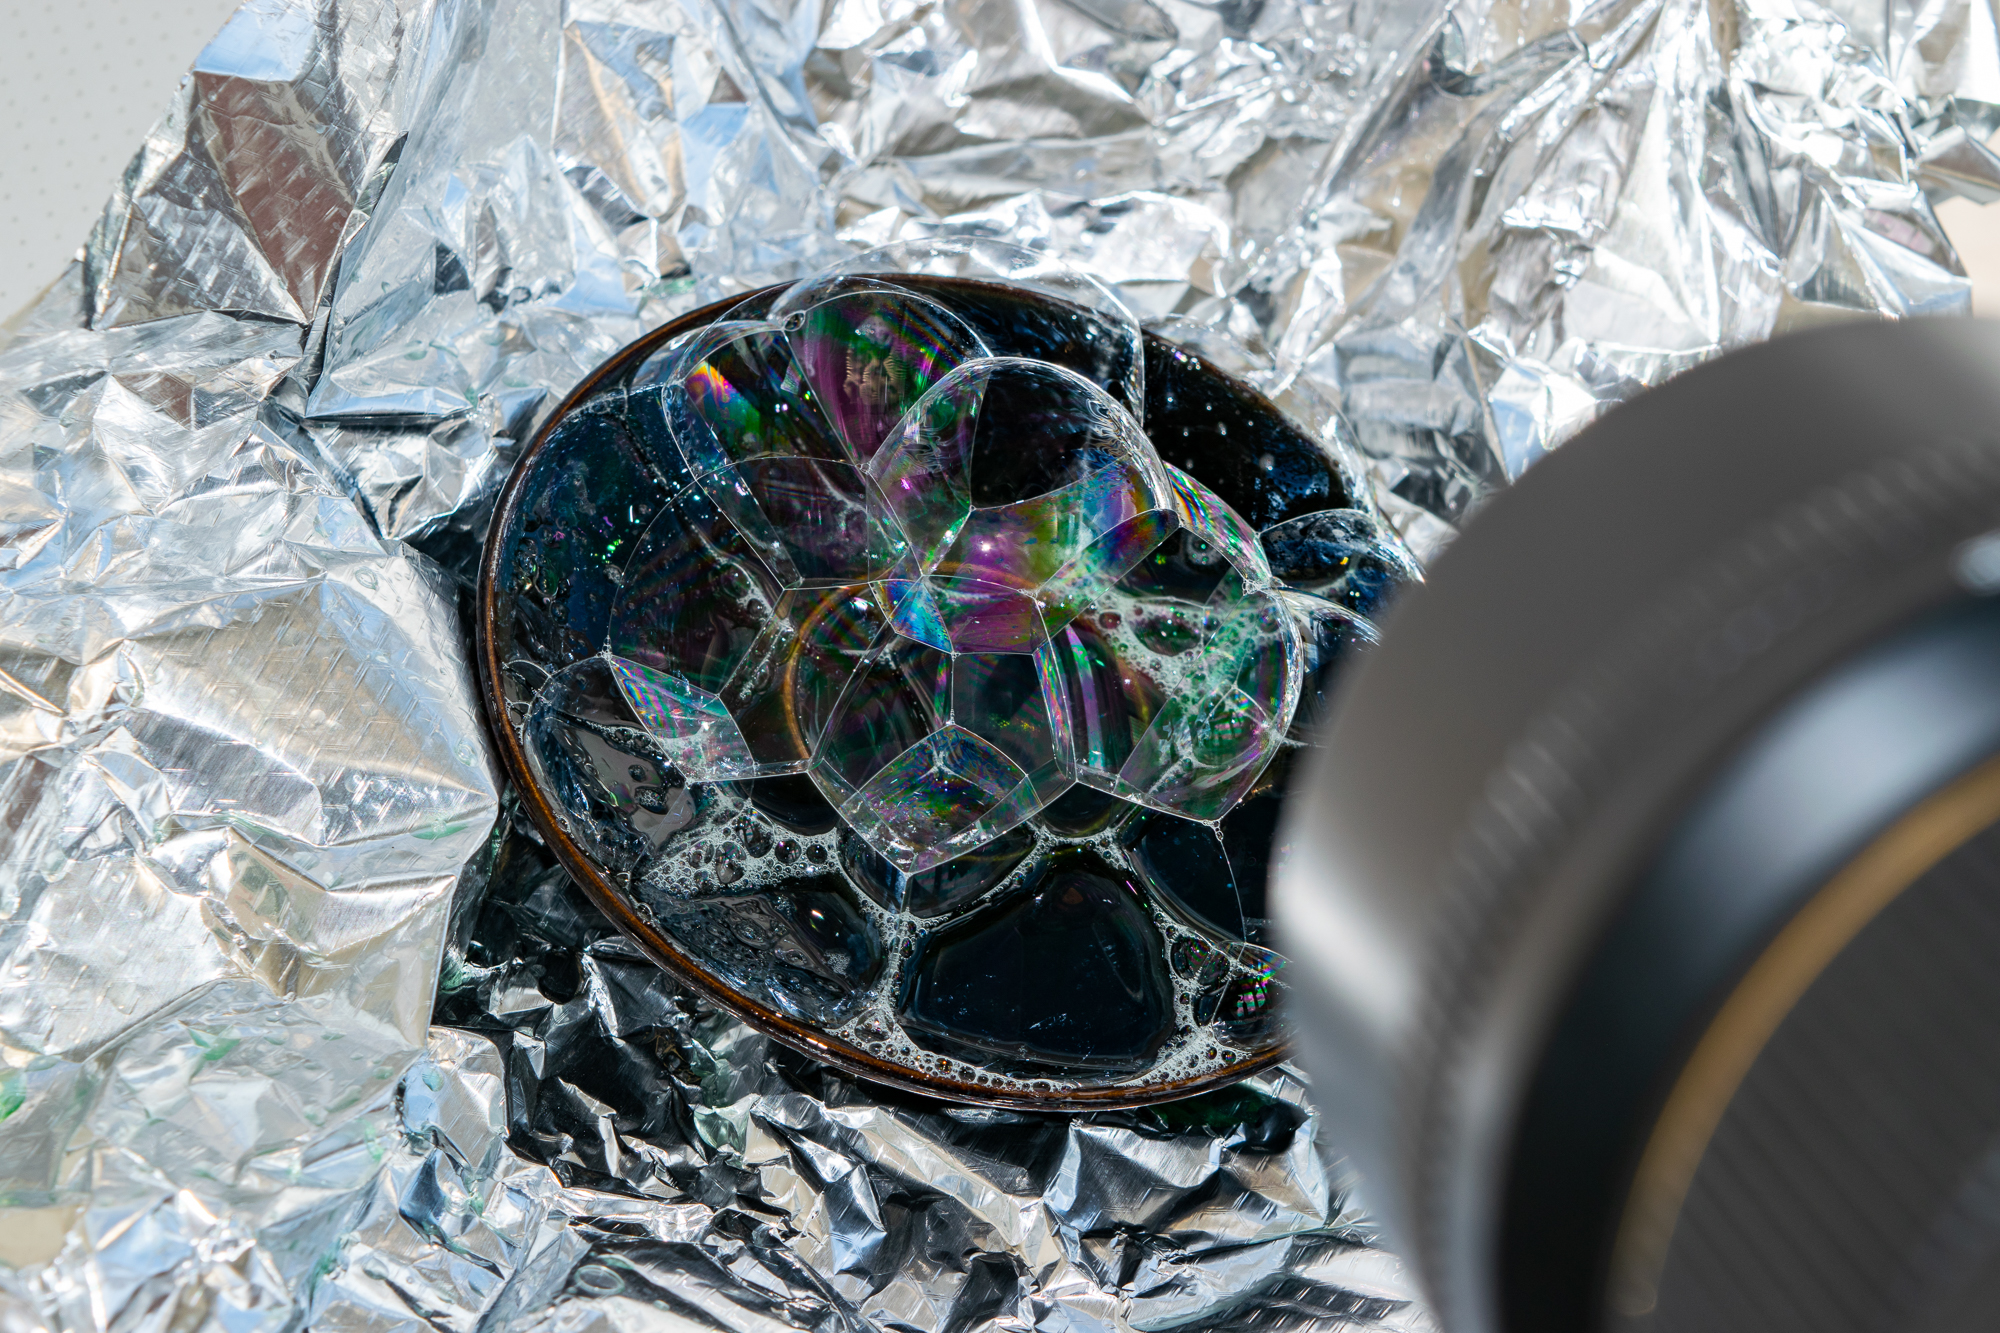
You’ll need washing-up liquid, warm water, a dark bowl or plate, scrunched-up tin foil and a straw. Optional items include a bubble wand, glycerine (in the baking aisle), and a black backdrop.
02 Your light source
Diffused light from above, such as a conservatory, is ideal. Scrunched-up tin foil can reflect light if it’s dull. In calm weather, you could shoot outdoors – the golden hour would be a good time.
The best camera deals, reviews, product advice, and unmissable photography news, direct to your inbox!
03 Creating your bubbles
Tilt the bowl or dish at a shallow angle. Using a straw, blow bubbles. Once you have a bubble, keep the straw inside it, and continue to blow gently until you have many bubbles in one formation
04 Focusing the shot
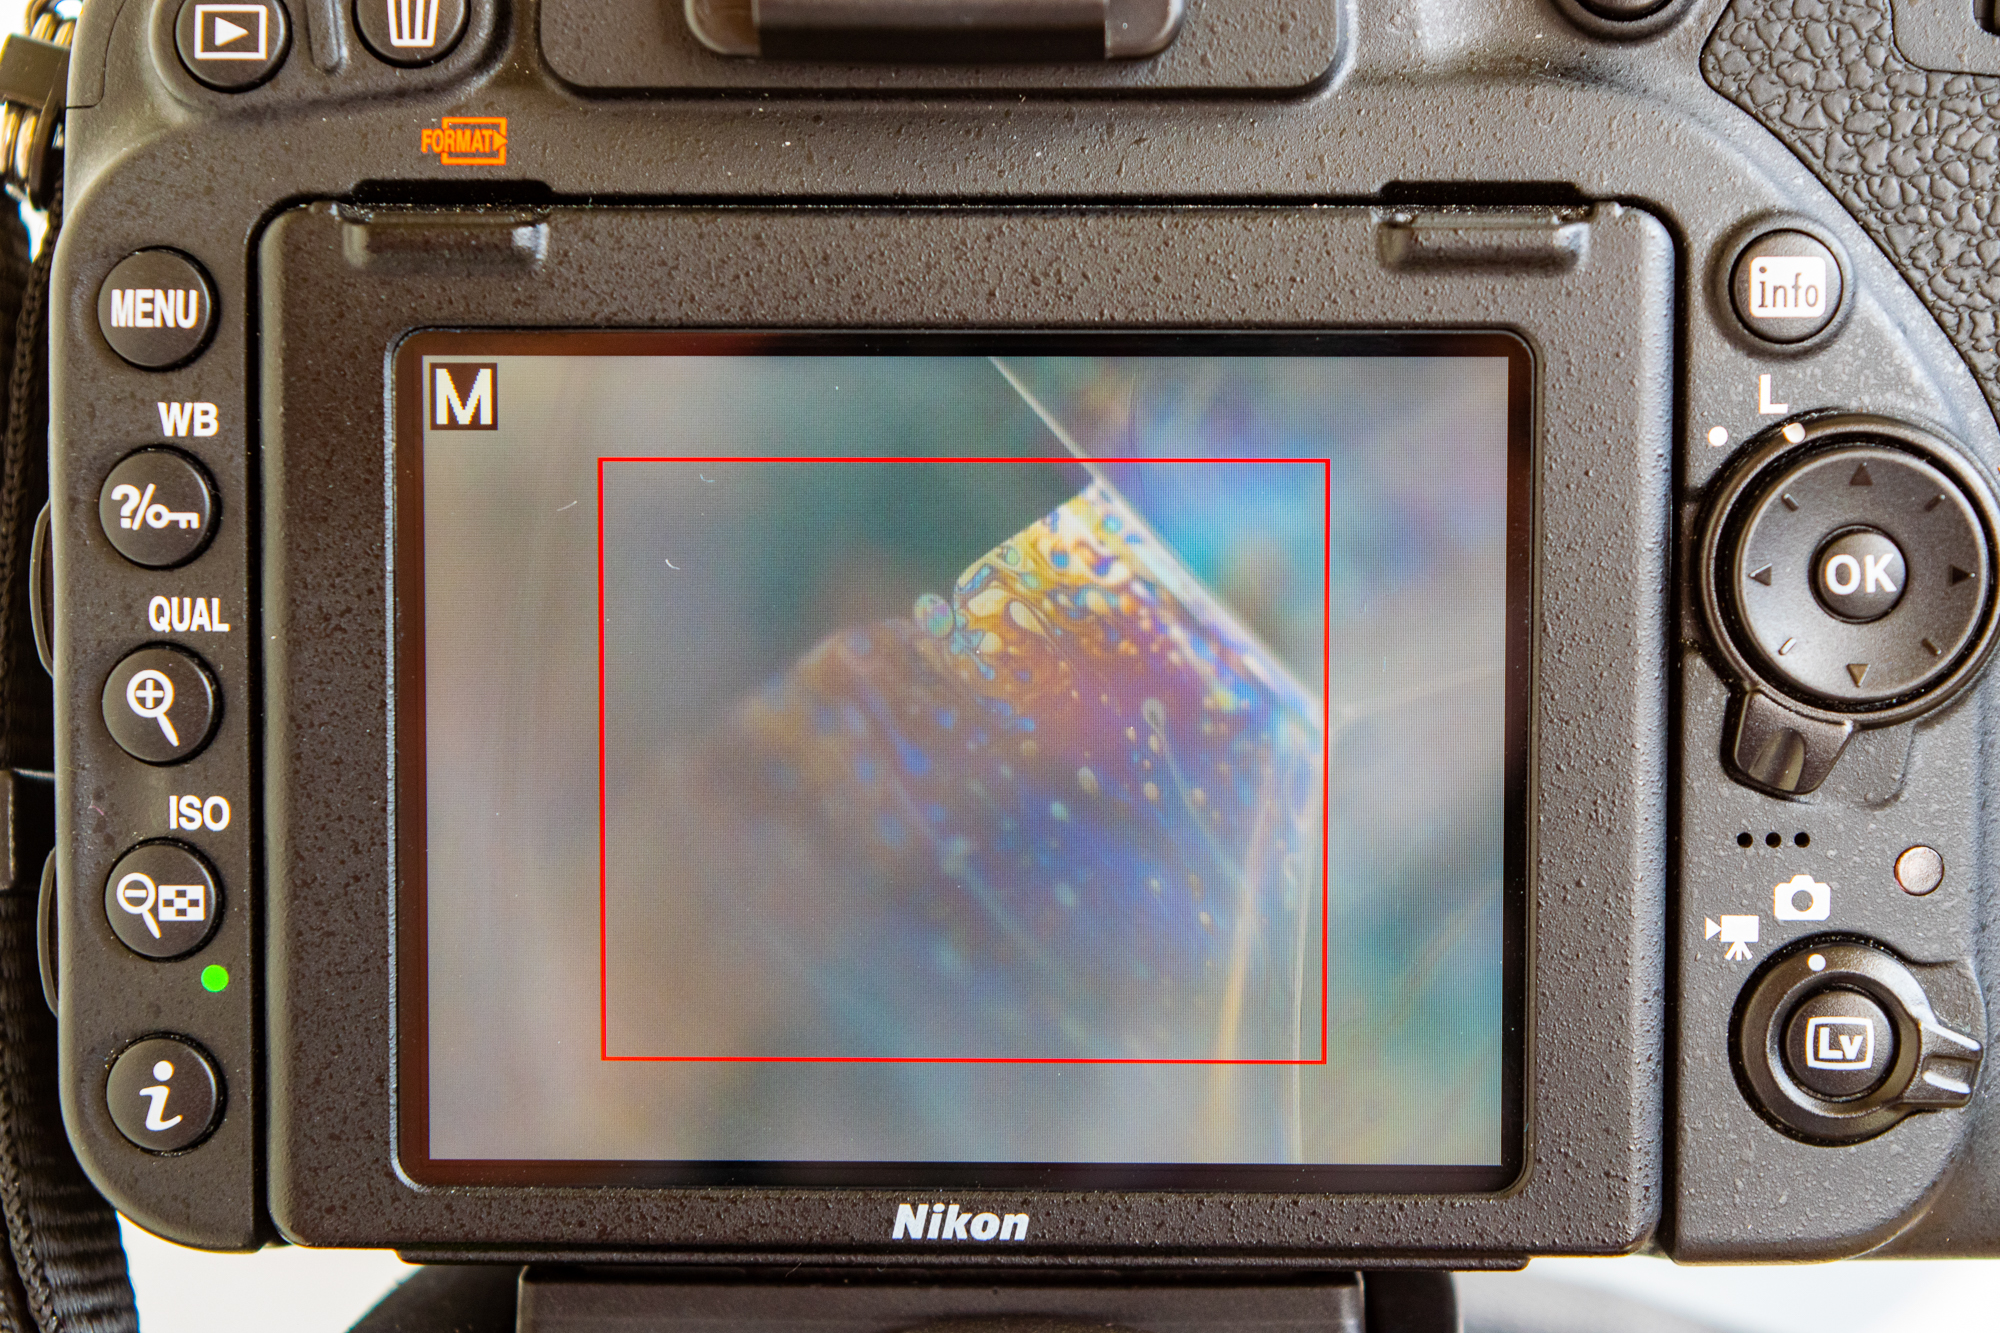
With the camera on a tripod, you can either focus through the viewfinder, which is quicker with bubbles, or use Live View. A cable release or wireless trigger can also be used to minimise shake.
Read more:
• Nikon D750 vs D7500 – what's the difference?
• Sigma adds 105mm macro lens to its Art lens line-up for mirrorless cameras
The sister print publication to this website, Digital Camera Magazine is Britain's best-selling photography publication – and it can also be purchased outside the United Kingdom as Digital Camera World.
Digital Camera Magazine is packed with more expert advice and more inspirational images than any other title, with the sole aim of helping you become a better photographer. Every issue we also bring you a selection of great gifts which are designed to help you get more from your photography – everything from tips cards and cheat sheets to free software and bookazines.
In addition to inspirational images, interviews, projects, mini tests and tutorials, each issue is packed with news, reviews and comparisons, as well as photographer vs photographer shootouts and head-to-head challenges using the best photo editing software.
The magazine is captained by Editor Niall Hampton.
