This is the time of year we go out trick-or-treating, hang spiderwebs up in the windows, eat too many sweets and chocolates, and generally have a fun, spooky time as the nights draw in. And we can have some fun with our cameras around Halloween too.
The mission: Create a spooky Halloween portrait
Time: 60 minutes
Skill level: Intermediate
Kit needed: Tripod, speedlights, wireless triggers, light stands, Photoshop
In this project we’re going to show you how to construct your own sinister Halloween portrait. We have a skull prop made of resin (which we painted with some coffee grounds to give it an aged effect), and we’re going to be taking two shots to make it look like our subject has a levitating, flaming skull floating above his hand.
Read more: 63 free Photoshop templates for photographers
We’ll create a dark set with moody lighting for our model and the skull prop. The first shot will be of our model posing, and the other will be of the skull.
Then we’ll bring them together in Adobe Photoshop CC, download a couple of free stock images of fire, and layer them into the shot to make it look creepy. We’ll finish it off with a little glow on our model and our skull to make it look convincingly creepy.
• Get more photoshoot ideas
1. Place the flashguns
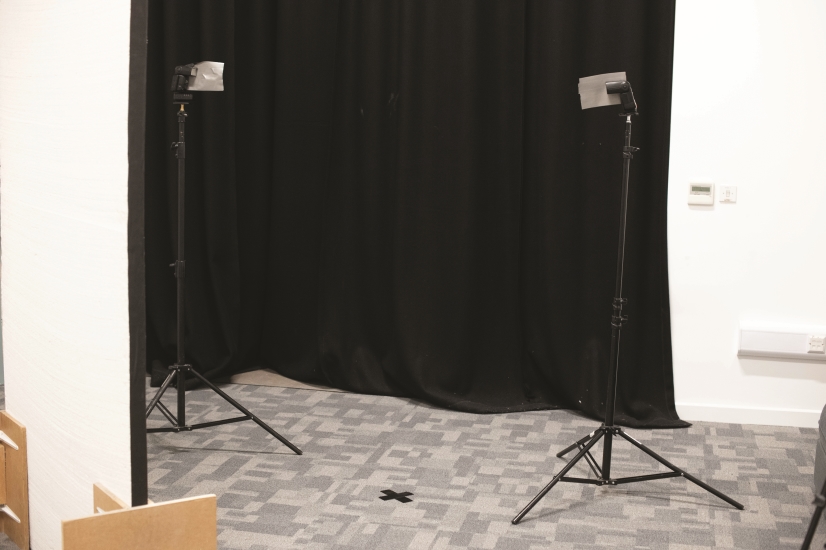
We placed a pair of flashguns with wireless triggers affixed to light stands to the left and right of our model. This created a balanced split light on either side of them, with a shadow down the middle, and clearly outlined the shape of our main subject with light.
The best camera deals, reviews, product advice, and unmissable photography news, direct to your inbox!
2. Cordon off the backdrop
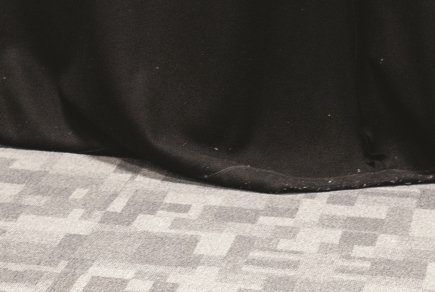
Next we pulled a black curtain behind our subject to block any stray light from bouncing off adjacent walls and striking them. It made for a nice, clean backdrop, which meant it would be easier to blend in our fire images later on in the process.
3. Dial in the settings
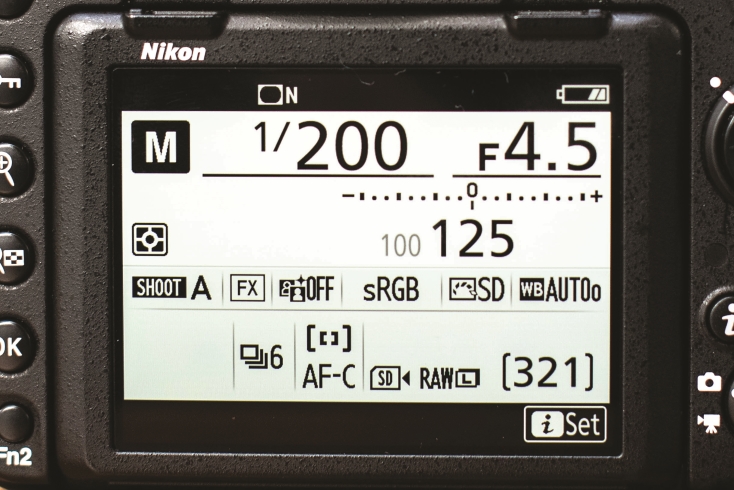
We used an aperture setting of f/4.5 to keep most of our subject in focus but ensure the backdrop was out of focus. Our shutter speed was 1/200 sec to match the max sync speed of the fl ash, and we used ISO100 to get an overall balanced exposure.
4. Take a shot of both
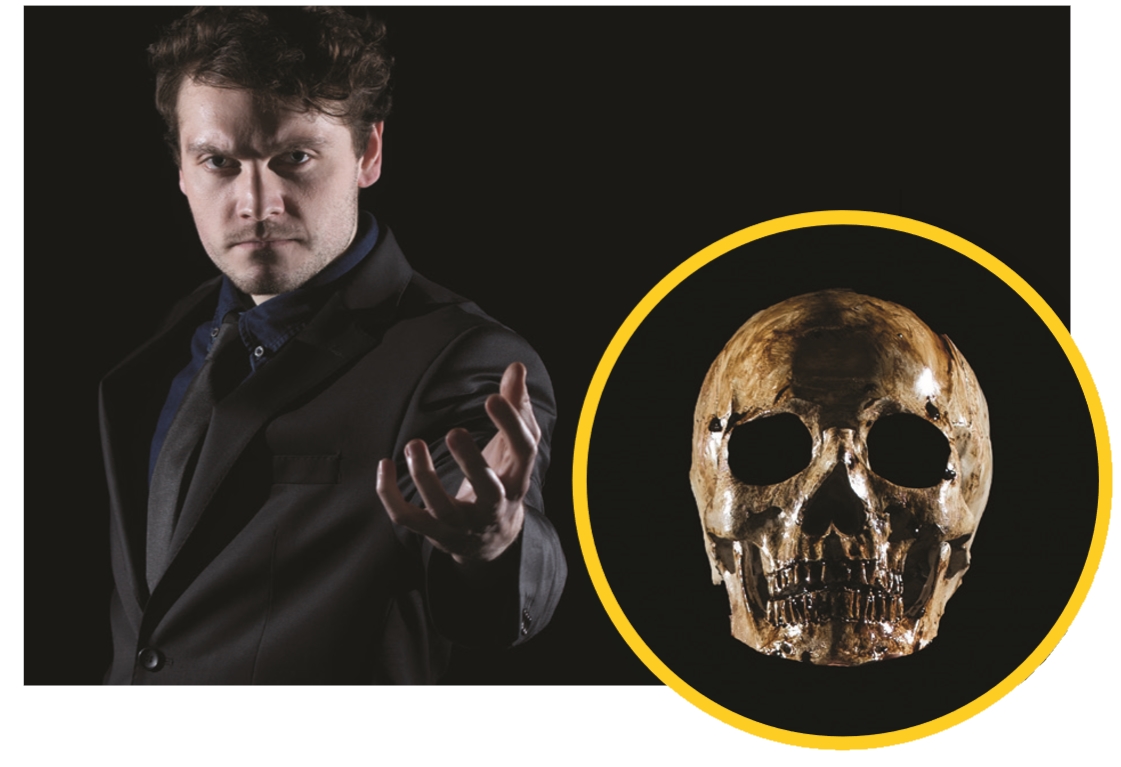
We wanted the skull to look like it was hovering above our subject’s hand, so we took two separate shots. One of the model gesturing towards the camera, and another where the subject held the skull up in front of the curtain, taking care to lean out of the frame.
Editing it all together: how to piece together your spooky portrait
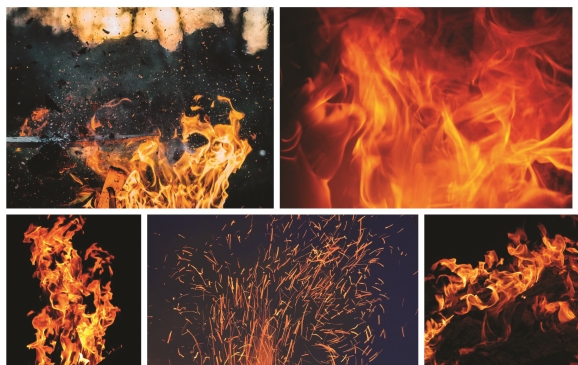
1 Get your images
Download some free stock fire images from www.pexels.com. Go to Photoshop and click on File>Scripts>Load files into stack then click on Model.jpeg and Skull. jpeg. Click OK and your pictures will open into a single document.
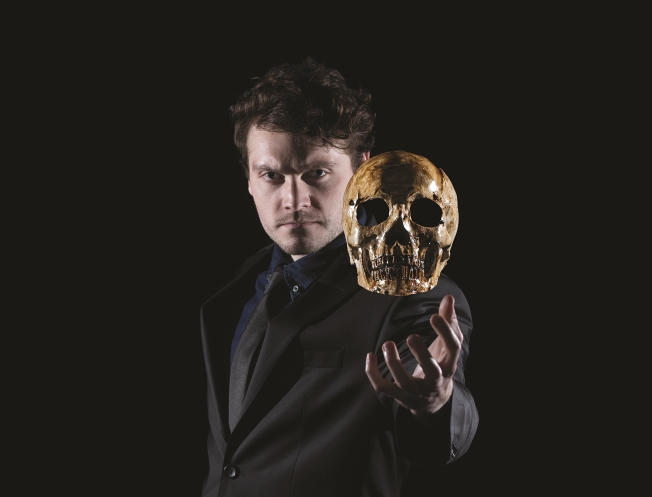
2 Cut out the skull
Ensure the skull layer is at the top. Select the Magic Wand tool (W) and click on the black section, then click the Add Vector Mask button, then Cmd/ Ctrl+I to invert it and reveal the skull. Repeat for the model layer.
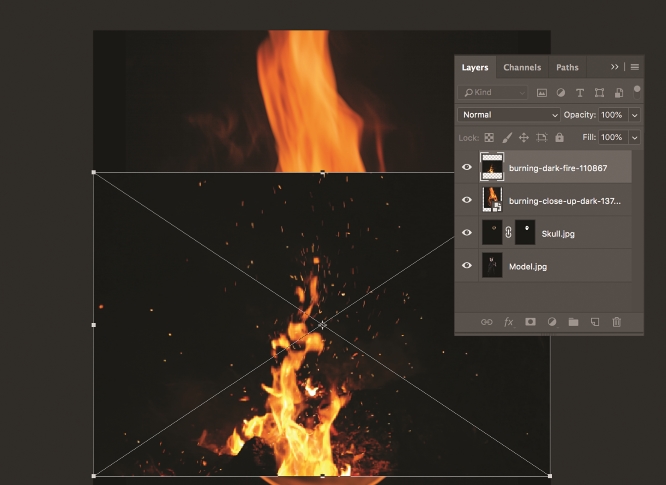
3 Place the fire
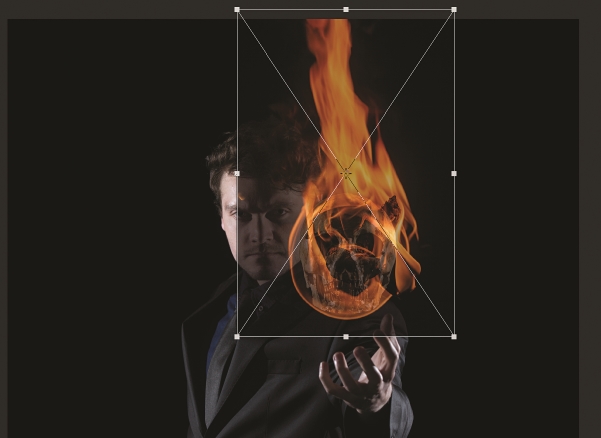
Next, navigate to your downloaded fire images and drag them into your Photoshop document. Place the background fire image at the bottom of the Layers palette and the fire for the skull at the top of the palette.
4 Flame the skull
Reduce the layer opacity of the fire for the skull and resize it to fit the skull shape. Then change blending mode to Screen and return opacity to 100%. Add a Levels adjustment layer and darken the Blacks to blend it in.
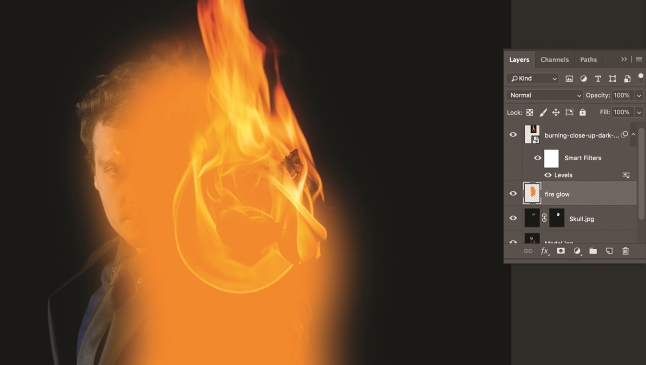
5 Add some glow
Add a new layer above the skull layer. Sample the flame with the eyedropper tool, select the Brush tool (B) and paint the skull and the right-side of the model, turn Blending mode to Color, and lower the opacity to 50%.
Quick tip
To stop light from bouncing off the backdrop and showing up in the final image, place a ‘flag’ in-between the flash and the backdrop. We made ours with a few strips of gaffer tape, which we stuck over the side of the flash.
Read more:
63 free Photoshop templates for photographers
How to retouch a portrait using Photoshop Elements
How to create a Star Wars lightsaber in Photoshop
Essential portrait photography tips
N-Photo: The Nikon Magazine is a monthly publication that's entirely dedicated to Nikon users. As a 100% independent magazine, you can be assured of unbiased opinion from a trustworthy team of devoted photography experts including editor Adam Waring and Deputy Editor Mike Harris.
Aimed at all users, from camera newcomers to working pros, every issue is packed with practical, Nikon-specific advice for taking better photos, in-depth reviews of Nikon-compatible gear, and inspiring projects and exciting video lessons for mastering camera, lens and Photoshop techniques.
Written by Nikon users for Nikon users, N-Photo is your one-stop shop for everything to do with cameras, lenses, tripods, bags, tips, tricks and techniques to get the most out of your photography.

