A photographer's guide to the ice caves of Iceland
Iceland is top of the list for many photographers, and its stunning ice caves make a change from more obvious landscapes. Kirk Norbury explains how to shoot them
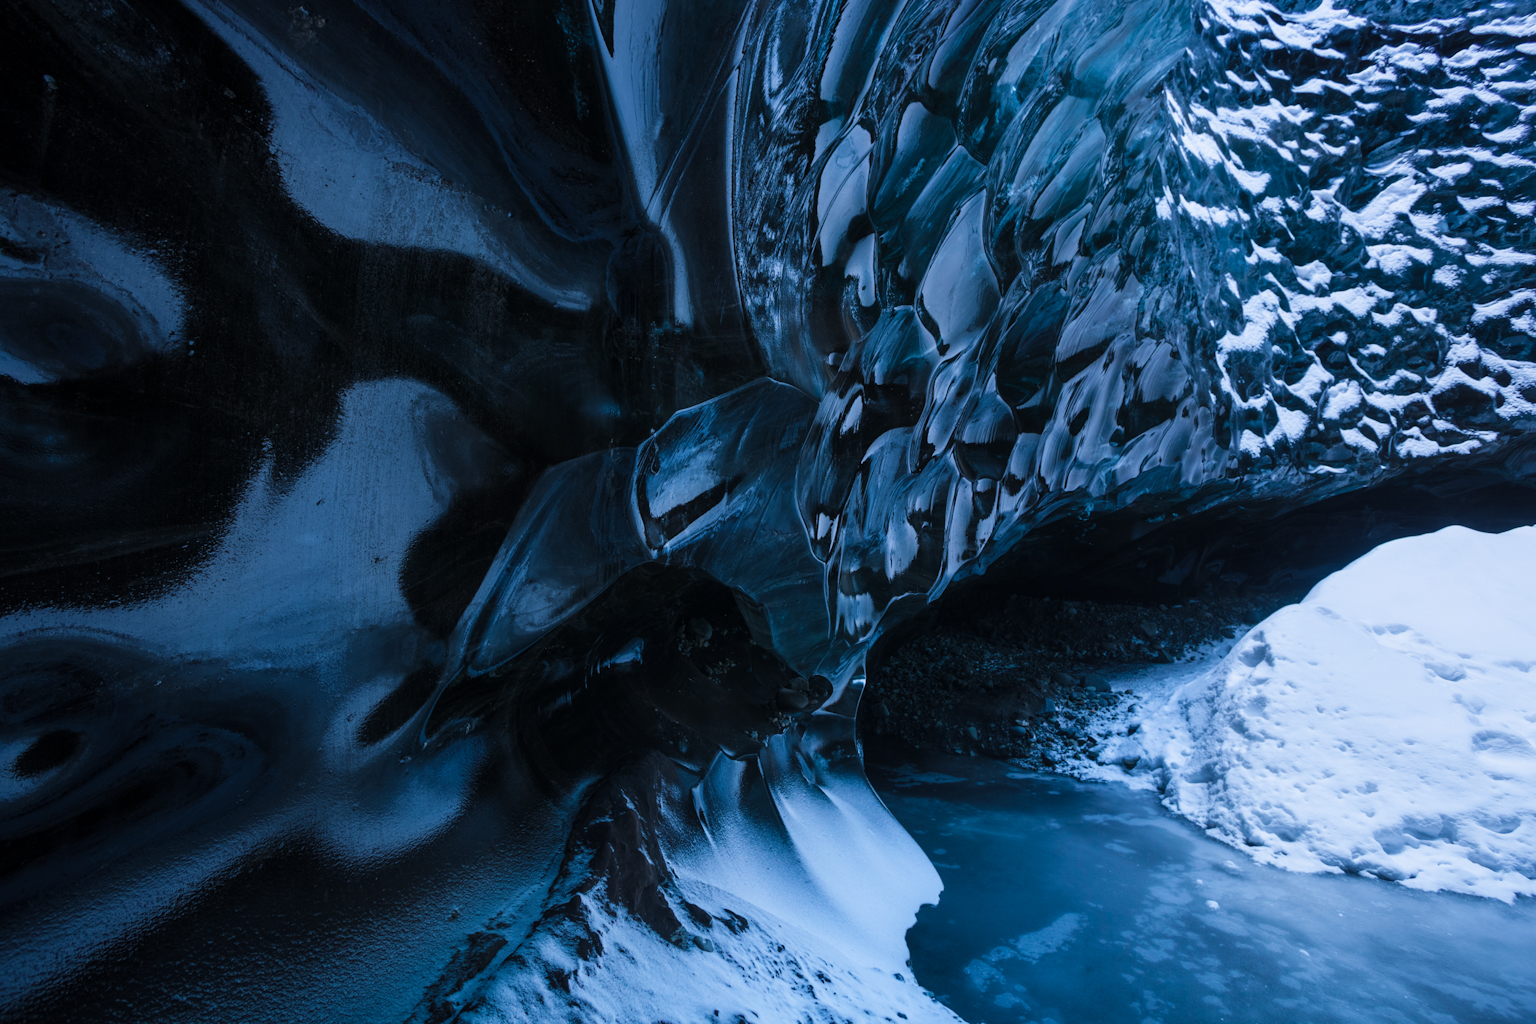
All images: Kirk Norbury
There's nothing that compares to exploring the wonders of an ice cave, especially those found in Iceland. Stepping inside you feel like you’re on another planet made of only ice.
Like a snowflake, every ice cave is unique in its own special way, with the size of the tunnels, the texture of the ice and they way the light passes through the ice all changing from one cave to the next.
Read more: The 13 best landscape locations in Iceland for photographers
Due to the dramatic change in weather throughout the seasons, these ice caves are rarely the same twice. They are formed by glacial water passing and cutting new paths through the ice, and when you step inside it’s hard to imagine the caverns full of water.
They make for fascinating photographic subjects too, but how should you go about photographing them?
Equipment
Photographing inside these caves can be quite difficult at times; what you don’t see in anybody’s photographs is that ice caves are often very dark inside.
The best camera deals, reviews, product advice, and unmissable photography news, direct to your inbox!
At times, I’ve compared it to being very similar to photographing the night sky, as your shutter speed can be open for a while and it’s hard to focus – and a tripod is a must! Shooting handheld inside an ice cave can, at times, be near impossible.
So what do I reckon you’ll need to get some great images? Well, for a start you need a DSLR or mirrorless camera. Don't worry about sensor size as this isn’t really an issue here.
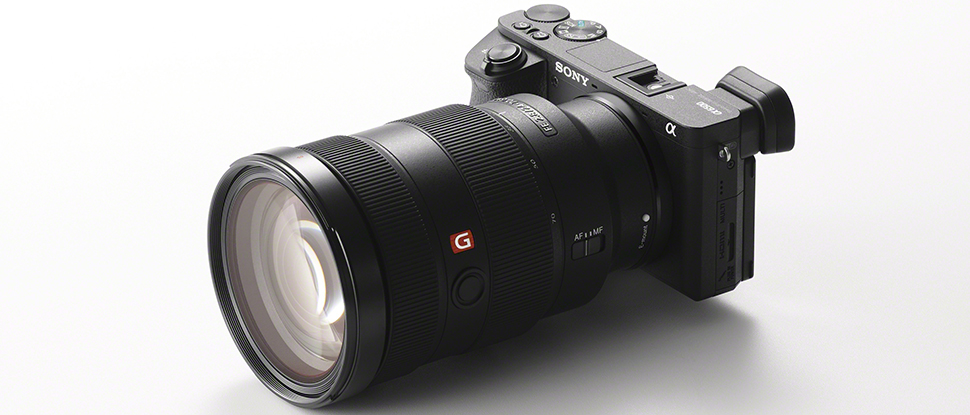
Most of your shots will be exposed longer than a second – even at higher ISOs – so you'll need a tripod too. I find fast (wide-aperture) wide-angle lenses yield the best results, as you need to let in as much light as possible.

Read more: The 8 best tripods for travel right now
I wouldn't take a remote release as it’ll just get in the way – instead, I find setting a two-second timer on my camera works best to reduce any movement from the tripod.
How to get there and safety
Ice caves can be found in many locations around the world but for this article I will be only covering Iceland, as that's the only country in which I’ve experienced them.
The first thing I will say is do not go to any ice cave without a local guide. They can be dangerous and unstable (the caves, that is) and the only person that should be taking you inside is someone who knows what they're talking about.
A guide will take you to the best caves according to the current weather conditions at the time, and they will also equip you with the correct gear required when exploring them. You'll find my recommended guides at the end of this article.
How to photograph ice caves
Ice caves are dark places, so making sure your image is correctly exposed can be difficult. In some cases you'll be able to capture enough dynamic range with the setting suggested by your camera's metering system, but for most of my images I bracket my exposures, as the difference between the dark ice and the entrance to the cave can be significant.
You can set your camera to bracket with a one-stop gap between each exposure. This is how I usually do it, but sometimes I do this manually when shooting in the Manual exposure mode, and if the range of exposures is more than what the bracketing can capture. You can also blend a number of exposures together into a single image for a wider dynamic range, a process I'll explain later on.
Finding interesting compositions in an ice cave can be just as difficult as finding them out in the open, as you don’t really know what you’ll be working with until you see what it’s like inside.
When visiting an ice cave I like to have a good look around before I start snapping away, just so I can get a feel for what it has to offer. So what do I tend to look for when trying to make images with an interesting composition?
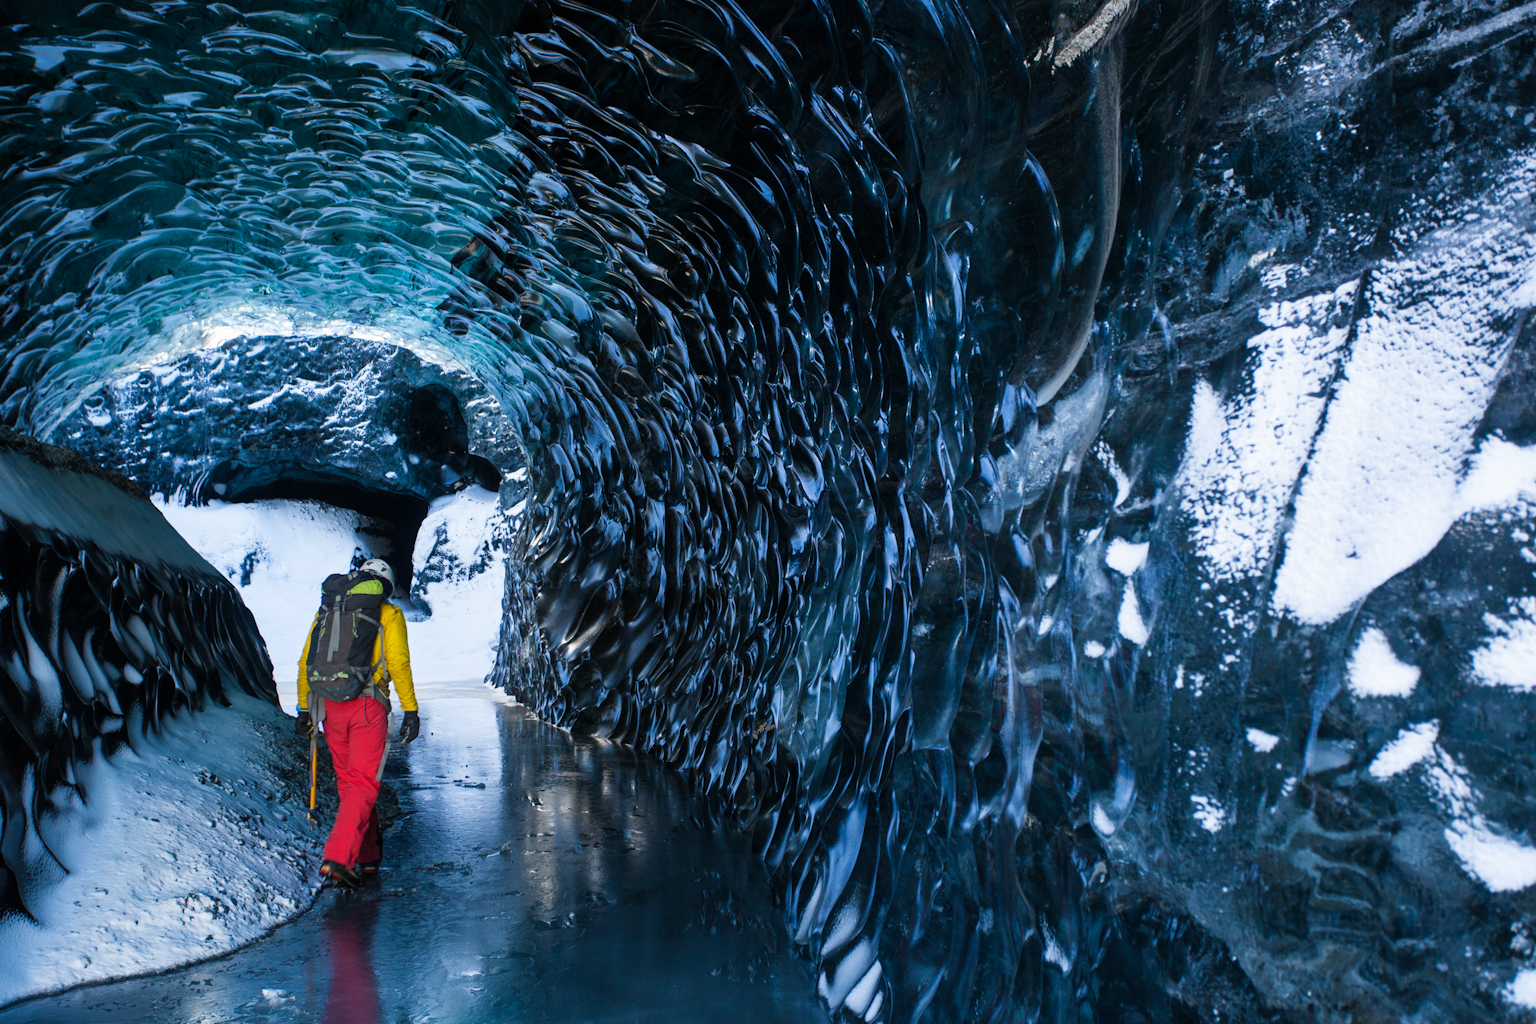
The first types of shots I generally get are big, wide shots using my widest lens, which is usually somewhere between 14mm and 24mm. Here, I’m trying to get as much of the scene into the frame as possible, but I’m also looking for some kind of leading line, which can be quite difficult. The most common leading line I see is the path into the cave or a small stream, as these will be running right through the middle. From finding a leading line I’ll find a way I can work it into the image as this will give it more depth.
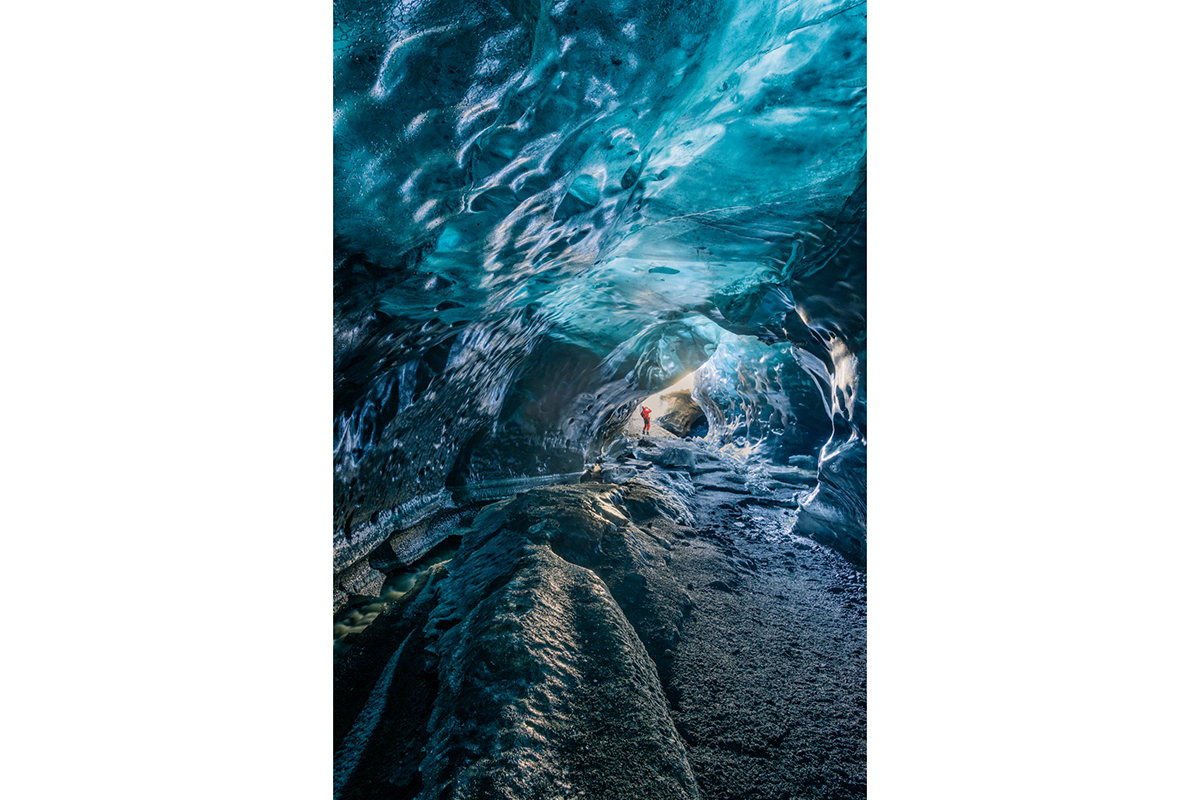
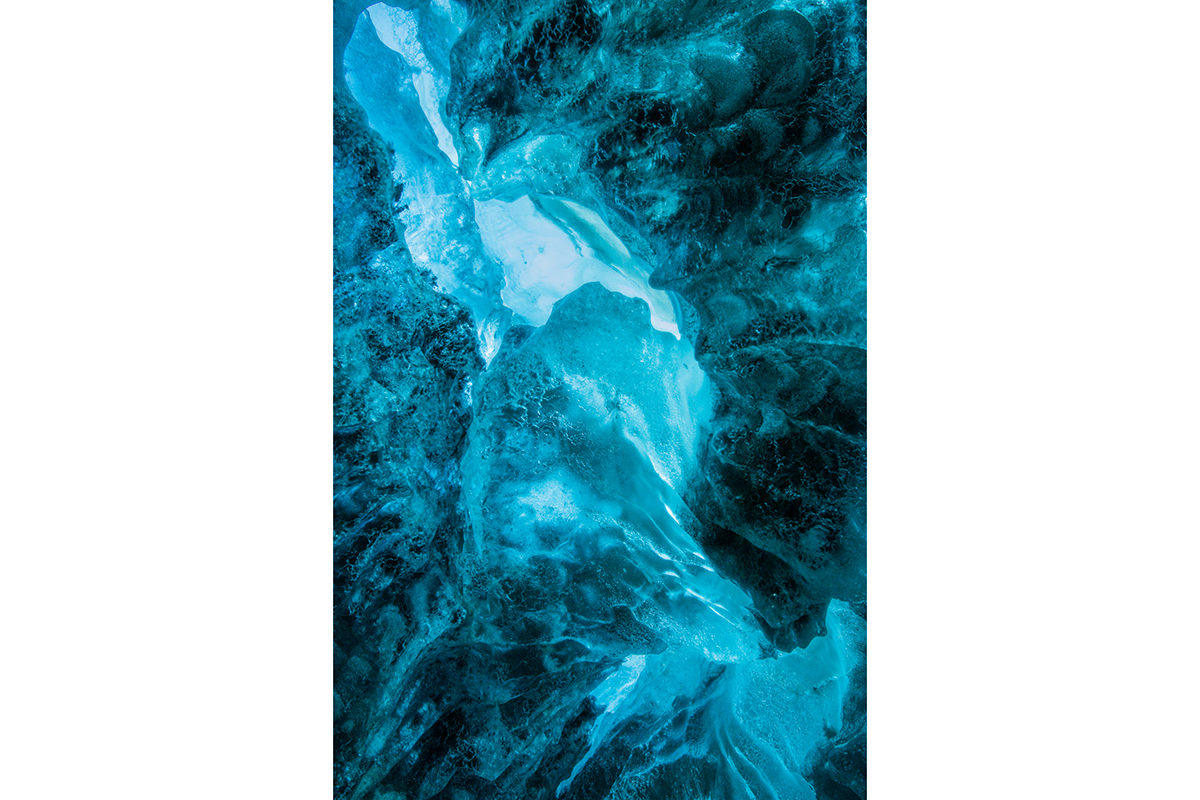
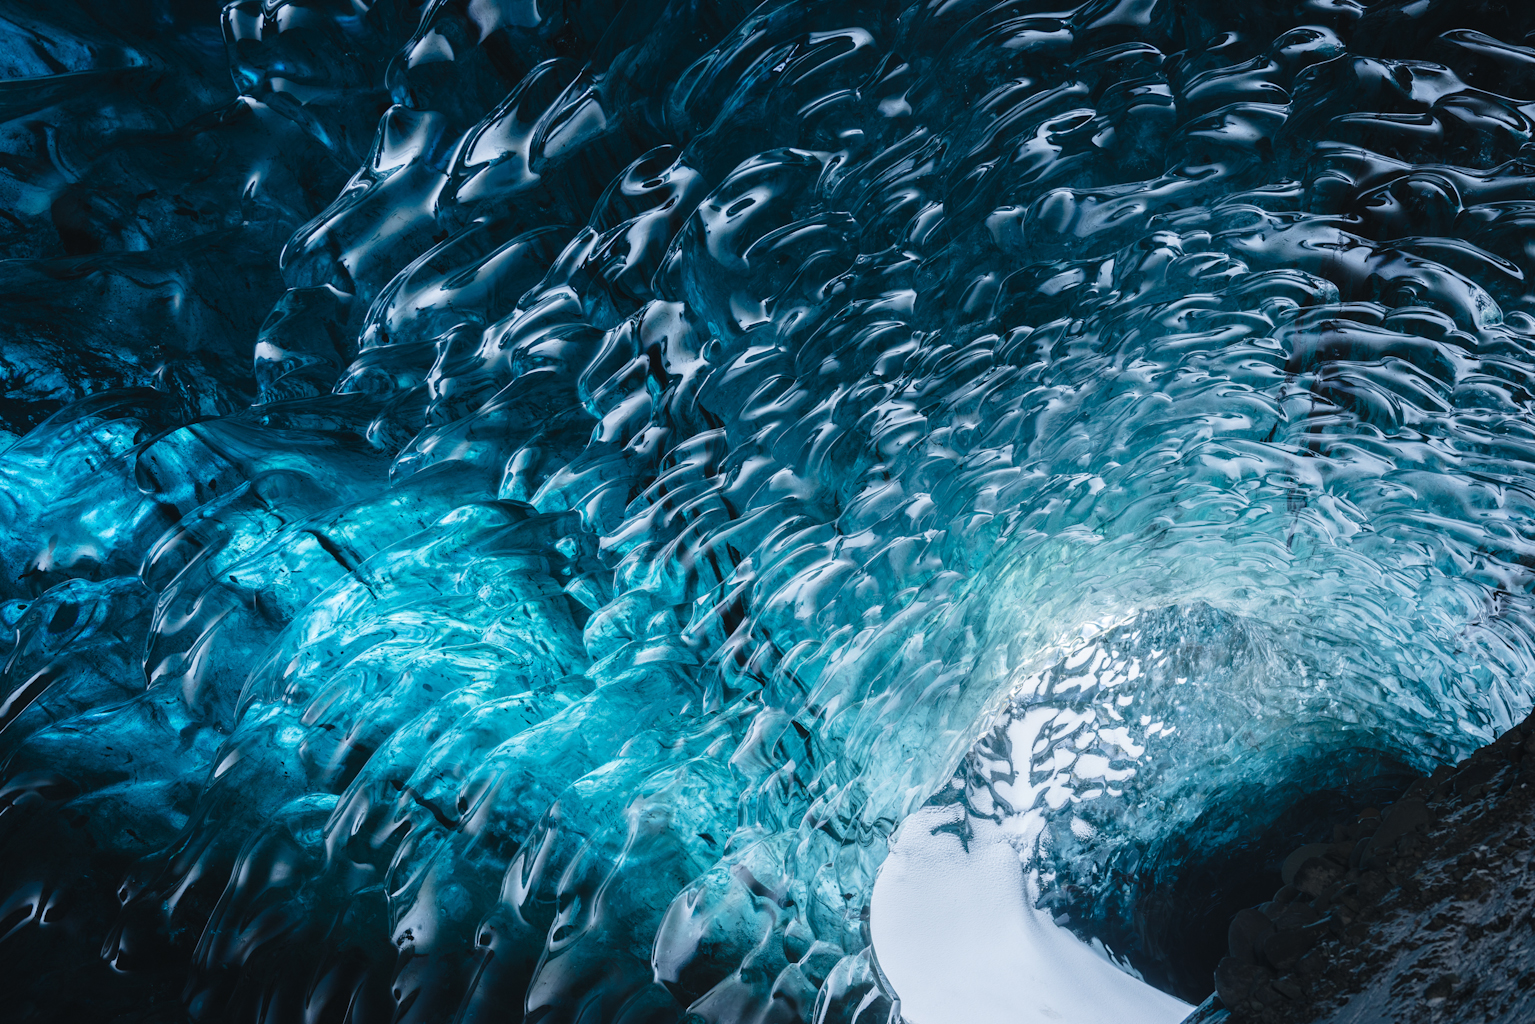
It’s very easy to get lost in the grandeur of the ice cave and try to get as much of it in your shot but don’t forget to isolate what it is you’re there to photograph: the ice! For this, I’ll either change to a tighter lens, such as a 50mm, or use my wide-angle lens and get closer to the ice itself. What I’m looking for here is a pattern that stands out from the rest, and one thing that works quite well is finding areas of the ice where more light is passing through it. As the light passes through, it bounces off different edges and gives more definition to the patterns, and this is what I’m always looking for.
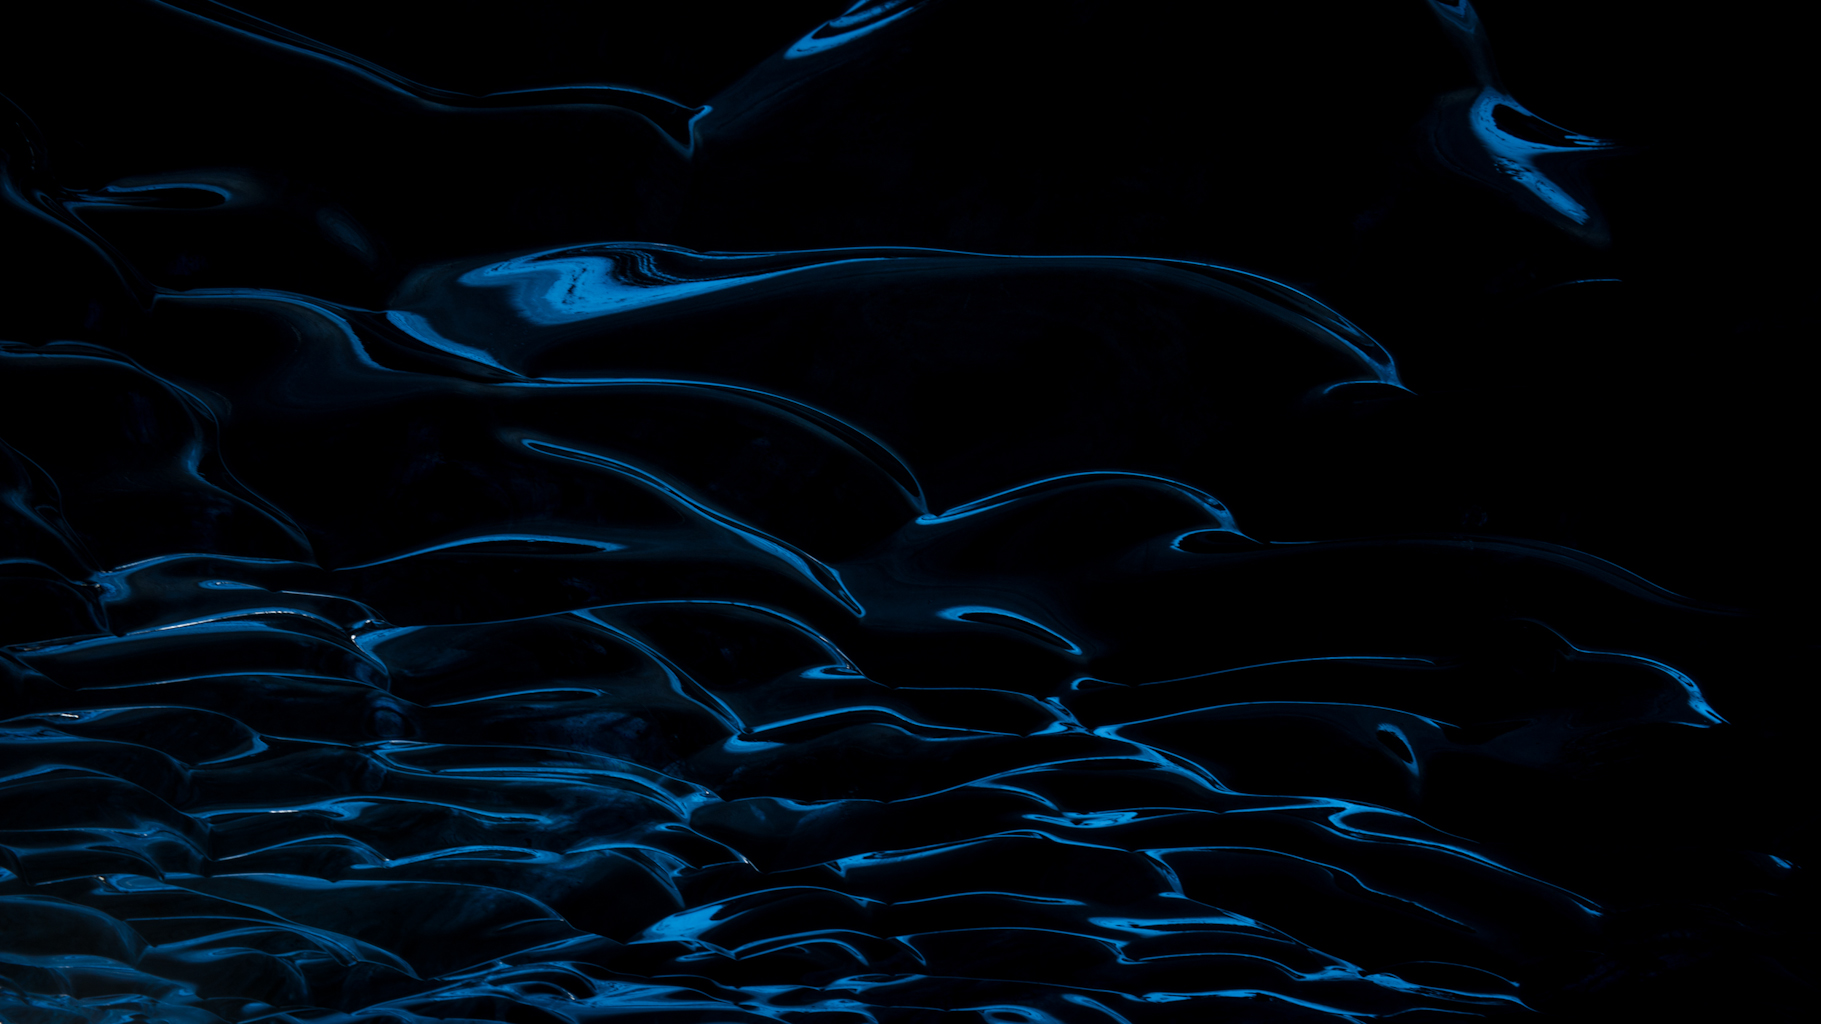
The lack of light in these caves can also work really well, as you can then isolate certain patterns rather than trying to expose for everything, which you can see in the image below.
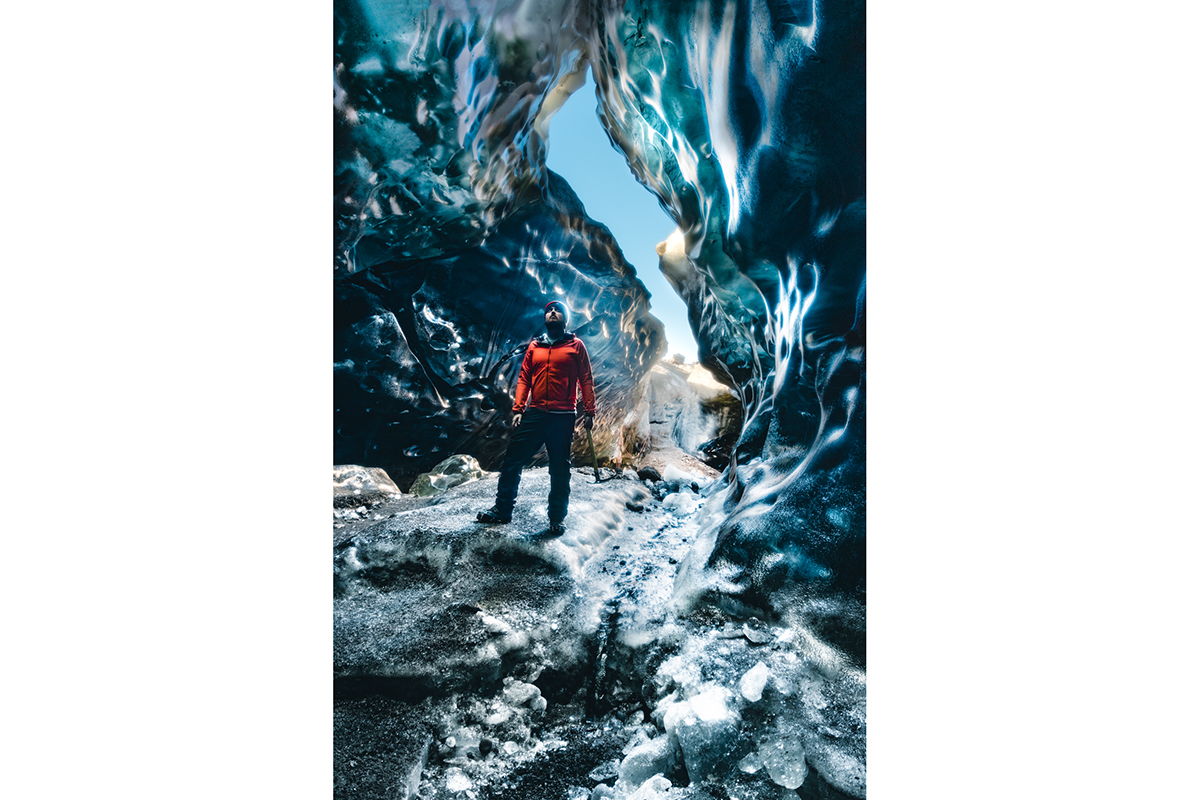
One thing that's becoming very popular when people the visit ice caves is getting a cool selfie to show your friends and family what an experienced explorer you are! I have nothing against this as I do this all the time, and it does add a different layer of interest to the image. Indeed, it may be the one thing the image needs to bring it all together.
When composing these types of shots, I shoot with a wide lens and find a leading line. The person can then stand at the end of it so that there’s depth to the shot. Back-lighting the person works quite well too as they will be silhouetted inside the ice cave. Thinking back to the exposure section, you'll need to be aware of how bright the background is compared to the foreground and if it’s very bright you may need to bracket your exposures to capture the full dynamic range.
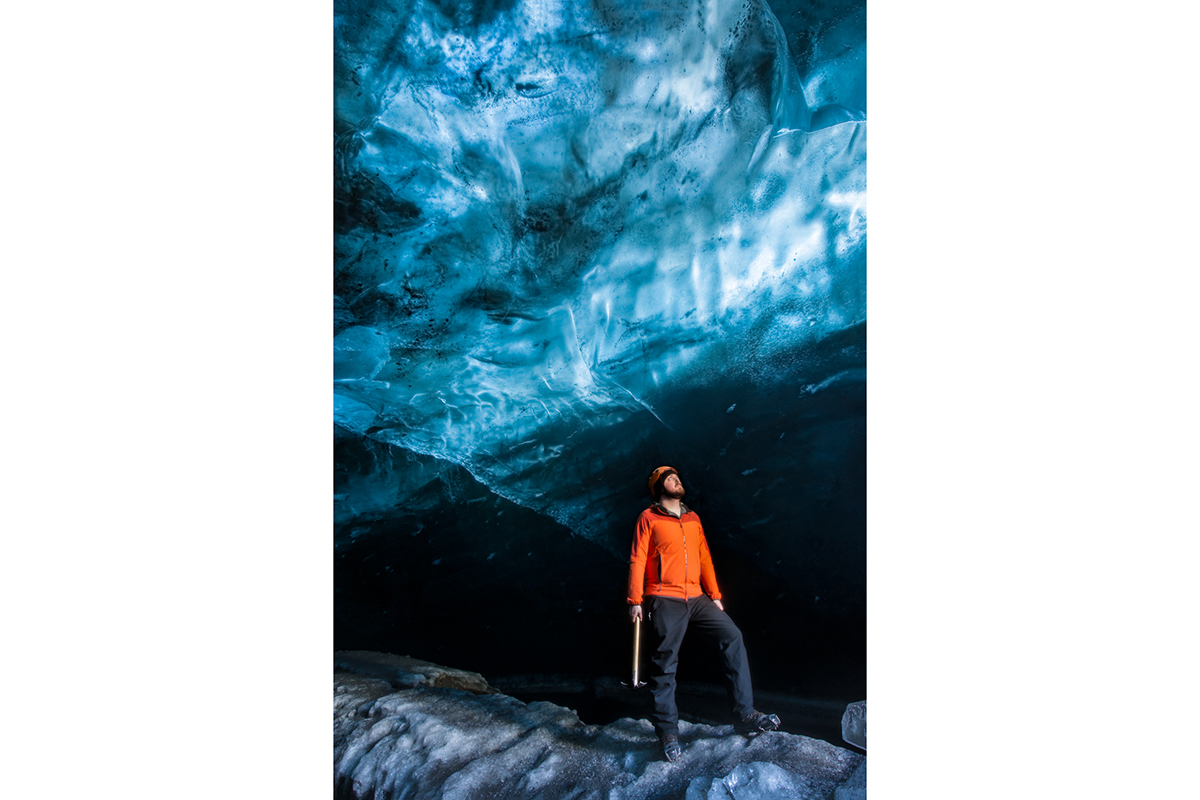
As a prop I will ask the guide to bring a walking axe, which for some caves you’d need for safety anyway. Make sure to check your focus after taking these shots, as the last thing you want are images in which you aren’t even in focus.
Read more: Cheat sheet: How to take the perfect landscape shot
When it comes to actually taking the images, I set my camera on an interval to take one frame every second. This way I don’t need to run back and forth for one shot, and I can let the camera take many images and hope that one is OK. Once I’ve got the pose right, I will then take clean shots of the scene (if needed) and capture the full dynamic range of the cave.
Editing your images
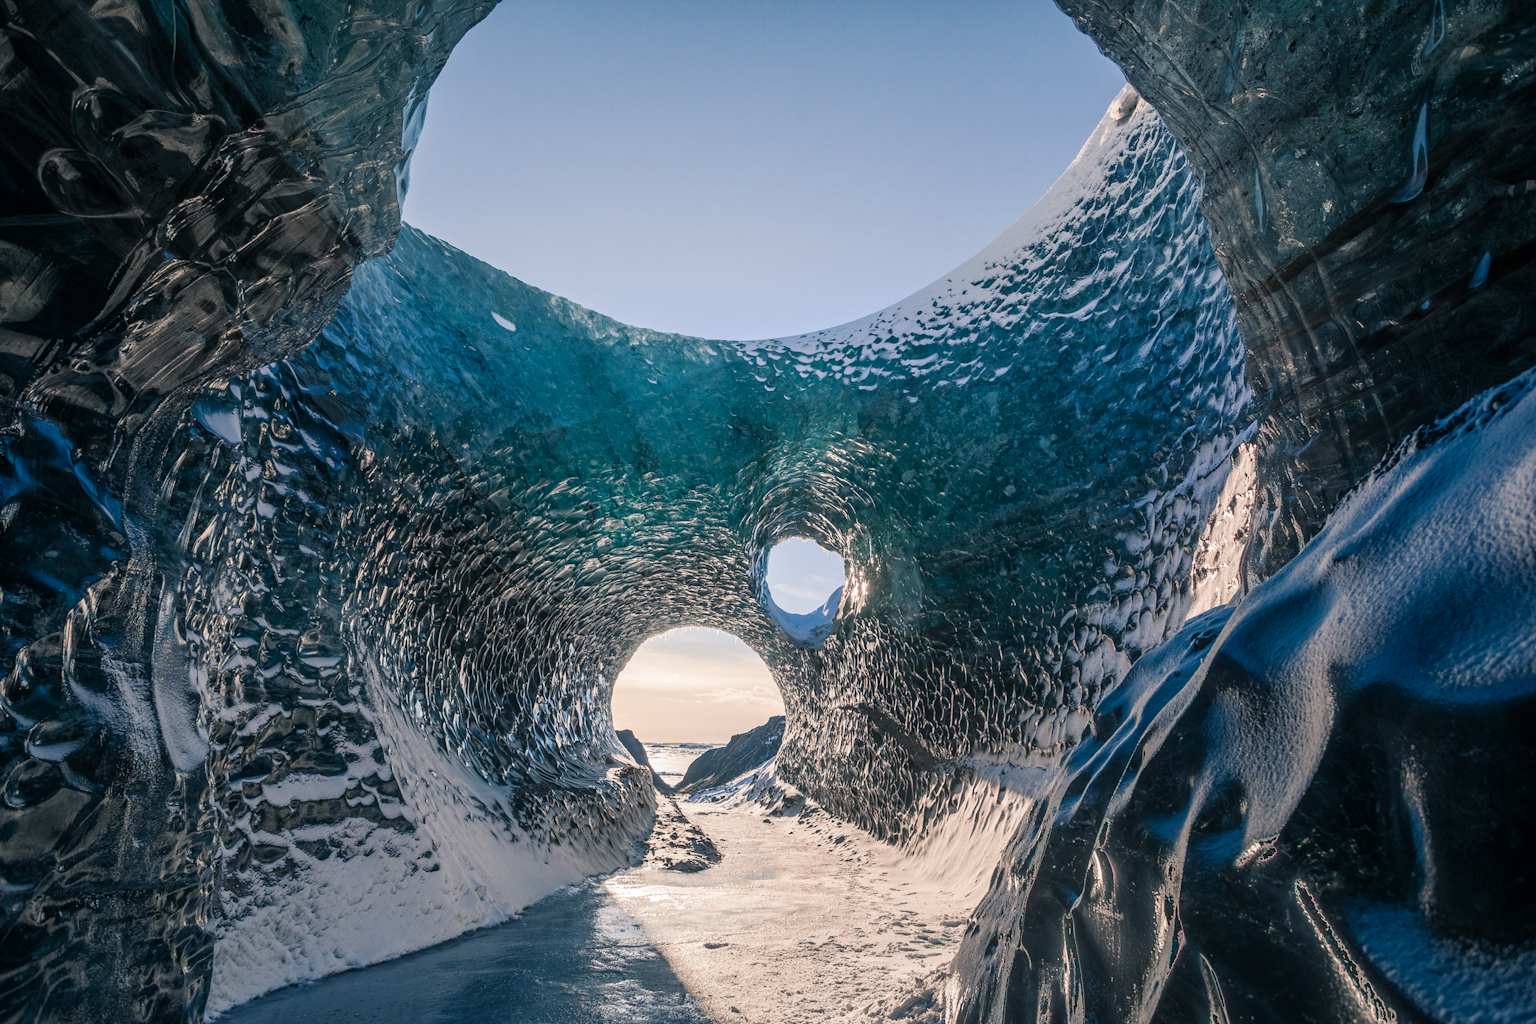
Editing these images is no different than any other images, but there are a few things that you may not be used to do.
The first is HDR (high dynamic range). HDR has come a long way since the days of over-processed and over-saturated images that felt like they were burning your eyes. Now that you can create HDR images in Lightroom, you can be more subtle with the editing to avoid that dreaded HDR look. Here's how it's done:
Step 1
First, select a number of images you captured of the same scene at different exposures.
Step 2
Right-click one of them and select Photo Merge and then HDR. The HDR dialog box will pop up and from here you want to make sure Auto-Align is selected, even if you shot the images on a tripod as you may have knocked the tripod slightly and not even noticed.
Step 3
At this point I also make sure Auto Tone is unchecked, as this is what can give you the HDR look, but I will see if the Auto button does a decent job, as it sometimes surprises me.
Step 4
Once the image has rendered you will have a single Raw file with a very high dynamic range. You can now edit it like any other image.
Final thoughts
Ice caves are wonderful places to explore, especially as a photographer, and it’s an experience like no other. Going in with your camera, however, can be a bit daunting, so I hope the tips I’ve provided will help you on your way to capture some amazing images.
If you’re interested in visiting Iceland to see these ice caves I would recommend checking out Local Guides and From Coast To Mountains Guiding. Also, if you’d like to join me to Iceland and see what else it has to offer make sure to check out Wild Photography Holidays to see what tours I will be running.
Read more: The 11 best landscape locations for photographers in the UK
