4 steps for easy portrait retouching in Lightroom
Here are 4 quick steps to getting great portraits without ever leaving Lightroom!
The best camera deals, reviews, product advice, and unmissable photography news, direct to your inbox!
You are now subscribed
Your newsletter sign-up was successful
When you think of Lightroom you might not immediately link the software to more detailed editing options, and instead use it for basic blanket-editing and organization across your library of images. For some photographers, though, the editing tools in Lightroom are all you will ever need.
Once you have made your basic adjustments to the color, exposure and contrast you can now get to work on the finishing touches. There are a few small changes you can make; each one might not make a huge difference by itself, but together they can subtly transform an image. Welcome to your new portrait retouching workflow!
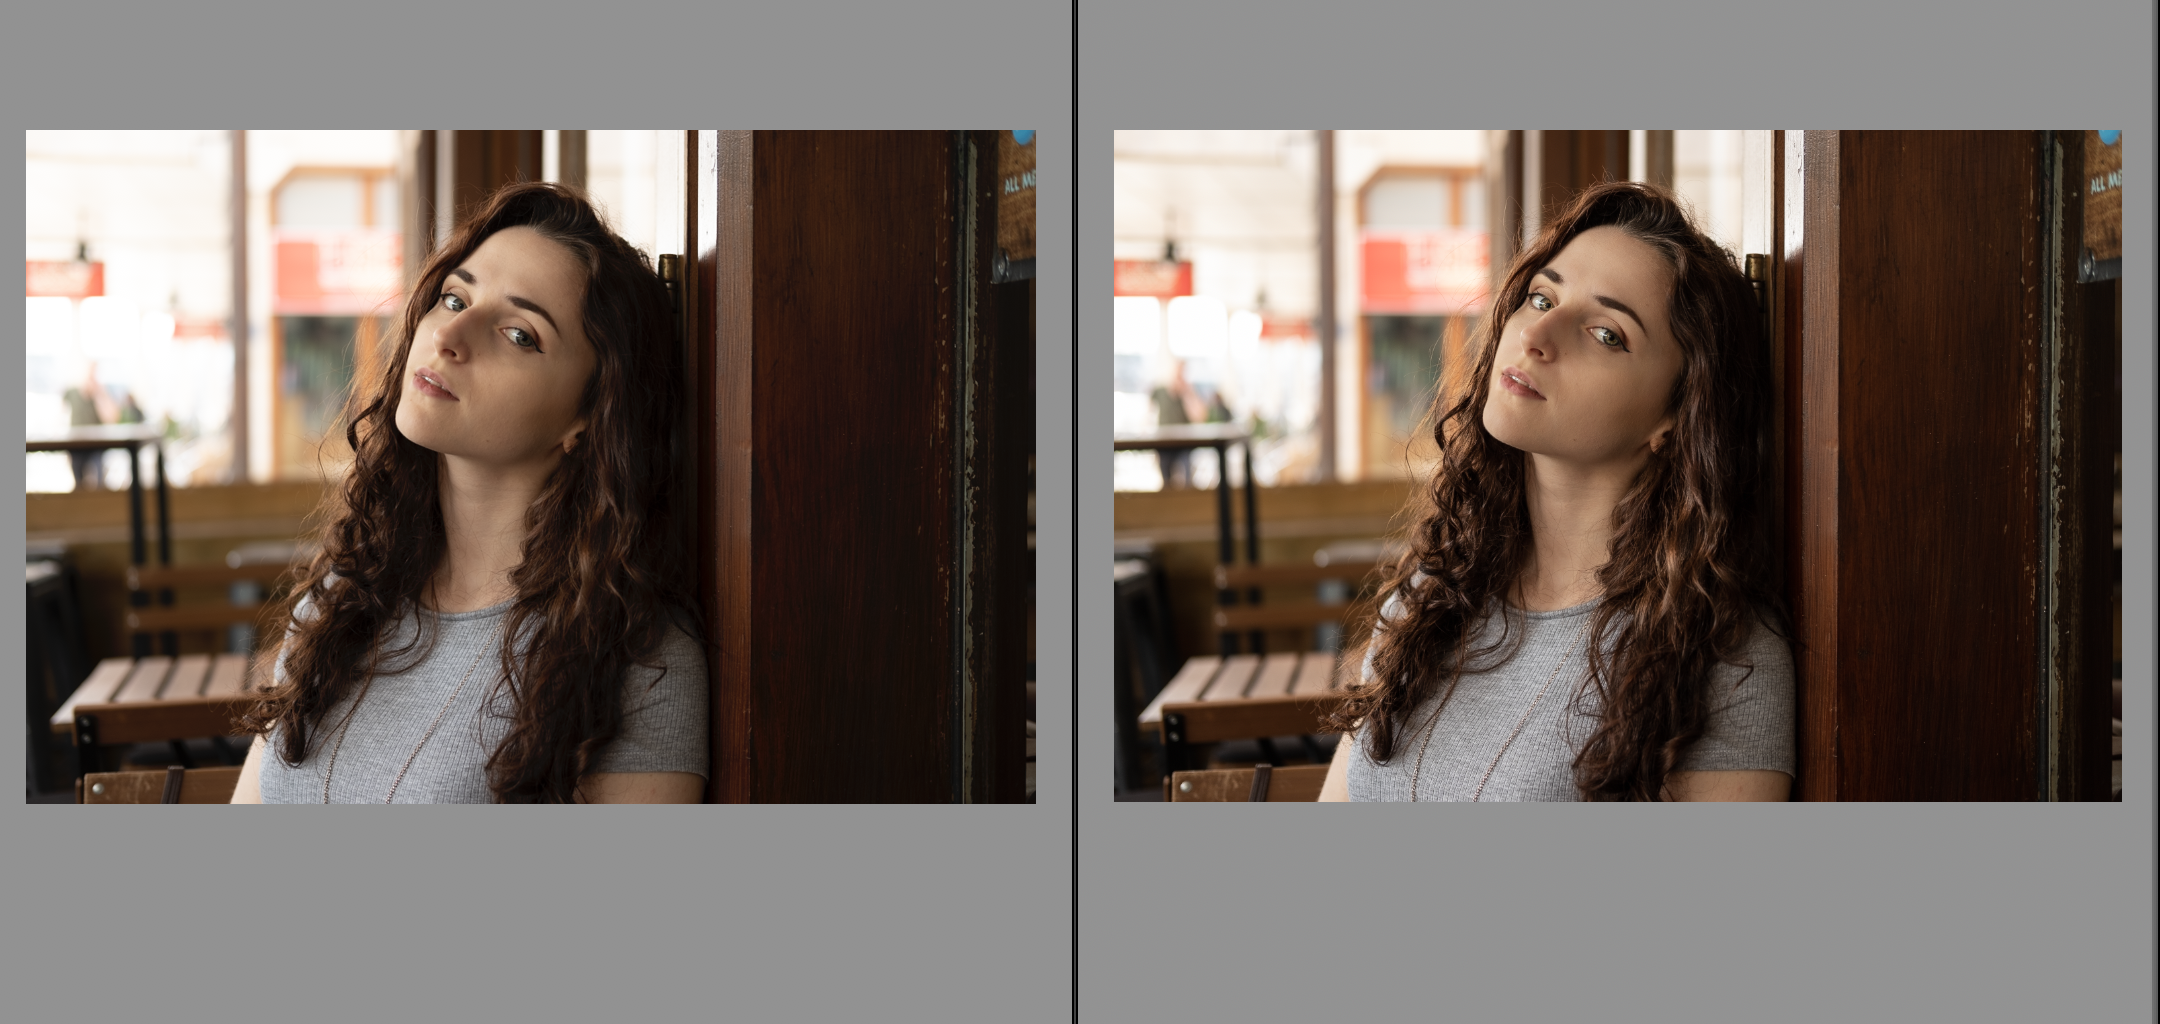
There are so many ways to retouch a portrait, but here we'll take a look at keeping the image looking natural with a few subtle enhancements to bring out the best attributes in our model's features. We'll look for any small blemishes in the, hair, eyes and finally the skin…
Article continues below• See also: Why I dumped Lightroom CC and went back to Lightroom Classic
01 Get rid of blemishes
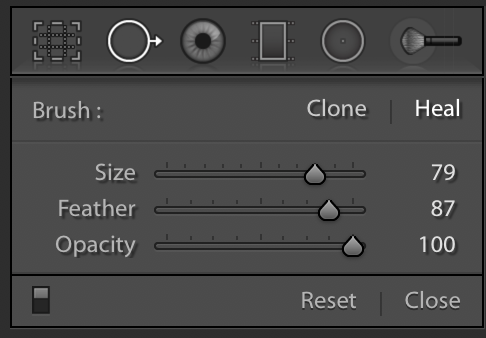
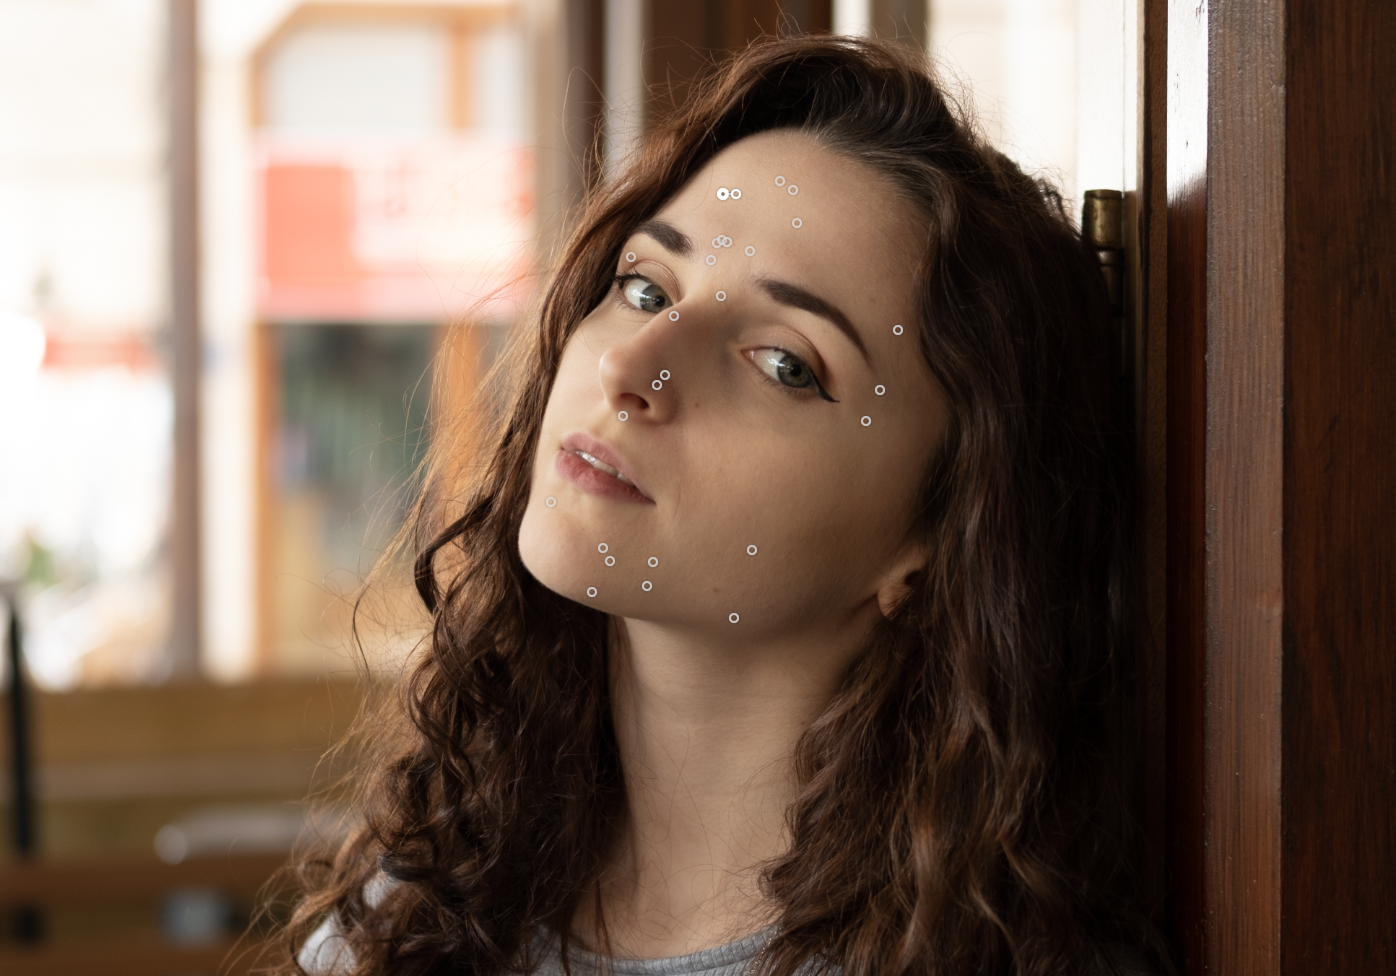
Always begin by tidying up any spots or marks on the skin, or stray hairs. Click on the Spot Removal tool icon to activate it. Now click on the spot you want to remove. Lightroom automatically selects another area of the portrait to sample from, healing
the blemish. If you don't feel that Lightroom has got it quite right, you can move the selected area to another part of the image.
02 Enhance the eyes
The best camera deals, reviews, product advice, and unmissable photography news, direct to your inbox!
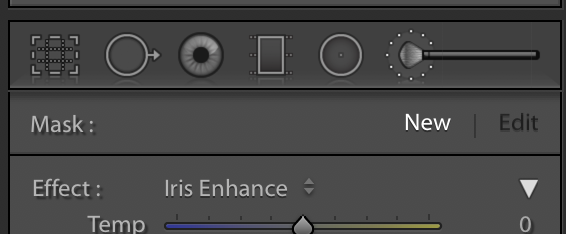
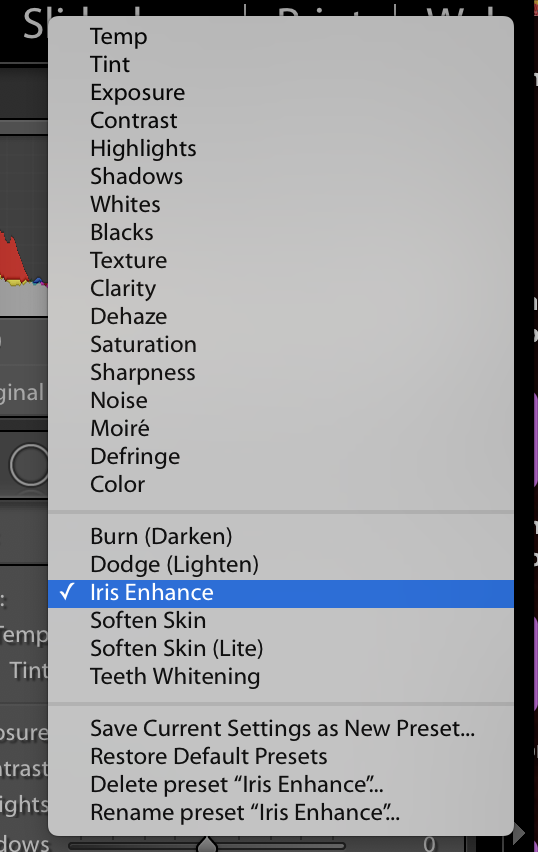
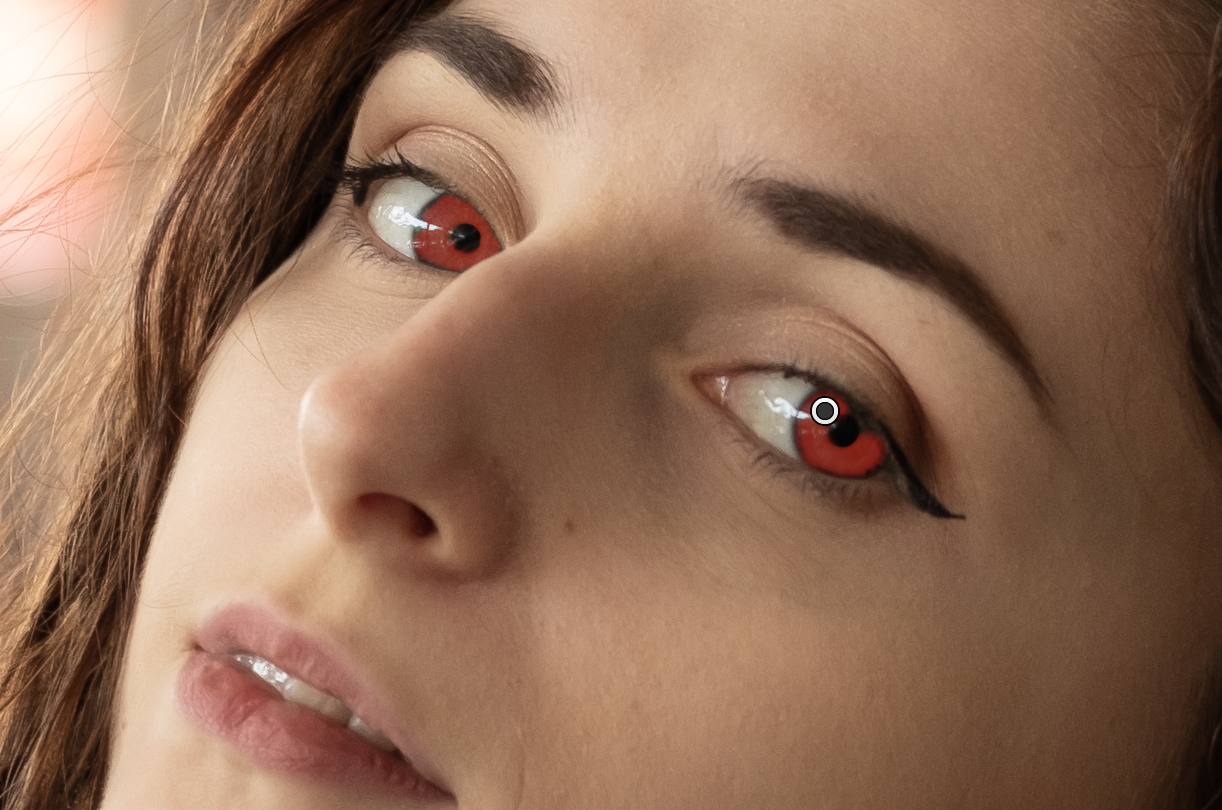
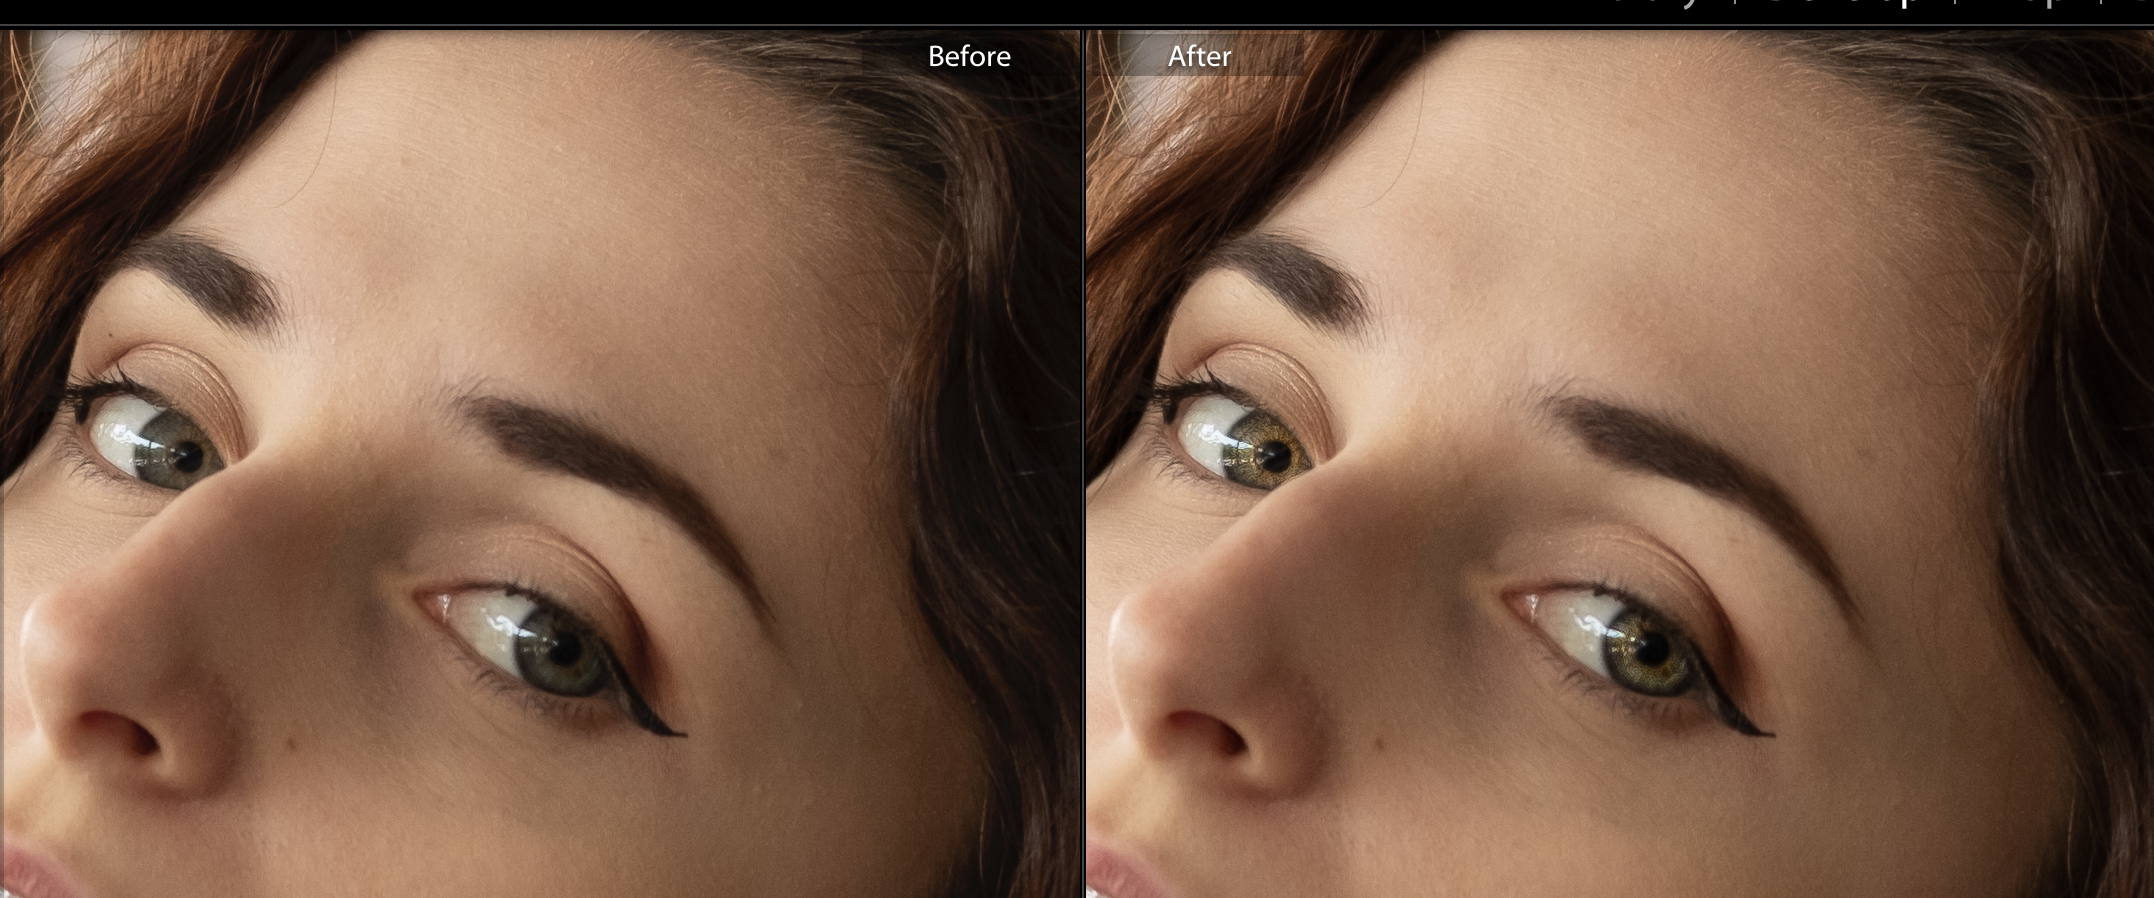
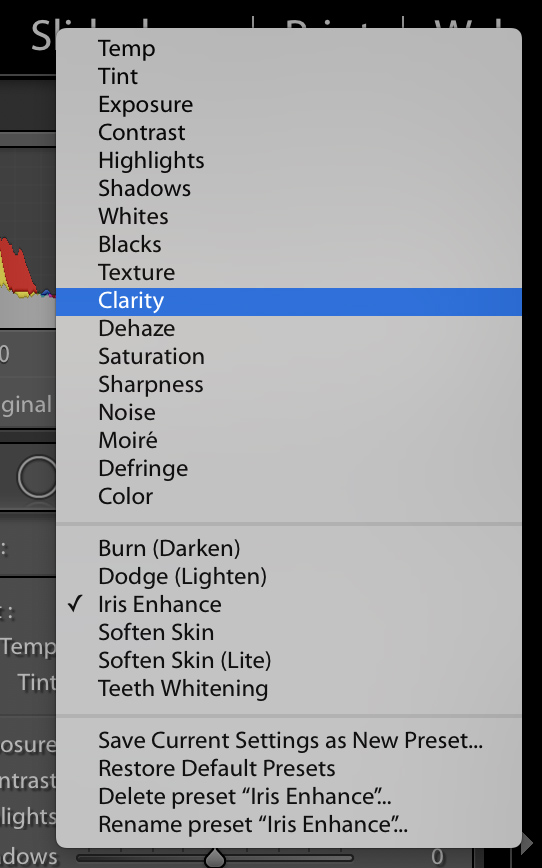
Click the Adjustment Brush panel to create a new Adjustment Brush, and select Iris Enhance from the dropdown menu. Now paint in the irises of the model’s eyes. Press O (the letter) on the keyboard to see the painted area more easily (it appears as a red overlay), so you can check you haven’t included any unwanted parts of the image.
03 Bring out the hair details
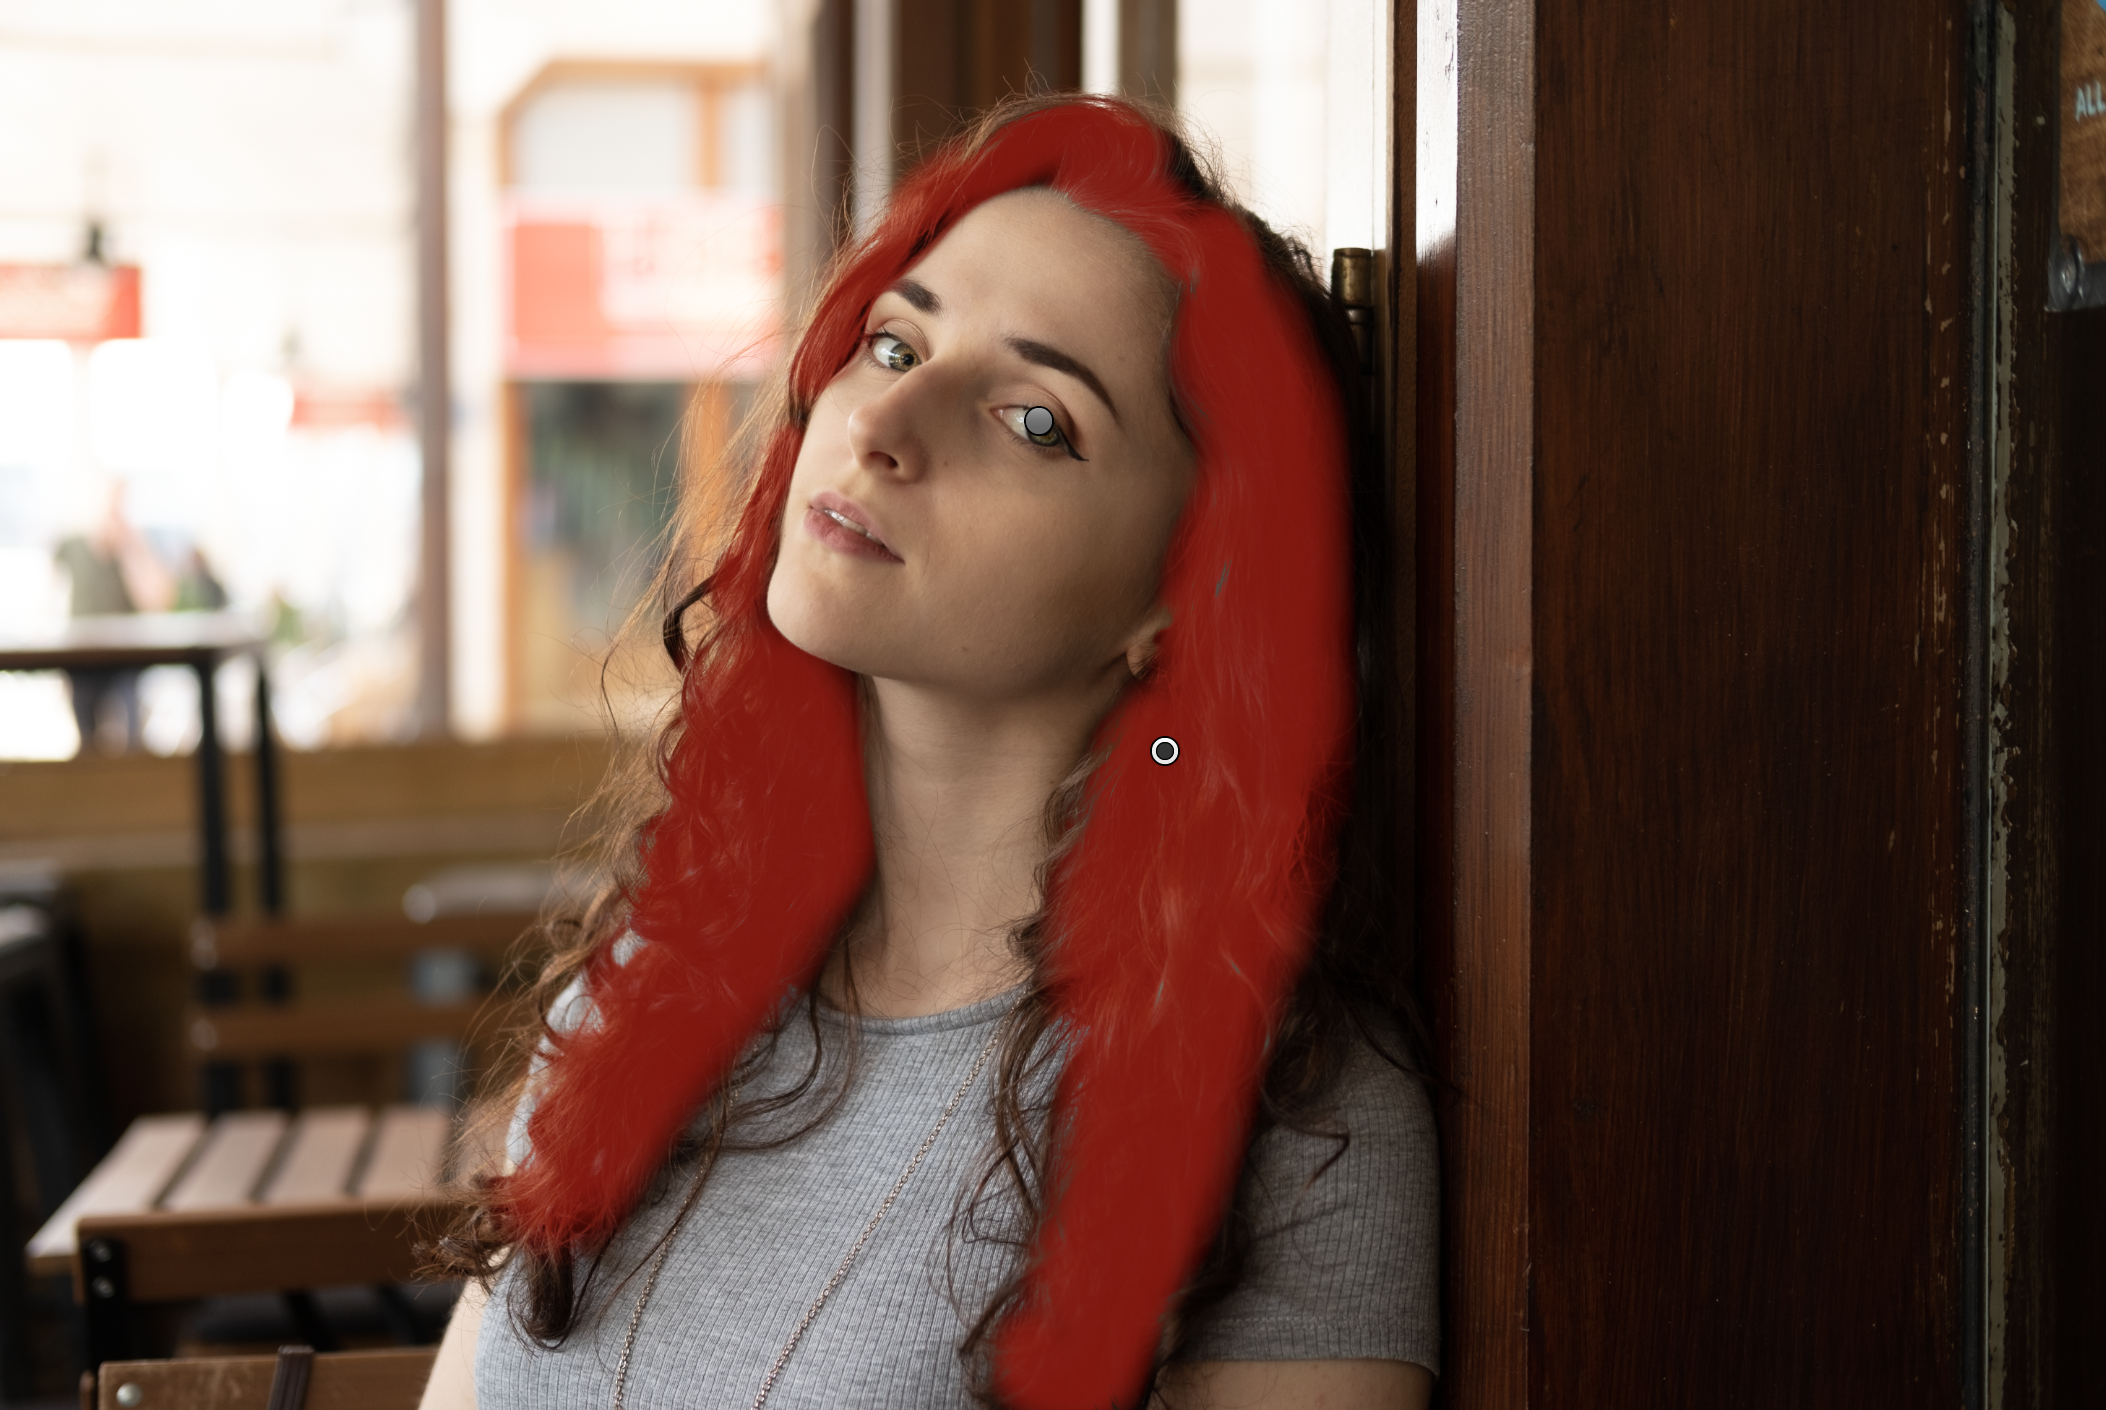
You can now select a new Adjustment Brush and repeat the same process as before. This time, select Clarity and paint over the subject’s hair. This will bring out the midtones and make the hair pop a little.
04 Soften the skin
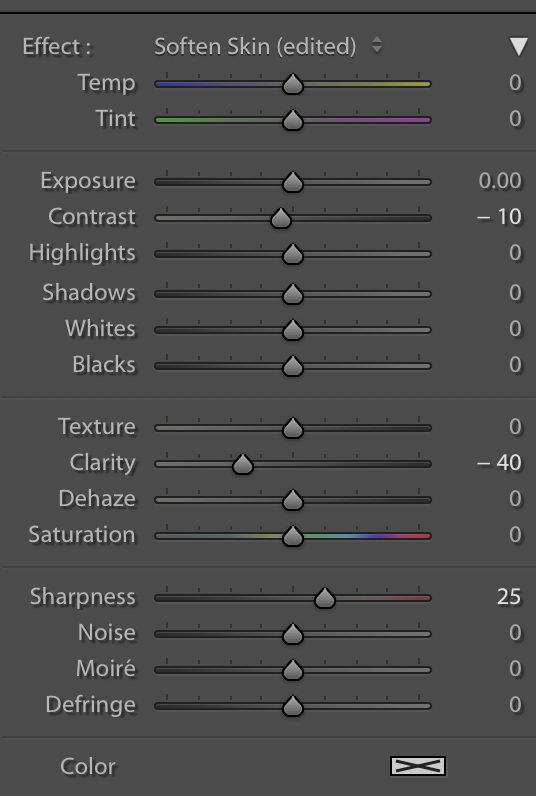
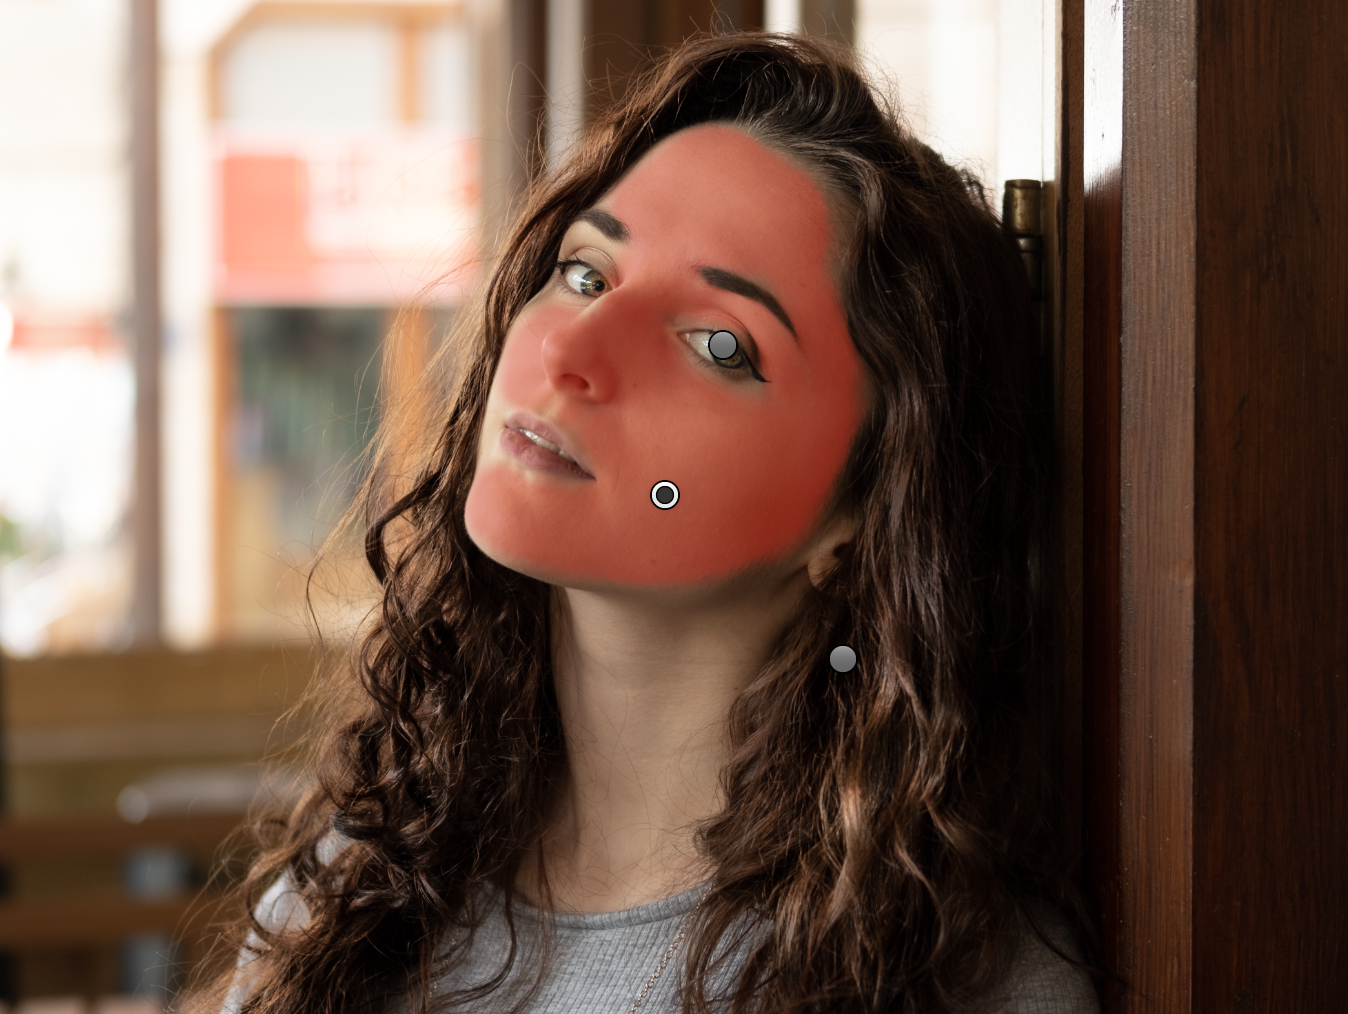
Finally, select the Soften Skin brush to apply the finishing touches. Some people have great skin already, so it may not be needed at all. Use your own judgment here to achieve a natural look that doesn’t lose detail. By default this brush reduces Clarity to -100: you may want to pull that back up to -50 or less.
And there we have it: a super-quick, super-simple edit to enhance your portraits directly within Lightroom. All the slider values can be tweaked to your own personal preference, but try to keep your image looking natural and believable to the viewer.
Read more:
Best Adobe Photography Plan deals
Free Lightroom presets
Premium Lightroom presets
Create your own Lightroom presets
Alistair is the Features Editor of Digital Camera magazine, and has worked as a professional photographer and video producer.
