Digital Camera World Verdict
If you want a scanner that can handle the day-to-day running of your photography business while also being able to scan 35mm film all the way up to 120 medium format (with either positives or negatives), the Canon CanoScan 9000F Mark II is the best option. It's extremely capable of scanning a whole roll of 35mm in minutes and if you progress into medium format film, you are not left looking at other options.
Pros
- +
9,600 DPI films scans
- +
All-in-one design/function
- +
Scans 120 and 35mm film
Cons
- -
Slow to scan at high DPI
- -
Large overall footprint
- -
Flimsy film holders
- -
Basic software
Why you can trust Digital Camera World
Film photography has seen a resurgence like no one ever expected, from old users going back for nostalgia purposes to millennials and Gen-Z picking up film photography for the first time. If you've been shooting with one of the best film cameras and or want to scan in old negatives, you'll need the best film scanner.
Once scanned, your negatives can be edited via computer, printed on a large scale, or shared on social media – all without setting foot into a darkroom.
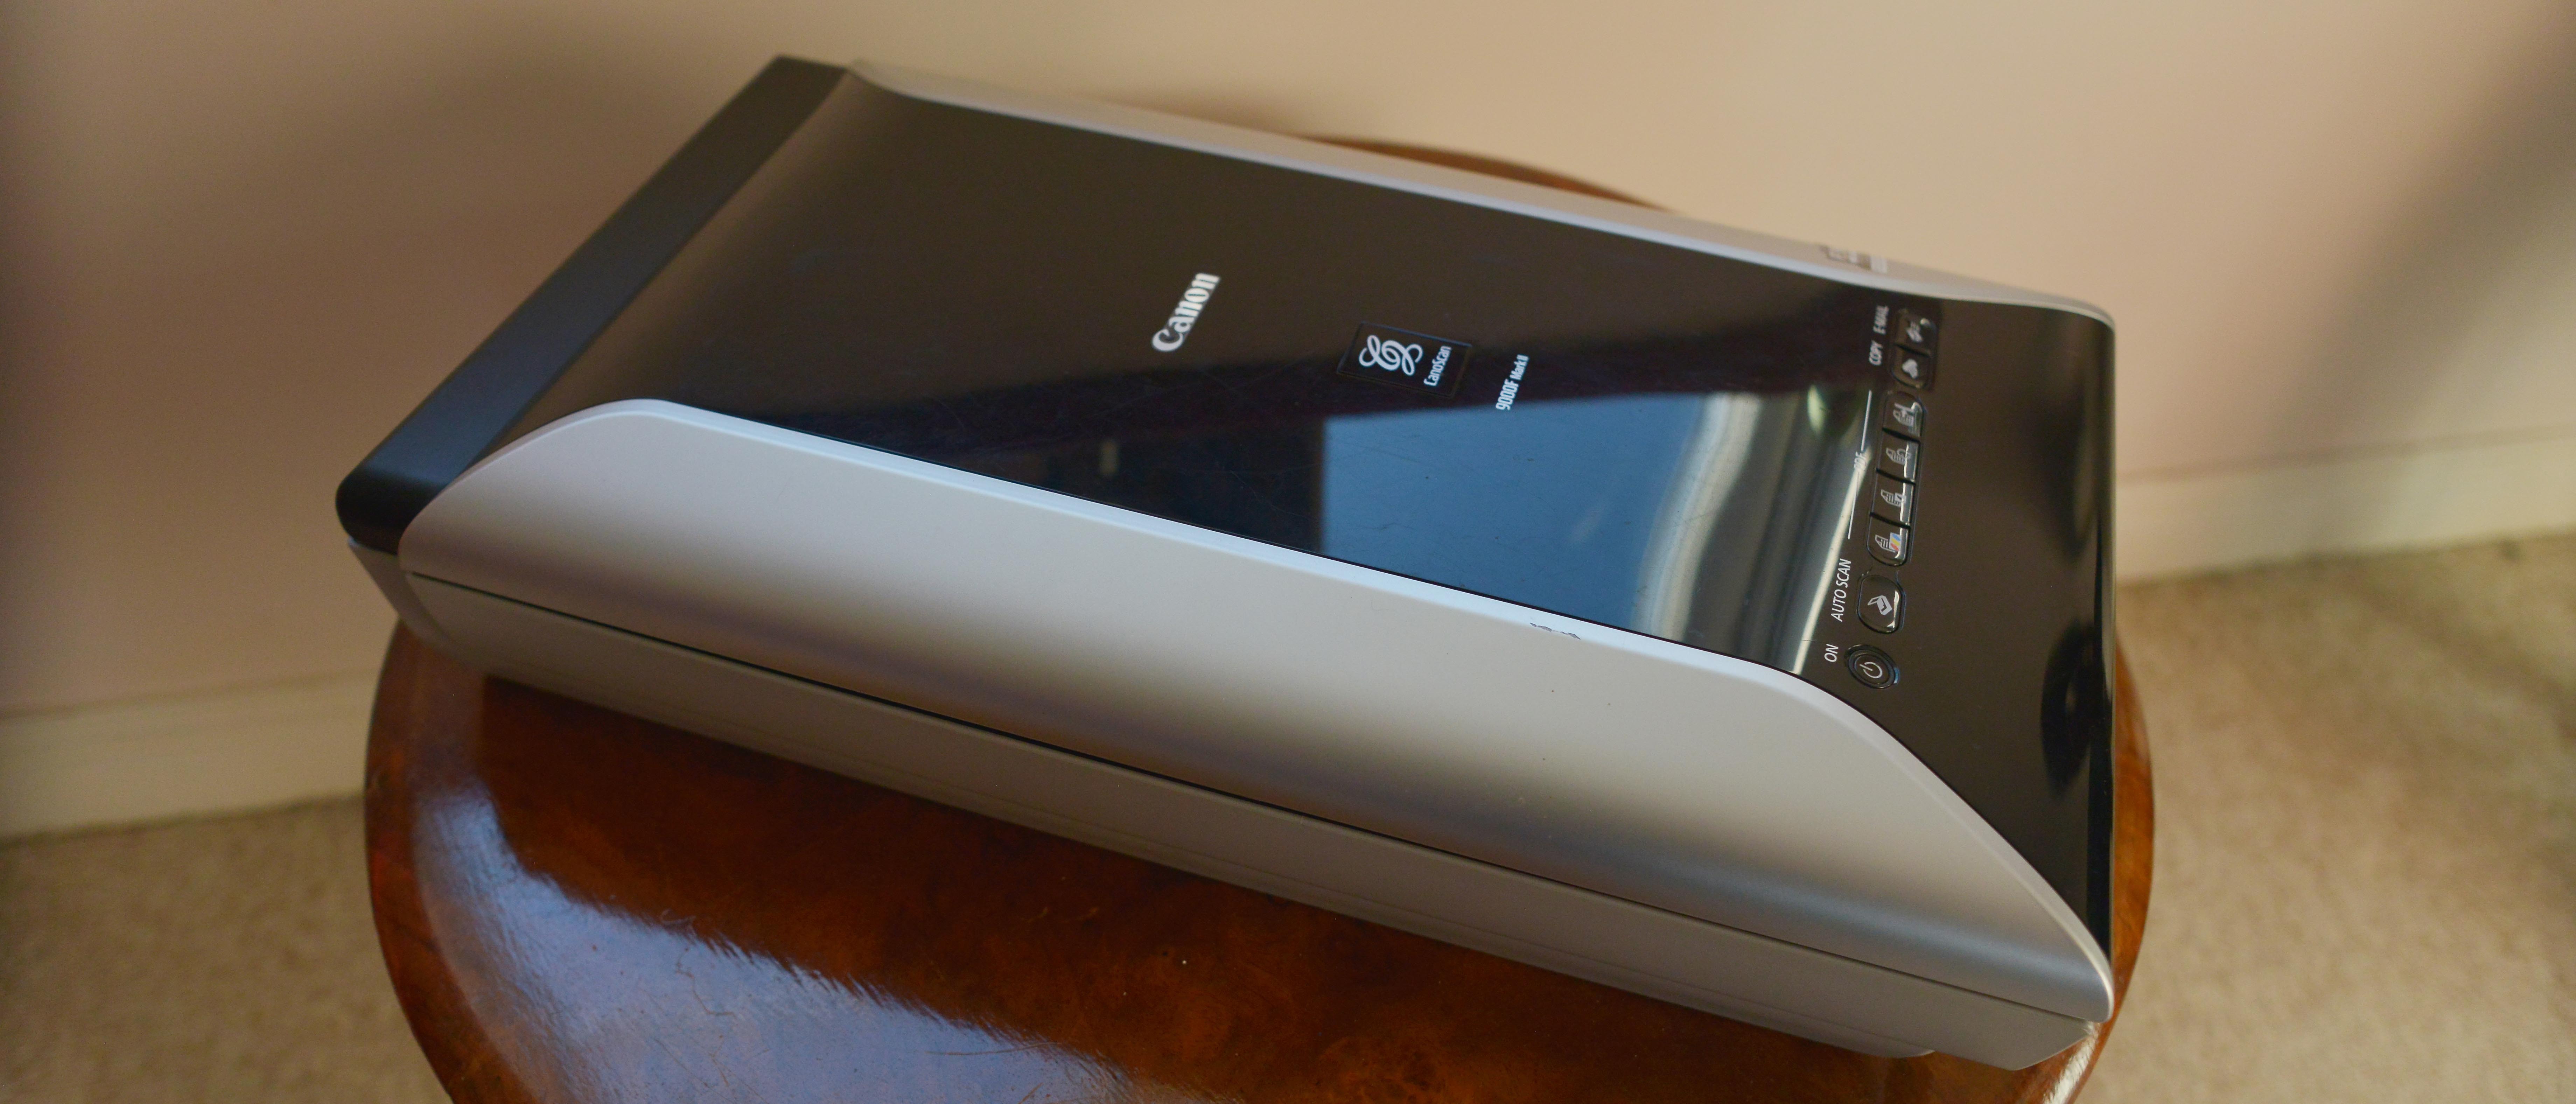
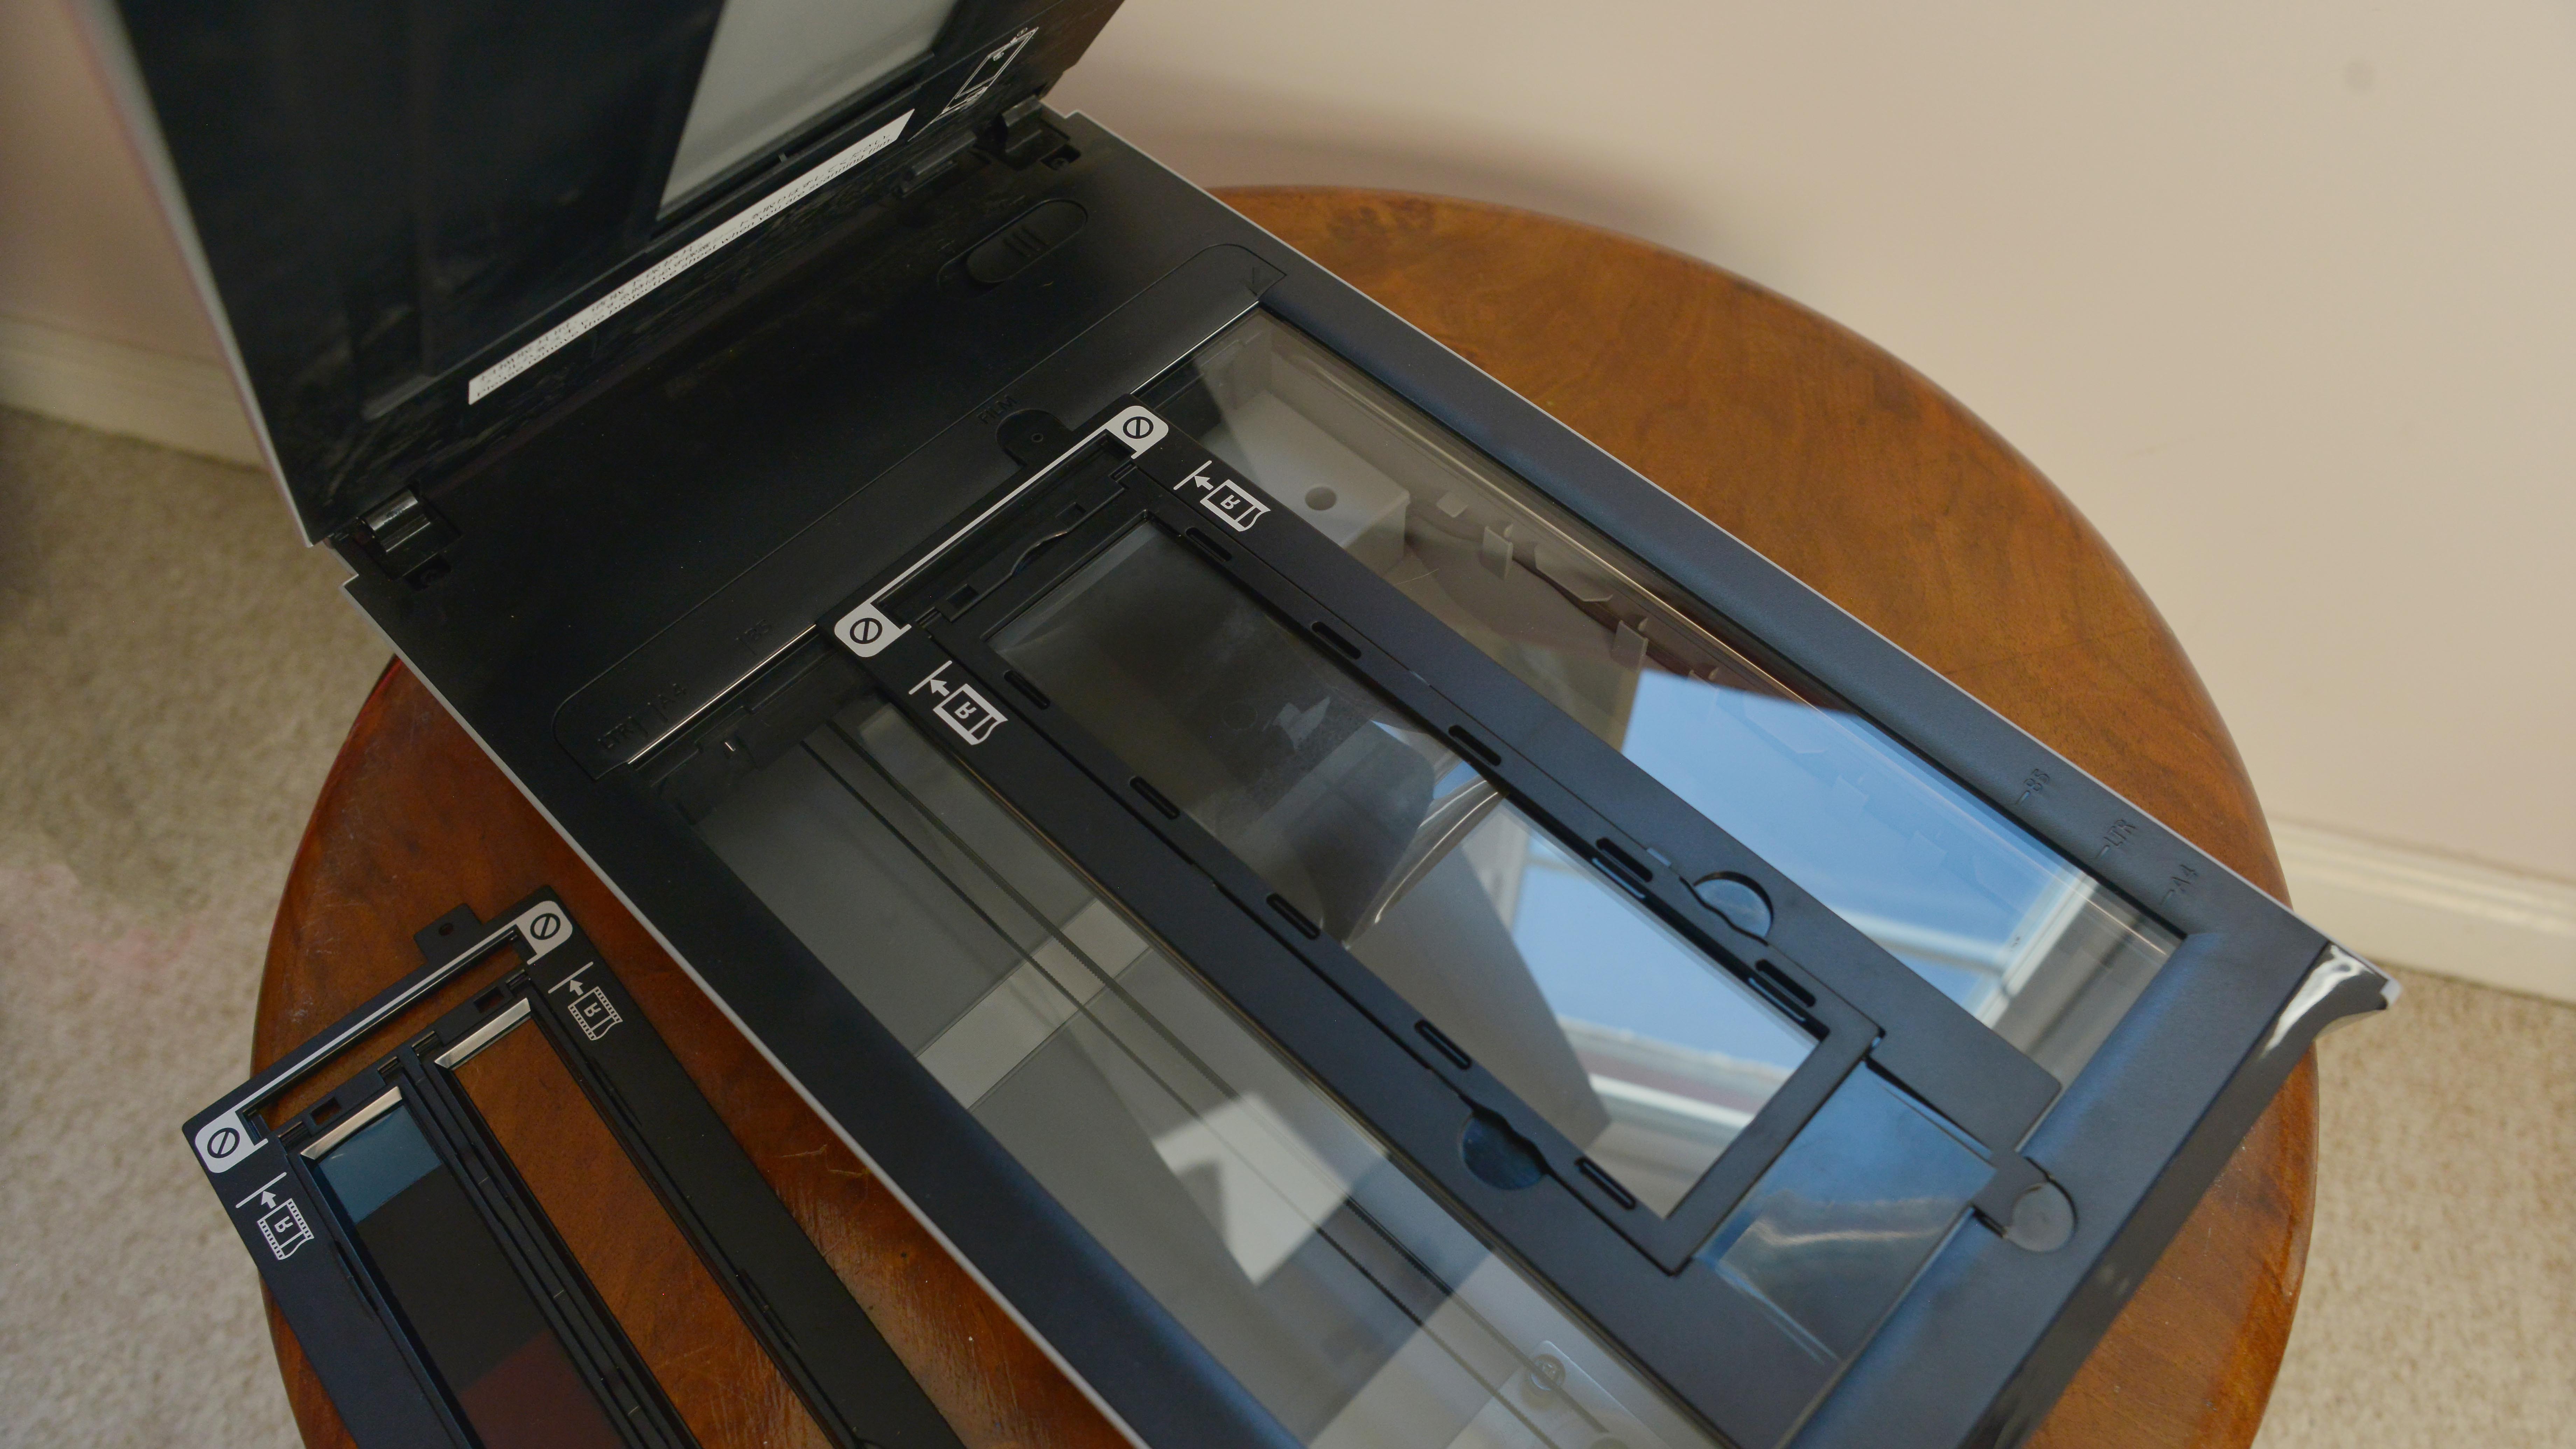
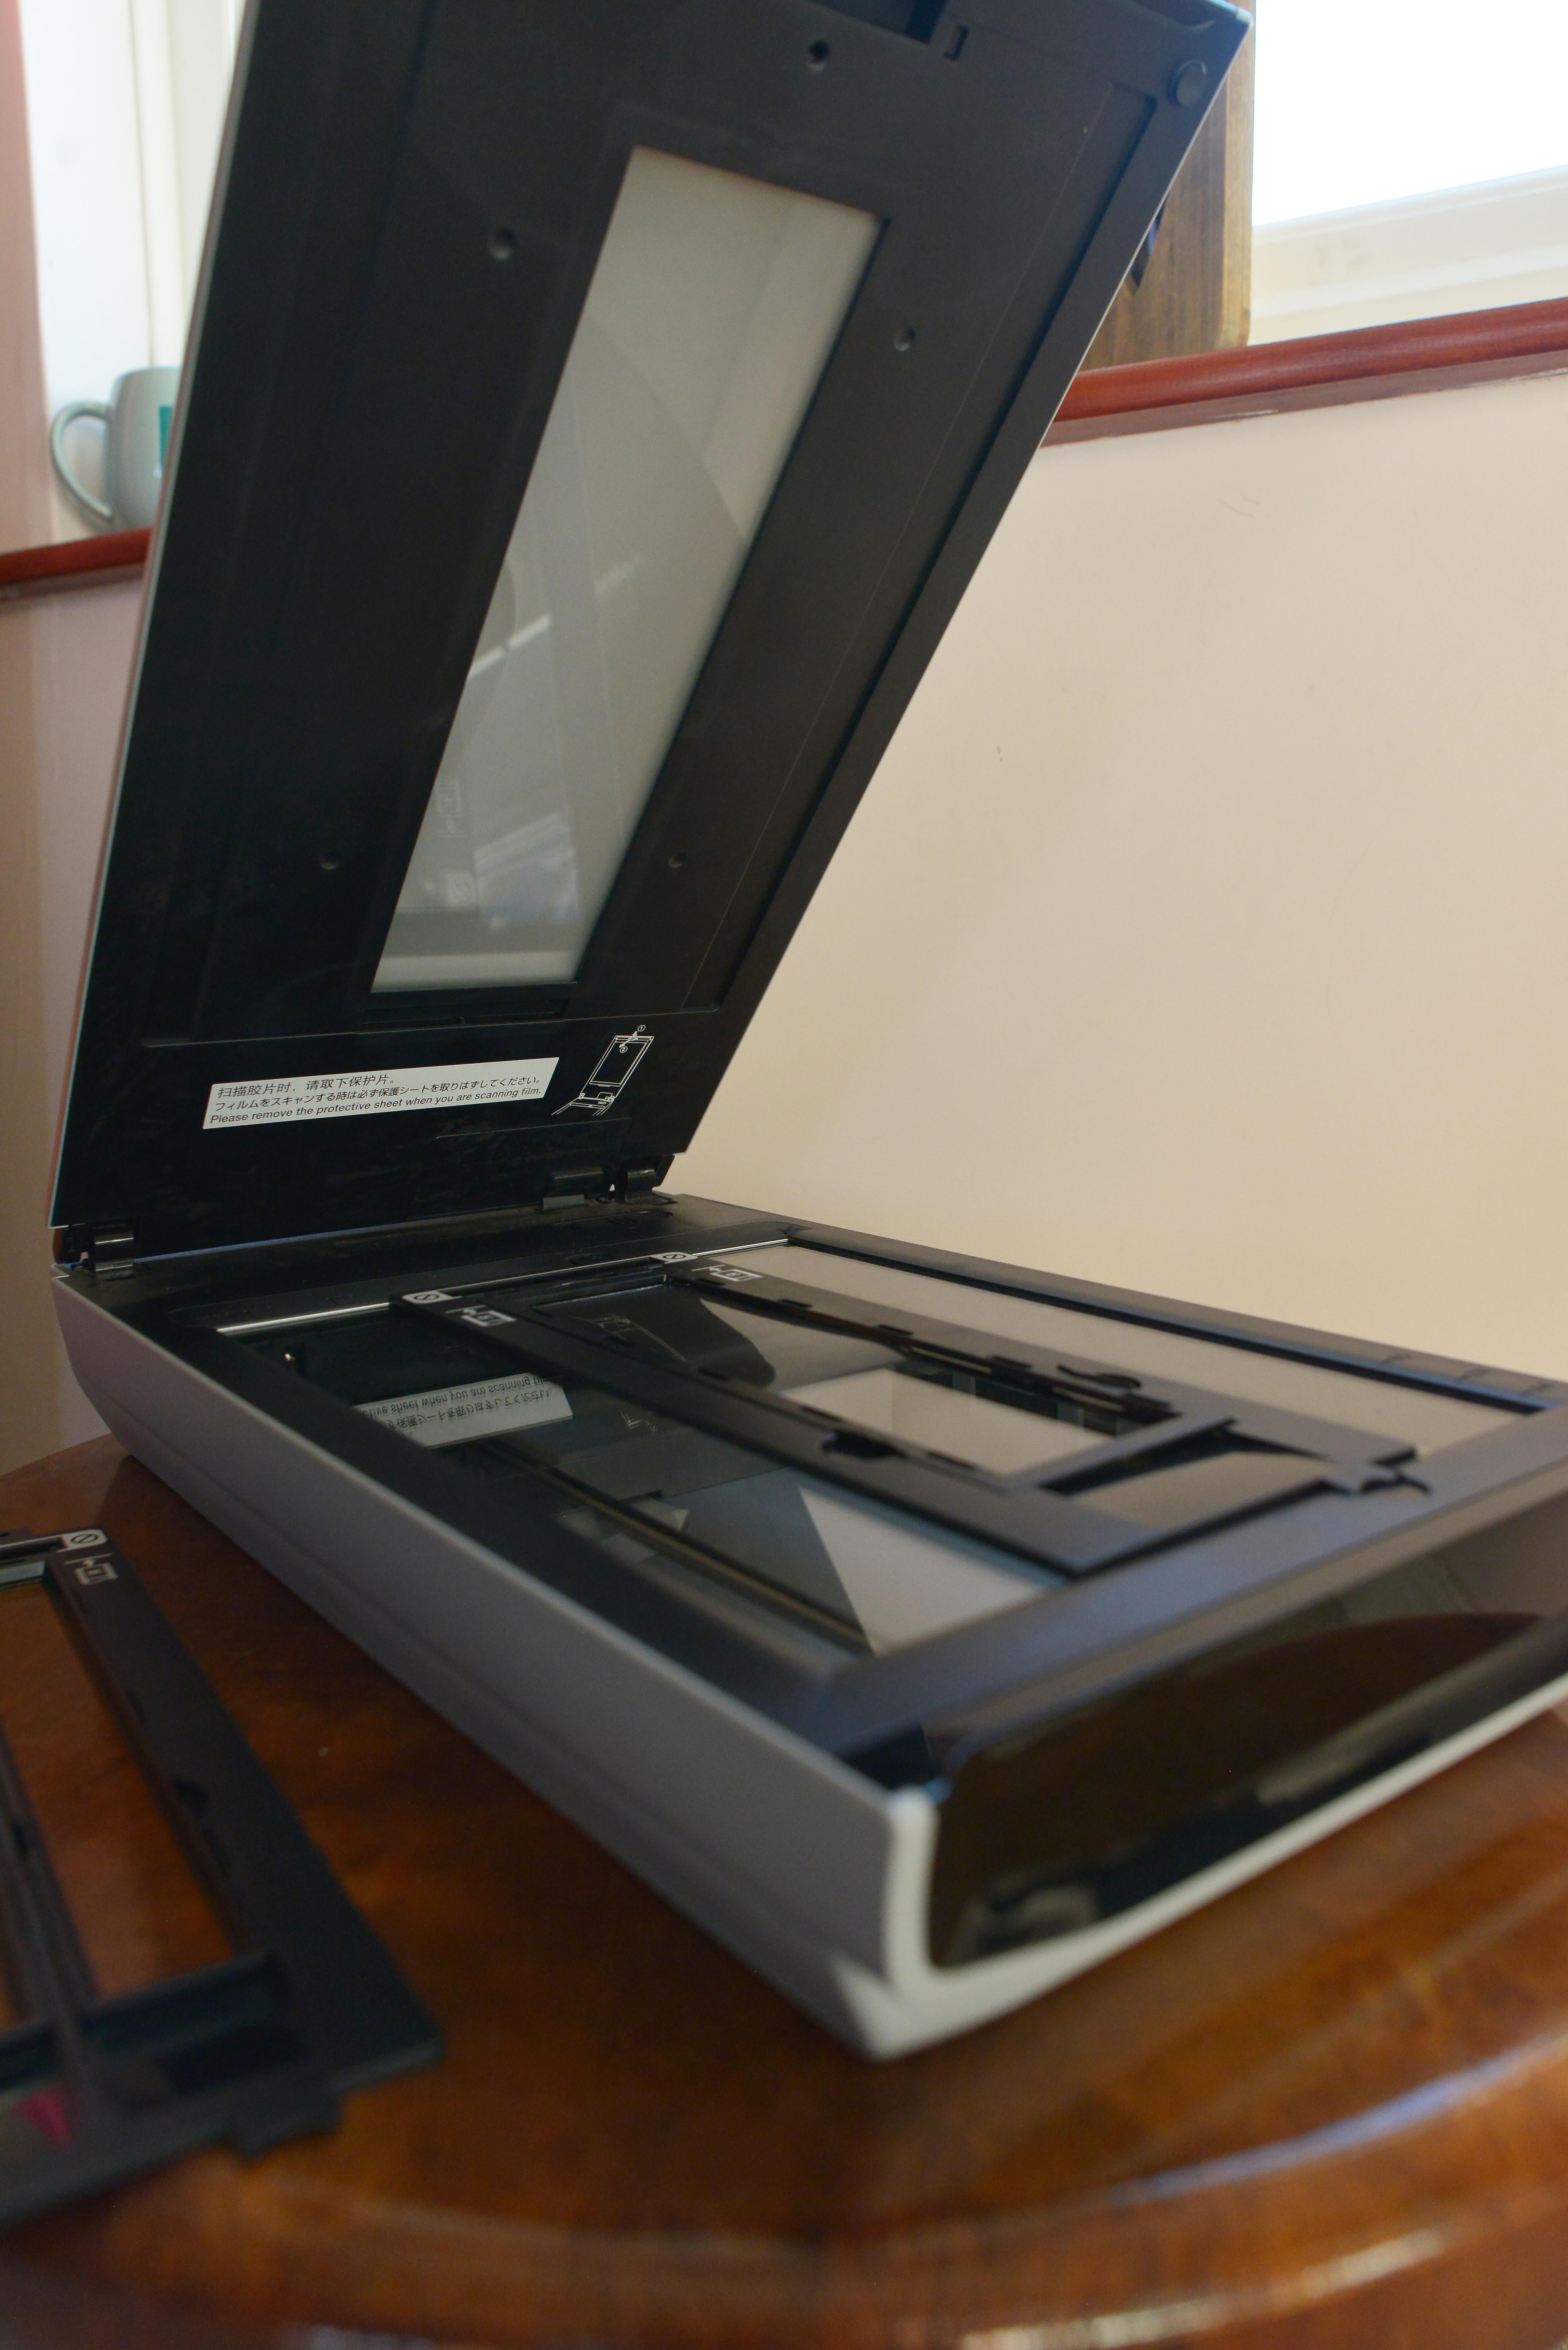
The vast appeal of the Canon Canonscan 9000F Mark II is that this flatbed scanner, which is also a good scanner for documents and photos, has a built-in light for scanning your 35mm or 120 medium format film. With a simple click to remove the whiteboard cover for documents, the added light source is exposed to help you get quality scans out of your color or black-and-white negatives.
Read more: Here's how to scan film if you're not sure.
Canon CanoScan 900F Mark II Specifications
Image sensor: CCD 12-line color
Light source: White LED
Max scan resolution: 9600 dpi for film / 4,800 for photos/documents
Color: 48-bit input, 48/24-bit output
Grayscale: 48-bit input,16-bit for film / 8-bit output for photos/documents
Dynamic range: n/a
Infrared: Built-in
Scanning speed: 4800 dpi Color - approx. 4 minutes per image / B&W 4800 dpi - approx. 3 minutes
Scanning area (W x L): 216 x 297mm
Interface: USB 2.0
Net weight: 4.6kg / 10.14 Ibs
Dimensions (W x D x H): 270 x 480 x 111mm
Operating system: Windows XP onwards / Mac OS X 10.6.8 onwards
Bundled software: ScanGear, Scan Utility, My Image Garden
Canon Canoscan 9000F Mark II Key features
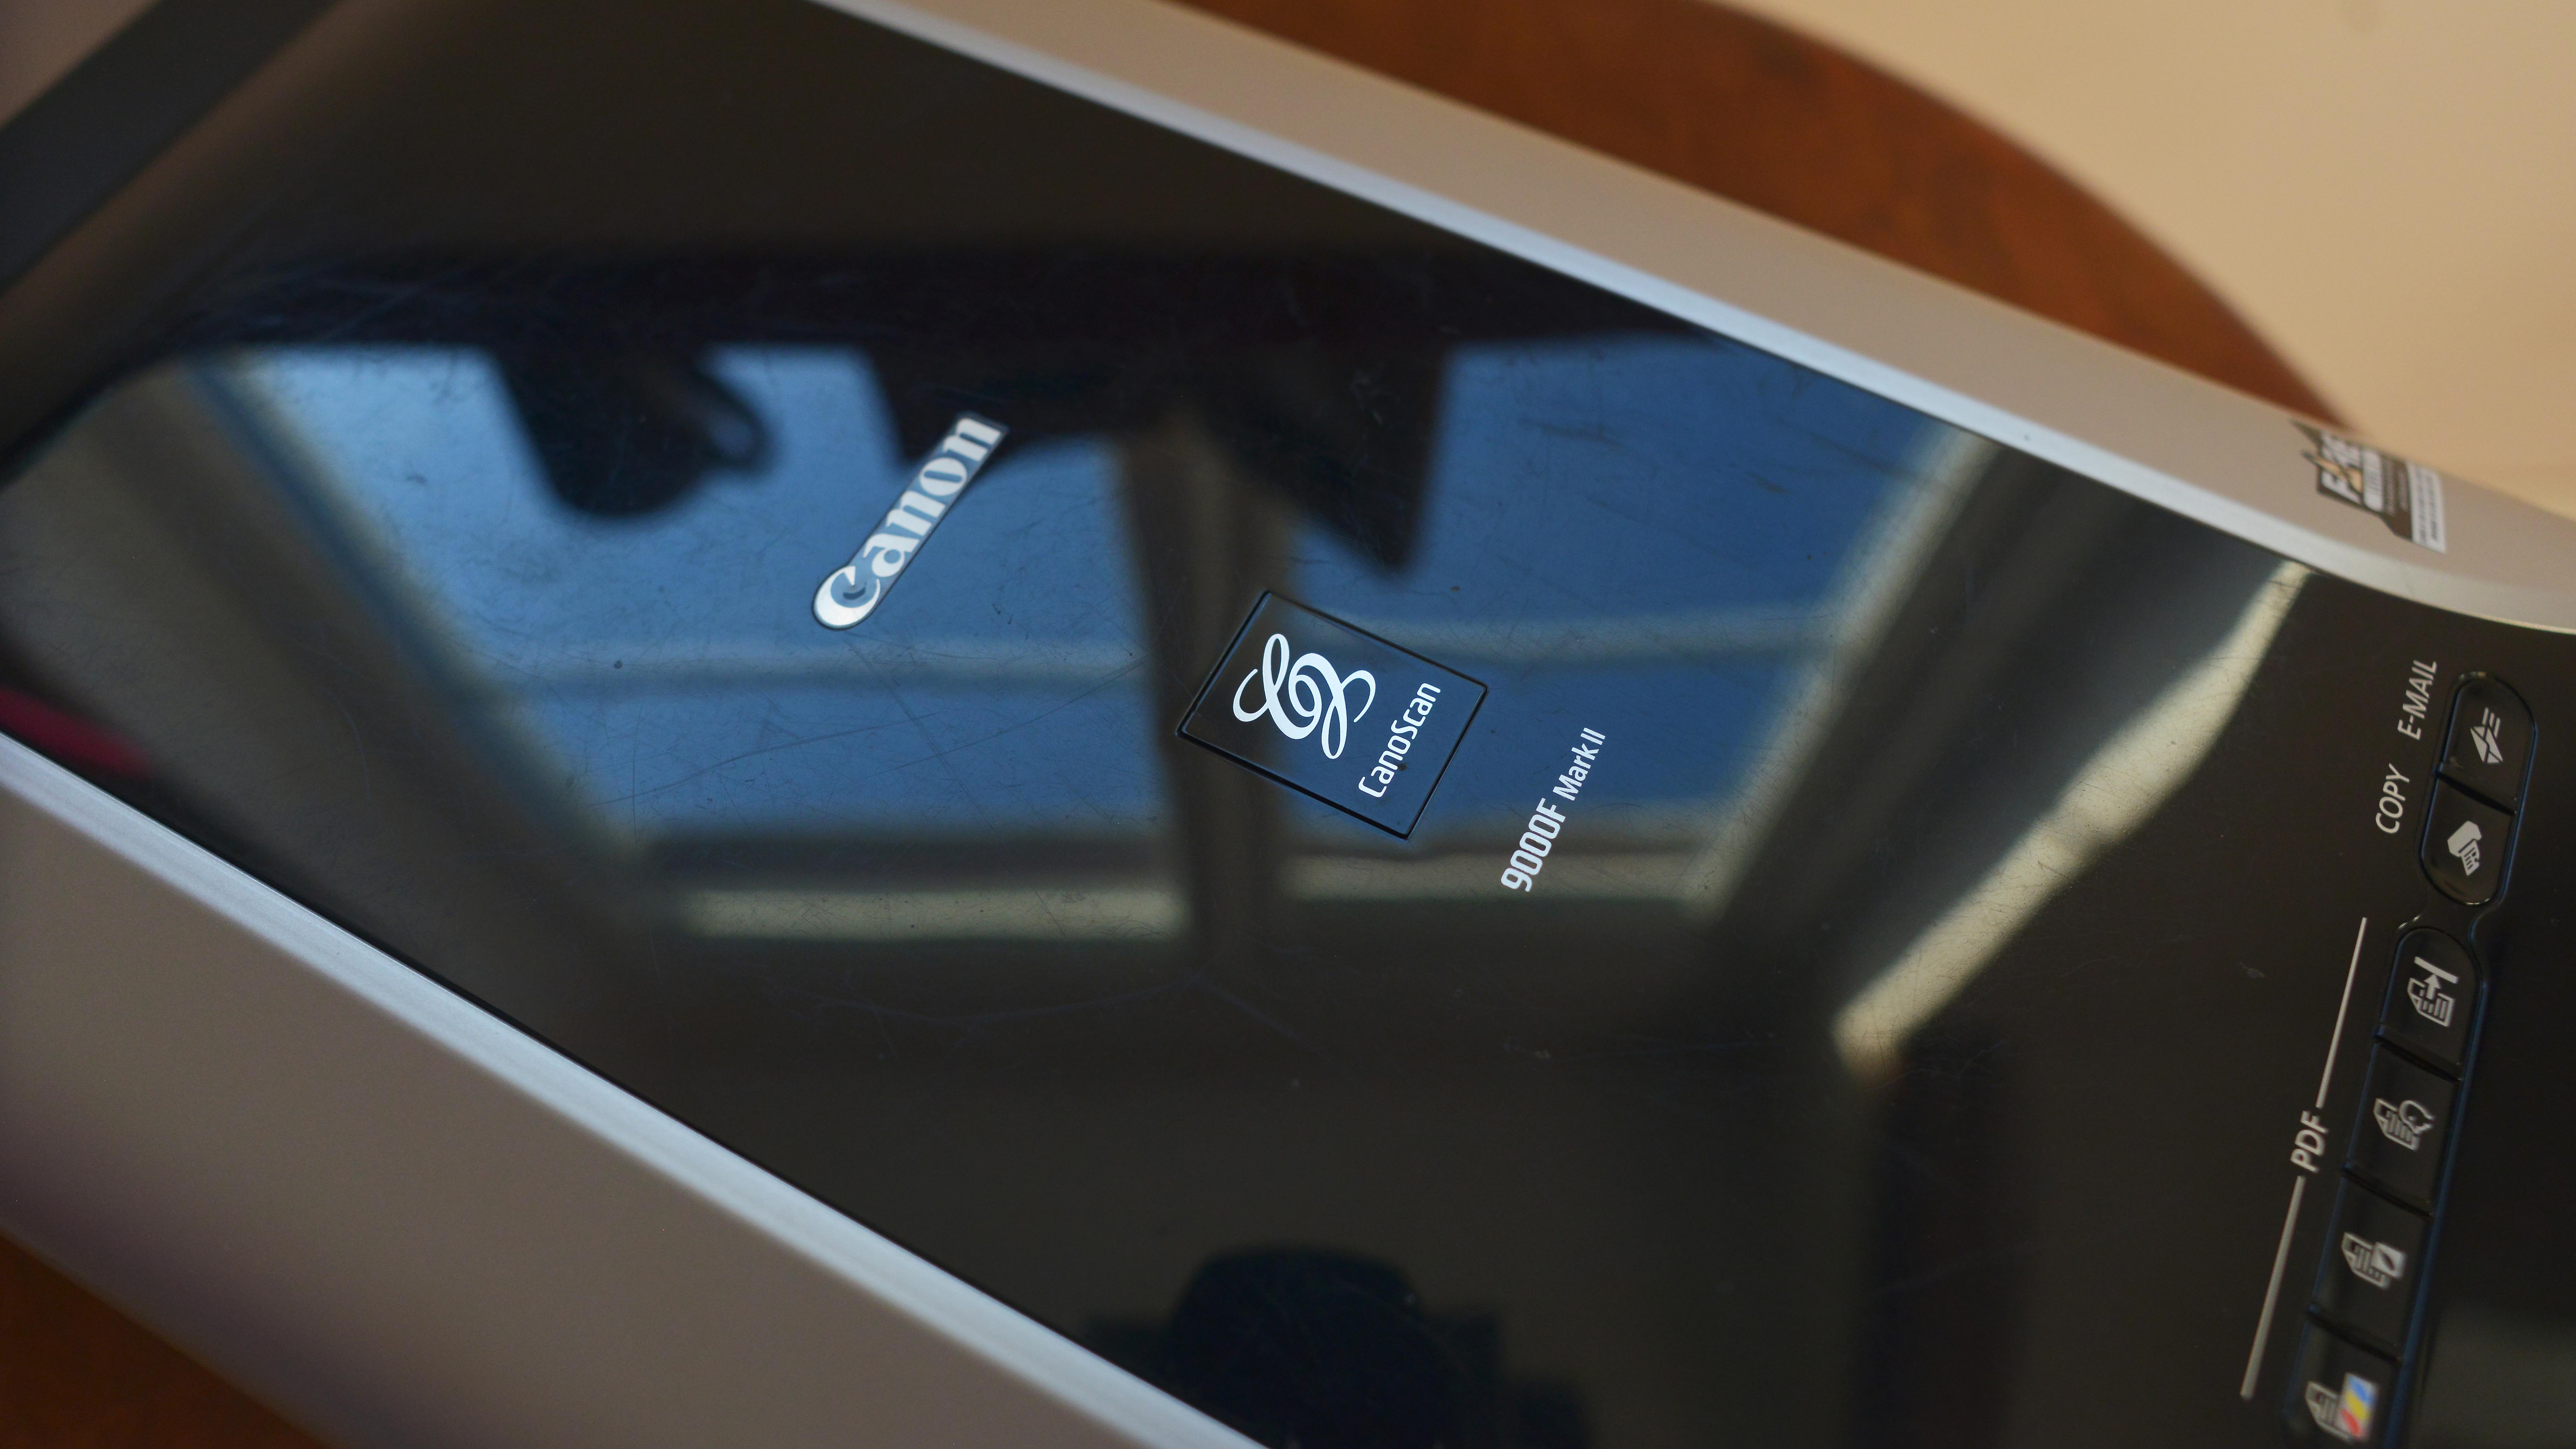
This flatbed scanner is capable of scanning photos or documents to a massive 4,800 DPI. It's also able to automatically allow the scanner to choose the right settings for documents, and auto selects for simply greyscale or color pdf scanning, while also being able to scan a document or photo and have it email-ready thanks to the handy email button provided on the front of the scanner. These seven buttons are a very quick and handy solution when you have multiple documents or photos that you need to send off or sign in a day.
However, the best features are saved for film photographers. One key feature of the Canon CanoScan 900F Mark II is its ability to be able to scan 35mm film, 120 medium format and slides without much hassle.
The best camera deals, reviews, product advice, and unmissable photography news, direct to your inbox!
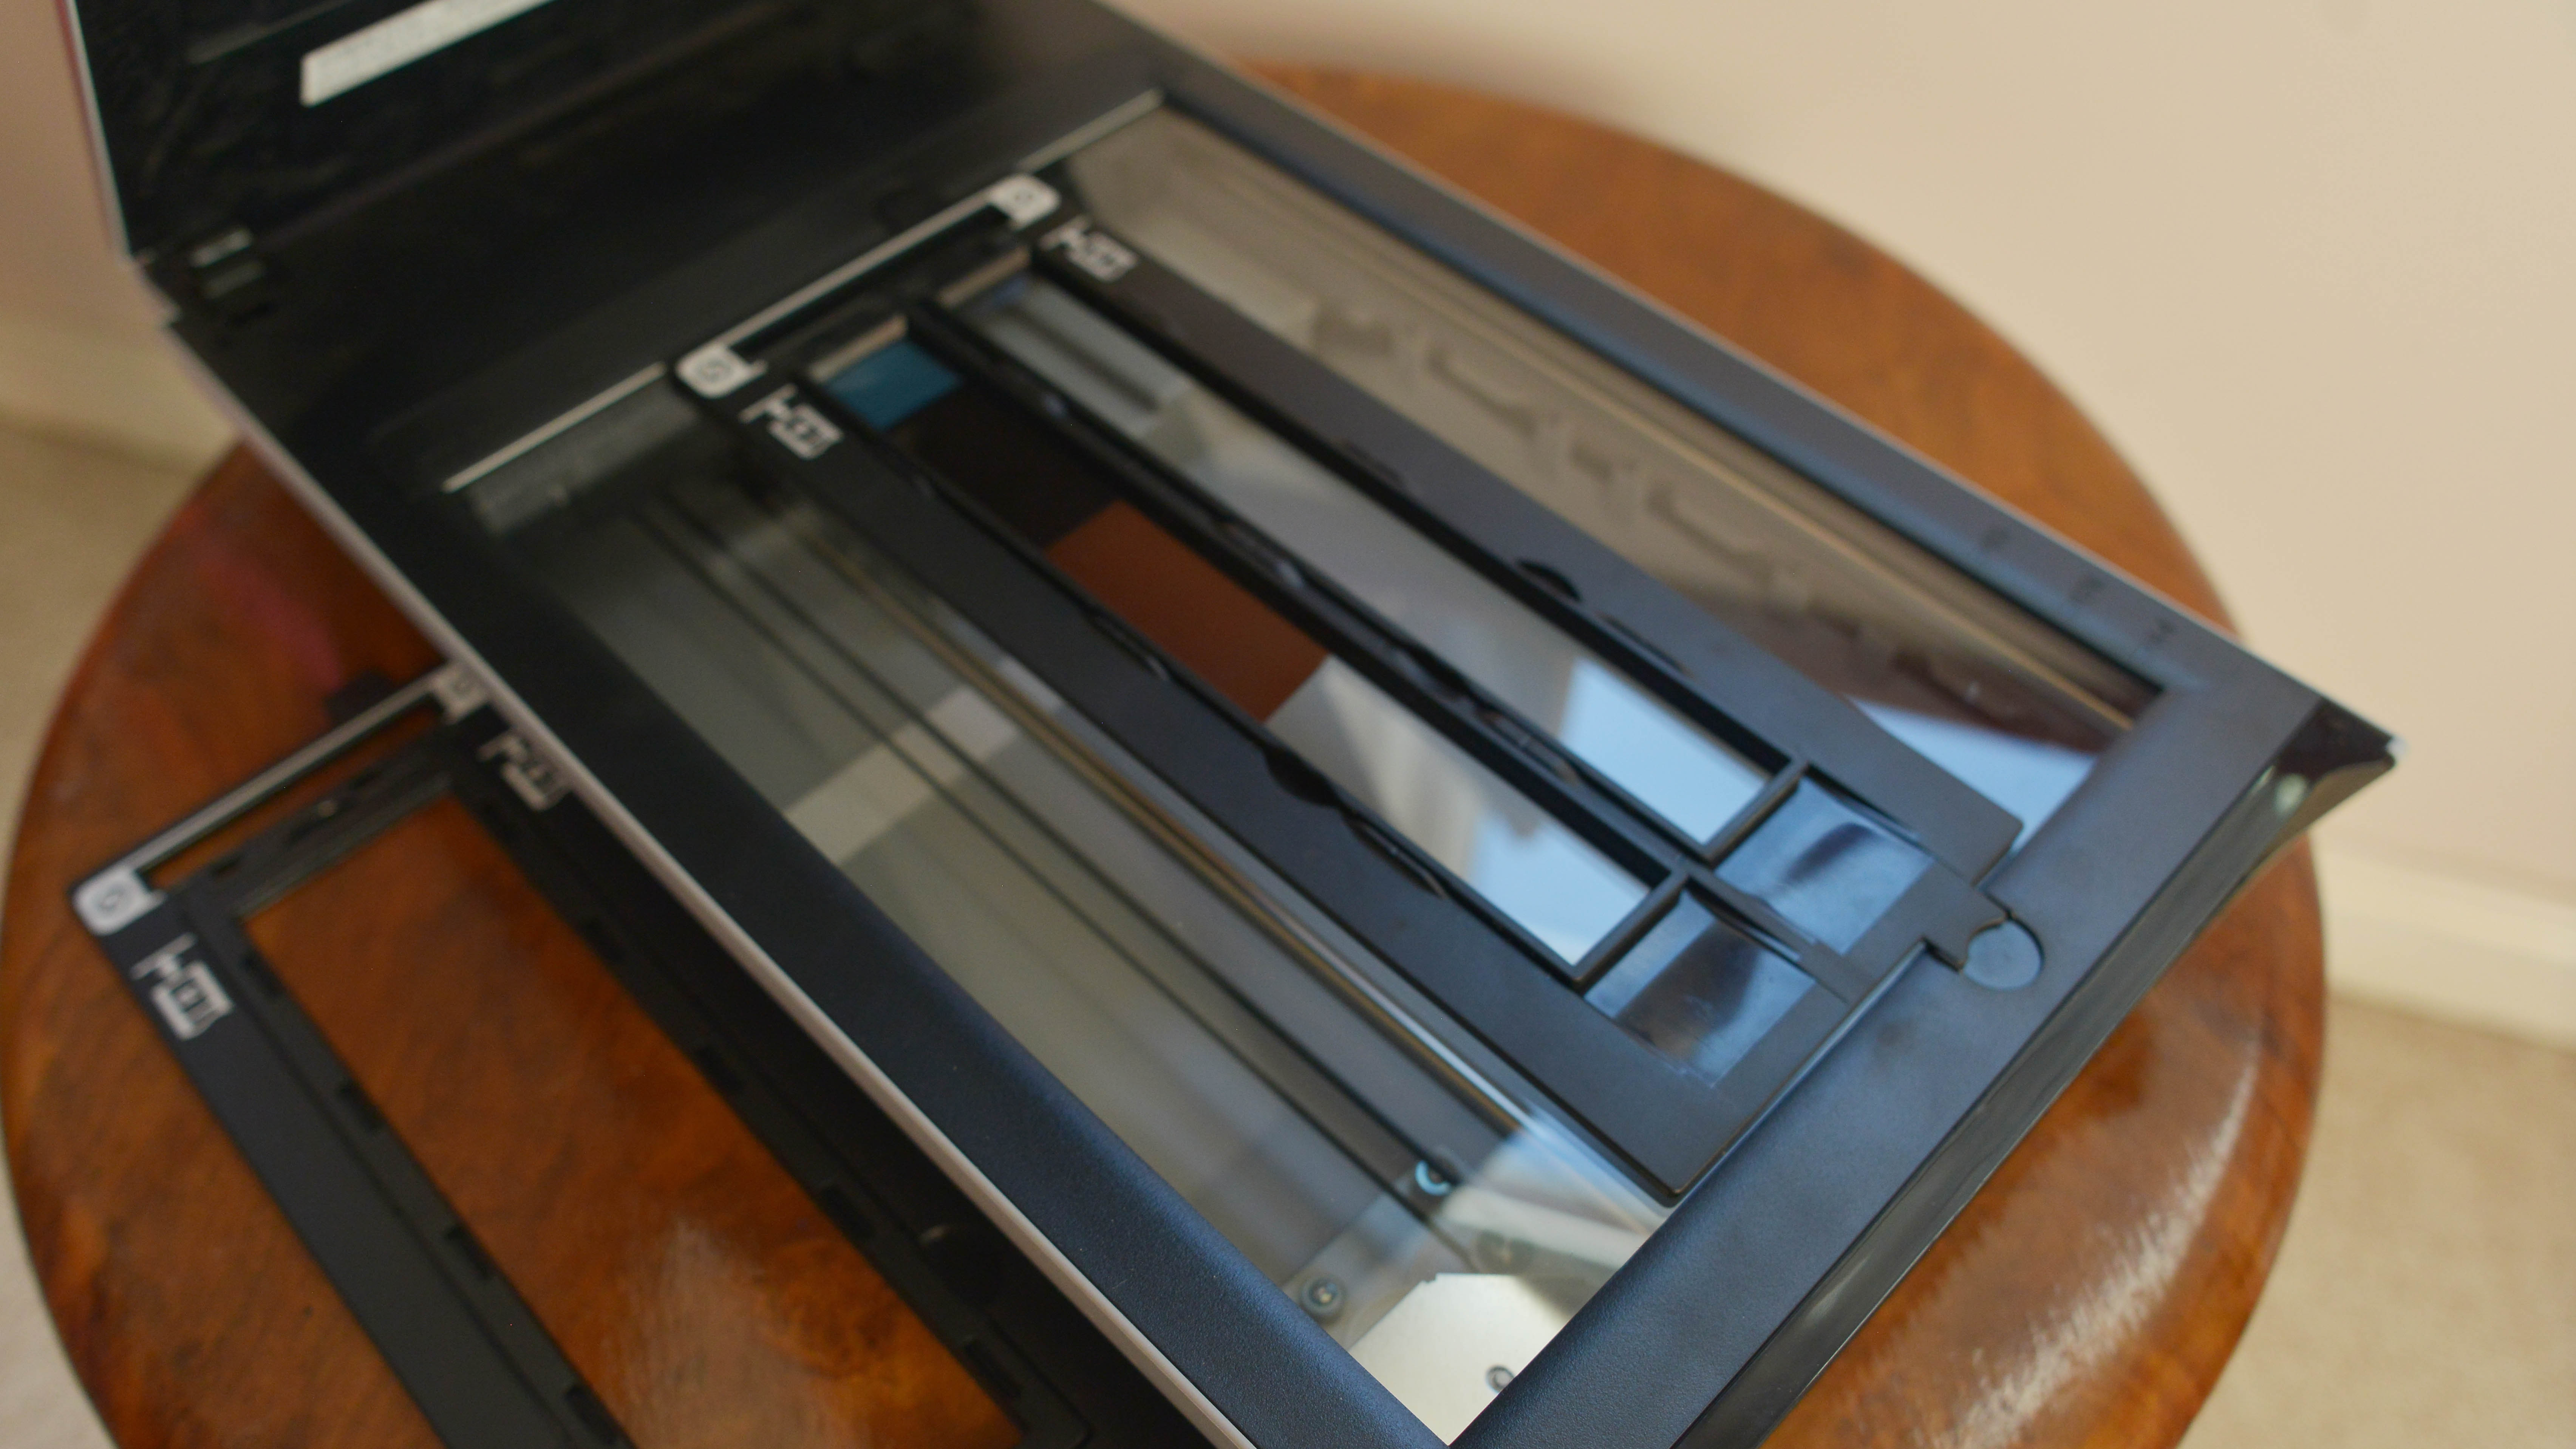
This is done by removing the whiteboard held within the scanner to reveal an additional white LED light source that helps to scan your negatives or slides. Supplied with the 9000F Mark II are three film holders that allow you to scan 12 frames of 35mm film at a time, 4 slides or 120 format film at a maximum 6cm x 22cm filmstrip to a massive 9,800 DPI.
This makes the CanoScan 9000F Mark II one of the most versatile flatbed scanners on the market today offering a competitive solution for photographers wanting an all-in-one solution.
Canon Canonscan 9000F Mark II Build & Handling
Material
Like many scanners today, the Canon CanoScan 9000F Mark II is made from hard-duty plastic, which can stand up to a world of abuse. After five years and many house moves, it still produces fantastic results today.
Durability
If you're the type that moves around a lot or simply does not have the desk space for it constantly – or only needs a film scanner when you shoot the occasional film – Canon actually equipped the 9000F Mark II with a locking switch that will lock the whole scanning mechanism in place so you are less likely to damage or misalign anything while in transit or in storage.
Size
This is a full A4 flatbed document scanner, and therefore it does take up a large amount of space either on your desk or table stand. I currently have mine mounted onto my PC case and it does just fine there, but if you want a more stable solution you might have to rearrange your current computer setup if you're anything like me and have more than one or two monitors.
Flimsy film holders
Also, even though in my five years of ownership I have never had a problem with the film holders, they are made out of flimsy plastic and don't feel like the most premium items. I tend to bear this in mind each time I use and treat them rather delicately. I've never had an issue, but it's worth being made aware of in case you want to try this scanner out for yourself.
Canon CanoScan 9000F Mark II Performance
The CanoScan 9000F Mark II performance for document scanning is outstanding, I find the standard settings that Canon has applied are perfect for producing 300 DPI PDFs or JPEGs and are only a few MBs each, perfect for quickly sending across on email.
I have found scanning a whole mortgage document of 20-odd pages a total breeze thanks to the added benefit of ScanUtility having the option to 'scan again' to scan multiple pages and then incorporate them into a single PDF, this makes office life so much simpler and means that your time is not affected too much either, so it's a win/win scenario.
Now film scanning is where things get interesting, the included ScanGear software is great for beginners to scan film, it will automatically detect if you're wanting to scan either color or black and white film and will scan between 2,400 or 4,800 DPI.
For the more advanced users, the included ScanGear software has an advanced feature where you can manually input for film settings, if you want your converted negatives as JPEGs, TIFFs, or as a DNG RAW file, while also being able to scan from 300 DPI all the way up to the whopping 9,600 DPI.
With testing various settings on different film formats I found that the sweet spot for optimal performance if you just want to scan your negatives once and file them away would be to set the scanner to 4,800 DPI. Depending on if you scan color or B&W this usually takes around 4 minutes per image – so it's a long process, but worth it.
I tend to use a workflow of scanning a whole roll of film at 1,200 DPI and once I have found the images I like I then re-scan the negatives at 4,800 DPI, RAW DNG for Color and TIFFs for Black and white negatives.
For those wondering about the CanoScan's 9,600 DPI setting, I find this to have no real benefit over 4,800 DPI and it will bring your already long 4 minutes up to between 8-10minutes per image... if you have time for that, then set it to 9,600 DPI, but if you want a solid workflow setup for scanning multiple rolls in a day, leave it a 4,800 DPI.
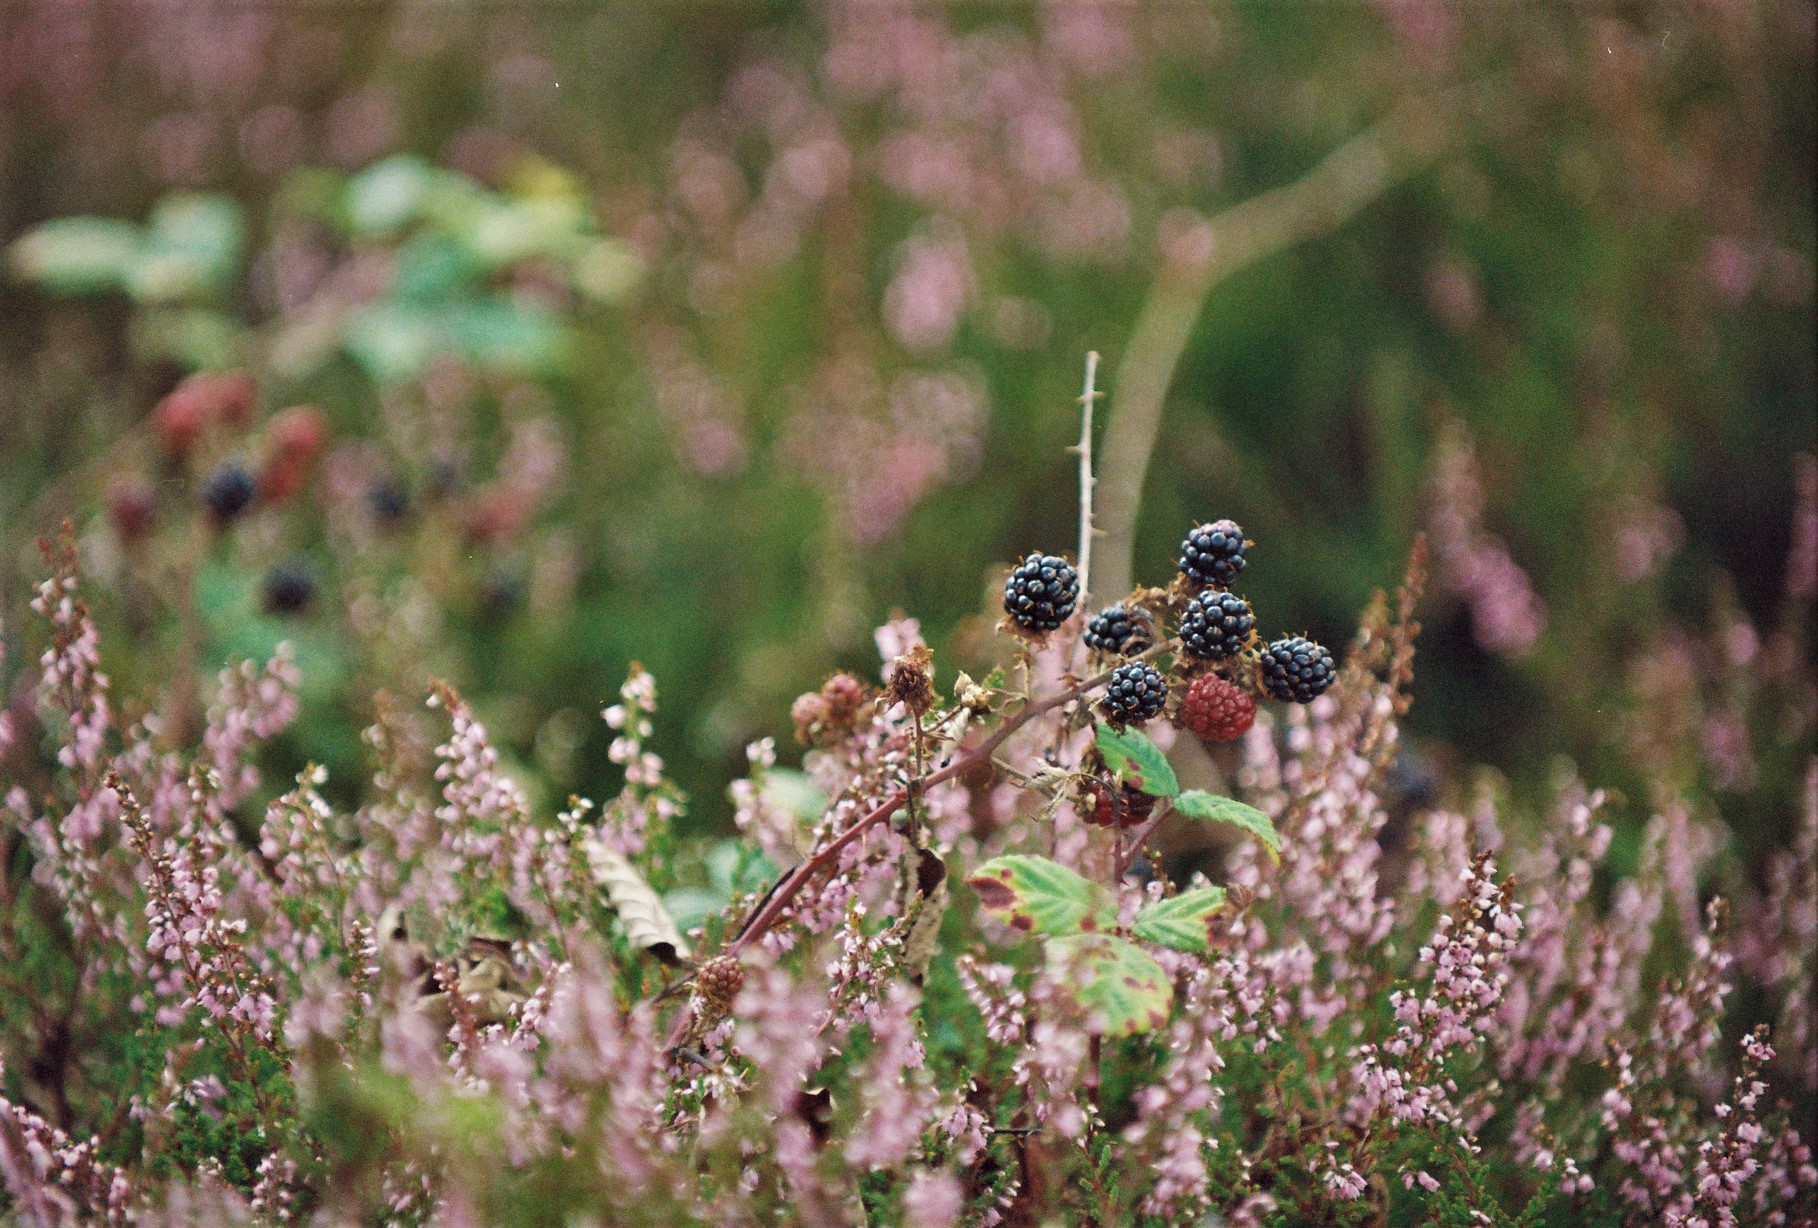
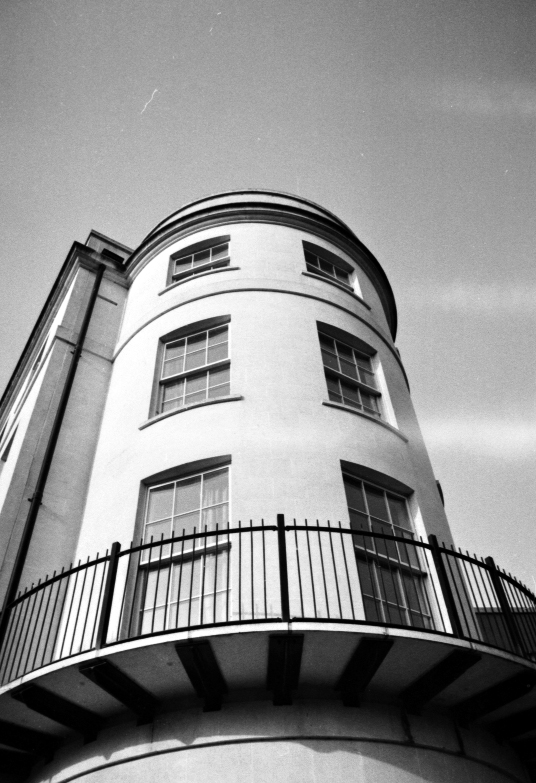
CanoScan 9000F Mark II film scanning samples
Canon CanoScan 9000F Mark II Verdict
If you're looking for a scanner that can handle the day-to-day running of your photography business, signing contracts, and sending them off to clients – or you need old printed photos – the Canon CanoScan 9000F Mark II can do all those things perfectly.
If you're looking for a scanner that can help you scan 35mm and 120 film then the Canon CanoScan 9000F Mark II is the best option. This is a scanner that can grow with your photography.
This scanner will automatically convert your color negatives or slide film for ease of use. More advanced users can scan a full DNG in 16-Bit to have a workable file to convert in either Adobe Lightroom or Photoshoot. It's a scanner that can cater to every photographer's needs.
If you are interested in finding out more about how to scan your negative film properly, you can read our guide to how to scan negatives and transparencies.
You can also find the film scanner for your needs in our guides to the best film scanners, or to view your mounted slides before you scan them, you can check out our guide to the best slide viewers.
For nearly two decades Sebastian's work has been published internationally. Originally specializing in Equestrianism, his visuals have been used by the leading names in the equestrian industry such as The Fédération Equestre Internationale (FEI), The Jockey Club, Horse & Hound, and many more for various advertising campaigns, books, and pre/post-event highlights.
He is a Fellow of the Royal Society of Arts, holds a Foundation Degree in Equitation Science, and holds a Master of Arts in Publishing. He is a member of Nikon NPS and has been a Nikon user since his film days using a Nikon F5. He saw the digital transition with Nikon's D series cameras and is still, to this day, the youngest member to be elected into BEWA, the British Equestrian Writers' Association.
He is familiar with and shows great interest in 35mm, medium, and large-format photography, using products by Leica, Phase One, Hasselblad, Alpa, and Sinar. Sebastian has also used many cinema cameras from Sony, RED, ARRI, and everything in between. He now spends his spare time using his trusted Leica M-E or Leica M2, shooting Street/Documentary photography as he sees it, usually in Black and White.
