The 10 best black and white photographs I've taken: reviews editor Rod Lawton
Another member of the DCW team takes a trawl through the archives to reveal the best shots they think they've ever taken
It sounds like it shouldn't be too difficult to find your ten best photos ever, but for me it was! Sometimes the closer you are to something, the harder it is to see it properly, and that can definitely happen with your own photographs.
Our best photos
• James Artaius, DCW
• Ben Andrews, DCW
• Louise Carey, DCW
• Alistair Campbell, Digital Camera
Creative ideas
• Photography tips and advice
• Lightroom tutorials
• The Art of Seeing
• The best photo editing software
I did start out by looking at both color and black and white images from my collection, but the shortlist was getting out of control, so I decided to stick to one of my main passions – black and white photography.
Some of these images were shot in my leisure time, some while on holiday, and many of them while testing one piece of kit or another. The think that they all have in common is post-processing work. In black and white film work, the negative is just the start and it's what you do in the darkroom that counts. I feel the same way with raw files and image editing.
The question I dread being asked is what I shoot, or what kind of photographer I am. I don't actually know. If pressed, I'd say I was a landscape, seascape, travel, architecture and abstract photographer who also likes portraits.
So here are ten of my favorite black and white images, what I shot them with and how I worked on them afterwards.
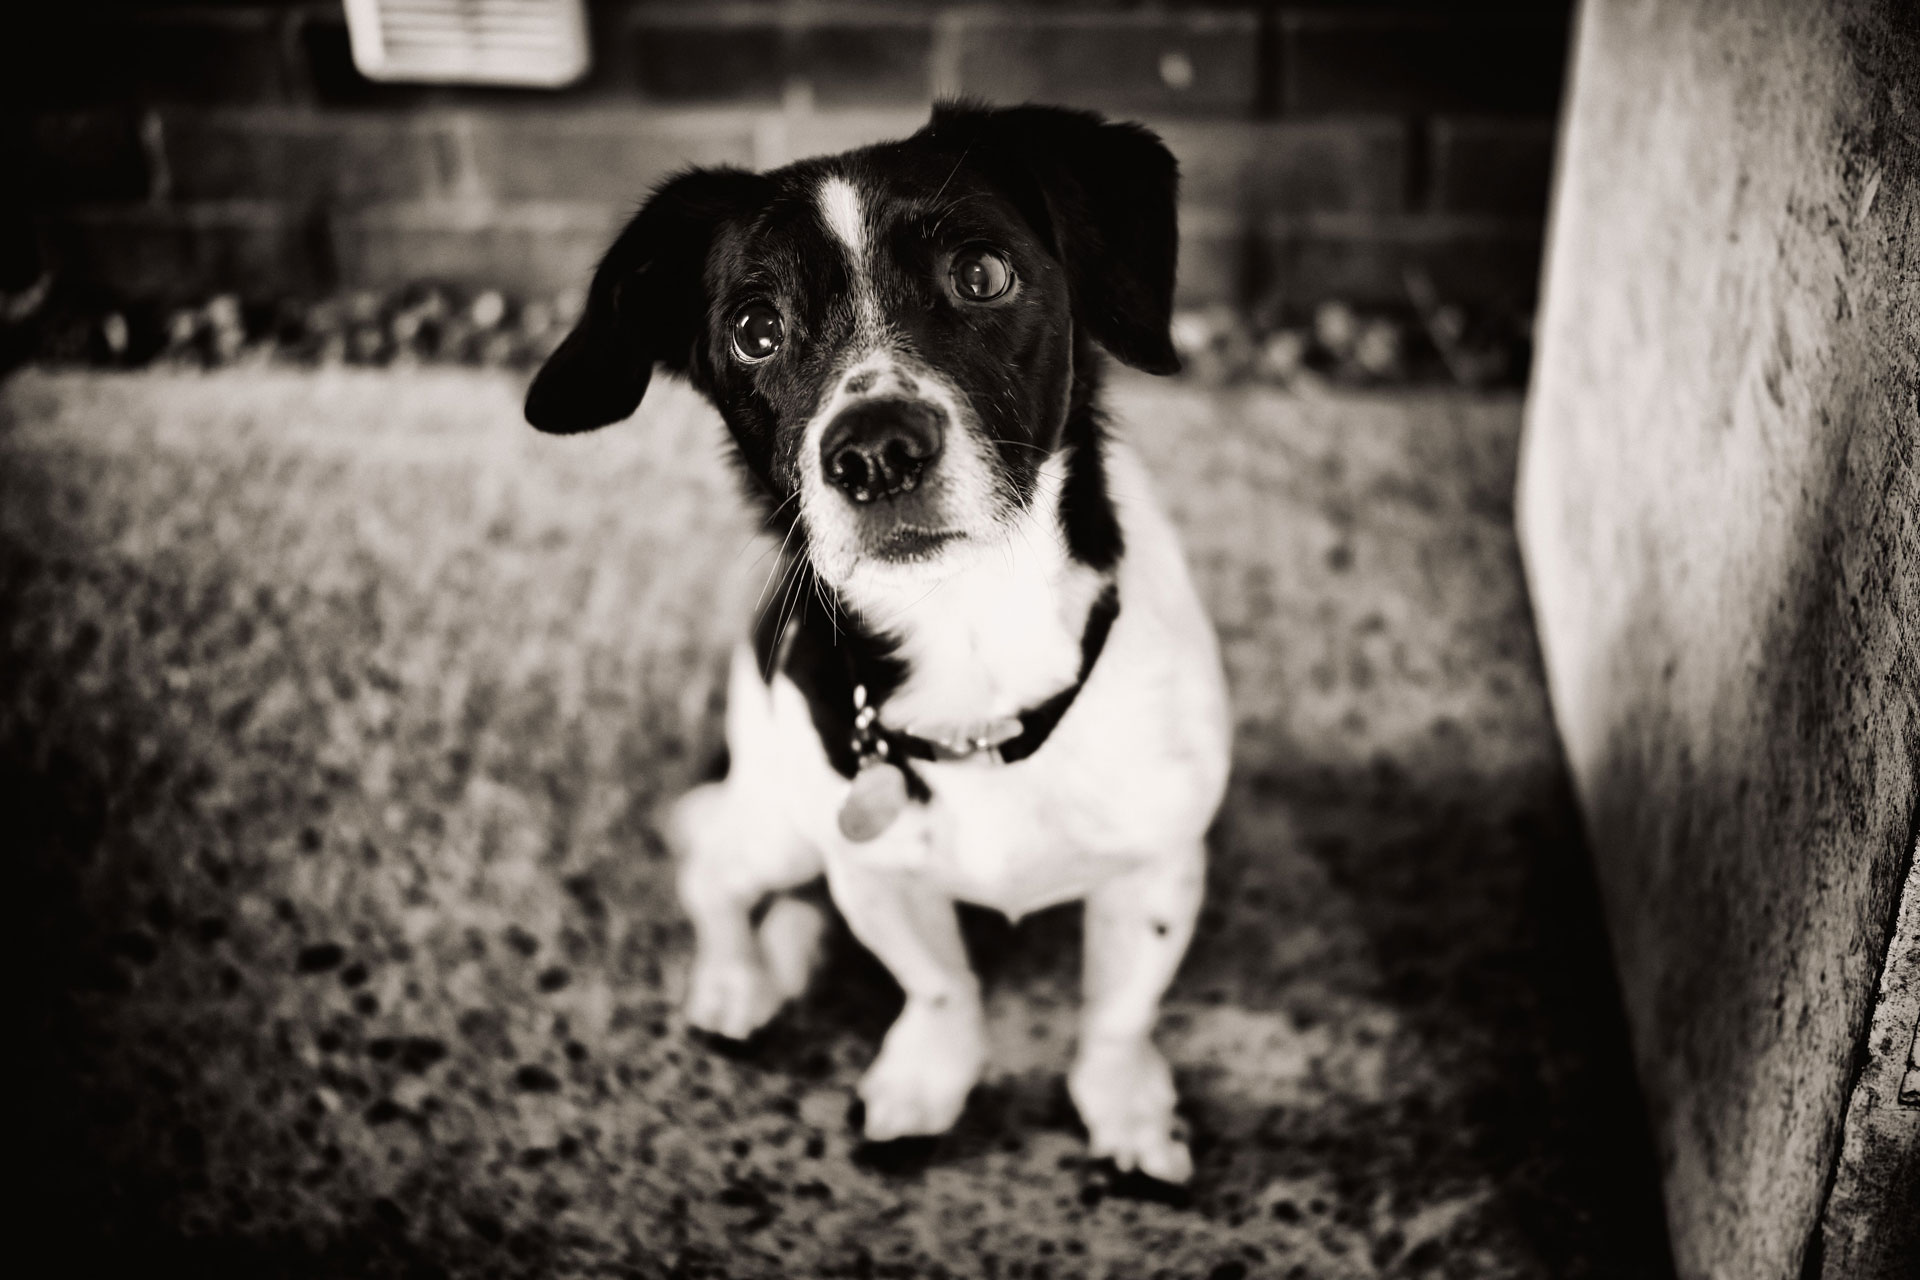
1. Wilson waiting for a biscuit, 2019

Wilson is an eight-year-old rescue dog who is part Jack Russell, part Border Collie (we think) and a real character. In this shot he looks as if he is gazing lovingly at someone off camera. In fact he's focused on a biscuit in my left hand while the right hand holds the camera.
If you want to make pets look cute, try getting in quite close with a wide-ish lens and shoot from slightly above eye level. This makes the head and eyes look larger and the body smaller and more puppy-like. Shooting wide open has blurred the background, and shooting in the doorway of our garage has given the shot a nice, soft, directional light and added a framing effect.
The best camera deals, reviews, product advice, and unmissable photography news, direct to your inbox!
Much of the effect comes from the editing. The image was processed in Analog Efex Pro, part of the DxO Nik Collection, to add rich sepia toning, a strong vignette effect and some authentic looking grain. A control point adjustment was used to lighten the eye in shadow.
Camera: Sigma fp, Sigma 45mm F2.8 DG DN | C
Software: Analog Efex Pro (DxO Nik Collection)
2. Dawlish beach, 2015
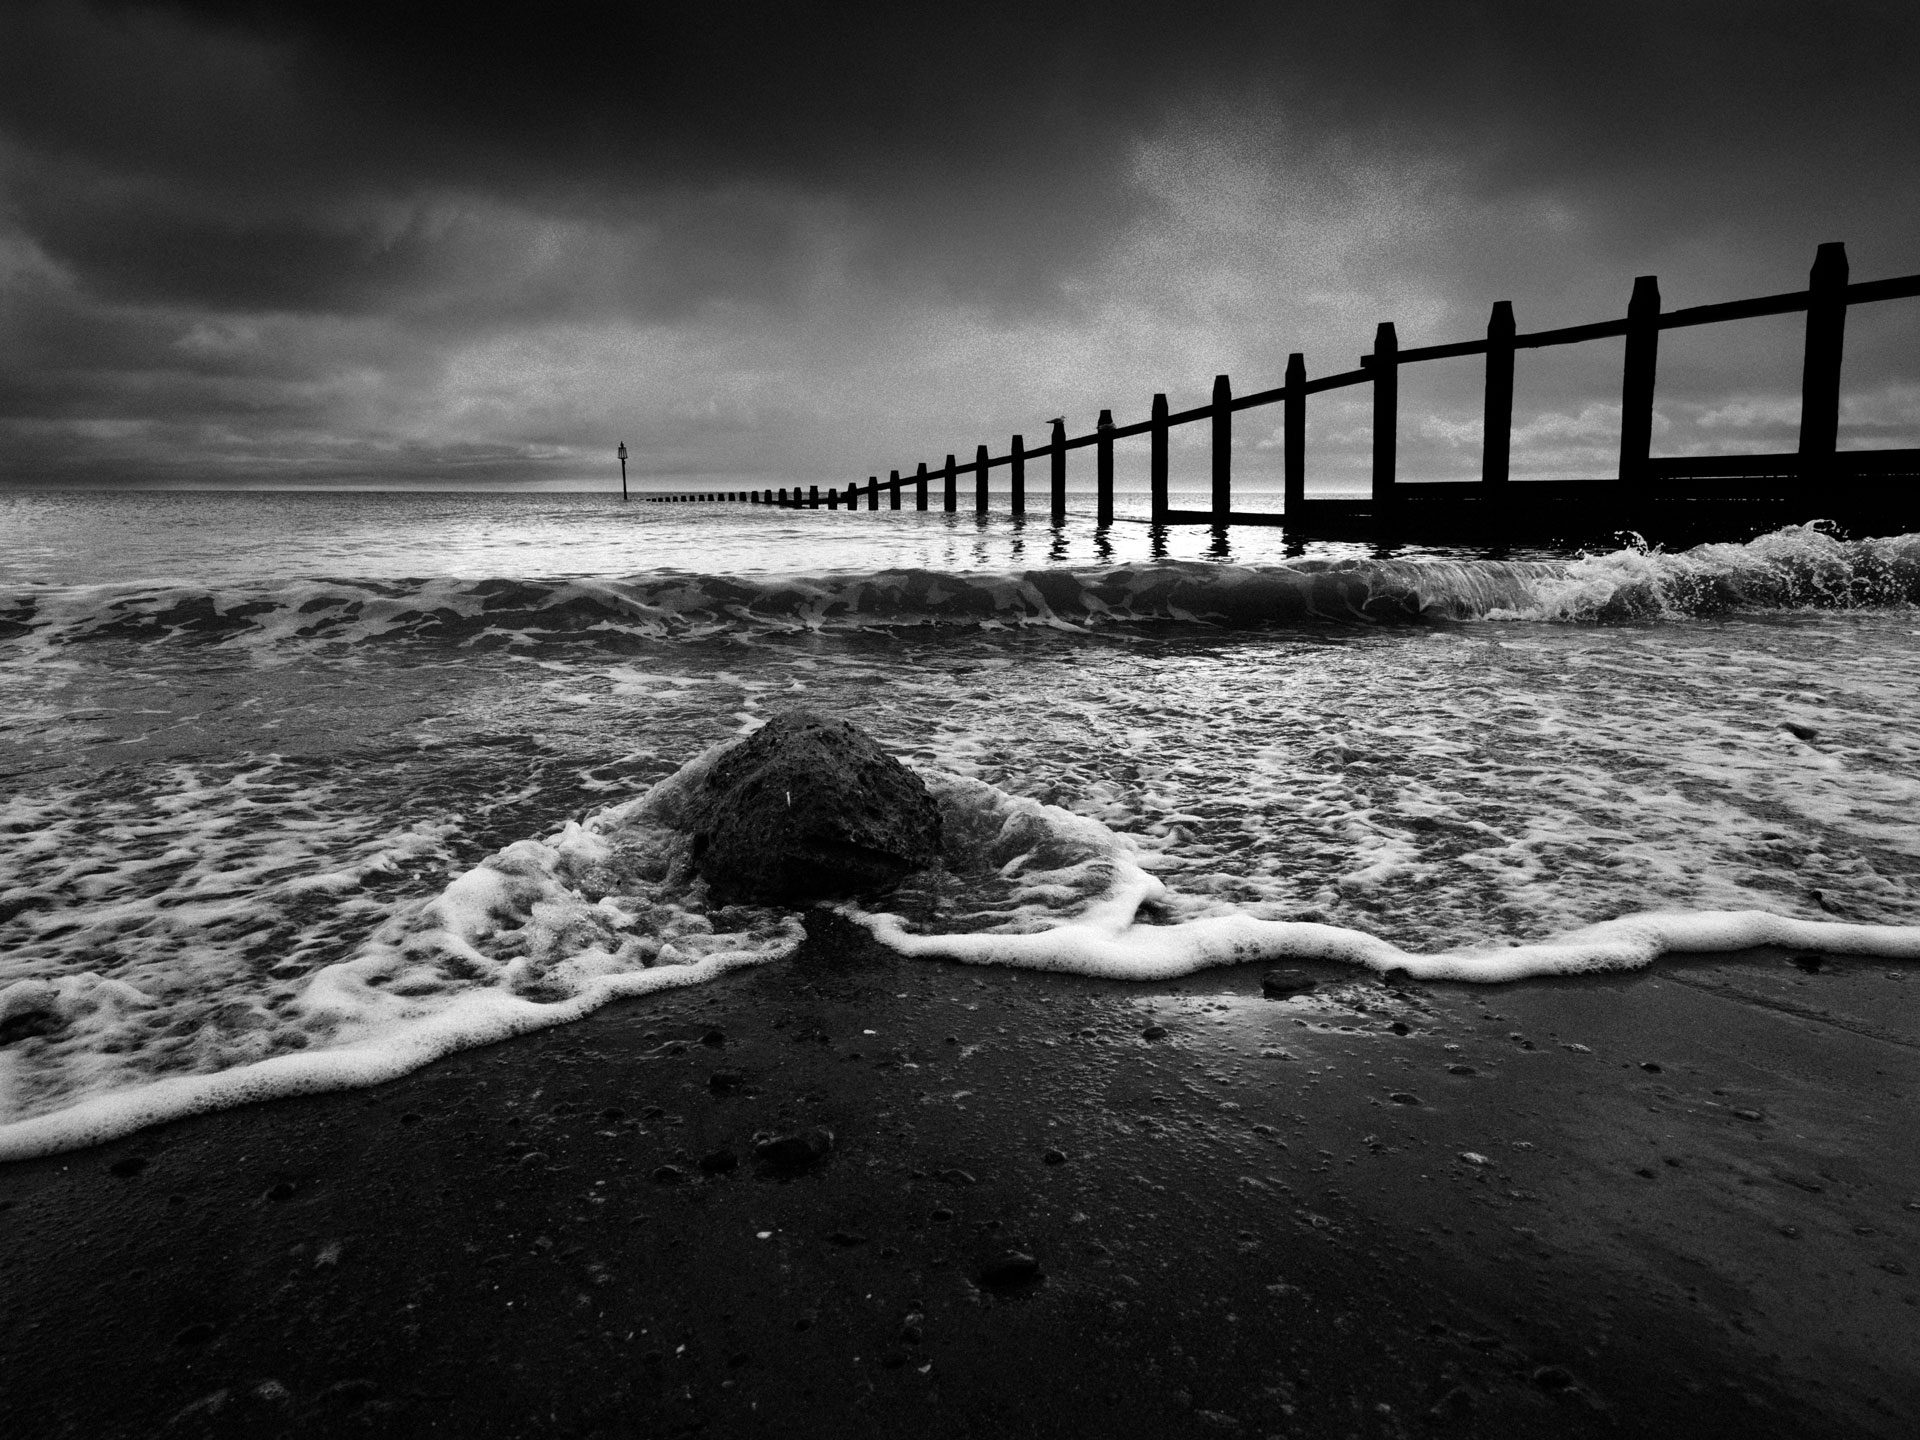
Most landscape photographers (I imagine) have favorite places which hold a special magic or fascination for them. This is one of mine. It was shot on a cold and blustery February morning, dodging squalls of rain and fast-moving surf.
One of my techniques is to make small objects look large with low viewpoints and ultra-wide lenses. This shot was shot just a few centimetres from a small stone embedded in the shingle beach, just as the surf washed over it, with the camera resting on the toe of my shoe and its tilting screen angled upwards.
The editing work was done in Exposure X, one of my (many) favorite bits of software. Exposure X is very good at recreating classic film looks, and here I wanted a dense, high contrast image, with a darkened sky – achieved with an adjustment layer, a linear masks and a curves adjustment.
Camera: Olympus OM-D E-M1, M.Zuiko 12-40mm F2.8
Software: Exposure X4
3. Model (anon), Prague, 2015
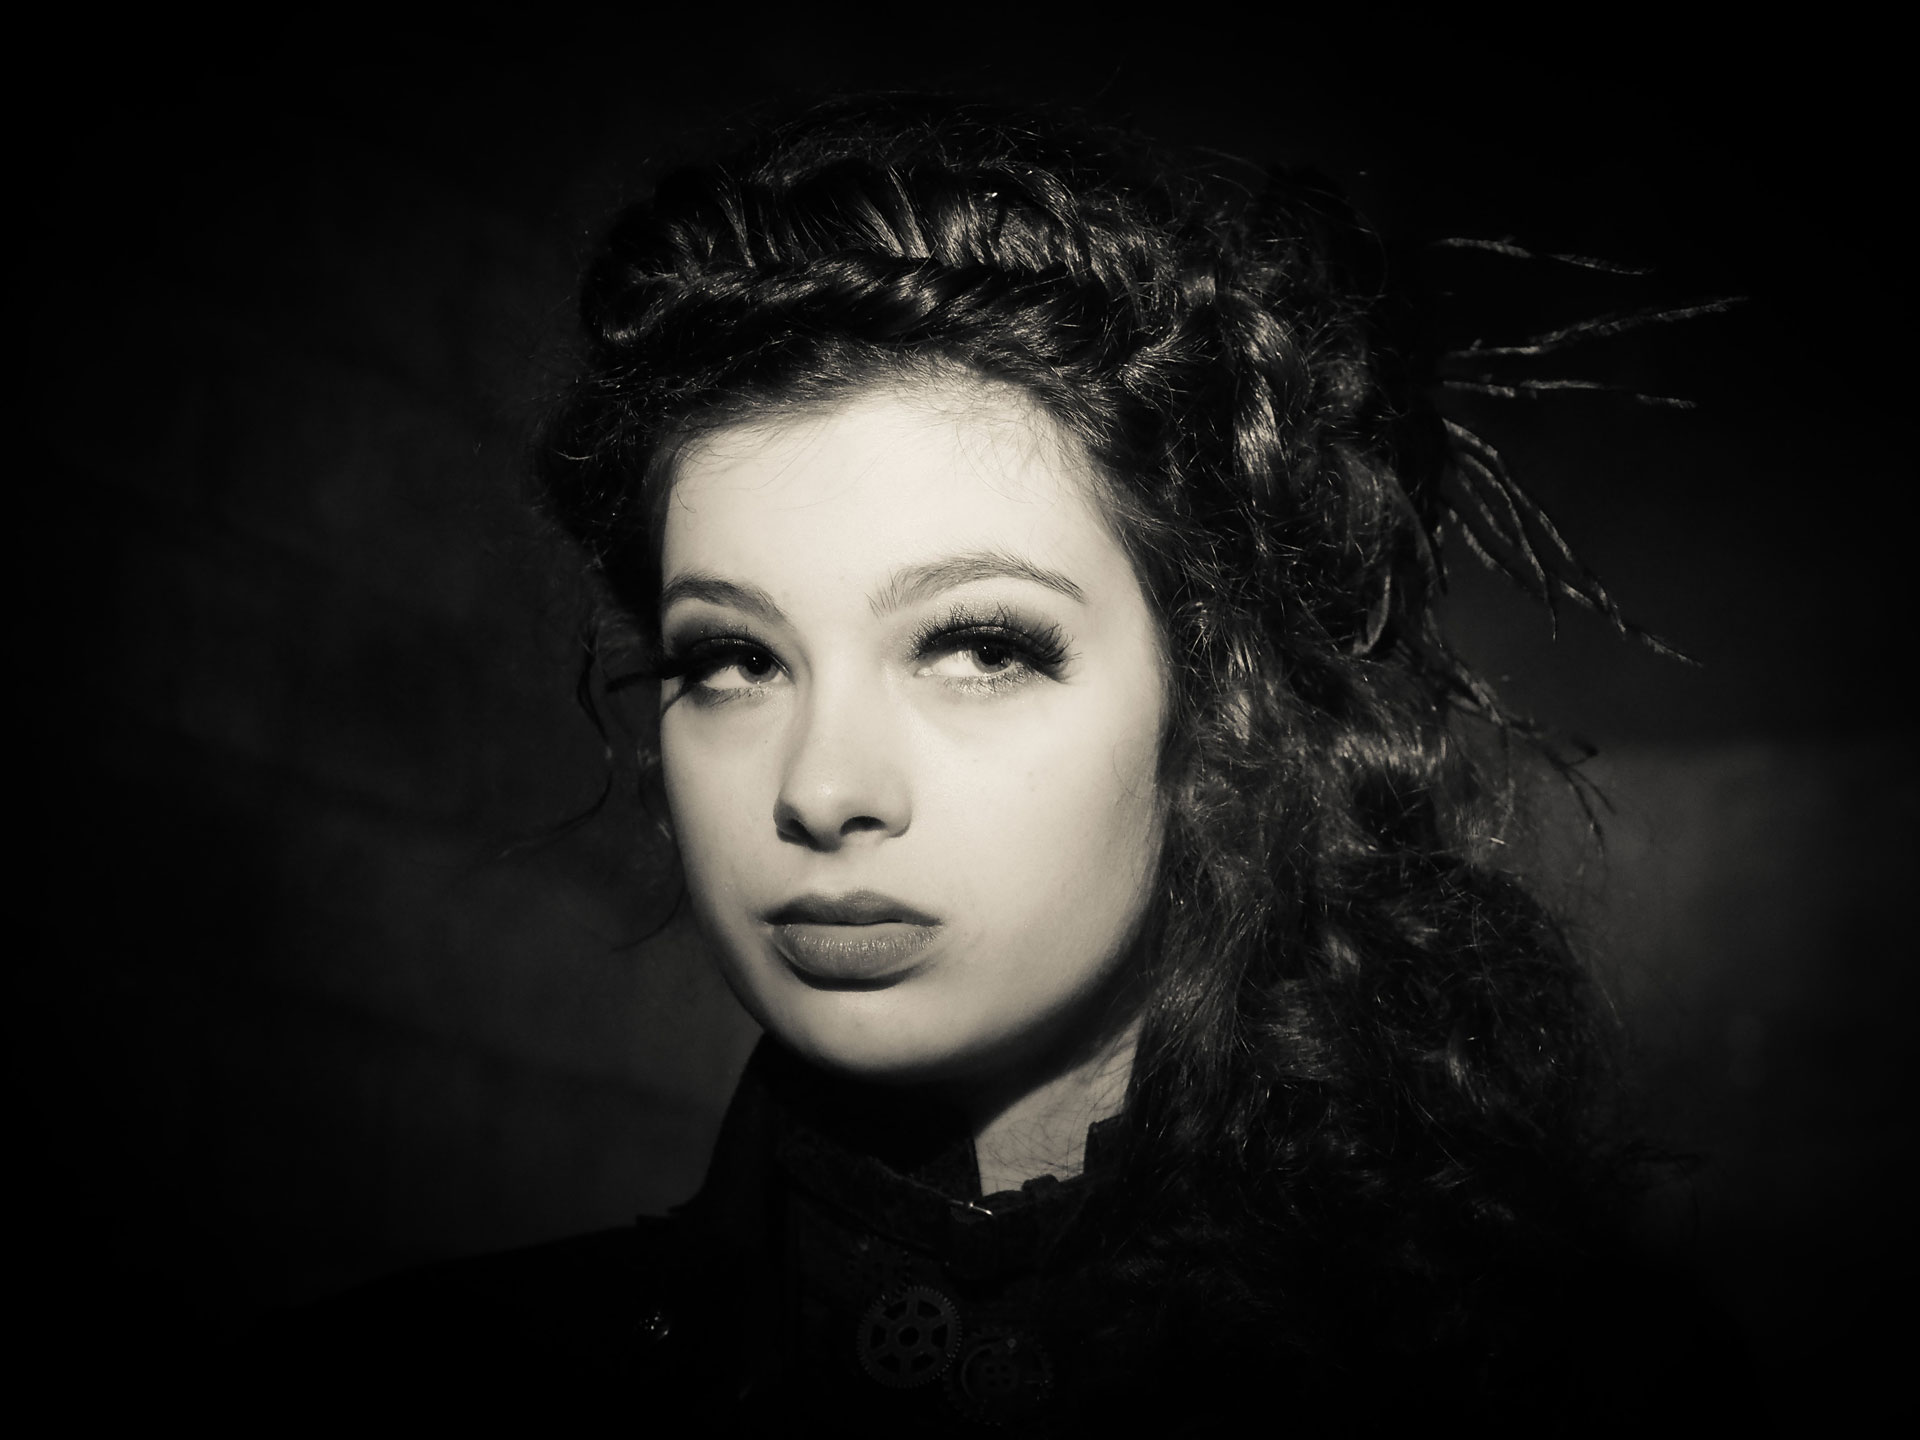
I don't shoot portraits a lot – I wish I did – but human faces are just amazing, especially the way they change with the light, with the angle and with moment by moment changes in expression. With some subjects there are angles which are just perfect, and I felt that's what happened here.
The model was part of a shooting session set up by Olympus in Prague at the launch of the OM-D E-M1 Mark II, using studio lighting in the brick basement of an old factory. It's common in portrait photography to create eye contact between the camera and the model, but here there were several photographers at work and the model was looking at each one in turn. I just felt her gaze off camera, her expression and her eyes were just perfect.
The editing was carried out in Lightroom, with medium strength sepia toning (using just the shadows in Lightroom's Split Toning panel) and a vignette effect to subdue the background.
Camera: Olympus OM-D E-M5 Mark II, M.Zuiko 75mm F/1.8
Software: Lightroom
4. Trees in snow, framed, 2010
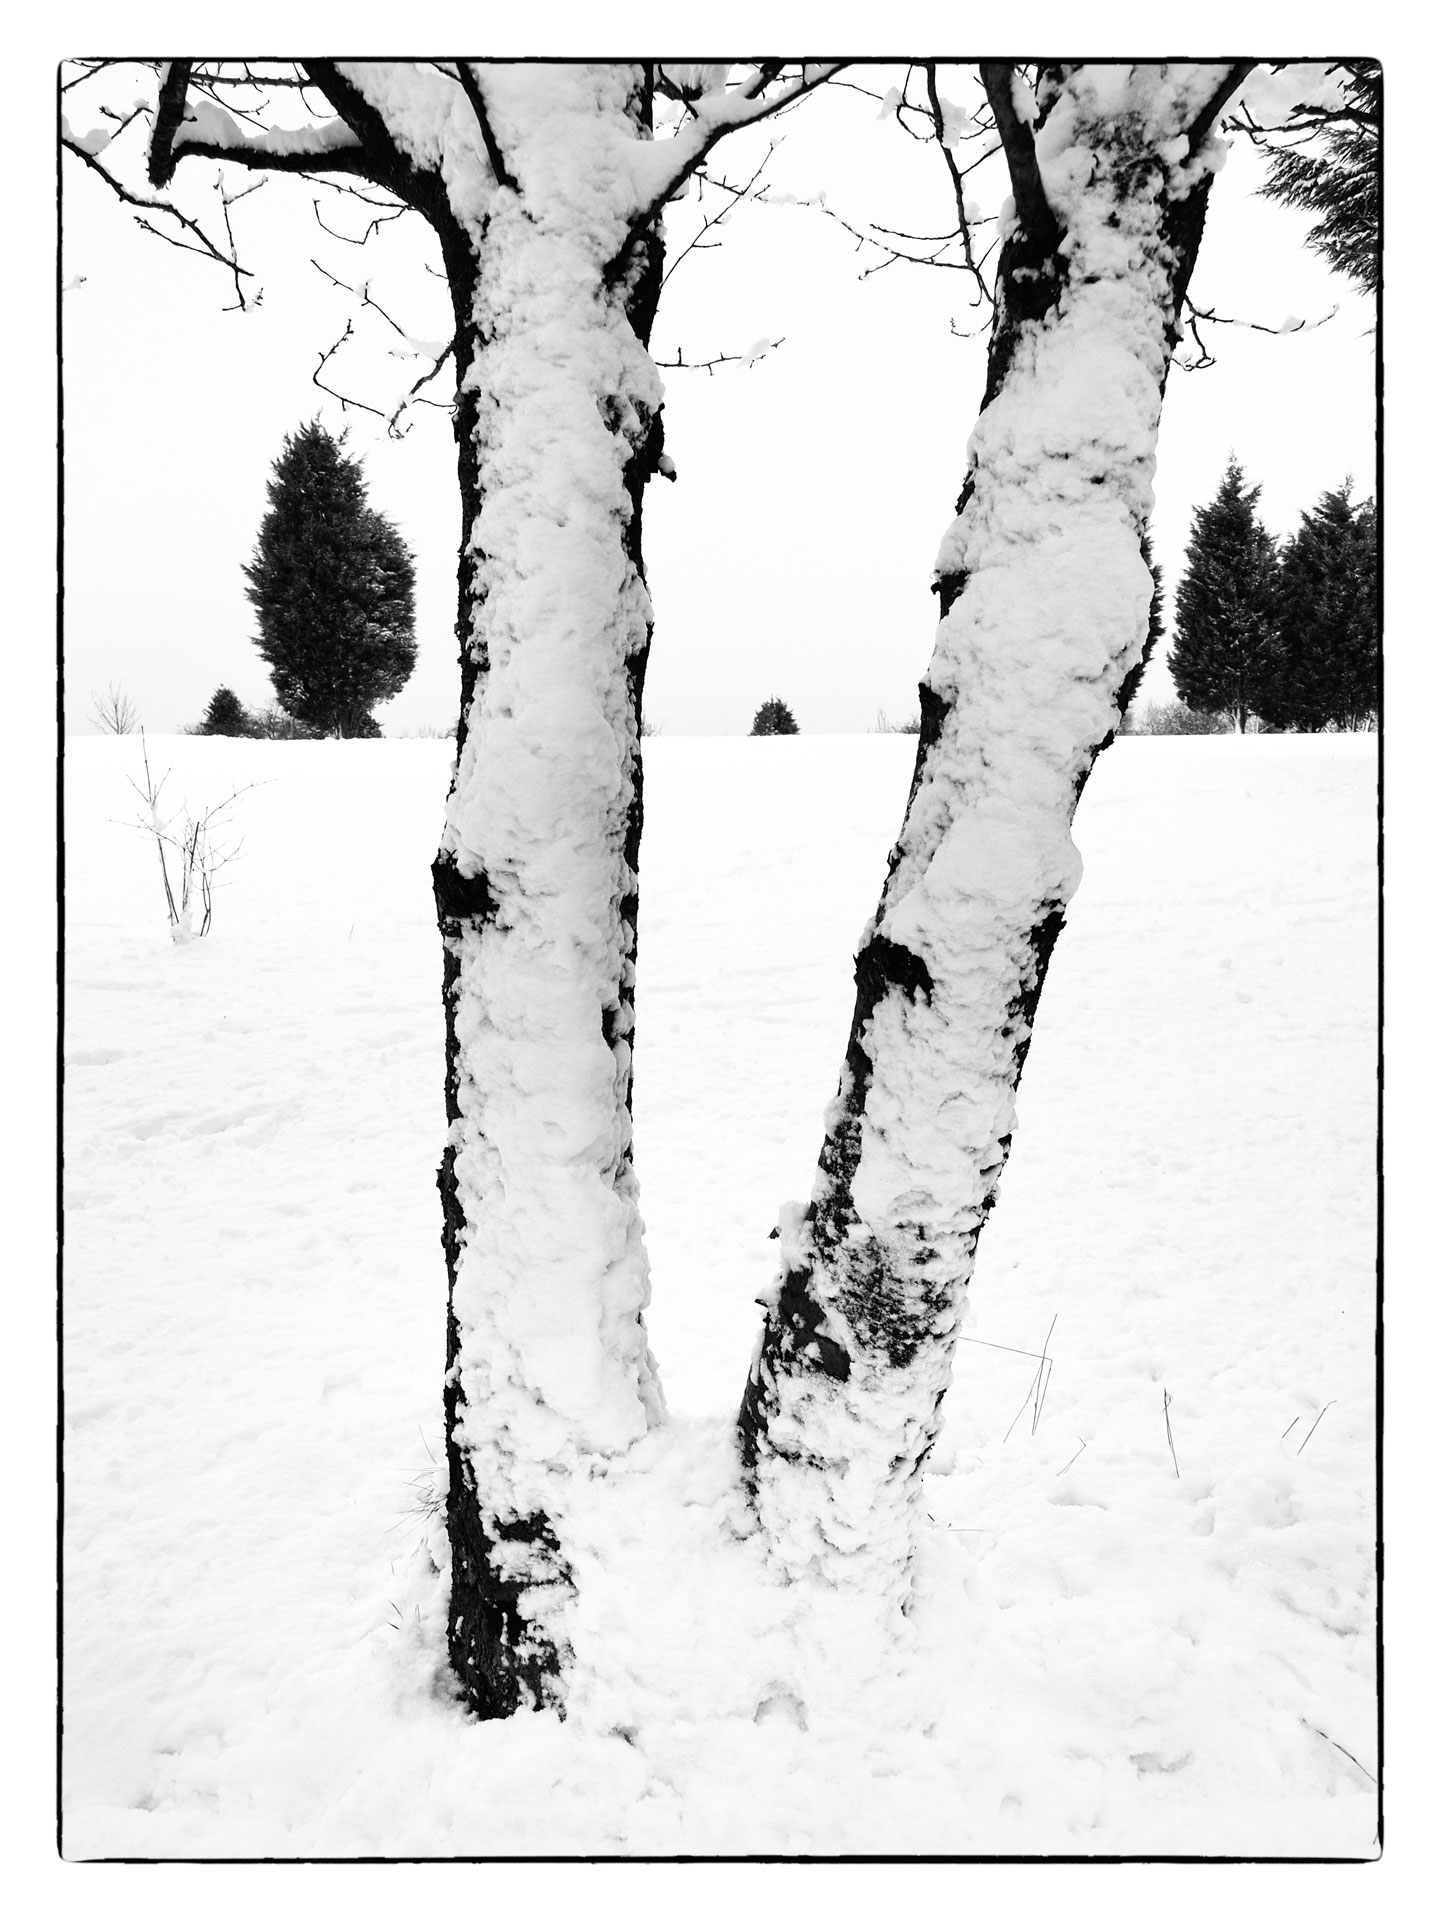
You can push the contrast in black and white far further than in color – and very often you need to. I'm very interested in graphic shapes and their arrangement within the frame, and I spent a minute or so finding the exact position where all these elements fell into place.
It was taken with an Olympus PEN E-PL1, not the most sophisticated mirrorless camera even in its time, but one I liked a lot. And I find that when I like holding and using a camera, I tend to take that camera out with me more than others, and that I tend to 'see' shots better with cameras I like.
The processing was done in Silver Efex Pro, now part of the DxO Nik Collection and still one of the greatest black and white software tools there is. I pushed the contrast as far as I could while still keeping details in the snow, and I didn't worry about some of the shadows going to black. I use a narrow black frame again and again in black and white – it really emphasises contrast and sets off near-white skies beautifully.
Camera: Olympus PEN E-PL1, M.Zuiko 14-42mm F3.5-5.6
Software: Silver Efex Pro (DxO Nik Collection)
5. Kilve beach, 2018
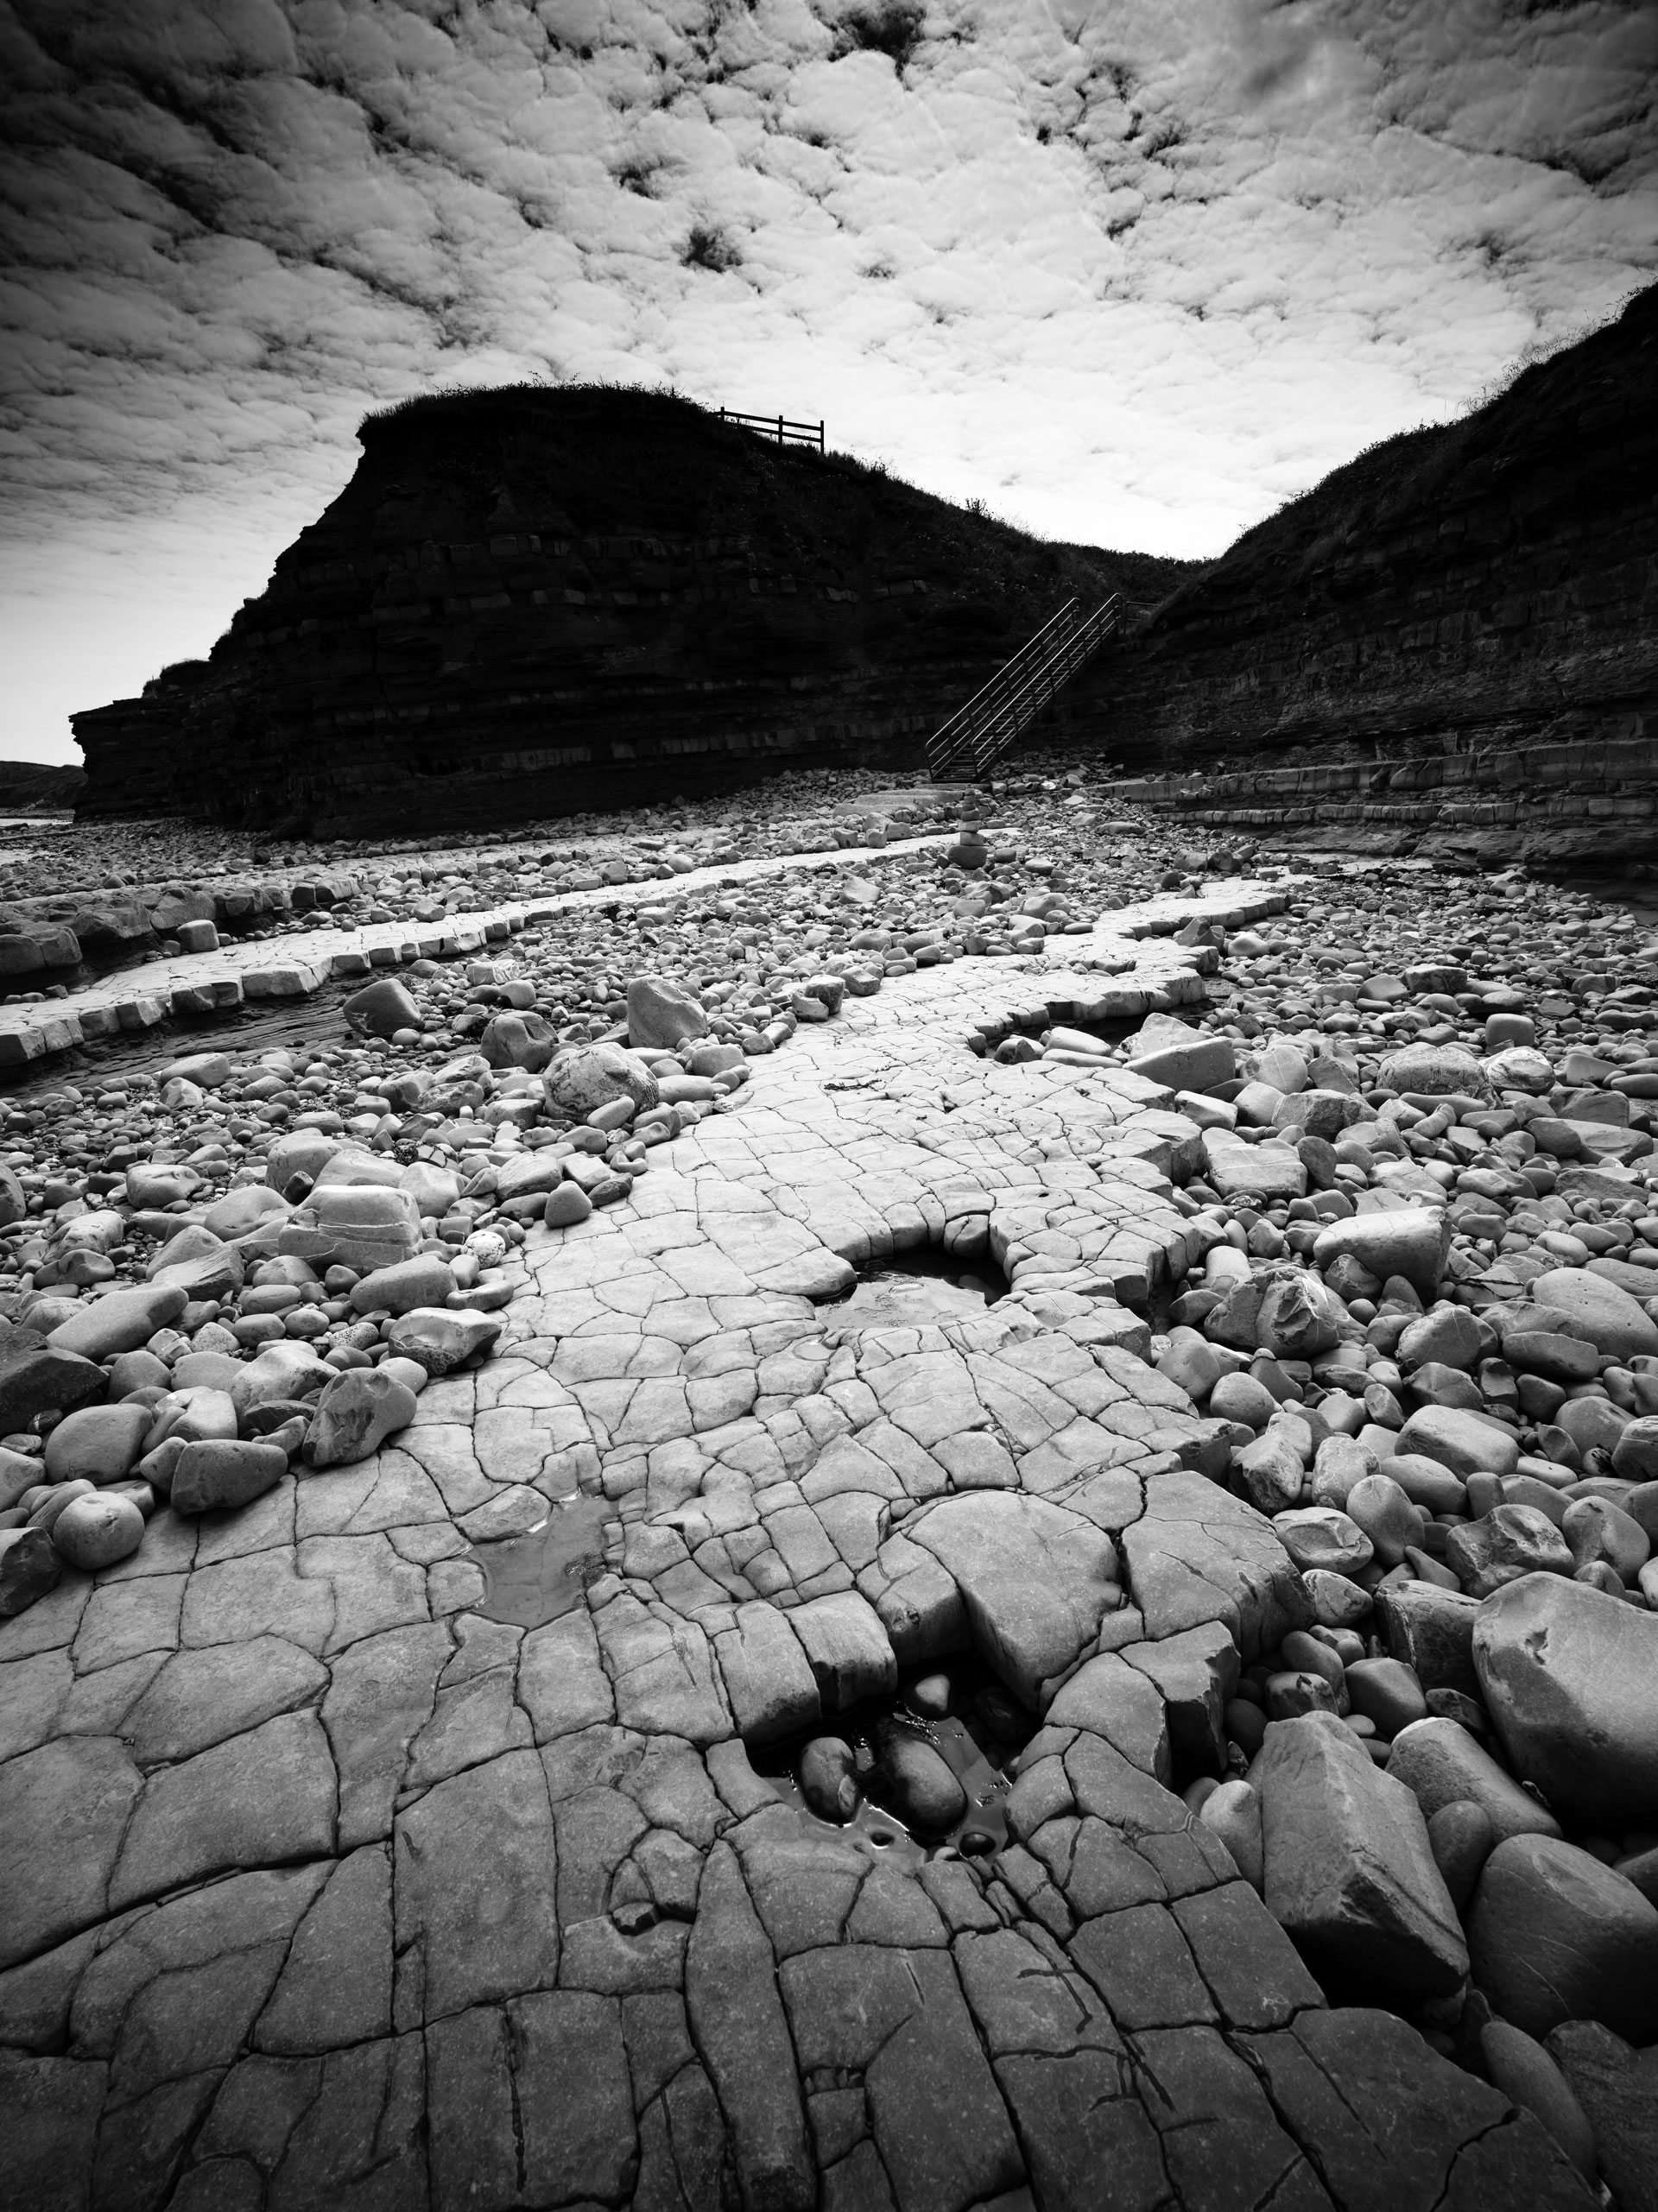
This is the second of my 'magical' locations. It's the kind of place where you don't see much straight away and you have to spend a little time walking around and just looking. Eventually, the pictures start to appear... and then they don't stop.
As usual, I've found small objects in the foreground to offset against the background with an ultra-wide lens. This was taken on a Hasselblad XCD with an XC 21mm F/4 lens (about 14mm in full frame camera terms) during a review of that lens. (It is, by the way, rather extraordinary, with no distortion and real edge-to-edge sharpness.) This is another shot which relied on exact positioning.
I felt this picture needed ultra-strong contrast to bring out the rock patterns. I used a third party B&W Profile in Lightroom ('Belium', from lutify.me) for the intial black and white conversion and a linear filter over the bright sky to darken it right down – I don't mind at all that the cliffs have turned near-black. Finally, I added another linear gradient to darken the bottom of the picture to balance the dark sky.
Camera: Hasselblad X1D, XCD 21mm F4
Software: Lightroom, custom Profile
6. Perranporth beach, 2019
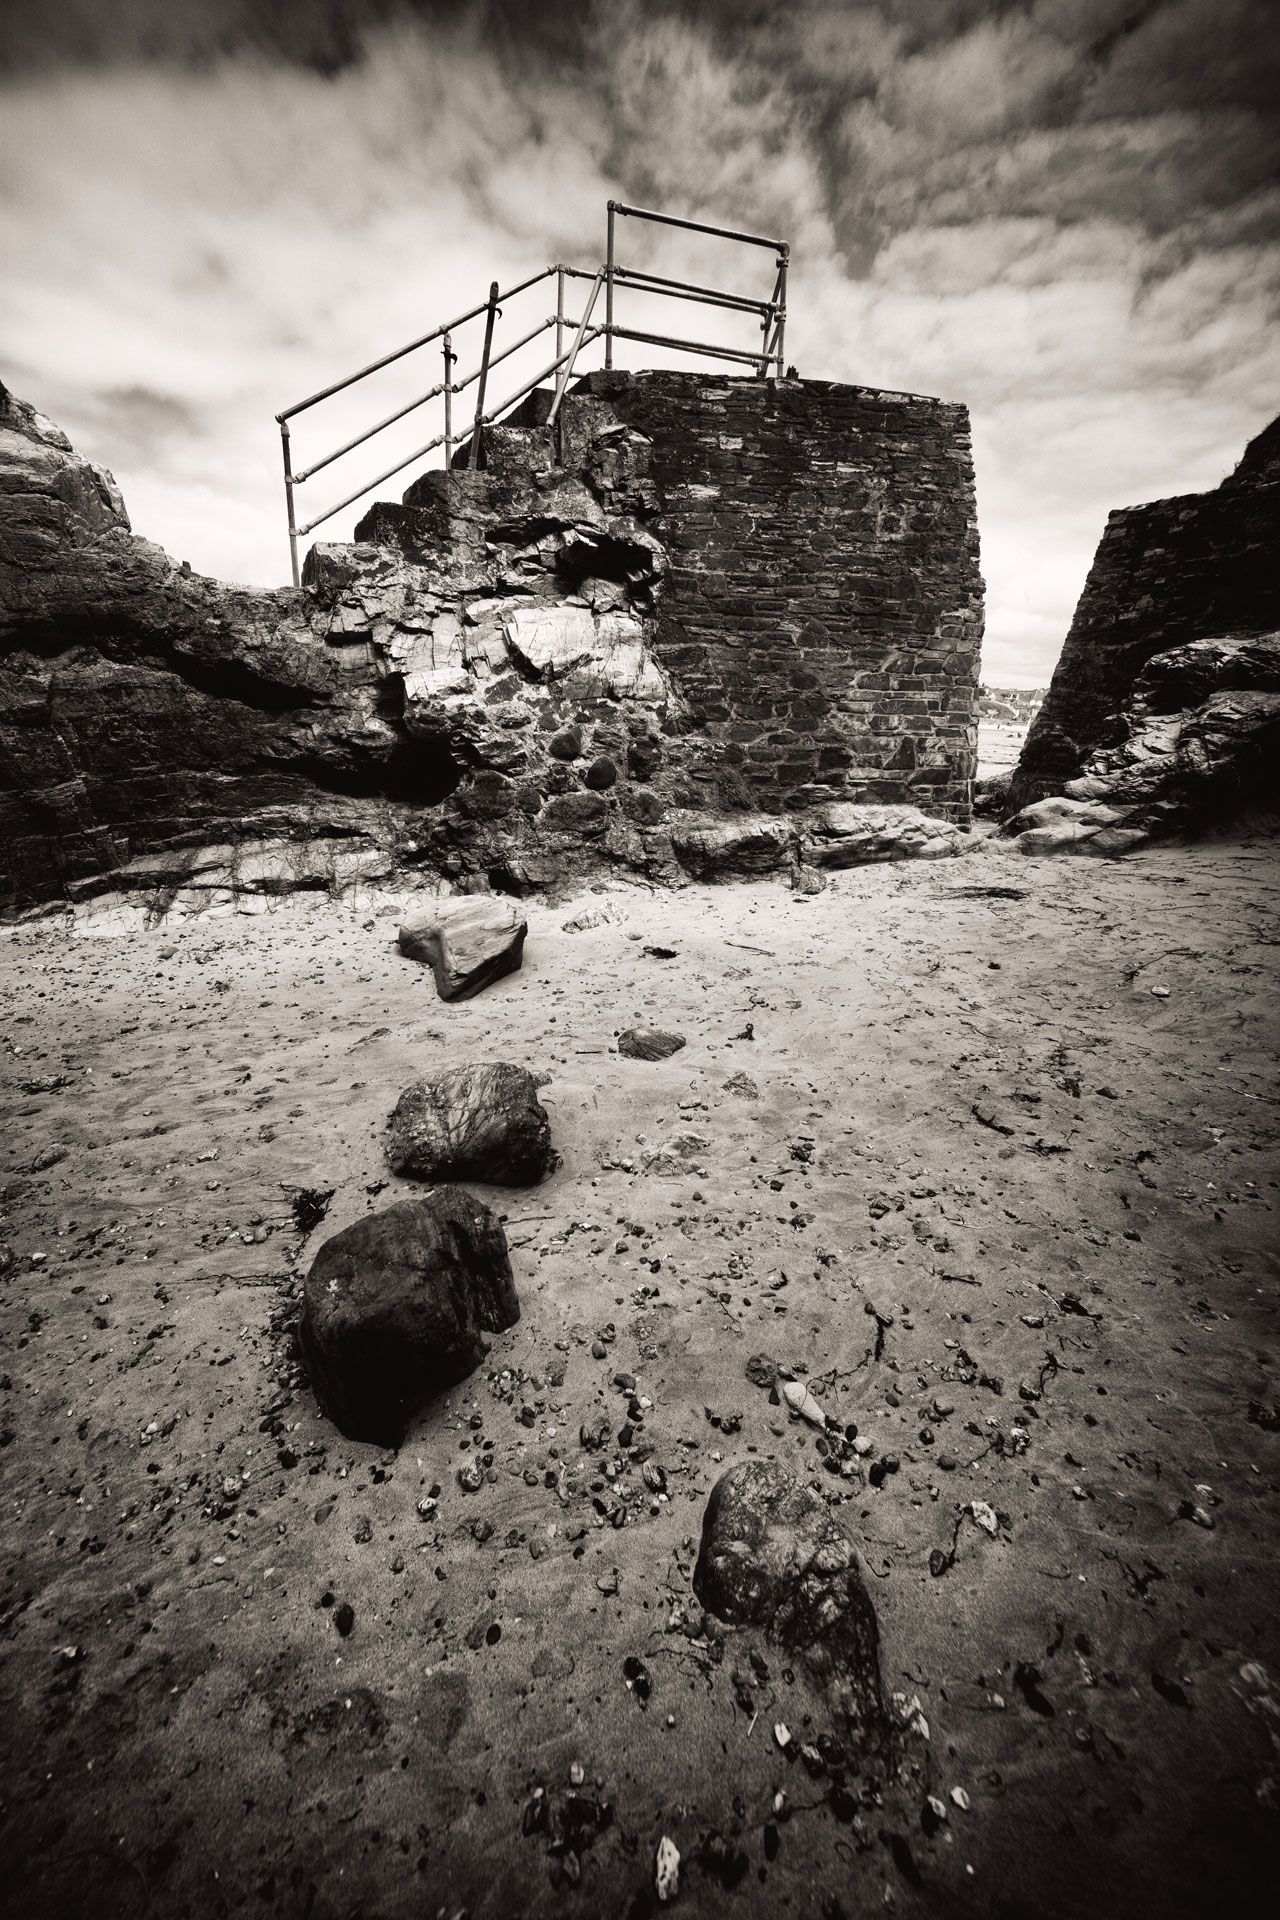
Another seaside scene (there's a bit of a pattern emerging here!), this time combining two of my favourite things – coastlines and abandoned/decaying coastal architecture.
This is another shot that uses an ultra-wide lens to include small foreground objects, and careful positioning. With ultra-wide lens, the smallest shift in viewpoint has a huge impact on the relationship between near and far objects.
This was taken with the Laowa 9mm f/2.8 Zero-D on a Sony A6000 body. I'm lukewarm about the Sony, but this lens is extraordinary. It has amazing edge to edge sharpness and no distortion (though it does make up for it with vignetting, ahem). I like this picture in particular for the shape of the rocks in the foreground and the diverging verticals in the wall and railings behind.
The processing was done in Analog Efex Pro using one of my favourite combinations: toning, strong contrast and a heavy vignette effect.
Camera: Sony A6000, Laowa 9mm F2.8 Zero-D
Software: Analog Efex Pro (DxO Nik Collection)
7. Bath architecture, 2018
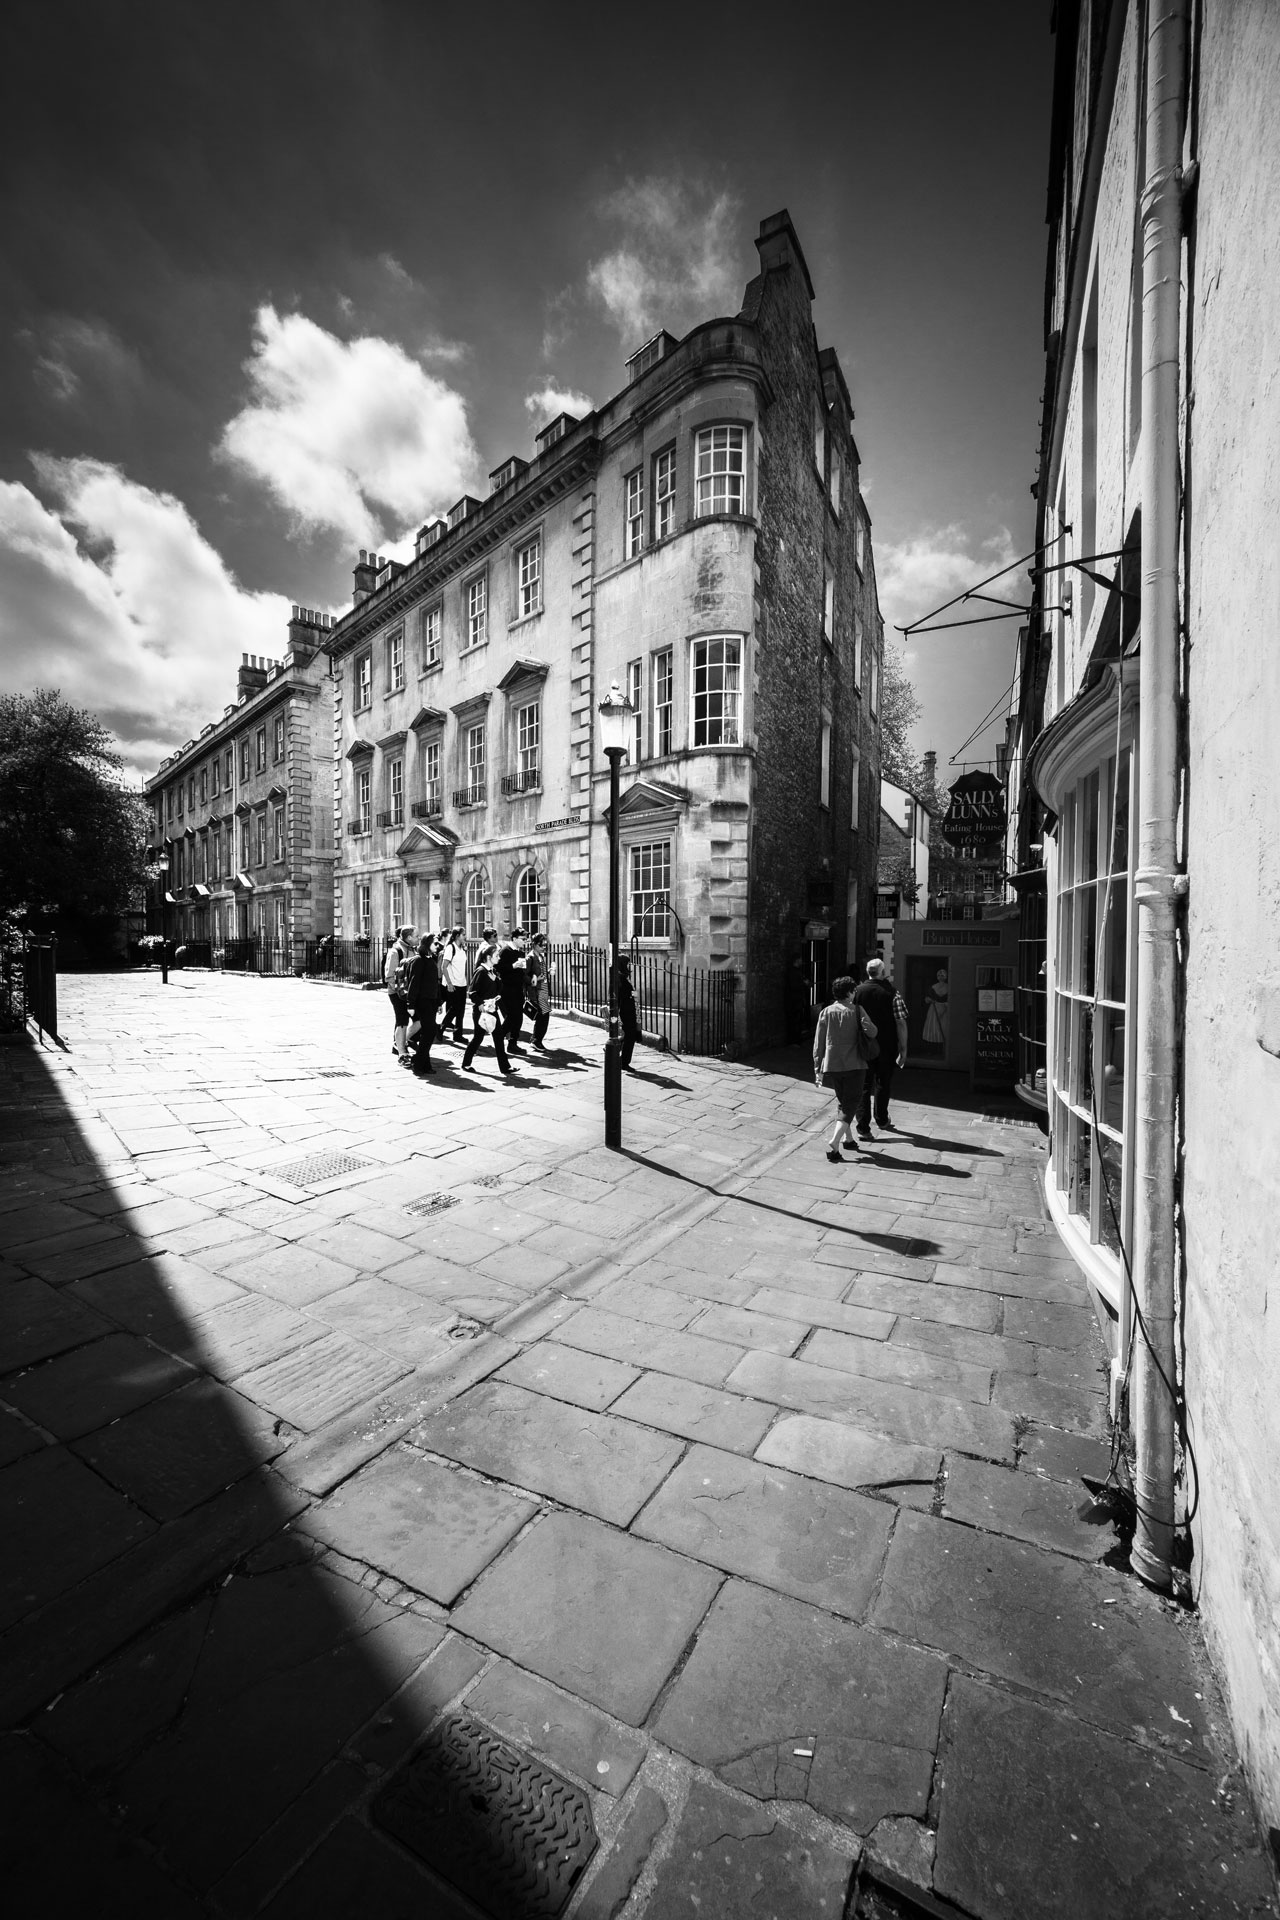
Here's another shot taken with that Sony A6000/Laowa 9mm combination. This time, I was captivated by the bright, almost luminous sunlight and the way the Laowa lens opened up a narrow city street into a much bigger space.
One of the big advantages of a lens as wide as this is the passers-by are almost always very small in the frame, even if they are actually only a few metres away. It's possible to make even crowded tourist attractions look relatively tourist-free. One thing you have to watch out for, though, is converging verticals. Getting walls and buildings to stay straight with a lens as wide as this is the very devil – the camera has to be absolutely level, and even then you may need to apply some software perspective correction later.
I processed this in Lightroom using of the of additional profiles in the latest version (BW04, I think), and then used a radial mask to brighten the center of the frame and add some brilliance and sparkle to the light. I didn't need to add my usual vignette effect since the Laowa 9mm lens does that all on its own, thank you very much.
Camera: Sony A6000, Laowa 9mm f/2.8 Zero-D
Software: Lightroom
8. Interior with curtains, 2018
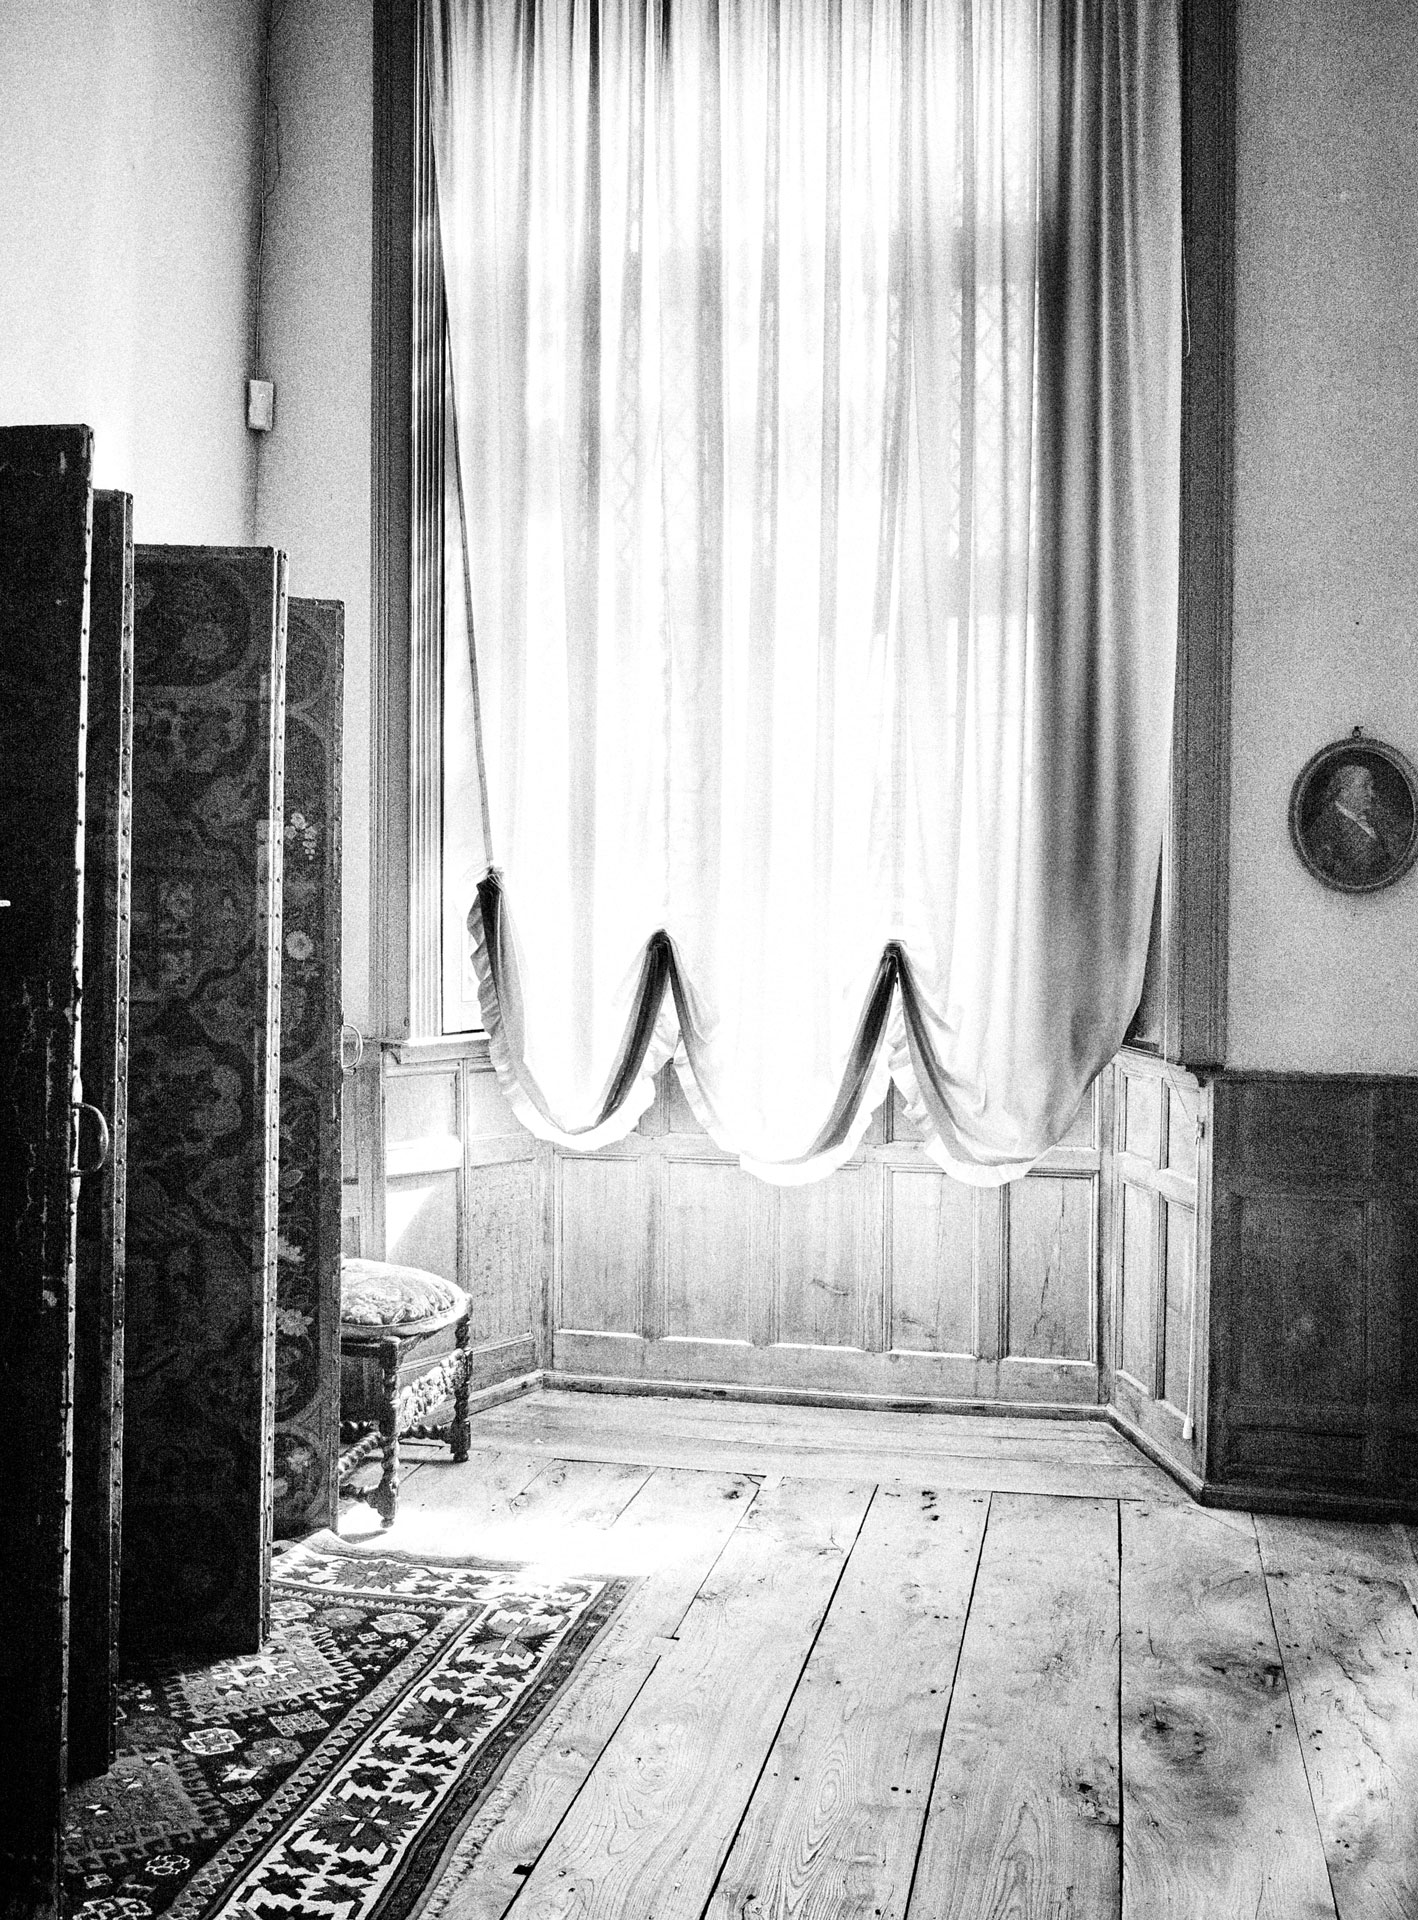
I'm fascinated by light, and in black and white you can do so much more to bring it out. Light and color often compete, but when you're using light alone, you can really explore it to the full.
The color original for this image is pleasant but unremarkable. It really jumps out in black and white, though, because I could push the highlights so much further to intensify the beautiful, luminous light streaming in through the window. There's just enough detail left in the curtains to stop the image looking 'clipped'. A little shadow enhancement and a good dose of grain has given the image a real retro film look.
The editing work was carried out in Capture One, my preferred software for practically everything unless I need dedicated plug-ins. It's especially good at processing Fujifilm raw files (which is what this is).
Camera: Fujifilm X30 compact
Software: Capture One 10
9. Cathedral interior, Porto, 2018
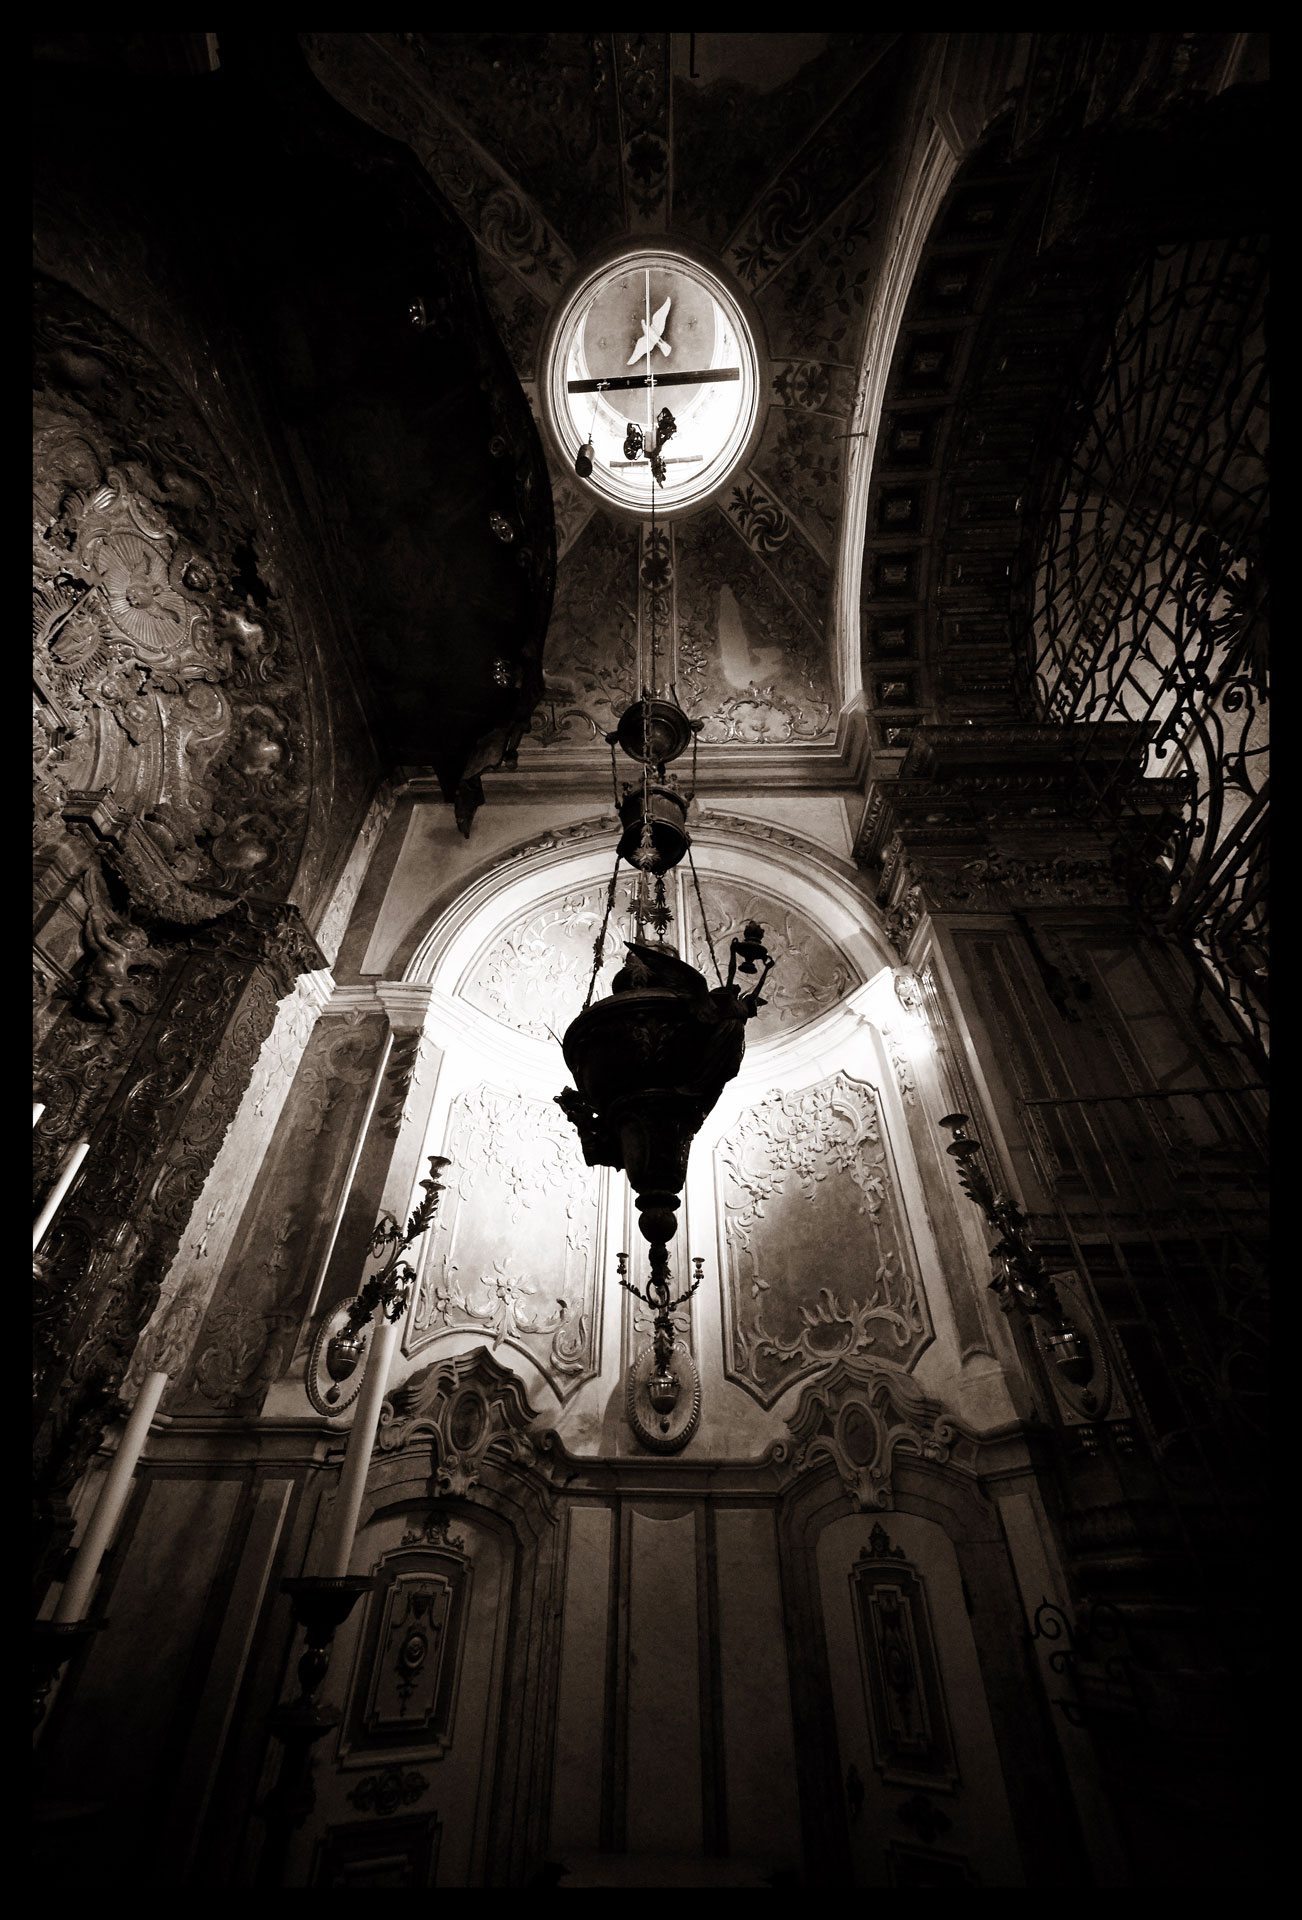
This image looks great in color but even better in black and white, in my opinion, where the contrast can be pushed much further and sepia split toning adds even more depth to the tones.
In an ideal world you wouldn't have converging verticals in an architectural shot, but I don't think it matters here, and that the converging walls make the composition more dynamic. I just love the richness of the tones, the contrast and the effect of the light.
Processing was done in Capture One 12, using a BW preset as a staring point with the addition of a split tone sepia effect. The simple black frame was created in Capture One – for an 'analog' frame you'd need an external editor like Analog Efex Pro or Exposure X.
Camera: Sony A6000, Laowa 9mm F2.8 Zero-D
Software: Capture One 12
10. Iron lamppost, Bath, 2017
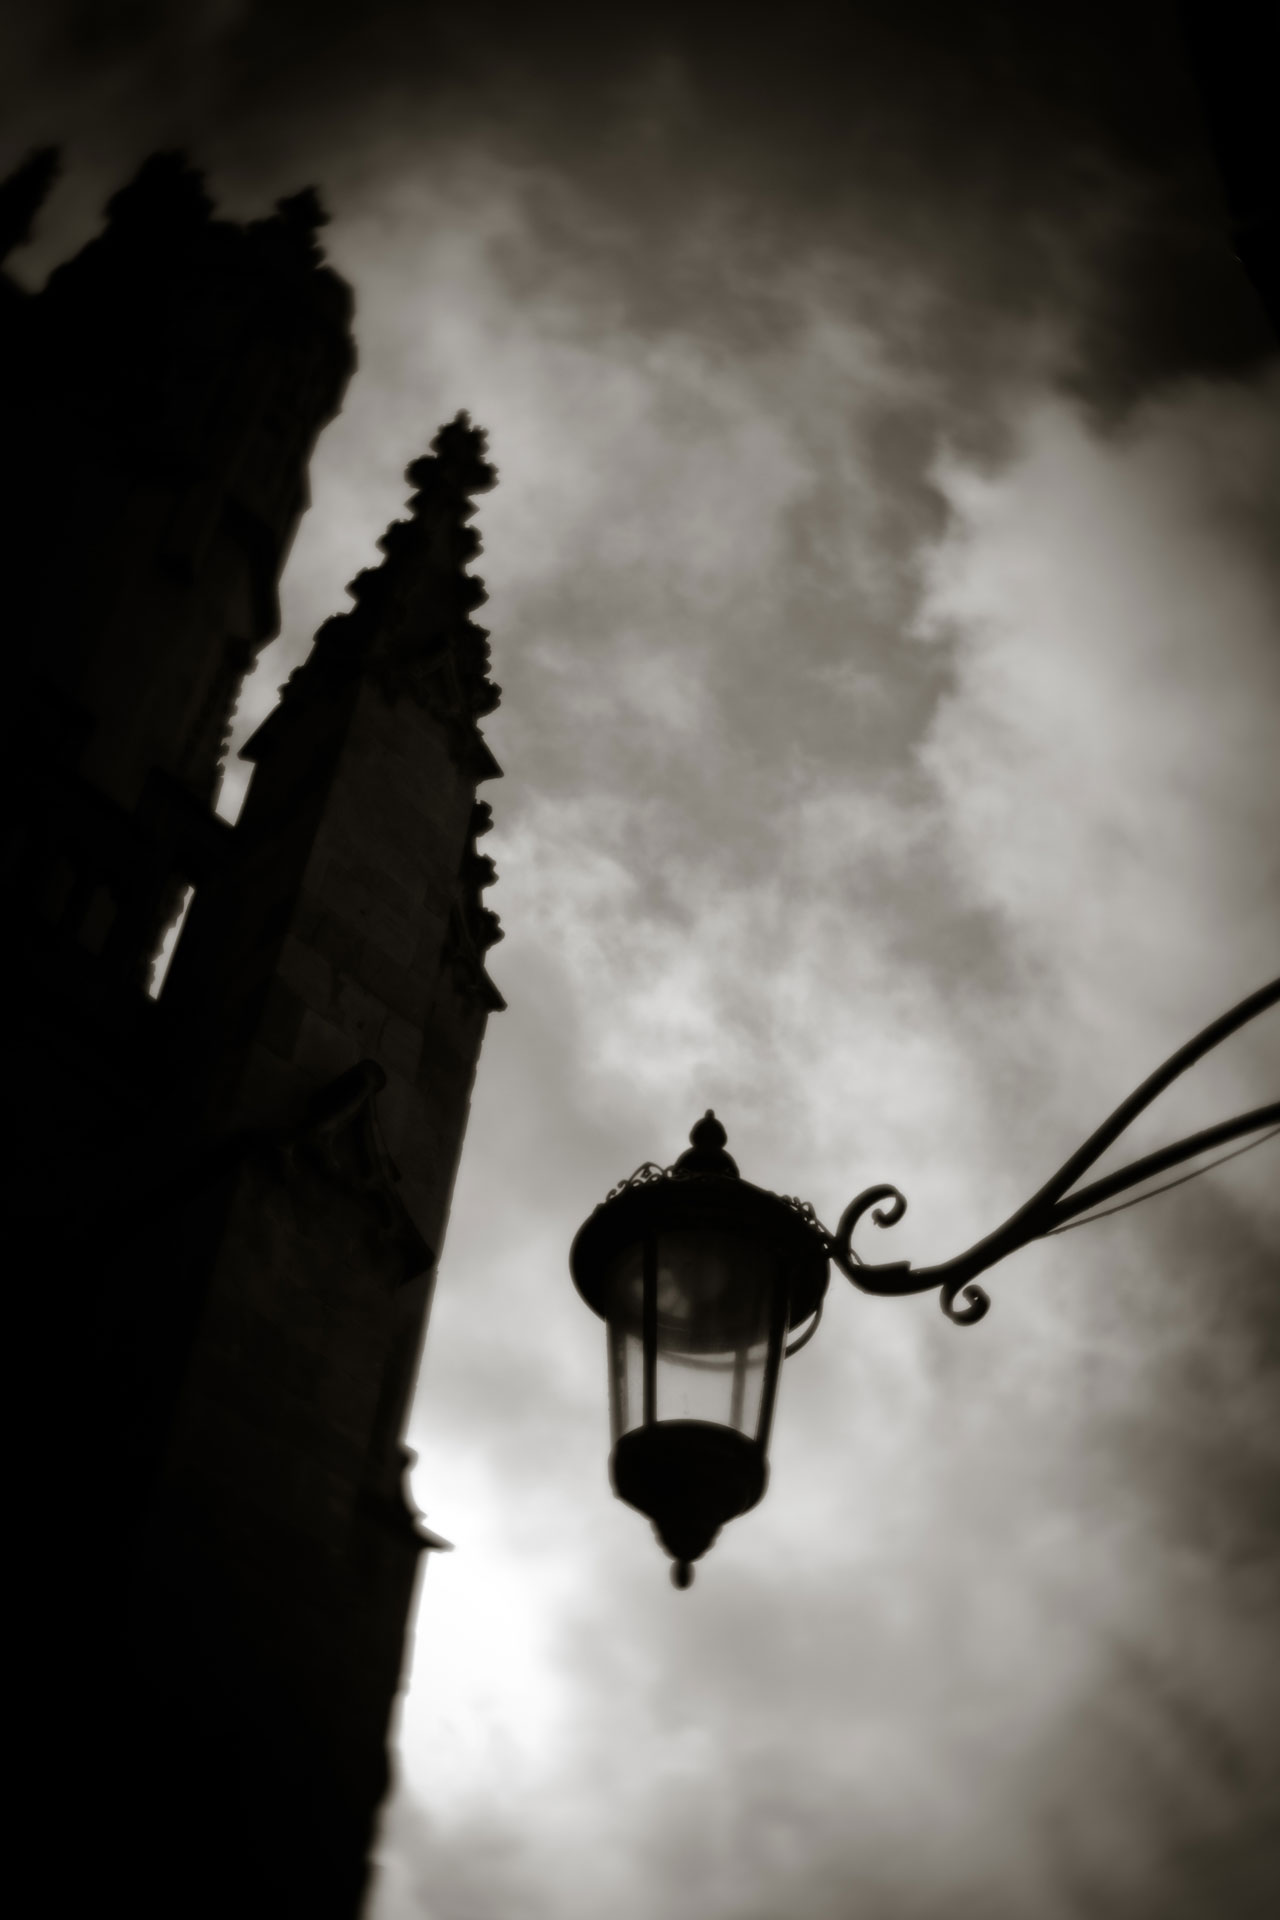
This final image explains my fascination with analog effects and old lenses. It was taken with the Lensbaby Trio, which features in my list of my favorite camera kit. It is possible to simulate the effect of old lenses in software, but it's never quite the same as the real thing, and the slightly twisted edge blurring of the lens and the shallow depth of field of the fixed f/3.5 aperture give a real vintage feel that complements the sepia toning and vignetting effect.
There are some pictures you see that conform to no known rules of composition, but you know they are simply 'right'. I think you shouldn't overanalyse these shots but just grab them when you can.
Camera: Fujifilm X-A1, Lensbaby Trio
Software: Lightroom
We all have our own processing styles and yours will almost certainly be different to mine, which is very contrasty and dense. There is no right and wrong in photography, but hopefully my favorite images will give you some ideas about what you can do with yours!
Read more:
• The best mirrorless cameras right now
• The best photo editing software to get
• The best wide-angle lenses for your camera
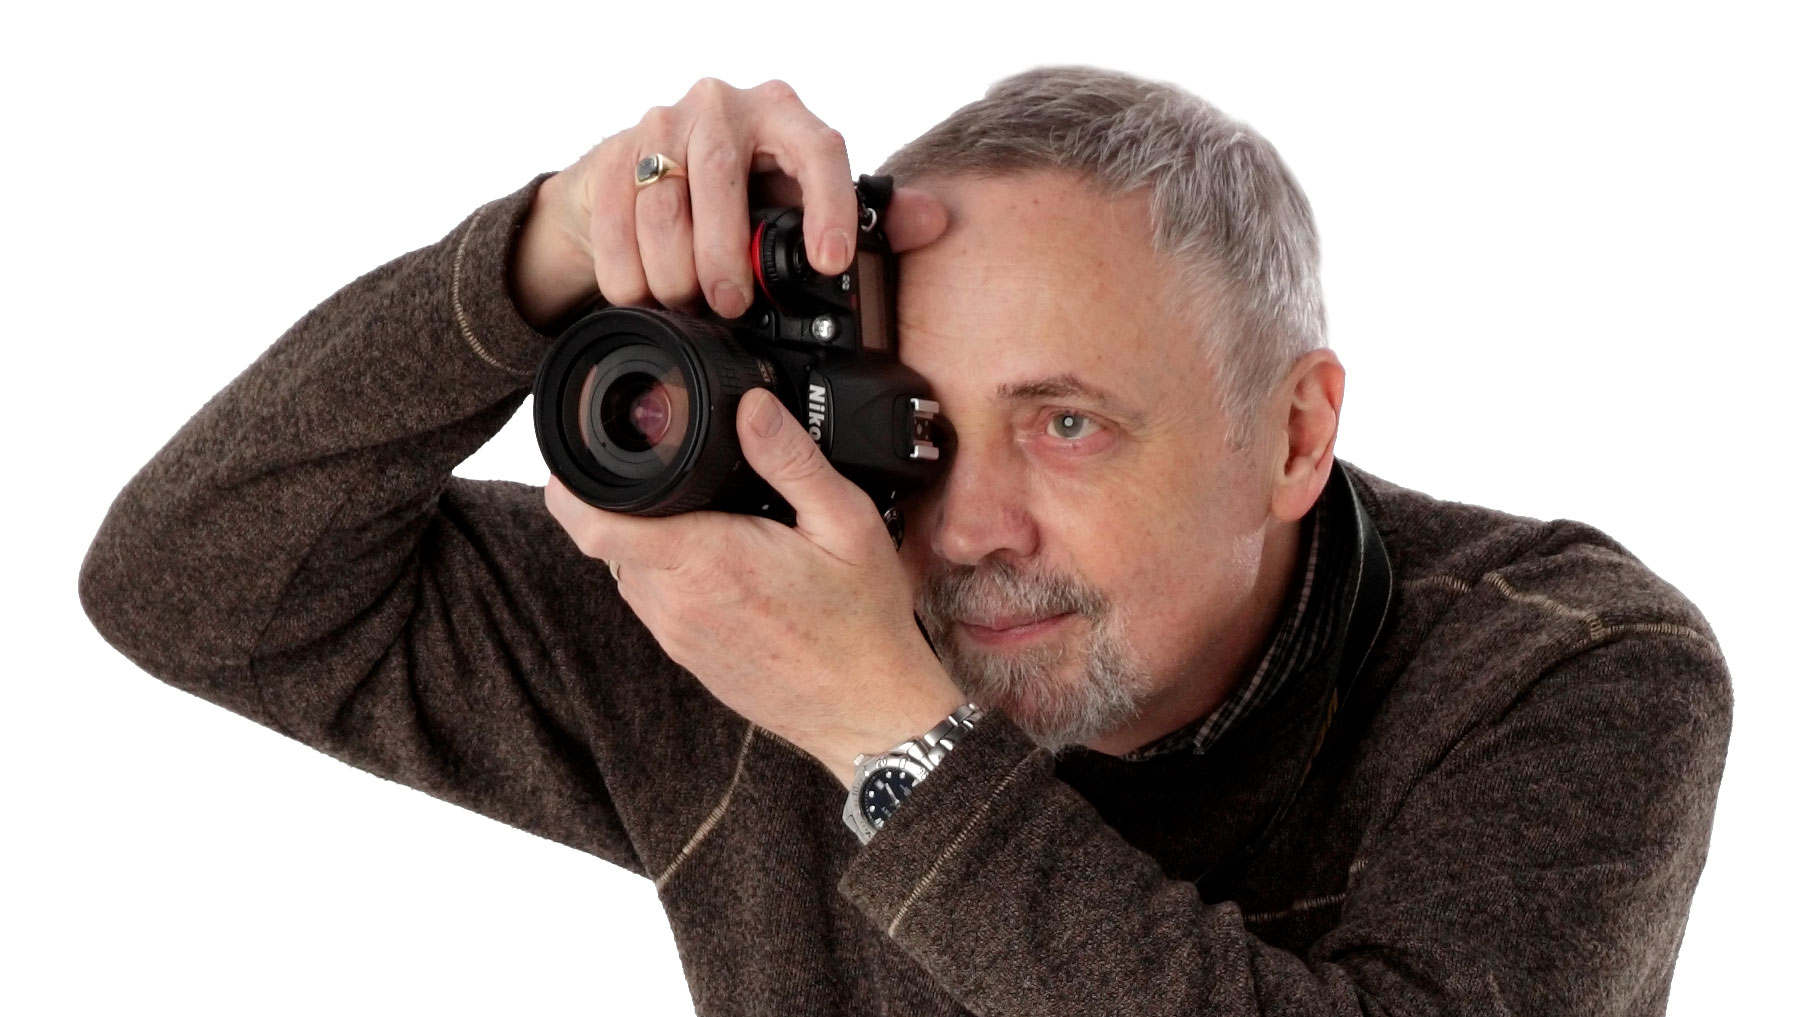
Rod is an independent photography journalist and editor, and a long-standing Digital Camera World contributor, having previously worked as Group Reviews Editor, Head of Testing for the photography division, Technique Editor on N-Photo, and Camera Channel editor on TechRadar, as well as contributing to many other publications.
He has been writing about digital cameras since they first appeared, and before that began his career writing about film photography. He has used and reviewed practically every interchangeable lens camera launched in the past 20 years, from entry-level DSLRs to medium format cameras.
Rod has his own camera gear blog at fotovolo.com but also writes about photo-editing applications and techniques at lifeafterphotoshop.com.
