How to create symmetrical light paintings
Trip the light fantastic for exciting images
The best camera deals, reviews, product advice, and unmissable photography news, direct to your inbox!
You are now subscribed
Your newsletter sign-up was successful
Learn how to paint with light and enhance the effect with reflections
Time needed: One hour
Skill level: Intermediate
Kit needed: Tripod • Remote shutter release • Assortment of torches, LEDs and coloured cups
In 1882, pioneering photographer Georges Demeny attached light bulbs to an assistant and told him to jump.
Ever since then photographers have been combining moving lights and long exposures to ‘paint’ with light. For a fresh approach to the technique, we thought why not use reflective surfaces to enhance the effect? Whether it be water, glass, mirrors or even simple Photoshop image-flipping, a little reflected symmetry can take amazing light-painted patterns to a whole new level.
If you’re new to light painting, you’re in for a treat. It’s one of those wonderful techniques that demonstrates just how exciting photography can be once you
start experimenting with your exposure. A light painting is created by moving any light source through a dark scene while the camera’s shutter is locked open. In exposure terms light is accumulative, so dragging a torch across the frame is like taking chalk to a blackboard.
Besides a sturdy tripod, a dark environment and a few torches, the key here is your camera’s Bulb exposure mode, which lets you lock open the shutter for as long as you like. With it we can take exposures that last for several seconds or even minutes. Once you get the basics right, the real fun is in experimenting with different light sources and moves to create wonderful patterns like this. So let’s go…
STEP BY STEP: Get setup for light painting
Find out about the camera settings and gear you need to paint with light
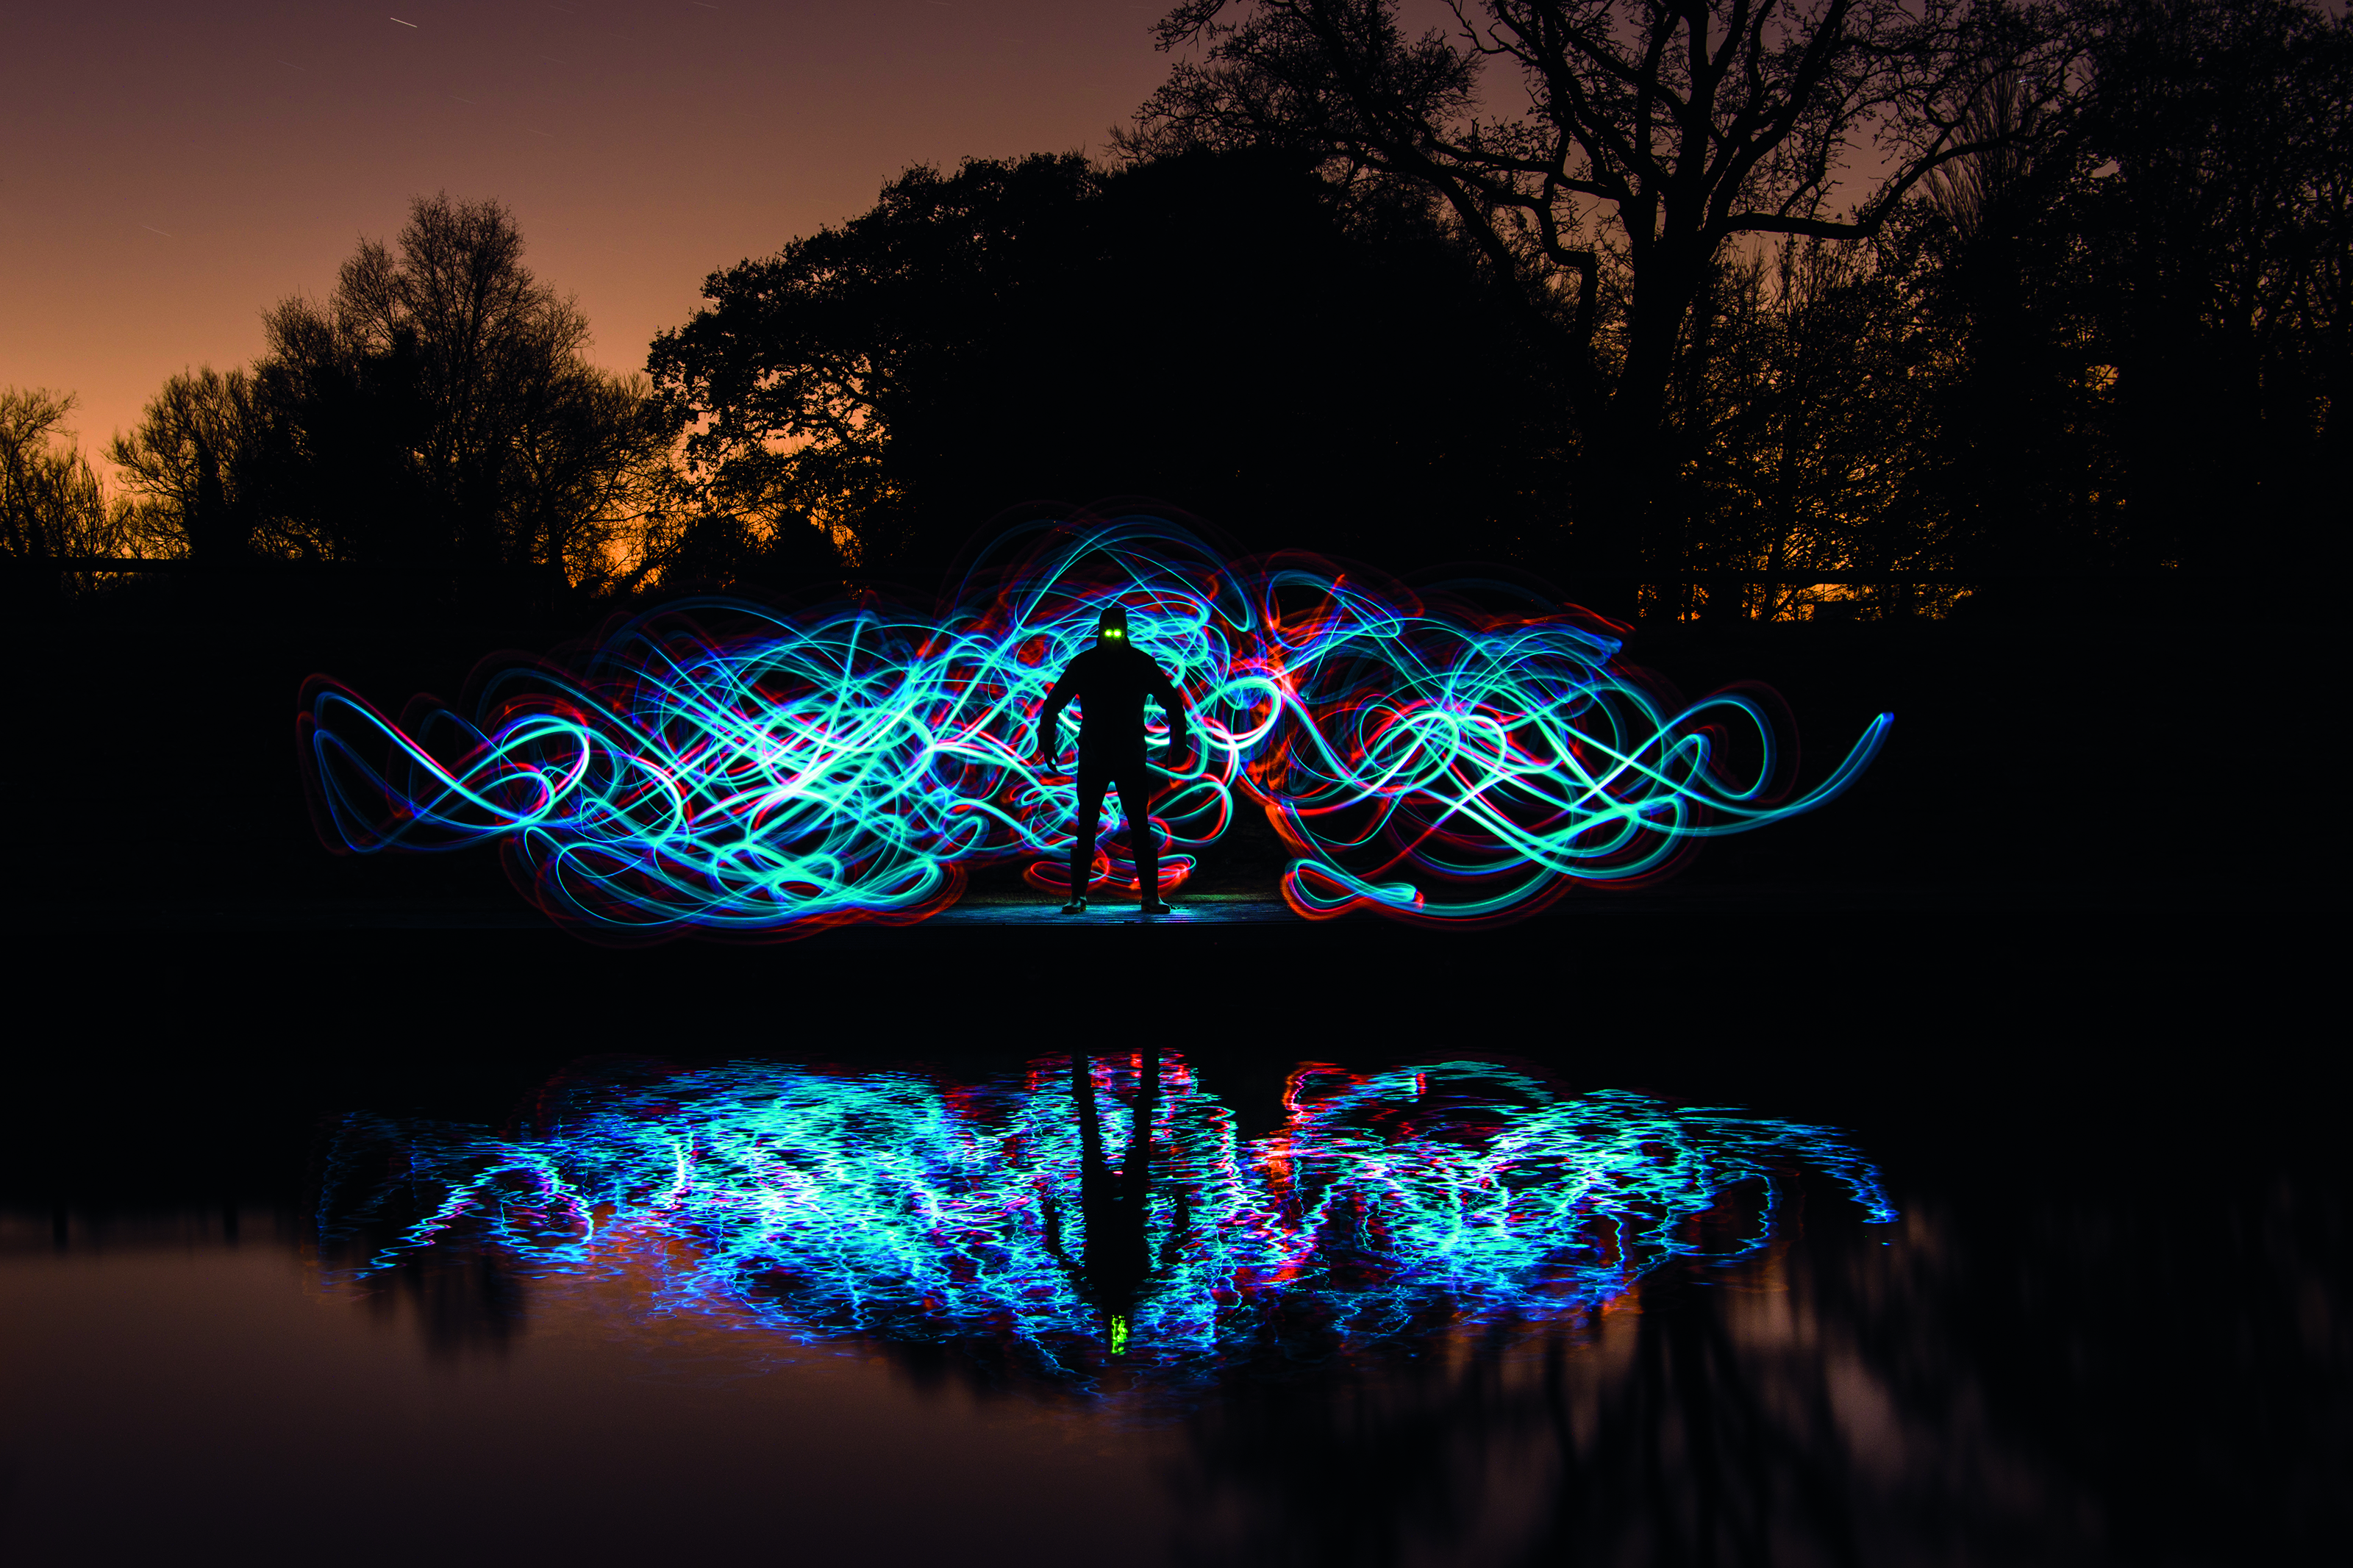
Light painting needn’t be carried out in the pitch black. In fact, a little dim ambient light will help enormously, as you can see what you’re doing. But the longer the exposure, the more the ambient light plays a part and the lighter the scene will be. You can see in the main image here that the glow from the city beyond the lake has lightened the sky. To the naked eye it was nowhere near as bright – but when exposed for a hundred seconds, it becomes much brighter.
01 COMPOSE AND FOCUS
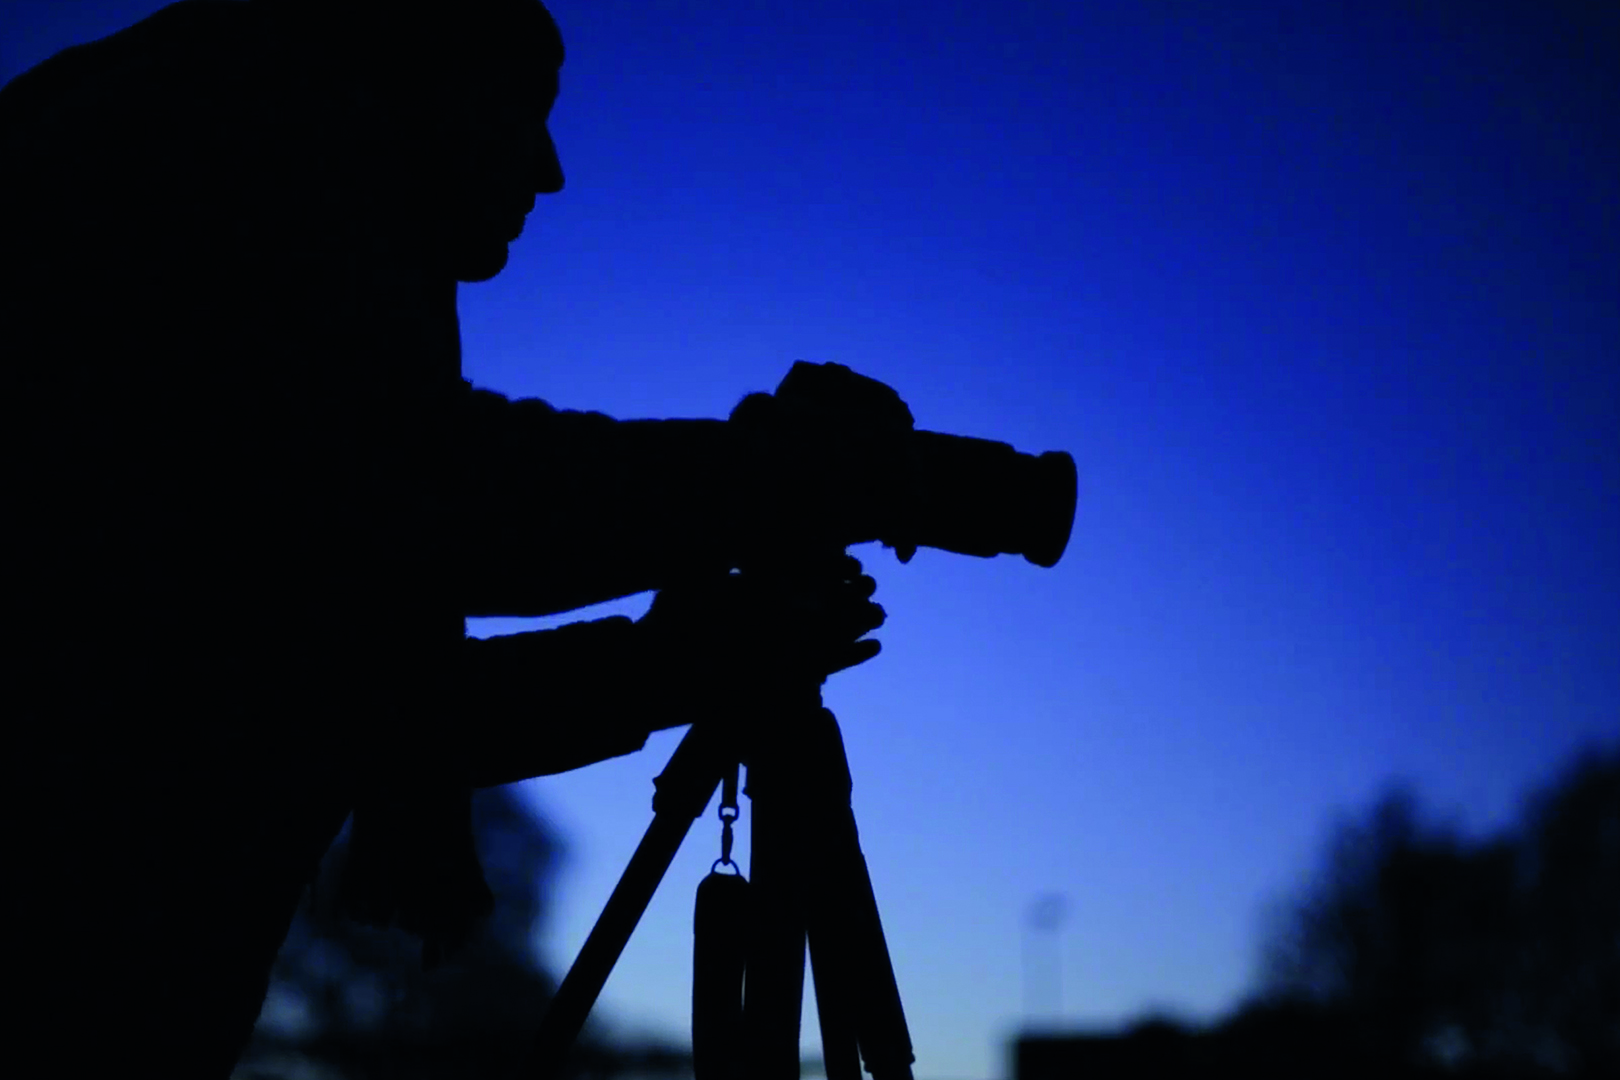
Set up on a tripod. It can be tricky to get the framing right so compose loosely. We don’t want the lens hunting for focus, so pre-focus on a point in the scene then switch to manual focus to lock it.
The best camera deals, reviews, product advice, and unmissable photography news, direct to your inbox!
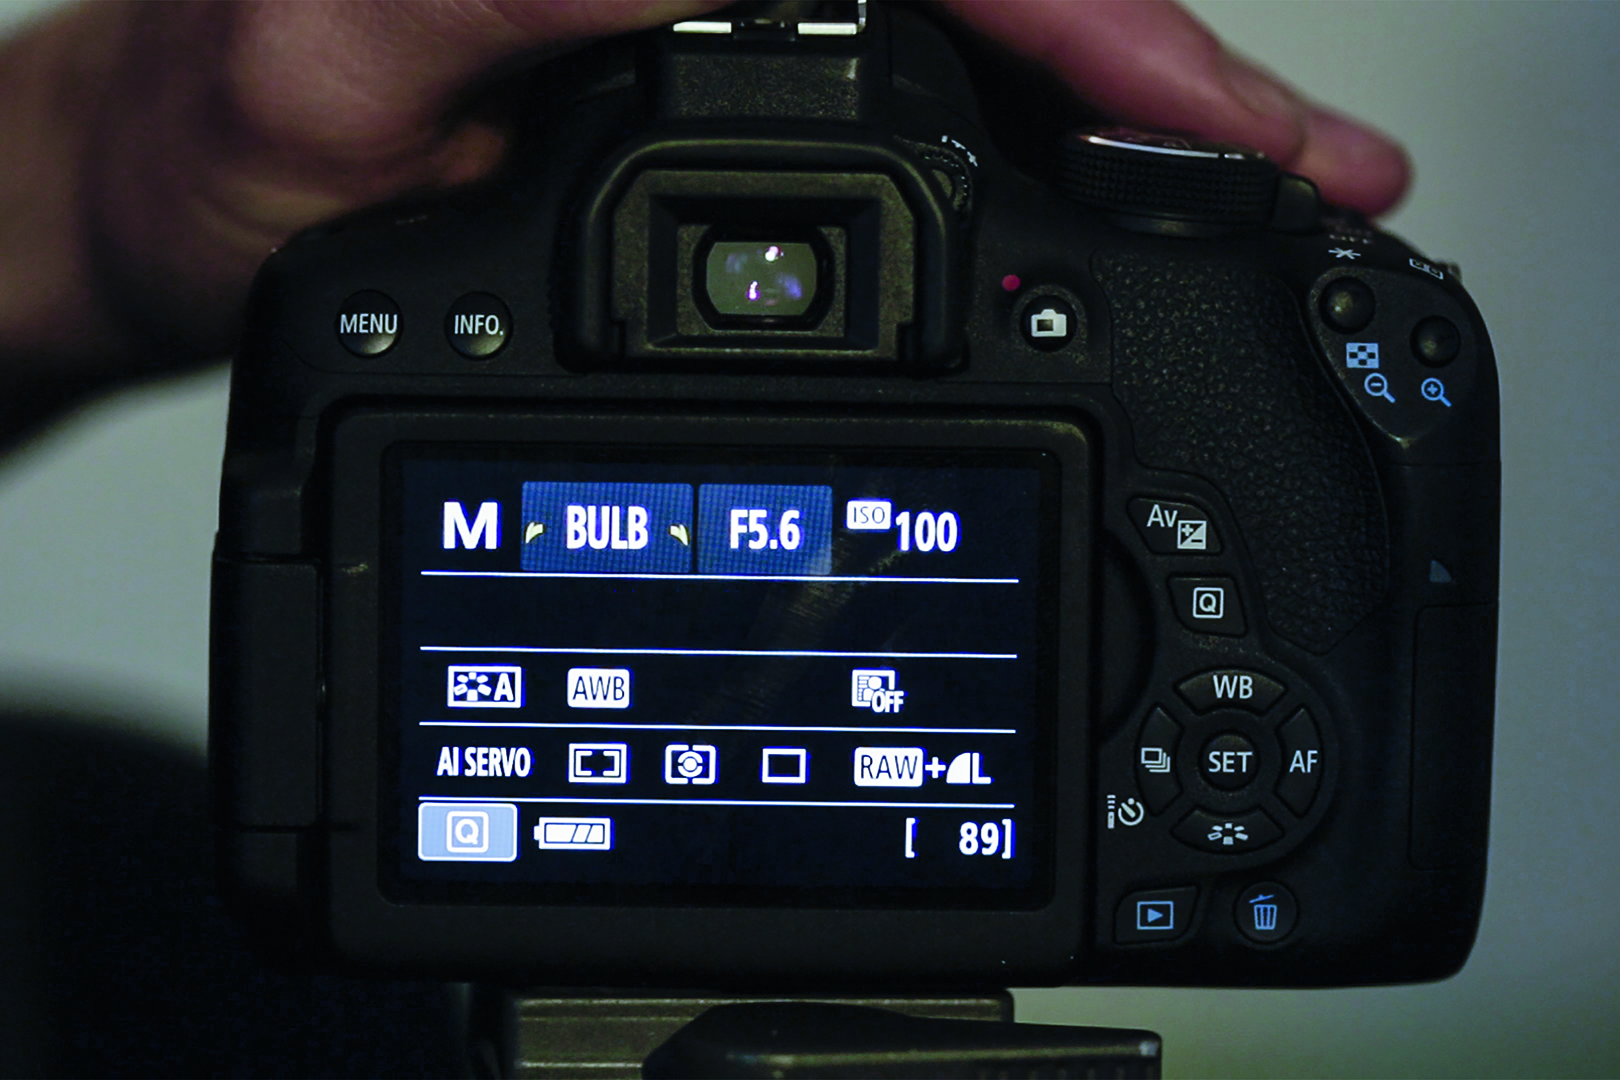
02 SET BULB MODE
DSLRs max out at 30 seconds, which usually isn’t long enough. For more time set Manual mode and dial the shutter speed down to Bulb. This way the shutter stays open for as long as the button is engaged.
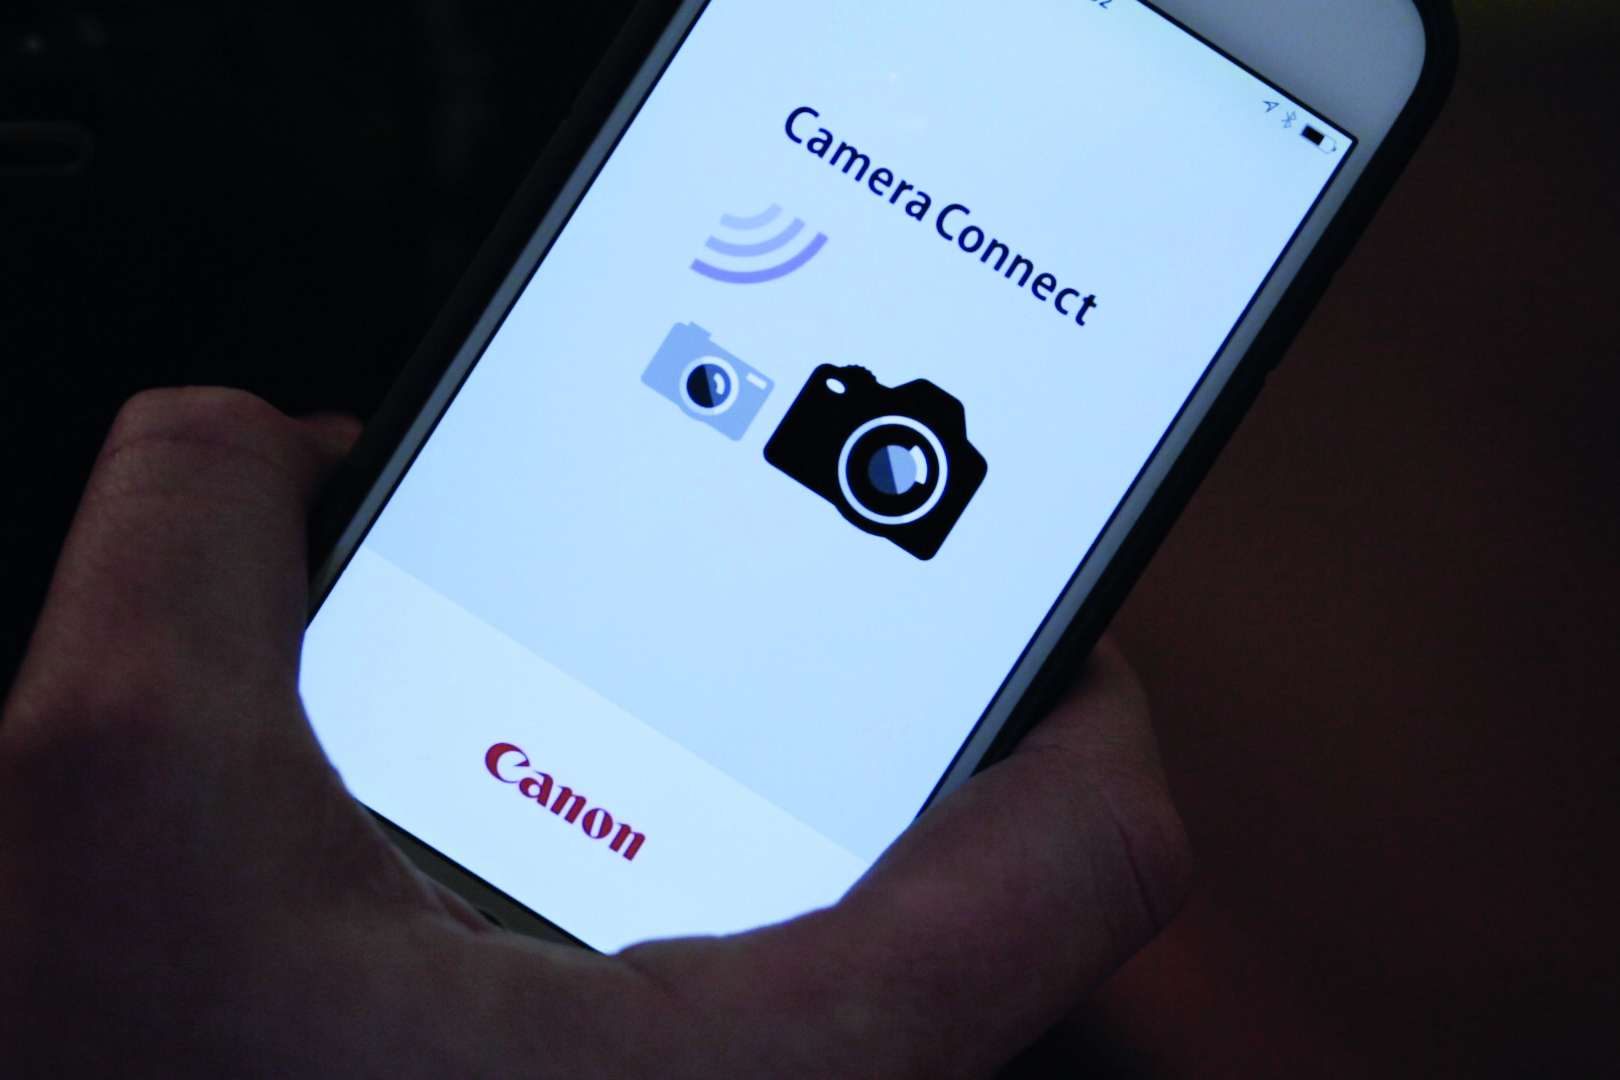
03 LOCK THE SHUTTER
We need a remote release to lock open the bulb exposure, either a cable release or – even better – a wireless one. DSLRs with Wi-Fi can be triggered with a smartphone and app.
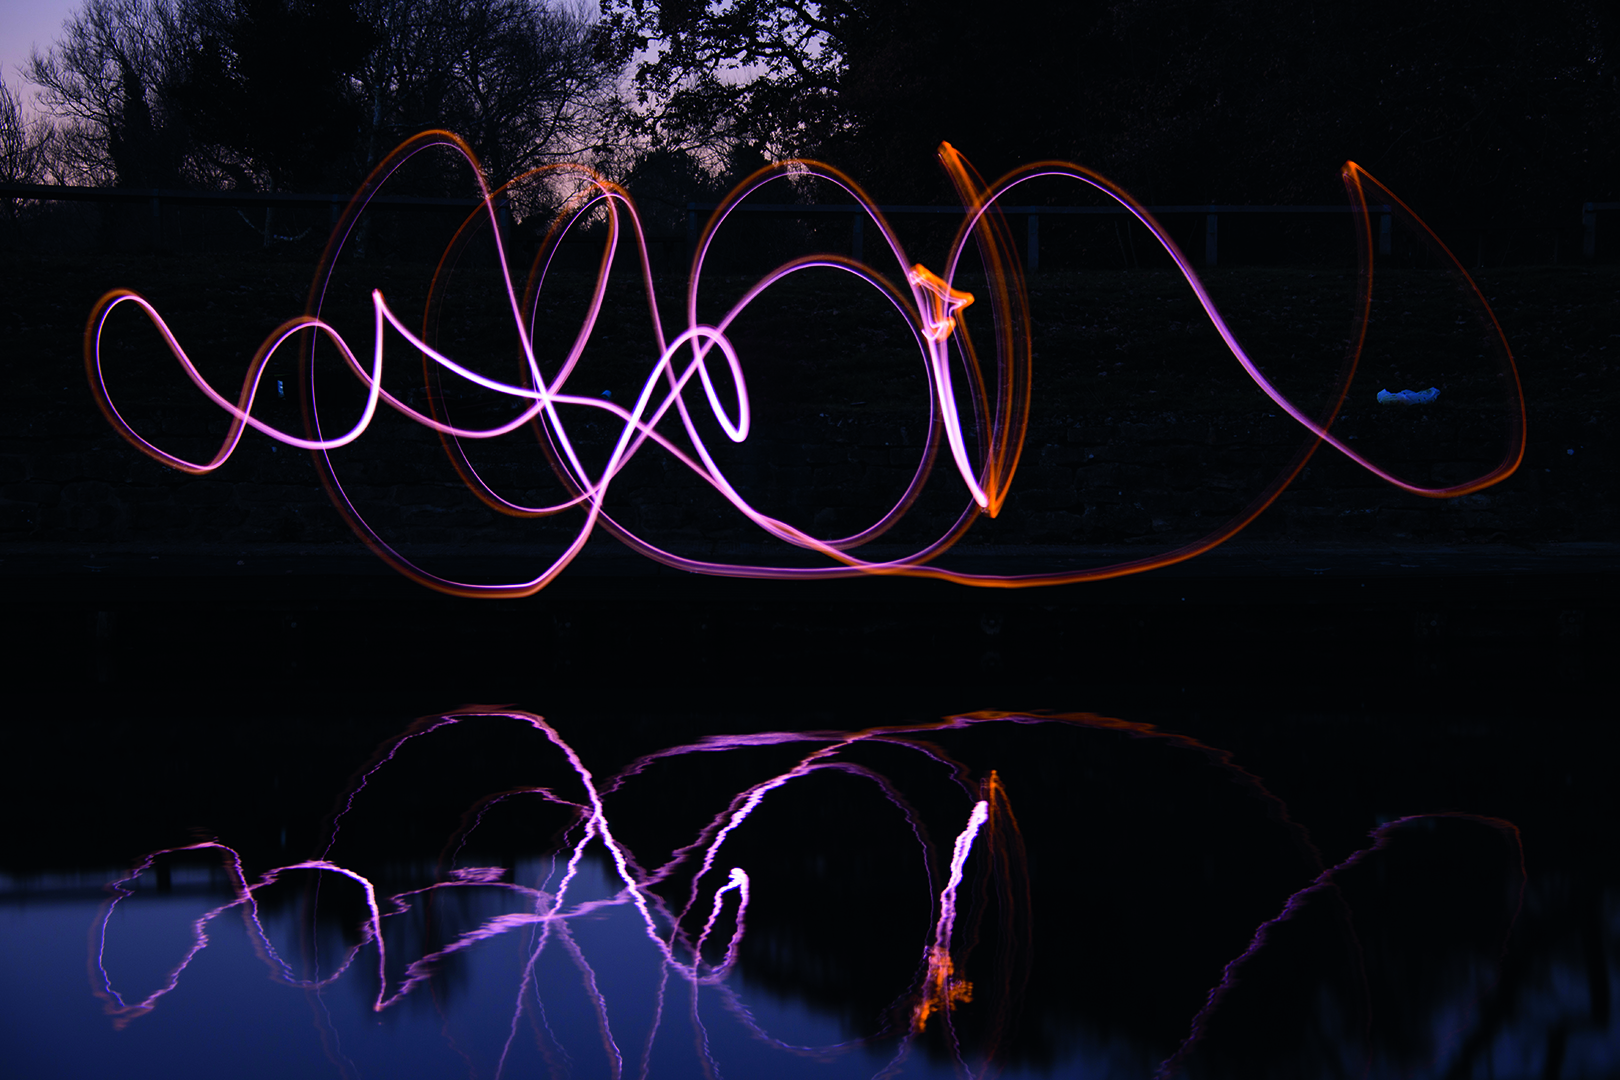
04 TAKE A TEST SHOT
Take a test shot to work out the ISO and aperture. Start at ISO100 and f/8, then start a Bulb exposure and try shining your light sources. If it’s too dark, open the aperture or bump up the ISO.
ESSENTIAL KIT: DIY light-painting gear
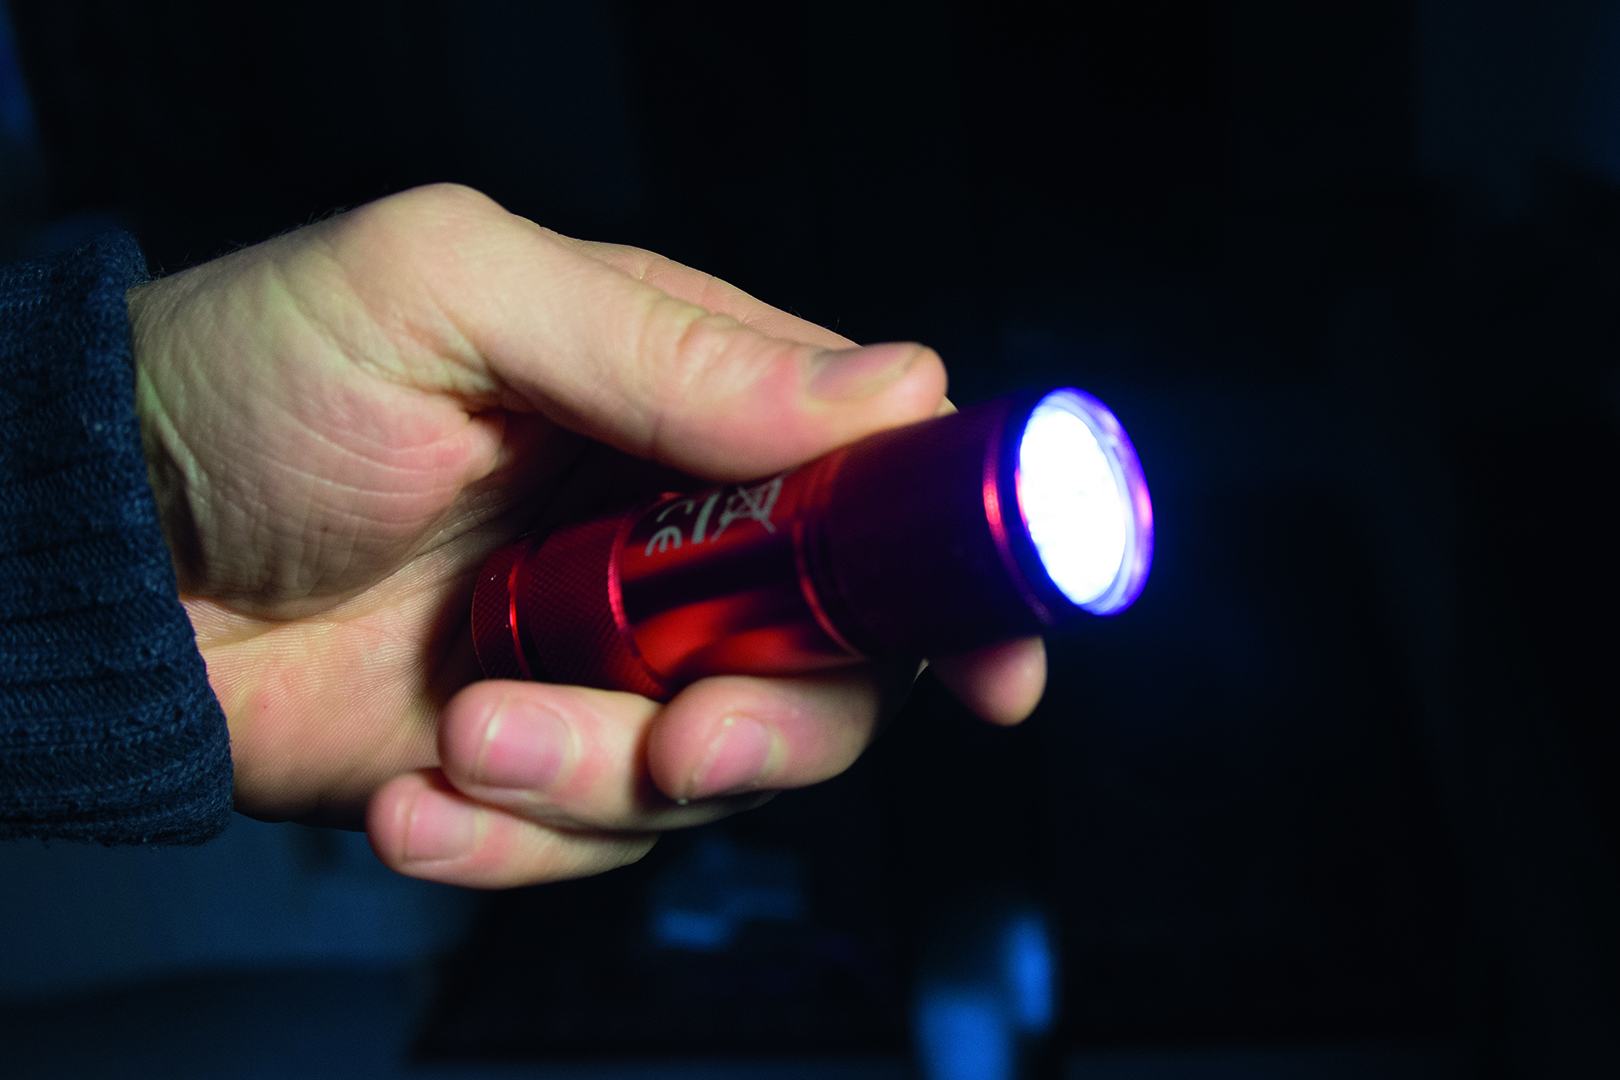
01 TORCHES
An LED torch is a good choice for light painting, as they’re usually fairly strong, and you can shine them through coloured materials. For smooth flowing lines, attach them to a rod or piece of string.
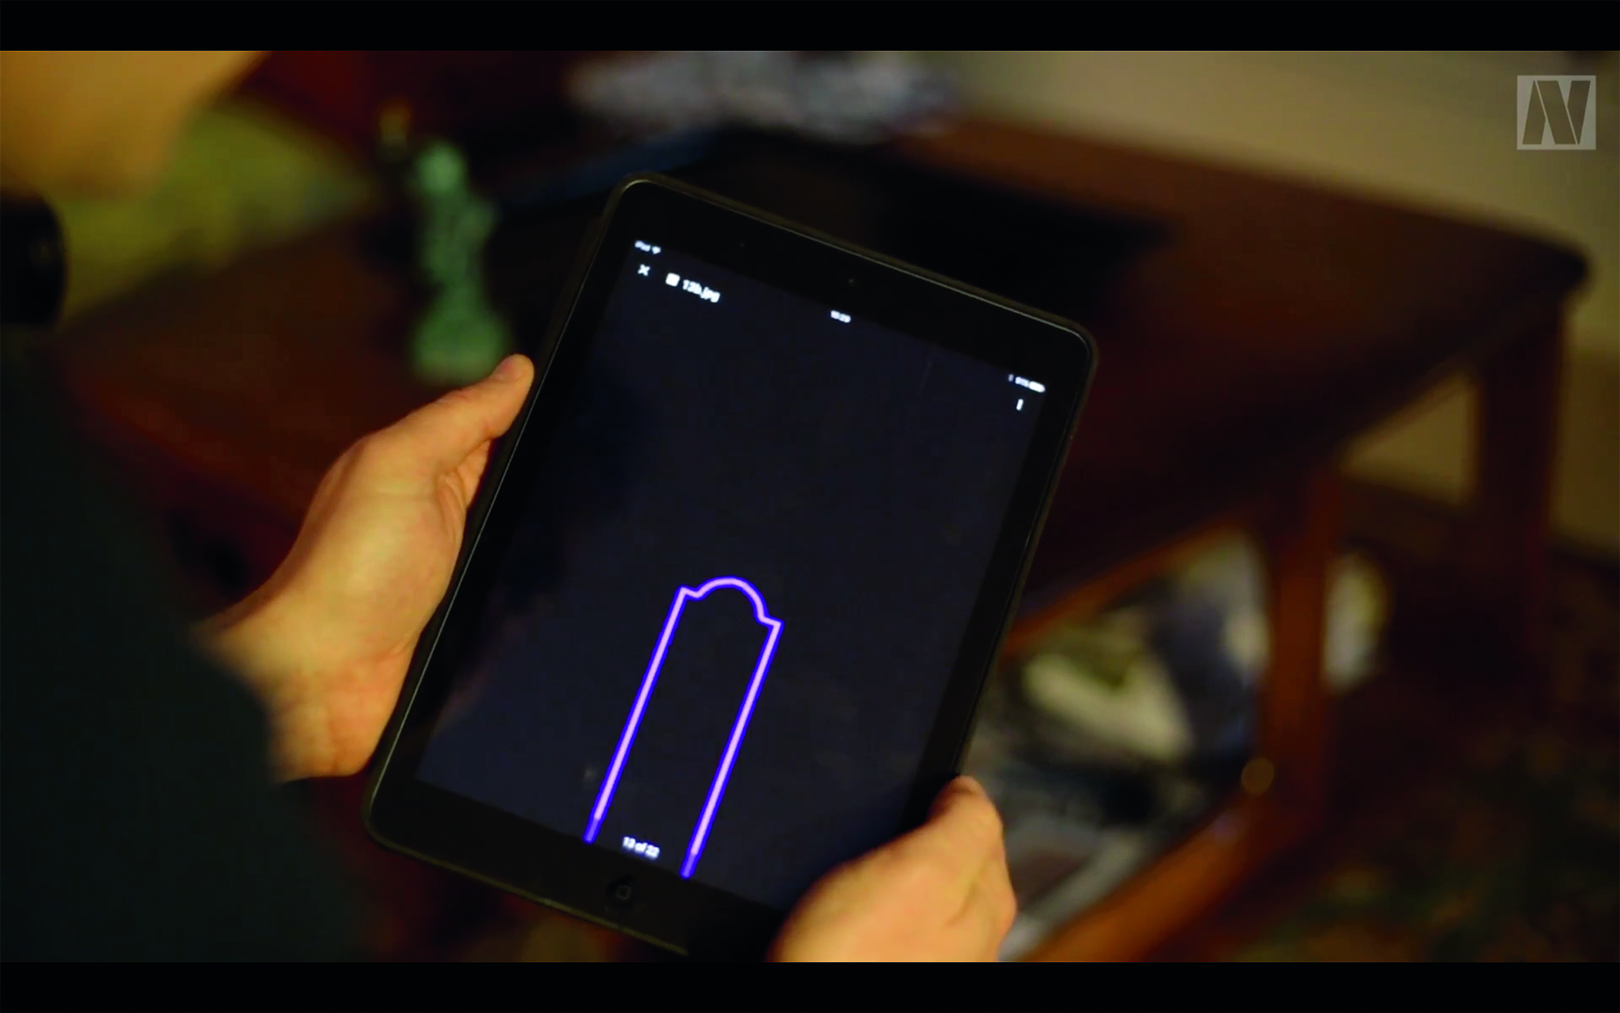
02 iPAD
Tablet and phone screens can emit plenty of light, so you could use on-screen images to create all manner of light painting effects (such as the New York skyline you’ll see over the page).
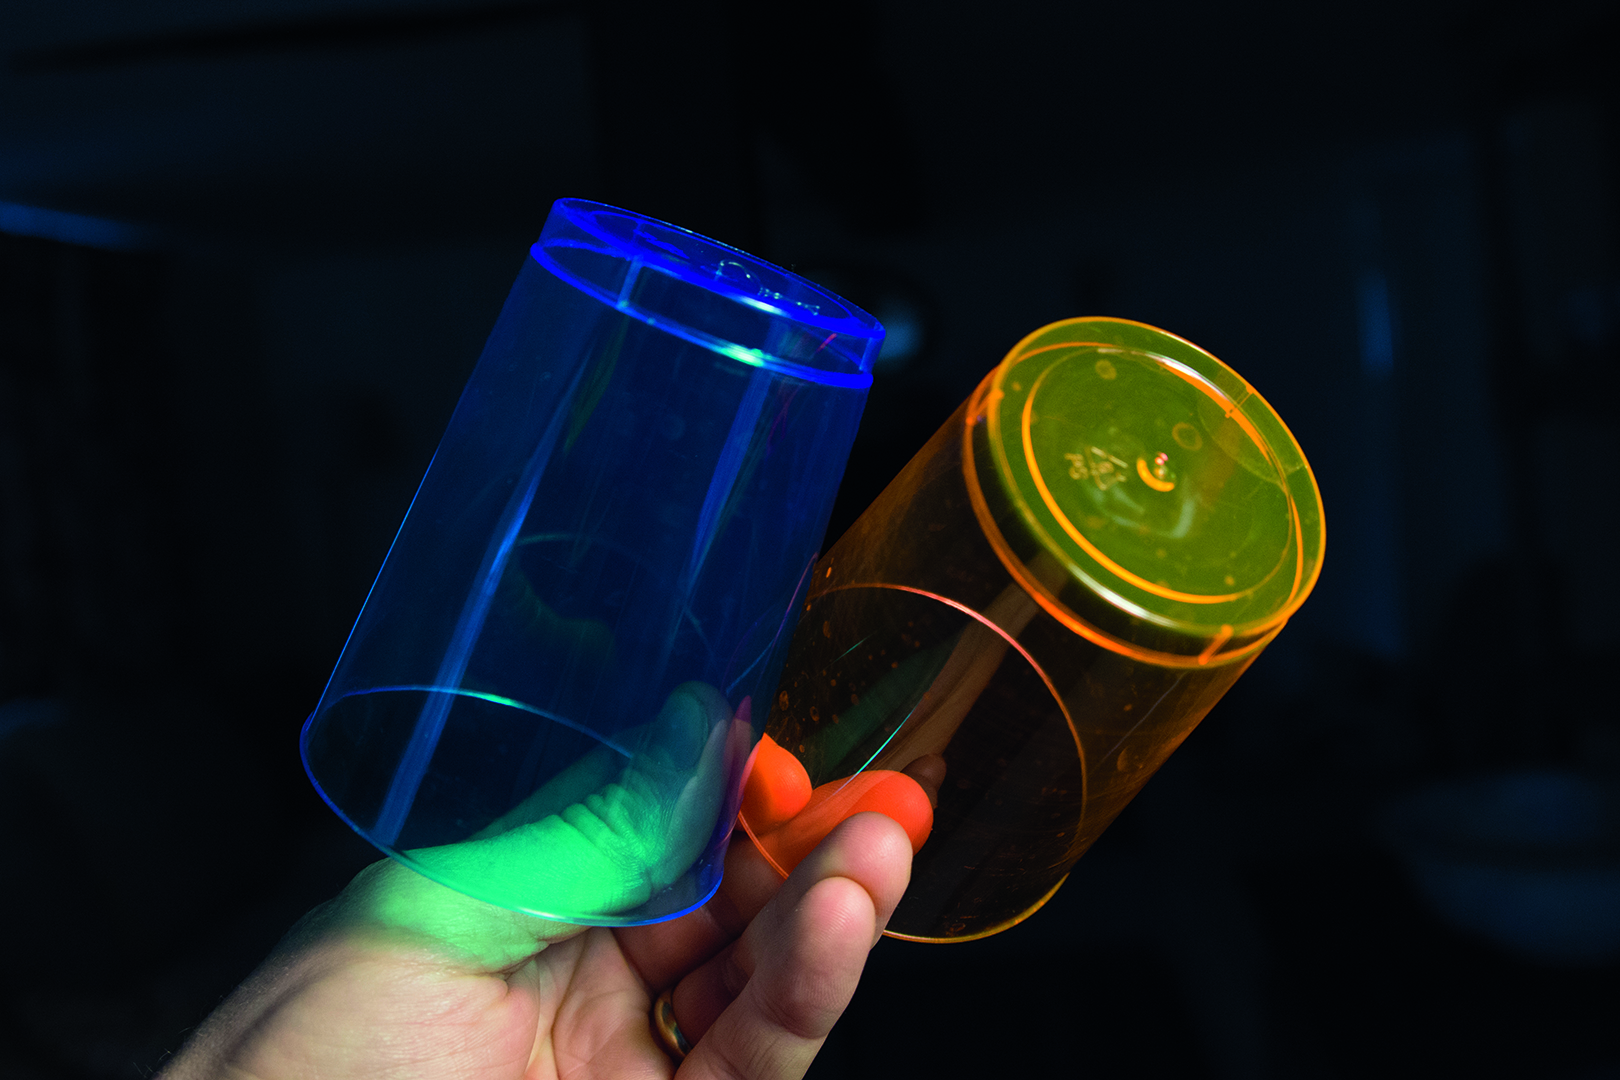
03 COLOURED CUPS
There are lots of specialist light-painting products out there, but you probably have items around the house that will work just as well. Taping a torch to a standard coloured cup worked for us.
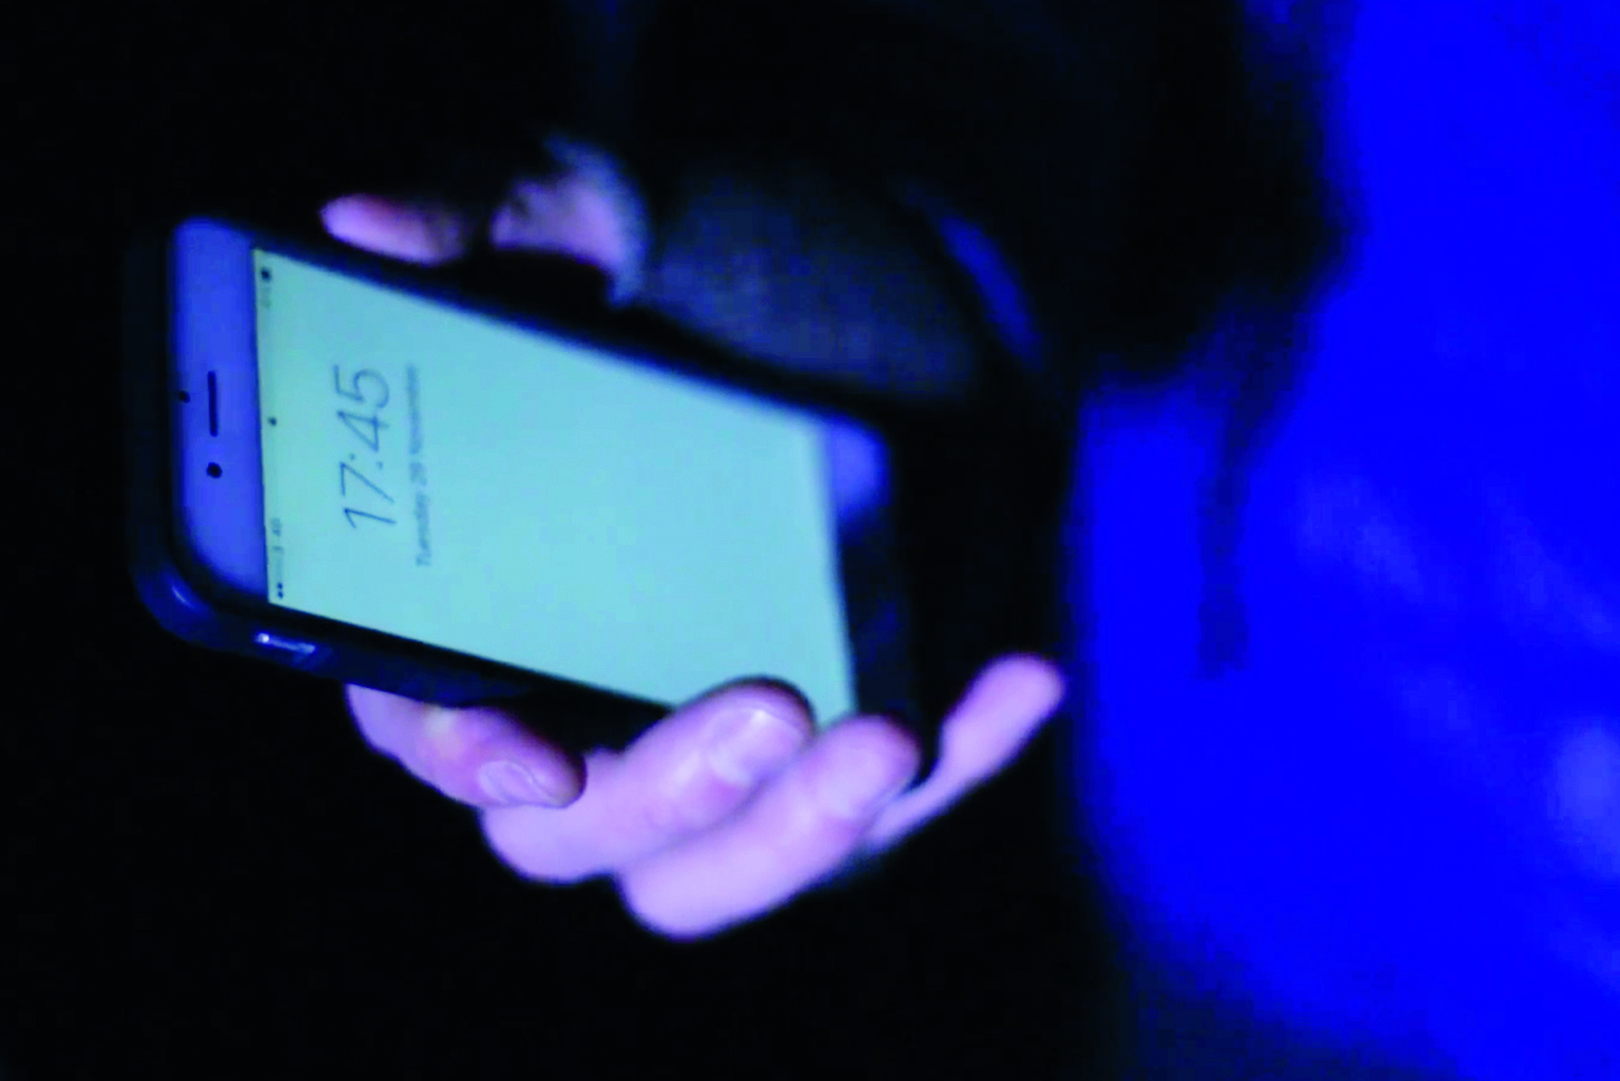
04 PHONE TORCH
Moving around in the dark, particularly near water, is tricky. A weak light such as your phone’s lock screen will help and shouldn’t show in the exposure if you shield the screen from the lens.
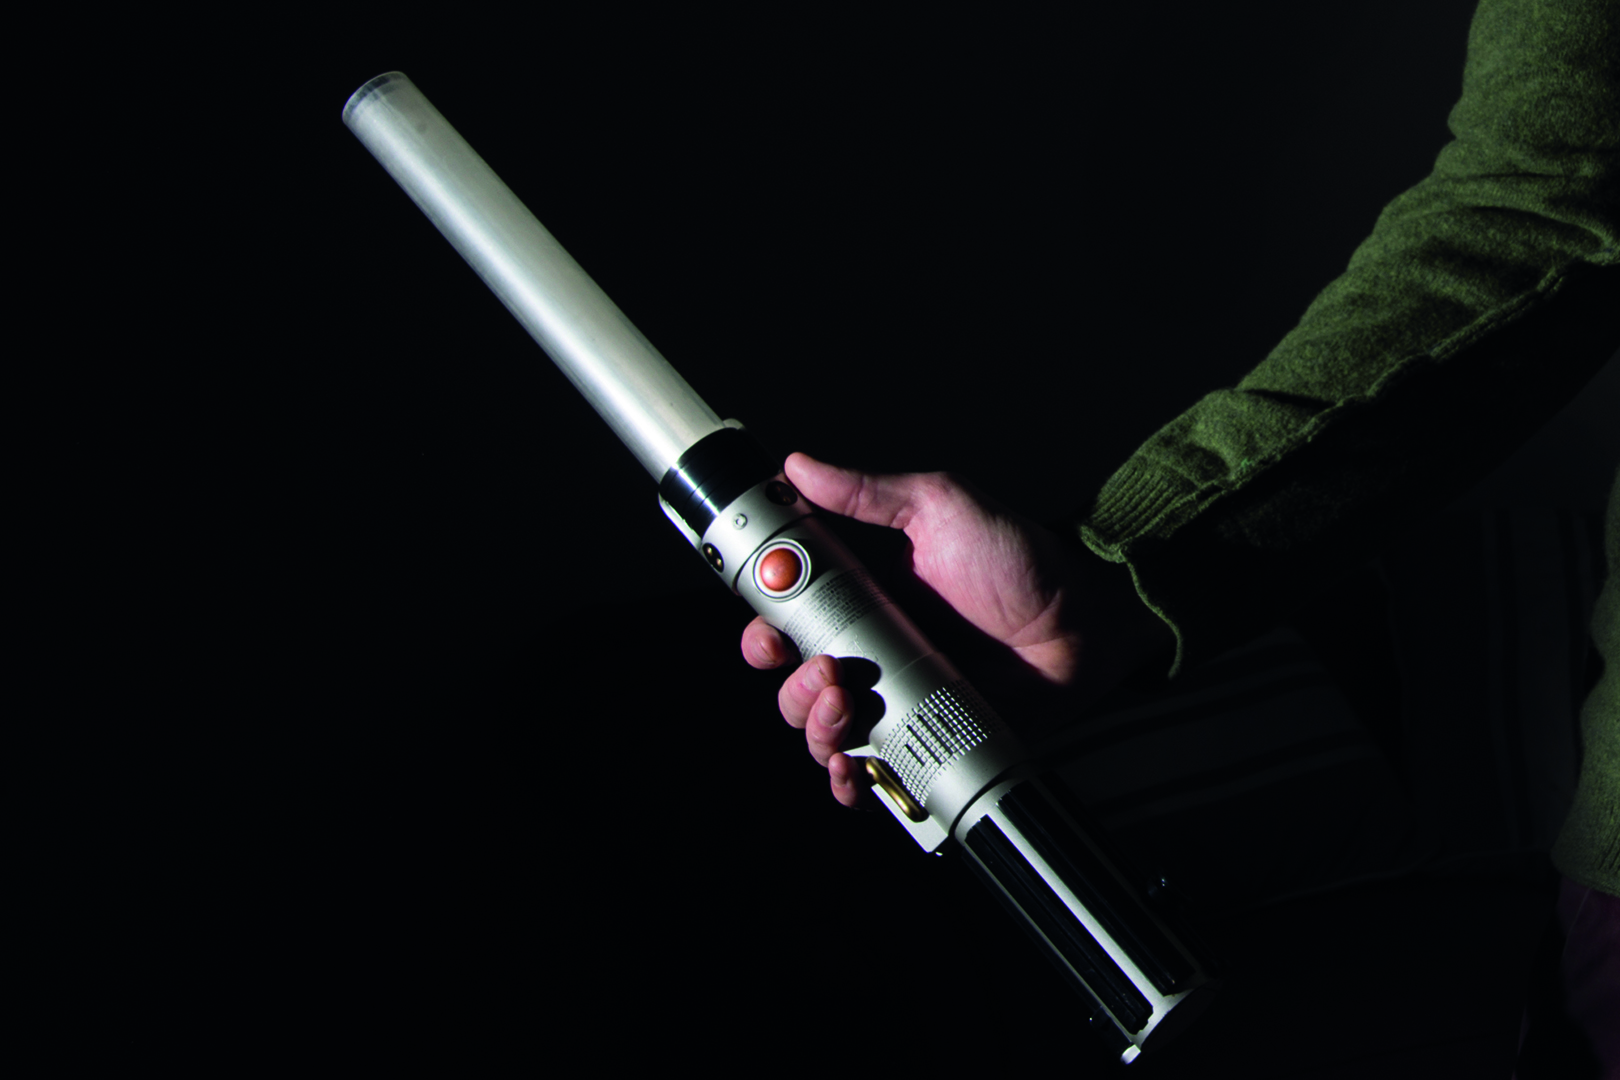
05 LIGHTSABRE
Kids’ toys, such as lightsabres or other light-emitting wands, are great for light painting. They also make it easier to create smooth, flowing shapes, as you can swing them in steady arcs.
SETUP 1: Symmetrical creatures
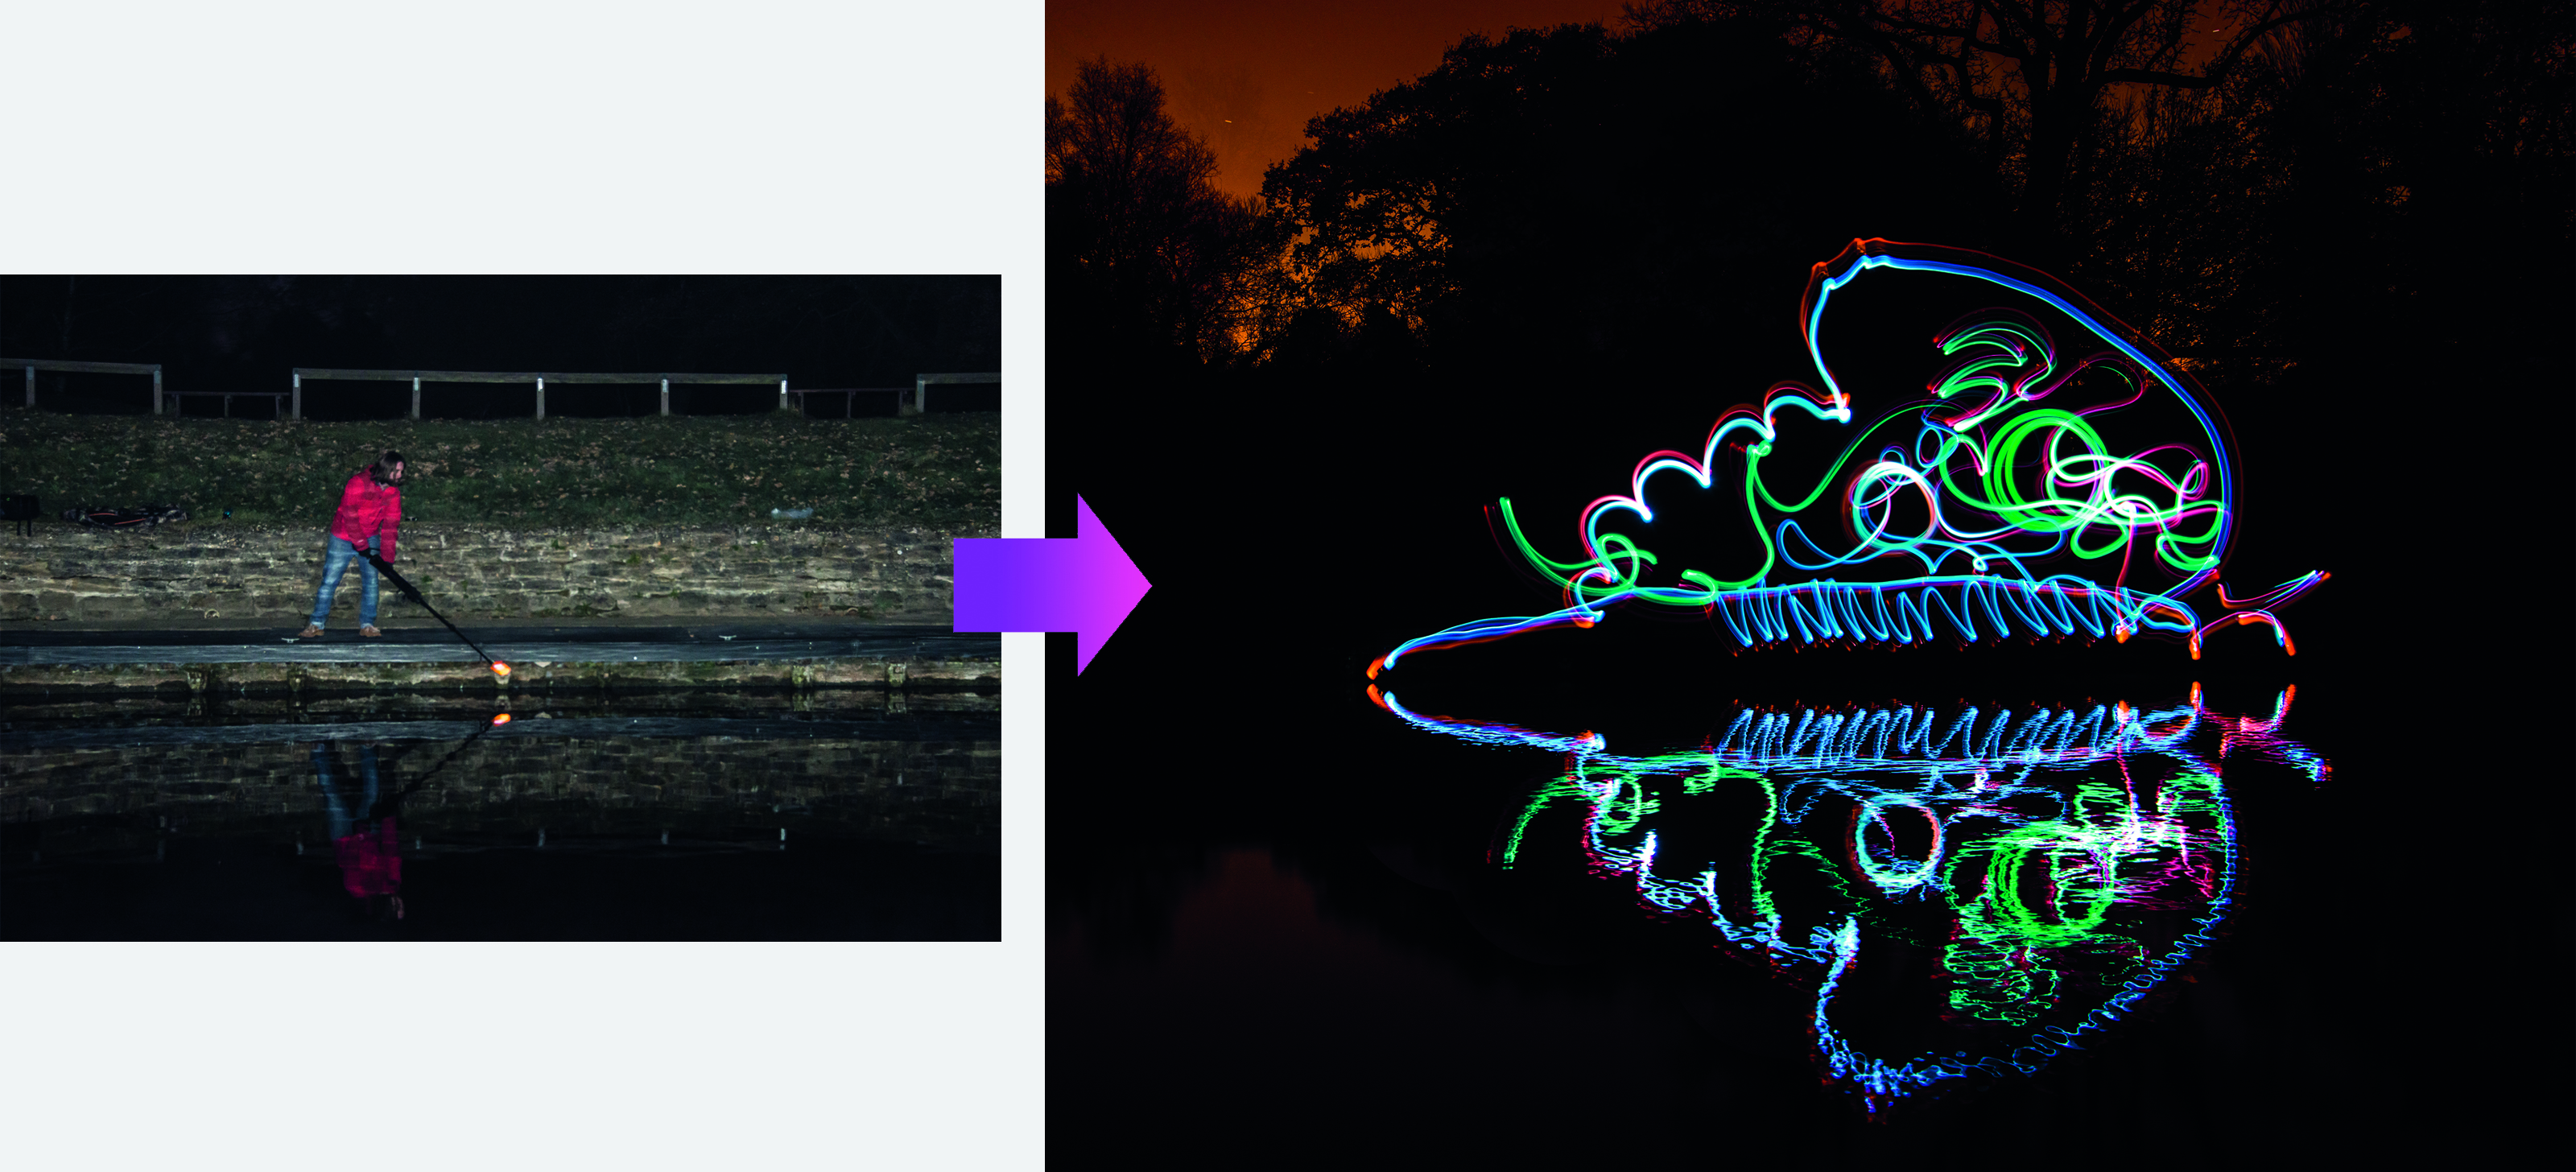
After positioning the camera across the water and locking open the shutter, we used a torch and coloured cups attached to a tripod leg to paint half a moth-like shape, starting at the surface of the water. The reflection did the rest. You need to keep a mental picture of the object as you paint with the torches. It’s a bit of a guessing game, but each time you try you learn something, and the next attempt is usually better.
Kit needed: Tripod, remote release, torch and coloured cups
Exposure: 97 secs, f/6.3, ISO100
SETUP 2: iPad cityscapes
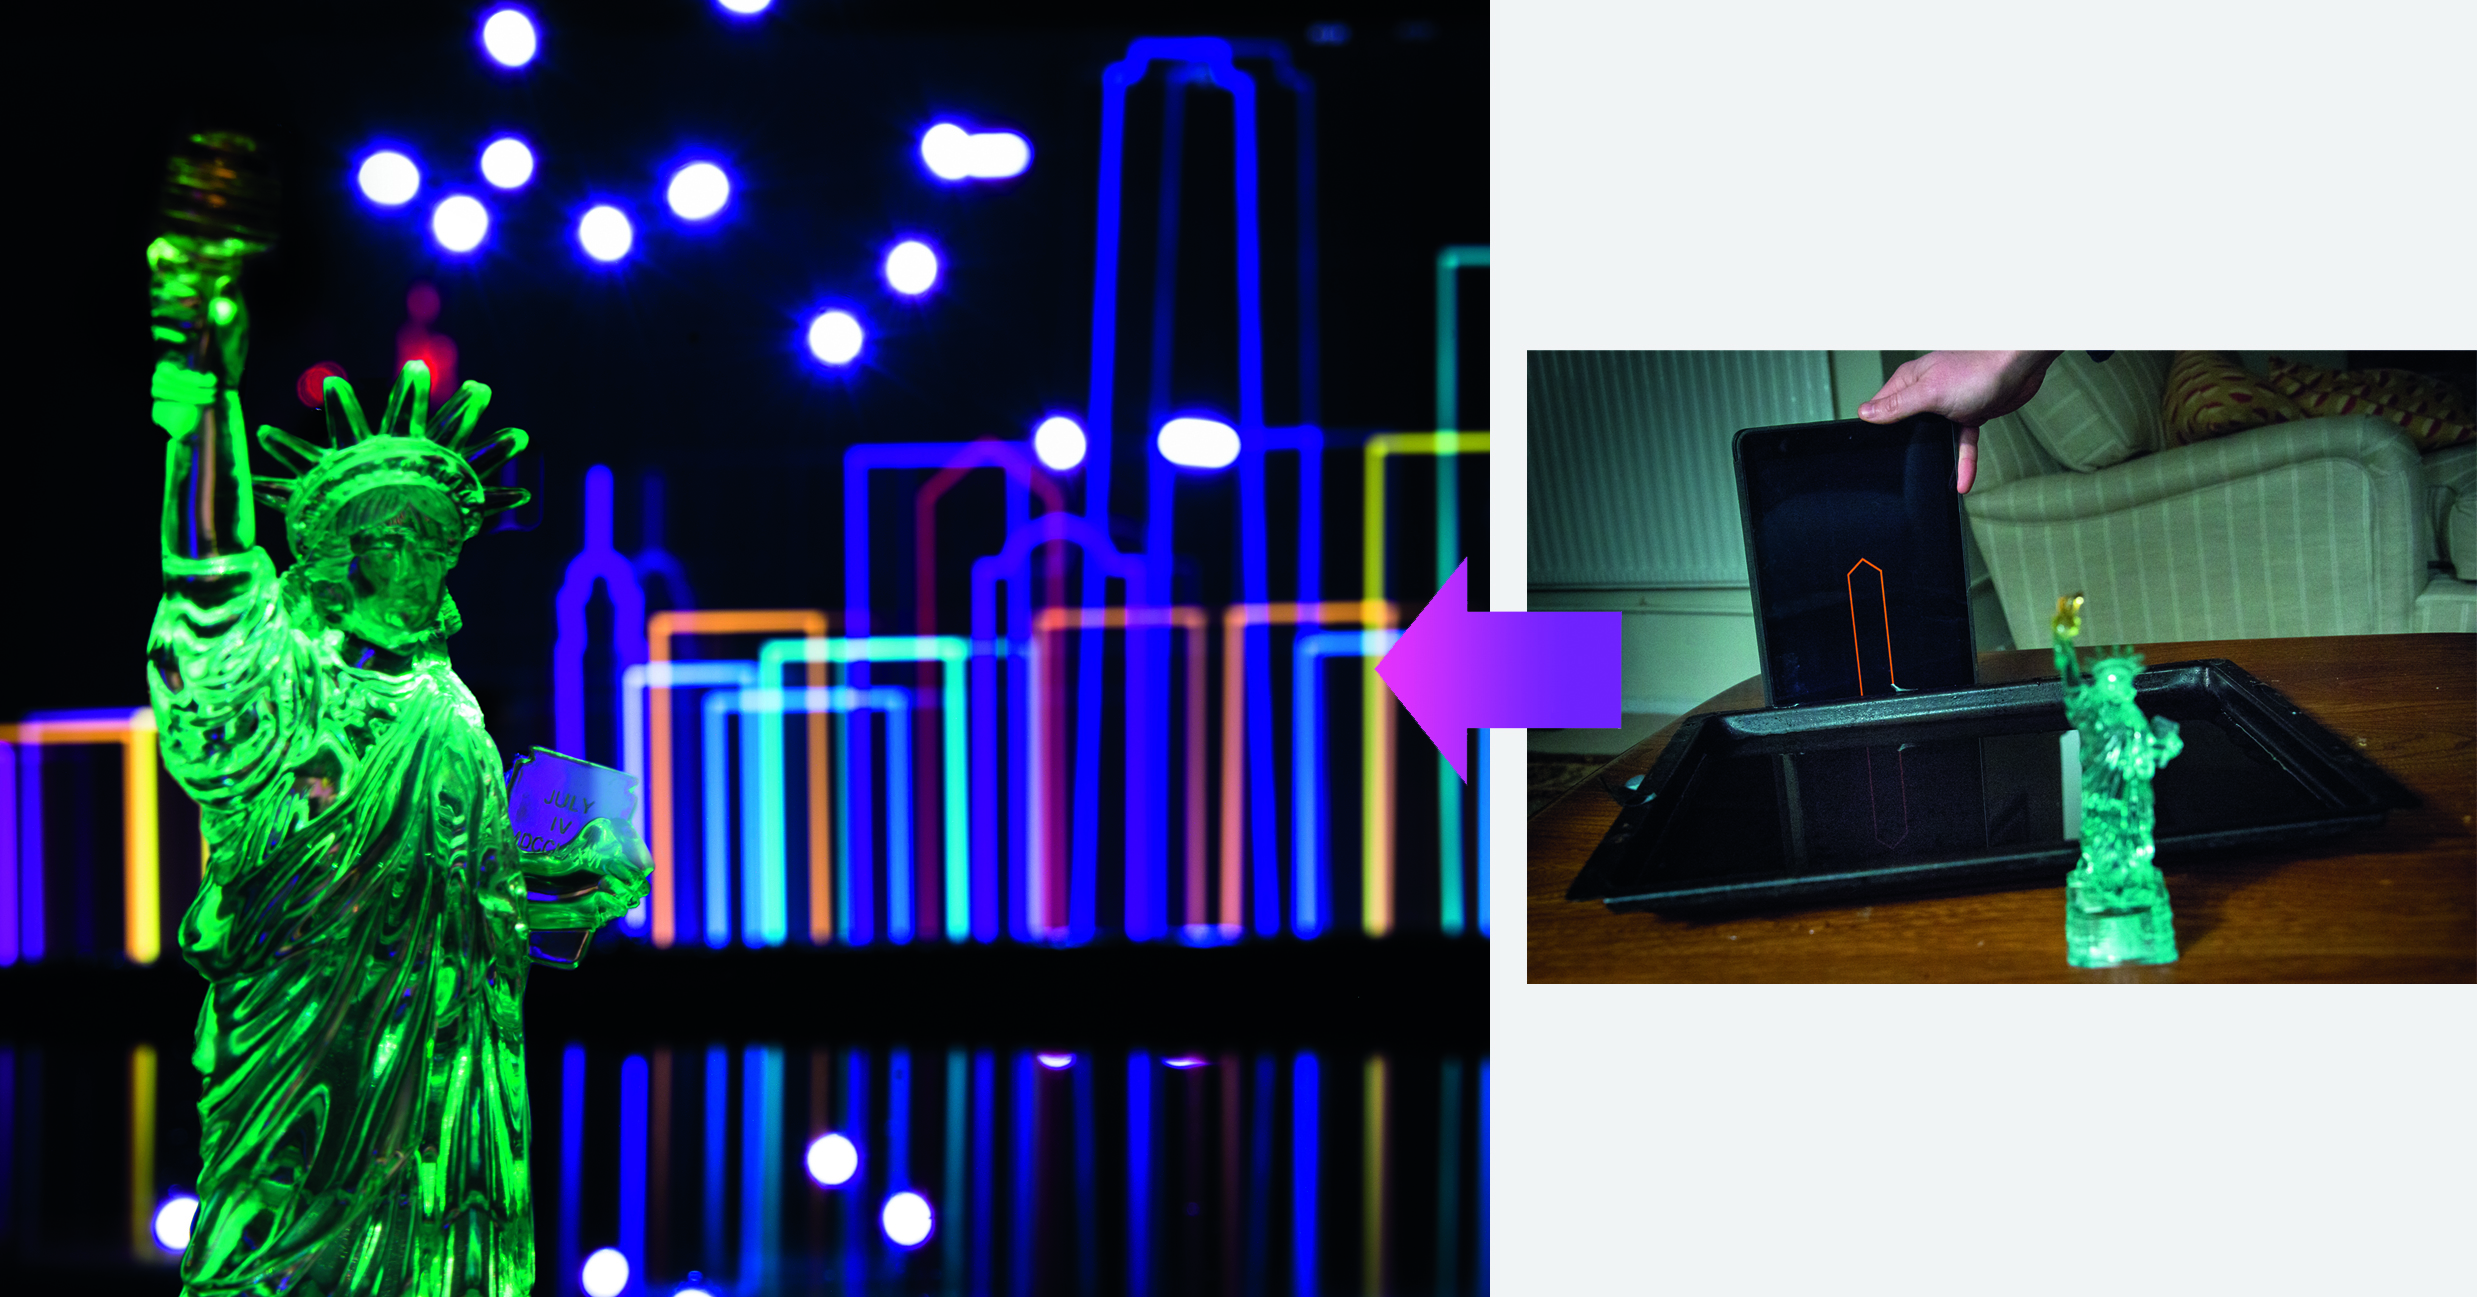
Whether painting outside at night or indoors in a dark room, you can get some amazing effects with a little time and effort. Here we placed a small Statue of Liberty figure in the foreground with a tray of water behind. Then we used an iPad screen to paint the buildings. We made a set of images of simple outlines for each individual building, then by scrolling through the images while shifting the iPad across the water, we could create the city, one building at a time. A few torch flashes in the background completed the effect of lights.
Kit needed: Tripod, remote release, tablet, torch, tray of water
Exposure: 131 secs, f/13, ISO100
SETUP 3: Sinister silhouettes
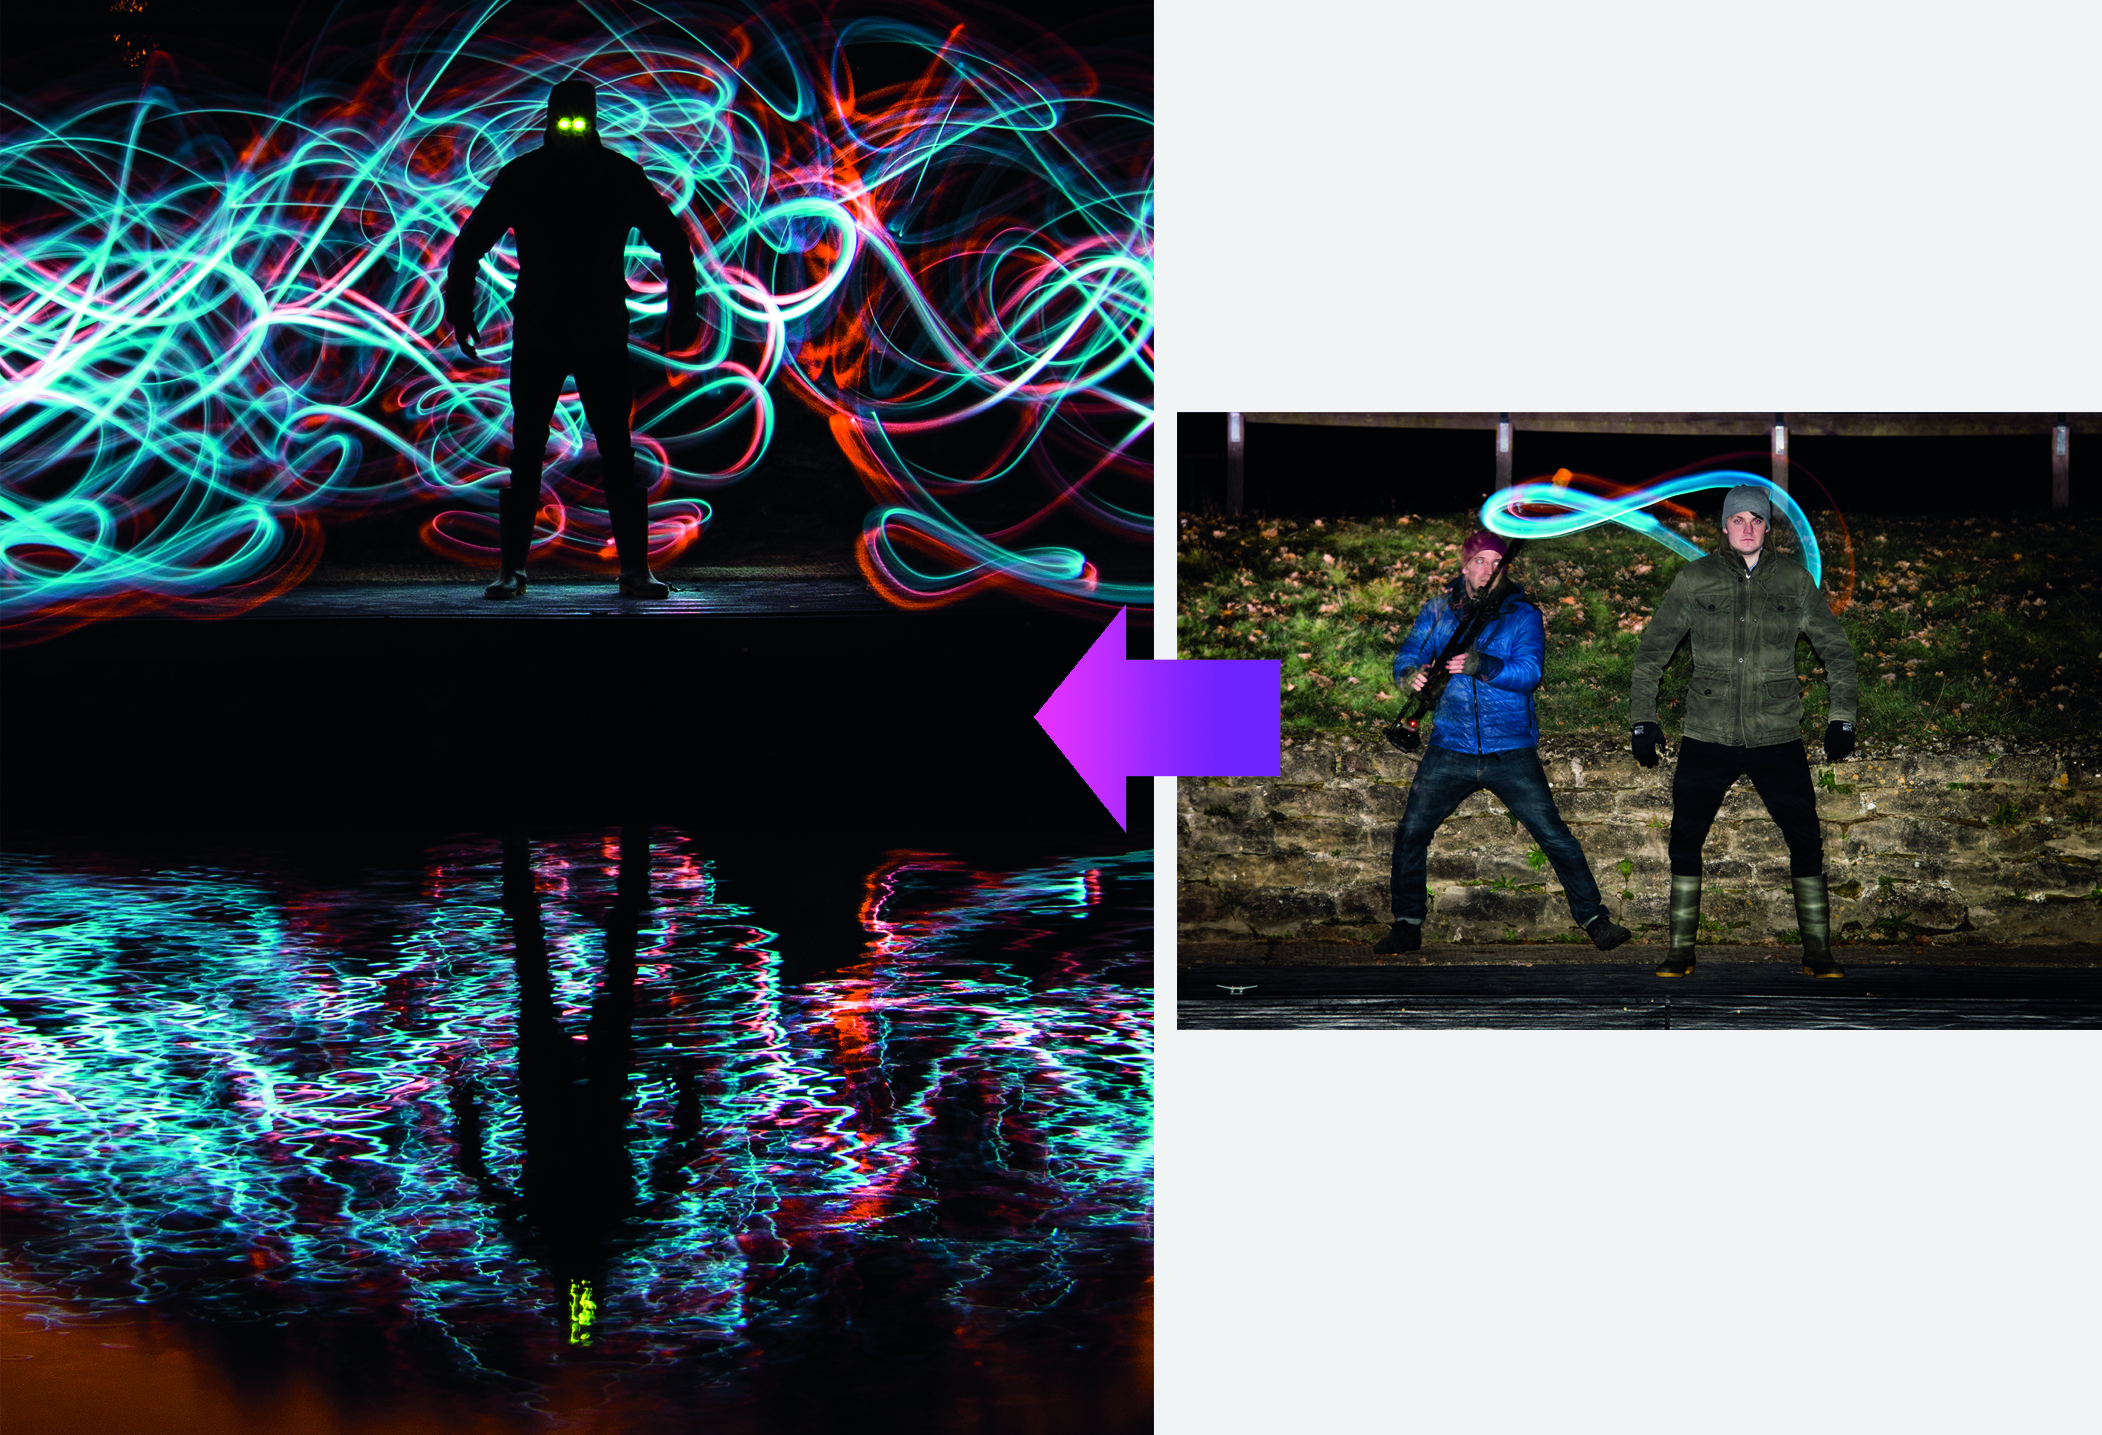
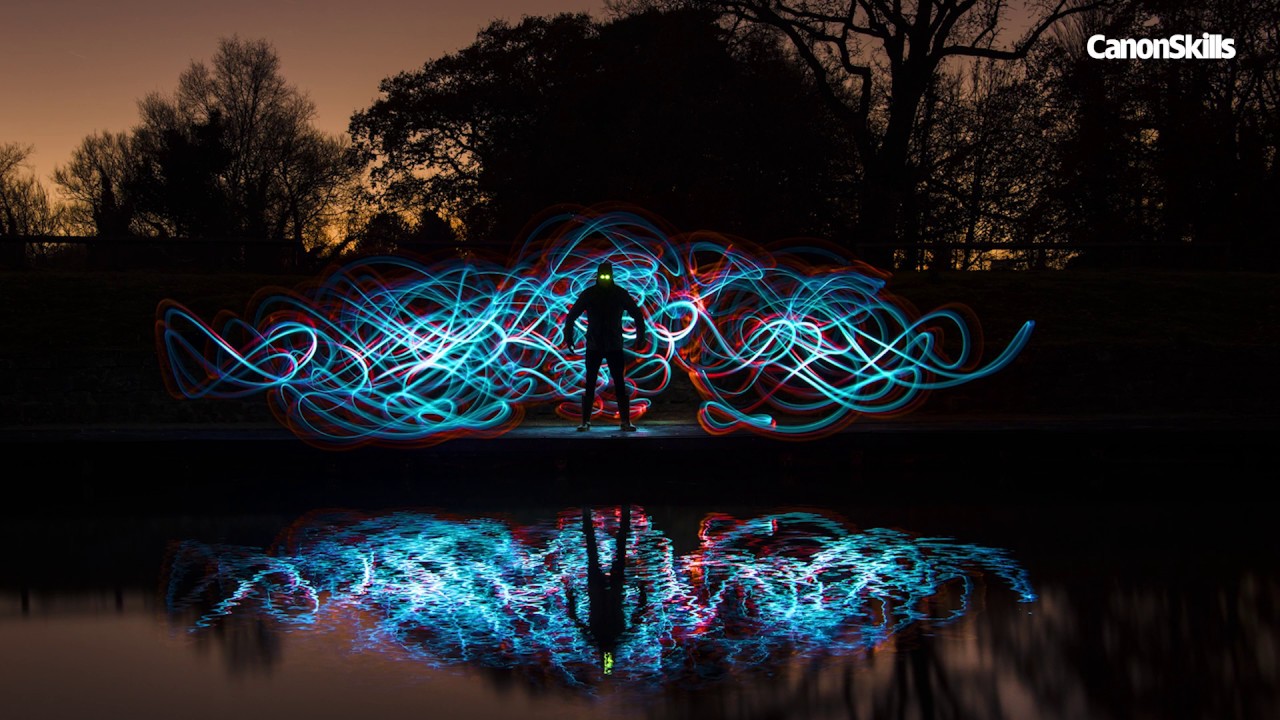
You can have lots of fun with light painting by creating silhouettes, like this sinister-looking figure. All you need to do is move the lights behind a person while they stand perfectly still. Here we took our time, swinging a set of double torches around behind the figure and making sure the entire area behind his body was painted. Once done, we used a green coloured cup in front of the face, flashed twice to create his glowing green eyes.
Kit needed: Tripod, remote release, torch and coloured cups
Exposure: 160 secs, f/6.3, ISO100
SETUP 4: Photoshop flip
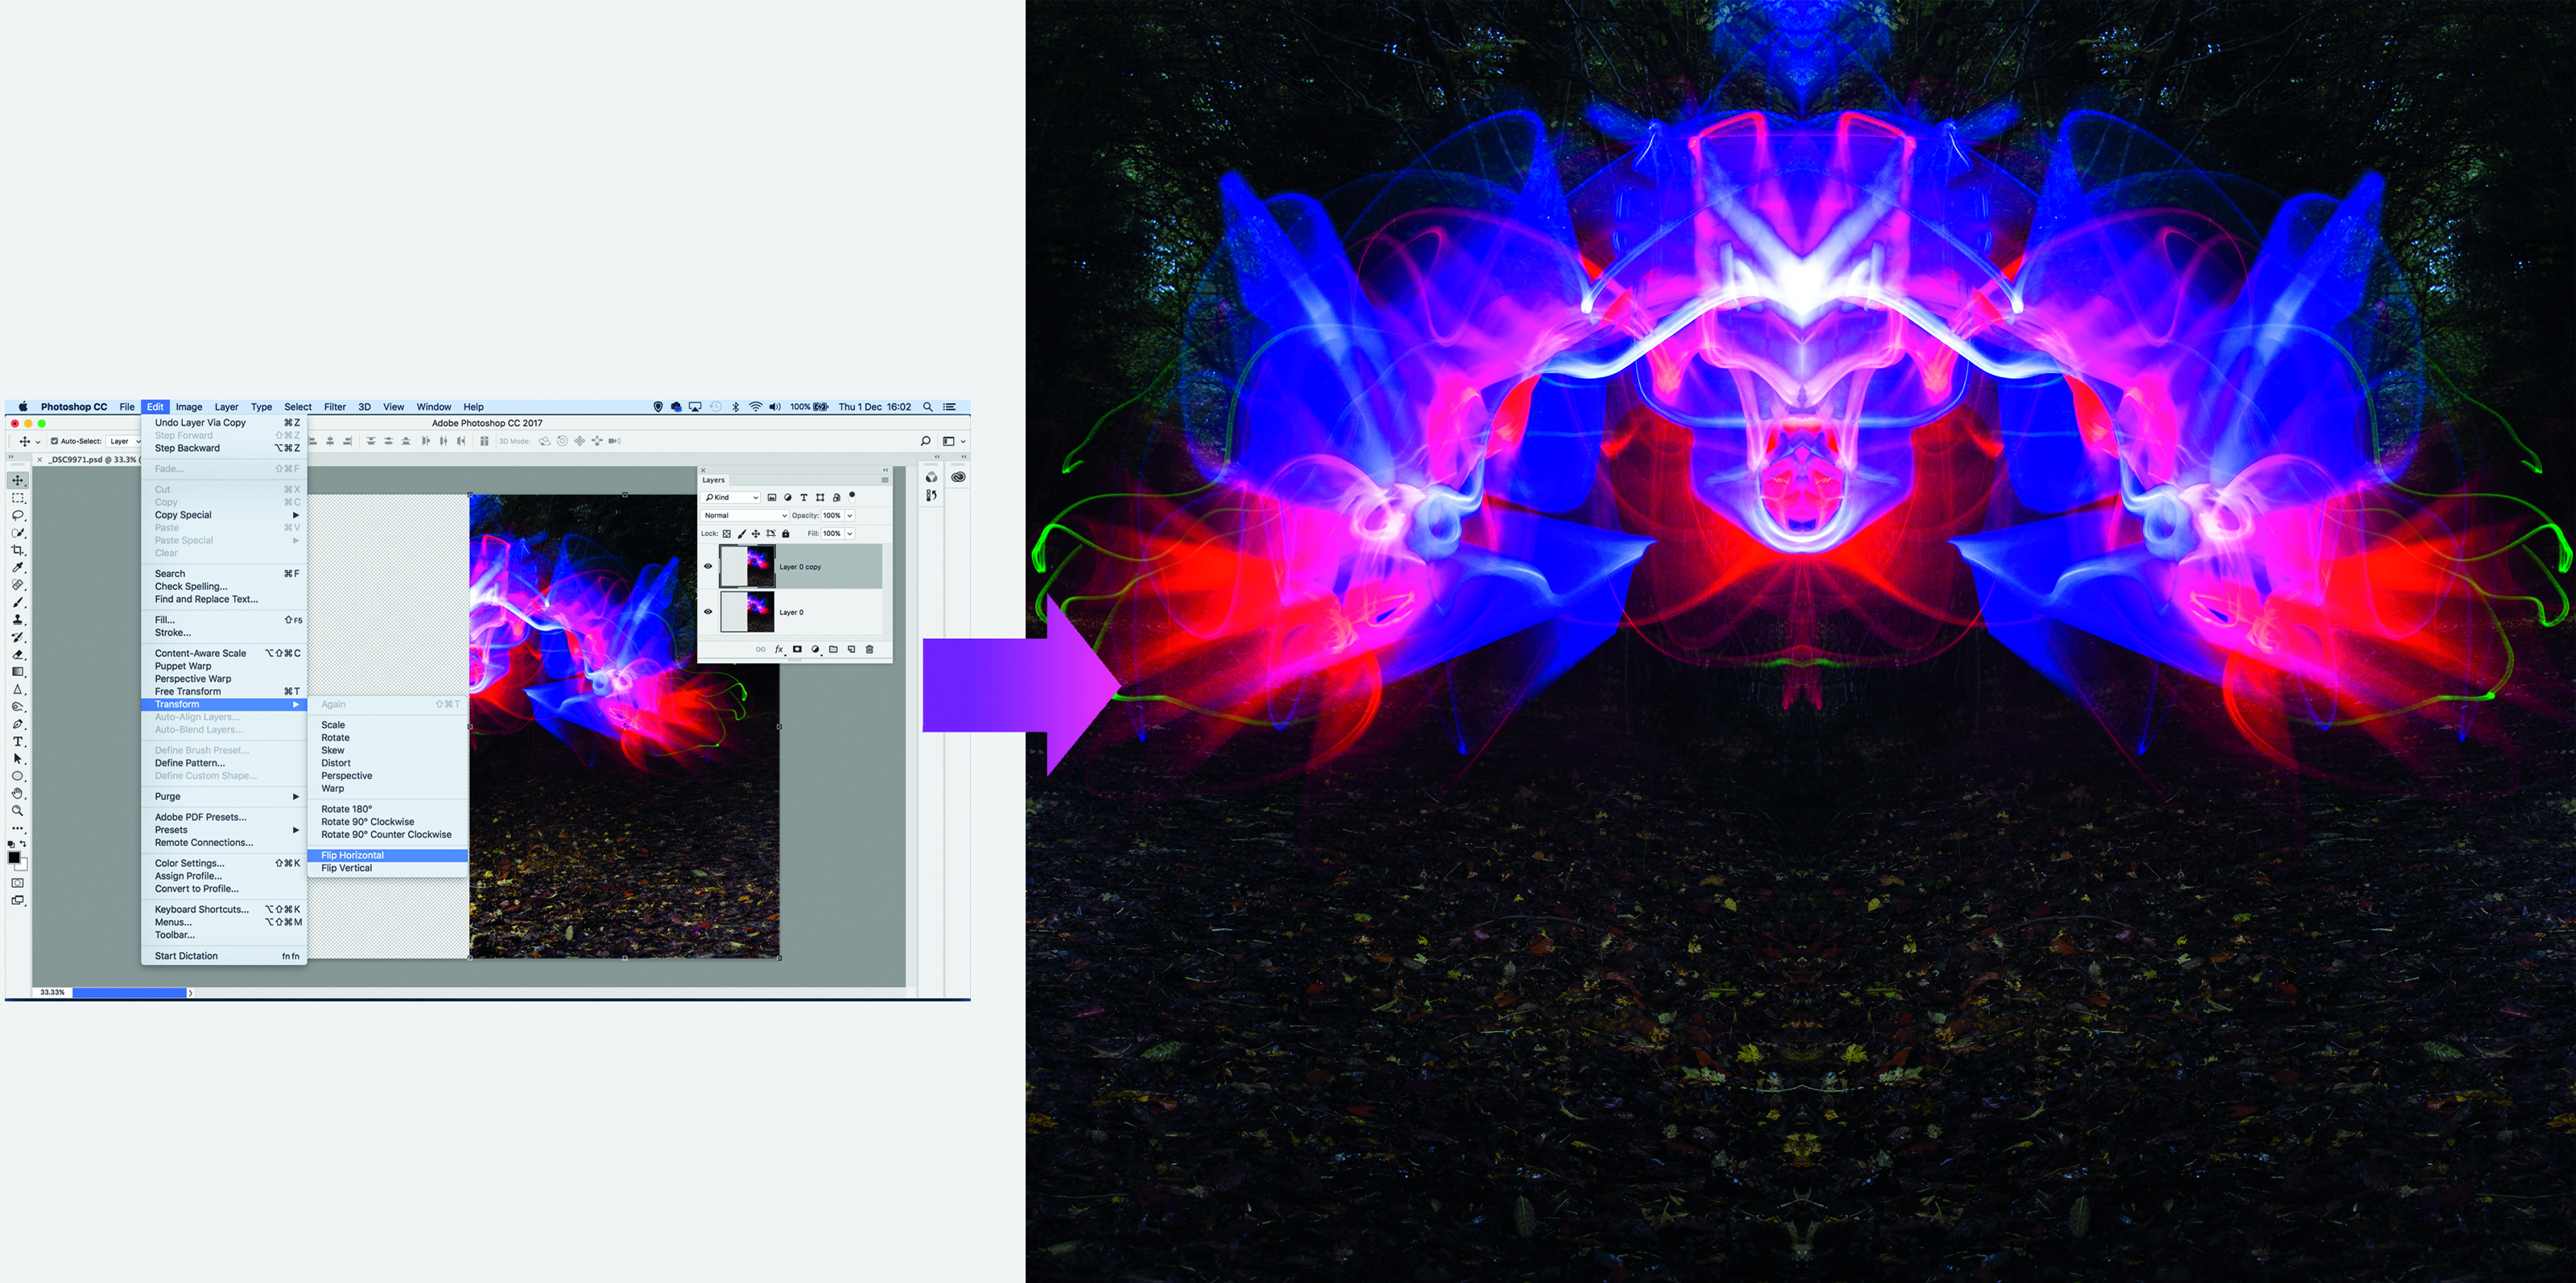
While this project is all about using reflections, sometimes there won’t be any to hand, so instead you could try image-flipping. Here we light painted with a toy lightsabre and once flipped, it looks almost like one of those ink-blot Rorschach tests psychologists use – we see a looming monster, but that’s just us. To flip an image in Photoshop CC or Elements, duplicate the background layer with Ctrl+J then grab the Crop tool and drag out to double the image width. Go to Edit>Transform>Flip Horizontal, then use the Move tool to drag the layer across to the other side.
Kit needed: Photoshop
Exposure: 76 secs, f/8, ISO100
The lead technique writer on Digital Camera Magazine, PhotoPlus: The Canon Magazine and N-Photo: The Nikon Magazine, James is a fantastic general practice photographer with an enviable array of skills across every genre of photography.
Whether it's flash photography techniques like stroboscopic portraits, astrophotography projects like photographing the Northern Lights, or turning sound into art by making paint dance on a set of speakers, James' tutorials and projects are as creative as they are enjoyable.
He's also a wizard at the dark arts of Photoshop, Lightroom and Affinity Photo, and is capable of some genuine black magic in the digital darkroom, making him one of the leading authorities on photo editing software and techniques.
