
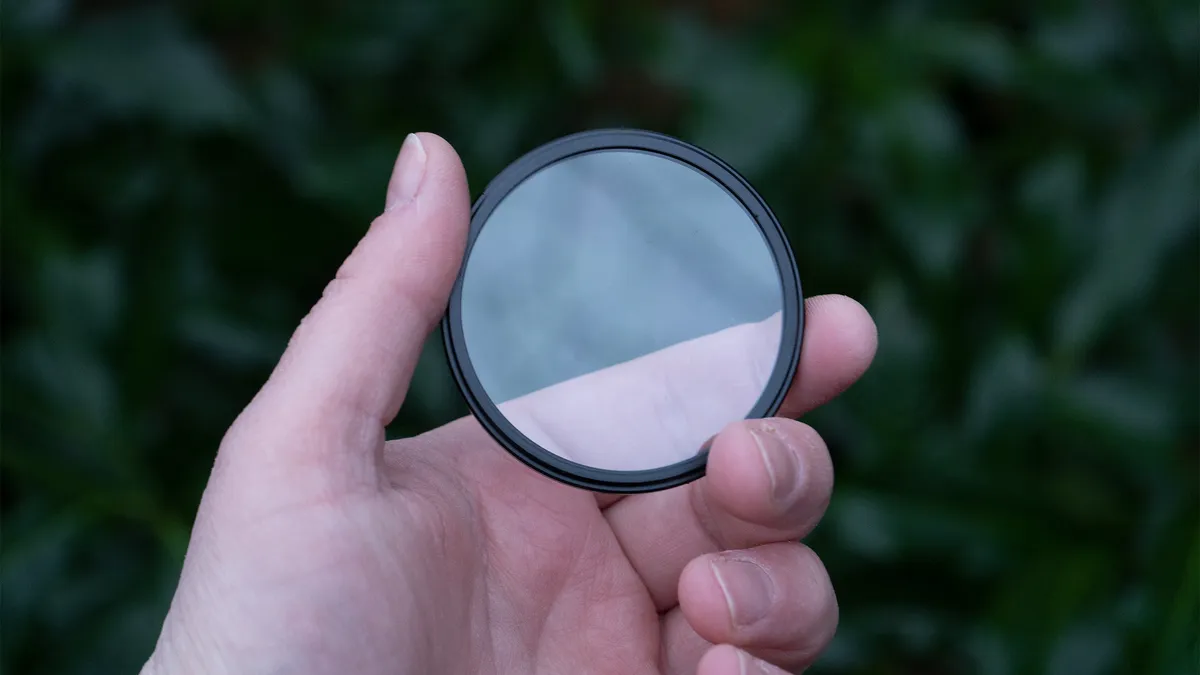
The best protection filters don't need to do anything at all except take the bangs, knocks, and scratches that might otherwise wreck a very expensive lens!
Simply put, they're one of the most affordable ways to give your lens an extra layer of protection from damage. Lenses are precious, fragile, and often expensive, and if something has to get cracked against the ground, wouldn't you rather it was a cheap filter than the front element of a pricey lens?
Protective filters can serve other purposes, too. Some are simply clear pieces of glass that have no other function, but you can also get a UV filter, which is designed to block out unwanted ultraviolet light to reduce the level of haze in an image. This is something of a holdover from the days of film, and is considerably less necessary when using digital sensors, but can still come in handy and certainly doesn't hurt.
Another alternative is a skylight filter; these also date back to the film era and were originally used to warm up images with a pink, orange, or magenta color cast, to prevent them from coming out too blue. They're much less important in the era of custom white balance presets and Raw photo editing, but skylight filters can now make great protective filters.
You could also consider using one of the best polarizing filters as a protective filter, though this will cost more than a clear or UV filter, and even when set to the lowest degree of polarization, will reduce the amount of light hitting your sensor.

Adam has been a keen advocate of protecting his lenses ever since a nasty incident with getting a little too close to the subject he was photographing on a macro shoot, so is just the fellow to help you choose the best protection filter for your precious glass.
The Quick List

A highly effective UV-blocking filter that has the added bonus of shatter-resistant glass to protect the front of your lens against knocks.
Read more below…

With a 10-year warranty, this filter combats ultraviolet light and reduces daylight color casts that can affect long-distance scenes.
Read more below…

The quality build of this filter uses an aluminum frame and Japanese optical glass, plus no fewer than 28 layers of protective coatings.
Read more below…

I was impressed by this clear filter’s ability to leave color and contrast untouched while offering durability and scratch protection.
Read more below…

Using magnets to attach to the front of your lens makes this UV filter easy to remove – but perhaps a little too easy, as it can become detached in your bag…
Read more below

One of the cheapest protection filters from a well-known brand. It doesn't have the prestige of its Japanese rivals, but it does an adequate job of protecting the front of your lens.
Read more below
Best protection filters
Why you can trust Digital Camera World Our expert reviewers spend hours testing and comparing products and services so you can choose the best for you. Find out how we test.
Best premium UV filter

While UV filters aren't as essential as they used to be with digital cameras, I found the Hoya HD Nano Mk II UV filter to be pretty impressive. It effectively blocks ultraviolet light, which can cause haze and color issues in bright sunlight, but its main purpose is to protect the front element of the lens it's attached to.
What stood out to me was the build quality. The filter uses super-strong optical glass with 32 layers of nano-structure coatings. This makes it great for protecting lenses without reducing image quality. I felt confident that it could withstand some wear and tear. The glass is specially formulated and heat-treated, making it four times stronger than regular glass. Even if it breaks, it's shatter-resistant. The nano-coatings also make it scratch-resistant and repel moisture and grease, which is a big plus.
The frame is made from durable, matte black aluminum to minimize reflections. It's also low-profile, which helps prevent vignetting. I found it easy to attach and remove, thanks to the knurled edge. The filter has a 98.8% transmittance for visible light, and the coatings make it easy to clean and resistant to stains. Overall, I think it performed superbly. Yes, it's a bit pricey for a UV filter, but I think its quality and features make it a worthwhile investment, especially if you're looking to protect your most expensive lenses.
See our full Hoya HD nano Mk II UV review
Best budget UV filter
For a budget-friendly option, I was pretty impressed with the Tiffen UV Protector filter. It does a good job of cutting down that bluish tint you sometimes get from UV light, without messing with the colors or contrast in photos, thanks to Tiffen's ColorCore tech, and I didn't notice any drop in image quality; my pictures stayed sharp, and the autofocus worked perfectly.
Build quality feels solid, and I like that it comes with a 10-year warranty, which suggests it's built to last. Plus, it works well with other filters. It even kept water droplets off my lens. However, I did notice some lens flare when shooting towards bright lights because it doesn't have a coating. A lens hood would probably fix that.
The Tiffen UV Protector filter is a great deal if you're looking for an affordable way to protect your lens and improve your photos. There are fancier options out there, but this one gives you a lot of bang for your buck.
See our full Tiffen UV Protector review
Best mid-price UV filter

The first thing I noticed was how well-built the K&F Concept Nano-X Series MCUV filter feels. It uses Japanese AGC glass, which is known for its quality, and has multiple layers of coatings. This made me feel confident that my lens was well-protected against scratches, dust, and even the occasional bump. I was particularly impressed with the multi-layer coatings. They did a great job of reducing reflections and glare, which really helped improve the clarity and contrast of my photos, especially when shooting in bright sunlight. I didn't notice any color casts or loss of sharpness, which can be a concern with filters.
The filter also has a nano coating, which makes it water-repellent and easy to clean. I found this to be a real plus when shooting outdoors, as it kept water droplets and fingerprints from messing up my shots. The slim design of the filter is another great feature. It didn't cause any vignetting, even when I used it with my wide-angle lens. Attaching and removing the filter was also a breeze, thanks to the well-made threads.
Overall, the K&F Concept Nano-X Series MCUV filter is a solid choice. It offers excellent protection for your lens, improves image quality, and is built to last. For the price, I think it's a great value and a worthwhile addition to any photographer's kit.
See our full K&F Concept Nano-X MCUV filter review
Best mid-price clear filter

The Tiffen Digital HT Ultra Clear filter really lives up to its promises of high performance and lens protection without interfering with image quality. I was impressed by the quality of the filter, starting with its Water White optical glass and Tiffen's ColorCore tech, which ensures precision. The titanium finish not only looks great but also makes it super durable. It's a bit heavier than Tiffen’s aluminum filters, but it still feels good in the hand and is easy to attach.
In my tests, the filter performed exceptionally well. Images stayed sharp and detailed, even when I zoomed in close. I couldn't see any difference in light, color, or contrast. The multi-coating did a fantastic job of protecting the lens from moisture, dust, and fingerprints. Plus, it’s scratch-resistant and easy to clean, which is a big plus. I didn't have any issues with focusing, whether I used autofocus or manual. I even paired it with Tiffen's Circular Polarizer filter, and it worked perfectly.
The titanium multi-coating is excellent, reflecting less than 1% of light and letting almost 99% through. Sure, it's not the cheapest filter out there, but considering the quality of materials, the advanced light transmission tech, and the 10-year warranty, it's a solid investment. If it fits your budget, I highly recommend the Tiffen Digital HT Ultra Clear filter. It's great for both pros and amateurs who want top-notch protection and image quality.
See our full Tiffen Digital HT Ultra Clear review
Best easy-fit UV filter

I found the Kenko Pro1D+ UV filter to be a mixed bag. I appreciated its ease of use and reasonable price, especially with the anti-reflection coatings and water-repellent surface, which were handy for outdoor shoots. The magnetic design allowed for quick filter changes, and it didn't rattle like some others. Image quality-wise, I didn't notice any negative impact. Sharpness and color balance remained excellent, and there were no unwanted flares or aberrations.
However, I was a bit frustrated when it occasionally slipped off the lens inside my kitbag, which kind of defeats the purpose of protection during storage. The water-repellent coating also didn't perform as well as I'd hoped, leaving some smears after I tested it with water droplets.
So while the Kenko Pro1D+ UV filter offers great optical performance, I found the magnetic design a bit unreliable compared to screw-in filters, especially concerning its tendency to detach in my bag. If you're planning on using multiple Pro1D+ filters and frequently swapping them, this could be a good option. However, if you're primarily after reliable UV protection, there are more secure choices available.
See our full Kenko Pro1D+ UV review
Best for a bargain

The Kenko Air II UV is a filter that embodies simplicity and functionality, and offers an inexpensive yet pretty solid option for lens protection. While UV filters aren't always necessary with digital cameras, they still play a useful role, especially for shielding your lens from scratches and dust. It doesn’t come with an array of fancy features, and while I would have been thrilled to see it equipped with anti-reflective and water-repellent coatings, given its incredibly affordable price point, I can’t really hold this against it.
Despite its 'Air' moniker, it's not a particularly lightweight or slim filter, with a 6mm thickness. This could cause vignetting issues on wide-angle lenses, particularly if stacking with other filters. But when you purchase the Kenko Air II, you’re getting exceptional value for your money. It offers substantial protection for your costly lenses without requiring a significant investment. This makes it an excellent choice for those who want to safeguard their equipment without breaking the bank.
If the presence of anti-reflective and water-repellent coatings is a deal-breaker for you, then you might want to consider investing a bit more in a premium UV filter. However, if you’re not particularly concerned about these coatings, or if you’re operating on a tight budget, then the Kenko Air II UV filter is an excellent option.
Read our full Kenko AIR II UV review
Honorable mentions


How to choose the best protection filter
What types of protection filter are there?
I have included three types of filters in this: clear filters, which ideally make no difference optically, but protect the lens’s front element; UV filters, which add the ability to block the transmission of ultraviolet light; and skylight filters, which do the same but with blue light.
How much protection does the filter give?
That depends on the filter. The minimum should be protective coatings to guard against scratches; some filters use strengthened glass that is able to withstand tough knocks without shattering.
How we test filters
When we test filters, we look at both optical performance and general build quality – how robust the filter feels, how easy it is to use and how securely it attaches to the lens. We use a combination of real-world and lens testing to inform our comments in reviews and buying guides. For filters, we test light transmission levels, colour neutrality (i.e. if the filter introduces a cool or warm cast) and the impact a filter has on image quality.
Find out more about how we test and review on Digital Camera World

