From insects to amphibians: how to get the best photographs of unusual wildlife species
Wildlife photographer Jack Perks shares his tips for photographing scaly subjects such as reptiles and fish, plus butterflies and frogs
The best camera deals, reviews, product advice, and unmissable photography news, direct to your inbox!
You are now subscribed
Your newsletter sign-up was successful
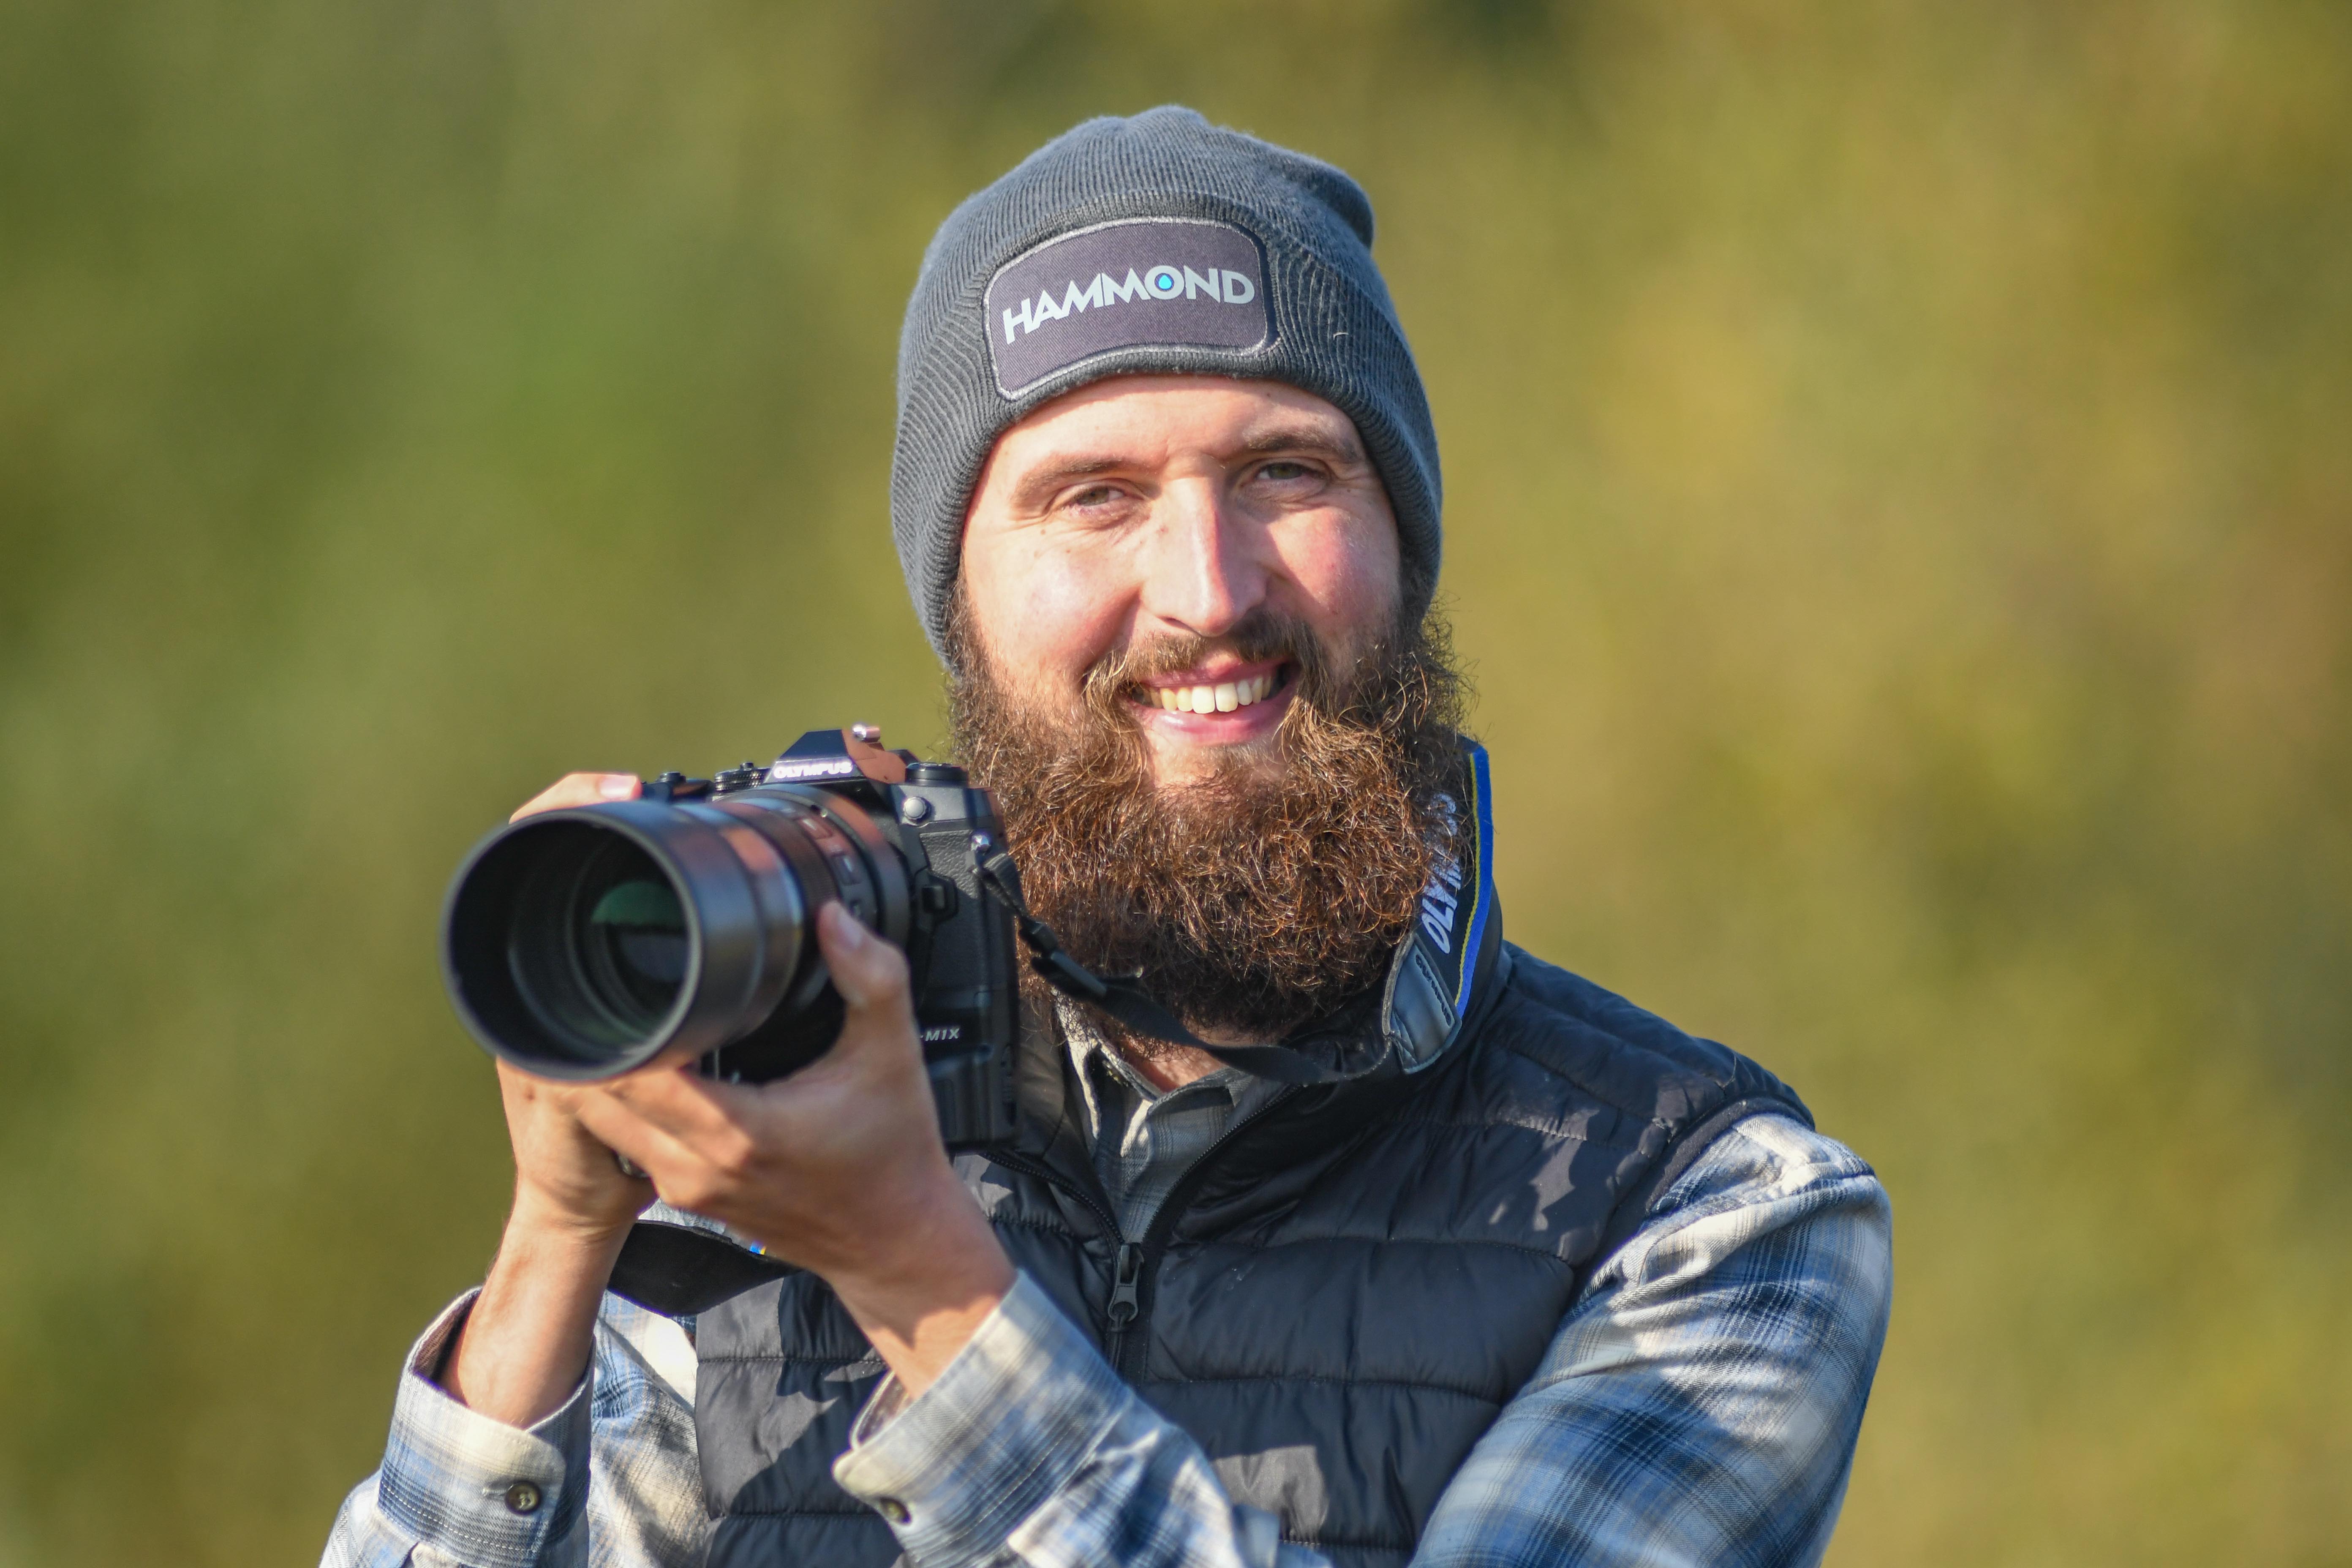
Jack Perks is a professional wildlife and underwater photographer based in the UK. He’s worked for charities such as Greenpeace, WWF and RSPB, and BBC television series such as Countryfile and Springwatch. Jack is a proud vice president of Salmon & Trout Conservation and works in partnership with Hammond Drysuits and Fotospeed.
Unconventional subjects have always fascinated me. As lovely as mammals and birds are, it’s the critters and creepy crawlies that catch my eye – with fish, reptiles and insects being the most significant and rewarding of my subjects.
Read more: best cameras for wildlife photography
These species might not be as frequently photographed as a fox or kingfisher but rival, and in my opinion, surpass, both in color, variety and shape, making them ideal subjects for wildlife photography. Capturing these qualities can make for really impressive photographs, especially when printed, but how do you go about capturing these creatures to produce rewarding prints?
Below are my 7 top tips to get the best shots of reptiles, amphibians and fish.
1. Don’t overlook the common species
It is easy to become distracted by rare and exotic creatures but there’s a skill in revealing the hidden lives and details of more mundane species. How many good images do you see of a slug or a fly? And yet we are bombarded with another photo of a diving kingfisher.
These more mundane and common species are all around us, generally encountered more often and easier to find – meaning you can spend more opportunities to shoot them, which is useful if you have limited time to shoot.

2. Work in your local area
It’s tempting to go further afield to find species and indeed sometimes it’s necessary for certain images. Living in Nottingham means that if I’d like to photograph coastal species I would have to travel.
The best camera deals, reviews, product advice, and unmissable photography news, direct to your inbox!
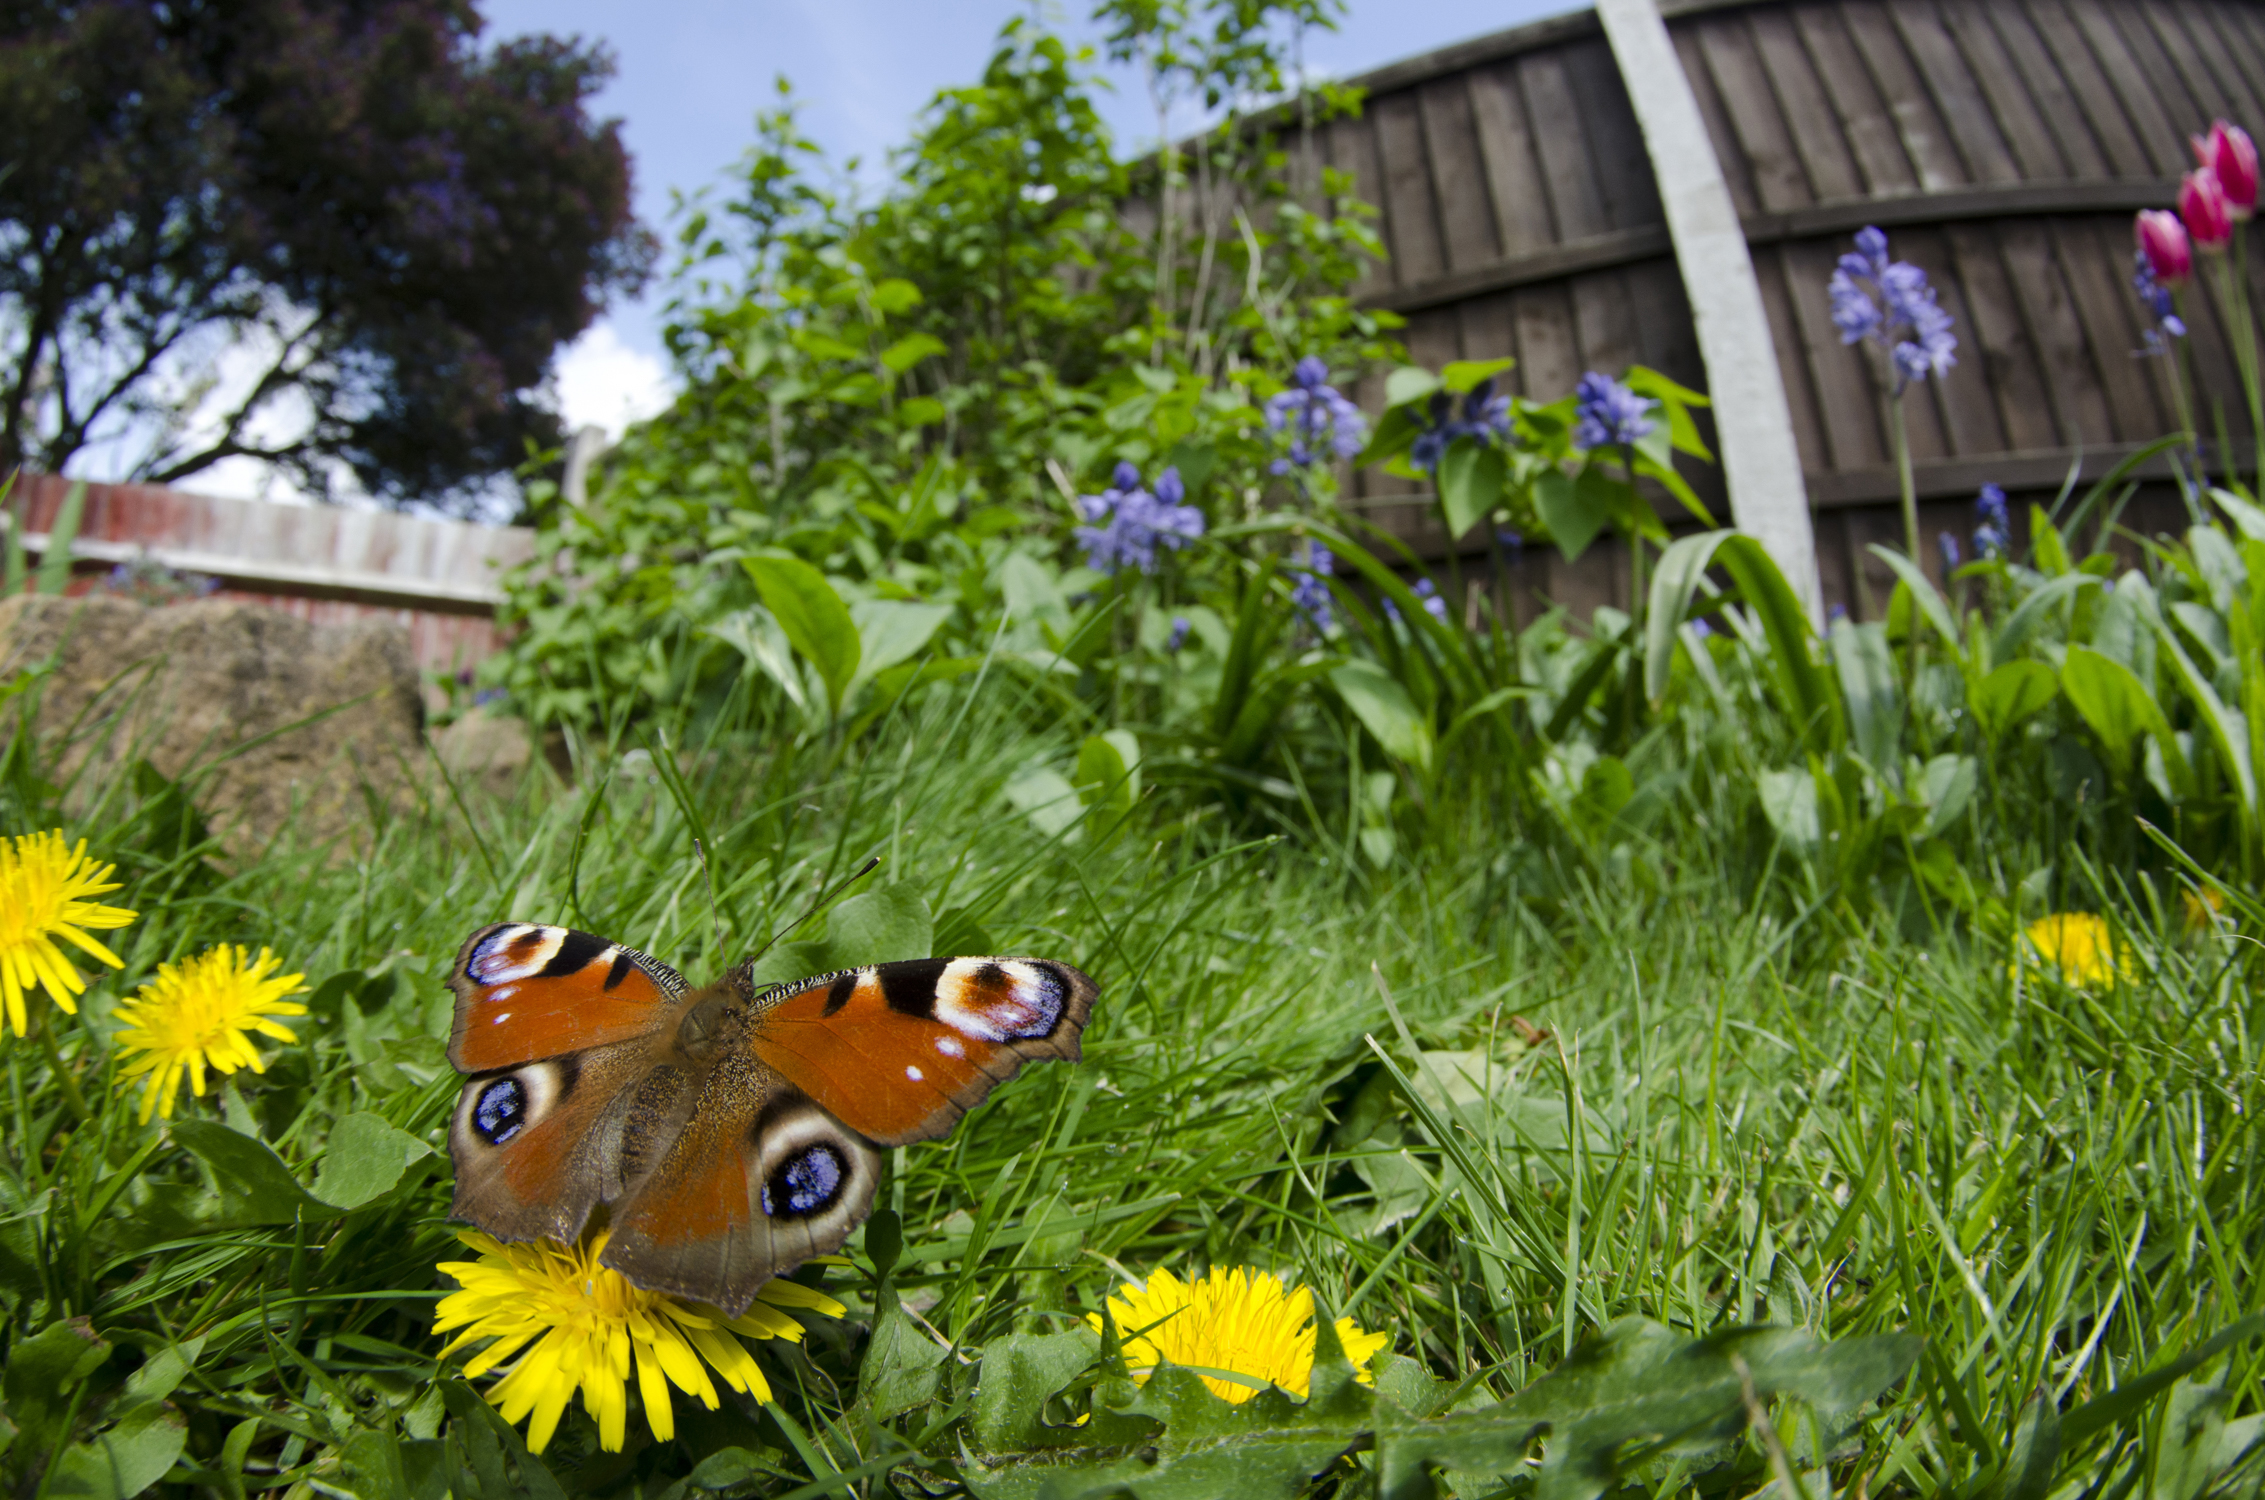
But there’s always plenty to be discovered on our own doorsteps, regardless of where you find yourself. Even if you live in an urban area, you are likely to come across many urban species that are fairly tame and familiar with the company of people. Regardless of whether it’s slow worms in the garden or butterflies in the local flower park.
Sometimes you don’t even need to leave the house with many bugs and spiders being tenants in our own homes. There’s also the added bonus that it’s a lot more eco-friendly to pop in the garden and take some images than driving far.
3. Get down low
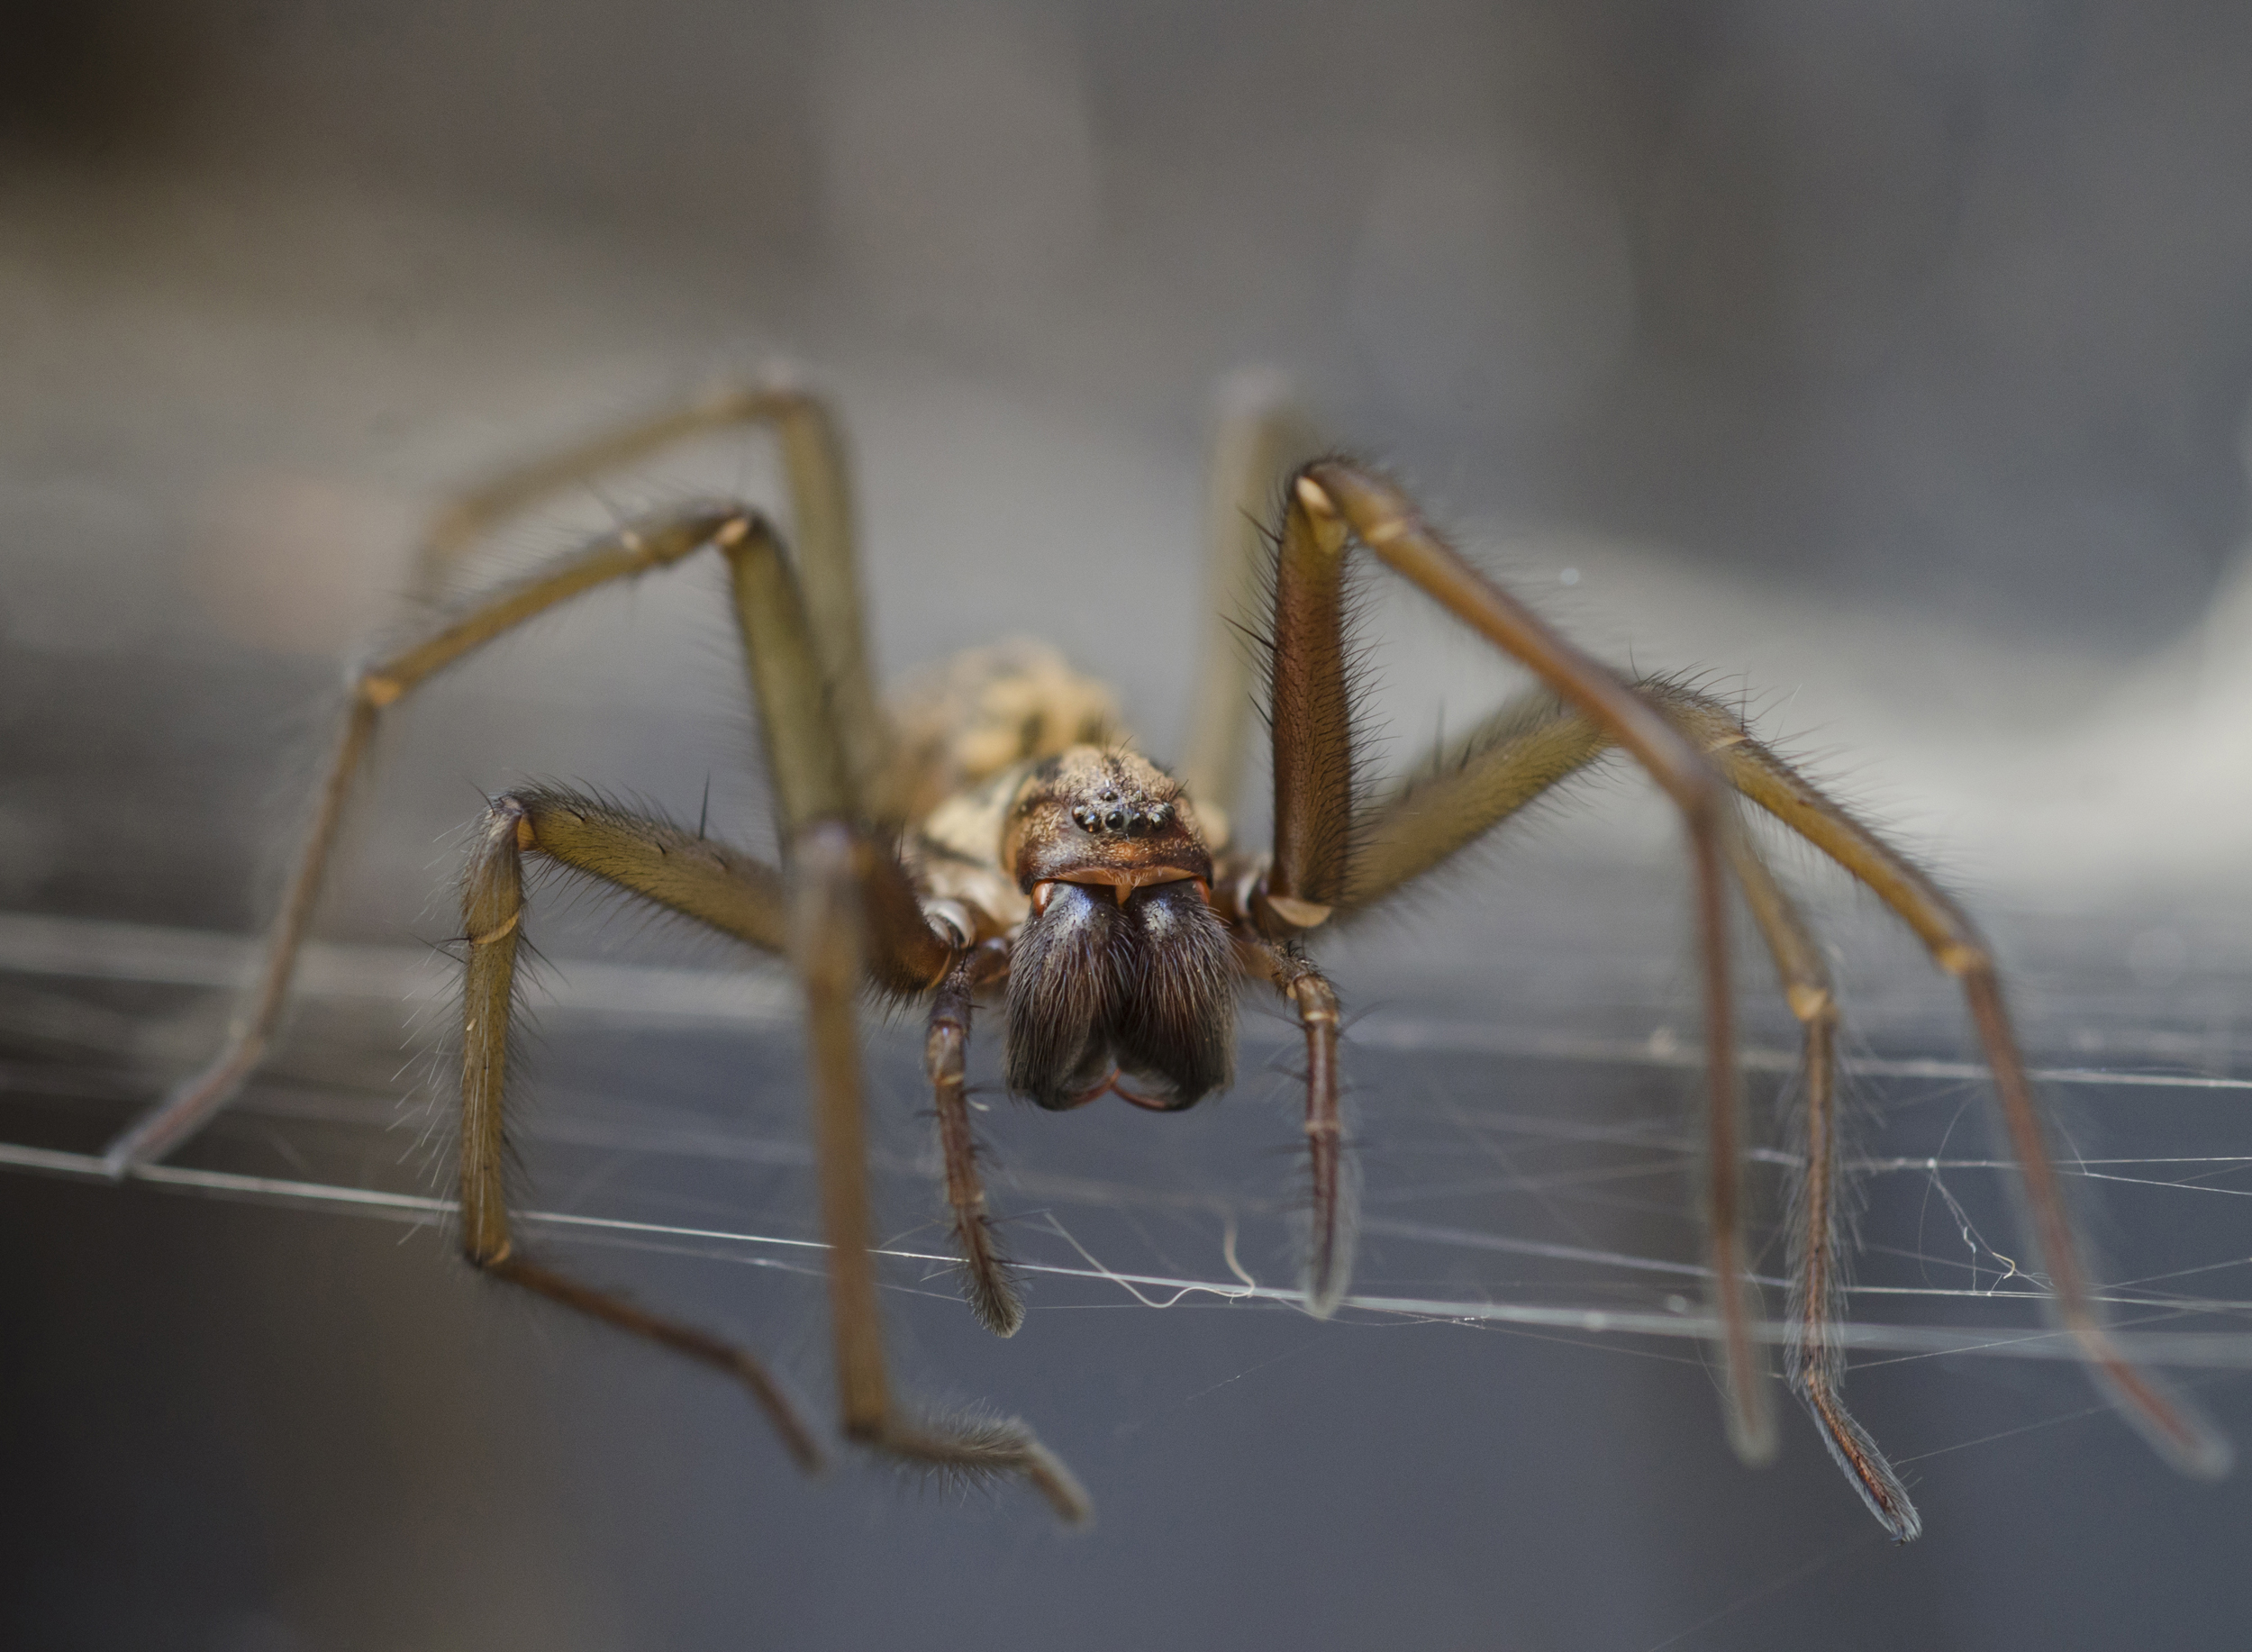
Possibly the first rule in wildlife photography 101 is: get down low. Some of us (me included!) may struggle to get low but it gives you a unique perspective from the animals’ point of view and can transform an image. By doing this you can block out distracting features in the background.
Focussing all the attention on the subject at hand as the depth of field is squarely on the animal. A tripod can be used, though I prefer a beanbag which is a bit more portable. If your camera has a flip screen that can be useful too - using it on live view and enabling you to sit or crouch down. Many of the smaller species are hidden away in the undergrowth so it’s best to get down and explore on their level.
4. Be ready for action
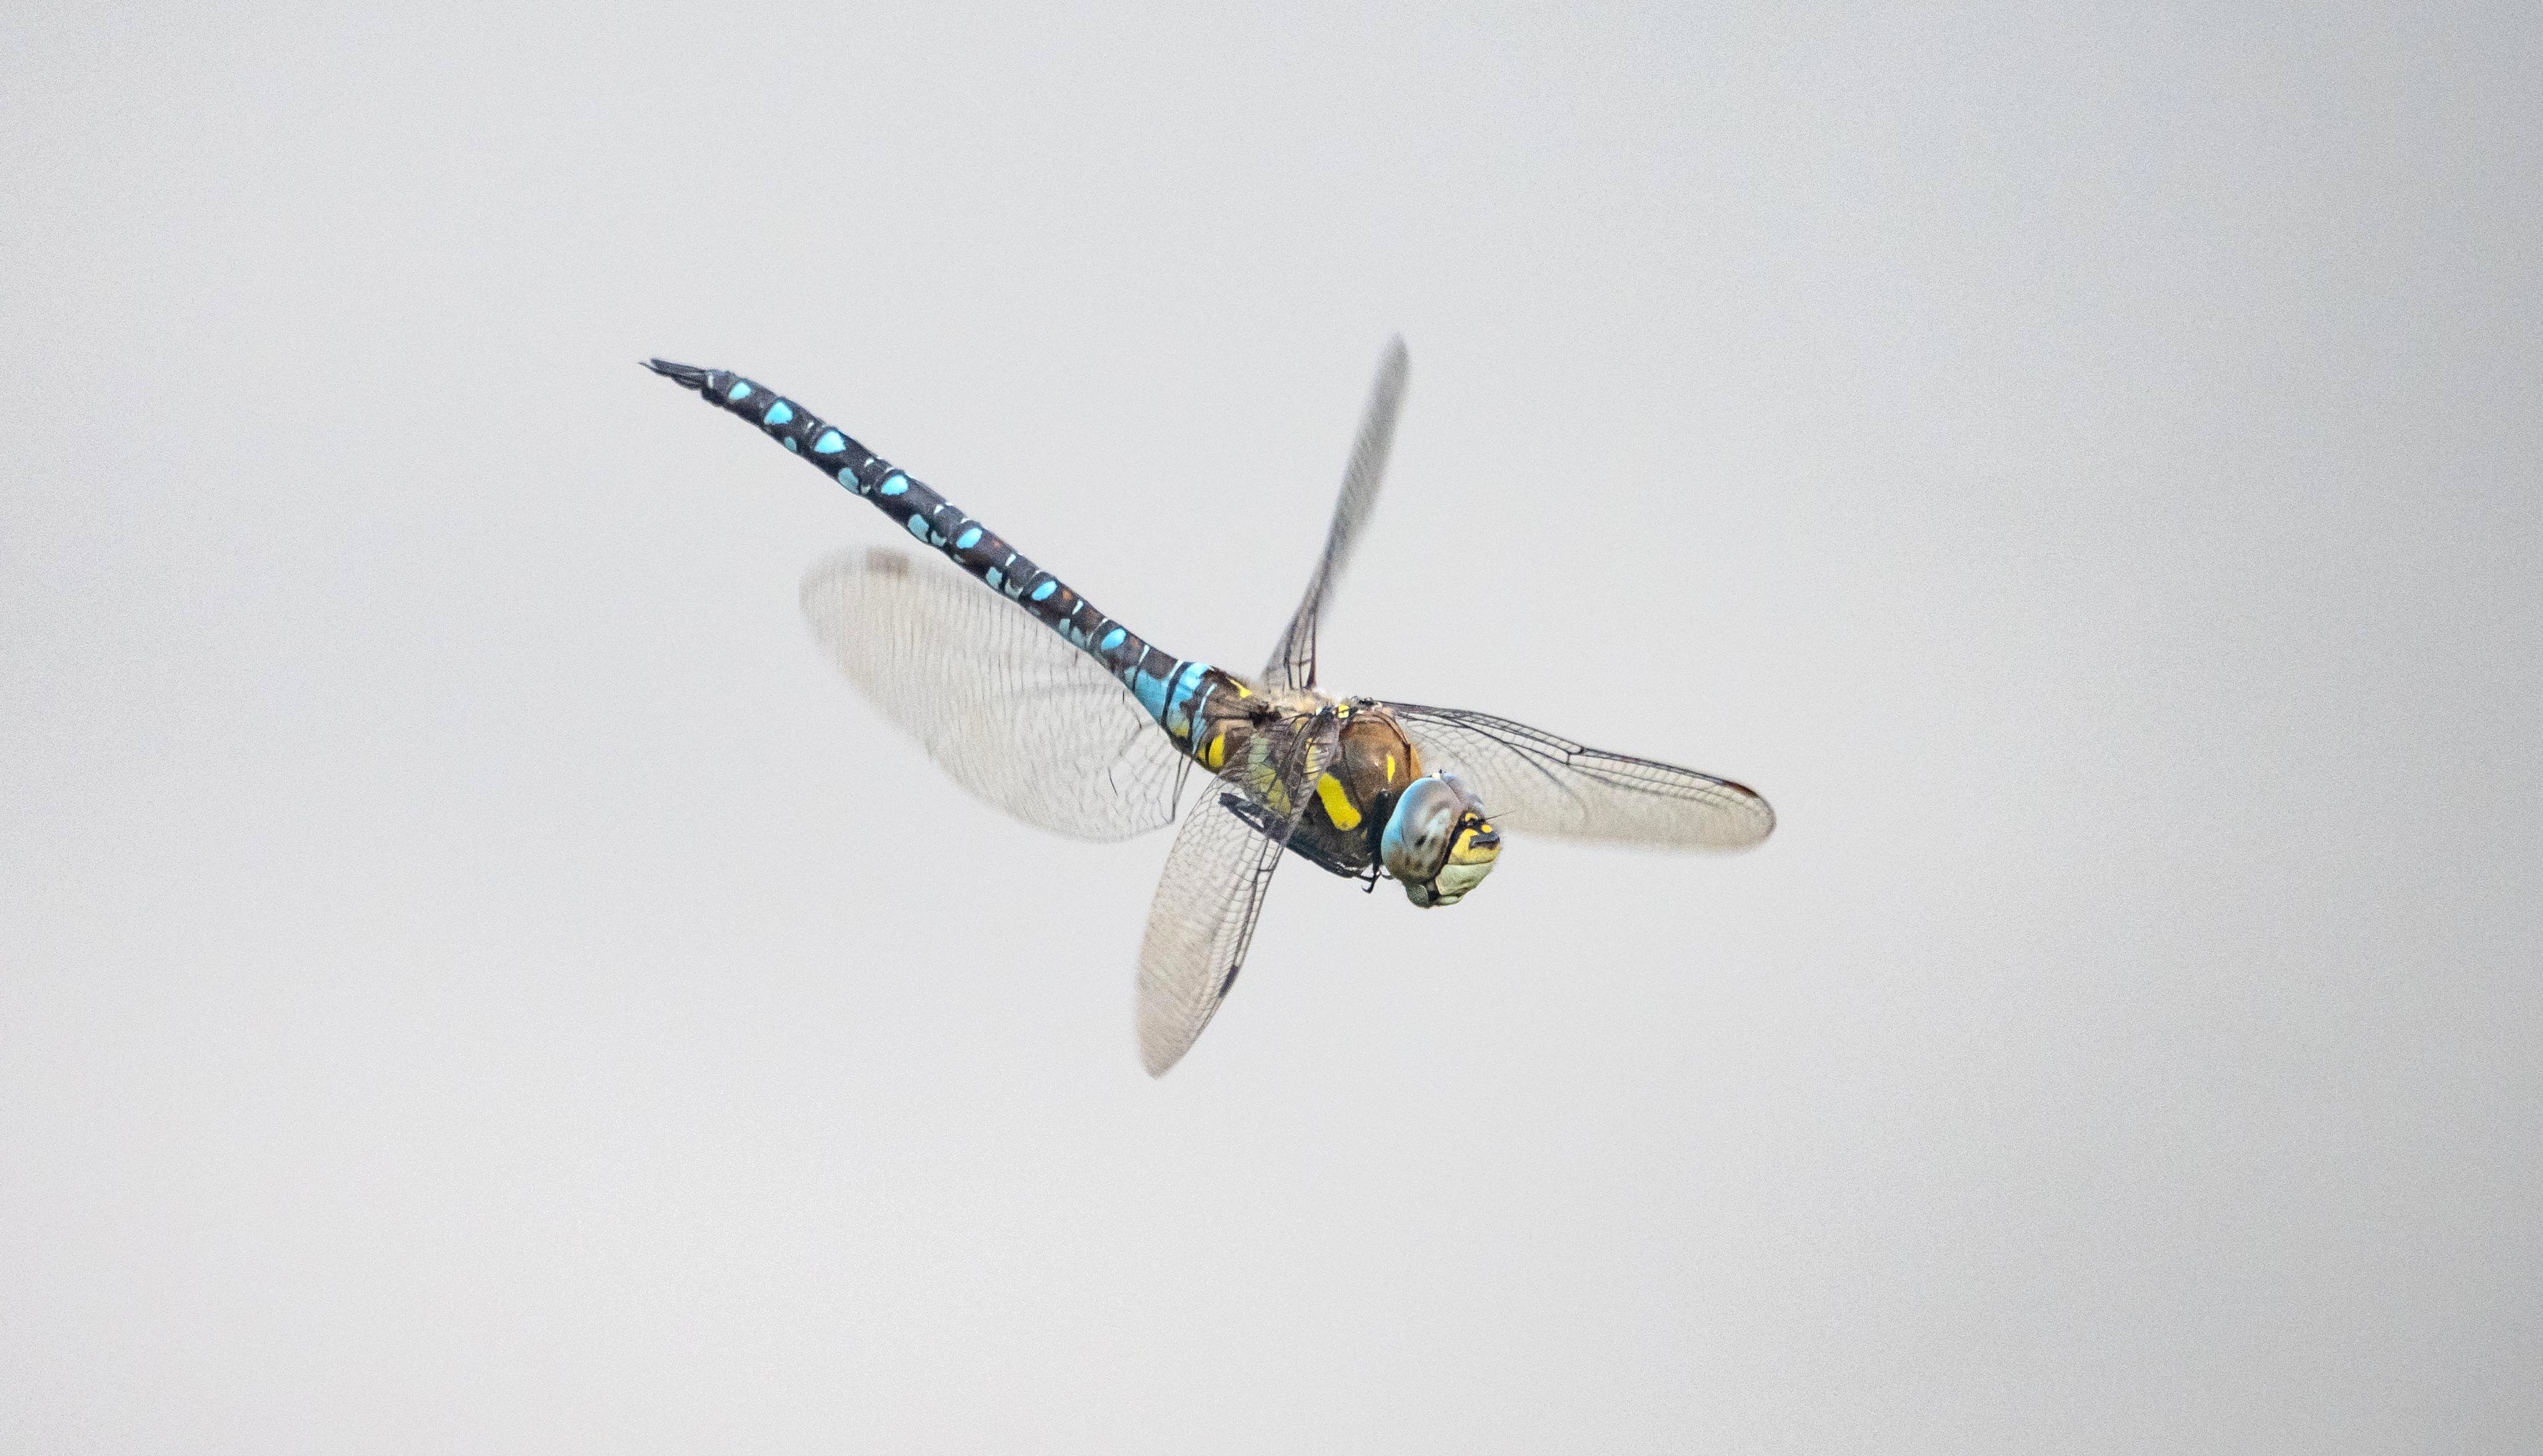
It’s always exciting when an animal springs into action. Whether it’s jumping up or flying, you want to be ready to capture the action. A fast shutter is a must and remember to have the shutter speed above the focal length of the lens. For example, a 300mm lens would want a shutter speed of at least 1/320. Though in order to really get it frozen in motion, you’d want to be aiming for over 1/1000.
However, lighting conditions will dictate this to a degree. Continuous shutter mode is also very useful to make sure you get as many chances as possible at getting the perfect shot. Don’t skimp out on a cheap memory card either, as it may take time to buffer which means you miss the shot altogether. I always prefer to shoot wide, leaving plenty of space around my subject – the last thing you want is to clip out the wing of a flying dragonfly.
5. Know the best time
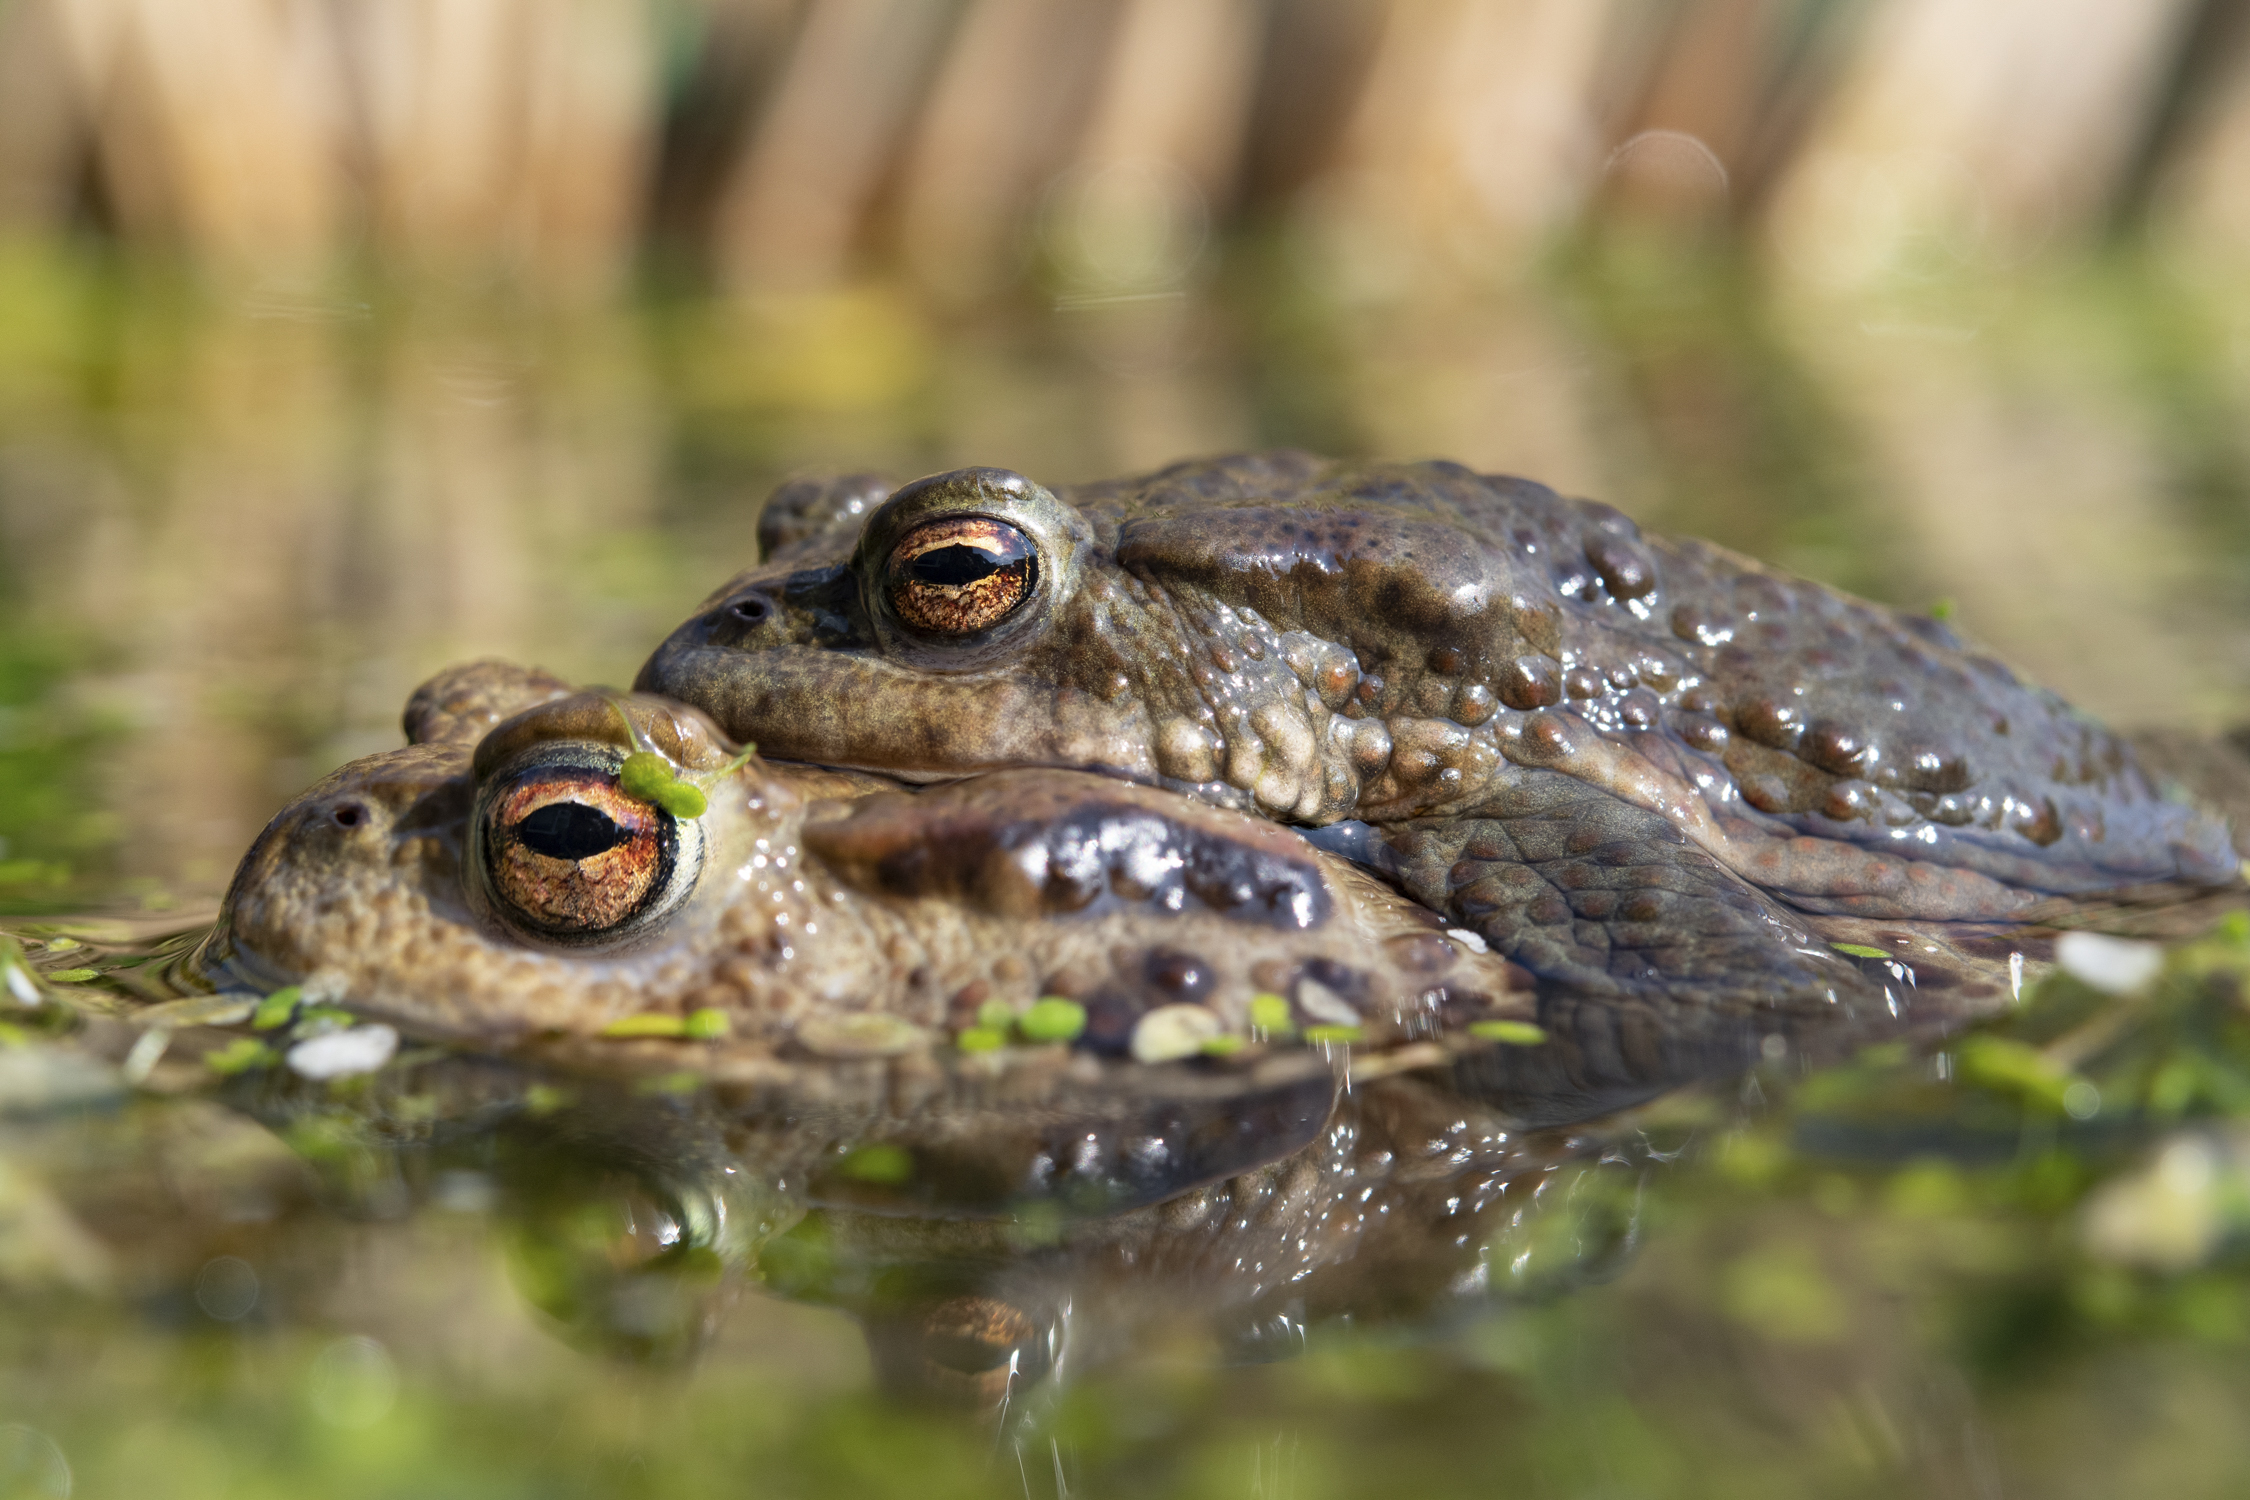
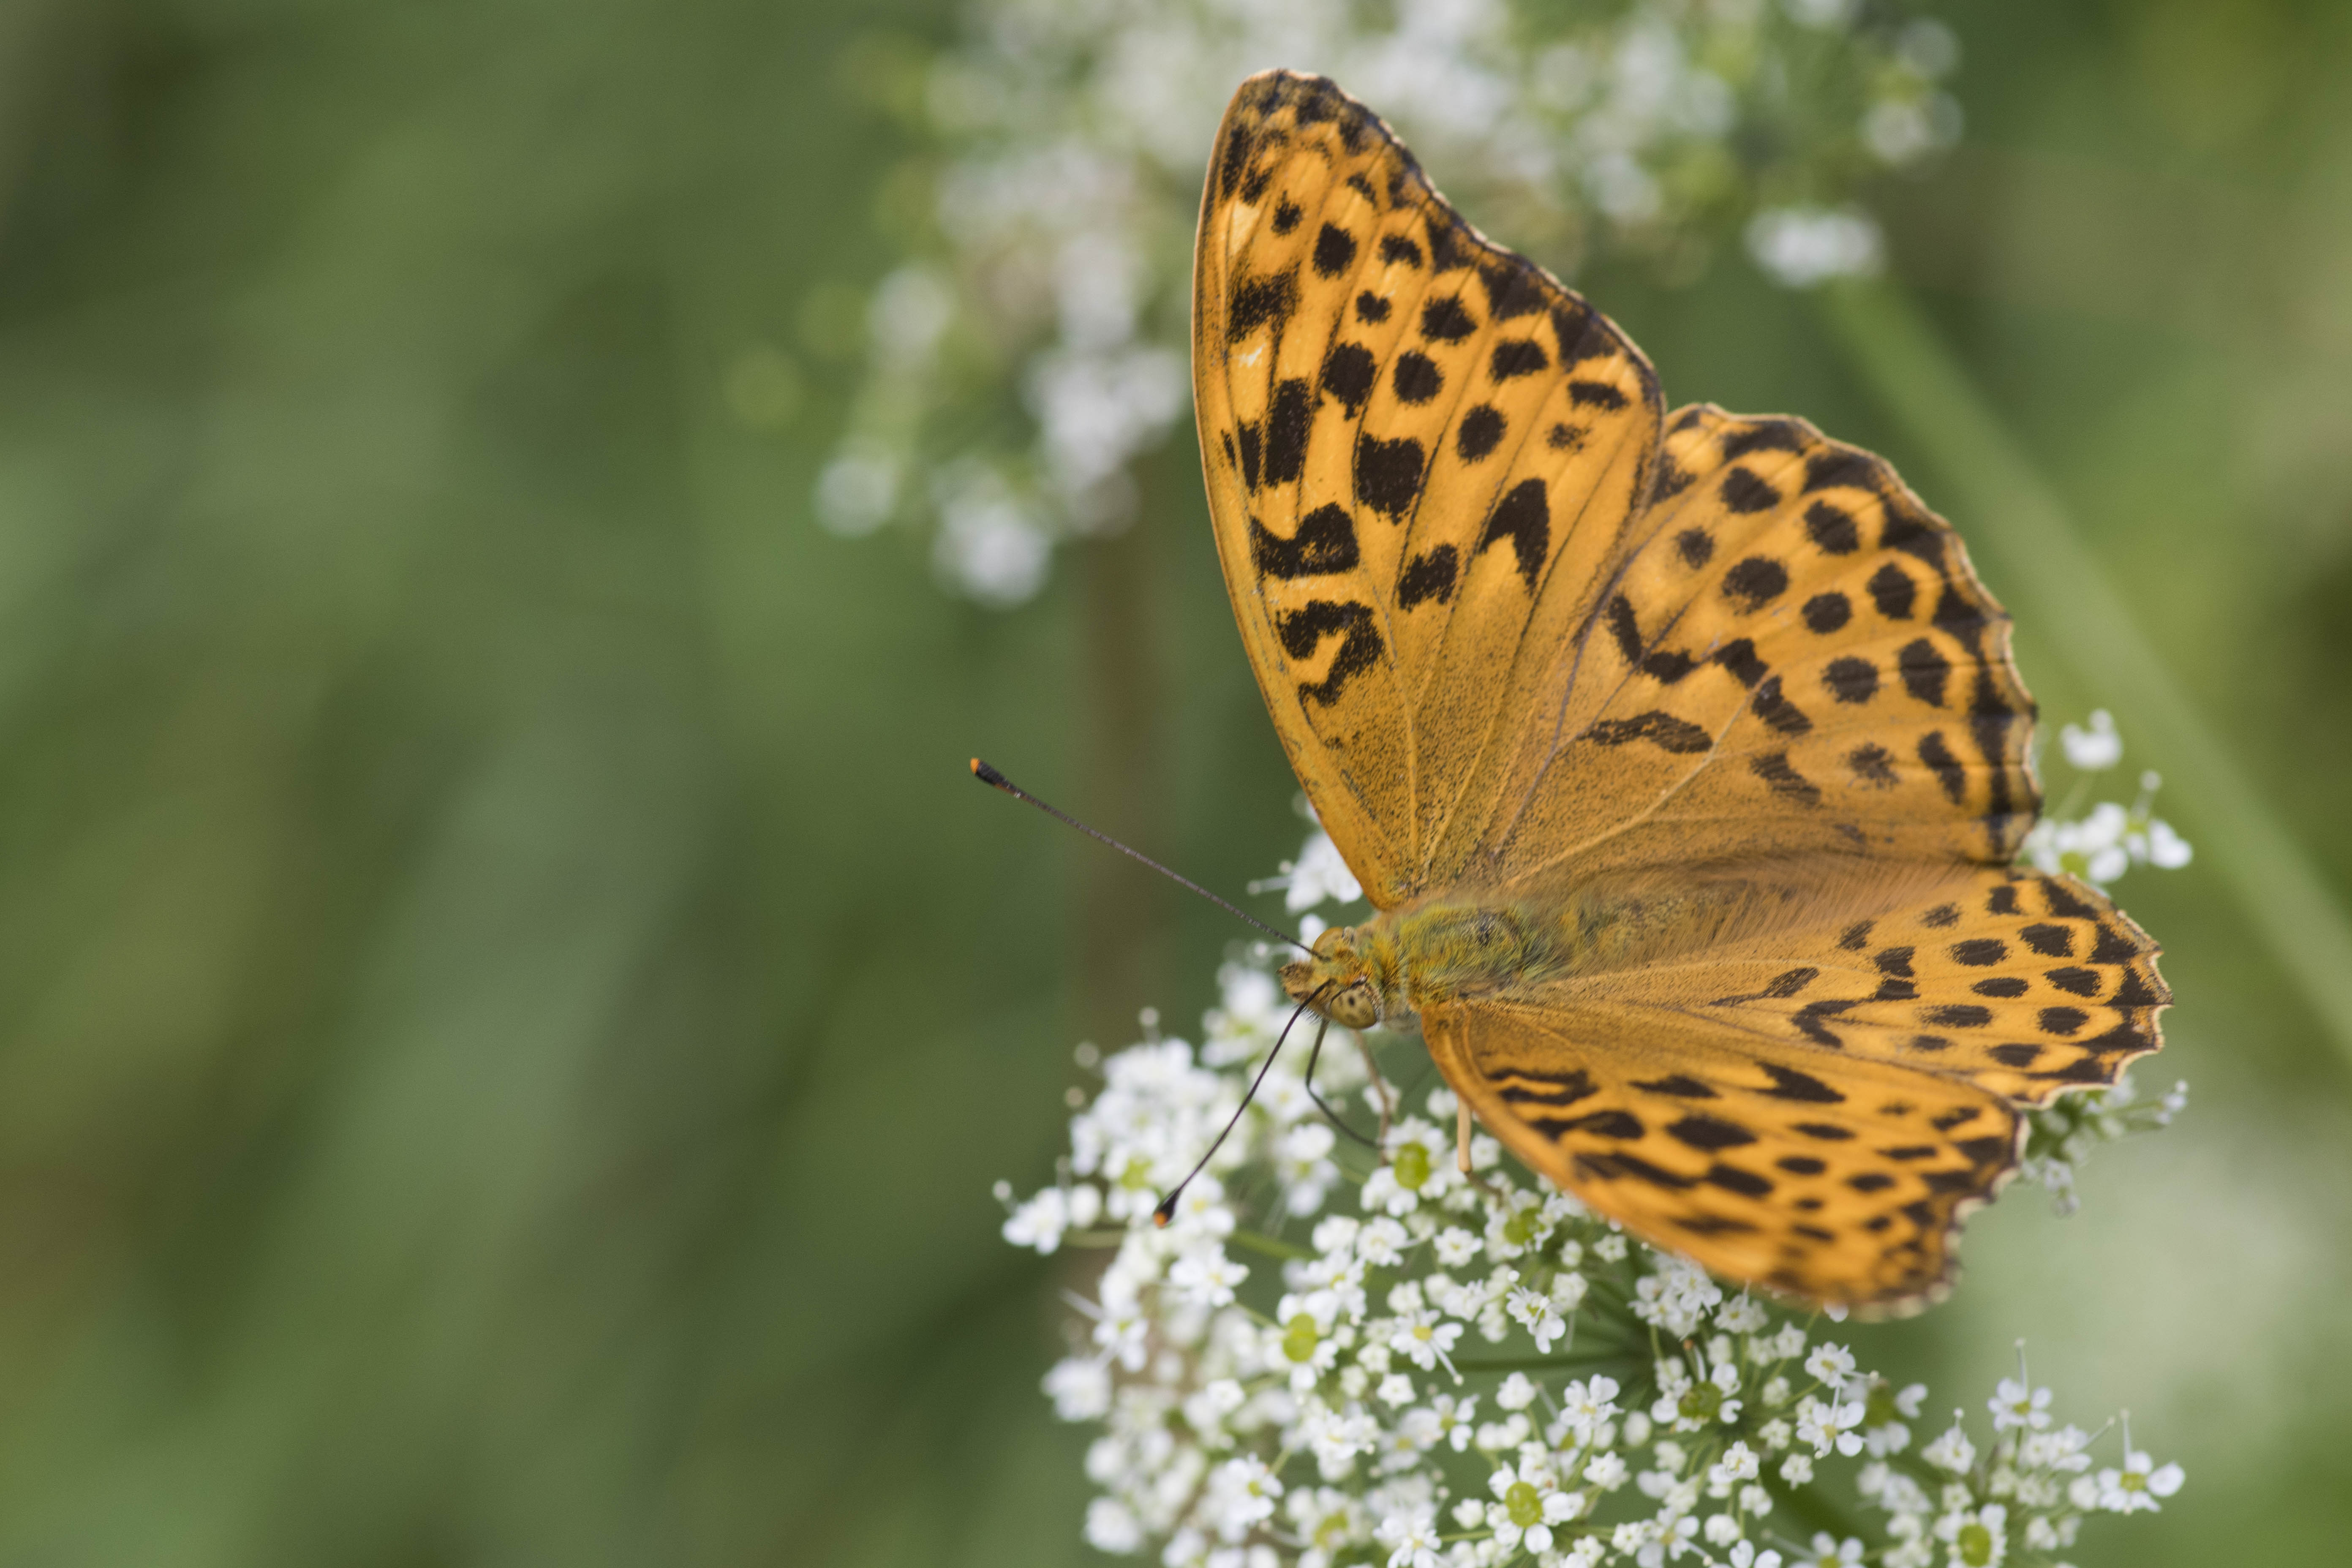
Many of the smaller subjects will have routines that determine the best times to photograph. Some may be seasonal like frogs spawning in the spring or stag beetles out in the late summer. A little bit of research goes a long way in planning the images and how best to execute them. Sunny days will often bring out many cold-blooded species like bees, butterflies, lizards and snakes.
The light can really showcase colors, however this also means they warm up quickly making them more skittish and harder to approach. I often prefer an overcast day, even if my subjects are harder to spot, when I find them it is a lot easier to get closer to and photograph them. My advice would be to move slowly and start with a longer lens to get the images.
6. The best camera is the one in your hand
The most frequently asked question I get is what the best camera for wildlife photography is. The simple and truthful answer is that there isn’t one. It’s whatever camera you have in your hand at the time. Getting an expensive camera won’t necessarily make amazing photography (granted it may help in some situations).
Read more: great wildlife photography doesn't need the latest kit
My advice is to get the camera you can afford but save your money for the lens. The lens is what will make a real difference and last you a long time, while a camera body can be outdated in a matter of 3 or 4 years.
7. The underwater world
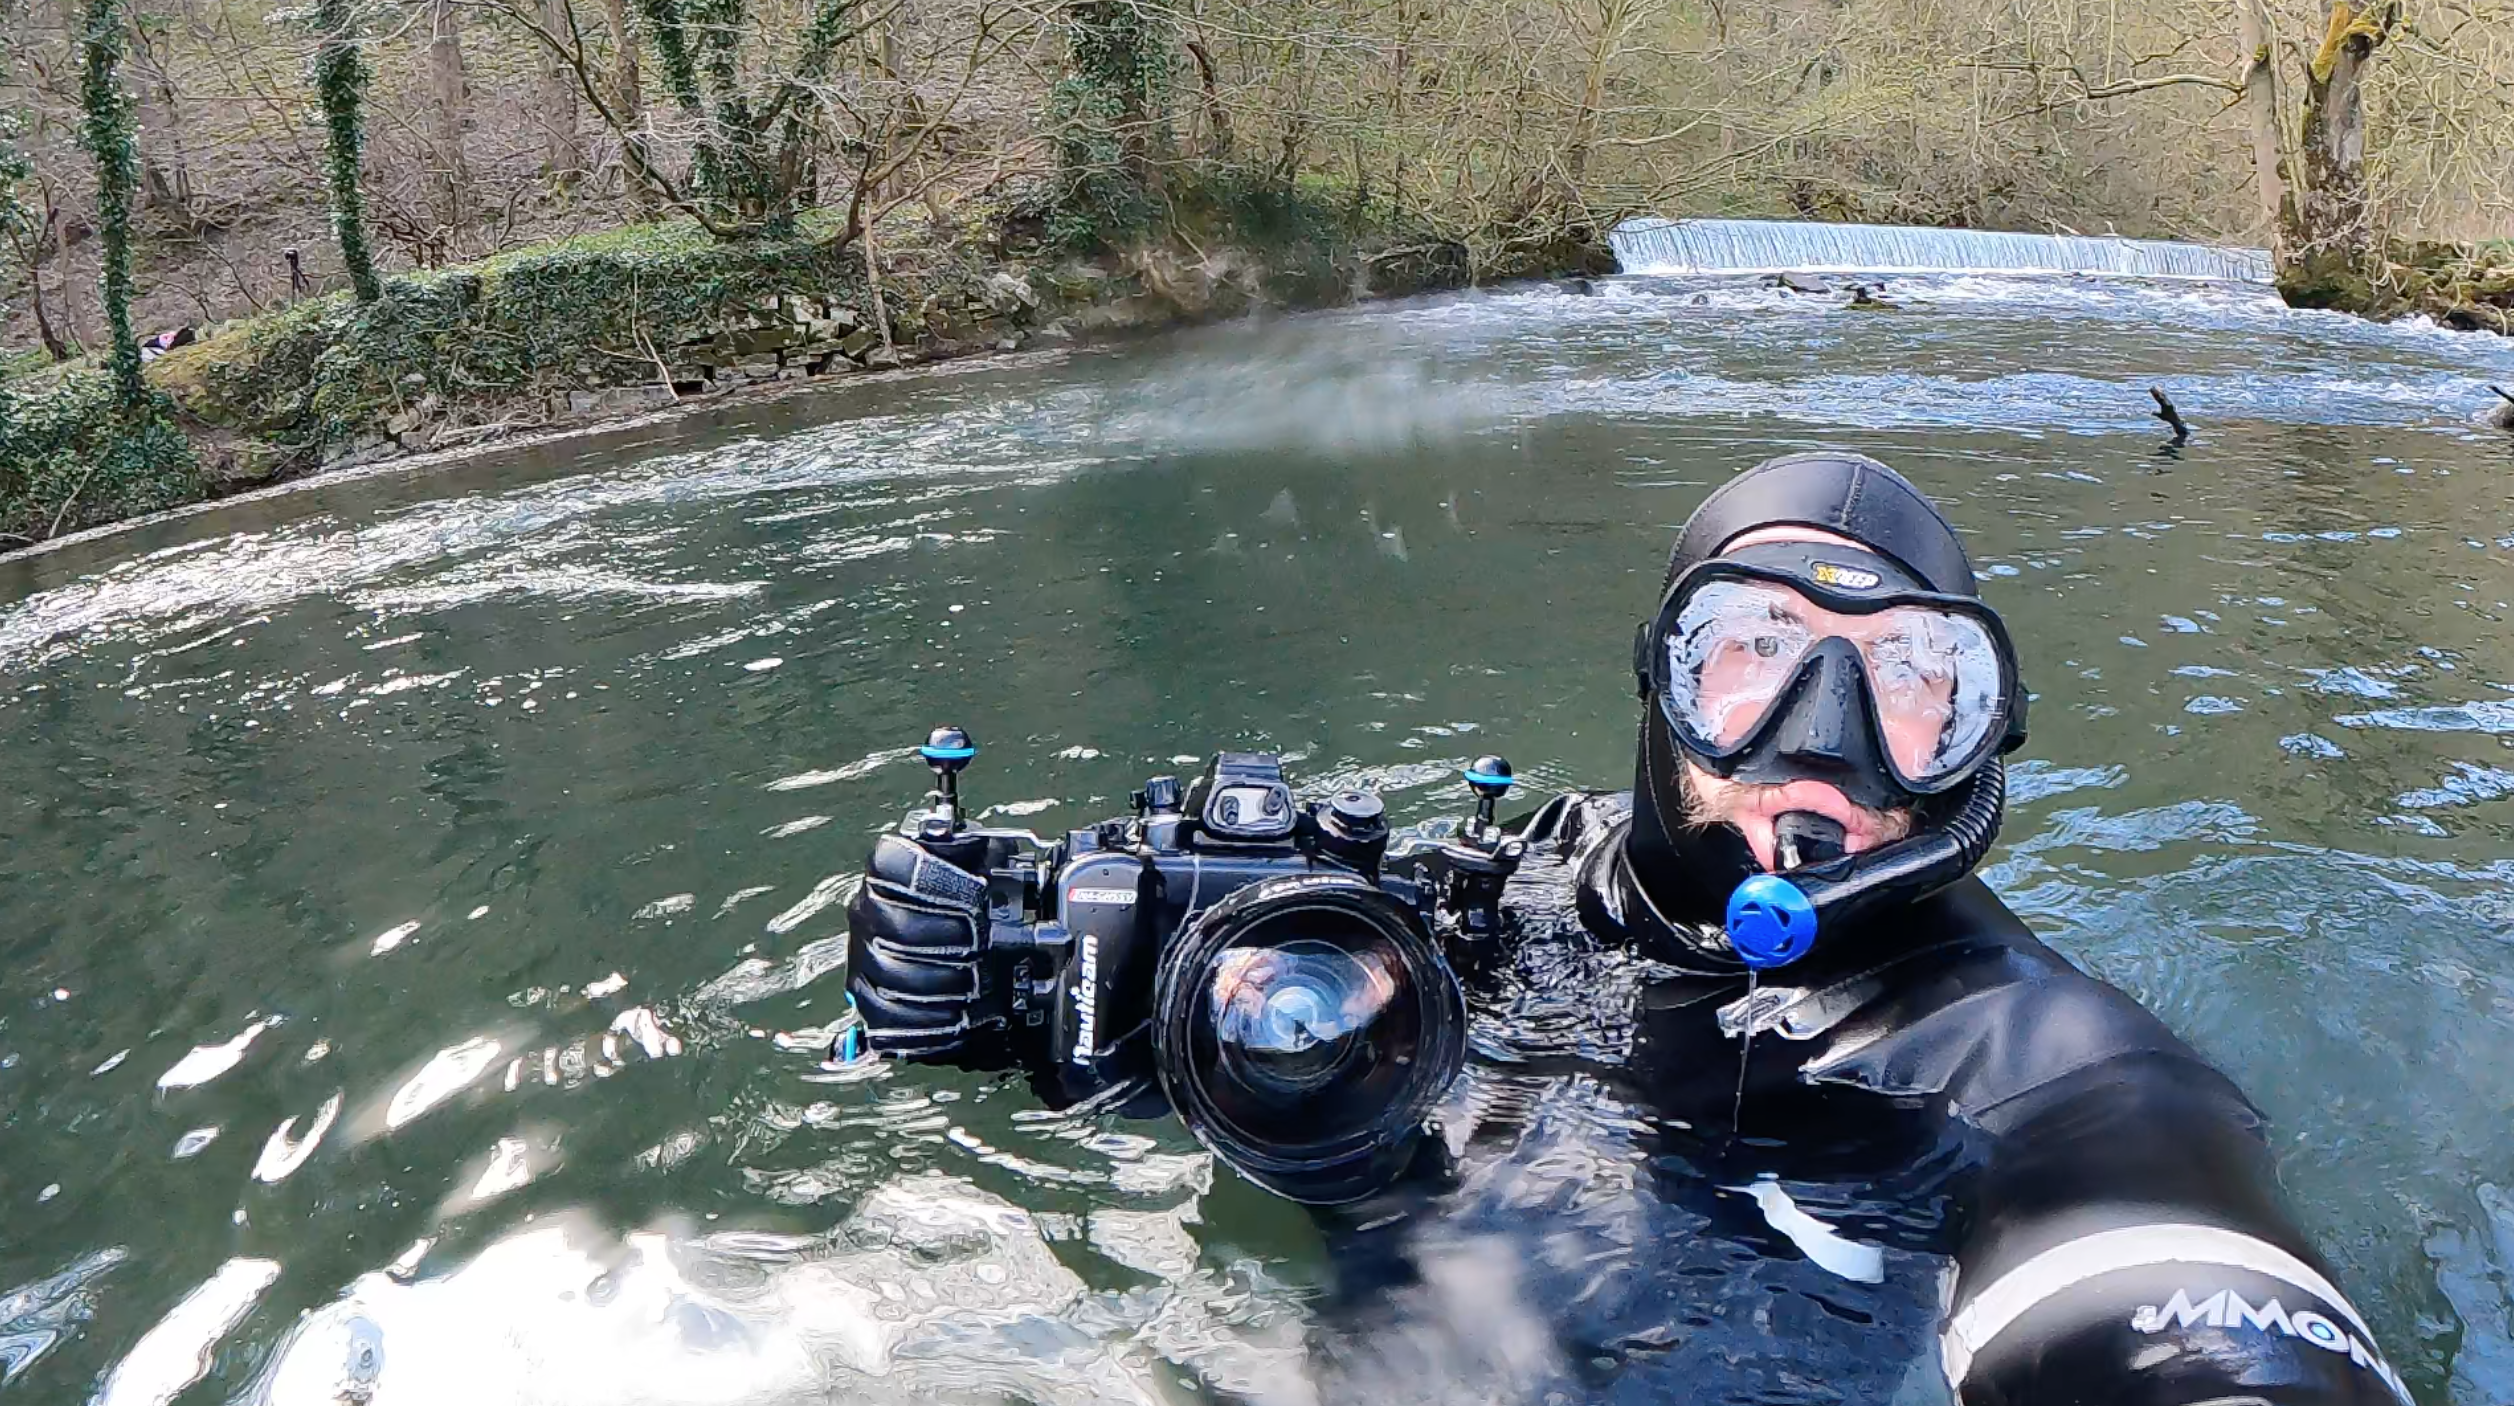
It might seem alien to many of us but there’s a hidden world of photography subjects beneath the many ponds, streams, and lakes of the UK. To access this underwater world with your camera, you have two options. The first is a housing for your camera which can be quite costly but yields some really great results.
Read more: the best waterproof cameras
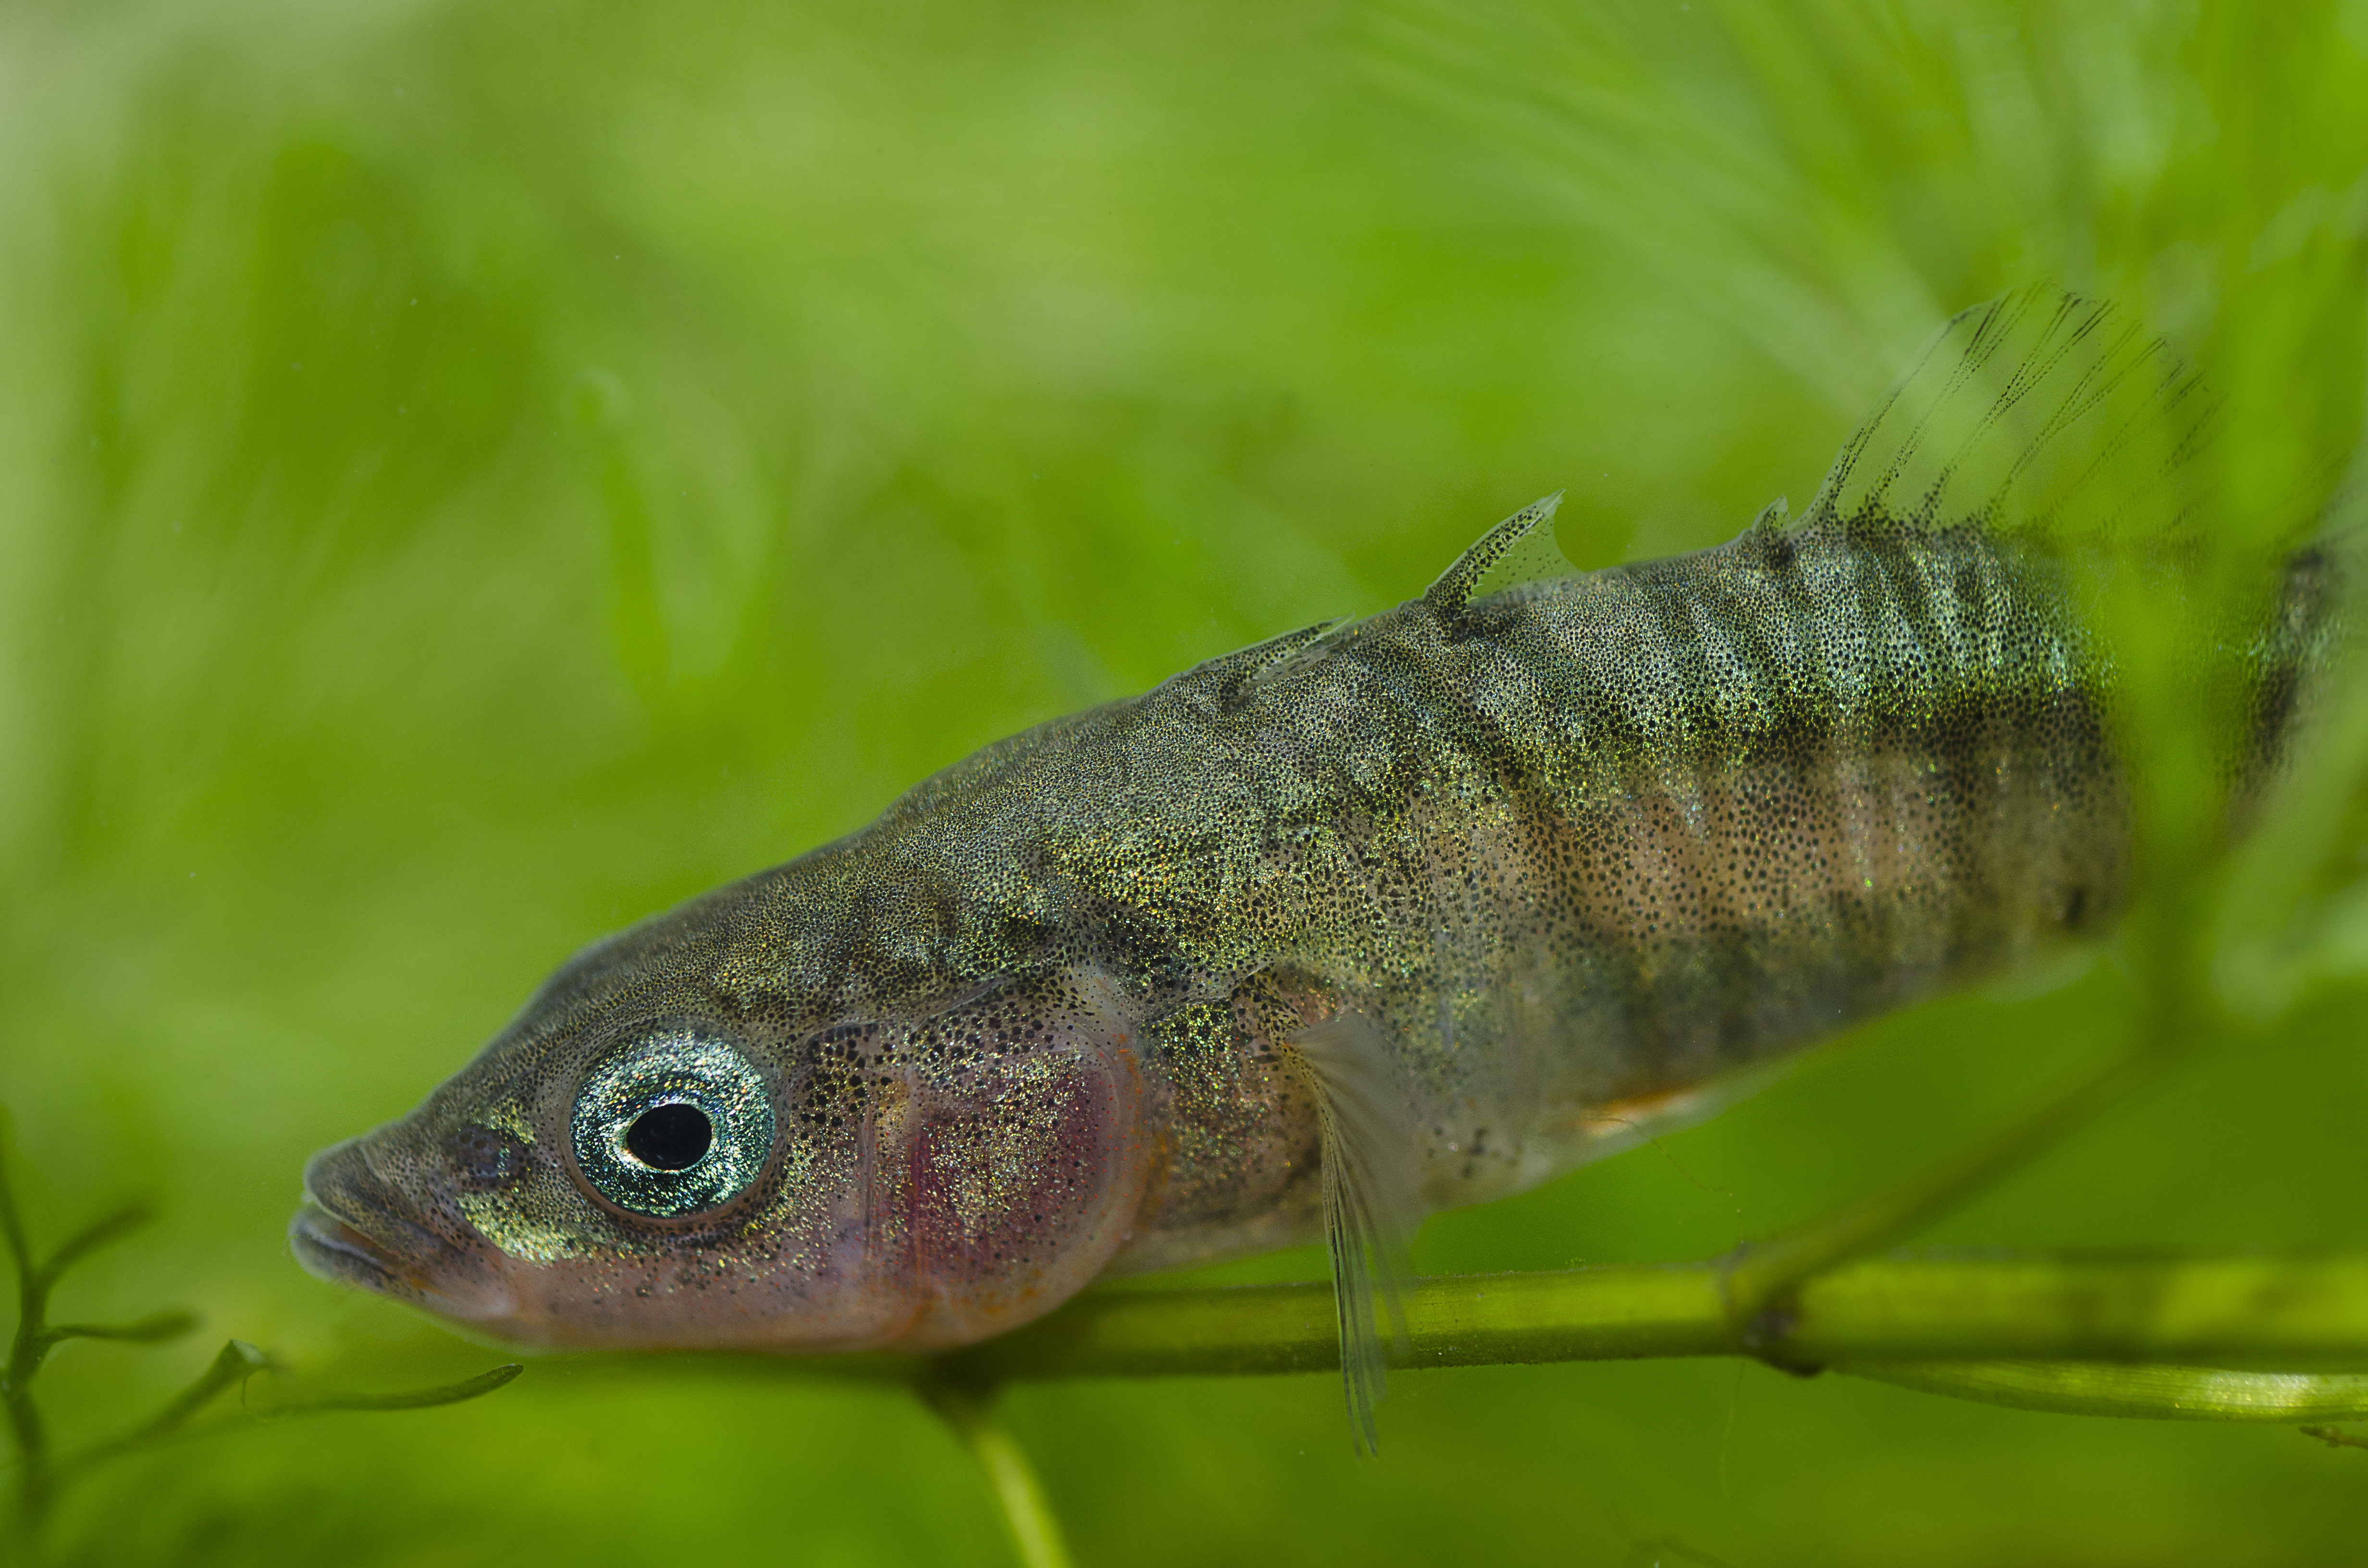
Alternatively, try your hand at aquarium photography; all you will need is a glass tank set up to resemble the habitat of the species you are planning to photograph. For example, if you are photographing a stickleback, you will need some LED lights to light it as well as plenty of sand, rocks and plants to make its environment look natural. A filter is needed to keep the fish happy but you get away with capturing underwater images without having to get wet!
Why I print my images using Fotospeed paper
After all the time, skill and effort that goes into capturing your photographs, it’s important that you appreciate them to the fullest. As a Fotospeed Ambassador, printing my photographs on Fotospeed’s wonderful selection of papers completes the process. Especially in the case of many of the smaller critters, it is a chance to see detail up close and have a tangible feel for the patterns, colors and tones of each specimen.
Read more:
The best cameras for macro
The best macro lenses
The best cameras for wildlife

Lauren is a writer, reviewer, and photographer with ten years of experience in the camera industry. She's the former Managing Editor of Digital Camera World, and previously served as Editor of Digital Photographer magazine, Technique editor for PhotoPlus: The Canon Magazine, and Deputy Editor of our sister publication, Digital Camera Magazine. An experienced journalist and freelance photographer, Lauren also has bylines at Tech Radar, Space.com, Canon Europe, PCGamesN, T3, Stuff, and British Airways' in-flight magazine. When she's not testing gear for DCW, she's probably in the kitchen testing yet another new curry recipe or walking in the Cotswolds with her Flat-coated Retriever.
