If you’ve just bought a new camera you’re probably itching to get out and get shooting. Before you do, however, you should make sure it’s set up correctly.
Taking just a few minutes to check that everything is as it should be will help to make sure that it works as well as possible and that your images turn out great.
So, whether you’ve bought a brand new model or a secondhand camera, make sure you follow these steps.
1. Charge the battery

The very first thing you should do is give your camera’s battery a full charge.
It’s likely that it will already hold some charge straight out of the box, but it’s best to charge it until the charger indicates that it’s fully topped up.
On some cameras, particularly compacts and mirrorless cameras, you may be able to charge the battery while it's inside the camera itself.
Check your camera’s manual to see if this is possible. If it is, you’ll just need to connect your camera to a computer or charger through a USB cable (which should be supplied in the box). Your camera should indicate that it is charging, usually with a small status light.
2. Insert the battery and memory card

Assuming you’ve charged your battery outside the camera, open the door at the bottom of the body and pop the battery inside, making sure it goes in the correct way.
There may also be a slot for a memory card in this compartment, although this might be located at the side of the camera through a separate door. Wherever this is, you should now pop a memory card that’s compatible with your camera (usually an SDHC or SDXC type card) into this slot.
Before you do this, however, you should check two things. First, the left-hand side of SDHC and SDXC cards features a small tab that can be pushed up and down. Make sure this is pushed up – we’ll come to why a little later on.
Also, check that it goes in the right way. There should be a small icon near this slot to show which way round this goes, but it will always be with the side that has a cut-away corner going into the camera first.
It should gently ease into place and hold, and you should be able to remove it by pressing it down into the camera, which will spring it back up. If you encounter noticeable resistance, check to see that the slot is clear and that the card is going in the right way.
3. Attach a lens

If your camera accepts different lenses, now is a good time to attach the one that you’re planning on using.
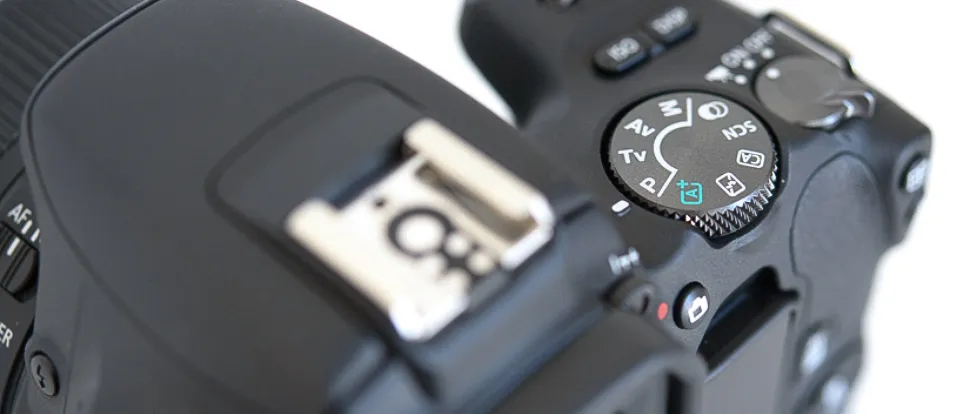
To do this, find the small mark on the end of the lens, and line this up with the indicator on the body. In the image above, this is the small white box.
Now, twist the lens so that it locks in place; this may be in either a clockwise or anti-clockwise direction. A small turn should end in a click, which will then lock this in place, but make sure it can not be turned any further.
If you need to take this lens off, simply hold down the small button at the side of this lens mount and twist the lens in the opposite direction to the one that you used to mount the lens onto the body.
4. Check the lens

Your lens may have one or more switches. On of these might be marked AF and MF, or just M/A and M. Set this to either the AF or M/A options, as this will allow you to use autofocus.
There may also be another switch marked Stabilizer or VR or OS, and you should make sure that this is set to 'on'. This will help you to get sharper images when using longer focal lengths and when shooting in slightly darker conditions.
5. Set the time and date

Now turn the camera on. If you’re using a brand new camera, you may be asked to set the time and date, and perhaps the time zone too, so do this now.
It’s a good idea to set this accurately, as the date and time will attach to every image you take so that you can always see when you captured a specific photo. Don’t worry – this won’t show up on the image unless you want it to, it will just stay within the information attached to it.
If you’re using a secondhand camera this may already be set, although it’s a good idea to check this is accurate. Before you do that though, find a setting marked “reset” or “clear settings” (below), which should be in a menu headed by a small cog or spanner. This will make sure that any settings defined by the previous owner will be reset. You can then find the time and date setting (which should be within the same menu, or at least one that's nearby) and set this.


