Timeslice photography: how to shoot and present fragments of the day
Matt Kenneally reveals the secrets of shooting stunning timeslice photography

The best camera deals, reviews, product advice, and unmissable photography news, direct to your inbox!
You are now subscribed
Your newsletter sign-up was successful
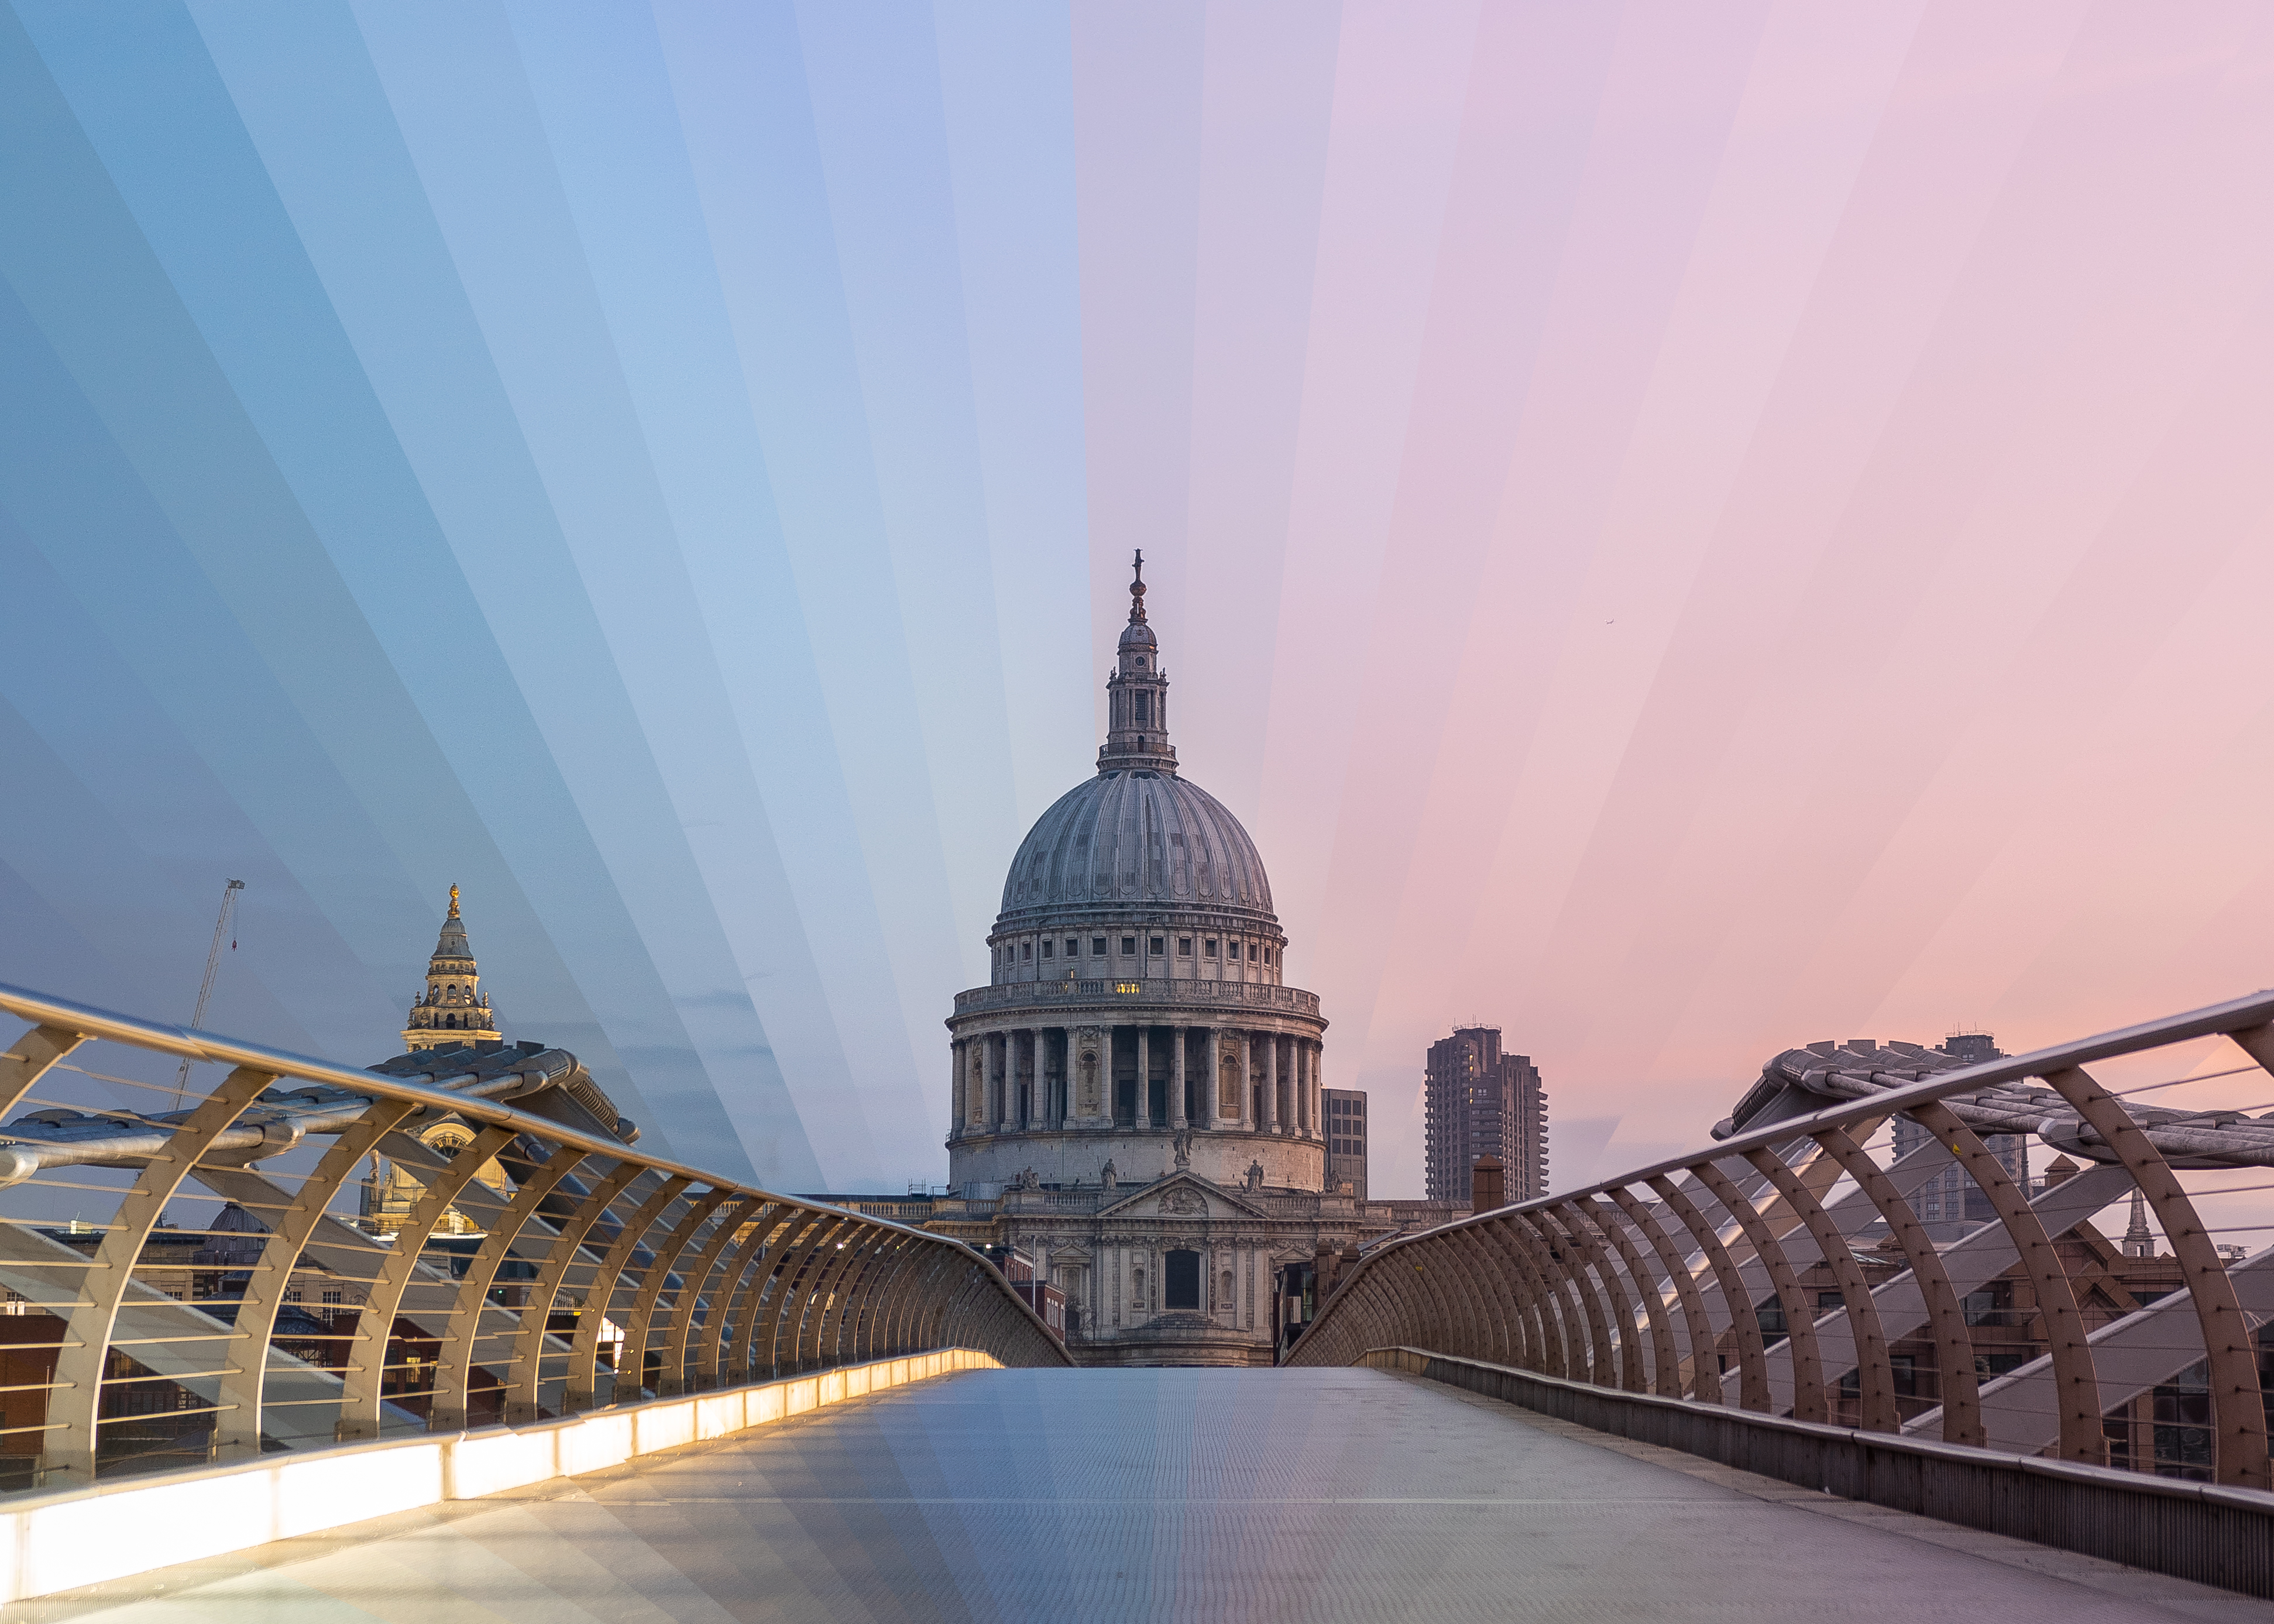
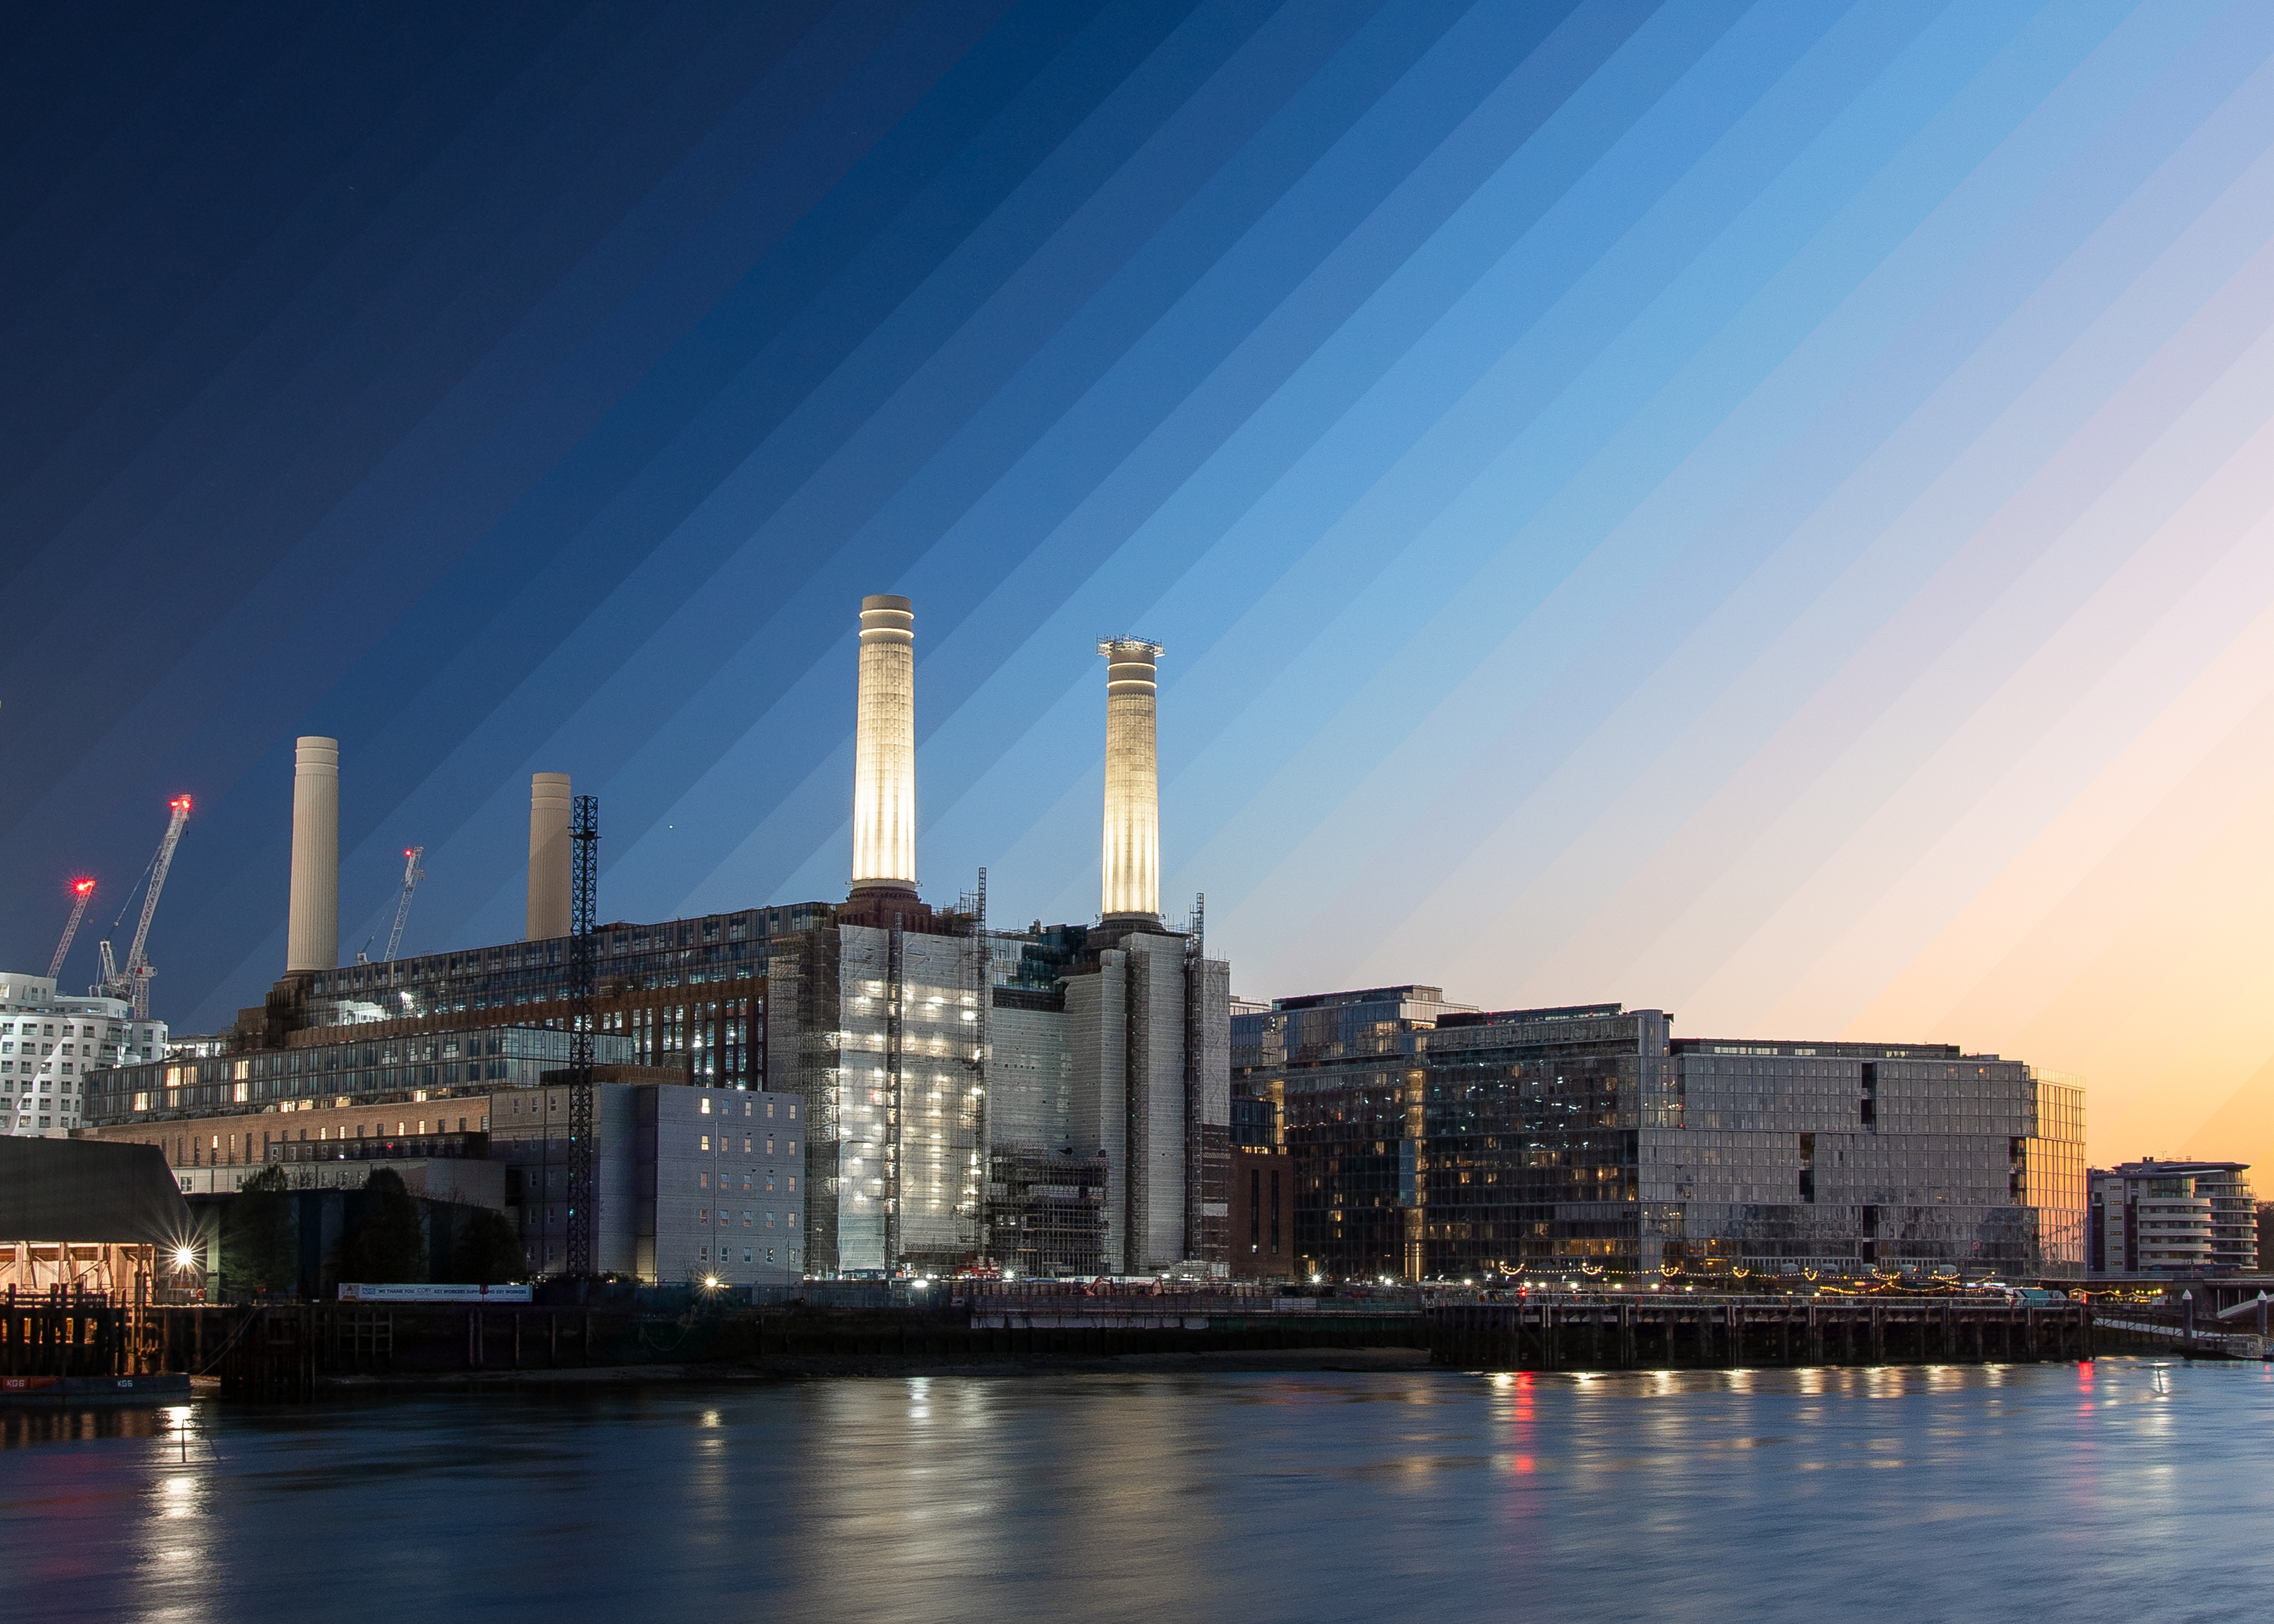
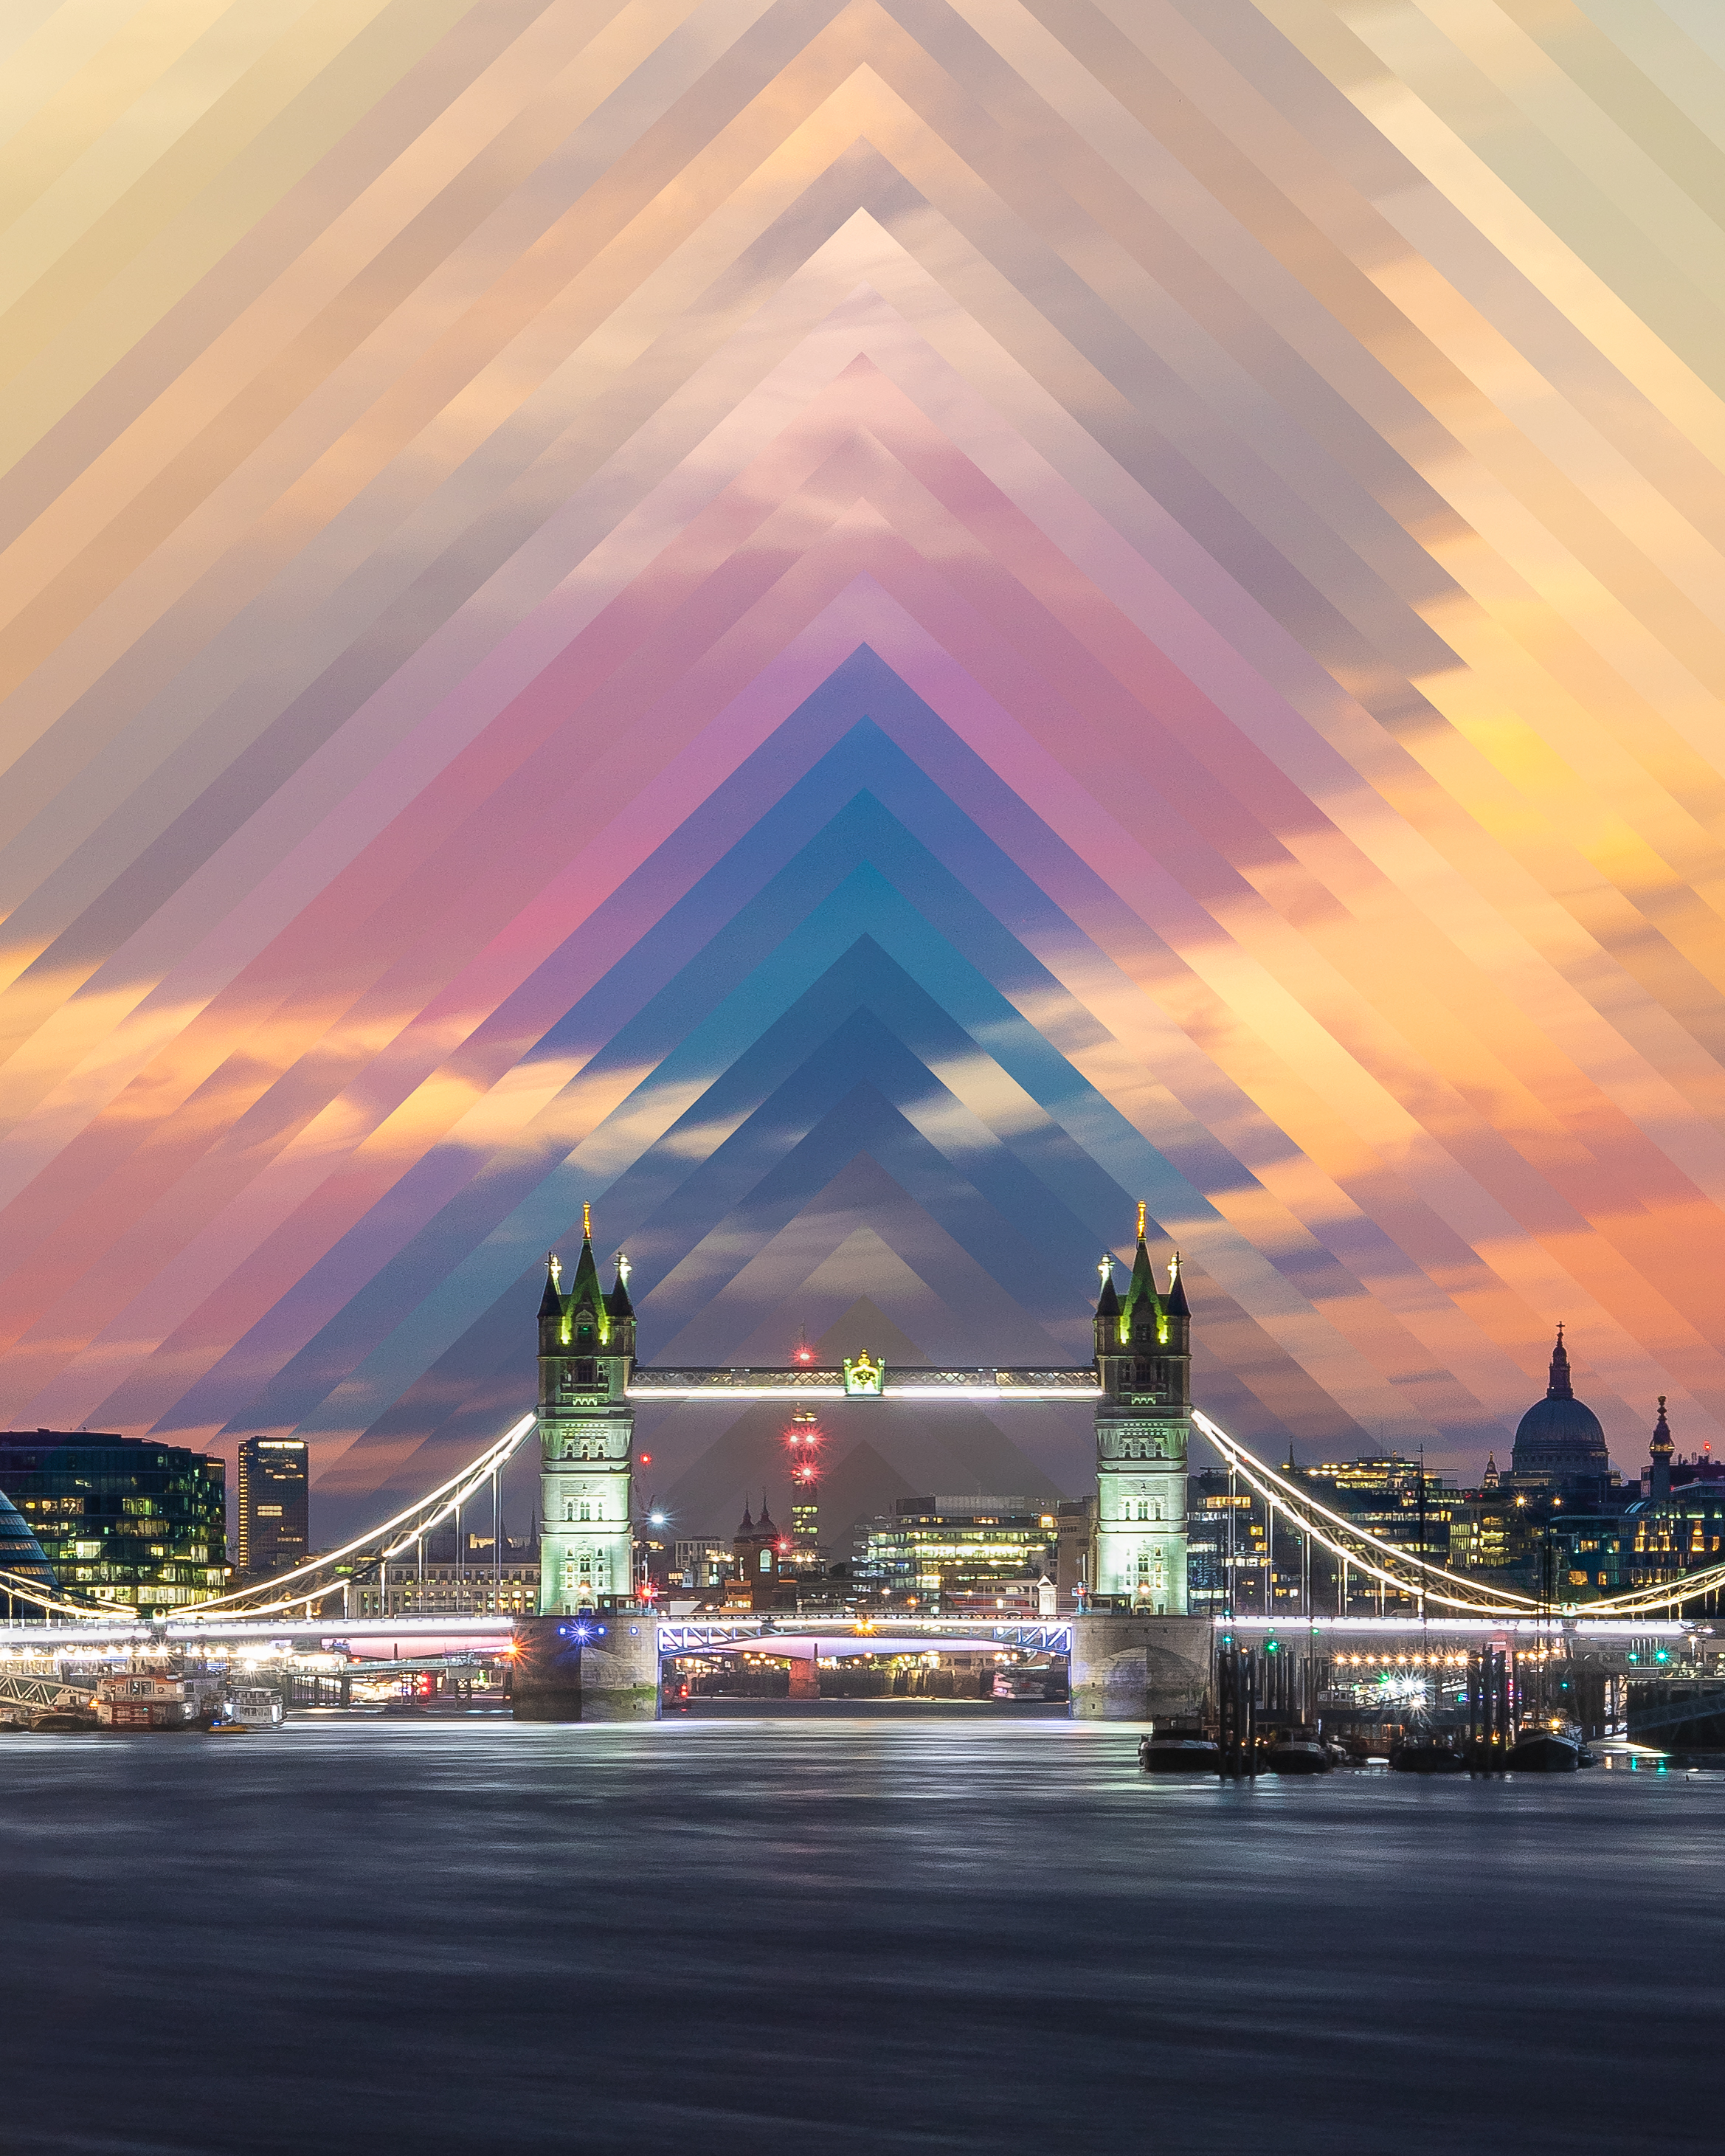
Discovering MC Escher's 'Day and Night’ piece, many years before I even picked up a camera, put me on the path to becoming a timeslice photographer. I have been shooting timeslice photos for some time now, and the only way to show time passing in a single image requires just that: time.
Most shoots I do involve a lot of planning and patience, as I have to stand at a location for up to three hours, capturing all the frames I need to show the passing of time. For some other shots, I may only need to use a couple of hours worth of frames to show a smoother transition.
• Read more: Best lenses for landscapes | Best timelapse cameras
For my London Eye image (below) I used frames from the full three hours of shooting, to show the long passing of time and changing light. The shot took me seven attempts before getting the version I was happy with.
You really need the weather to cooperate when shooting a timeslice. You can be an hour into a shoot and suddenly the weather can change for the worse, and just make the scene flat!
However, sometimes the clouds rolling into a shot can make the frames more interesting – and that’s why I love timeslice. For all the planning and time spent scouting, in the end the shot is at the mercy of the elements – and it can make or break an image.
When shooting a timeslice, I'm capturing a day-to-night timelapse or a 'Holy Grail timelapse' as it's known in photography. Finding the right subject is key, as it's important to know how it will look during both the day and night. Some subjects will look amazing during the day but may not have the same impact at night, so scouting the shot beforehand is very important.
The best camera deals, reviews, product advice, and unmissable photography news, direct to your inbox!
As the light keeps changing in the scene, I have to adjust the settings. The scene becomes darker so I slow the shutter down to capture more light, and this is where a strong tripod is needed. You want no movement in the frames so you can slice them all together easily in post production.
Starting with Lightroom, I get all the images that I need ready and begin editing to ensure a smooth transition of color before moving into Photoshop to slice and combine all the shots. I like to play around with different shapes of slices before committing to a final image – and this is where the true creativity can take over!
You can see more of Matt's timeslice work on Instagram @matt_kenneally.
Read more:
Best photo editing software
Photoshop tips
Free Lightroom presets


