The best camera deals, reviews, product advice, and unmissable photography news, direct to your inbox!
You are now subscribed
Your newsletter sign-up was successful
Watch video: Photograph flowers at home with this simple camera setup
With summer coming into full swing in the northern hemisphere, you’ll have access to an abundance of floral subjects to shoot in your garden. And even if you don’t have access to a blossoming garden, you can always head outside with a flower from a shop-bought bouquet.
The best macro lenses can certainly be helpful for getting frame-filling shots, though great results can still be achieved with a humble kit lens. The Canon EF-S 18-55mm f/4-5.6 IS STM, for example, has a close focusing distance of just 25cm which makes it ideal for frame-filling floral shots.
We’re going to show you how to get amazing professional results without any studio lights, using natural sunlight only. Natural light doesn’t offer absolute control, but you can still manipulate it with a reflector or diffusing ‘scrim’. Here’s what you need to know…
1. Set up your shot
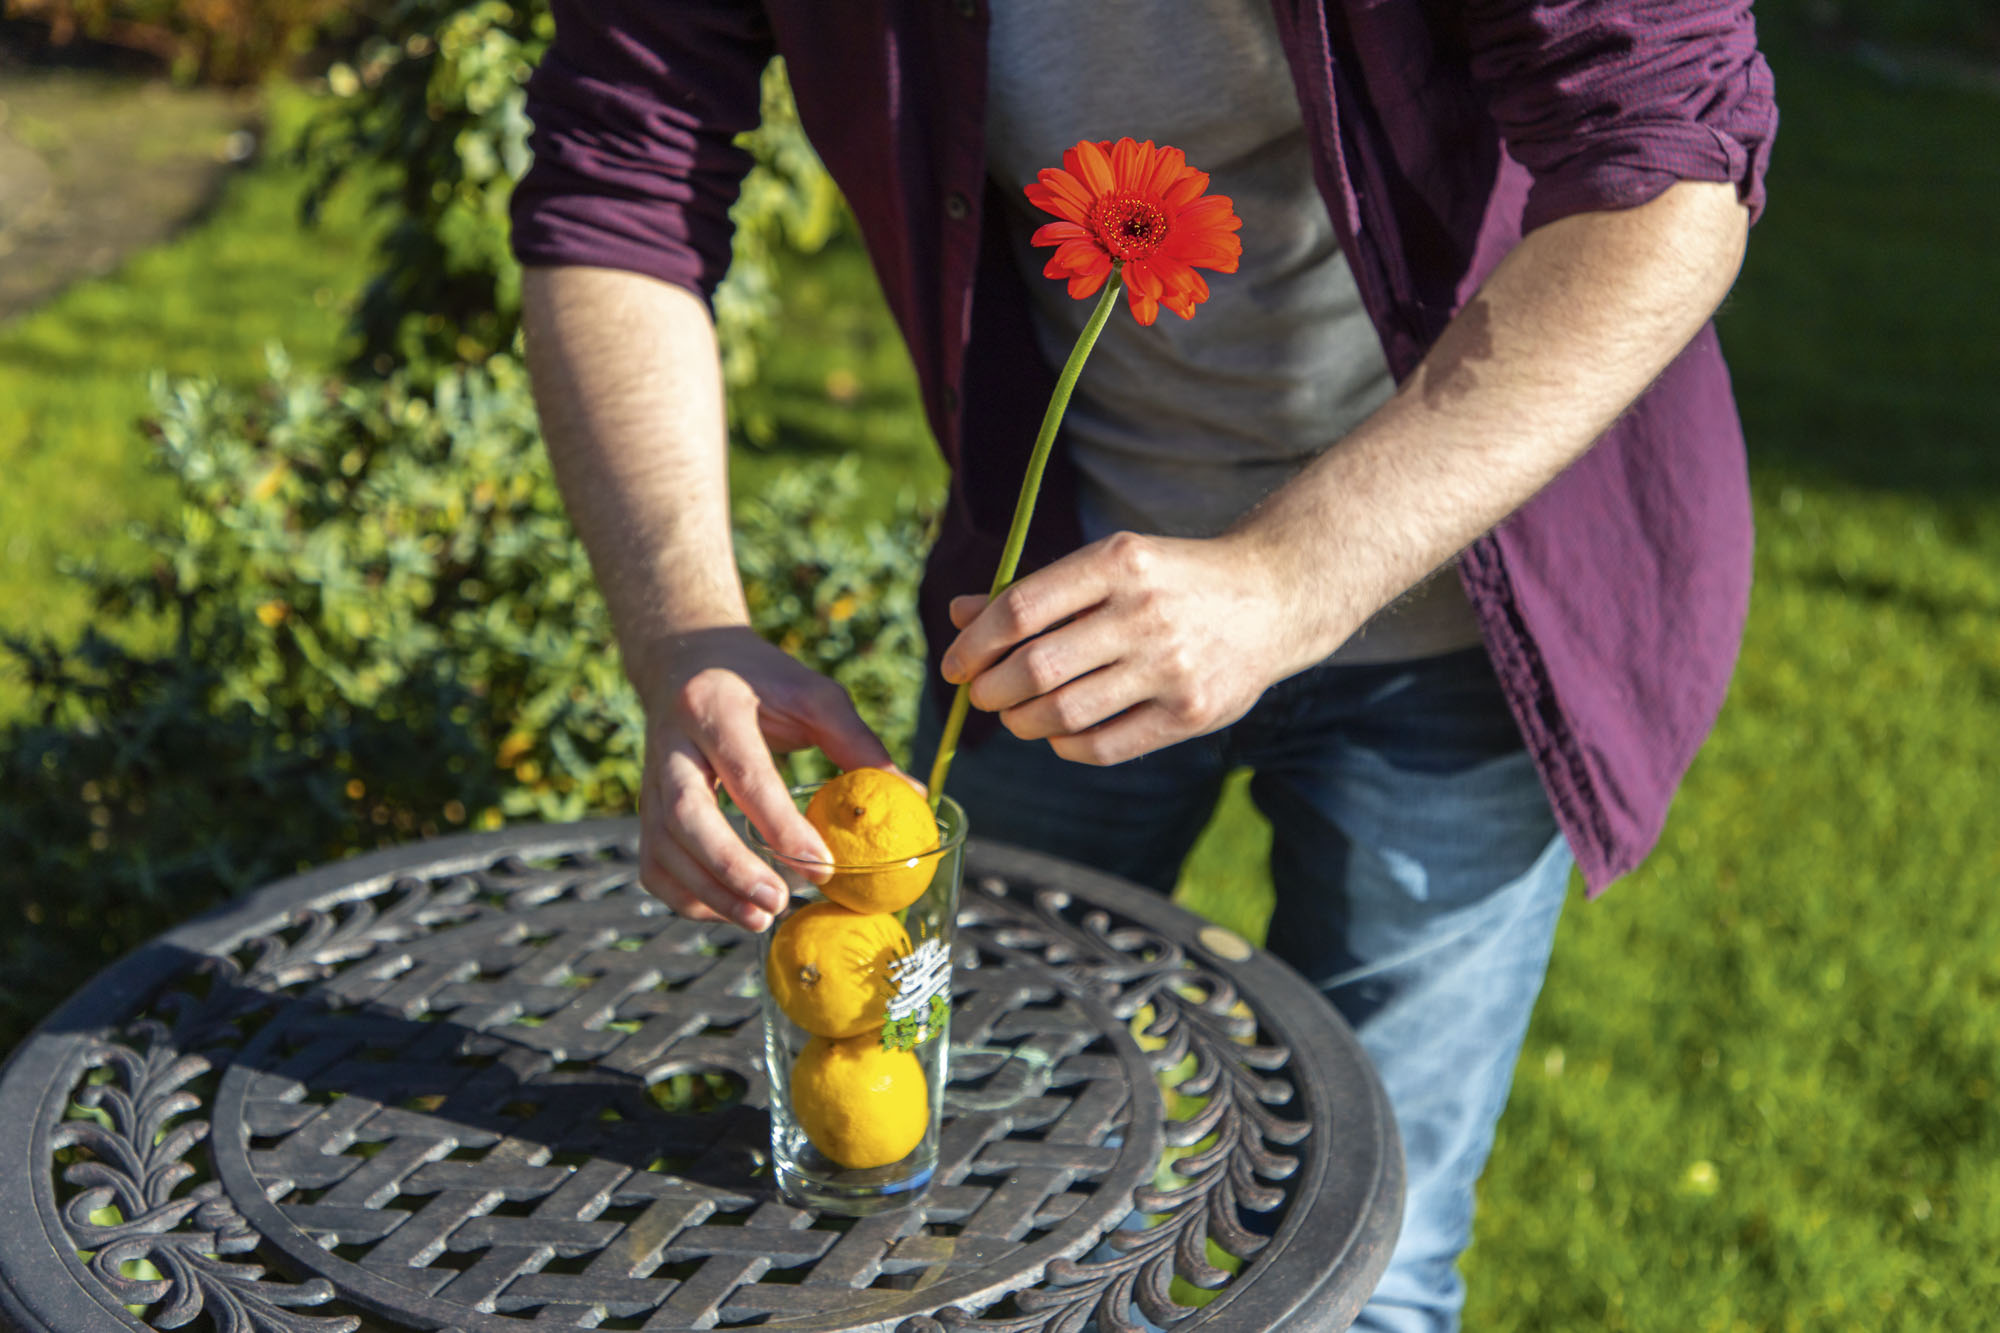
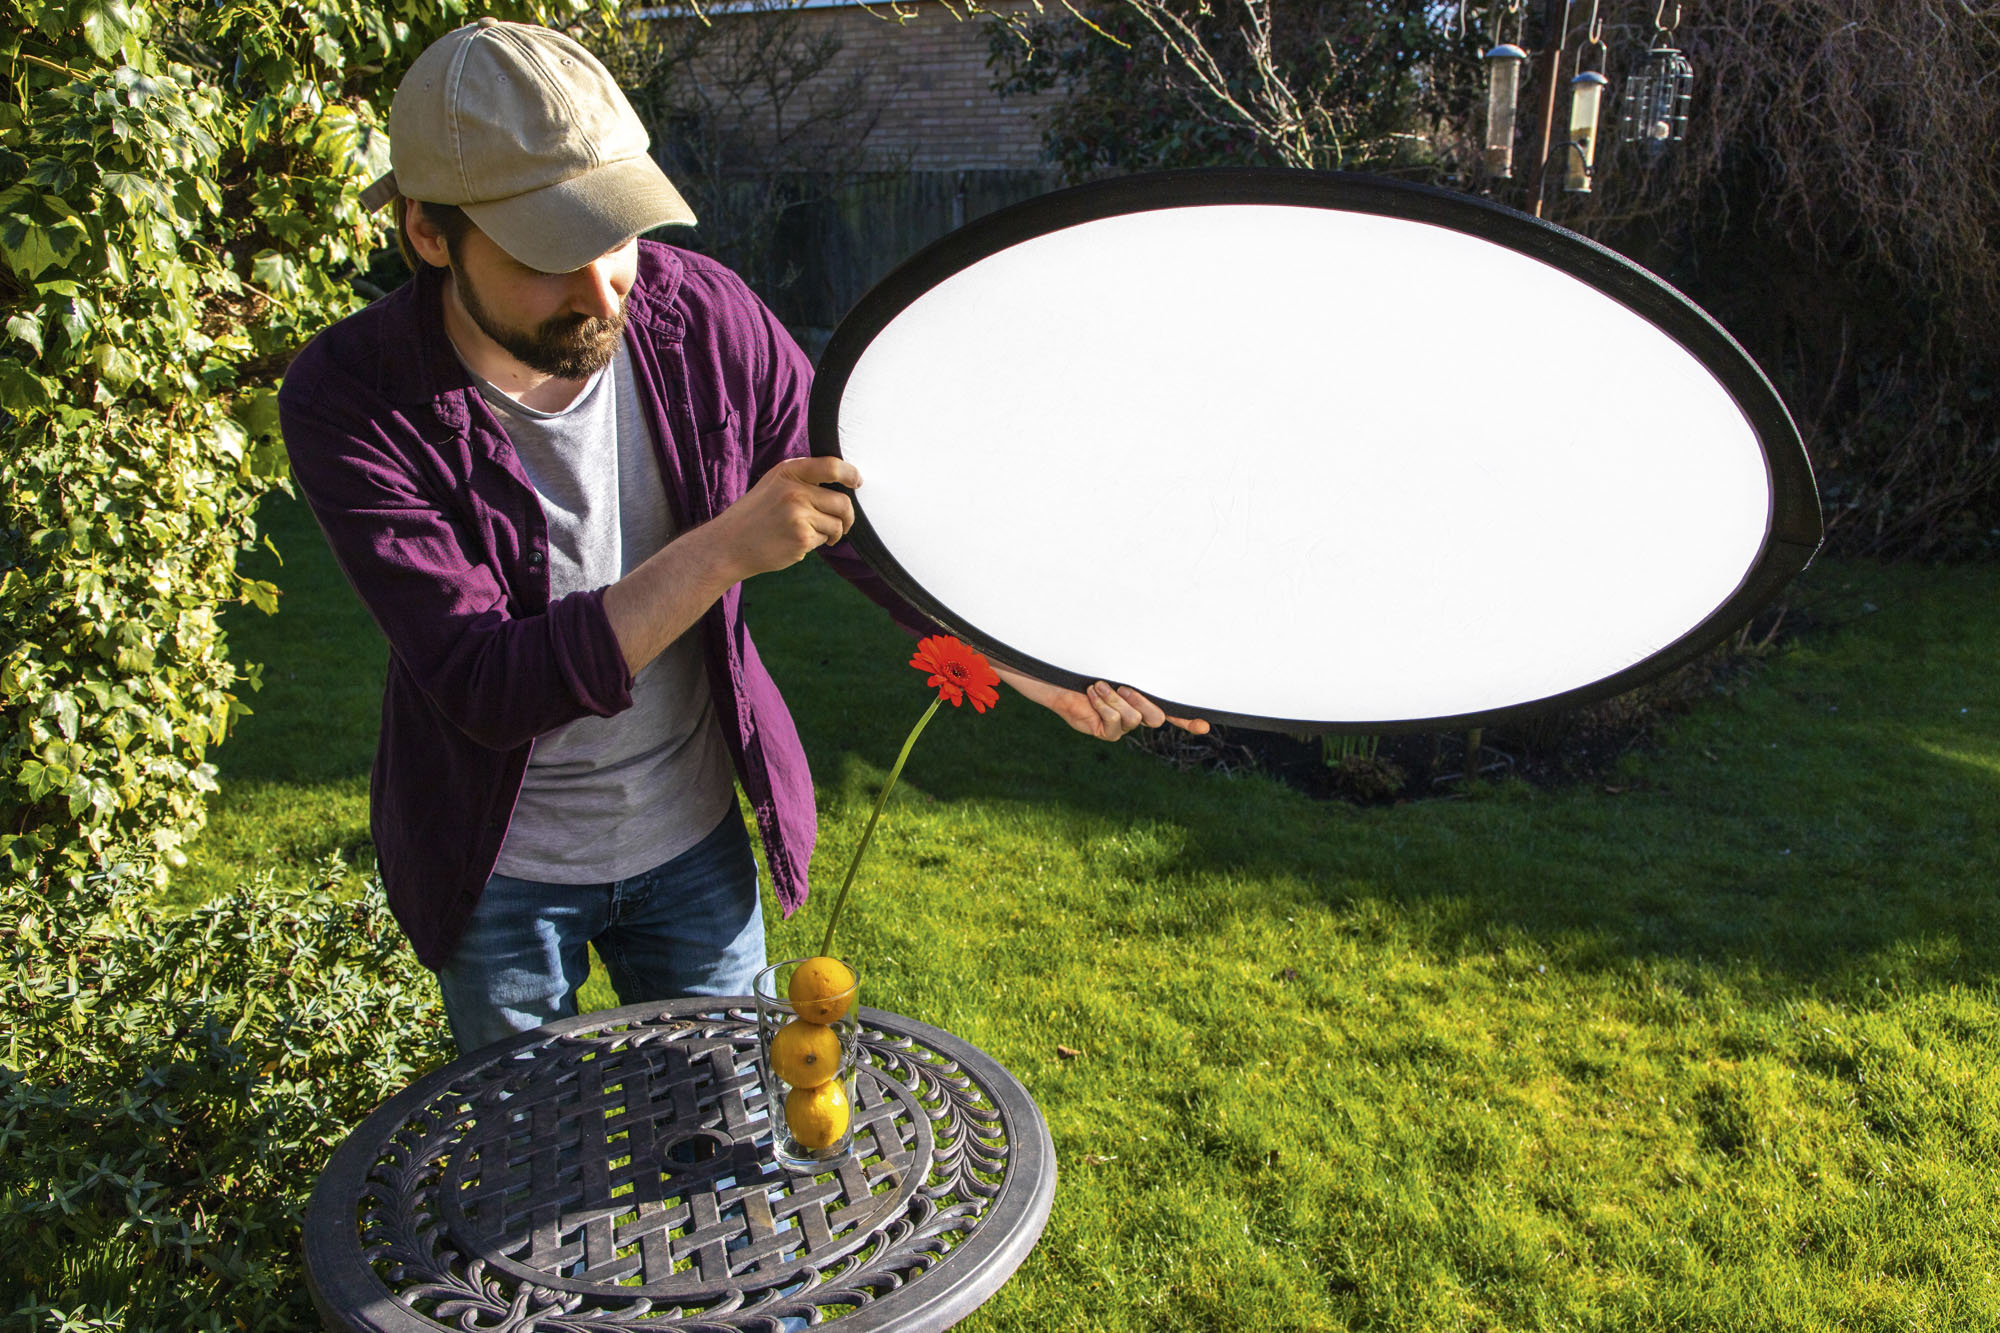
We set up this shop-bought gerbera in our garden using a sturdy pint glass and added some weight with three lemons, which also helps keep the flower stem snug and secure. You can absolutely use flowers that are already in your garden instead, but just be aware that they may blow around a bit more, making it harder to achieve precise focus.
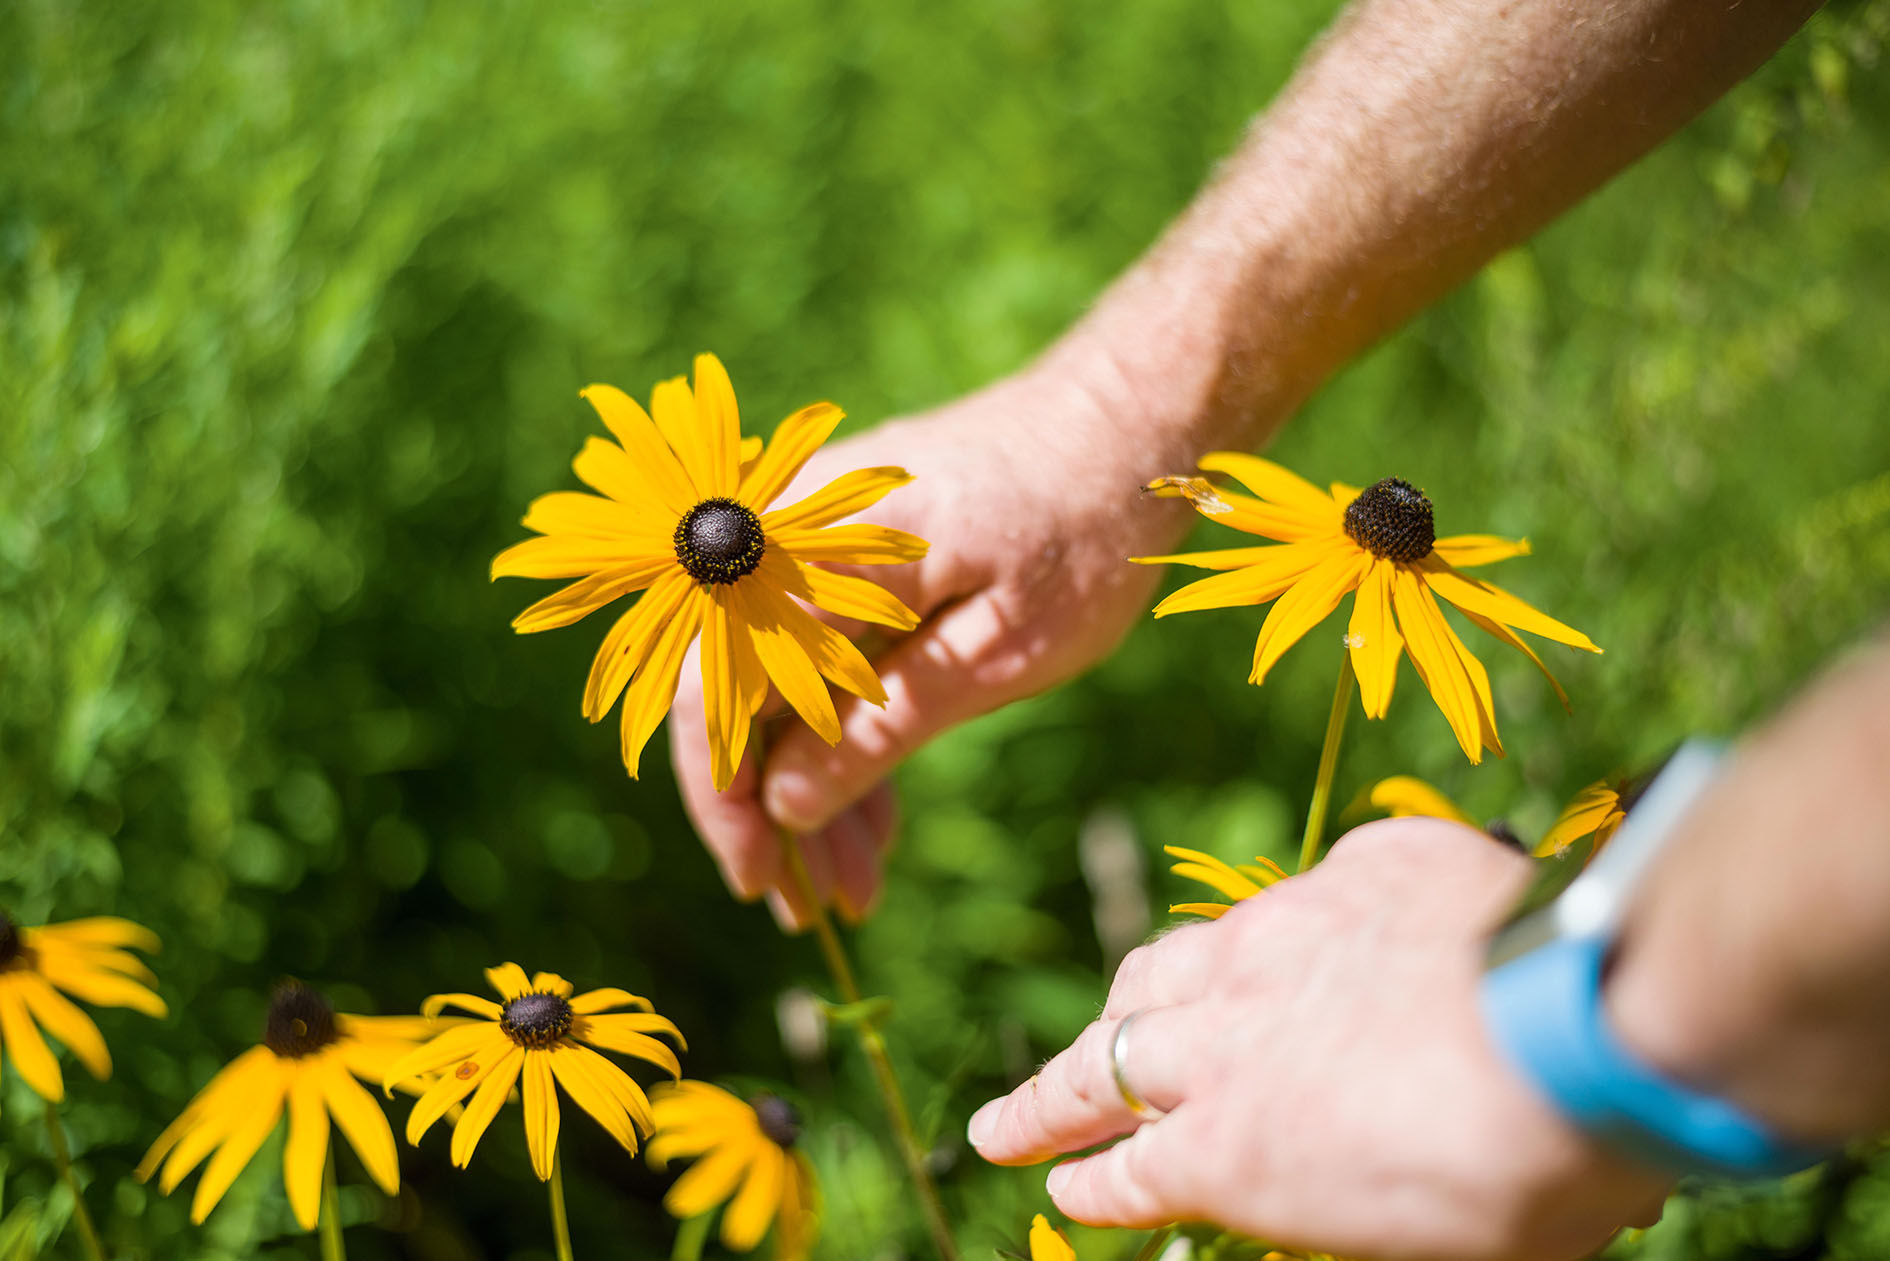
You’ll also want to carefully brush off any dirt, debris or cobwebs so that the flower head is pristine, as this will save you time cleaning the shot up in Photoshop later.
2. Experiment with depth of field
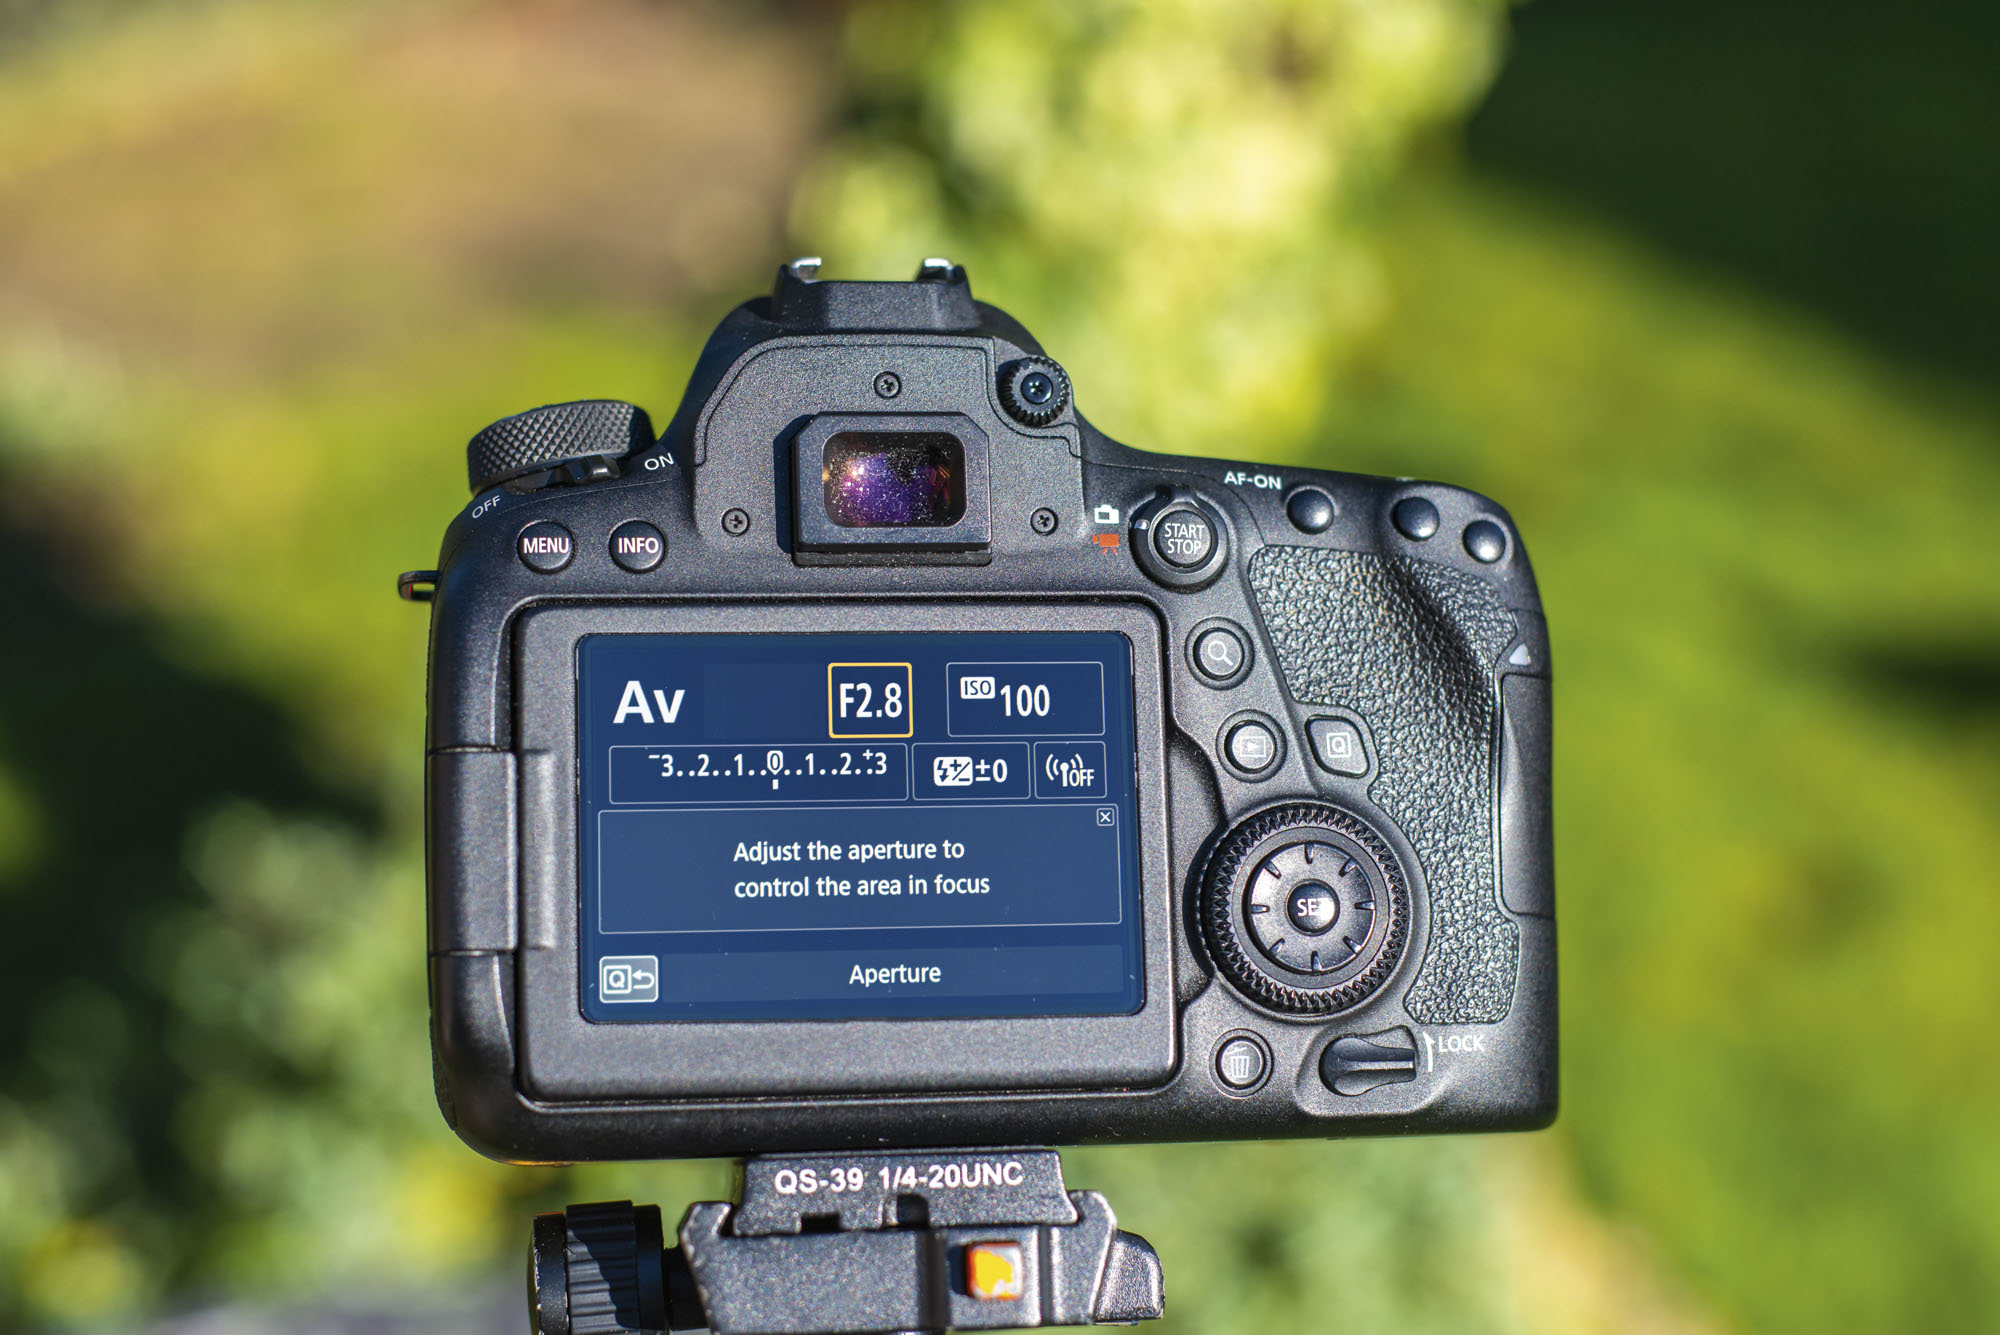
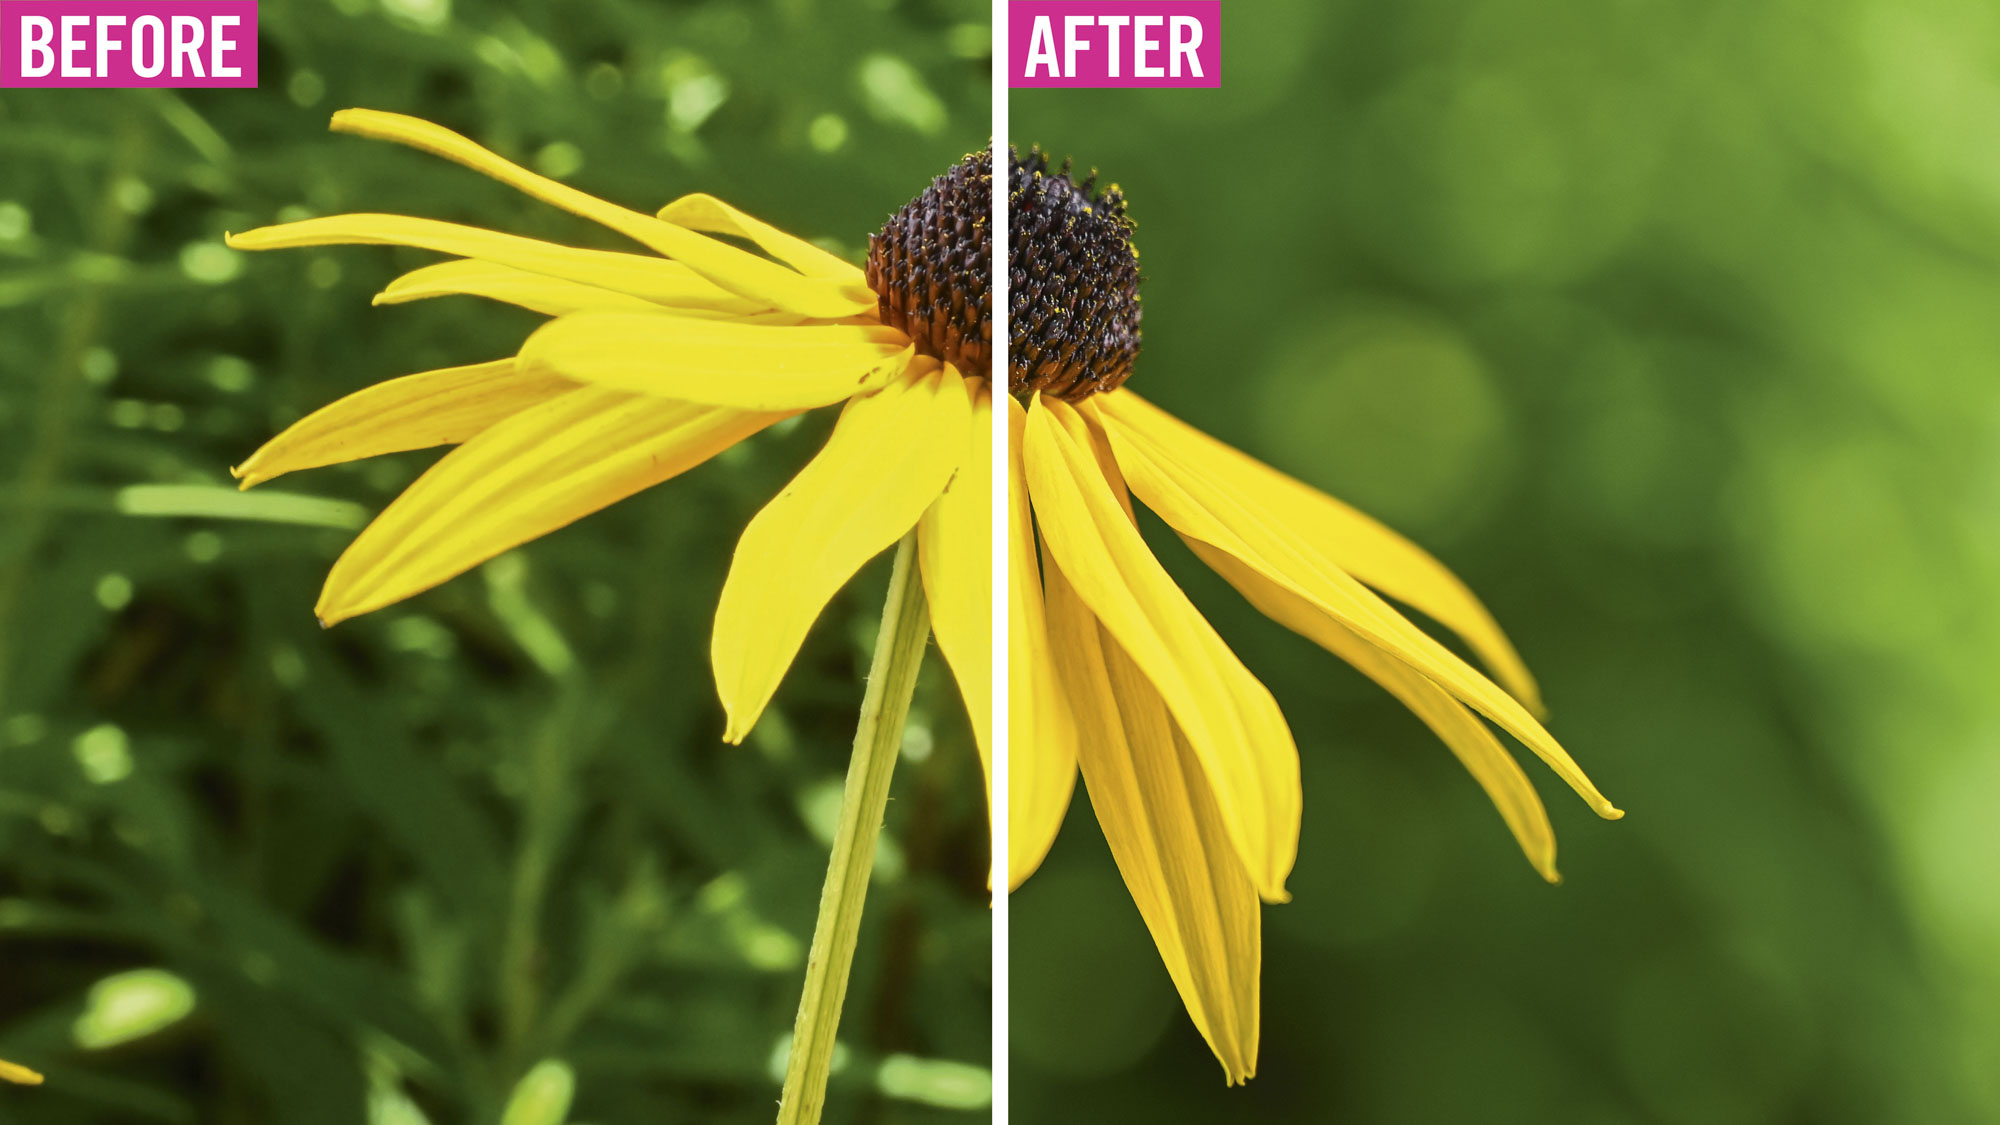
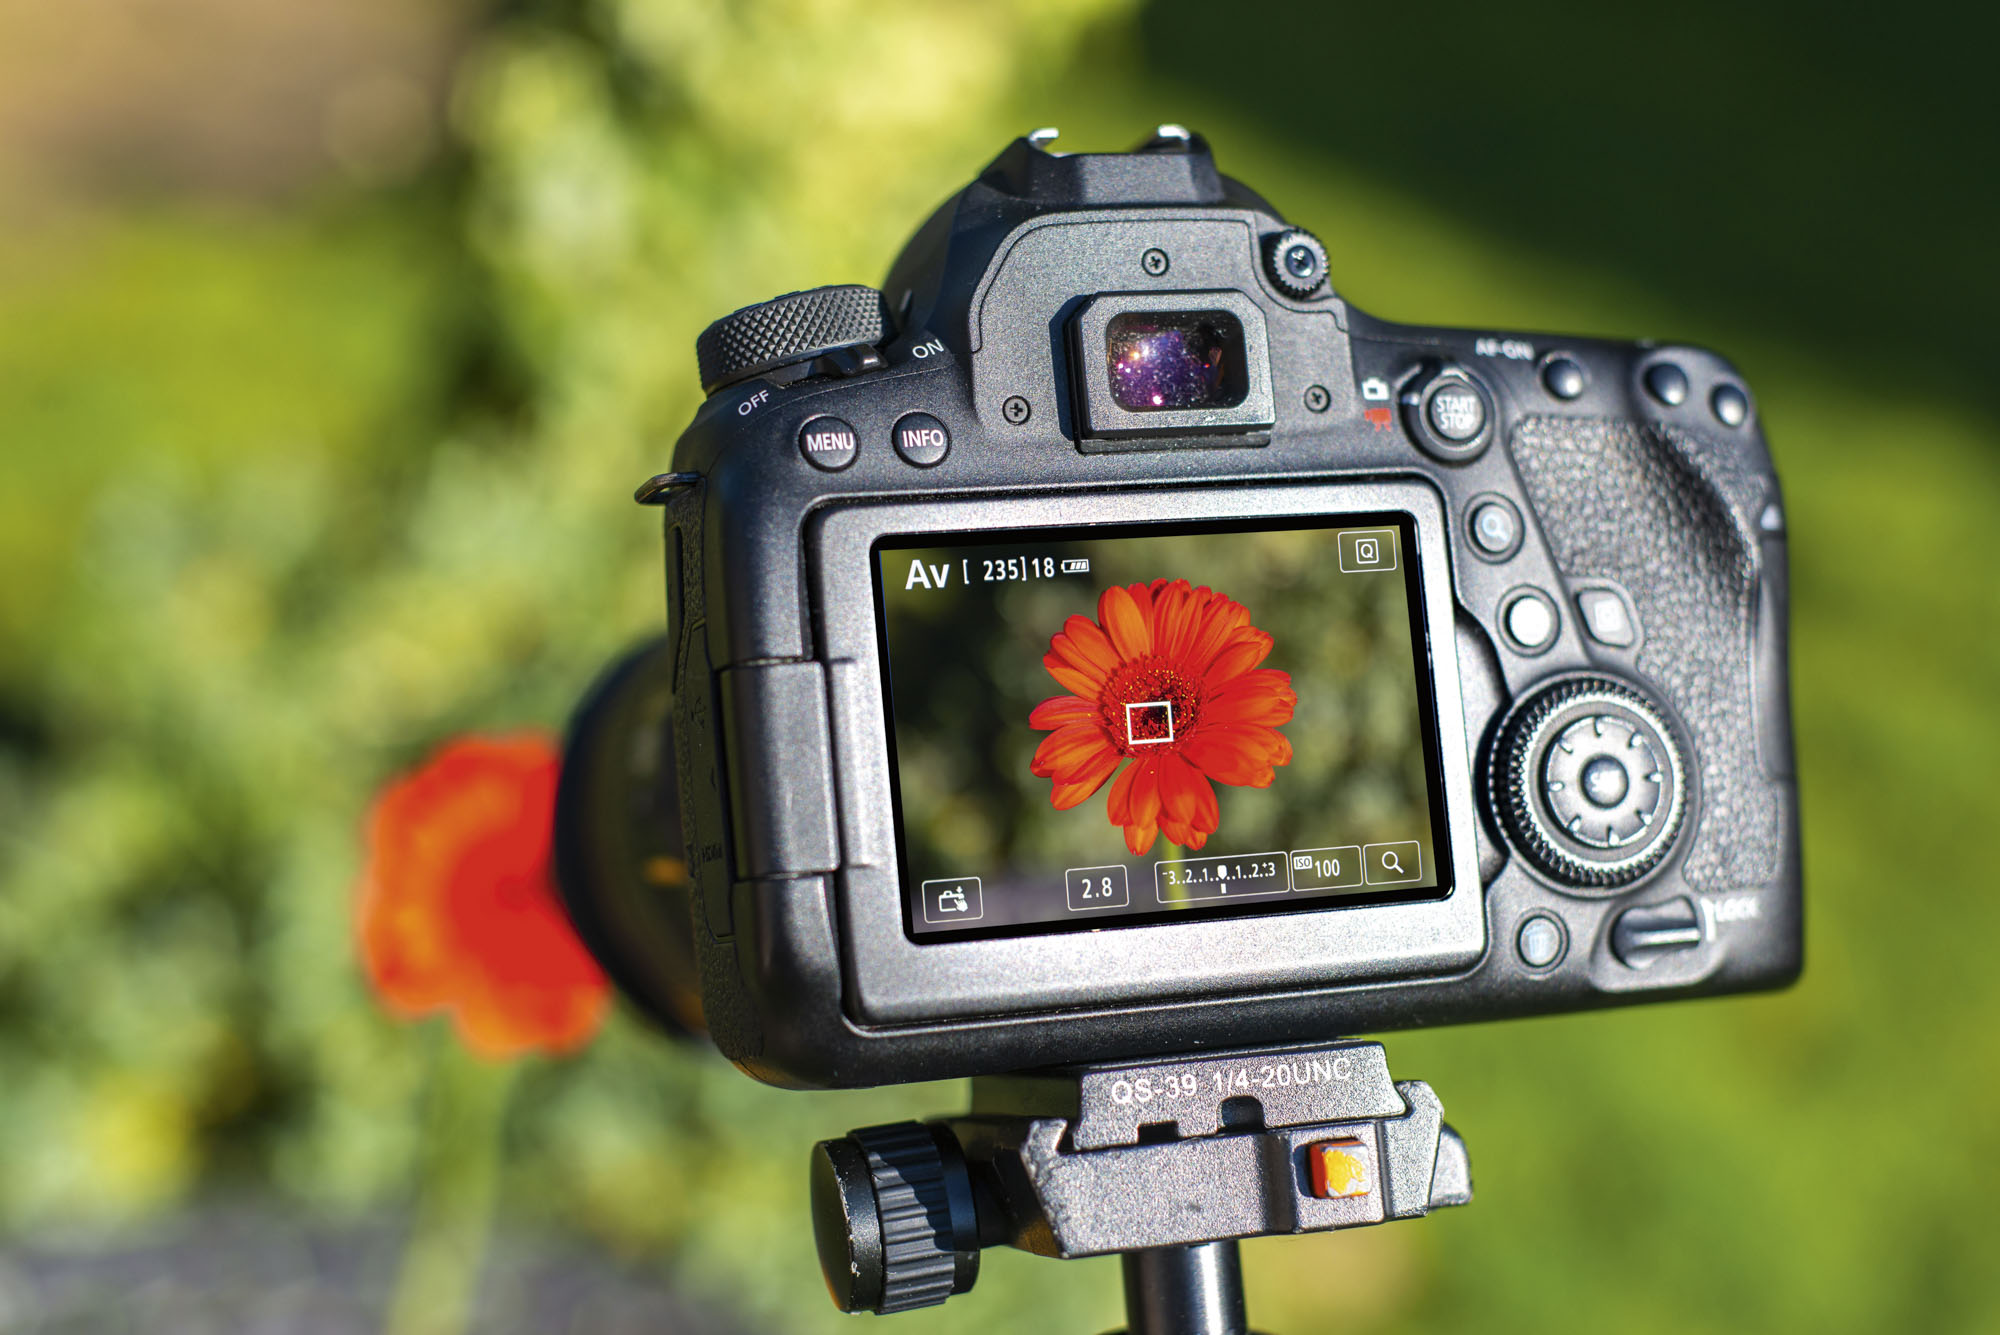
A scrappy background can be the difference between a mediocre shot and a great one, so be sure to pay attention to what’s behind your subject. You can blur the backdrop by opening up the aperture to a wider value, such as f/2.8 or f/1.8 if your lens supports it.
The best camera deals, reviews, product advice, and unmissable photography news, direct to your inbox!
You could also move your flower further away from the background to increase the distance, which will make it easier to blur and create subject separation. Another option is to move closer to your subject if you have a shorter focusing distance, as the closer you can focus, the easier you’ll find it is to blur the background. Bear all three of these variables in mind, and work towards a shallow depth of field that will help separate the flower from the background.
3. Find the stigma
The center of your flower – or the stigma or stamens – should be your focal point if visible. We placed a single active focus point on the center of our flower and zoomed in using Live View to make sure it was pin-sharp. Any tiny movement to the camera or wind blowing the flower can throw your focus off, so be sure to take the shot soon after you’ve focused to give yourself the best chance of getting a sharp image.
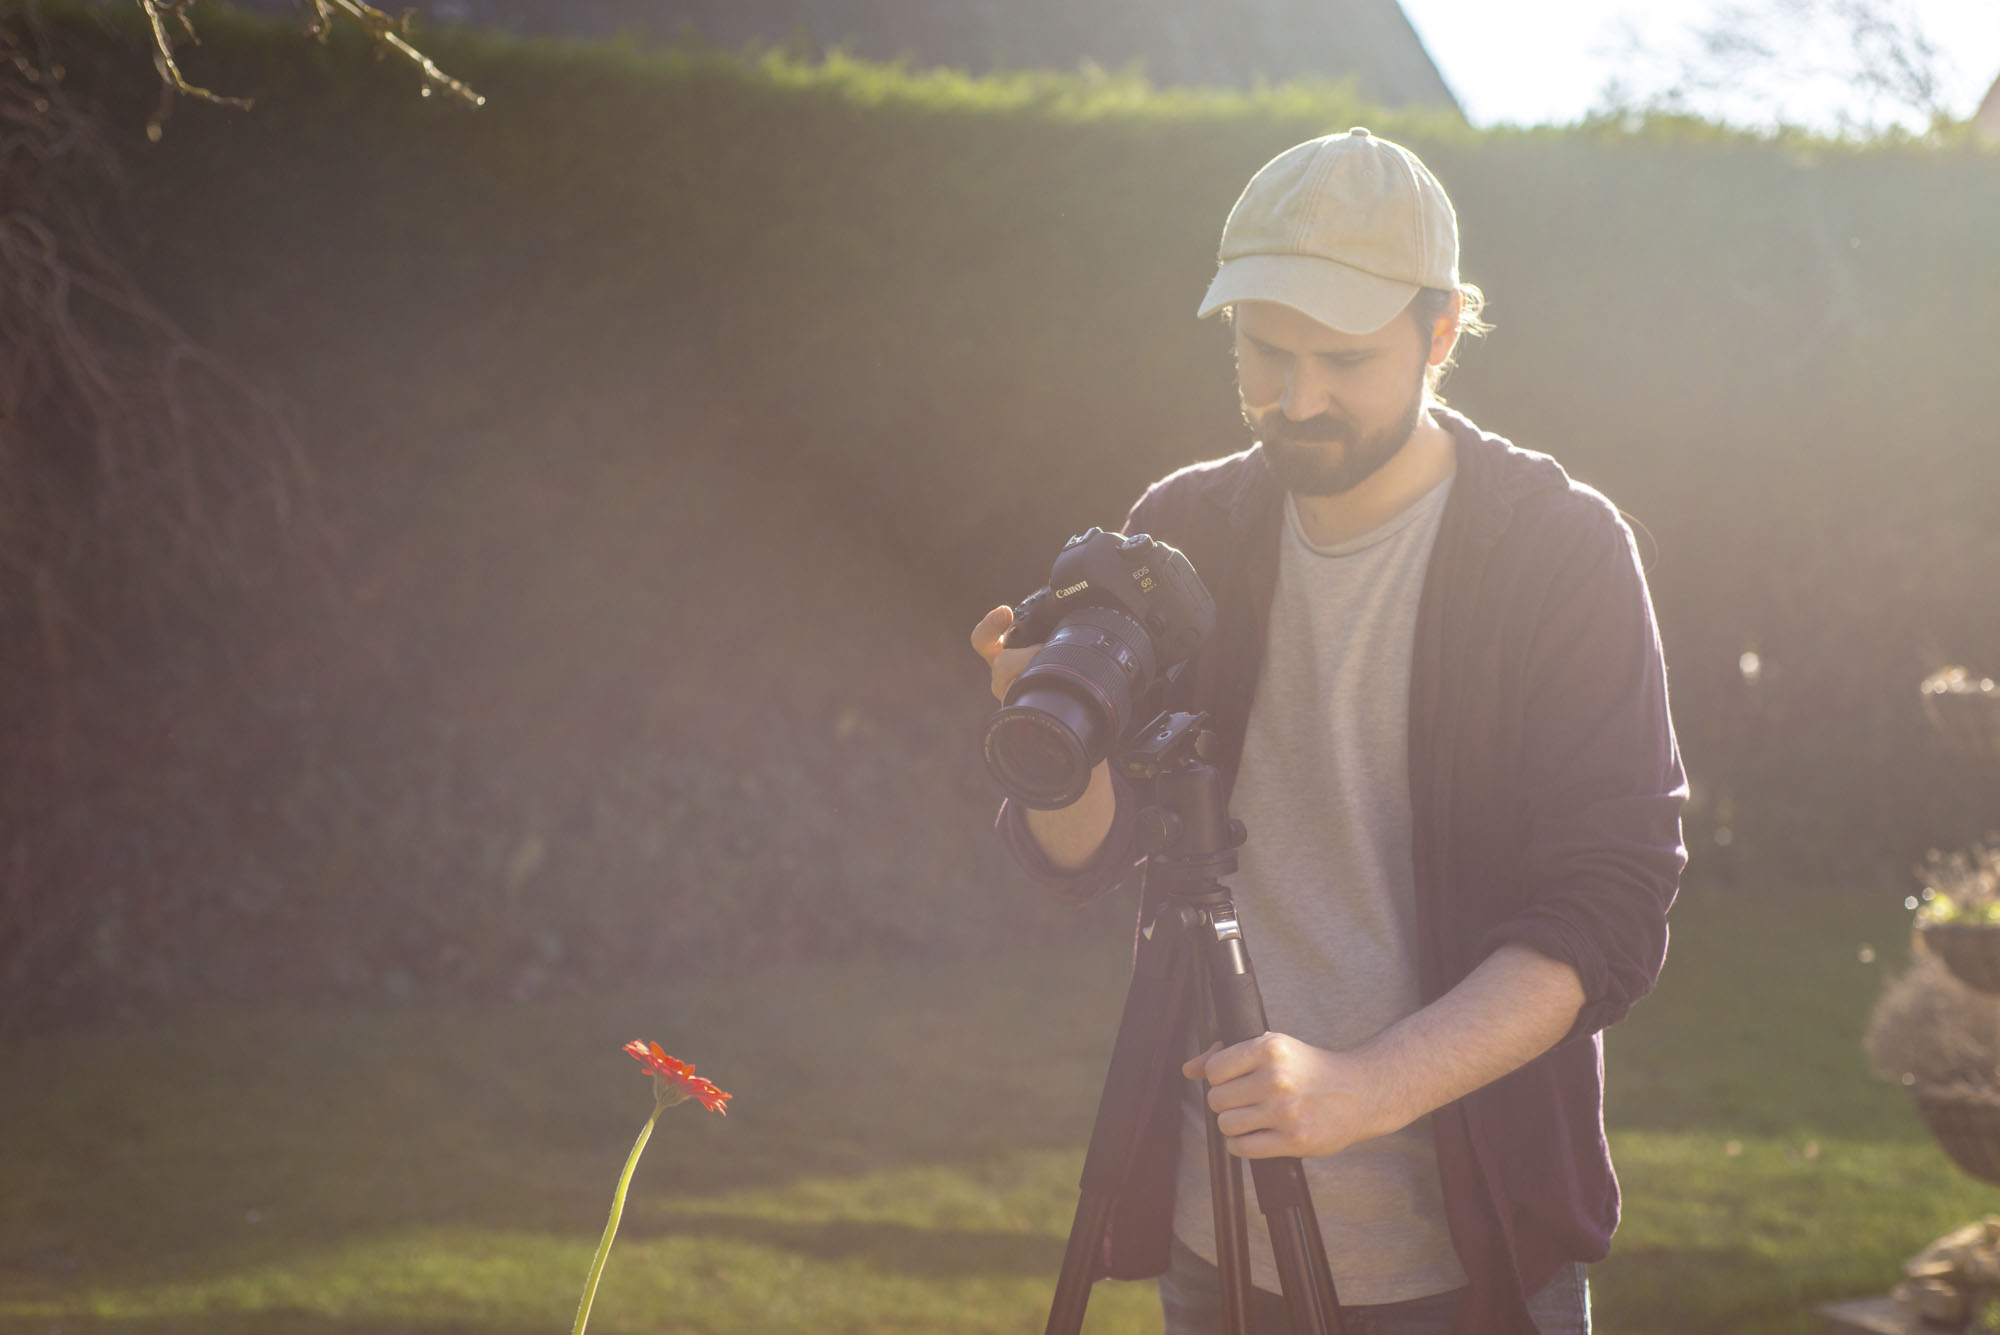
We also used a tripod to help stabilize the camera and switched off image stabilization in the lens (leaving it on can create more blur when you’re shooting on a tripod, as it tries to compensate for non-existent movement). We also turned on the 2-second self-timer, so that the motion of pressing the shutter button didn’t introduce shake.
4. Diffuse the sunlight
We’d recommend photographing flowers on an overcast day or when the sun is lower in the sky, so the light isn’t coming from directly above, which can look very harsh. If you have no choice but to shoot in the middle of a sunny day, a diffuser, also called a ‘scrim’, can be placed between your subject and the sun.
This semi-transparent material helps spread out the light like a softbox, and makes the shadows less harsh. Just make sure that all the light hitting your subject is coming through the scrim, as you don’t want the frame of your diffuser in shot as this will produce an obvious shadow.
More videos:
Best camera for product photography
Photography tips and techniques videos
5 tips and tricks for using macro lenses

In addition to being a freelance photographer and filmmaker, Dan is a bona fide expert on all things Canon and Adobe. Not only is he an Adobe-certified Photoshop guru, he's spent over 10 years writing for specialist magazines including stints as the Deputy Editor for PhotoPlus: The Canon Magazine, Technical Editor for Practical Photography and Photoshop Editor on Digital Photo.
