Mist opportunities! How to take top landscape photos in mist and fog
Feeling foggy? Mist can lead to stunning landscape photos - find out how to predict and prepare a foggy shoot
The best camera deals, reviews, product advice, and unmissable photography news, direct to your inbox!
You are now subscribed
Your newsletter sign-up was successful
Watch video: Get that foggy feeling
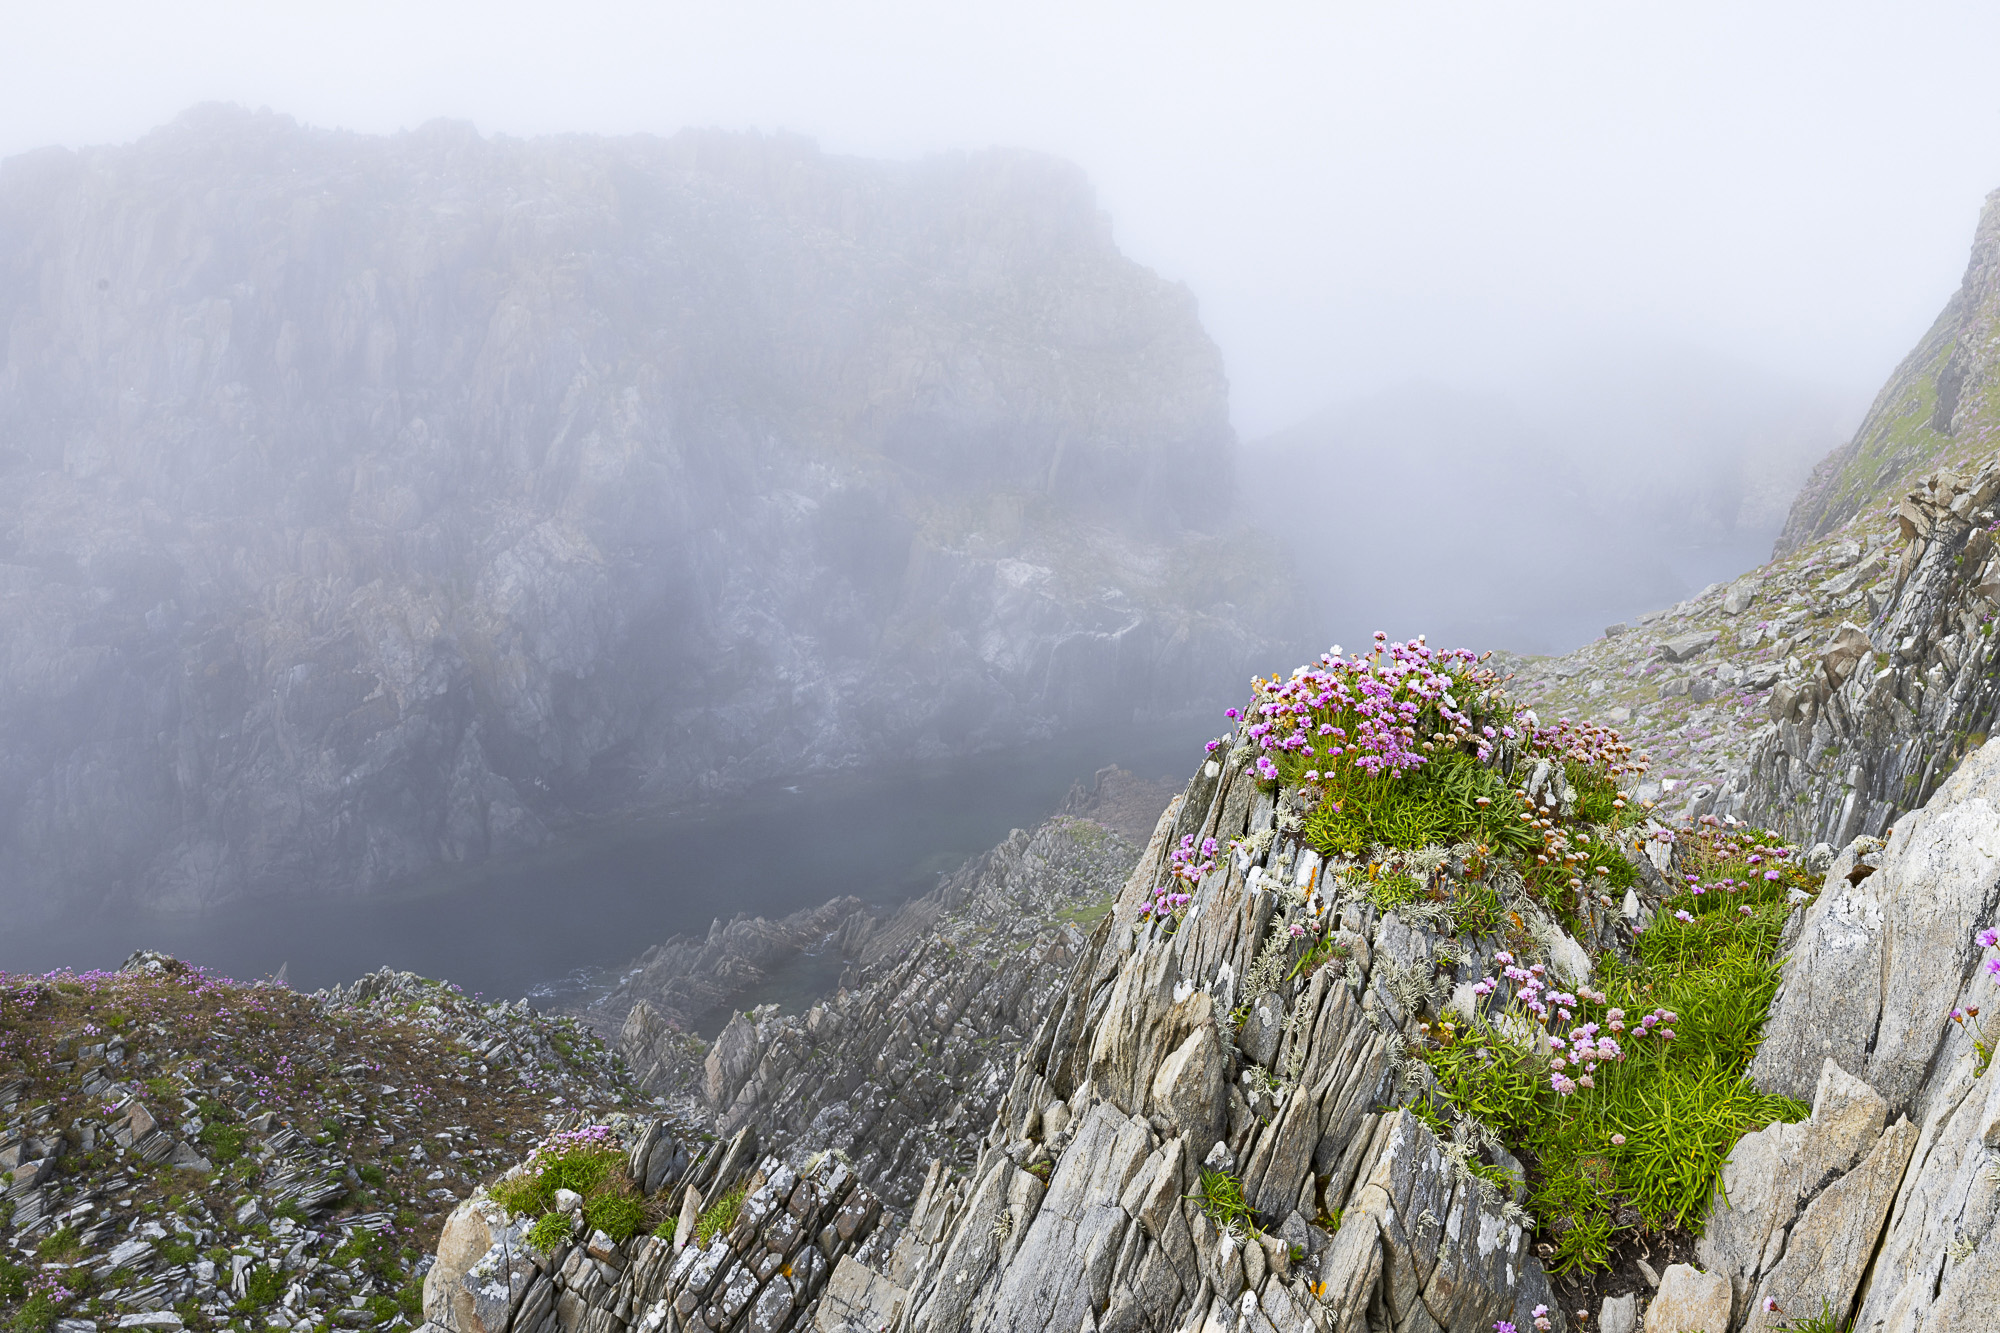
Whether it’s a pea- souper or morning mist, the magical thing about fog is how it can completely transform even the most mundane scene into something stunning. There are two main reasons why. First, it’s about the atmosphere. Fog creates a mood of its own. In visual terms it diffuses the light and mutes the colours, but on an emotional level it creates feelings of calmness, serenity or mystery. It allows you to create images that evoke a feeling. The second reason is purely visual.
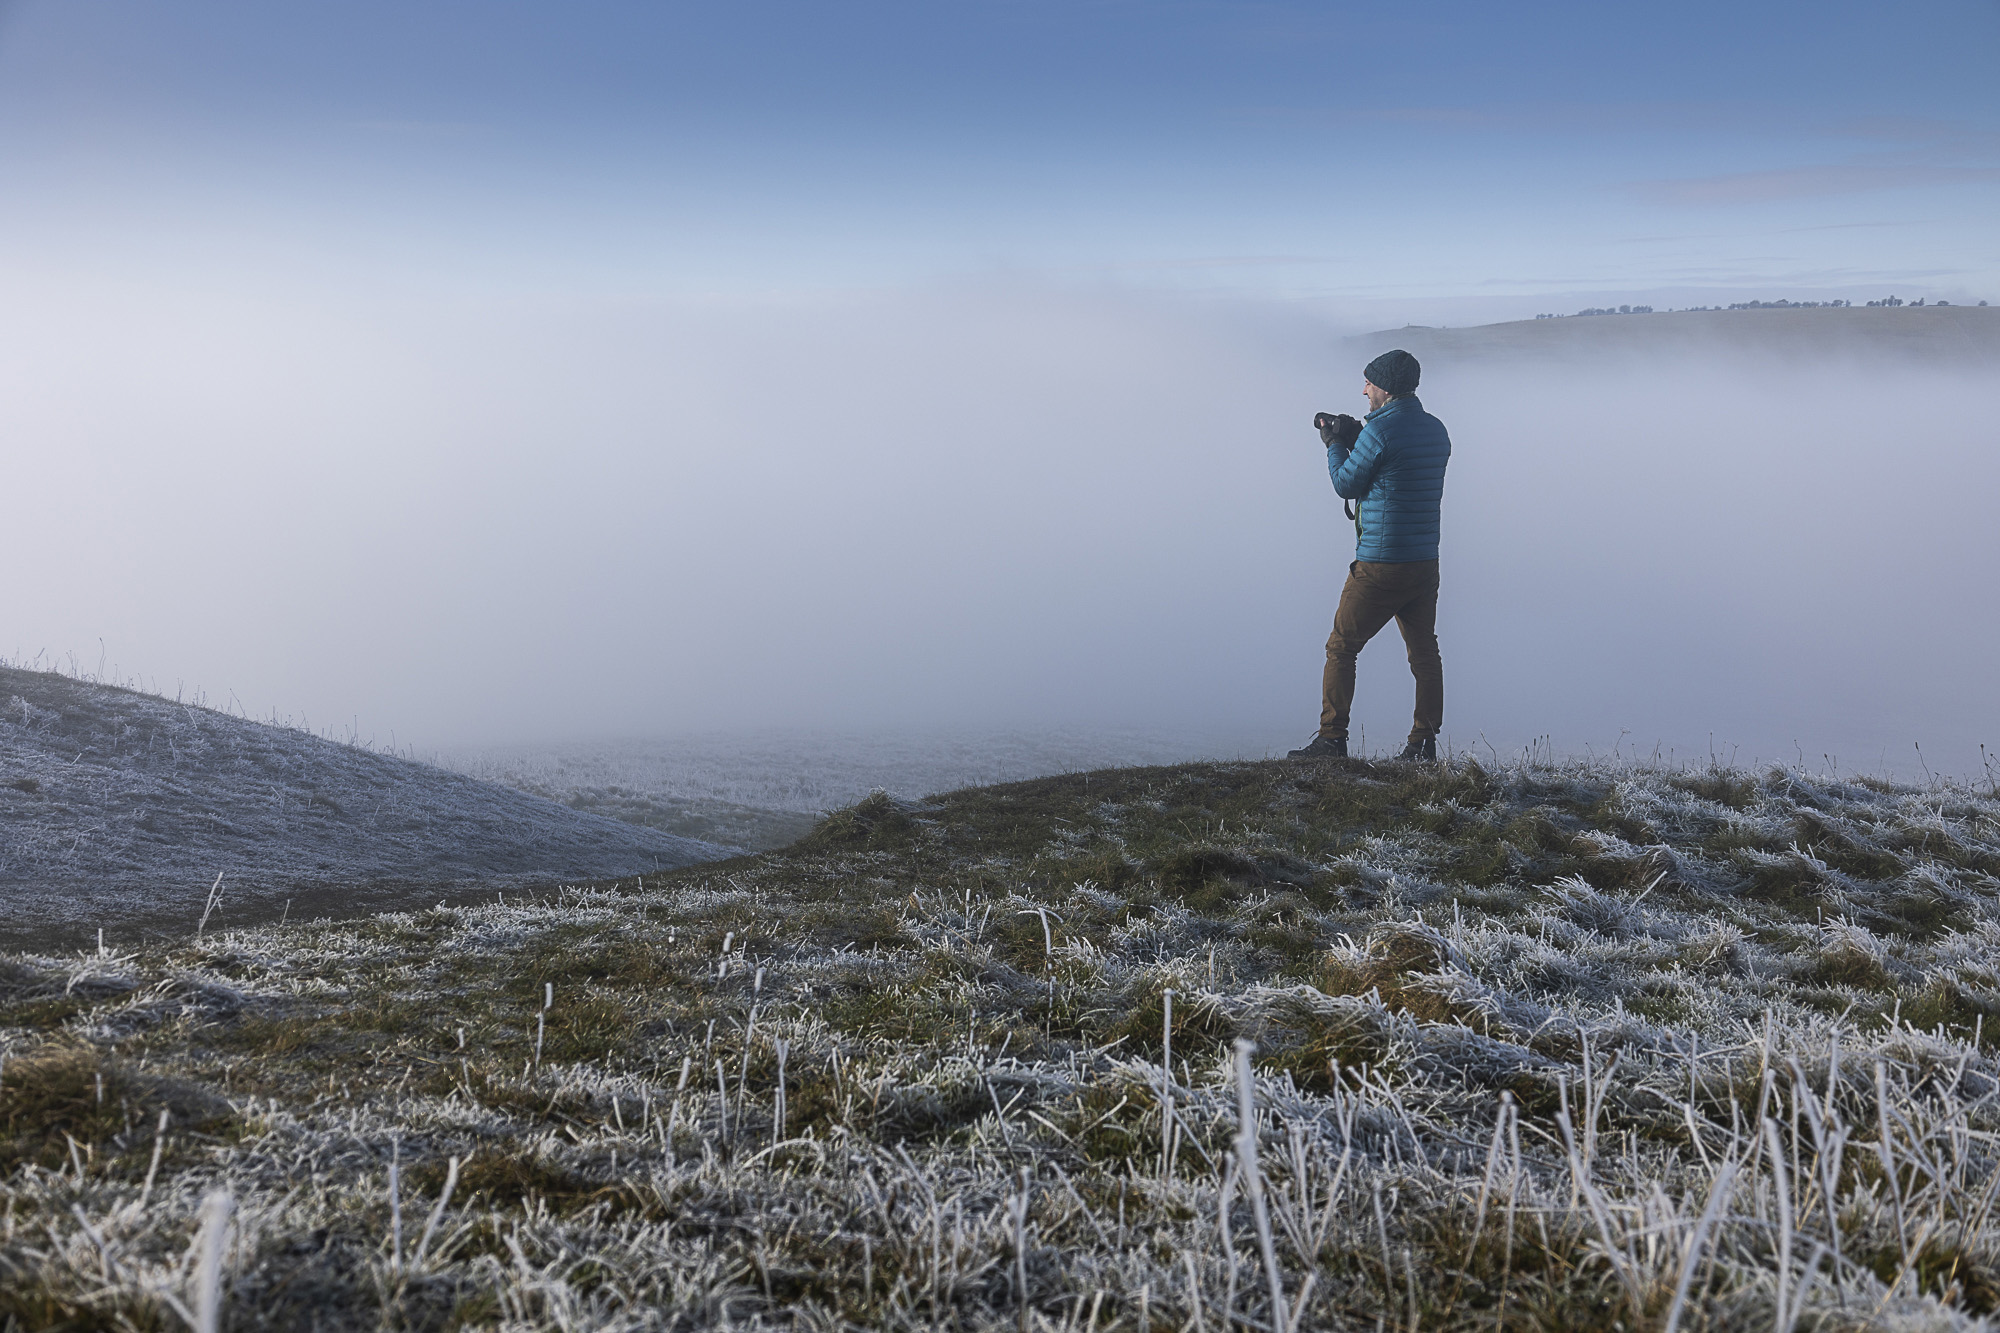
Mist and fog creates separation. As the scene recedes, the distant elements fade out to grey. This offers an opportunity not to be missed, as it means you can compose in a completely new way. A scene that, at other times, might be dismissed as being too busy or cluttered may become starkly simple when the mist descends. A tall building fades out into oblivion, a row of trees stands out from the foggy forest, a shrouded hilltop resembles an island, a person becomes a ghostly silhouette. It’s this transformative power of fog that should have you grabbing your camera in misty conditions.
But how can we predict when fog will occur? What are the optimum conditions, where are we most likely to find it, and what’s the best technique for capturing it? Figuring this out involves a bit of amateur meteorology, but thankfully there are resources out there that can help. In this project I explain how to predict and prepare for stunning foggy photos.
1. How fog forms
Fog forms when the air temperature and dew point (the temperature at which water vapour turns to liquid) are close to one another. The air takes the moisture from the land, and becomes wet. It can occur if the air is cooled to the dew point temperature, or if water from the land evaporates into warm air.
2. Check the predictions
Look out for damp days followed by windless mornings with warmer temps, or frost followed by clear warm skies. The websites Clear Outside and wr.no are useful for fog forecasts, as they helpfully list a percentage chance of fog as well as the dew point, air temperature and humidity.
3. Head out at first light
While fog can occur at any time of day or night it’s much more frequent in the morning, as this is when the air is cooler and therefore more likely to match the dew point temperature. So head out around sunrise to capture it. Of course, this is also when the light can be at its most beautiful.
The best camera deals, reviews, product advice, and unmissable photography news, direct to your inbox!
4. Wait for burn off
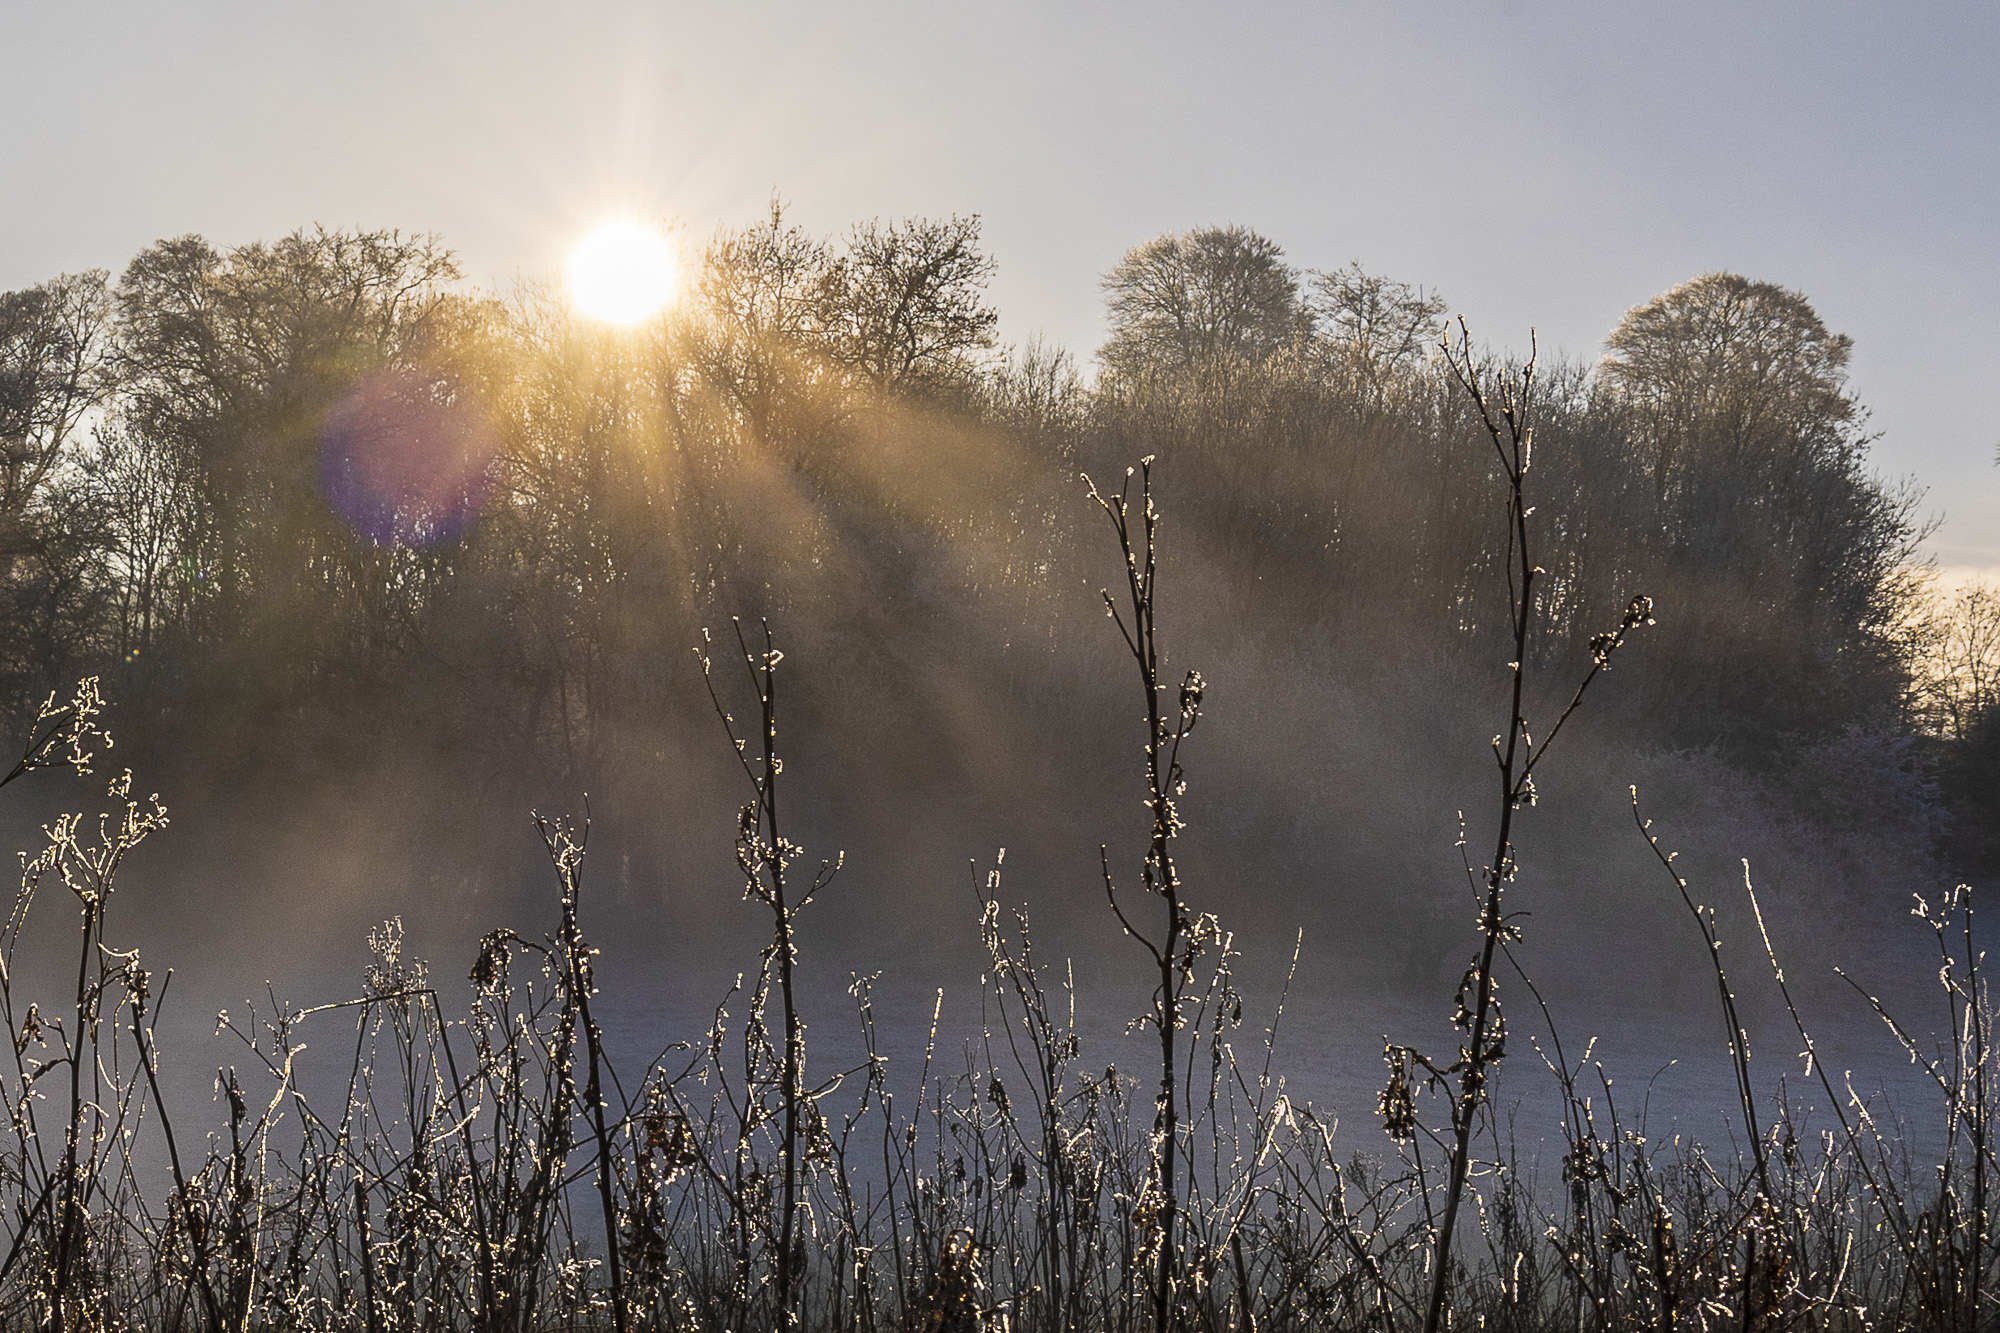
At some point in the morning fog will often be ‘burned off’ by the sun. The sun warms the land, and causes the air to heat up. The air temperature gradually becomes warmer than the dew temperature, so the fog gradually evaporates. This can be a good time to capture sun rays in forests.
5. Long lens compression
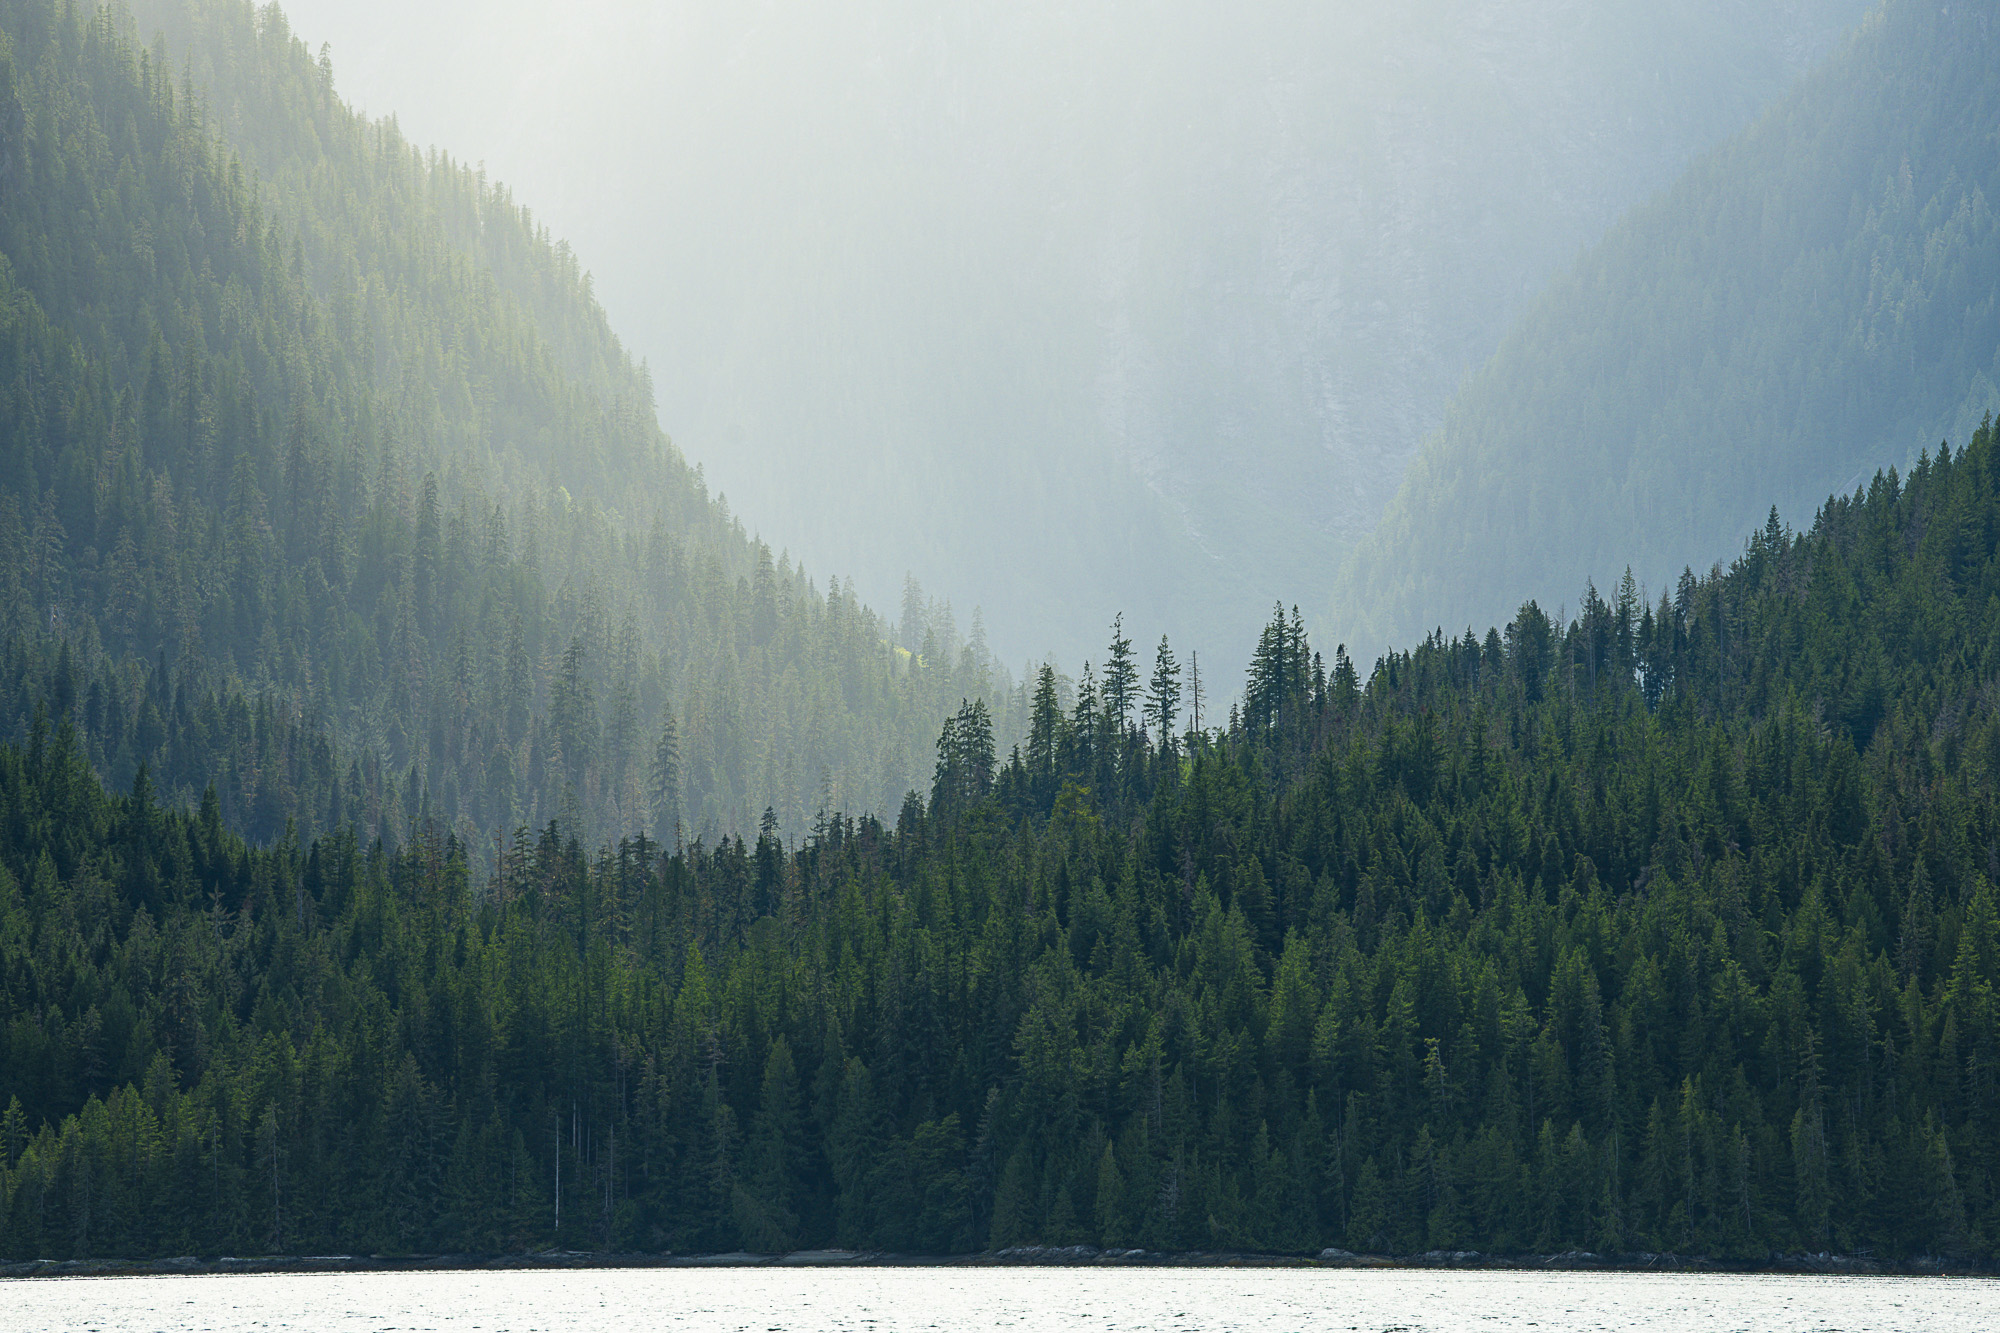
A long lens has a compressing effect on scenes, so that distant elements and foreground details look closer together than they are. This can be ideal for shooting misty scenes, as the mist helps to create layers of separation. So don’t forget to bring a long lens, a 200mm or 300mm focal length is ideal.
6. Shoot near water
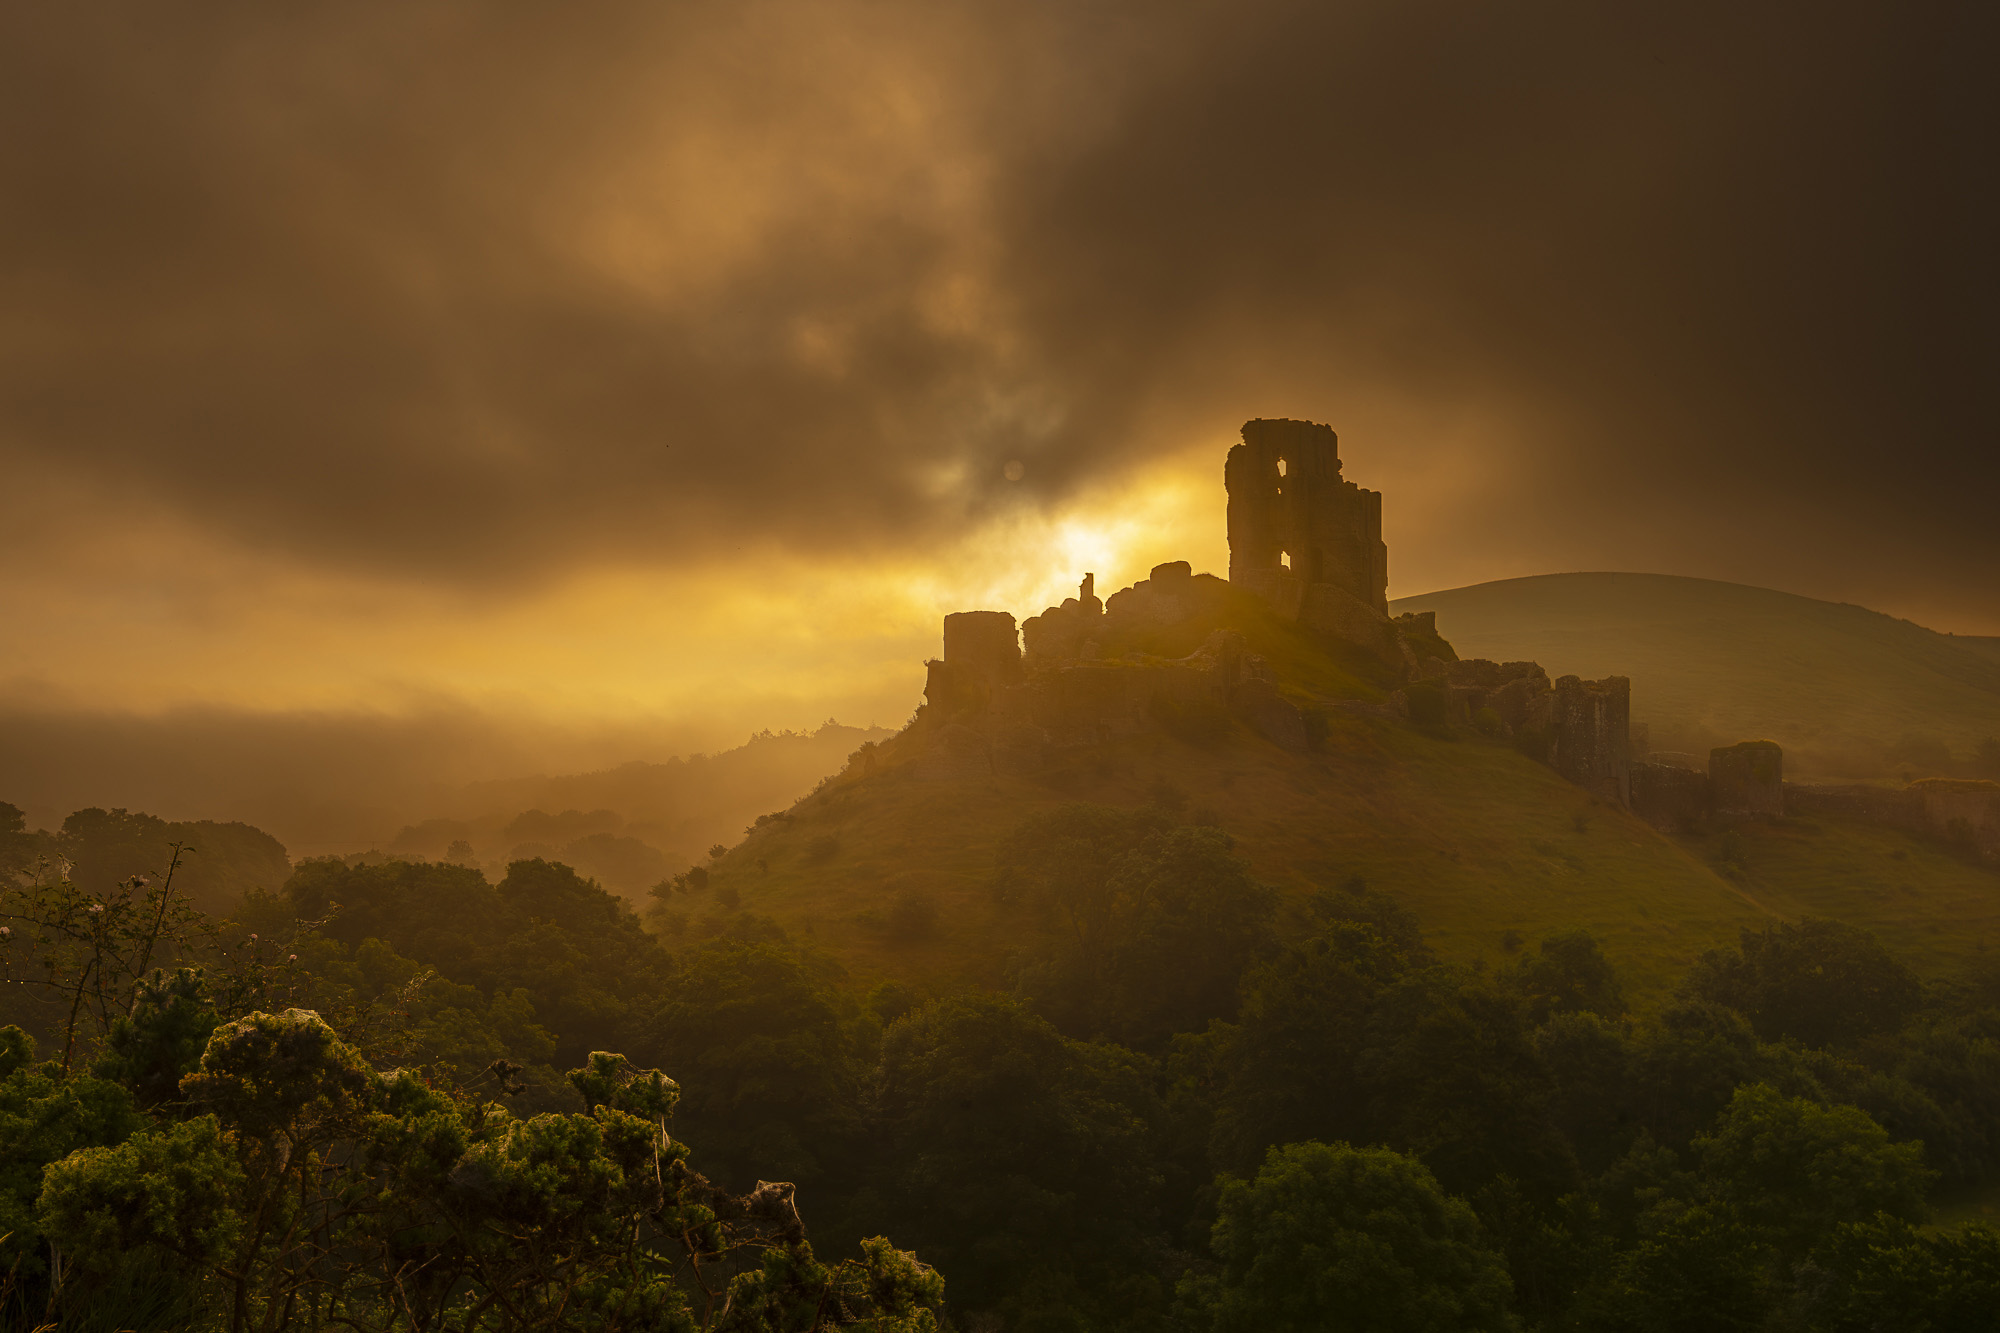
Fog is always more likely near a body of water, and valleys can aid in its formation as cool air will sit in the valley, especially at sunrise. As such, rivers in deep valleys can be ideal locations to scope out if you want morning mist. The river valley around Corfe Castle here is a bankable spot.
7. Use Denoise
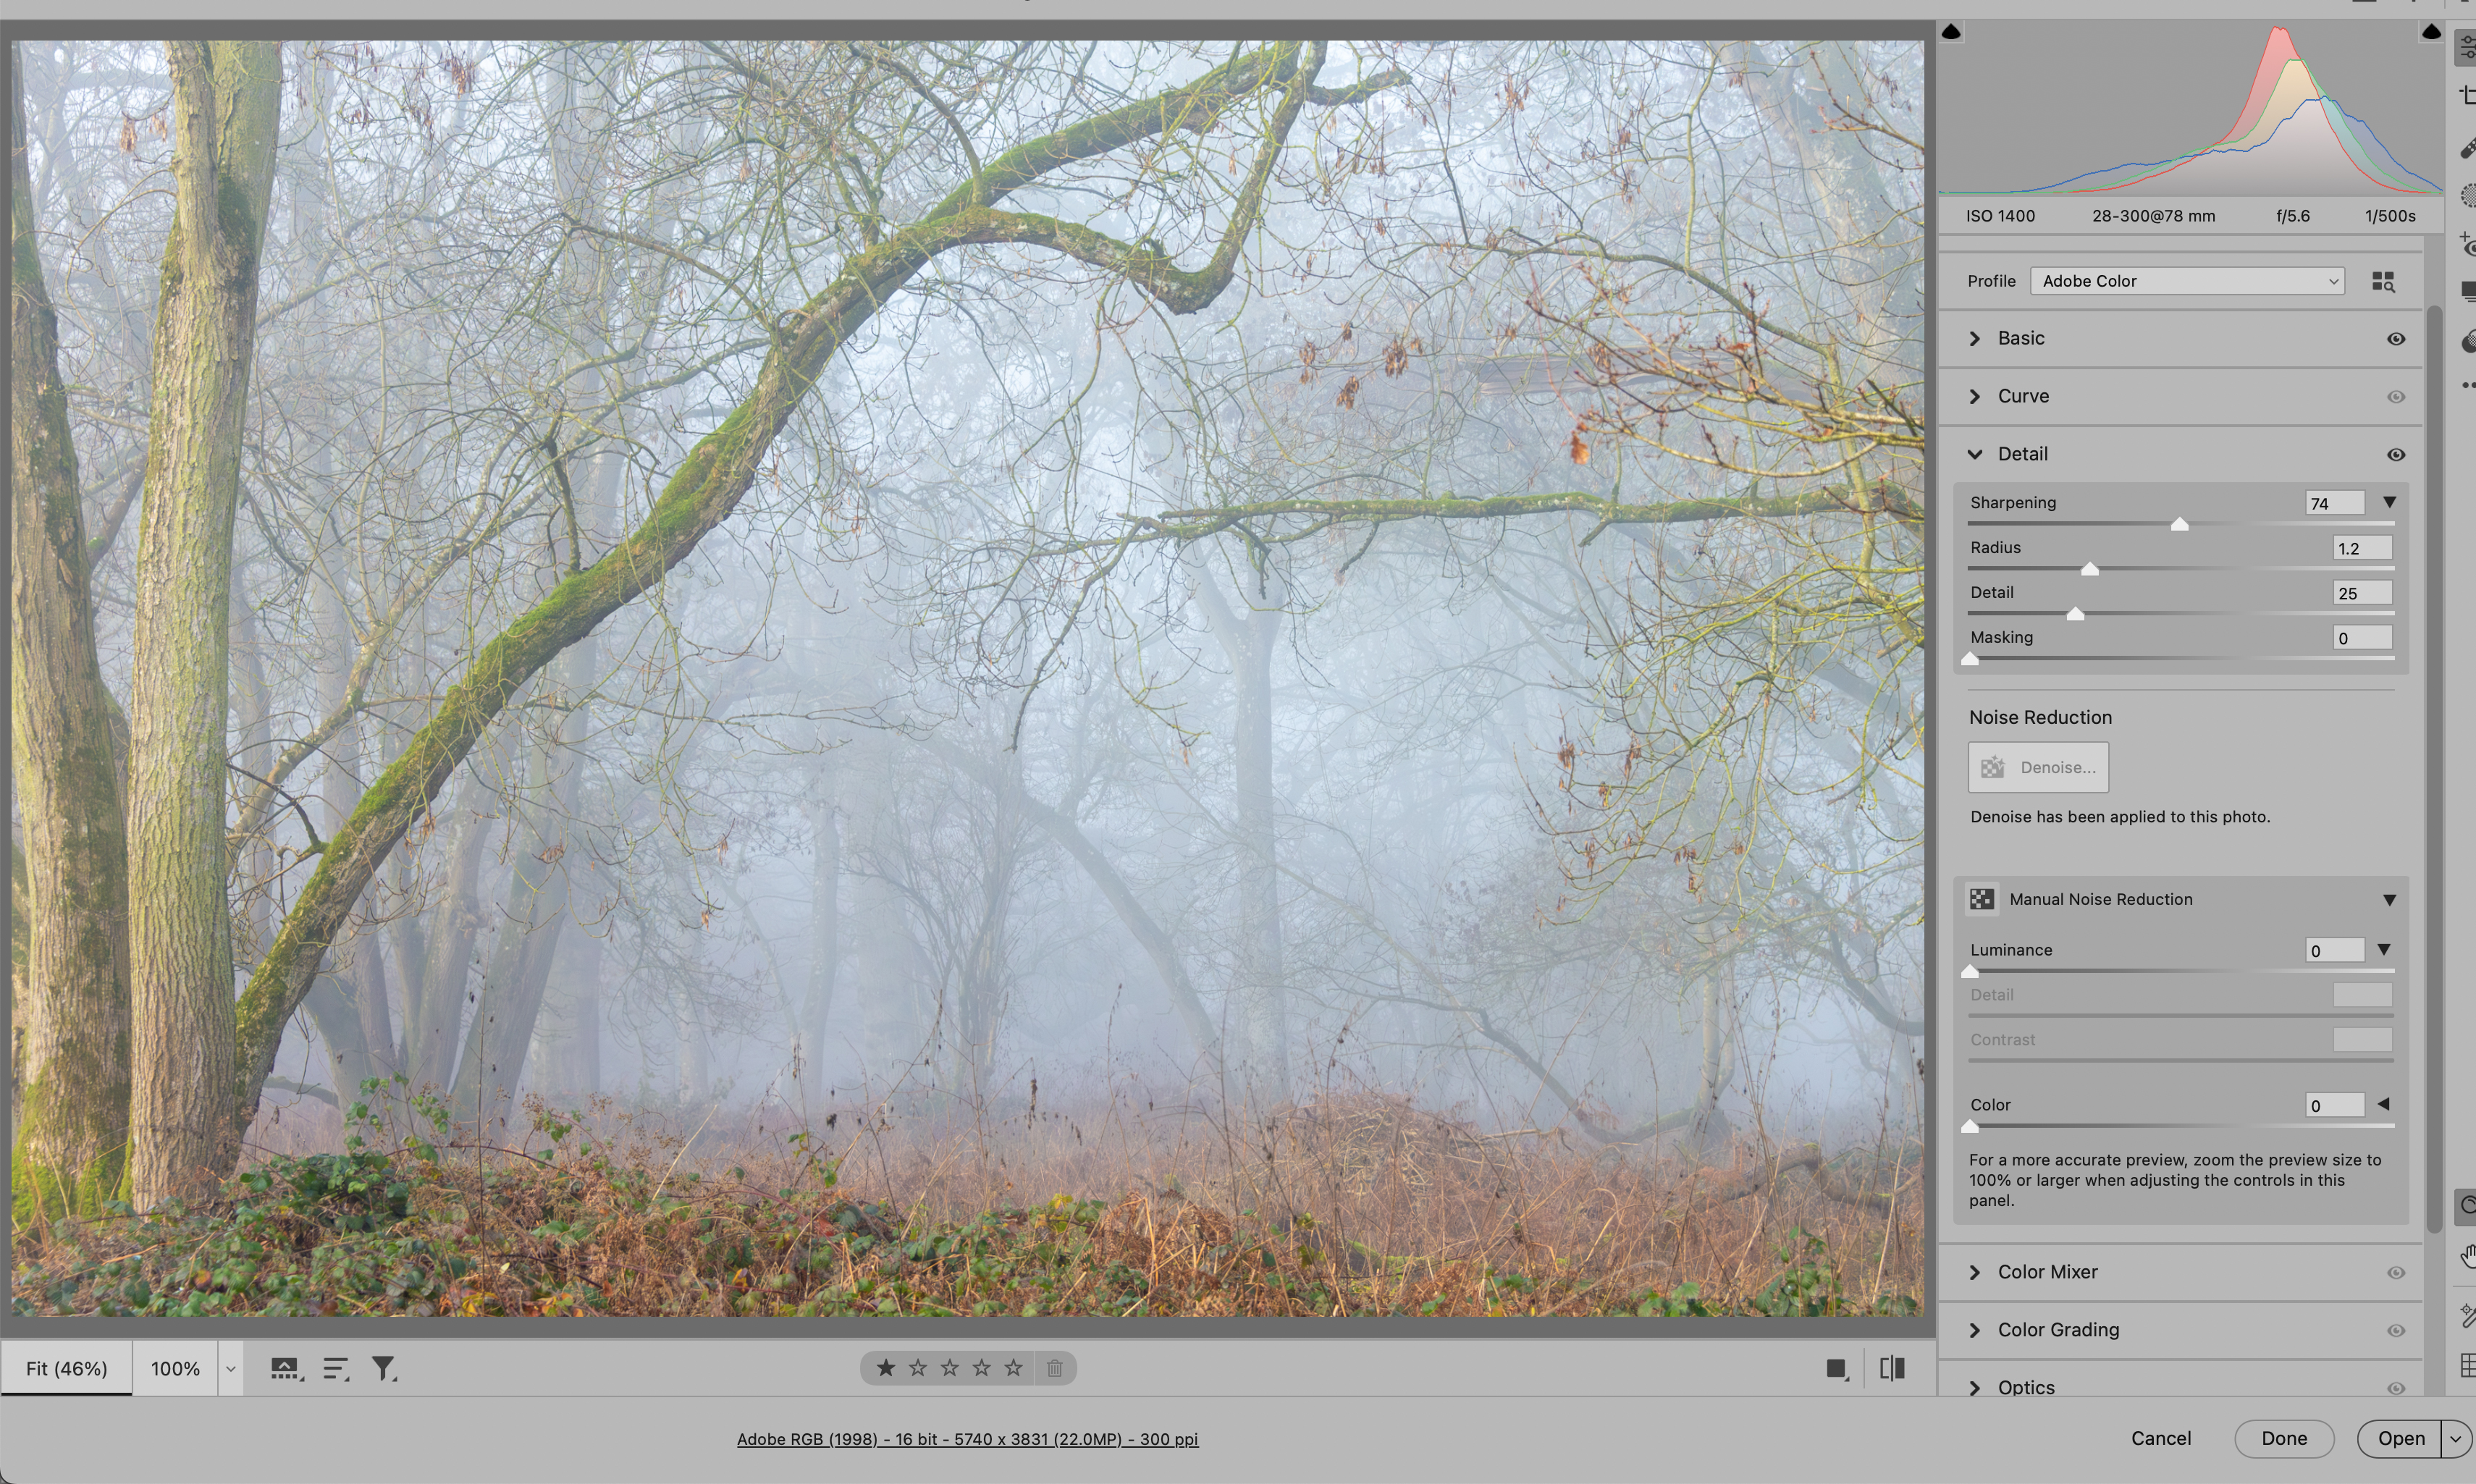
The new Denoise command in Adobe Camera Raw and Lightroom can work wonders on image noise. With fog, you might notice graininess in the otherwise smooth areas of the image. If so, try using the Denoise button in the Detail Panel to improve it. It’s also worth sharpening the image here to enhance fine details.
8. Try a black and white conversion
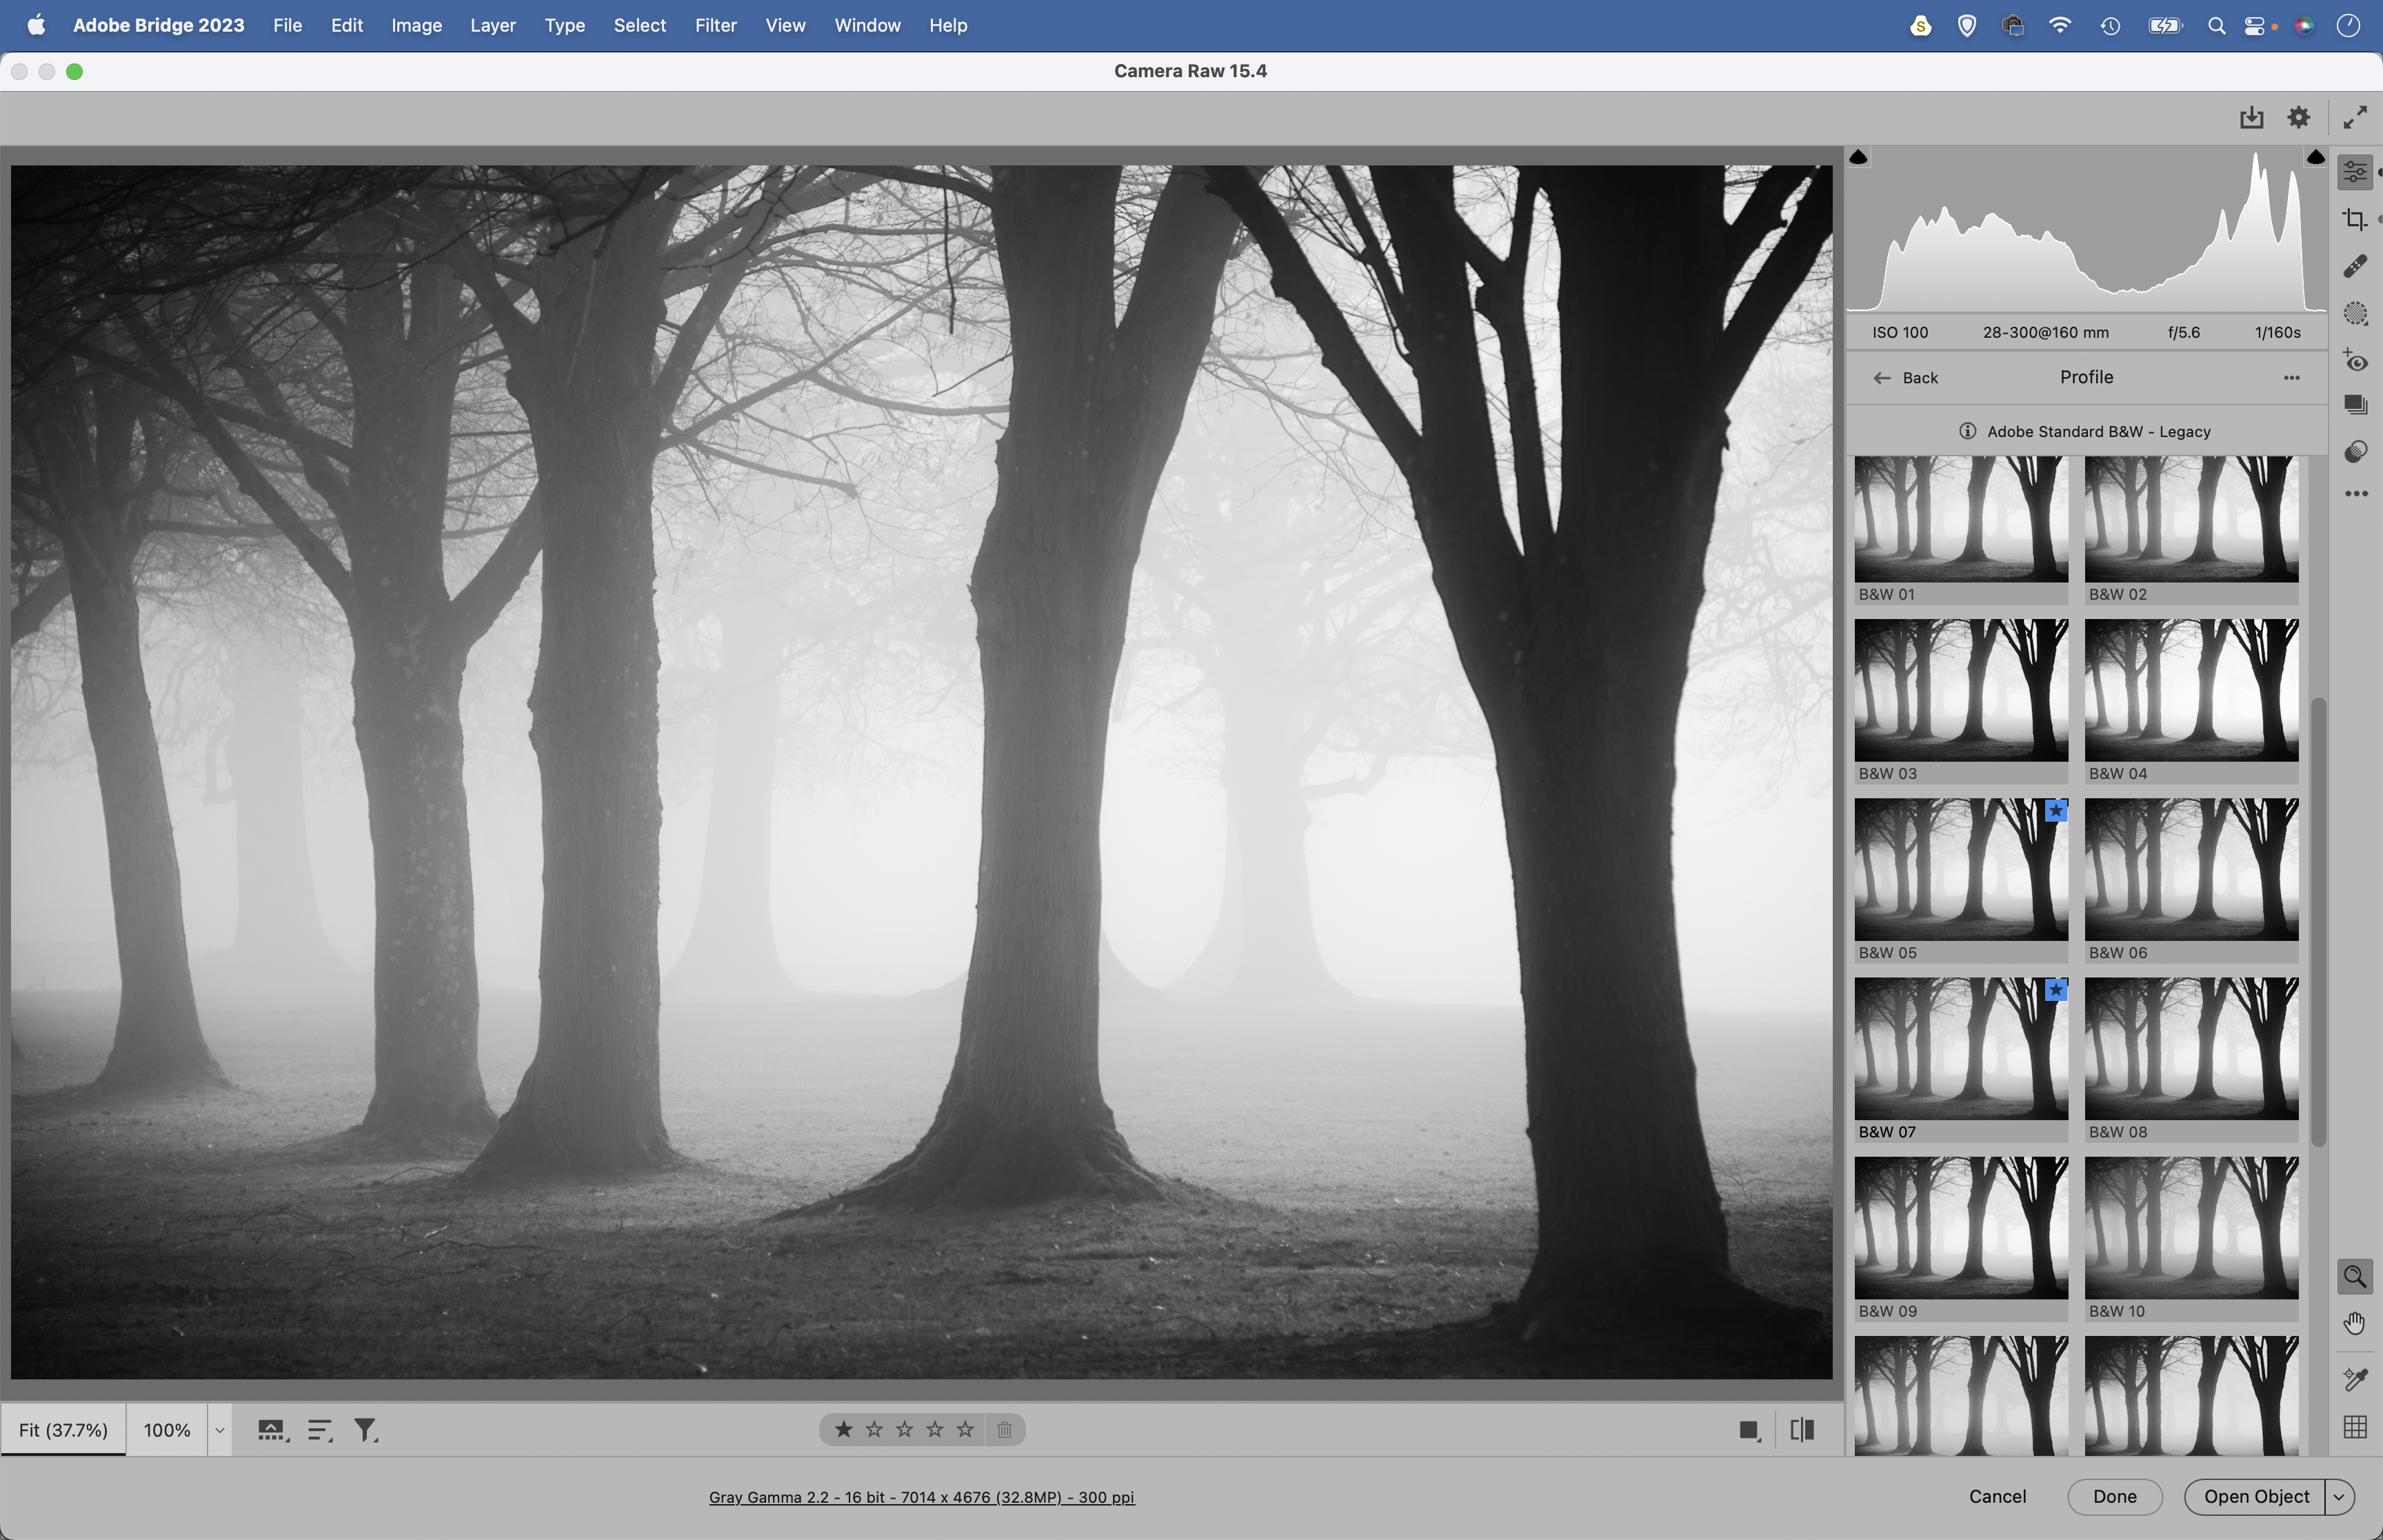
Fog and mist can desaturate colours, leaving scenes looking almost monochrome. Ask yourself whether the remaining colour is necessary. Removing it might lead to a stronger, simpler composition. The black and white profiles in Camera Raw/Lightroom offer easy, one-click mono conversions to try out.
9. Tinting tricks
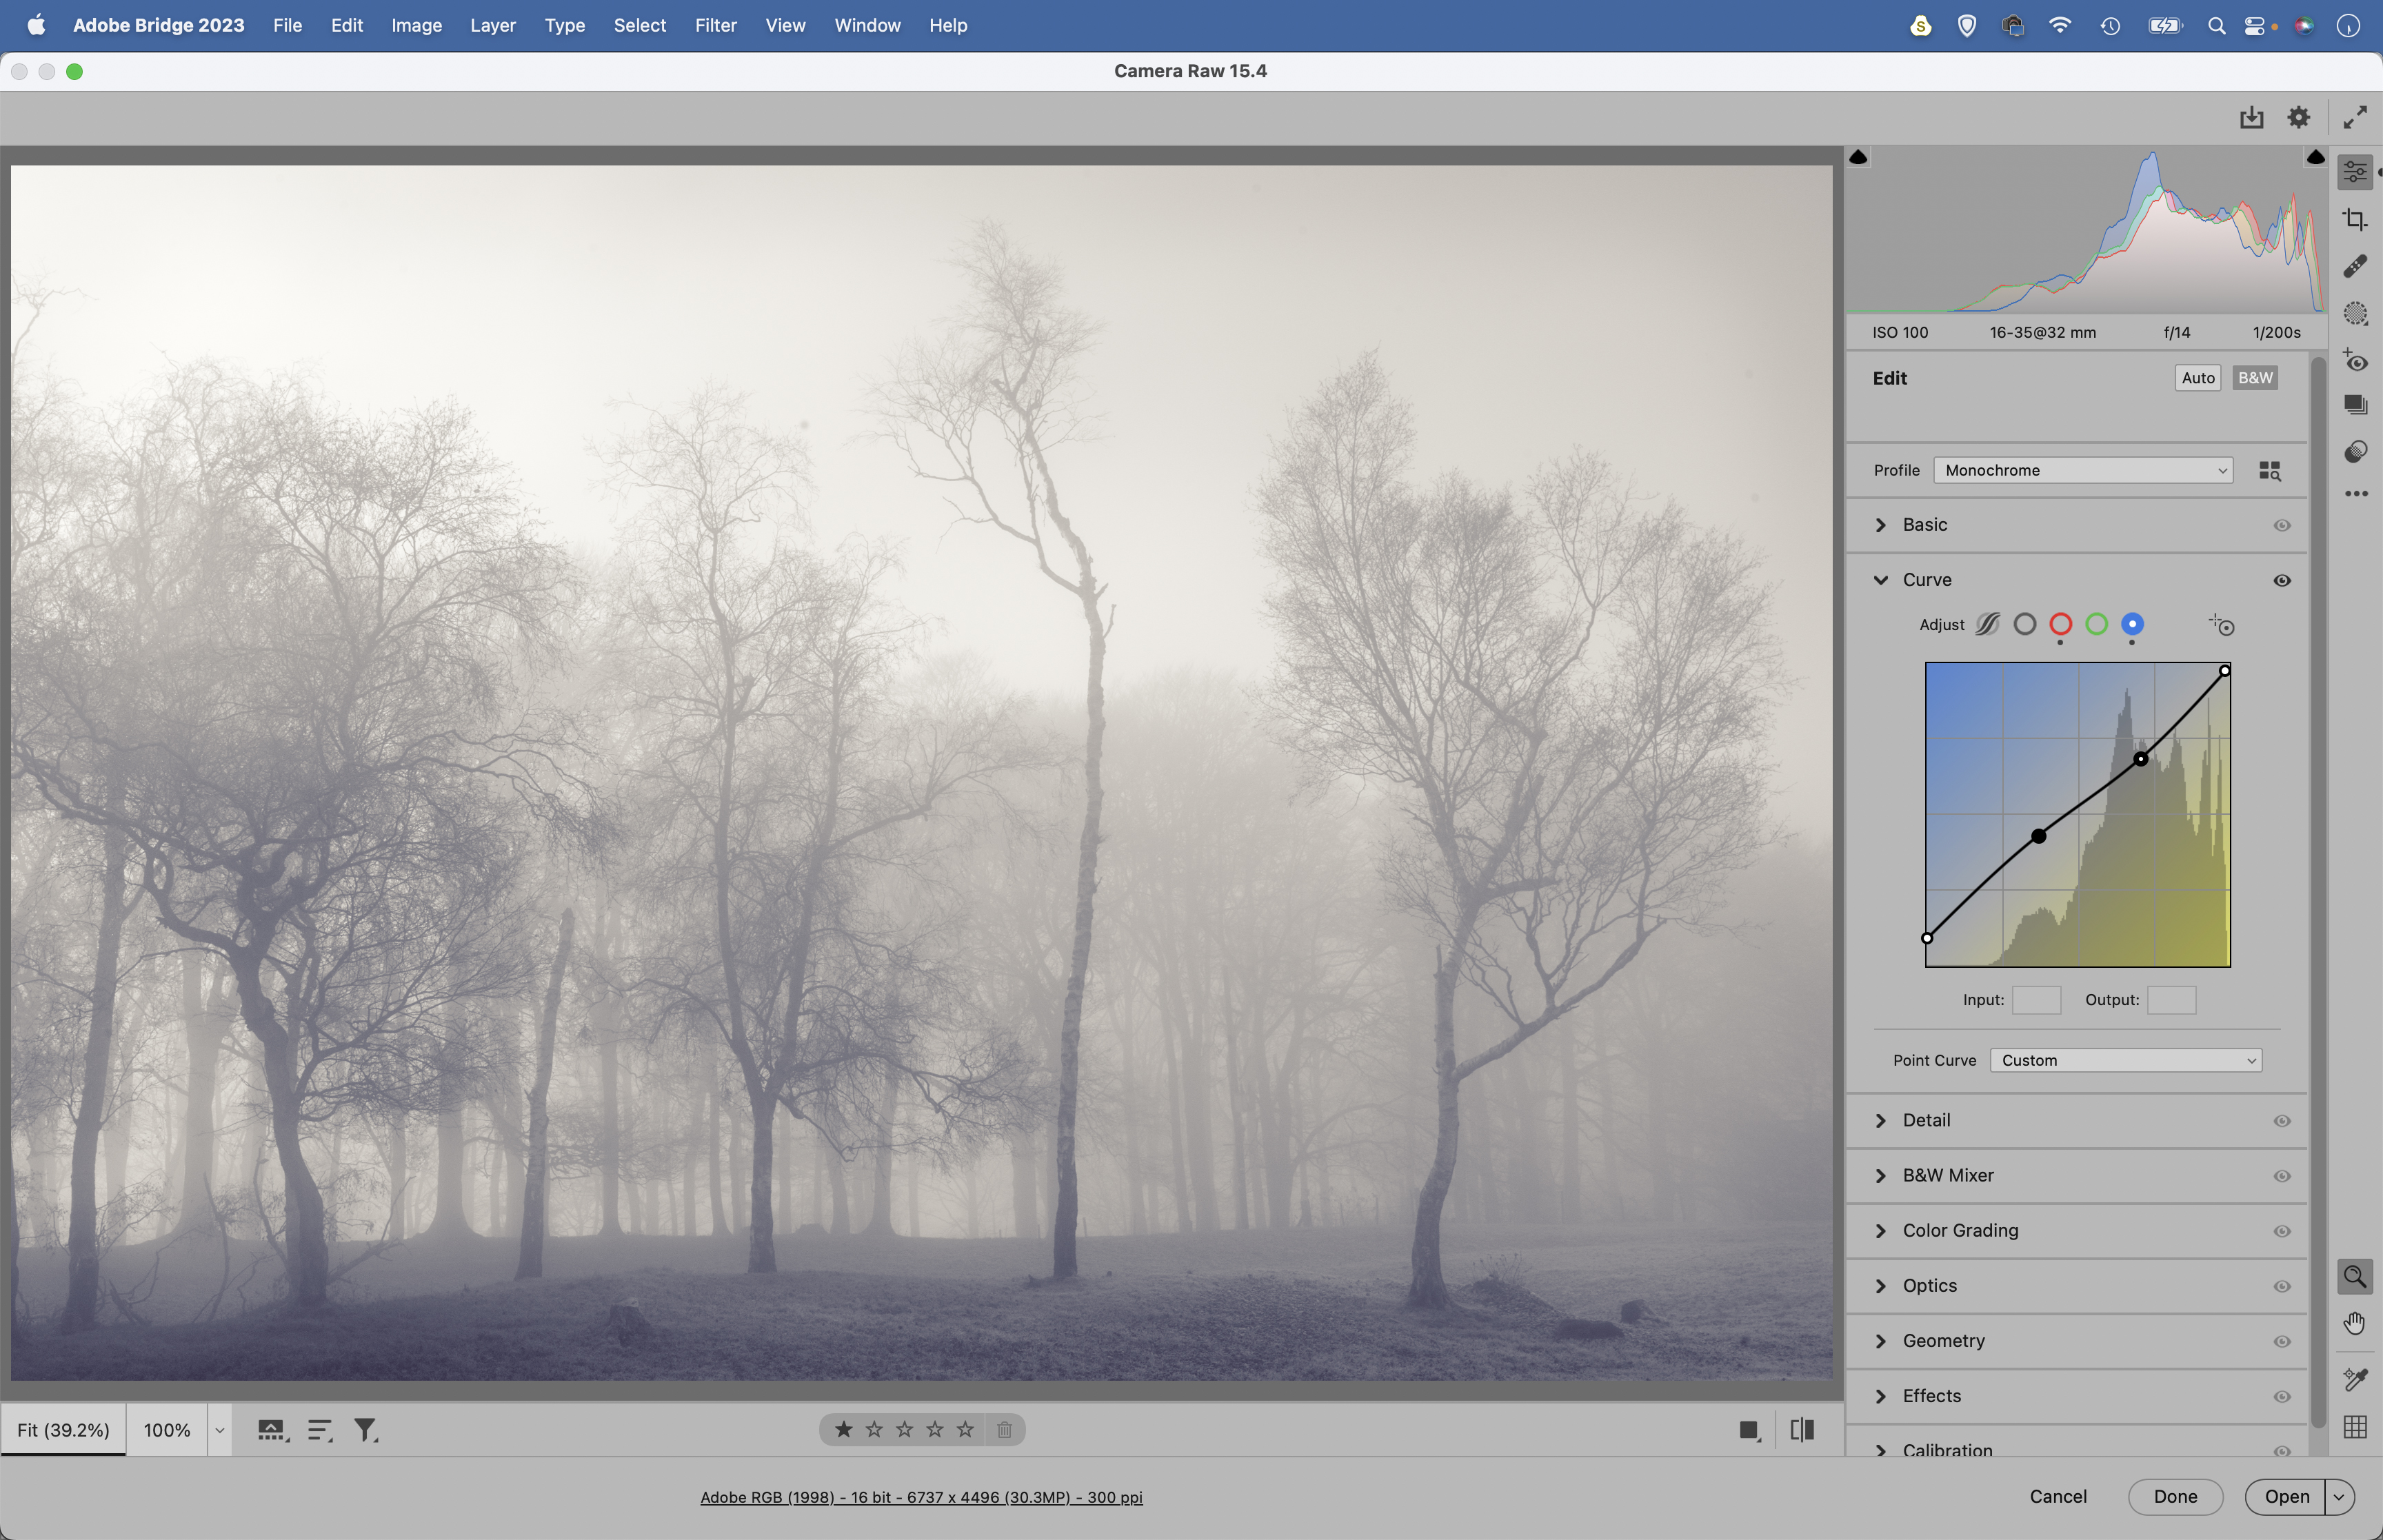
A tweak to the colours or a tinting effect can enhance the atmosphere of your misty scenes. The Curve command is a great tinting tool. Experiment with tiny adjustments to the three colour channels – red, green and blue. Drag the curve line up or down to introduce colour shifts in the shadows (left) and highlights (right).
PhotoPlus: The Canon Magazine is the world's only monthly newsstand title that's 100% devoted to Canon, so you can be sure the magazine is completely relevant to your system. Every issue comes with downloadable video tutorials too.
If you're serious about scenery, take a look at the best cameras for landscape photography along with the best lenses for landscapes.
The lead technique writer on Digital Camera Magazine, PhotoPlus: The Canon Magazine and N-Photo: The Nikon Magazine, James is a fantastic general practice photographer with an enviable array of skills across every genre of photography.
Whether it's flash photography techniques like stroboscopic portraits, astrophotography projects like photographing the Northern Lights, or turning sound into art by making paint dance on a set of speakers, James' tutorials and projects are as creative as they are enjoyable.
He's also a wizard at the dark arts of Photoshop, Lightroom and Affinity Photo, and is capable of some genuine black magic in the digital darkroom, making him one of the leading authorities on photo editing software and techniques.
