Lighthouse photography: learn to compose images of very tall subjects
Shoot upright subjects that are tall but narrow and overcome common framing difficulties in your photography
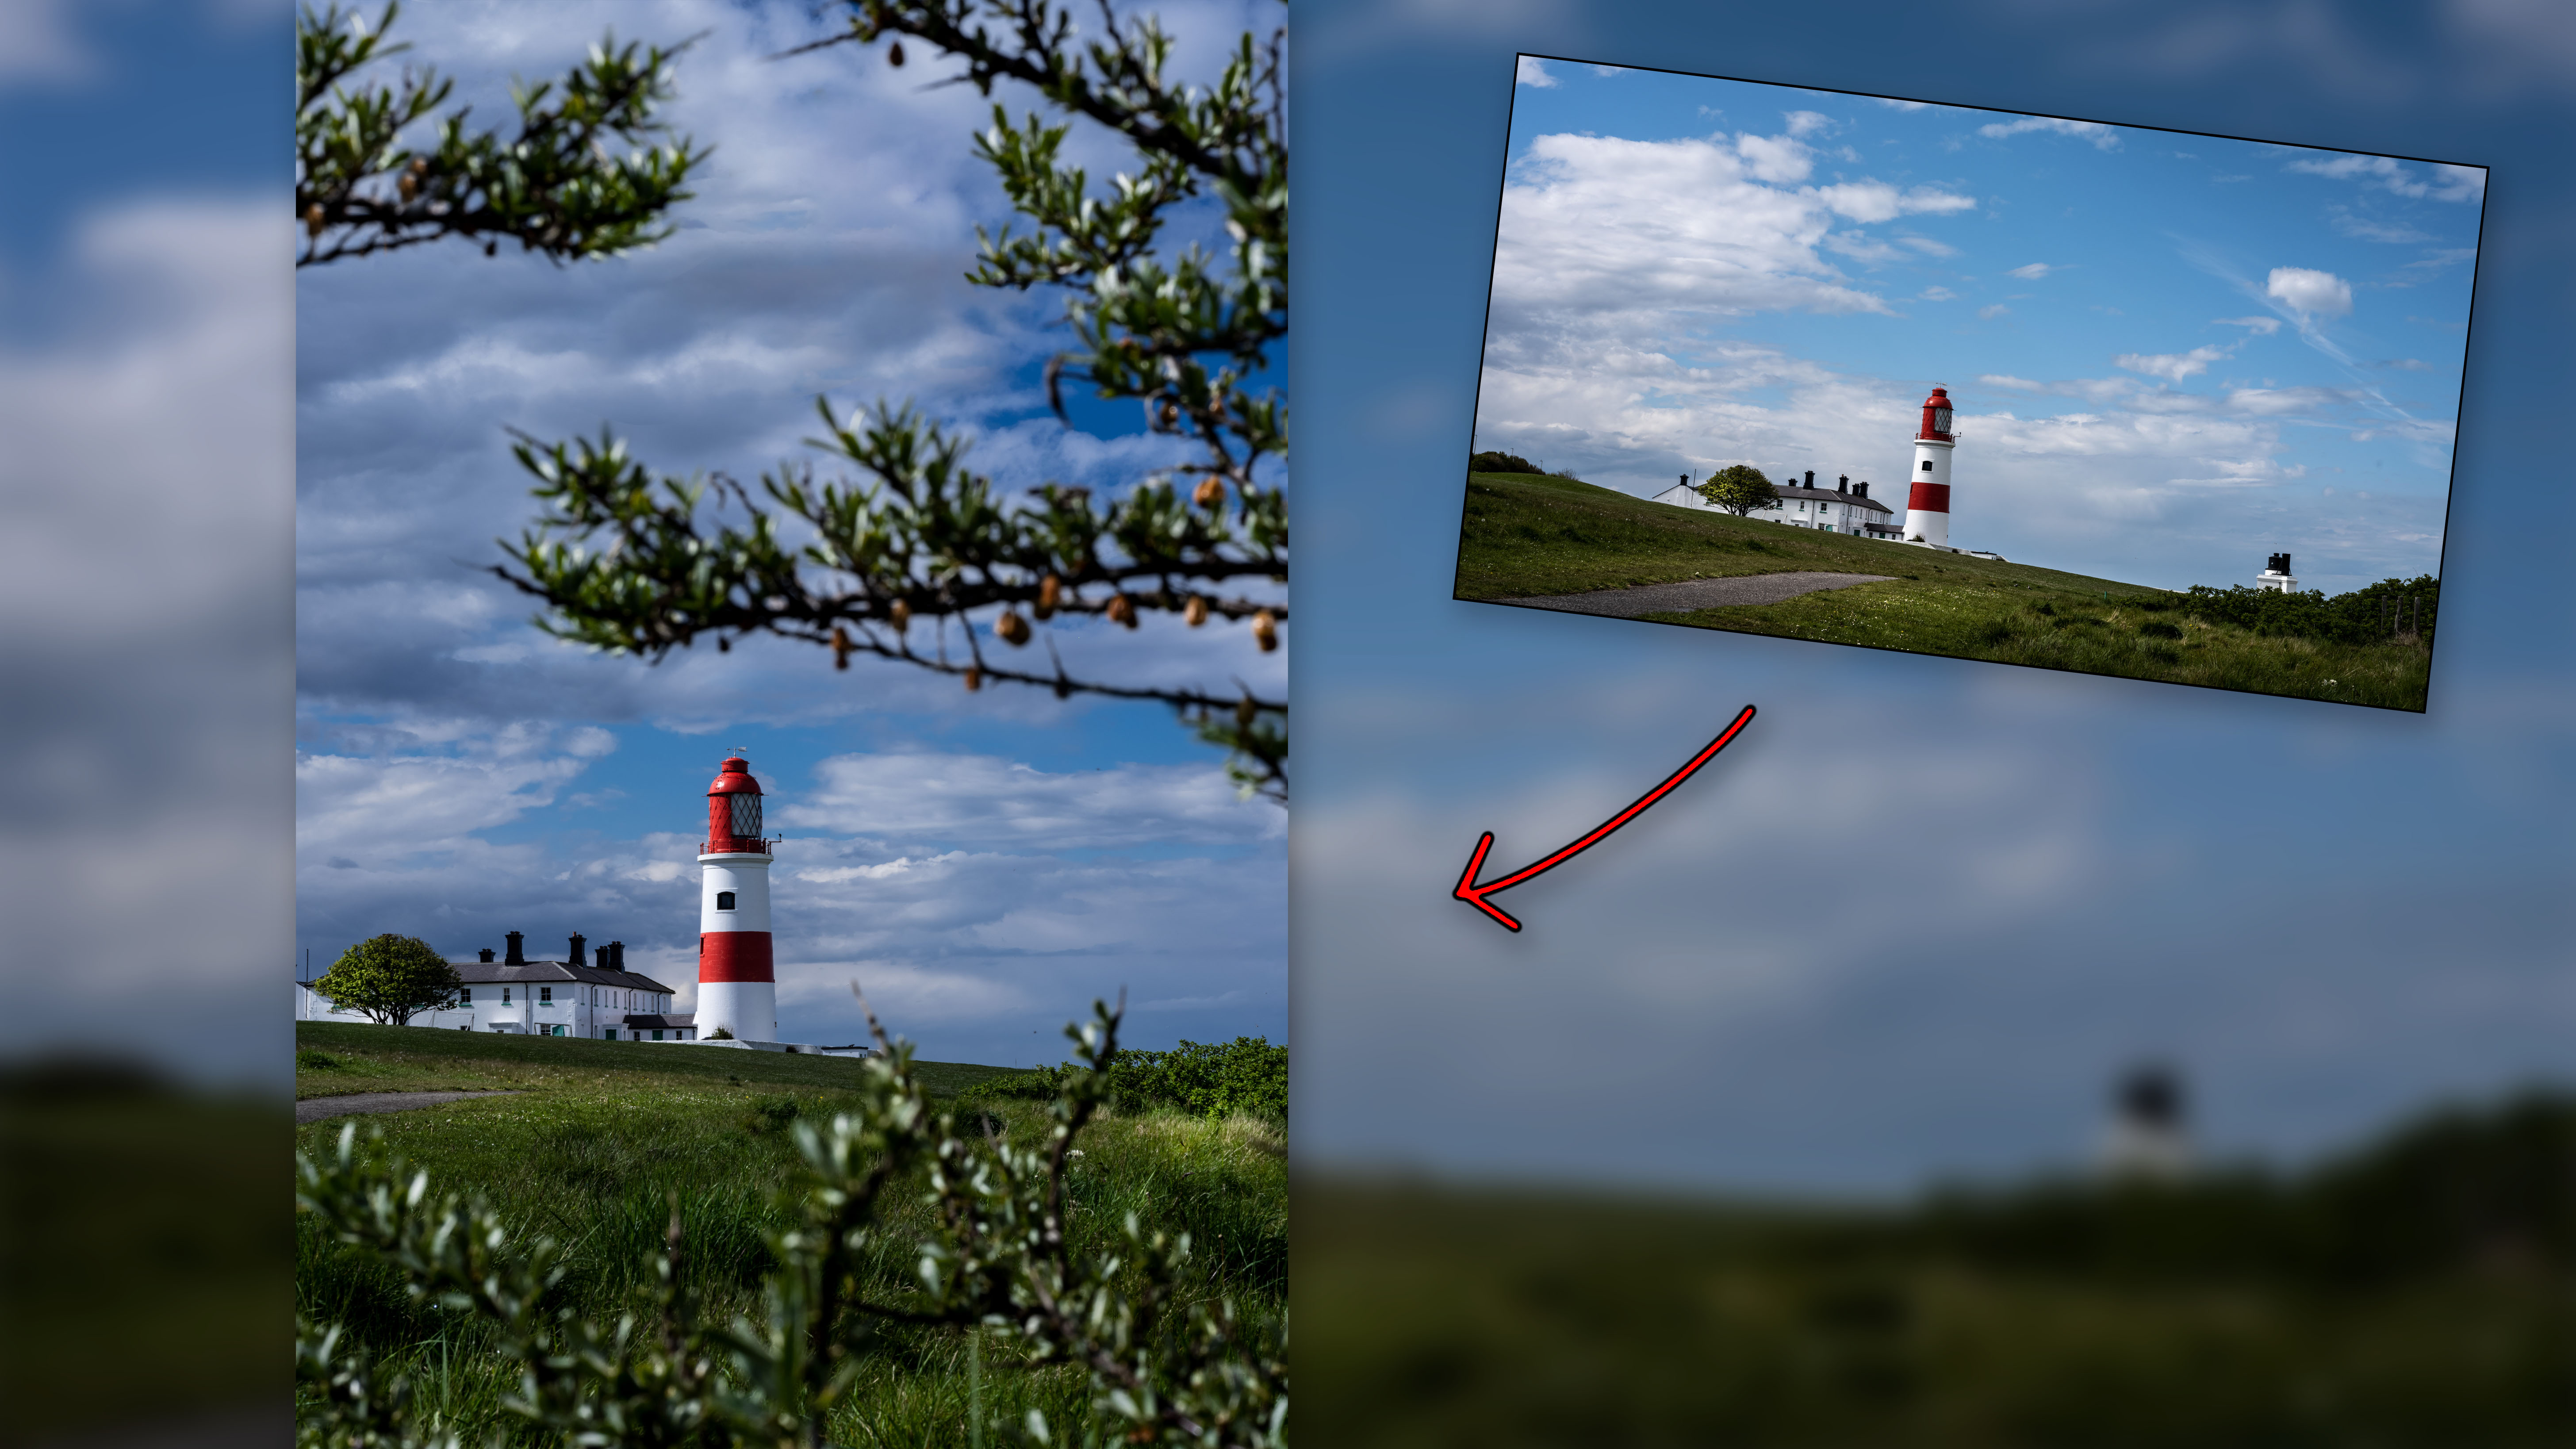
There are certain subjects that pose unexpected compositional challenges. This might be to do with the arrangement of objects in the foreground, making it tricky to pick an ideal focal length, or objects in the scene impeding the perfect view of the subject. One example of a setting that, on paper at least, should be relatively simple to shoot, but which causes many photographers to throw their hands up in frustration, is a tall and thin subject.
Structures such as this lighthouse look as if it were impossible to take a bad image of, but their tall, narrow design makes it a challenge to fit them into a balanced composition. The issue is not so much with the lighthouse as with the negative space around it. Instinctively you might shoot in portrait orientation, but this can sometimes produce an uninspiring, predictable composition. Shooting in landscape, however, reveals too much sky or foreground if you fit all the building in the frame.
• Read more: Best tilt-shift lenses
With this scenario it is important to experiment with both angles and also depth of field, to cover your bases. If you can’t recompose, do what you can to make what is visible in the frame work for you. Let’s explore the possible approaches to this type of subject.
1. Find the best angle
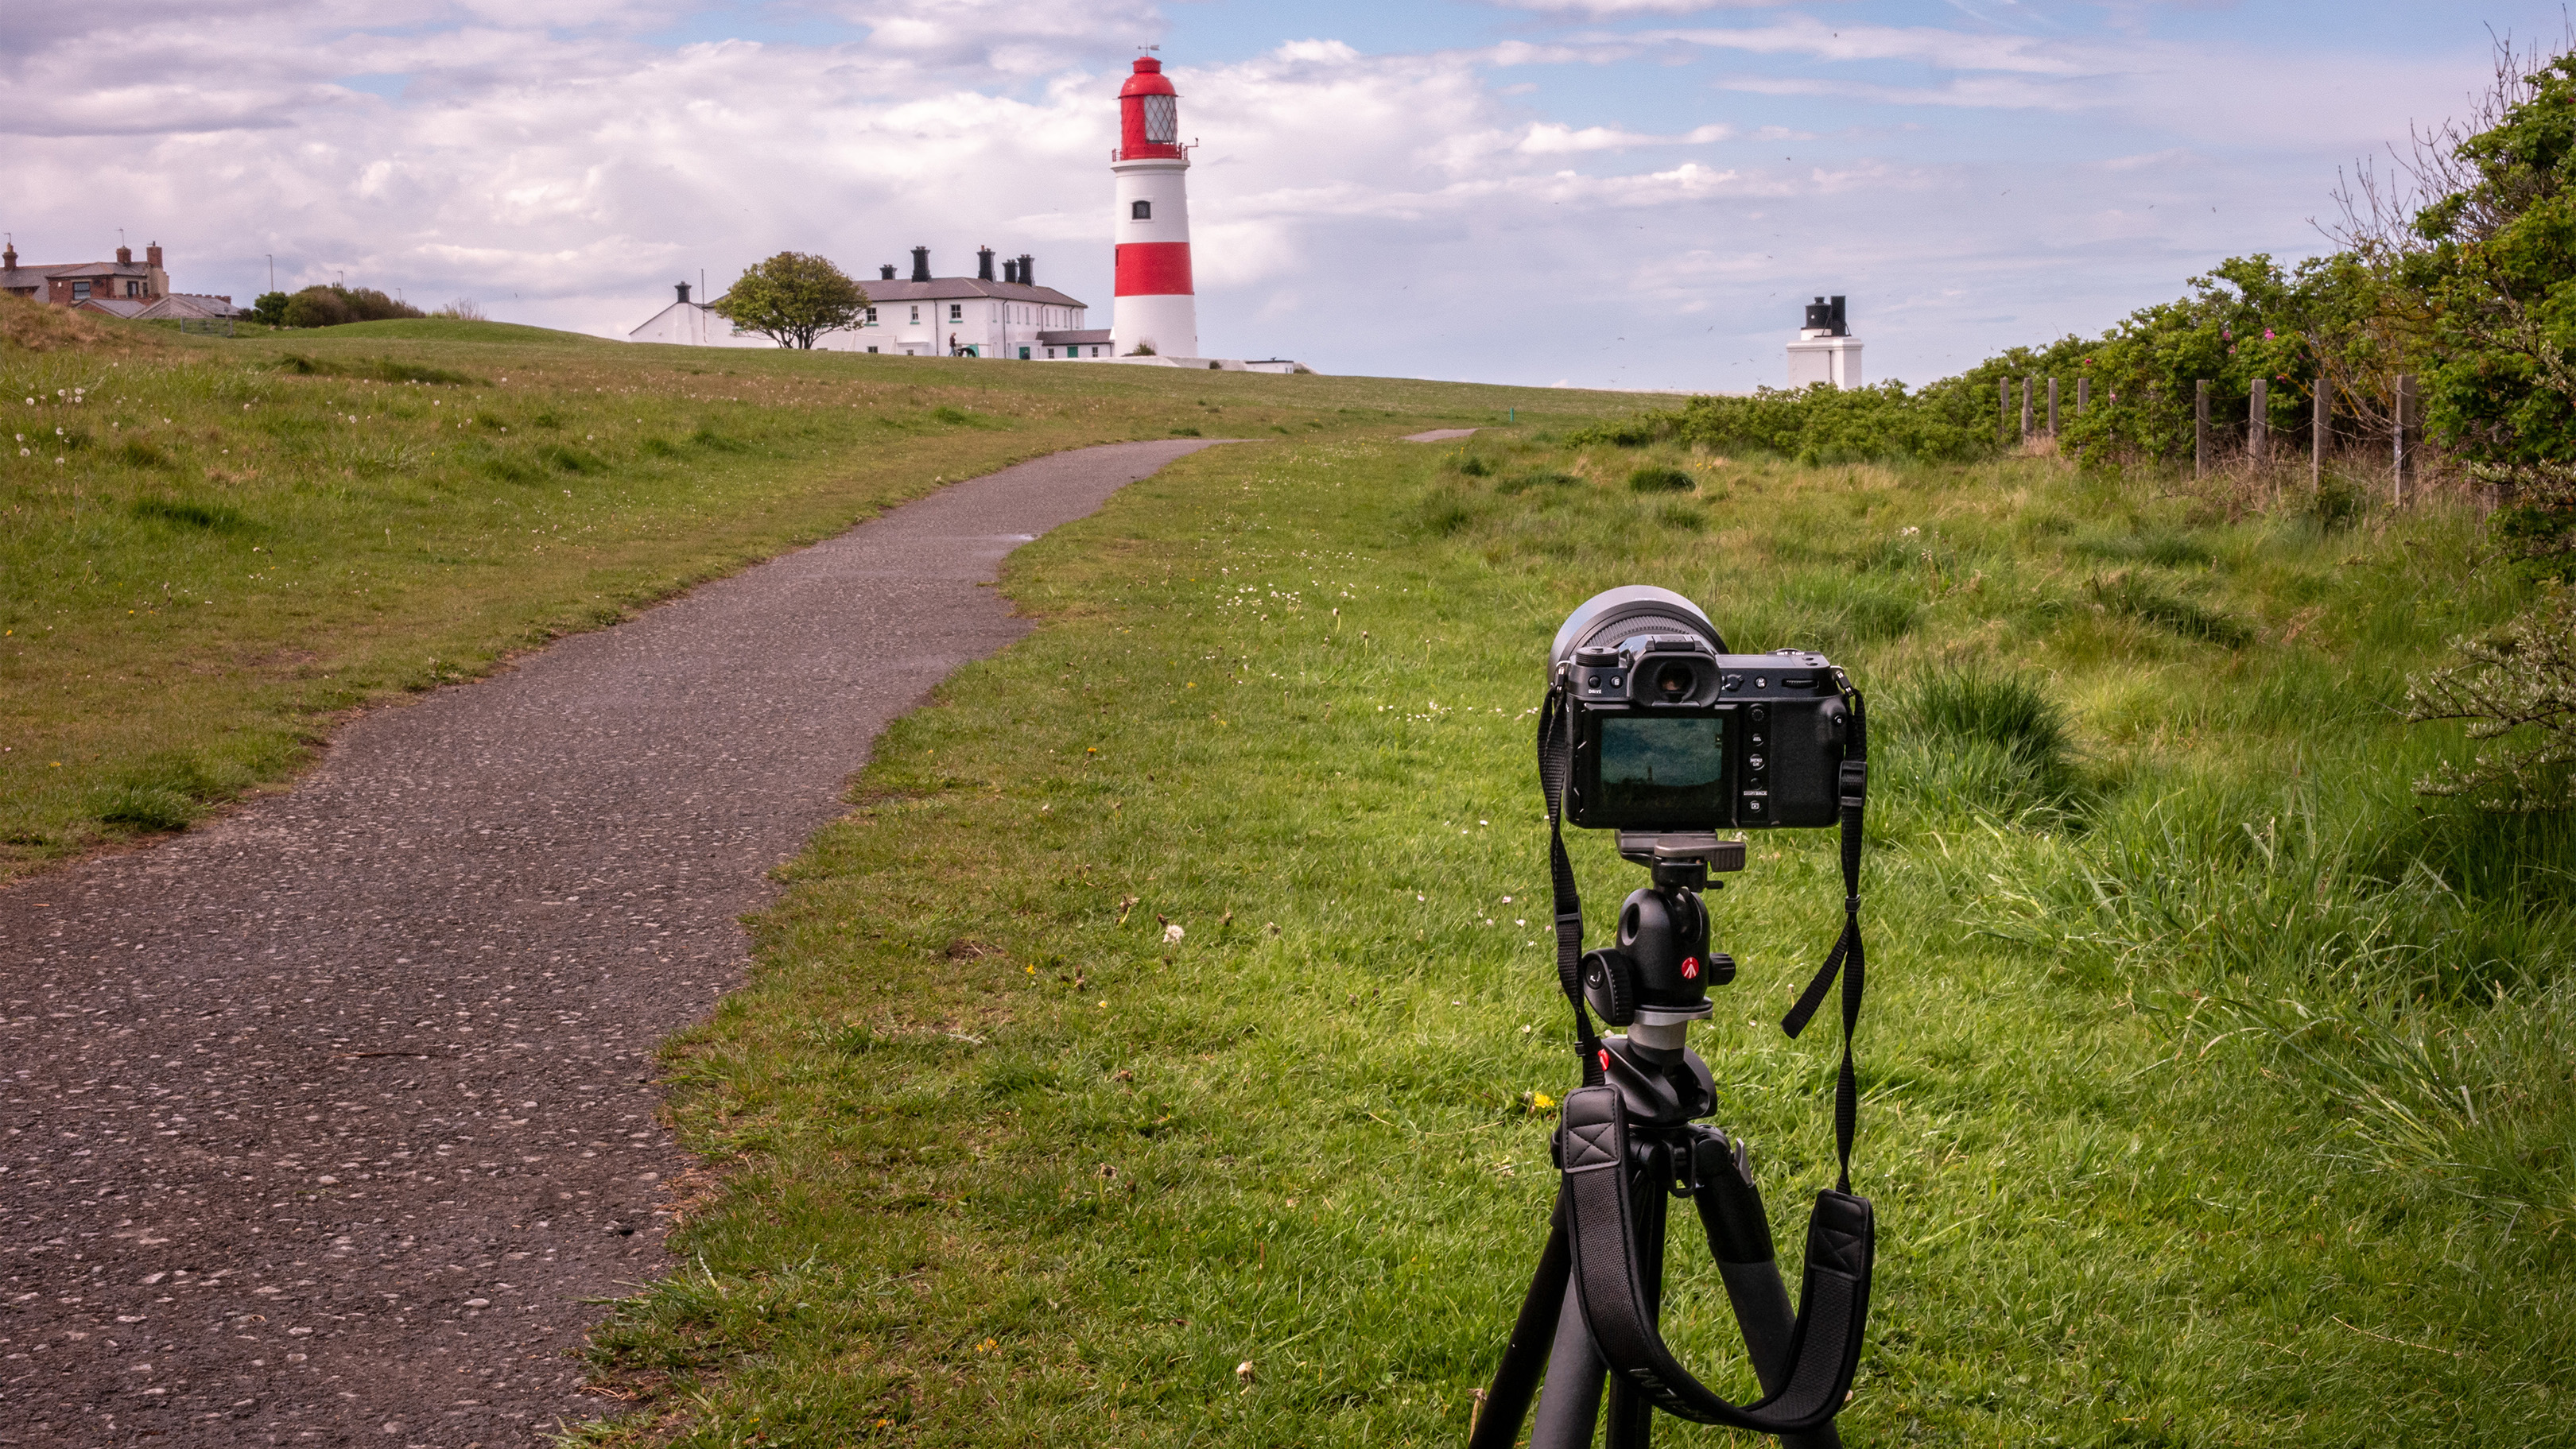
There is a lot of empty midground here, so we looked for a leading line to break this up and draw the viewer straight through it, to the lighthouse. This angle also minimized background distractions, aligning the horizon to hide unwanted detail behind the building. Setting up on a tripod allows for precise framing, which won't change between images.
2. Try wide open
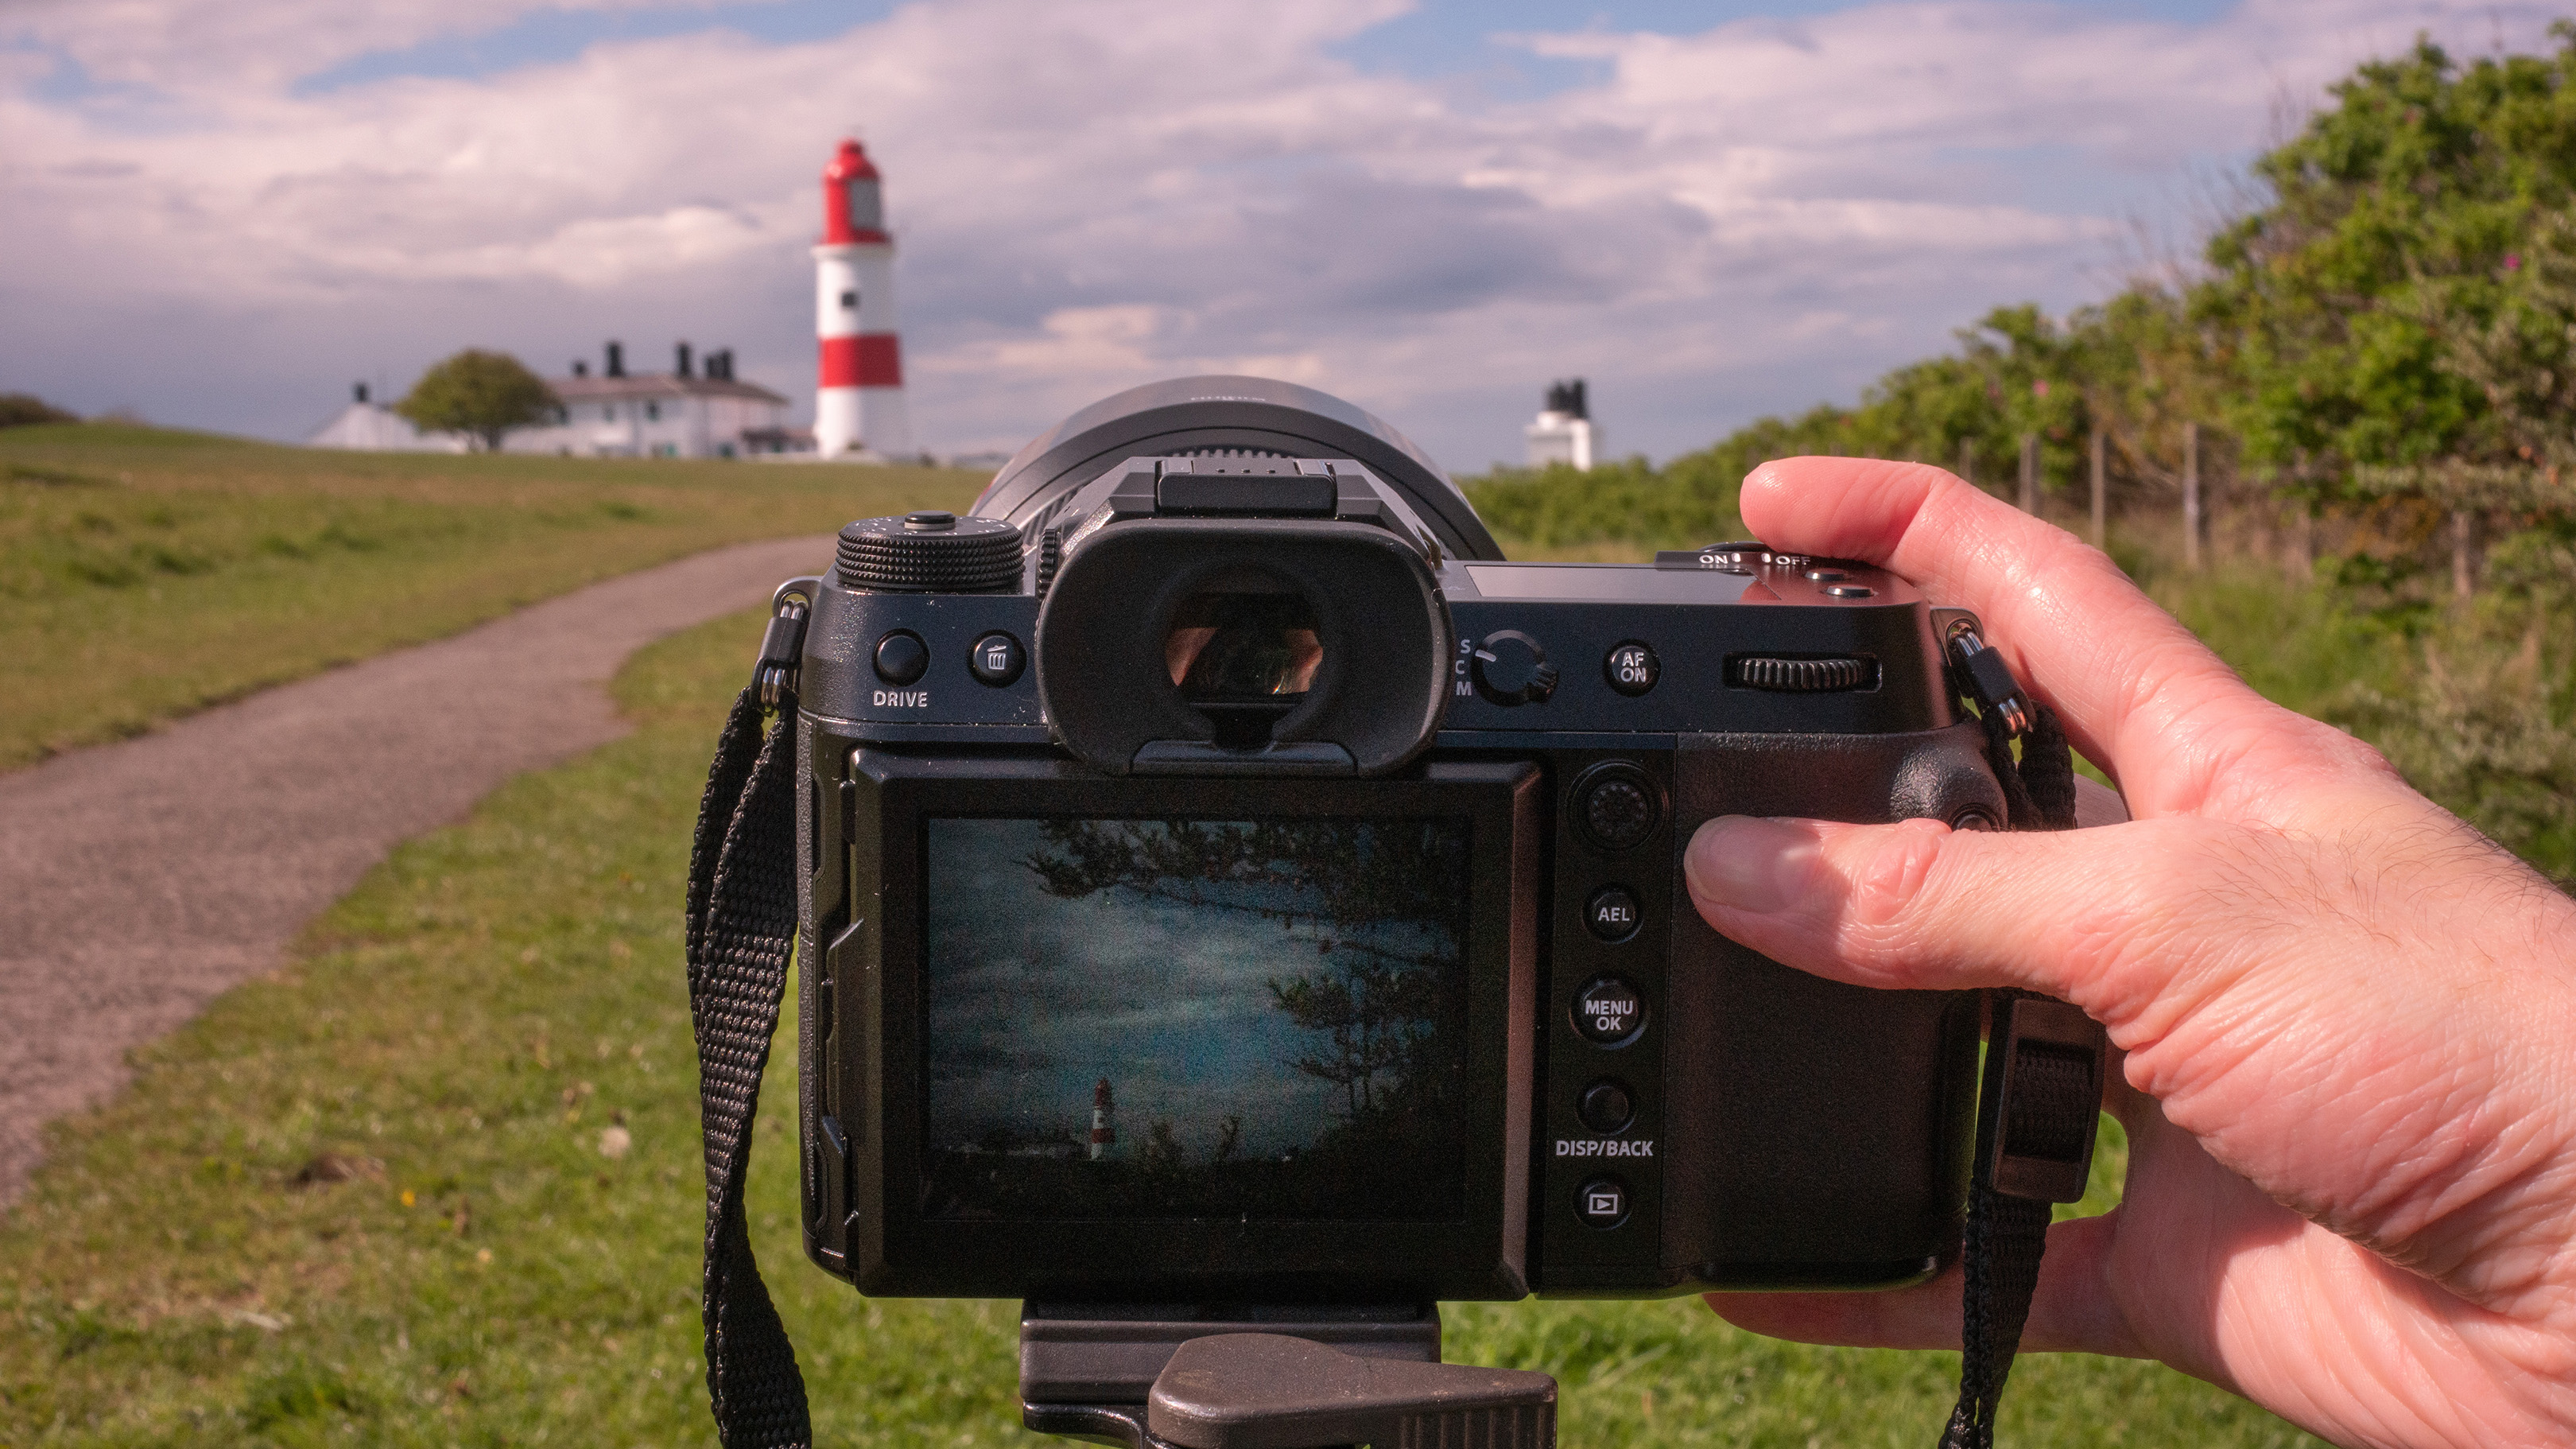
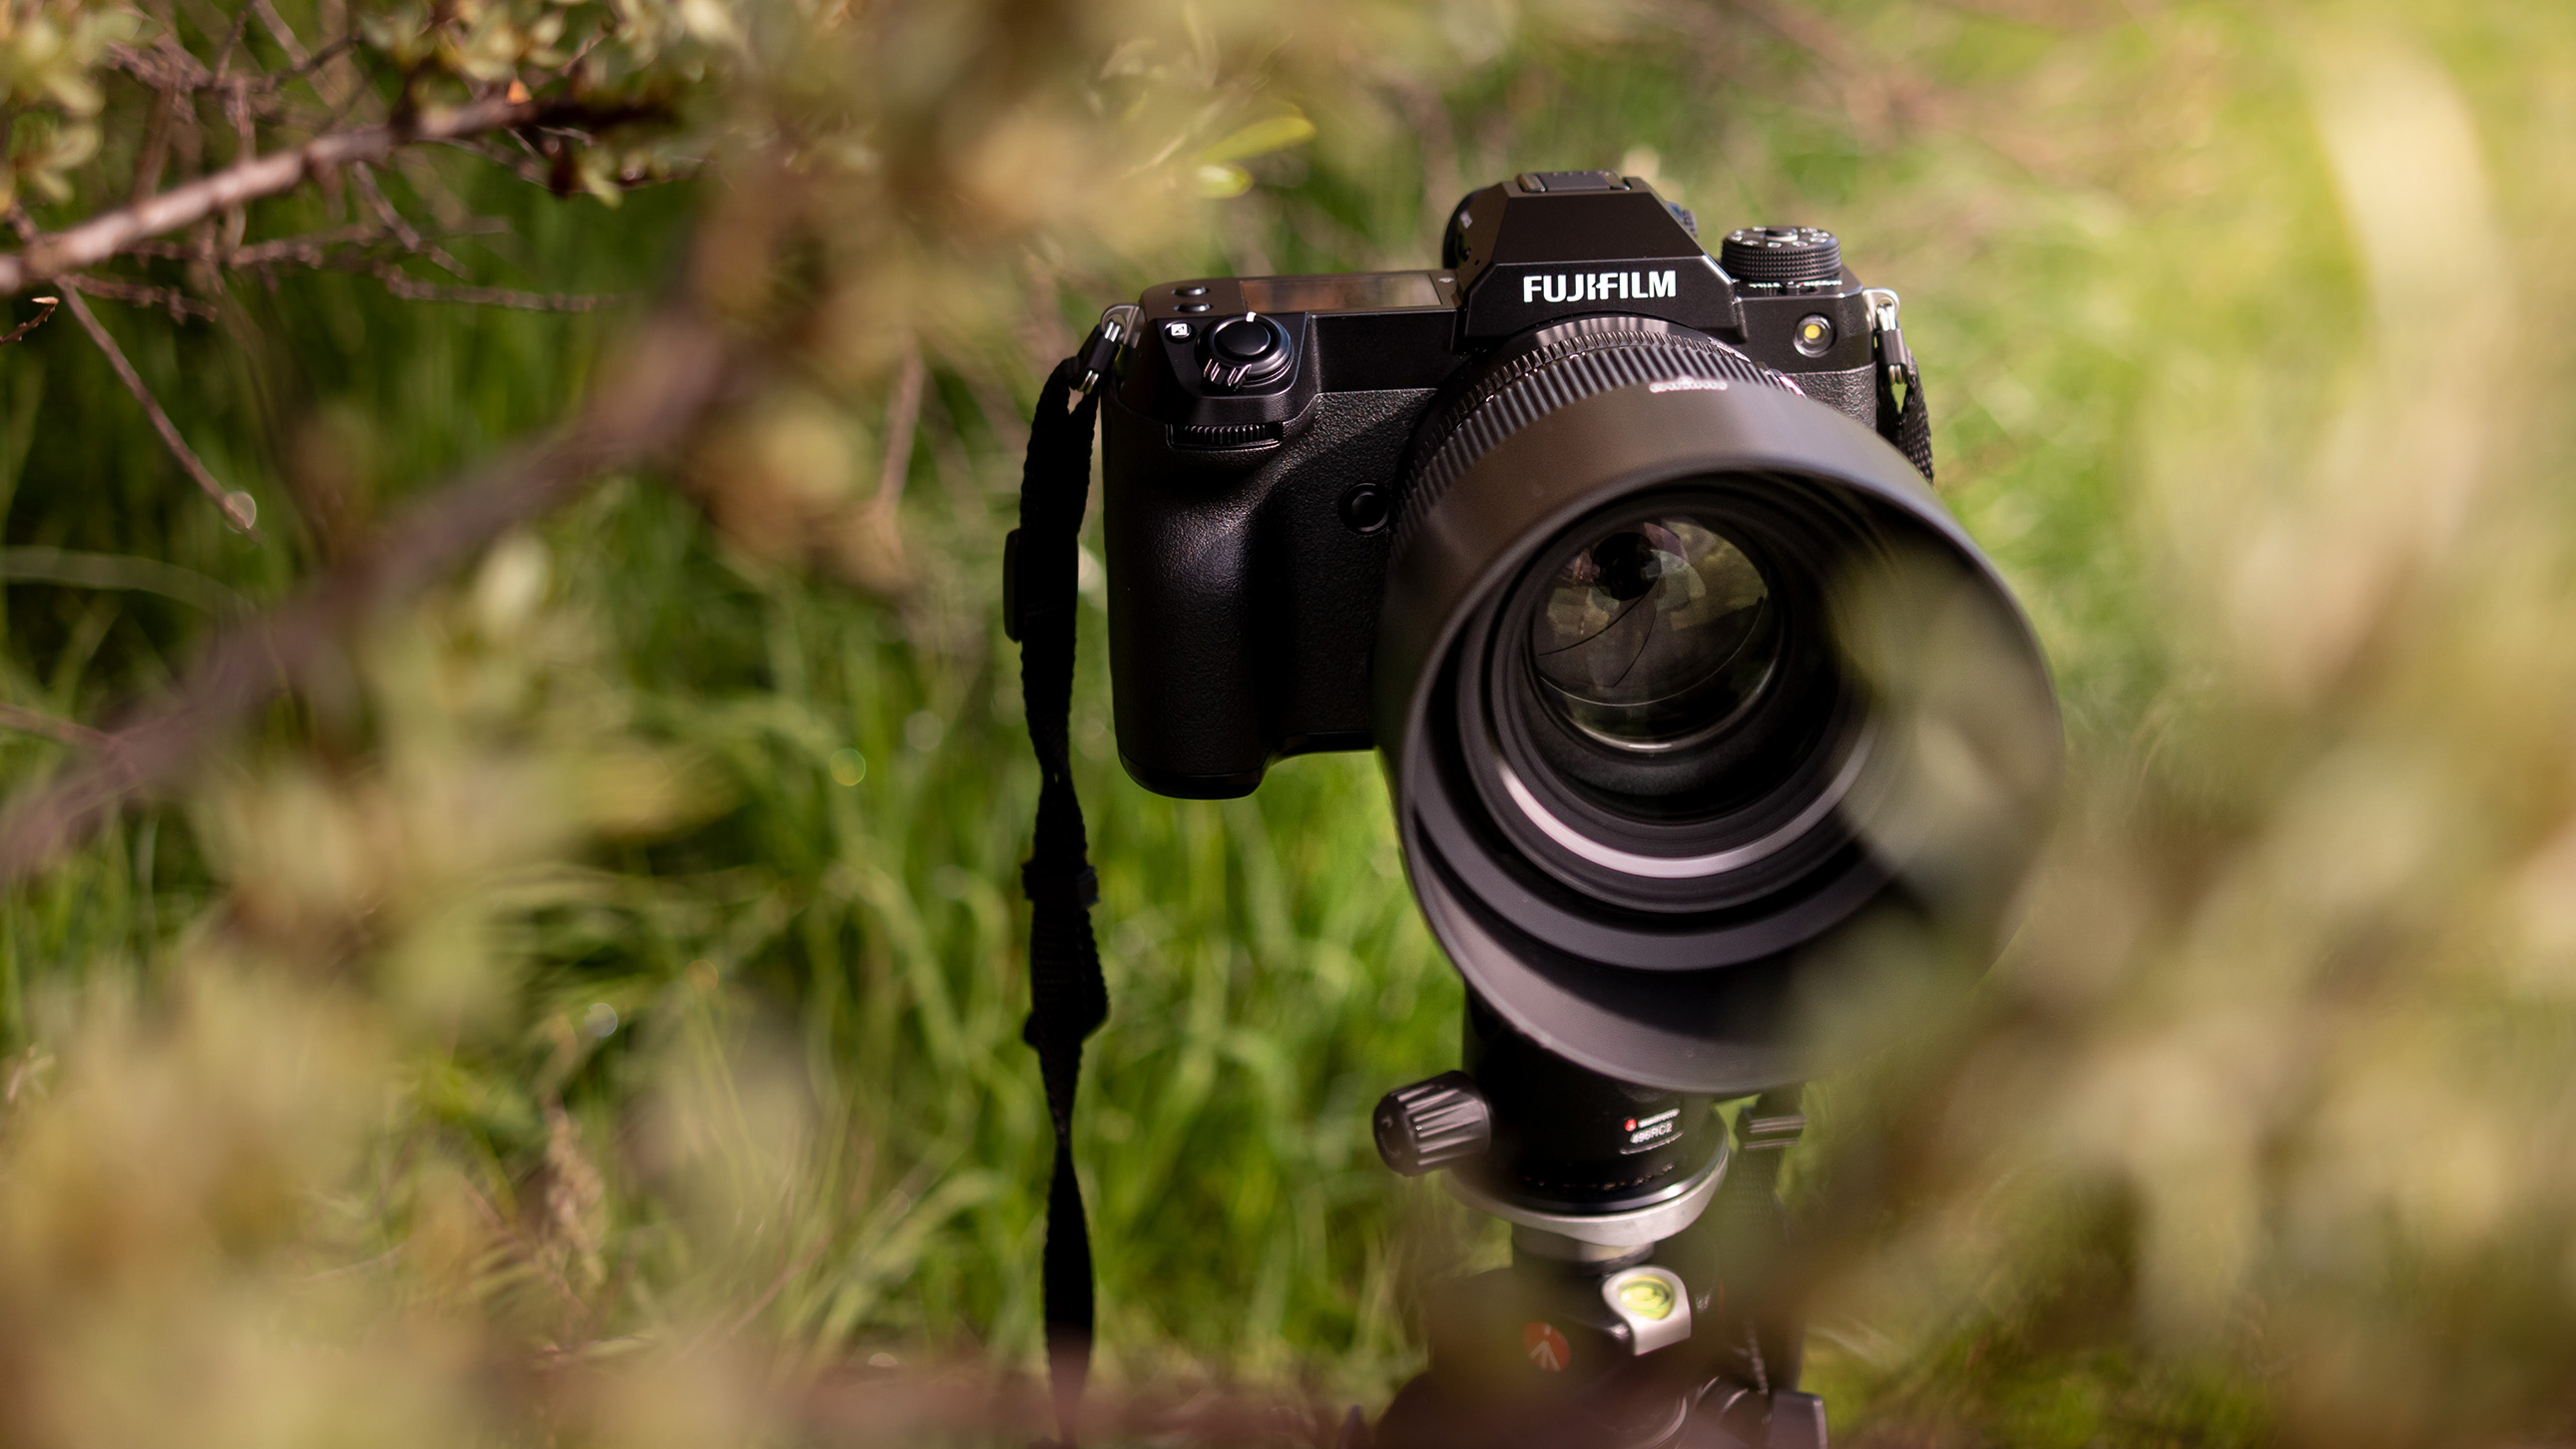
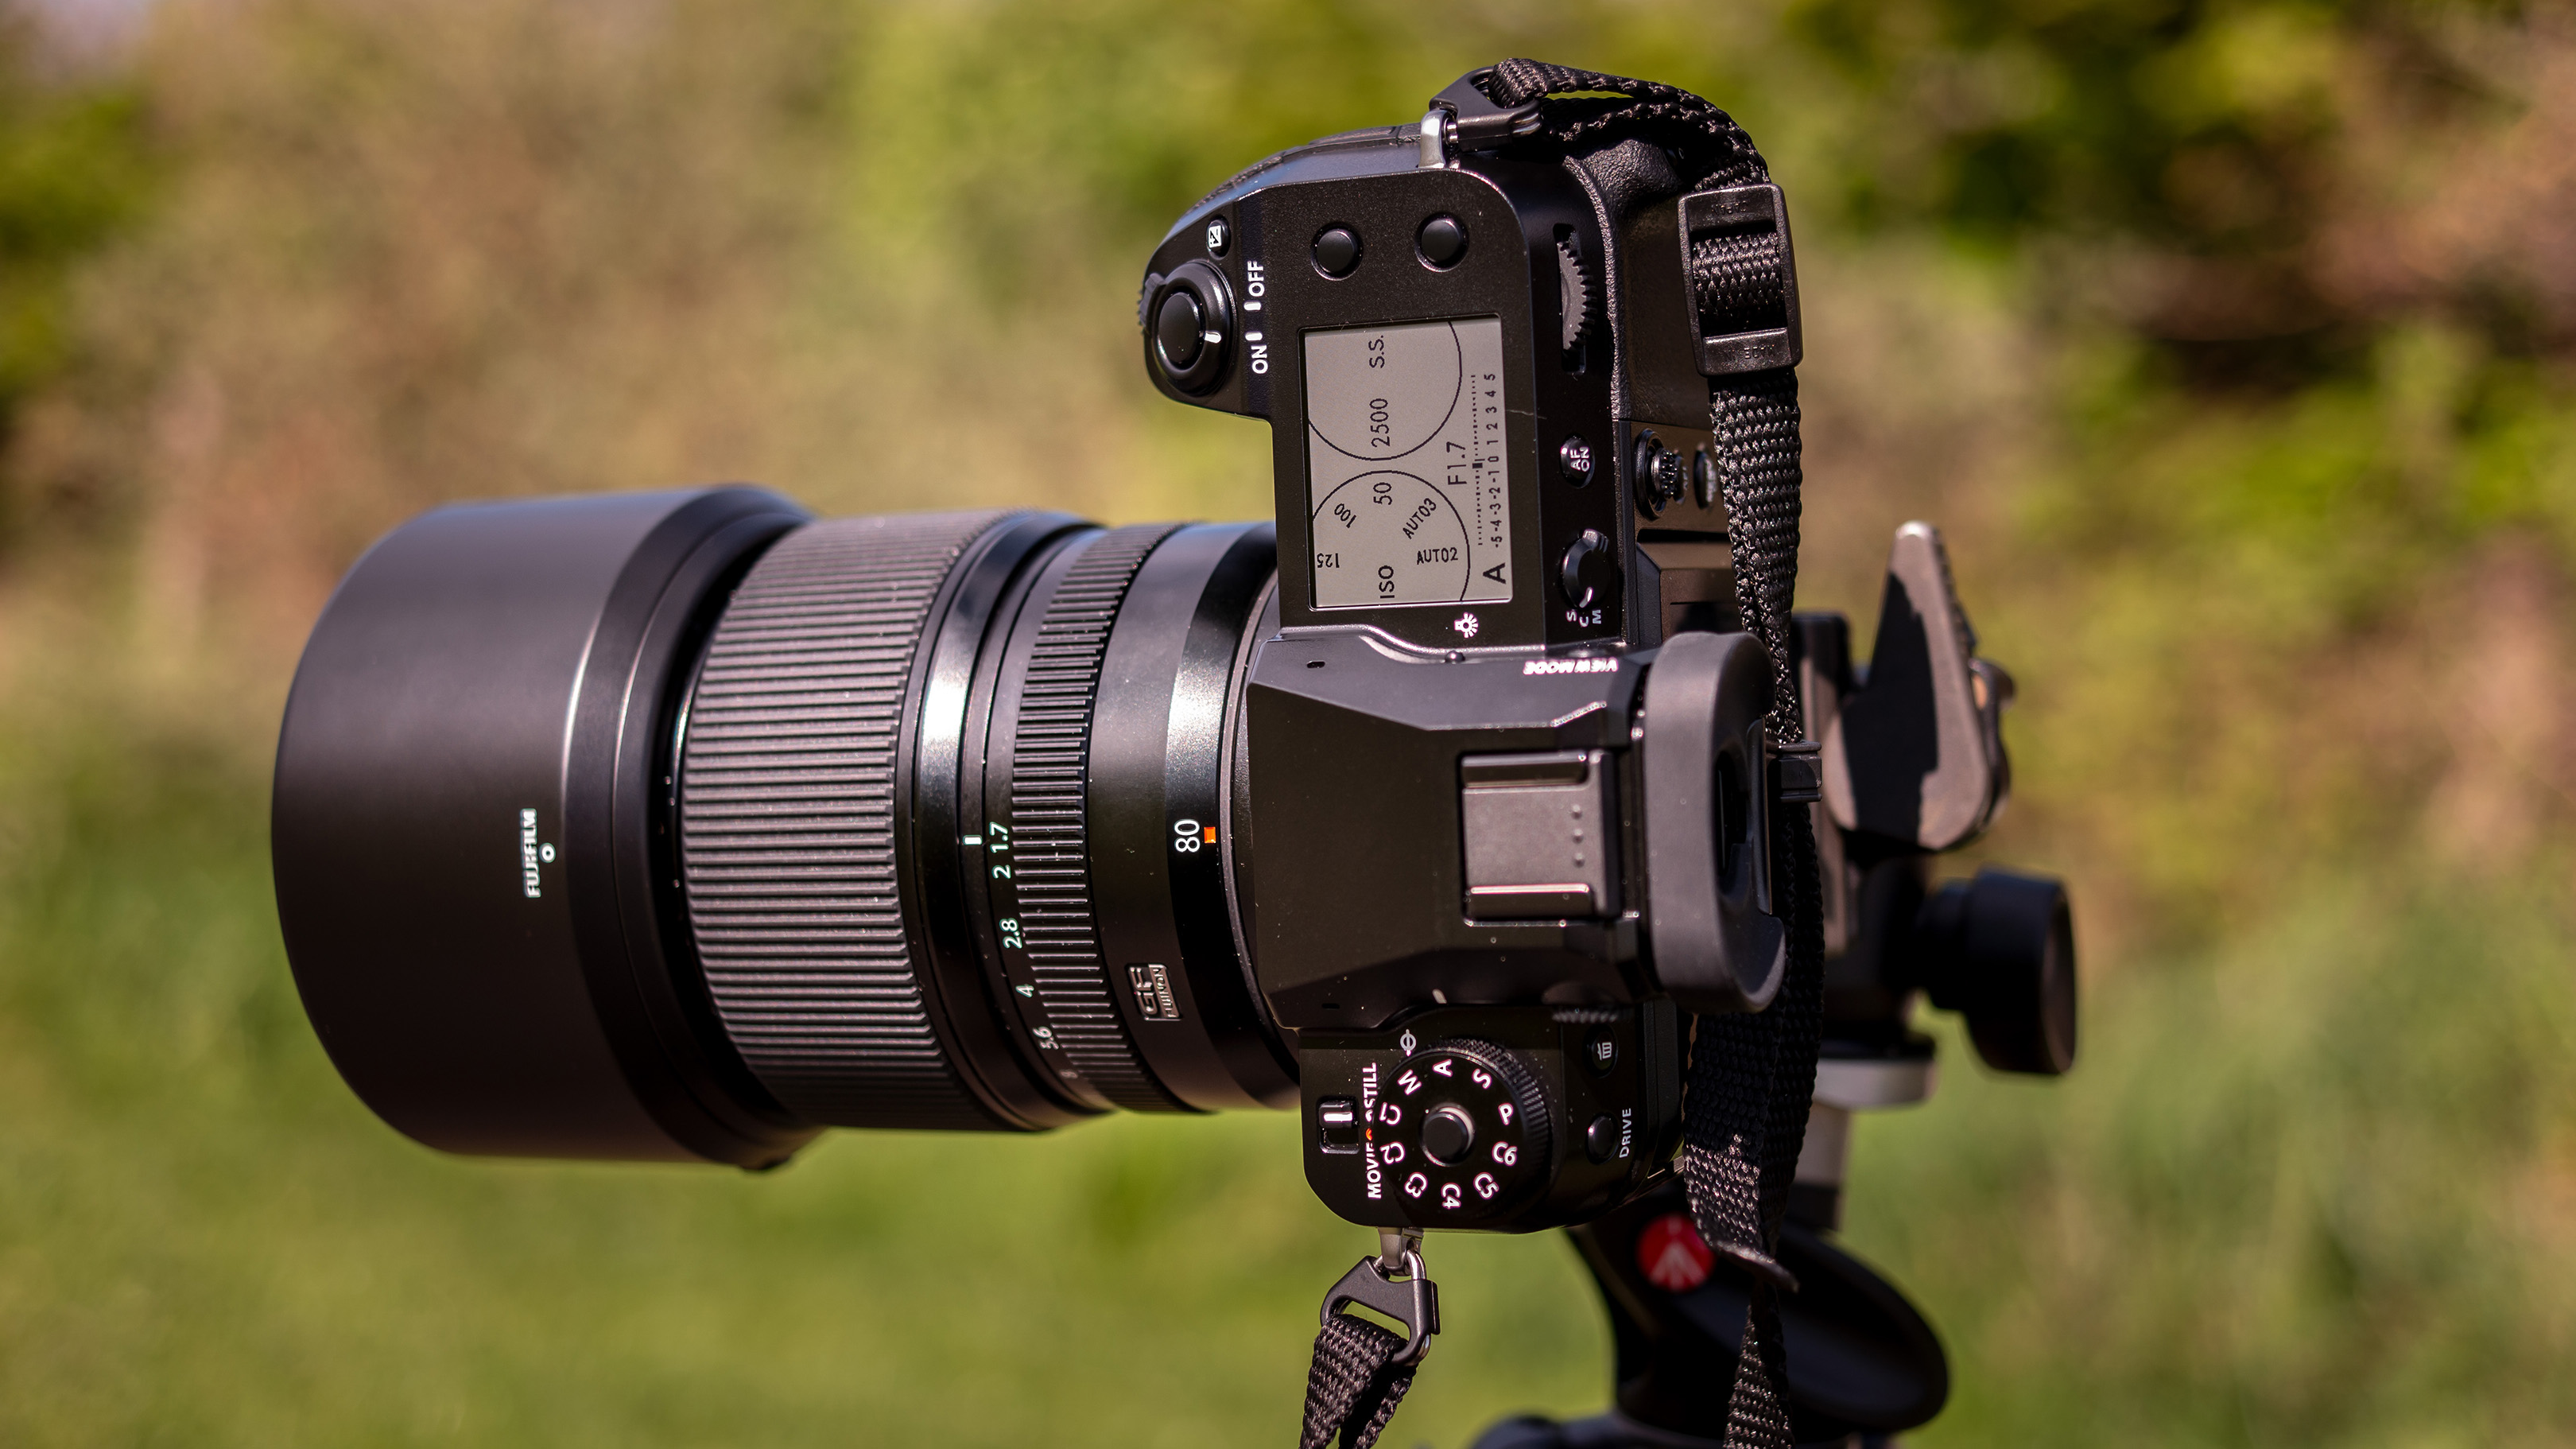
If shooting a horizontal frame, midgrounds can be a common challenge in this type of image, as bland horizons result from the vertical nature of a tall, thin structure. If you have to use this orientation, try minimizing depth of field to blur unwanted detail between the camera and the subject’s position. We were shooting on a camera with a large sensor, so shooting at maximum aperture greatly diffused areas closer to the camera position, when the focus was placed on the subject. In this case focusing further into the frame is an advantage.
3. Adjust horizon placement
In order to reduce the high frequency foreground detail we opted to lower the horizon and make more of the sky, which featured greater interest. The blue also contrasted better with the red of the lighthouse – colors which were brought closer together in the frame, by the lower angle – creating a more coherent theme.
The best camera deals, reviews, product advice, and unmissable photography news, direct to your inbox!
4. Vary distance
Beware of getting too close to a tall subject, as this can call for use of a wide-angle lens, thereby producing excess negative space and potentially converging verticals. Try moving towards and then away from the subject to find the optimal compression effect and favor a longer focal length, which can produce more manageable frame proportions.
5. Try other framing options
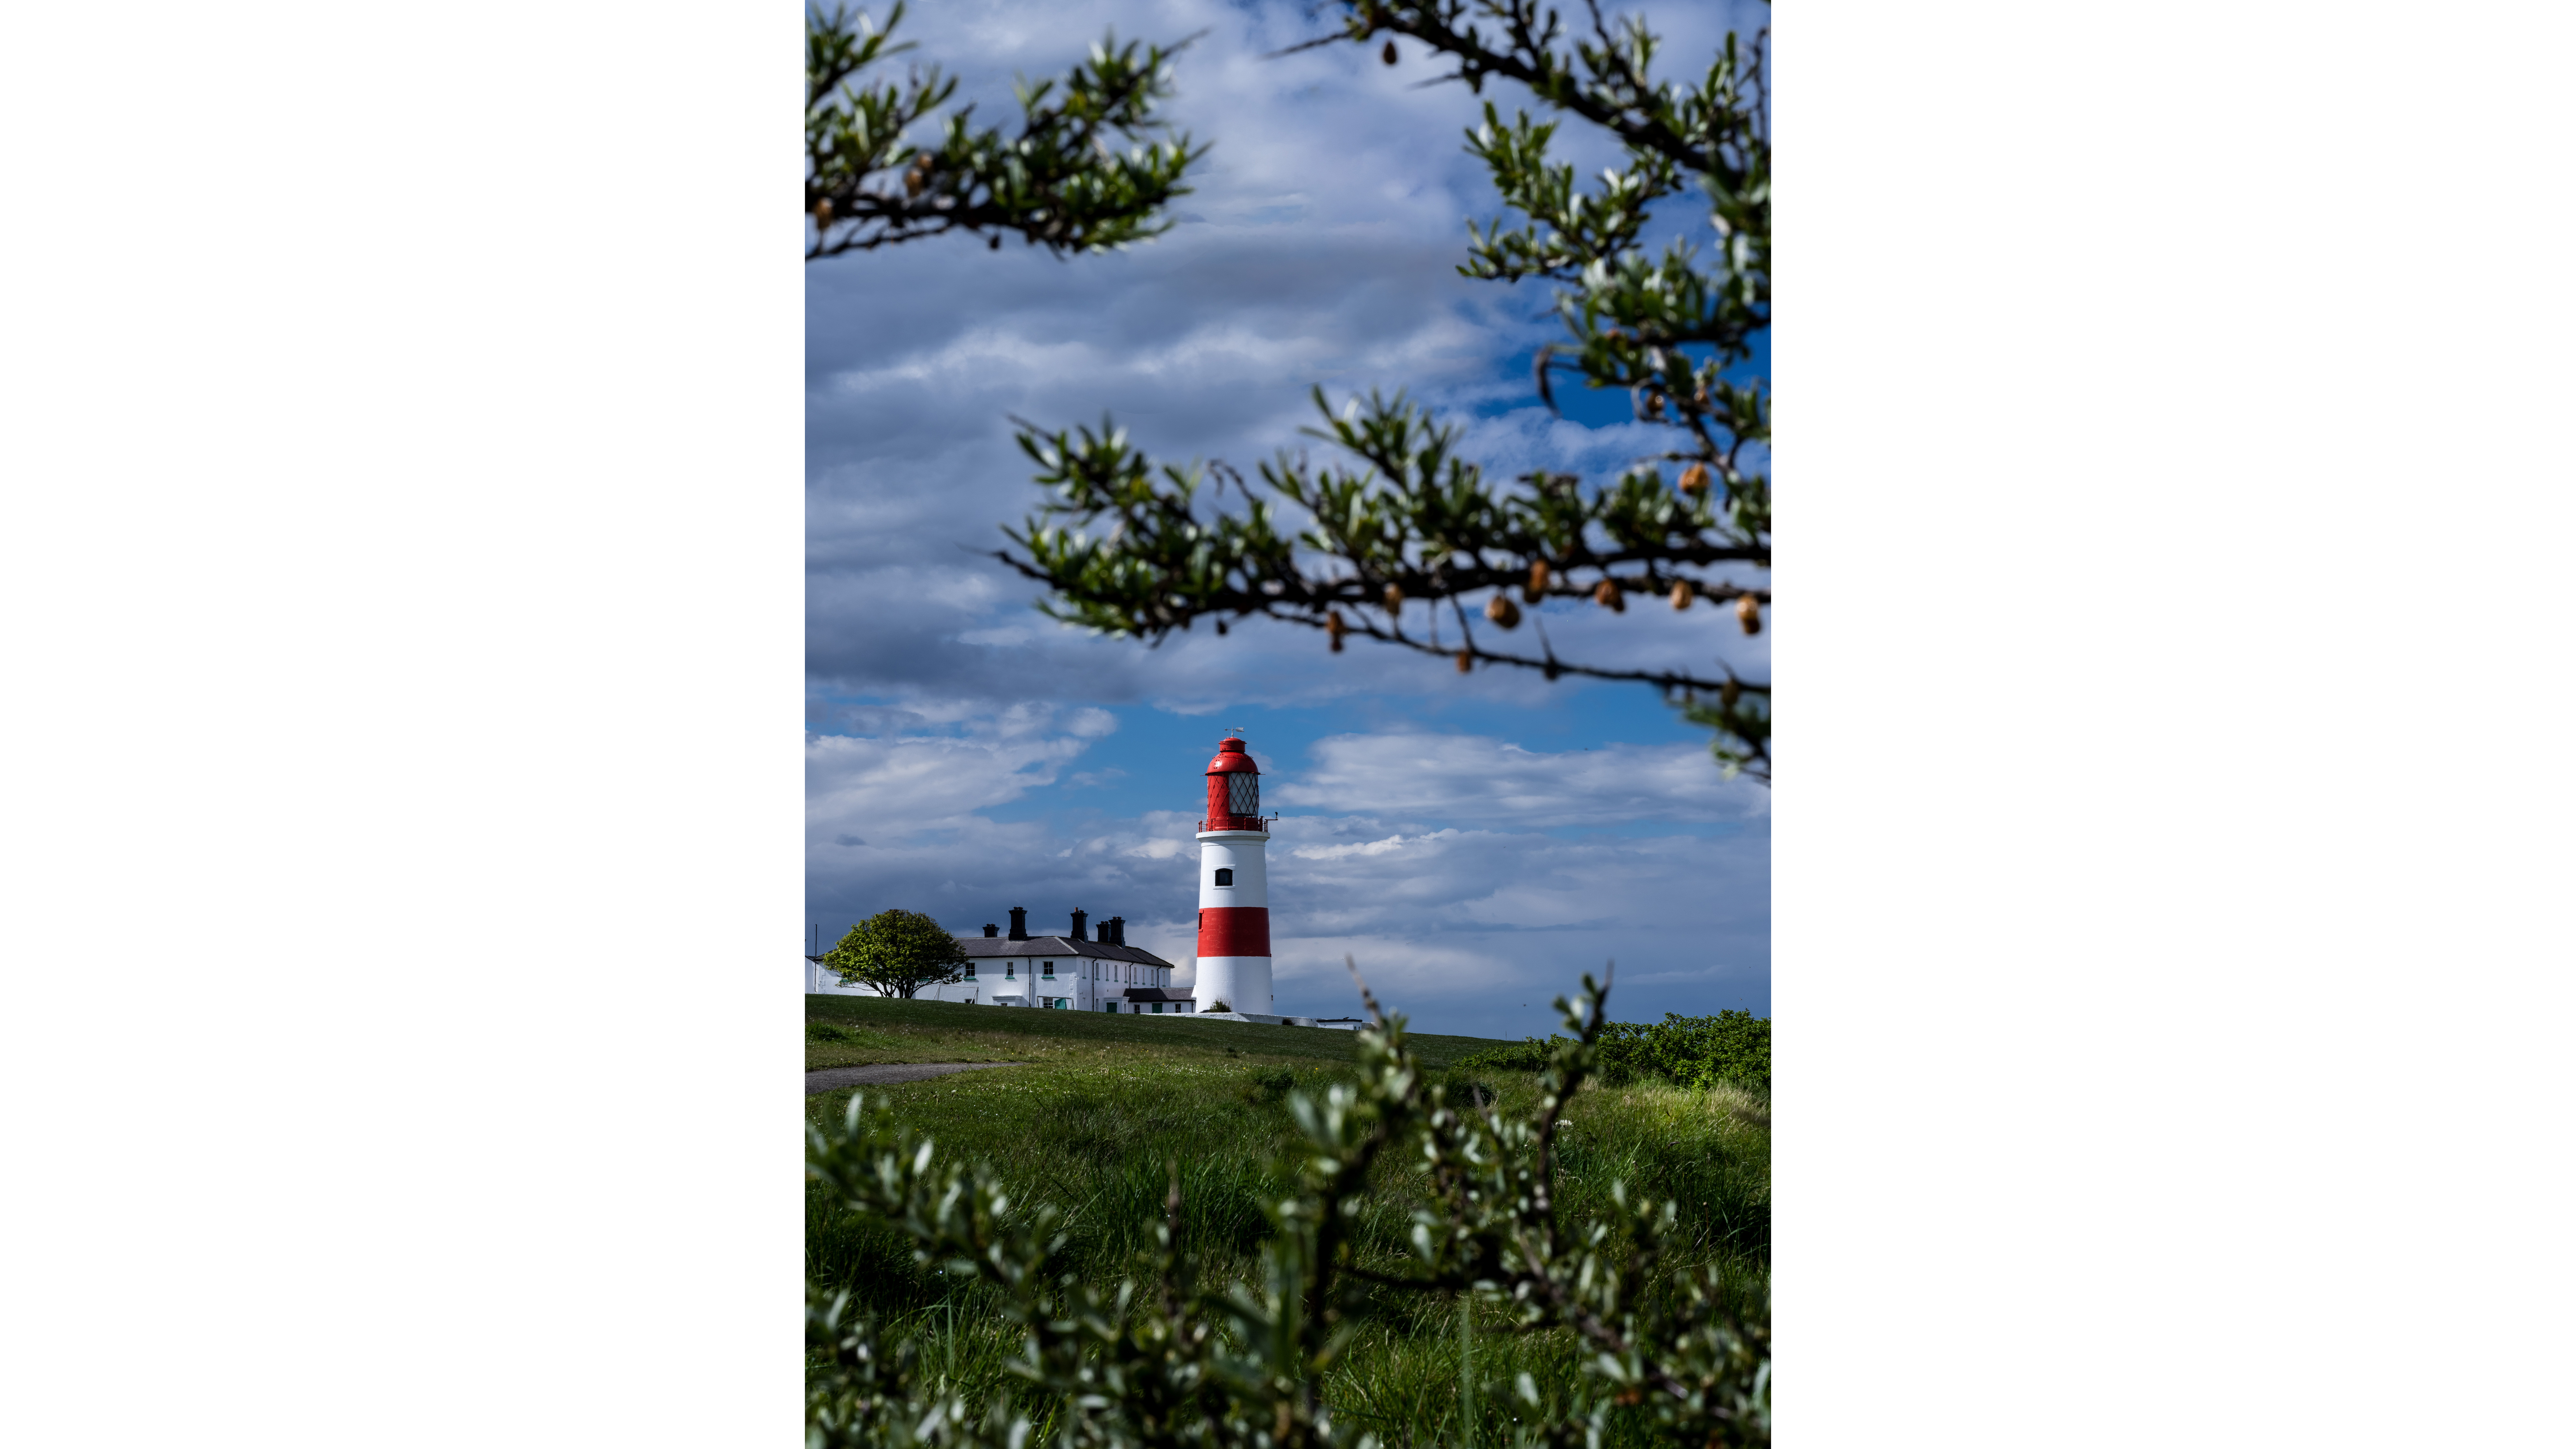
The aim here is to minimize large expanses of empty space either side of the vertical structure. Look for other objects, like vegetation, which can break up these areas without interfering with the subject itself. Aim to create layers that guide the eye to the building and which produce a sense of direction in the frame.
6. Flip it
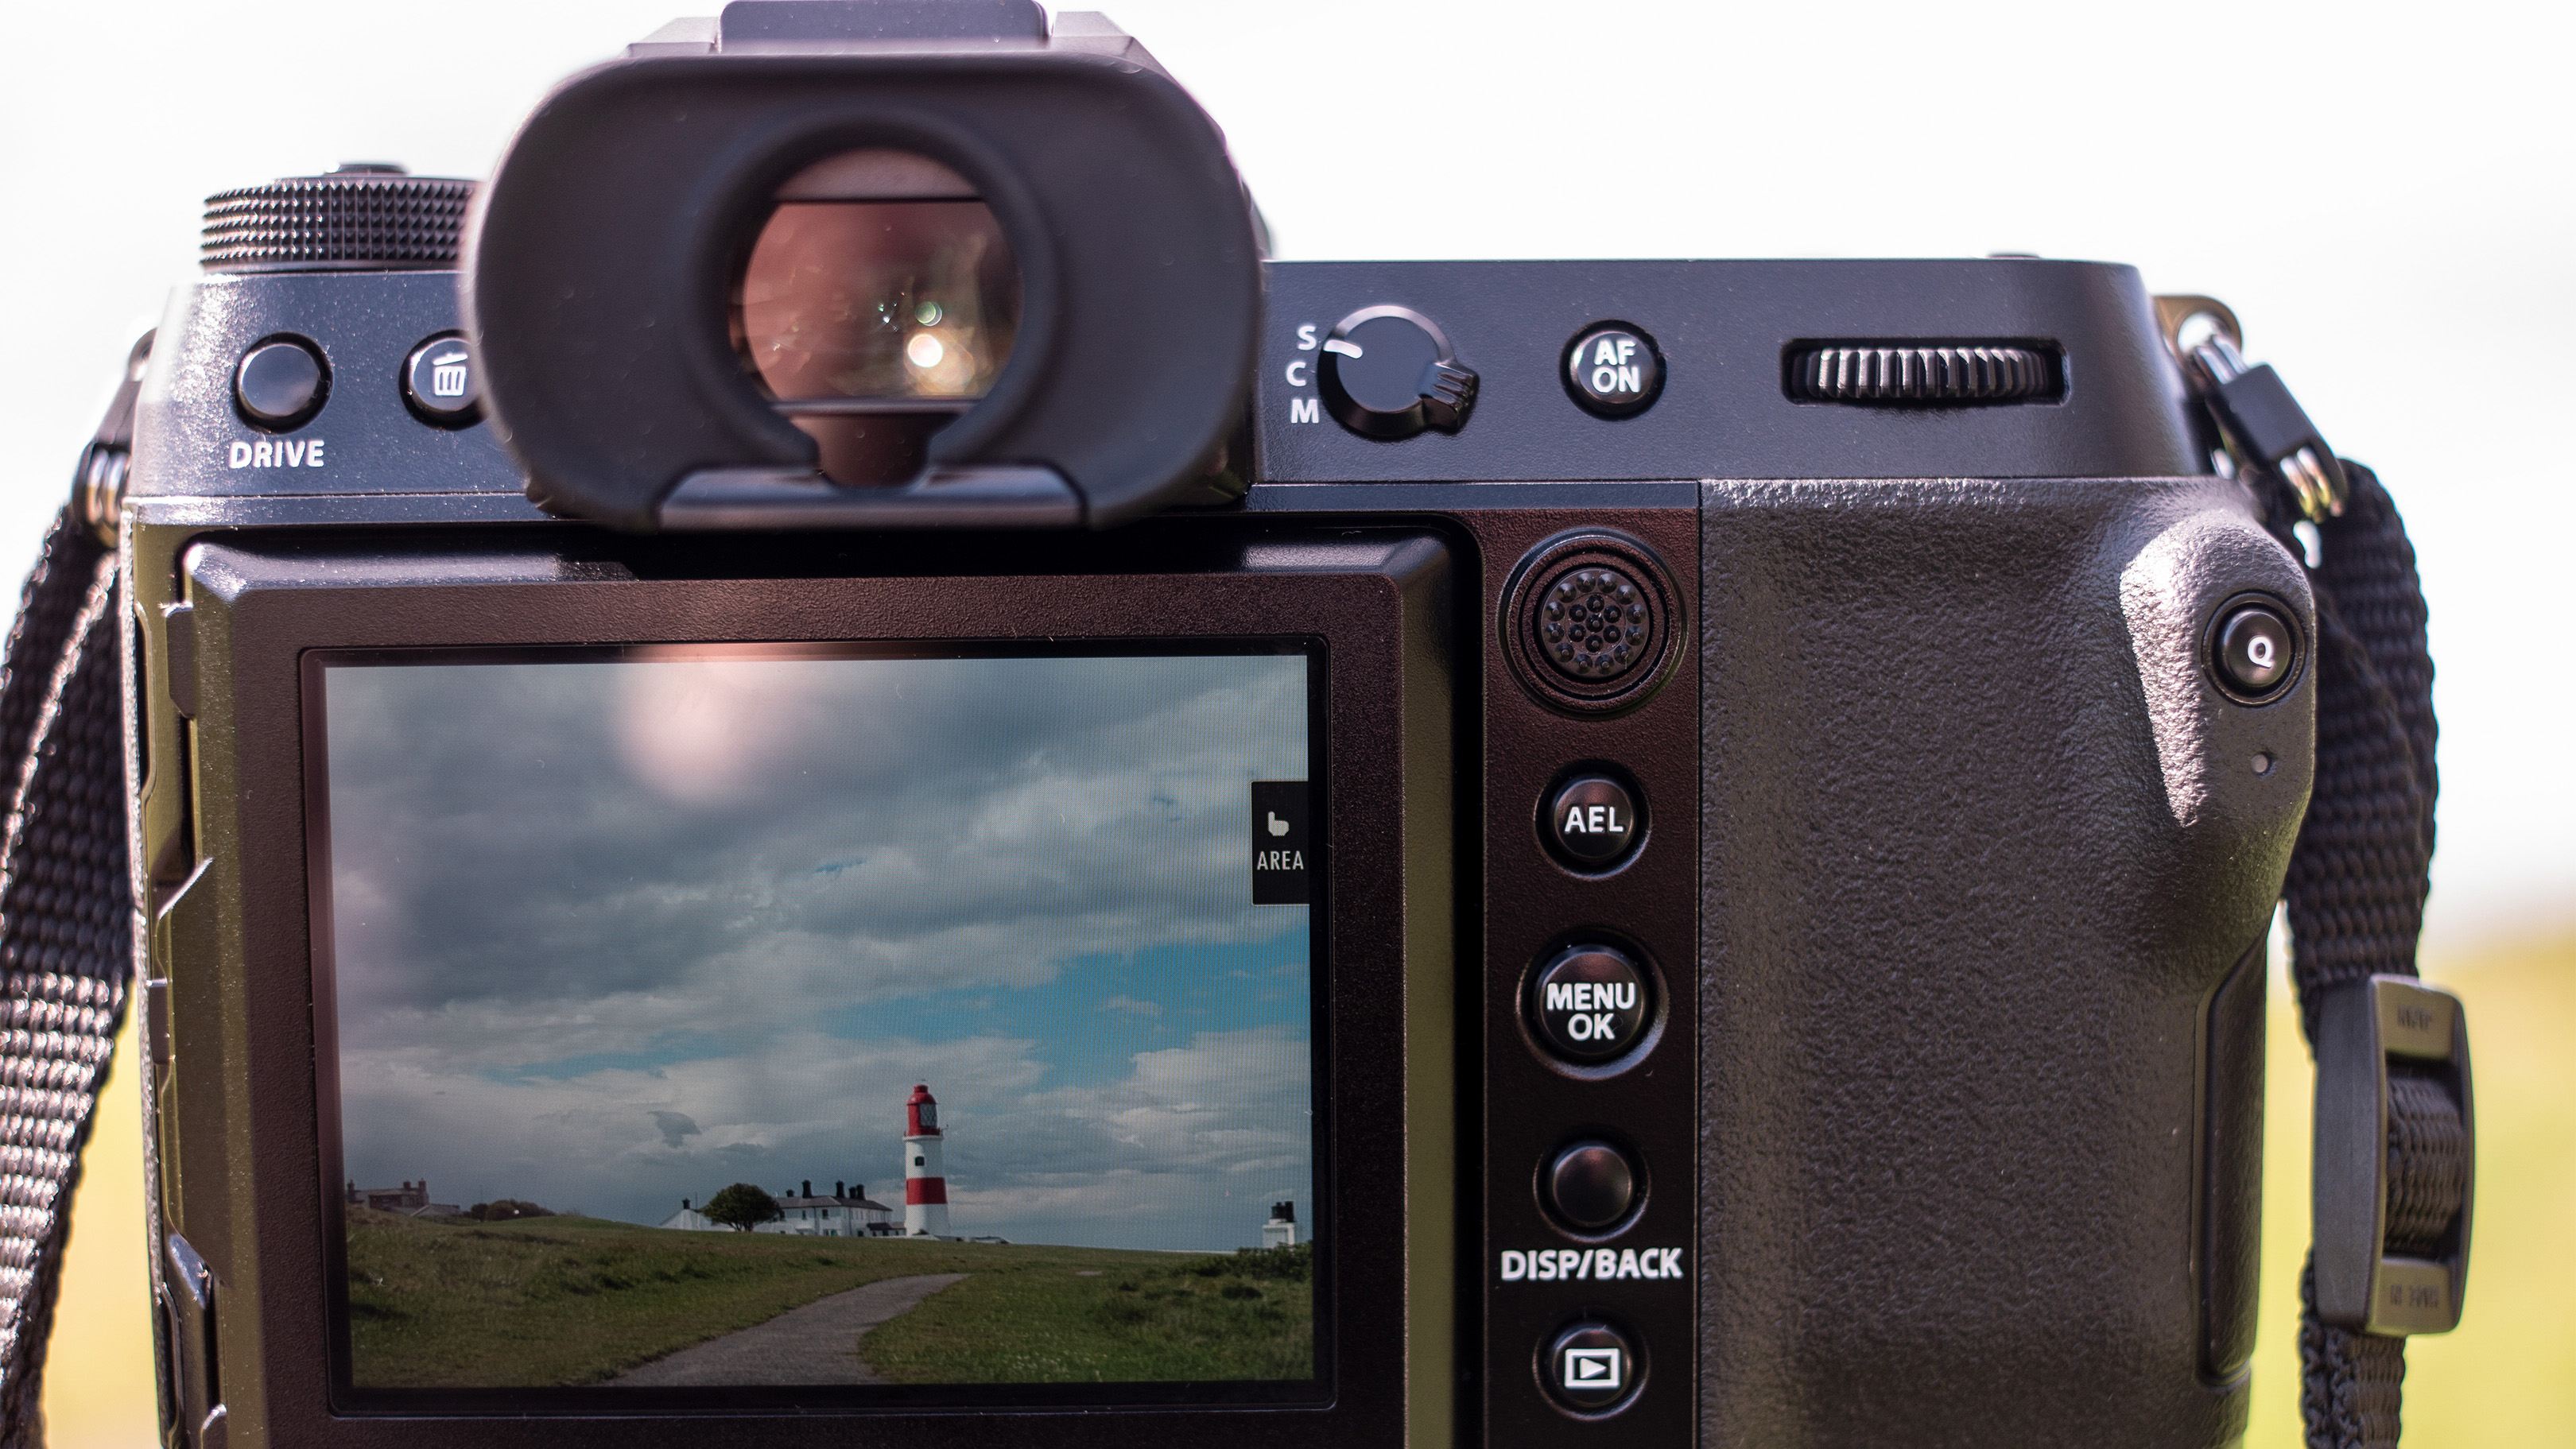
Always try both camera orientations, landscape and portrait, to experiment with detail distribution. Here we chose to exaggerate the verticality of the scene but divide it into layers, using the branches. Any gaps work as detail ‘breaks’, but negative space either side of the frame is contained and works to further the structure of the scene, rather than acting as voids, which draw the viewer's eye away from the subject.
Read more:
How to shoot landscape photographs with a telephoto lens
The best medium format camera in 2022
Upgrading from full frame to medium format: what you need to know
As the Editor for Digital Photographer magazine, Peter is a specialist in camera tutorials and creative projects to help you get the most out of your camera, lens, tripod, filters, gimbal, lighting and other imaging equipment.
After cutting his teeth working in retail for camera specialists like Jessops, he has spent 11 years as a photography journalist and freelance writer – and he is a Getty Images-registered photographer, to boot.
No matter what you want to shoot, Peter can help you sharpen your skills and elevate your ability, whether it’s taking portraits, capturing landscapes, shooting architecture, creating macro and still life, photographing action… he can help you learn and improve.
