Dramatic daylight portraits: use ND filters + flash to blur and darken backgrounds
Both blur and darken backgrounds to capture more dramatic portraits all by using a combination of filters and flash
Watch: Shoot dramatic portraits using filters and flash
What’s the best way to shoot portraits in daylight: use a long focal length and wide aperture to blur the backgrounds so the subject stands out? Or use some fill flash and underexpose the background for extra contrast and drama?
If you use a wide aperture for a shallow depth of field, to blur the background behind your subject in even lighting, you may have to accept annoying shadows on their faces – and the backdrop will be much the same brightness as your subject.
If you use flash you can fill in shadows on faces but, with your camera’s maximum flash sync speed of around 1/200 sec, you’ll need to shoot at an aperture of f/9 or more if you want to darken the background in broad daylight. At that aperture the depth of field increases, so this means the background isn’t that blurred and your subject doesn’t stand out as well.
• 10 things you need to know about camera filters!
• Get more photoshoot ideas
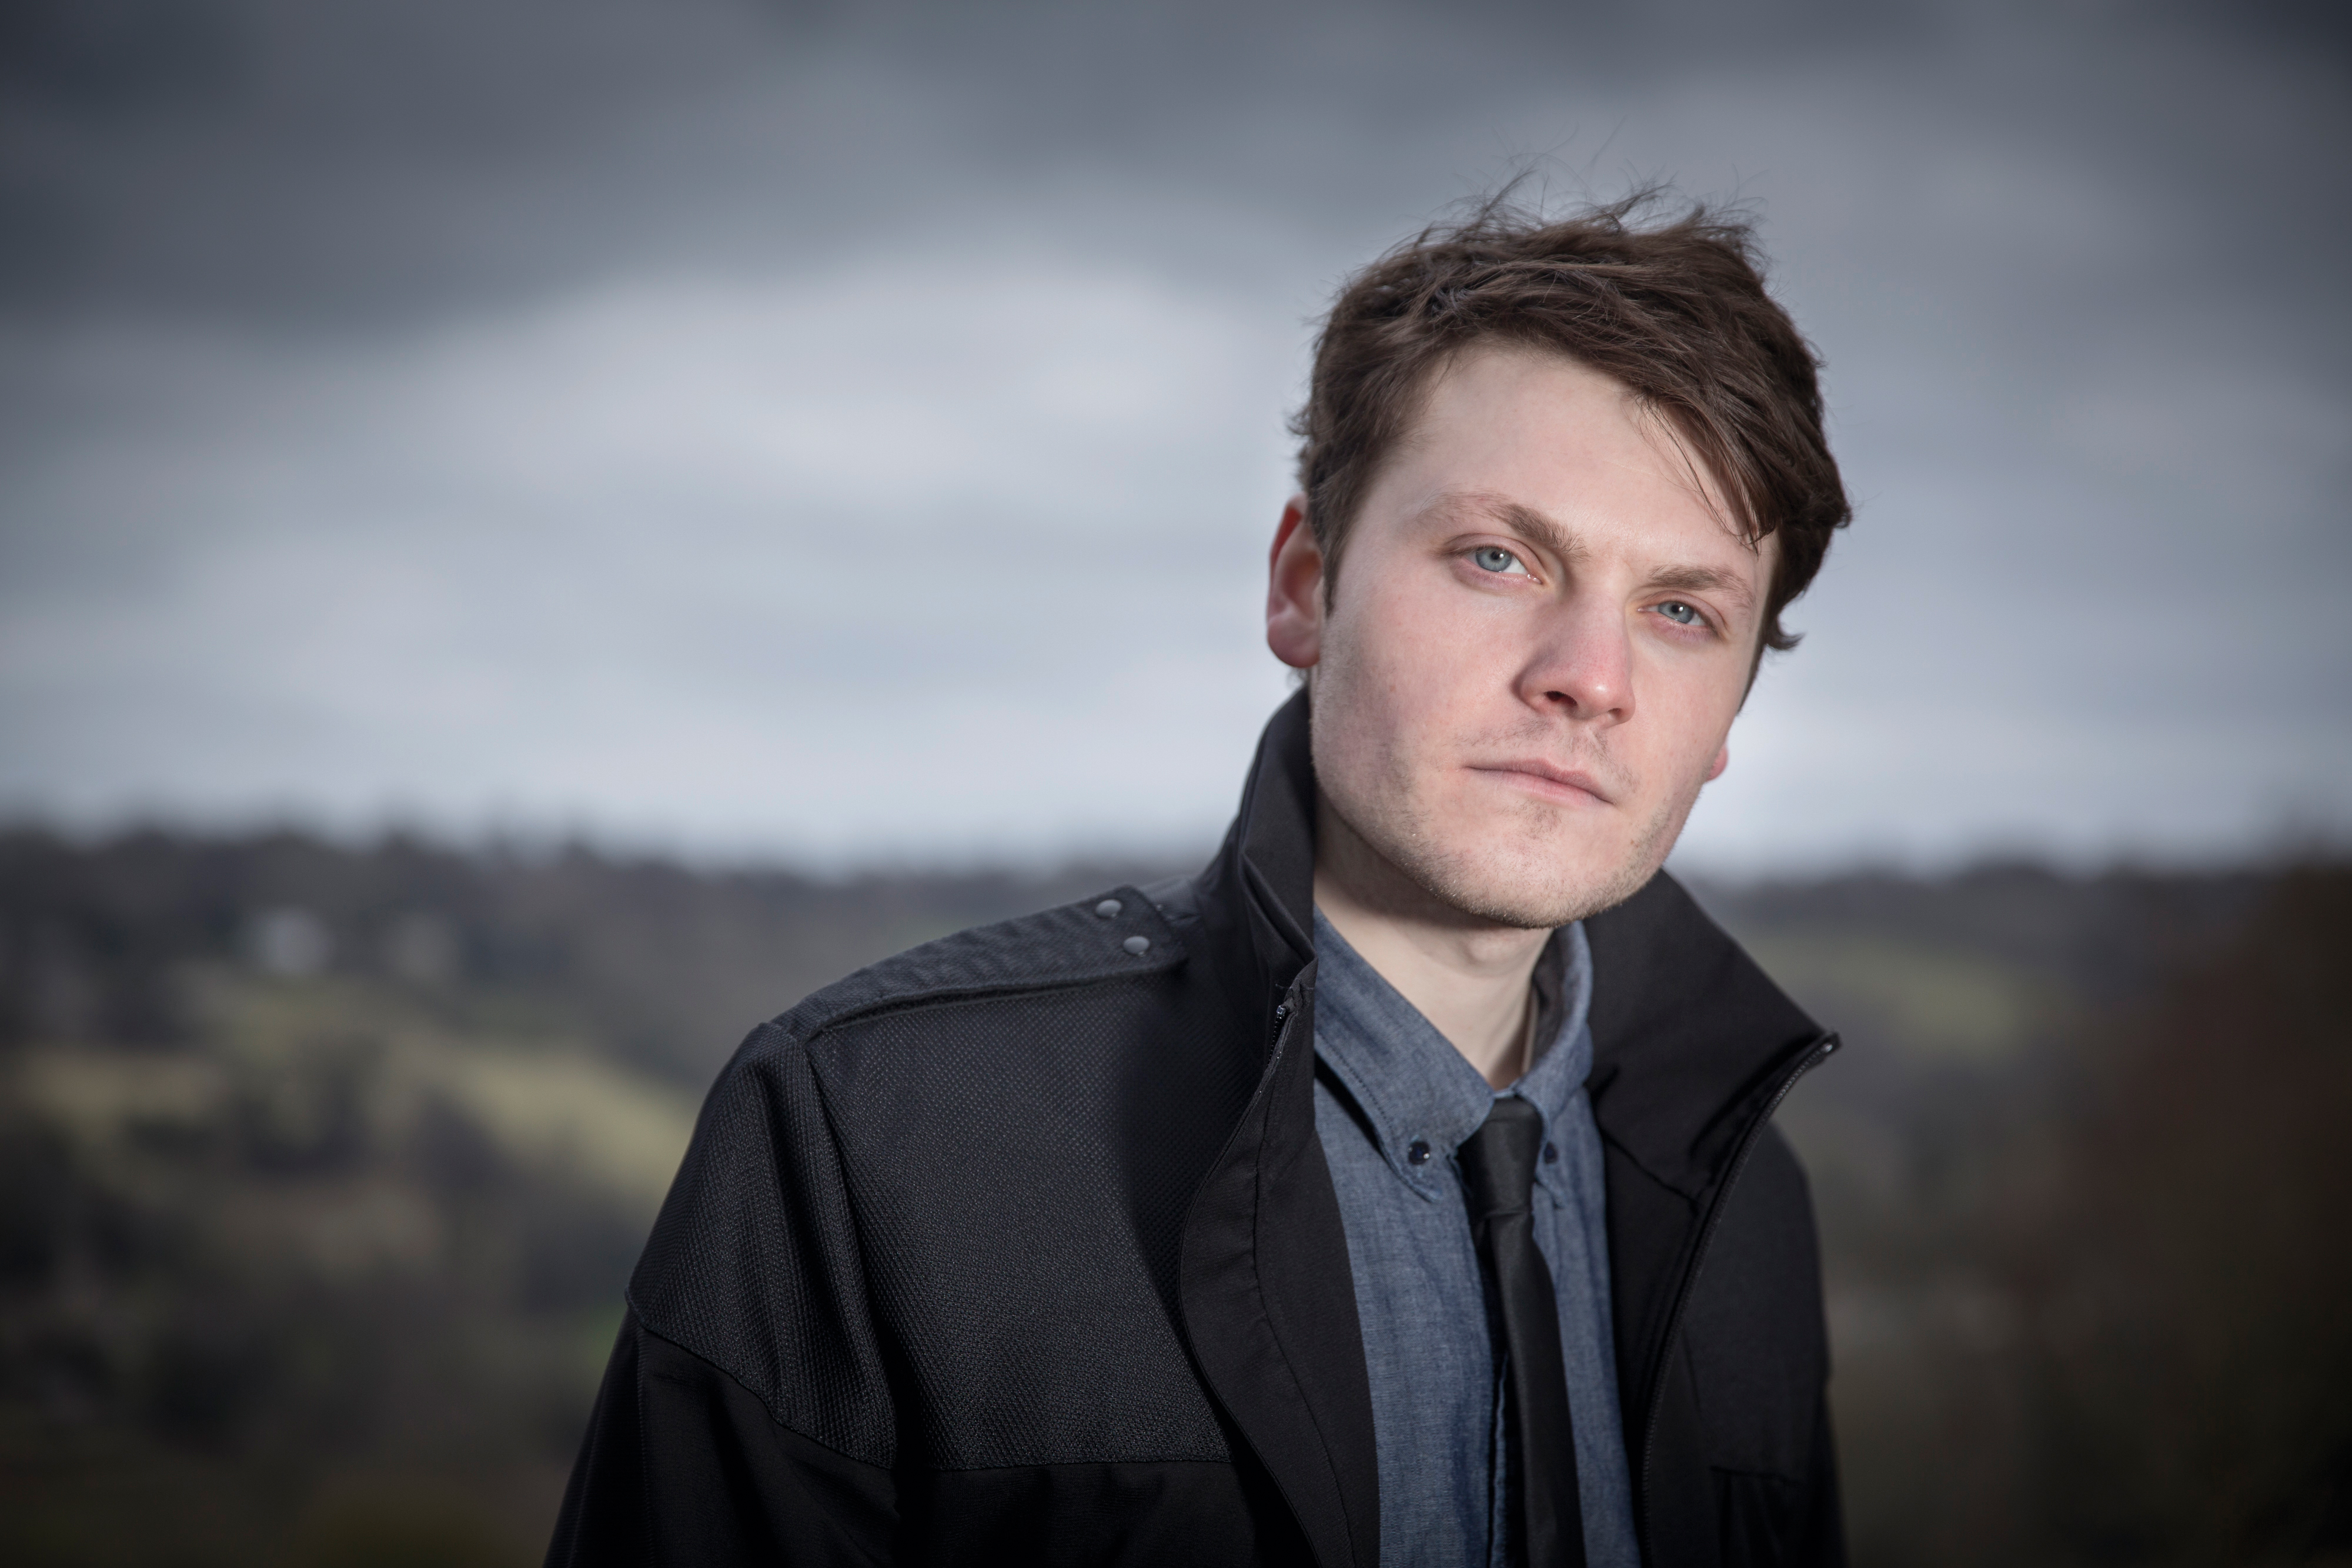
But what if we could combine a wide aperture and flash to capture both a dark and blurred background? Well, by using an ND filter on our lens, we can!
With a neutral density filter attached to our fast 24-70mm lens, on our overcast day we could we can shoot at f/2.8 and 1/100 sec to blur the background and to darken it too. Plus by using a flashgun to brighten up our subject, it will separate them from the background to create a really dramatic and dark portrait.
The best camera deals, reviews, product advice, and unmissable photography news, direct to your inbox!
Read on to learn the essential set-up and tips for a great, stylish, dramatic-looking portrait shot.
01 ND filter
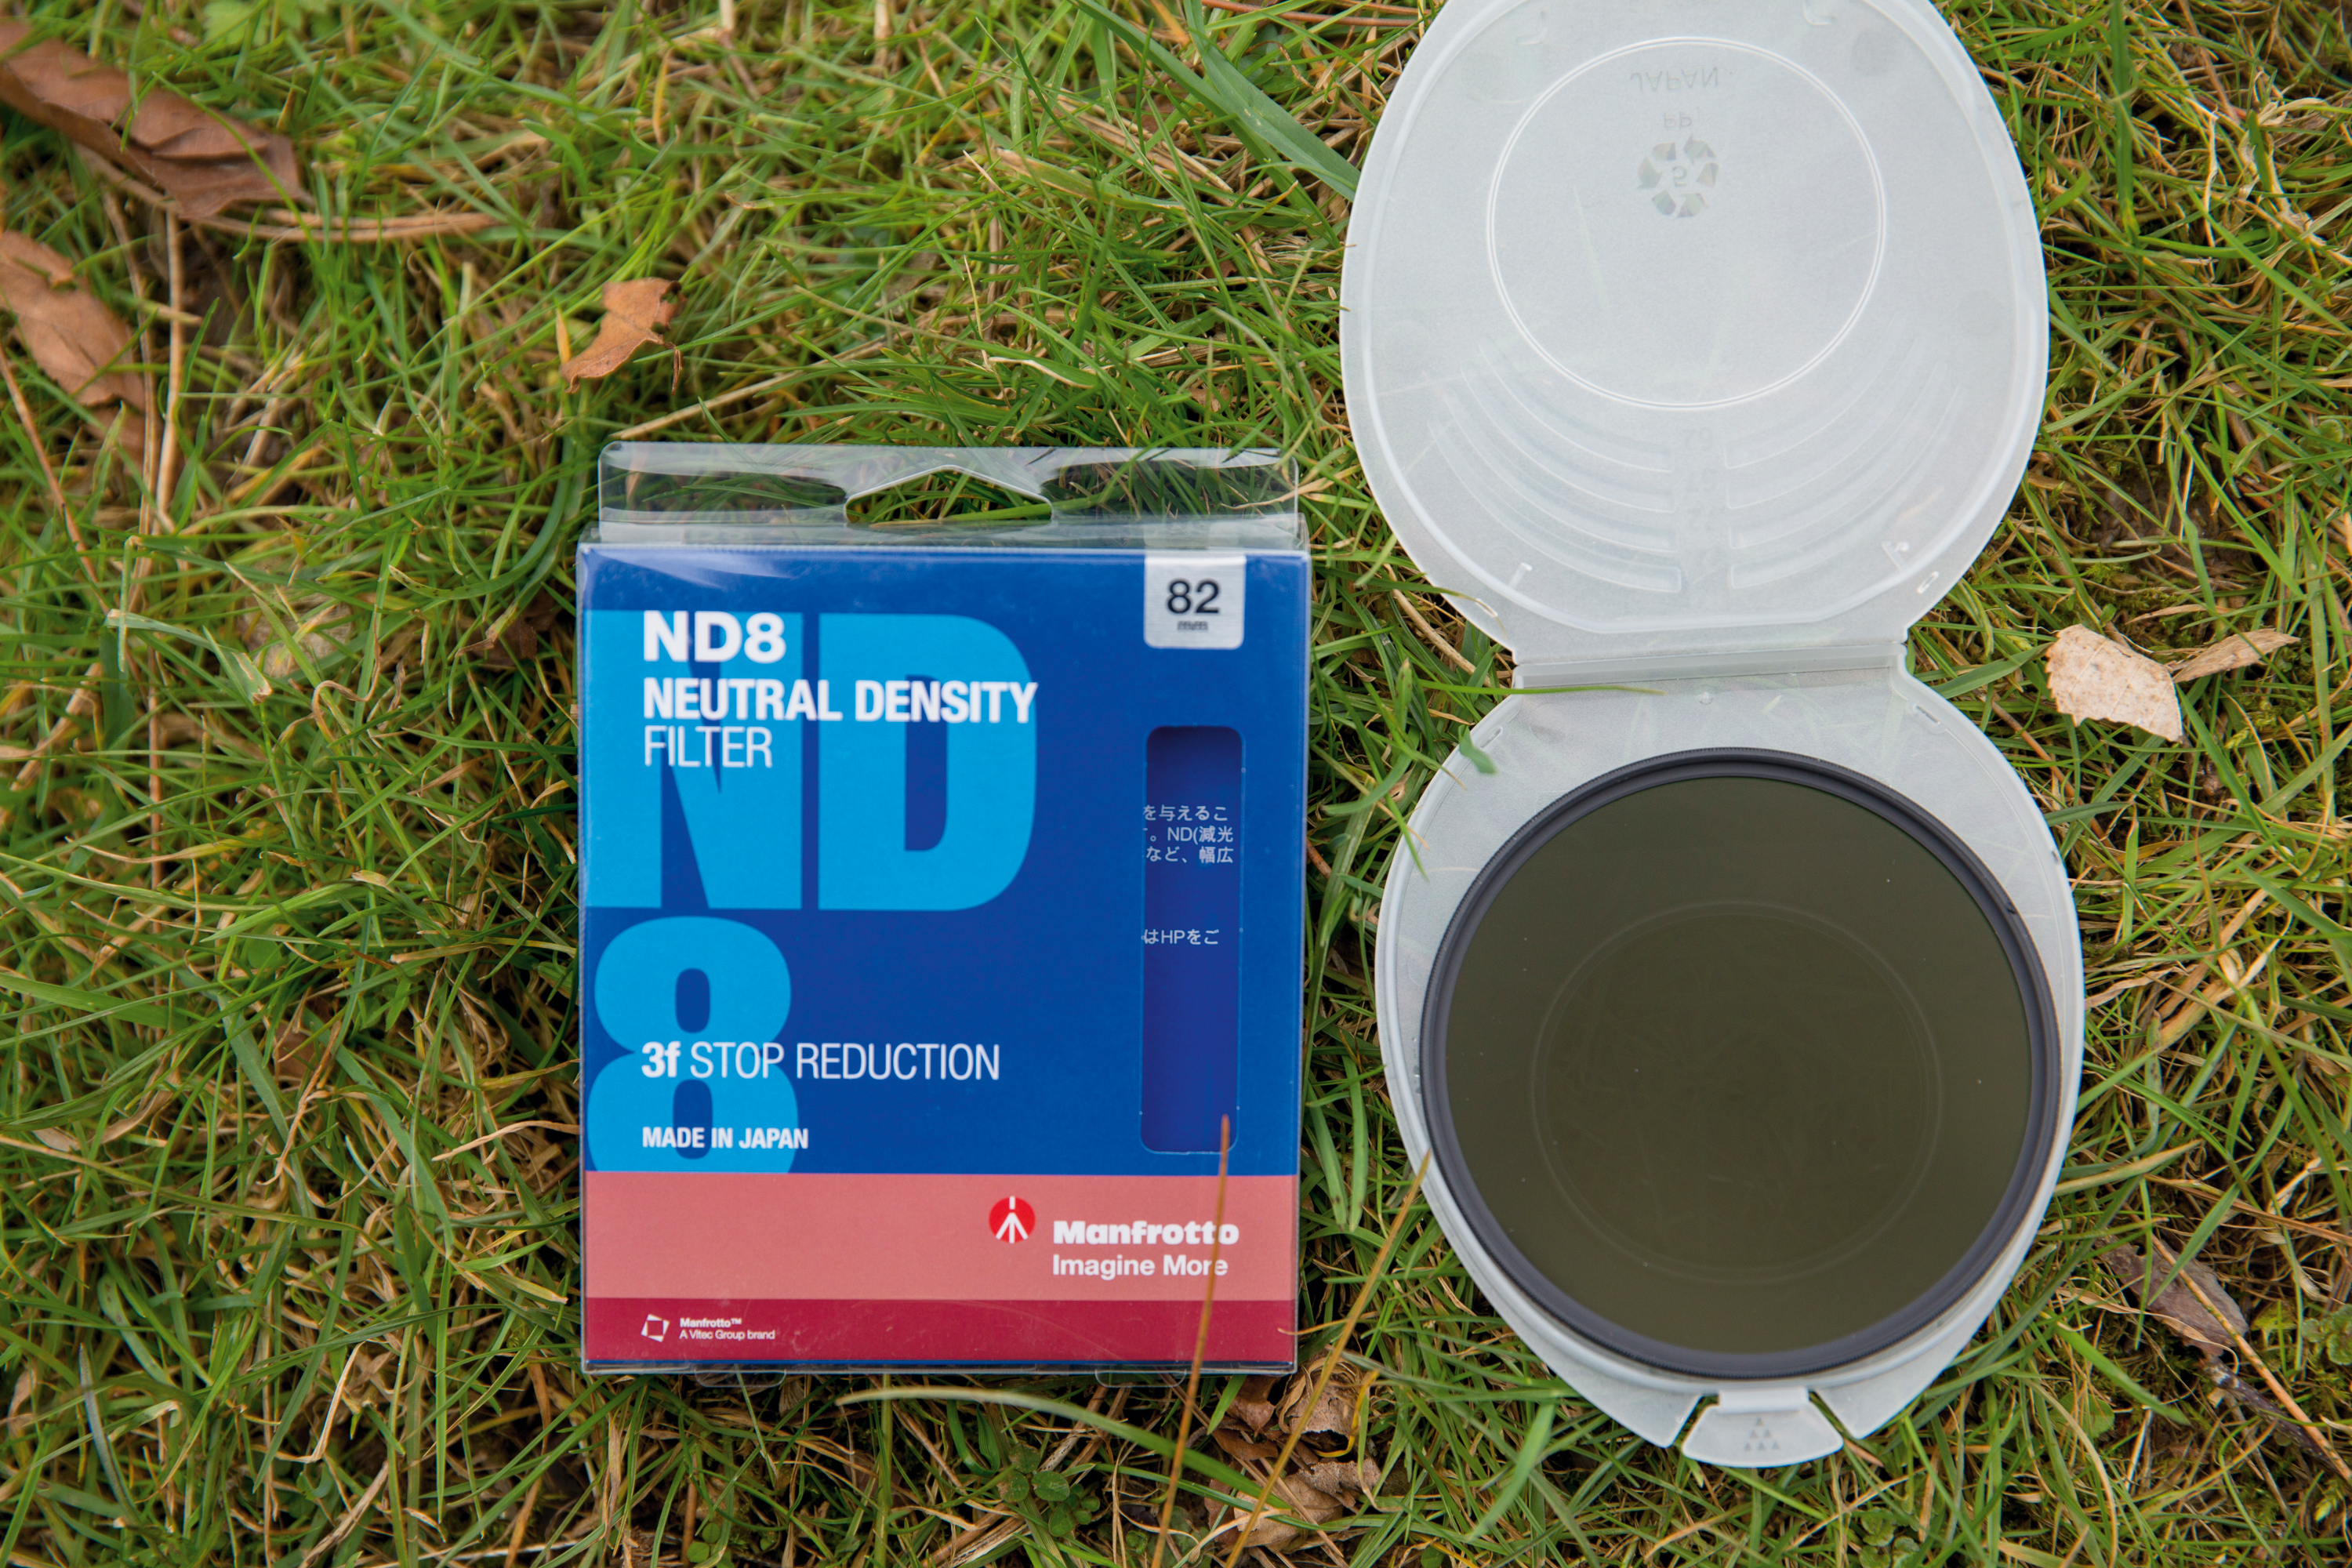
We’re using a Manfrotto 3-stop ND filter here. Choose the correct filter size for your lens; for our 24-70mm f/2.8 lens we needed an 82mm filter. Adding an ND filter to your lens reduces the amount of light reaching the sensor, which means that we can use a wide aperture but still make the background dark.
• Read more: Best ND filters
02 Setting the exposure
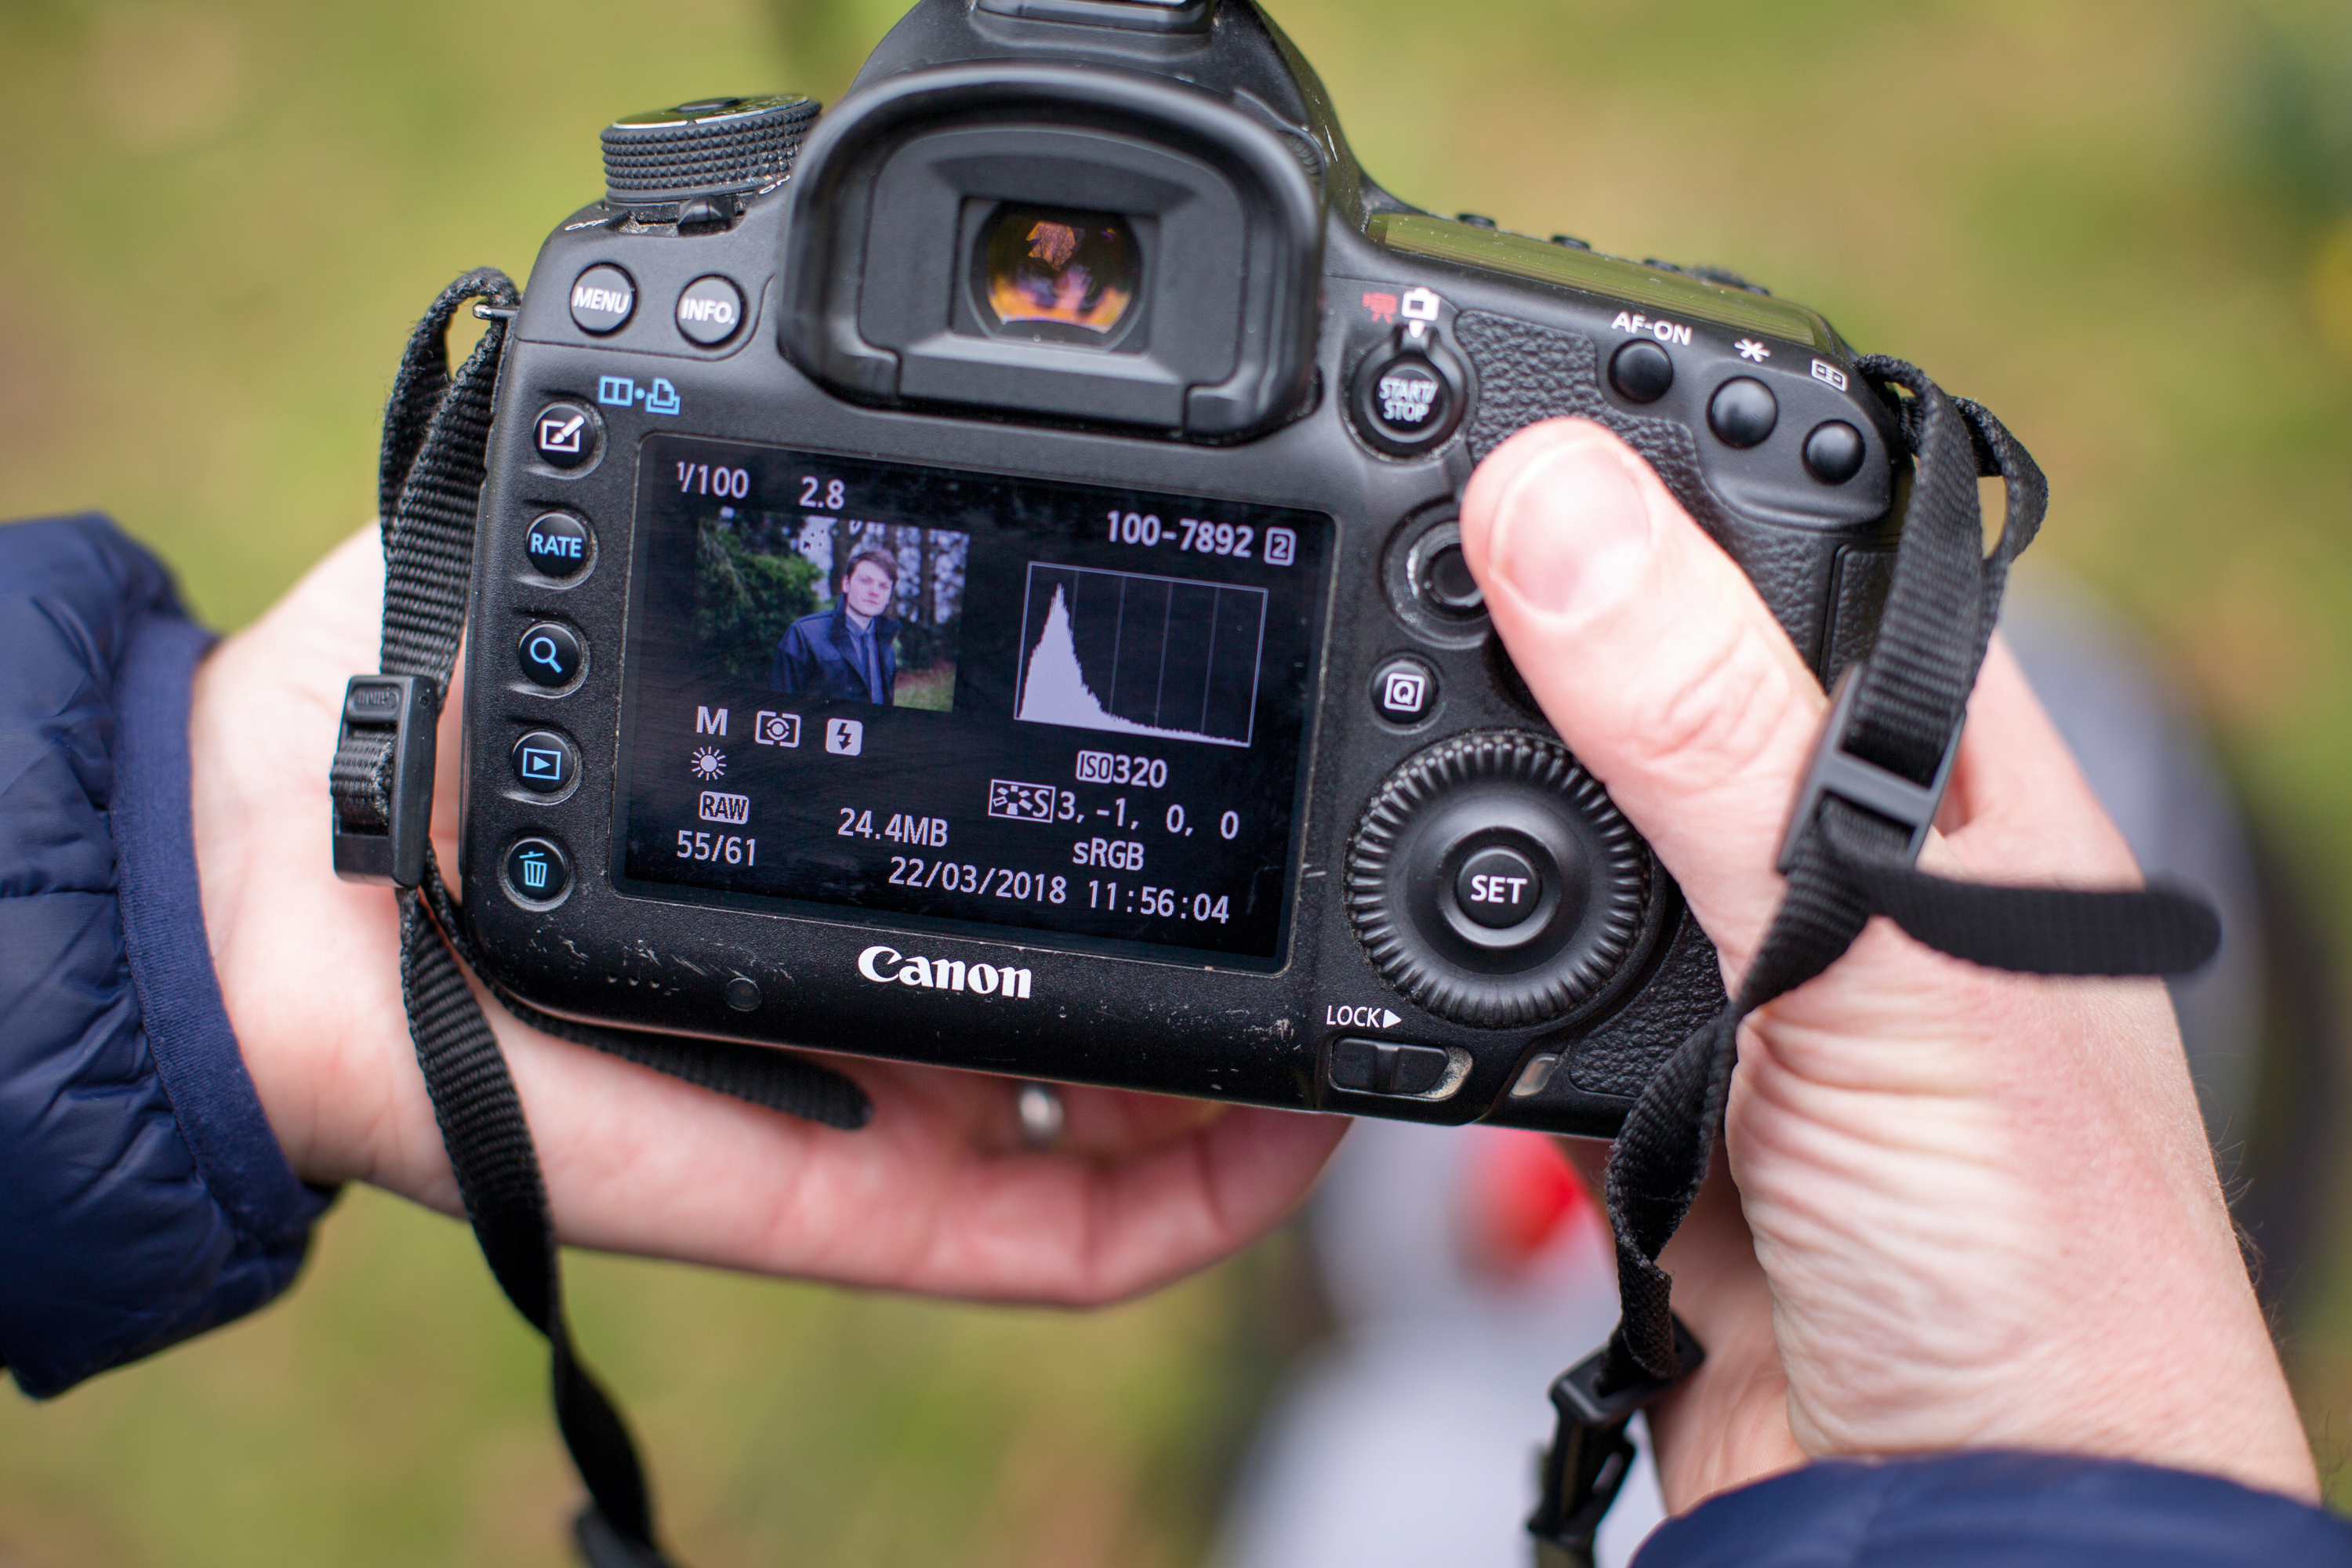
With an ND filter on, for a dramatic portrait, you need to set an exposure so that the background is dark and contrasts with the subject. We were shooting on an overcast day, so our exposure was f/2.8 and 1/100 sec – with the ISO set to 320 to ensure that the flash was bright enough on our subject.
03 Flashgun and diffuser
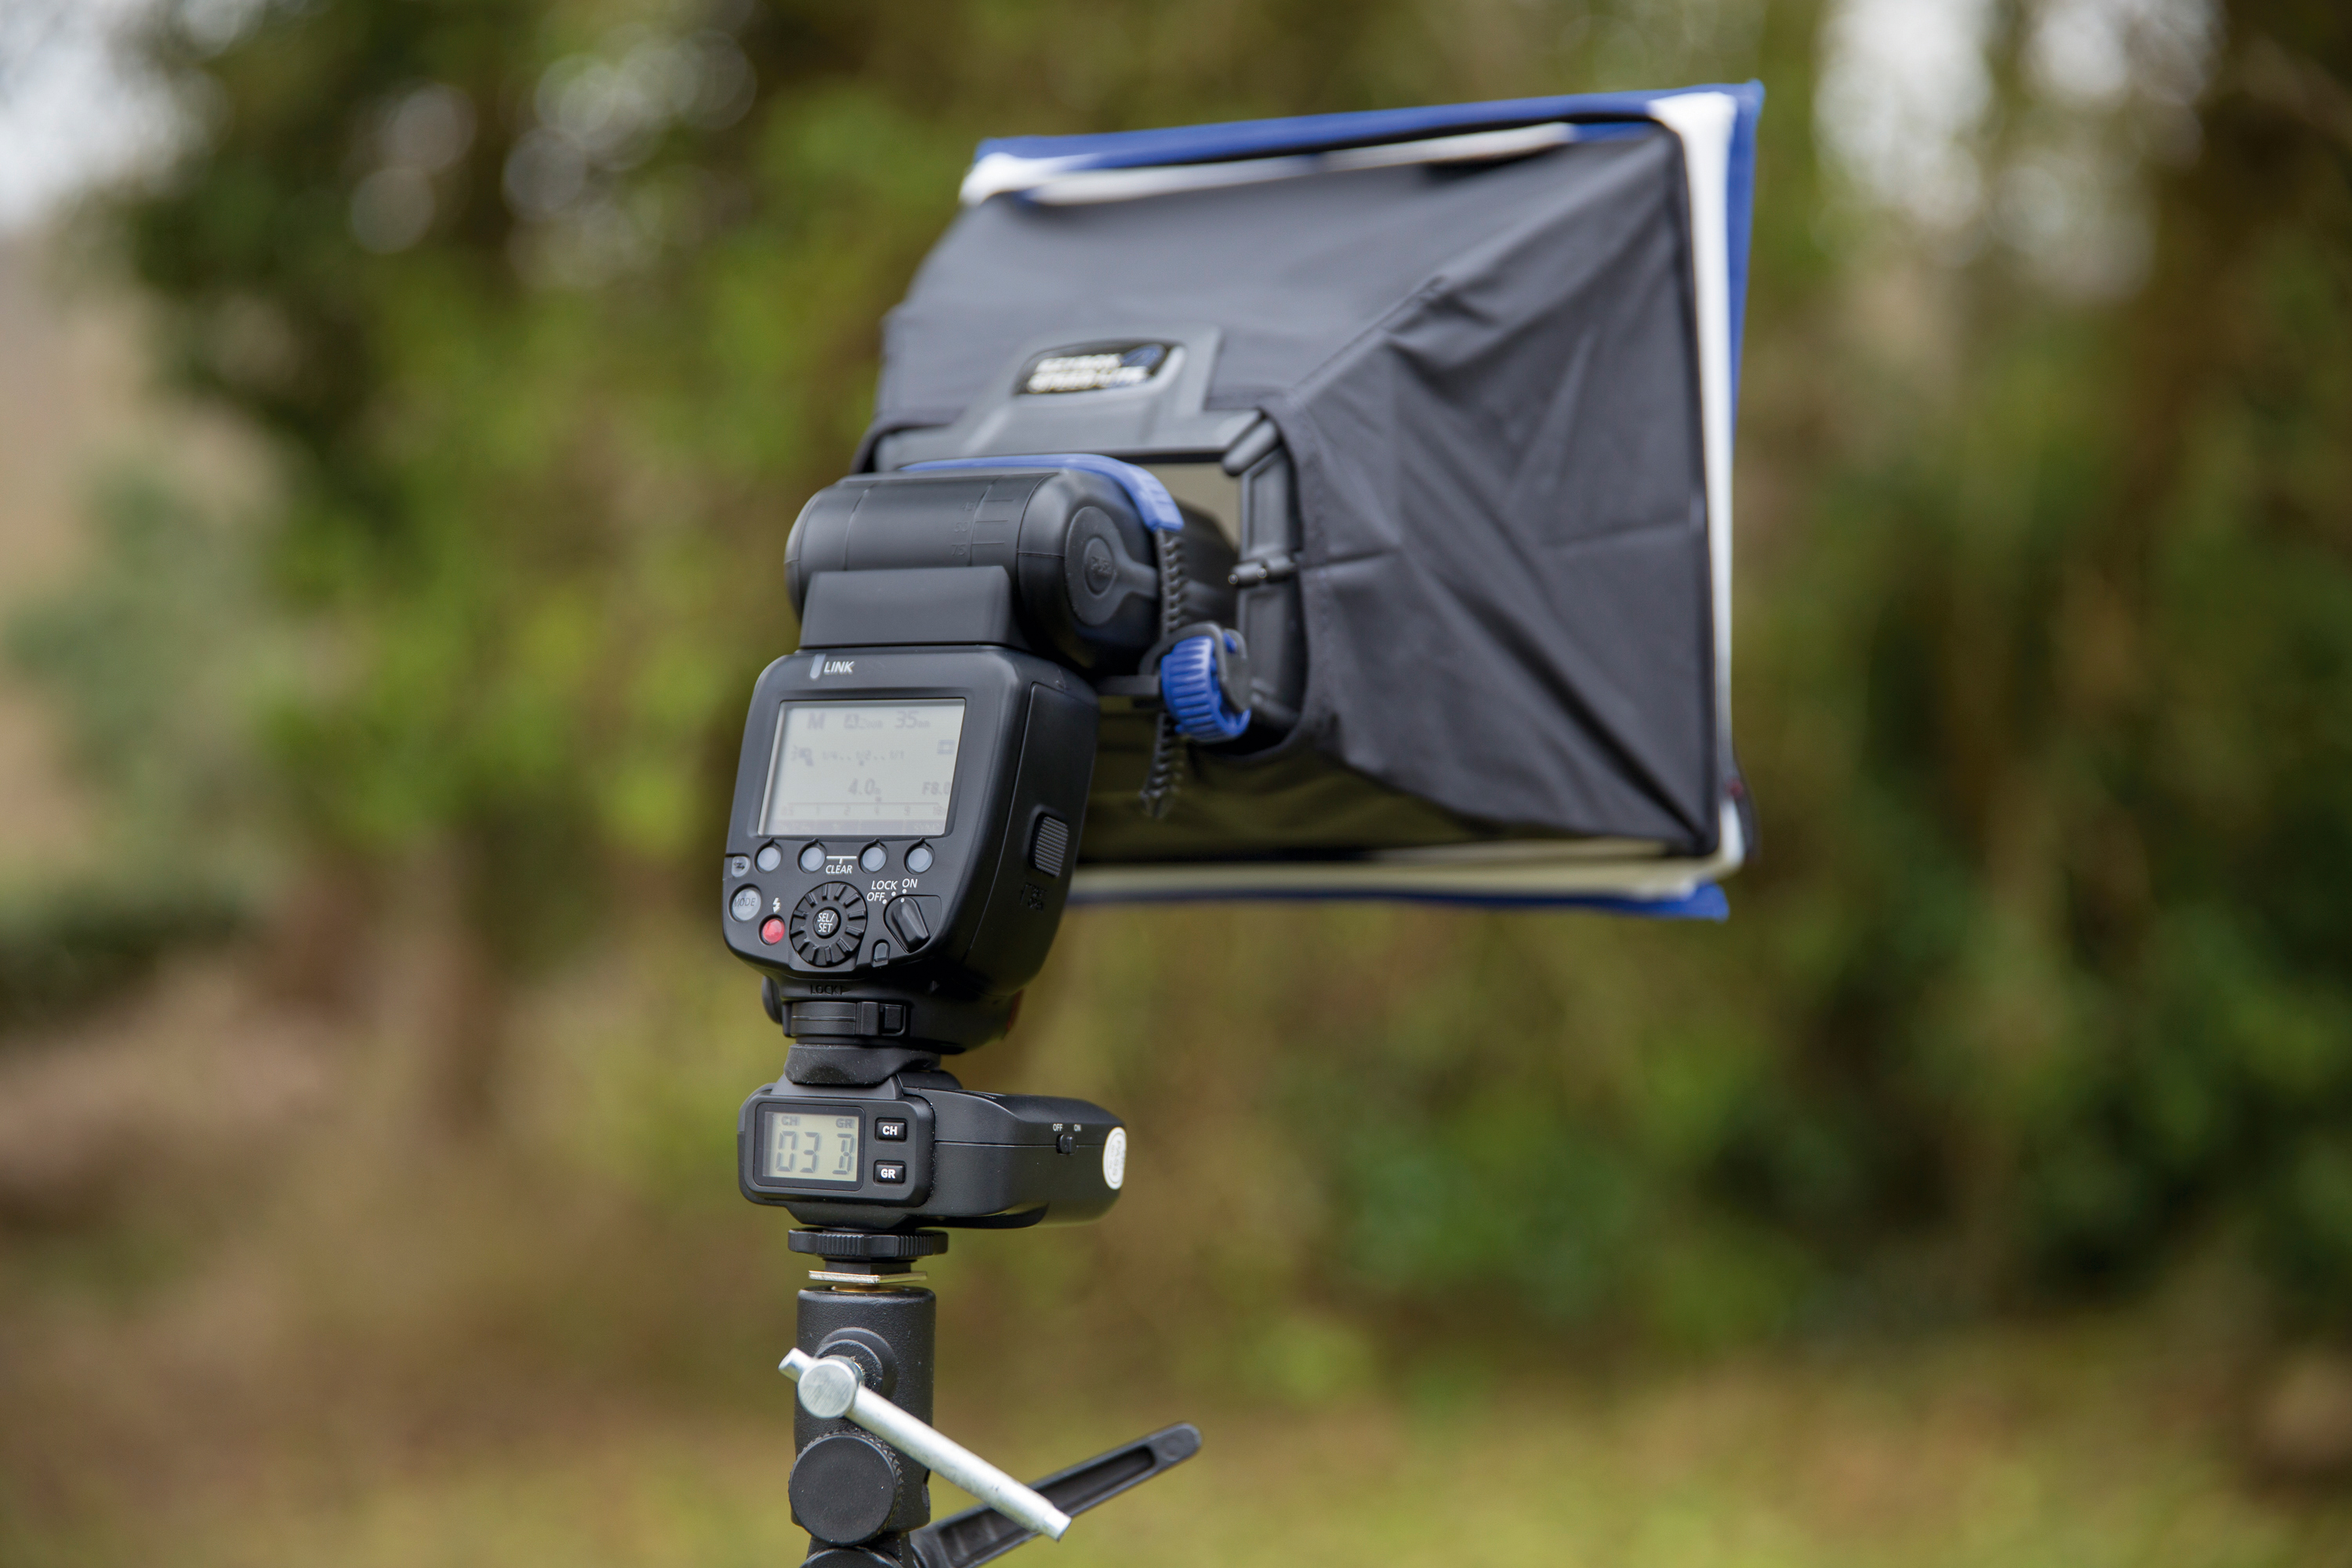
For our flash we’ve added a diffuser for softer light. To create moody side-light rather than boring straight-on flash, we’ve used triggers and flash on a stand to one side of our subject. As the ND filter cuts the light reaching the sensor, we need to set our flashgun to full power to light our subject’s face effectively.
• Read more: Best flash diffusers, softboxes and modifiers for your speed light
04 Compose and pose
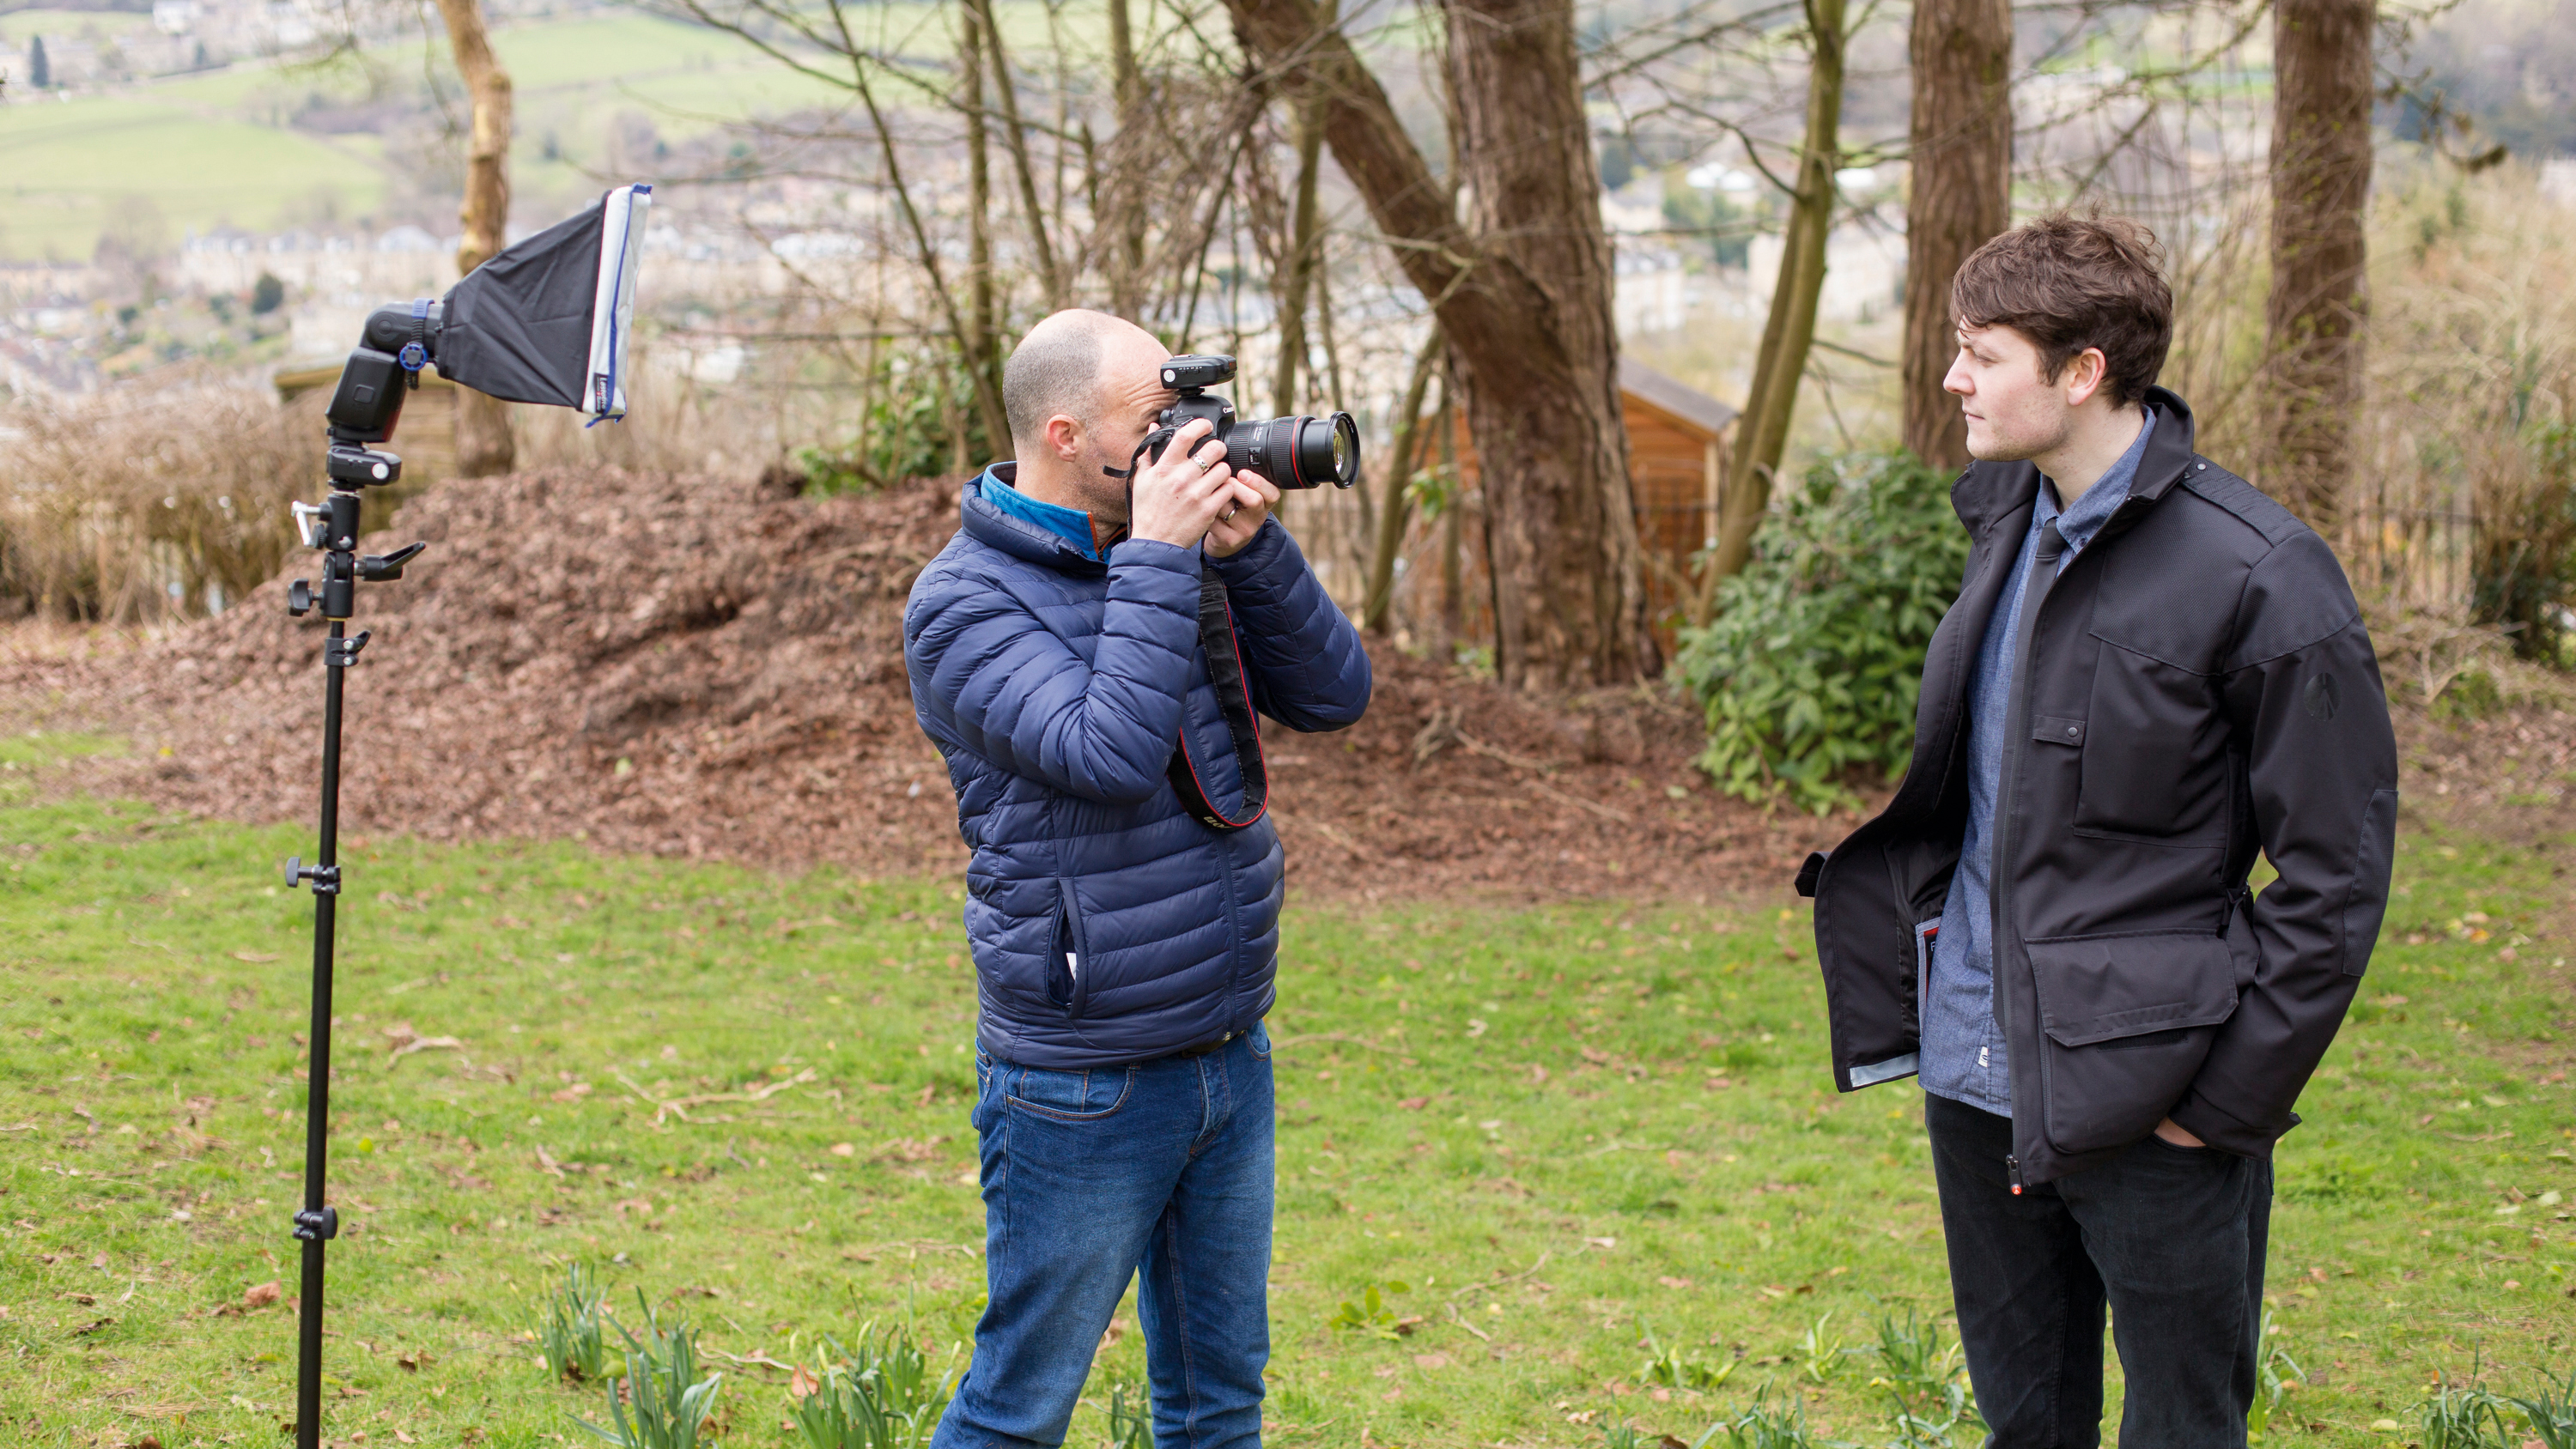
With our lights and exposure set up perfectly, now it’s just a case of focusing accurately, working on our composition and getting our subject to pose for a great shot. We encouraged our subject to have a moody expression, and found shooting against the under-exposed sky worked well together.
More videos:
Photography tips and techniques videos
Studio portrait lighting: essential tips and setups explained
Perfect the strobist look with off-camera flash photography
The former editor of PhotoPlus: The Canon Magazine, Peter has 18 years of experience as both a journalist and professional photographer. He is a hands-on photographer with a passion and expertise for sharing his practical shooting skills. Equally adept at turning his hand to portraits, landscapes, sports and wildlife, he has a fantastic knowledge of camera technique and principles.
He is the author of several published photography books including Portrait Photographer's Style Guide, and The Complete Guide to Organising and Styling Professional Photo Shoots with fellow portrait pro Brett Harkness.
Peter remains a devout Canon user and can often be found reeling off shots with his Canon EOS DSLR and EOS R mirrorless gear. He runs Peter Travers Photography, and contributes to Digital Camera magazine.
