Capture wintry ice photography in the comfort of your own kitchen
You only need a few ingredients to whip up some beautifully shot frozen object photography
The best camera deals, reviews, product advice, and unmissable photography news, direct to your inbox!
You are now subscribed
Your newsletter sign-up was successful
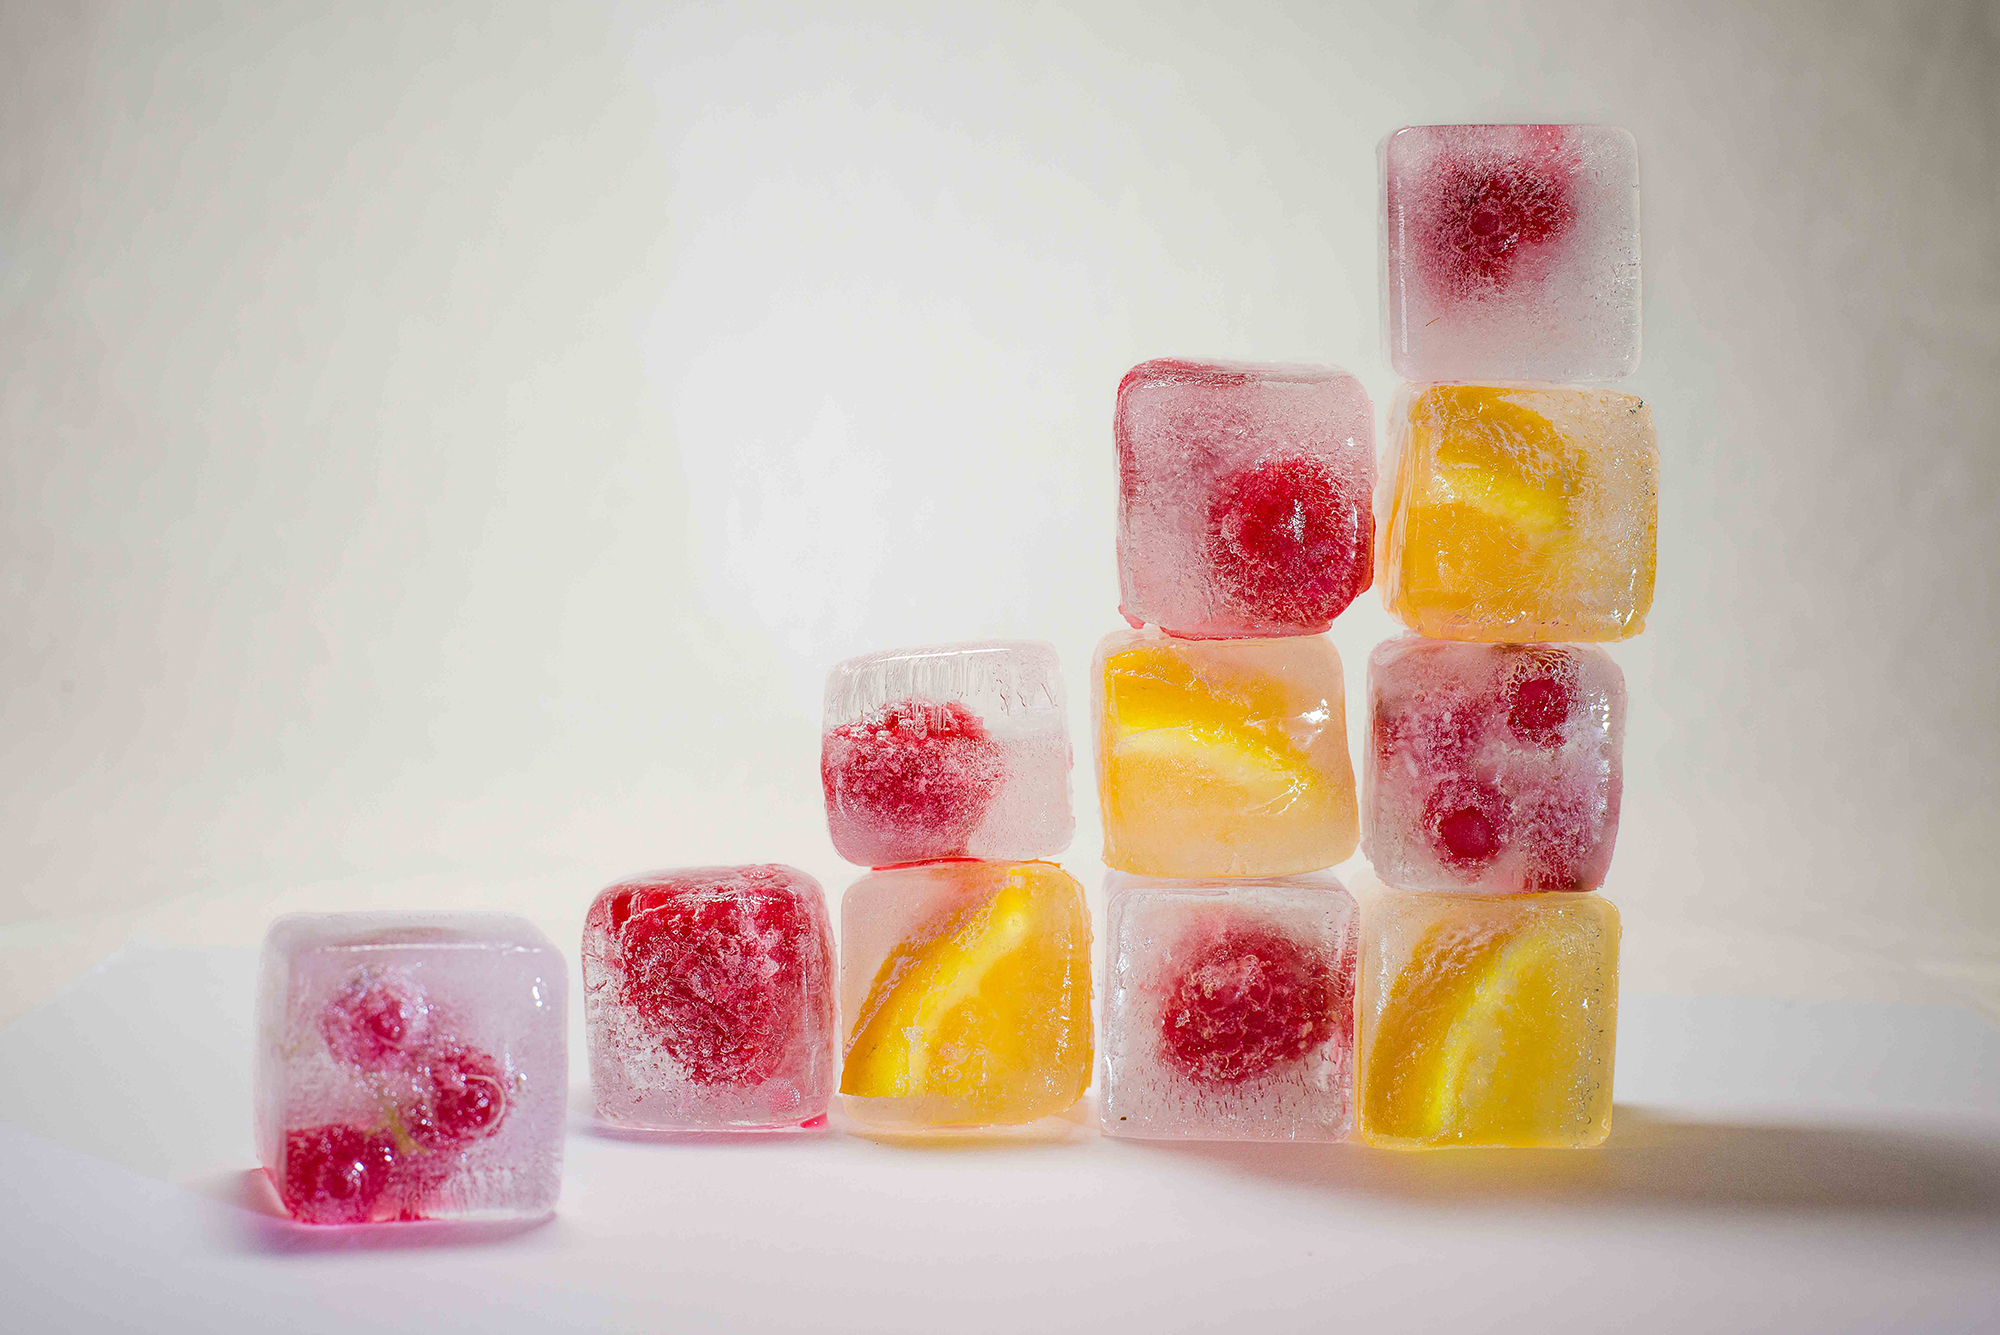
Looking for some wintry fun, but don't want to stray outside of the house? This ice photography project is the perfect way to celebrate the cold season without getting too chilly yourself. All you need to photograph this frozen close-up is some suitable subjects, a bottle of distilled water and an ice cube tray. Plus, the practical nature of this project means you can get the kids or grandkids involved too.
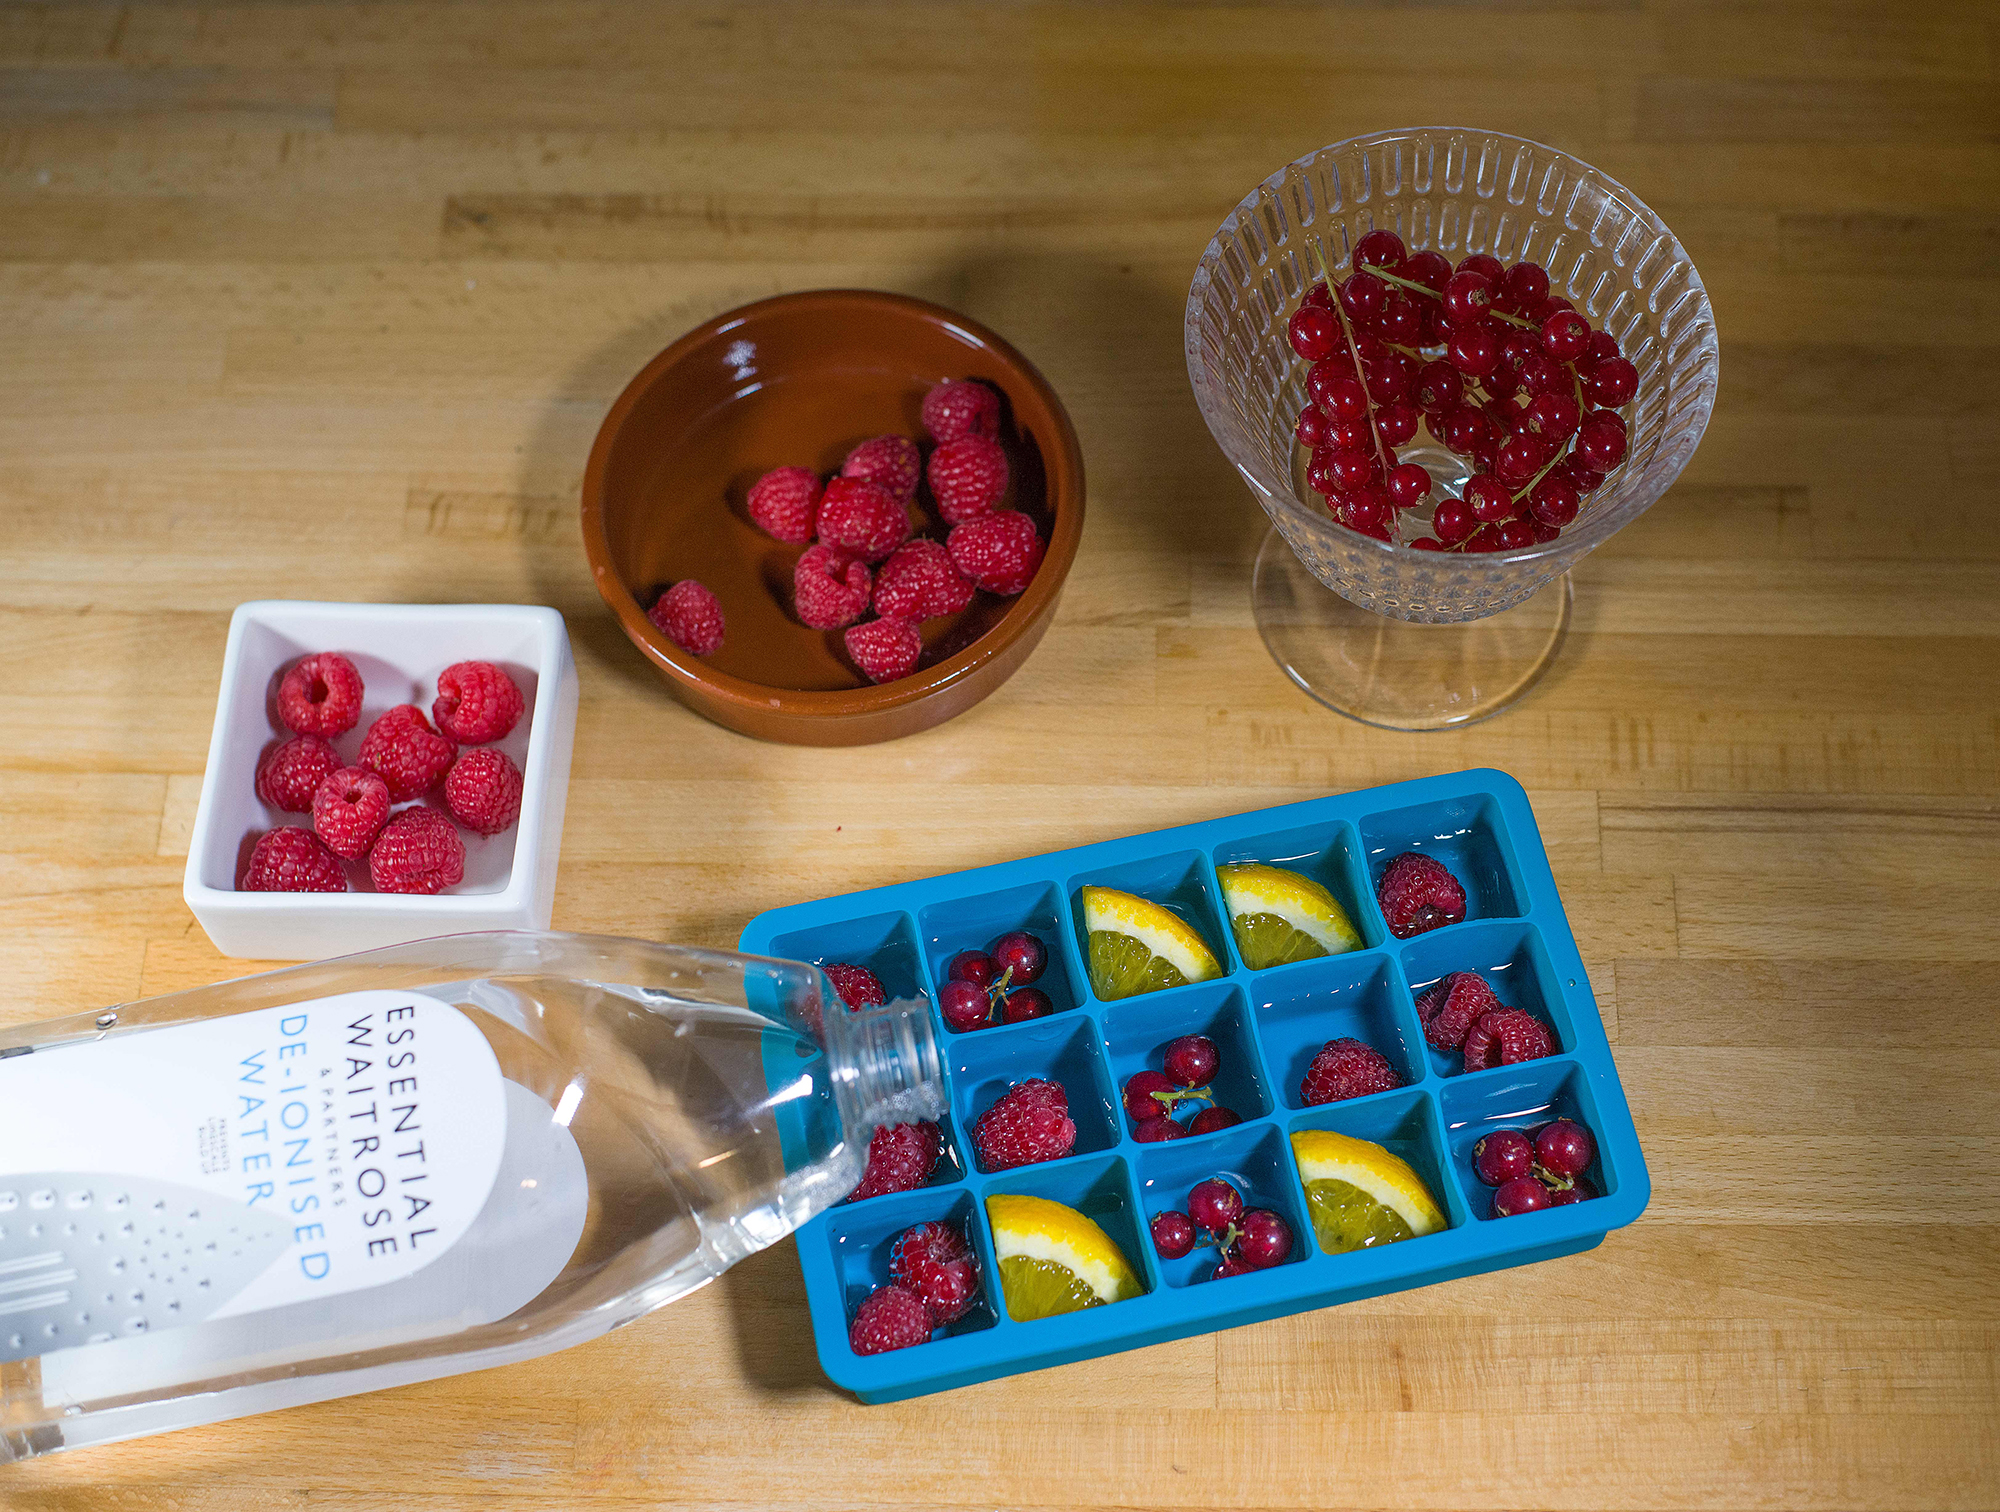
To create the frozen cubes you’ll need to place your objects in the tray and fill one quarter of each compartment with distilled water. Leave it for a good few hours (ideally overnight) to ensure it’s frozen solid before filling the rest of each compartment. This two-stage process will prevent your subjects from floating and freezing on the water’s surface.
• Read more: Home photography ideas
This is a project almost anybody can do at home. If you don’t own any artificial lights or a flashgun, you can set up near a window on a bright day. And if you don’t own a macro lens, you might be surprised at the results you’re able to get with a kit lens. Plenty of kit lenses have respectable minimum focusing distances. The Nikon AF-S 18-55mm f/3.5-5.6G ED II (and slightly newer VR version), for example, can focus at a very impressive 0.28m.
All that’s left to do is find a suitably festive subject. We used orange slices, raspberries and redcurrants, but you could try using flowers or any other object that’s safe for freezing.
How to capture ice photography
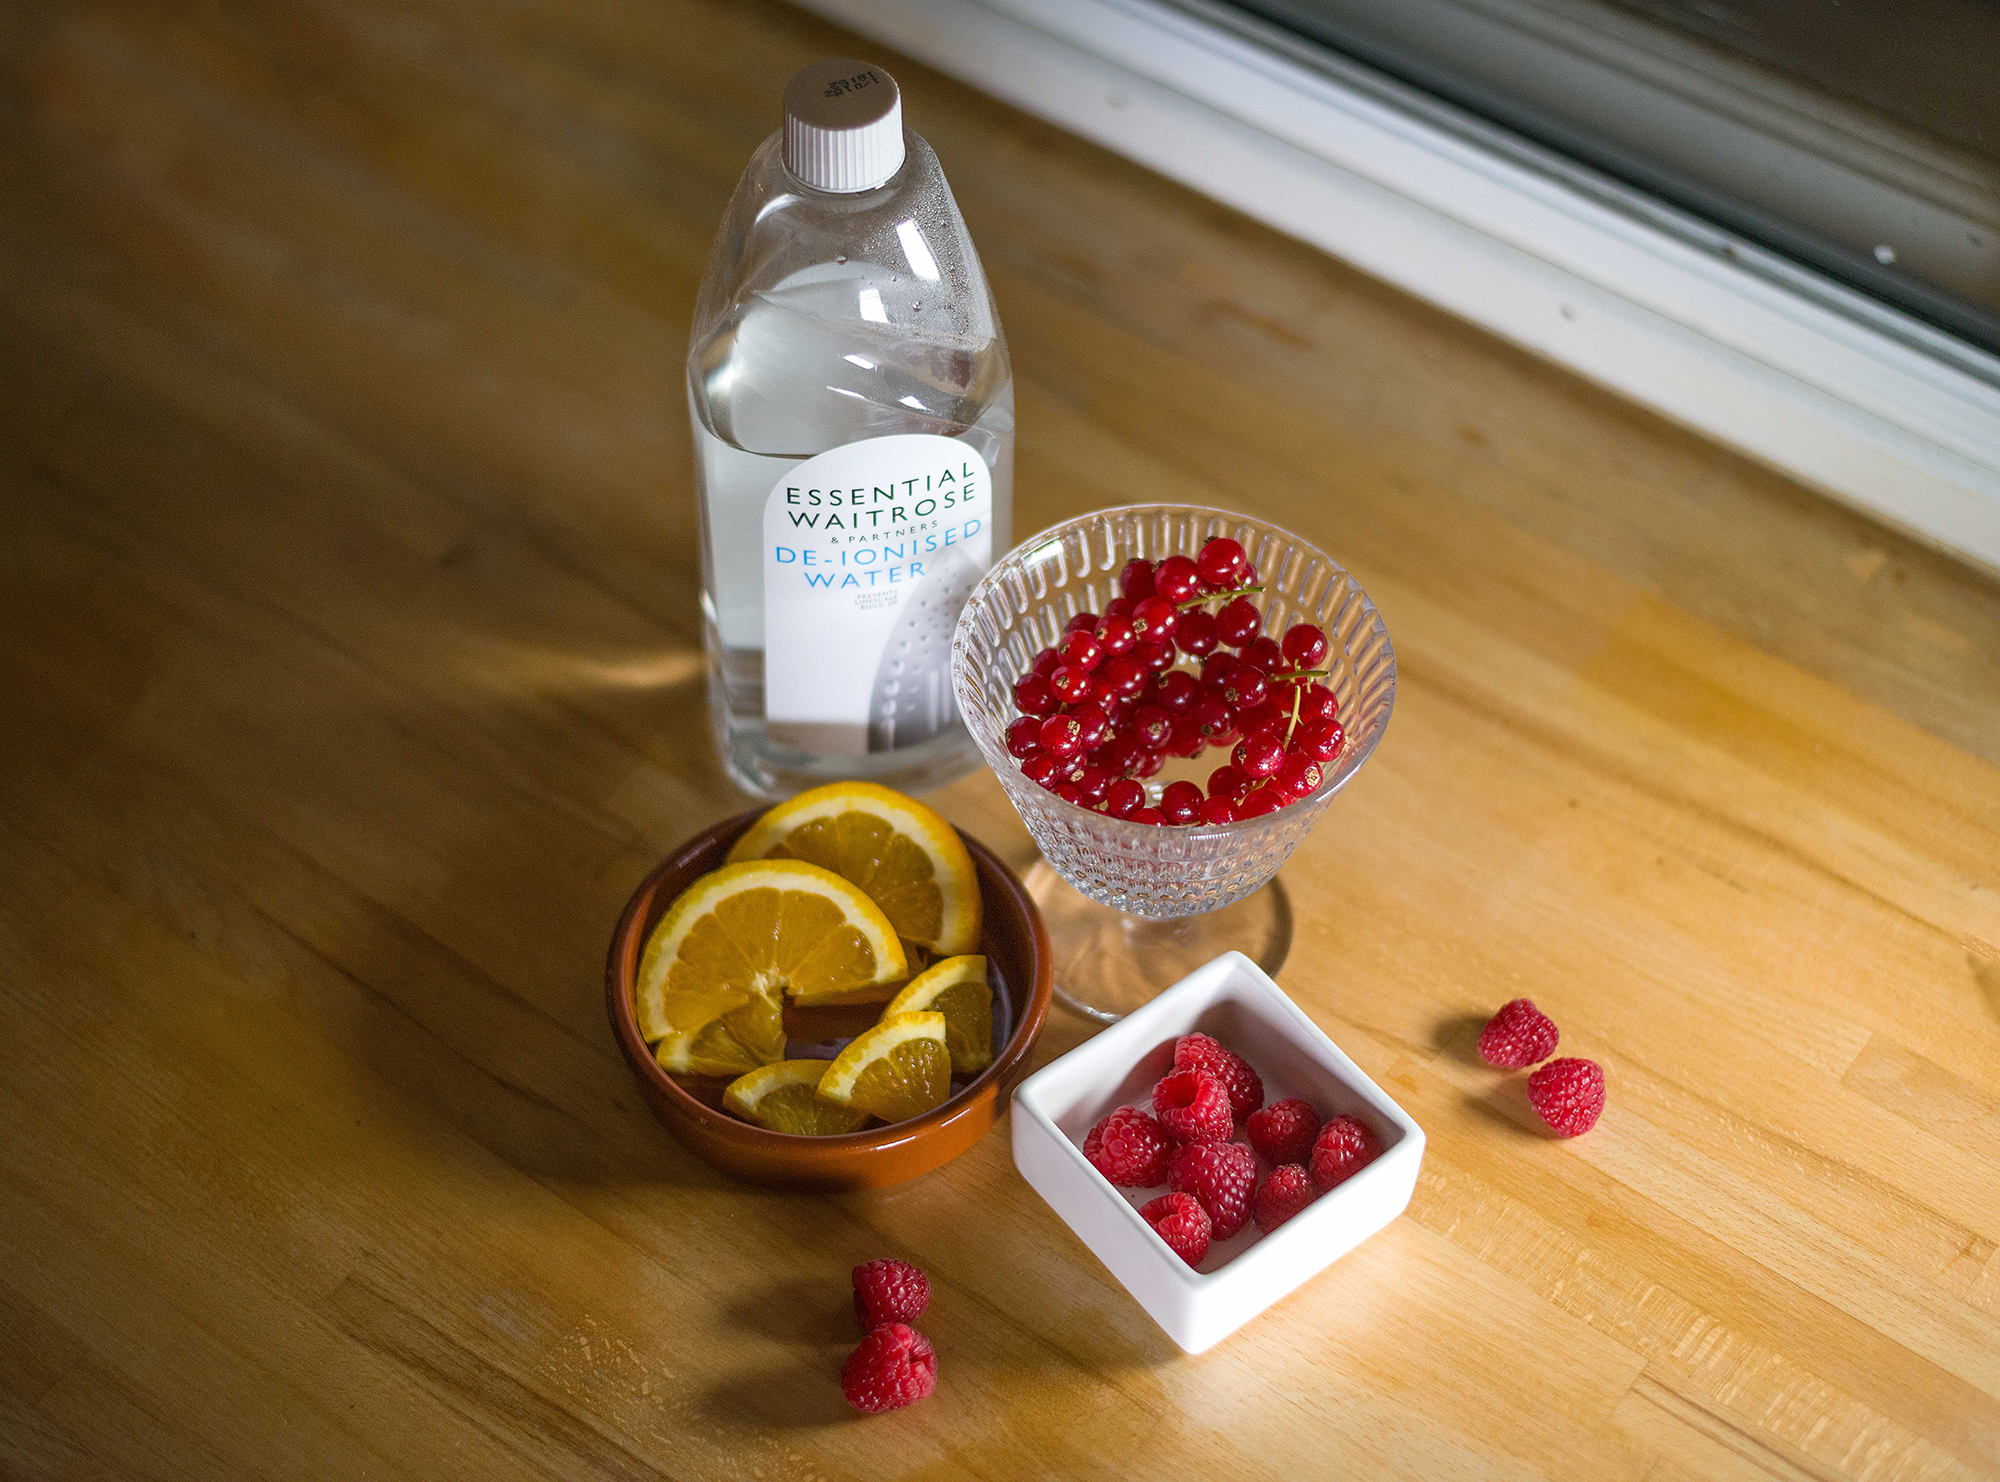
Pick a prop
We chose to freeze some festive fruits: orange slices, raspberries and redcurrants, but you could try freezing any other object that’s suitable for freezing. Water from the tap can appear cloudy when frozen, so we recommend you use distilled water, which freezes crystal-clear.
The best camera deals, reviews, product advice, and unmissable photography news, direct to your inbox!
Ice, ice baby!
Place your objects in a plastic container or silicone mould. Only fill 25% of each compartment with water before placing the mould in the freezer overnight. Once the water is frozen solid fill up the rest of the tray and return it to the freezer. This prevents objects from floating on the water’s surface and protruding from the ice.
Studio setup
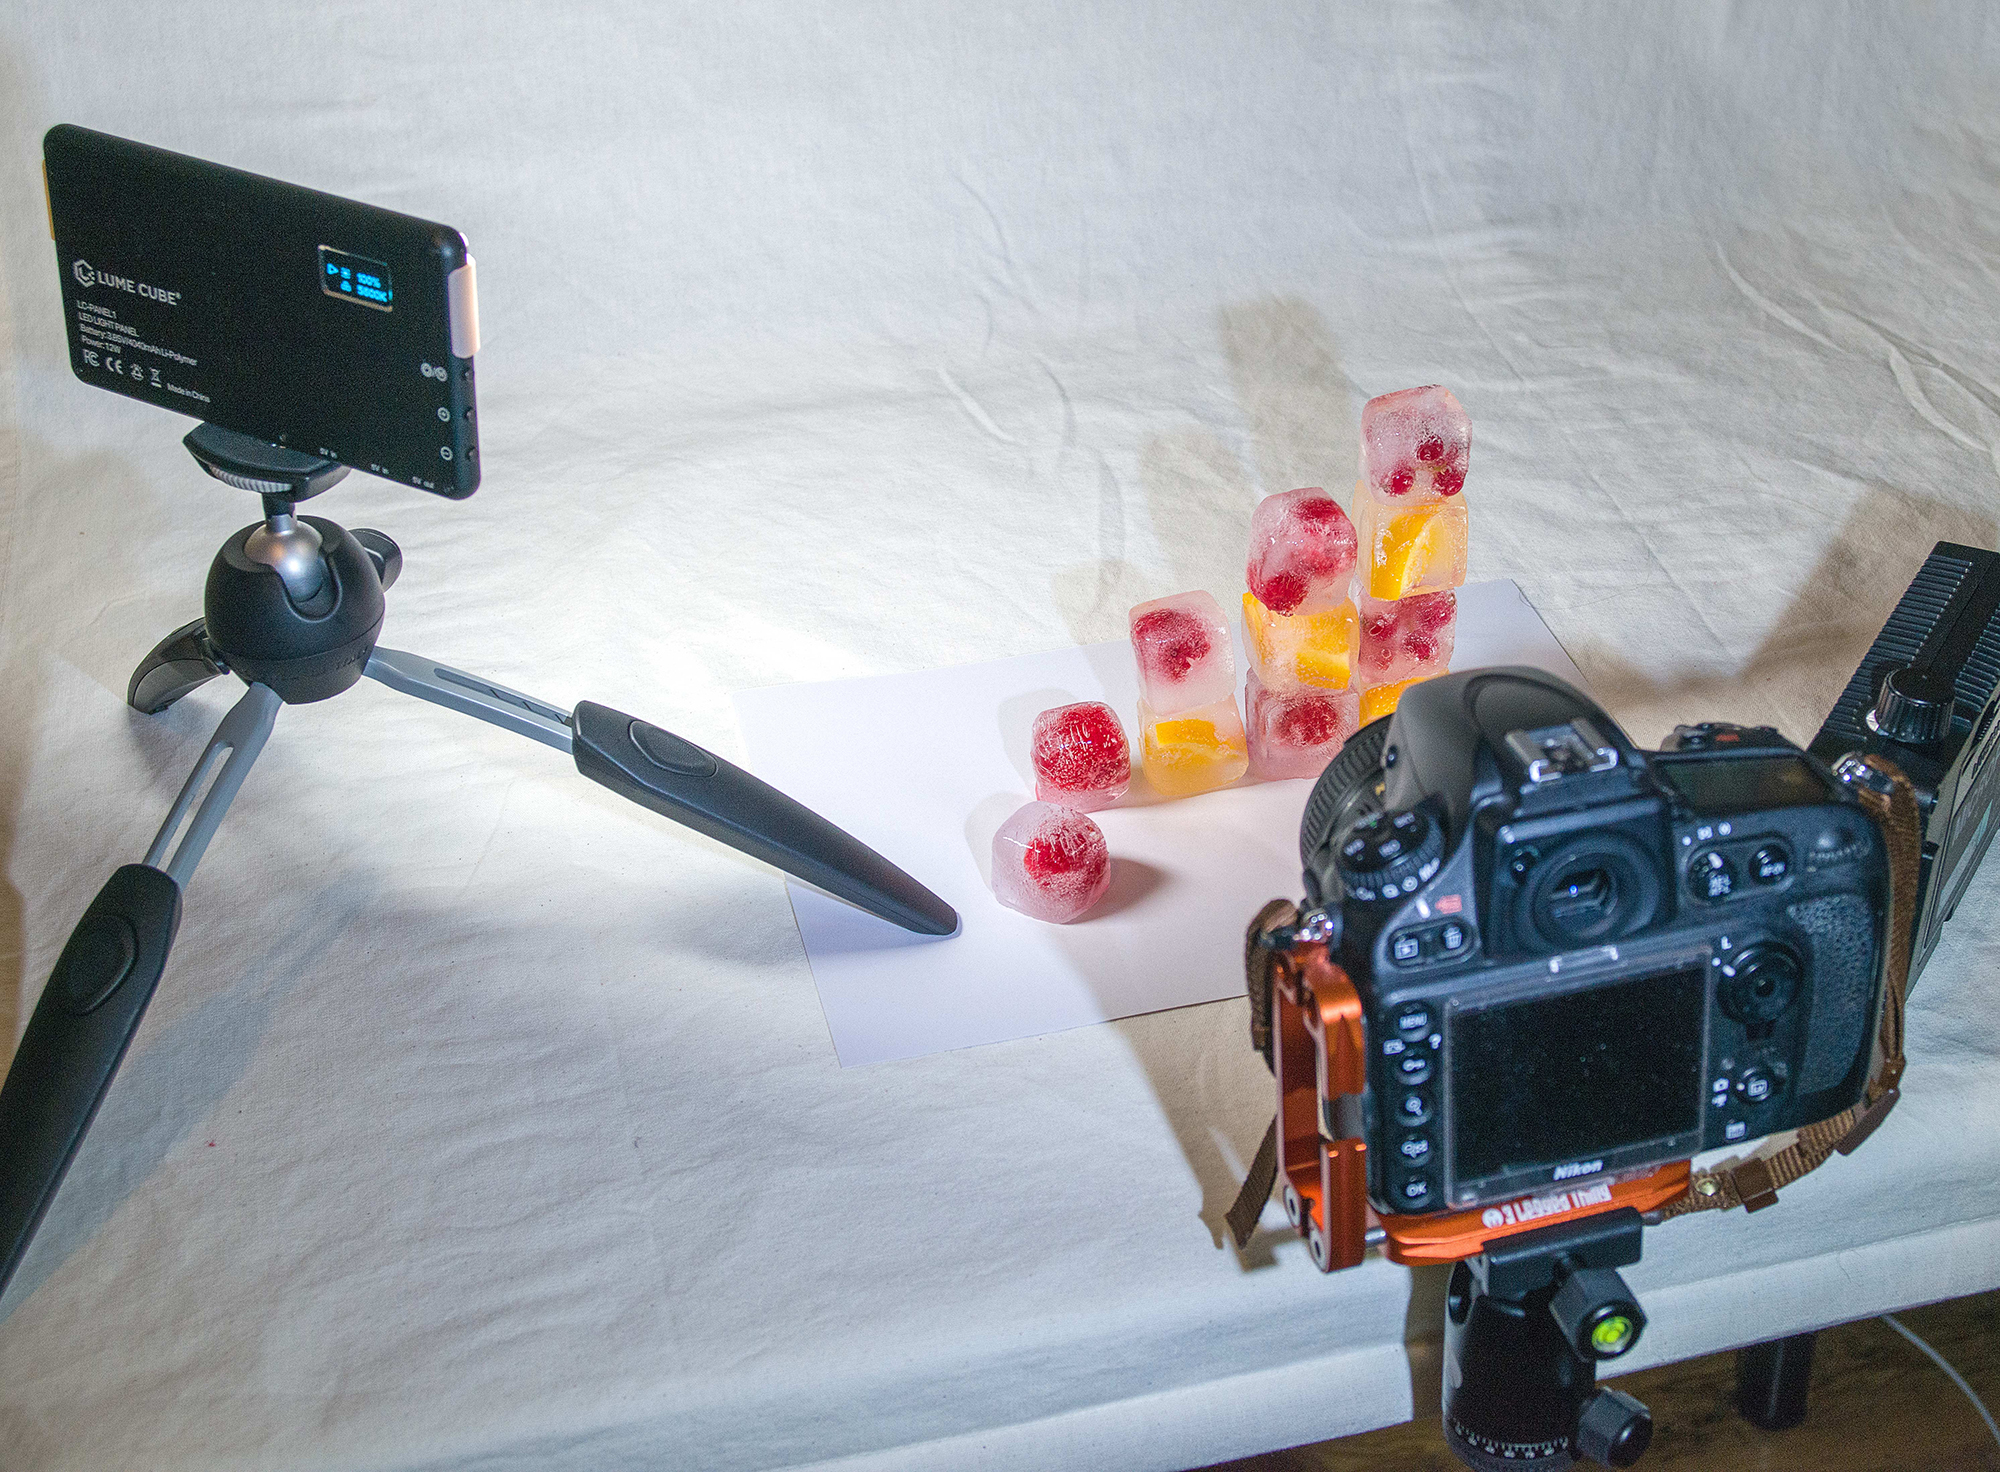
If you don’t have a pop-up studio you can photograph your frozen objects using a homemade one. We used a table and a white sheet to form our DIY studio, but you could use white pieces of card, foam board or anything else you have to hand. Just make sure the height allows you to comfortably set up your camera and tripod.
Camera settings
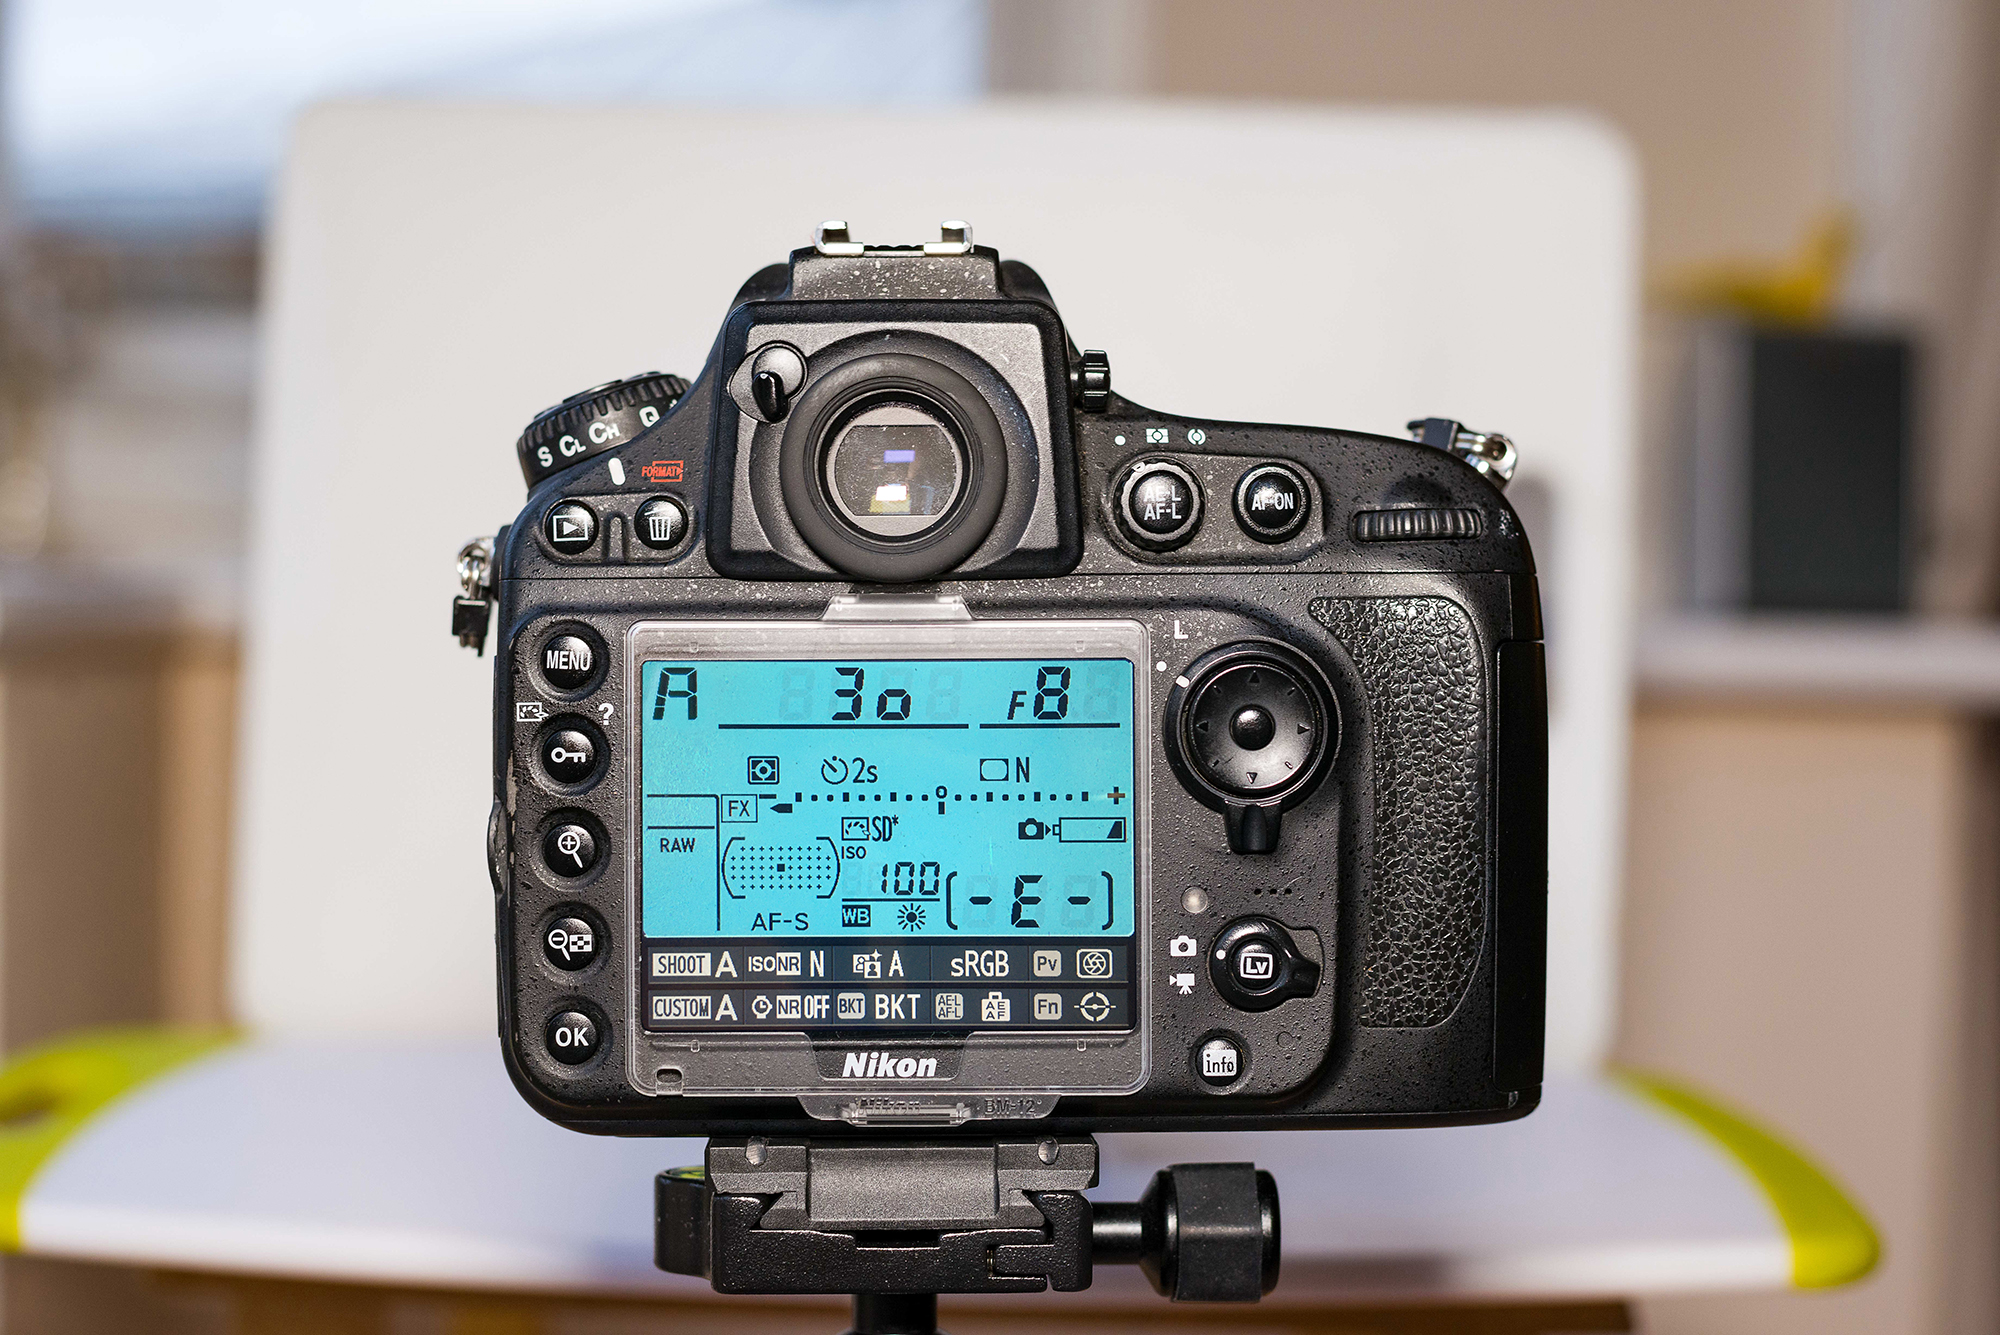
A super-shallow depth of field will only render the surface of your ice cubes sharp. If you’re using a kit lens an aperture of f/8 to f/11 will provide a suitably large depth of field, and you could choose an even narrower aperture if you’re using a macro lens. We used Aperture Priority and ISO100. To prevent camera shake we set a two-second timer.
Light your subject
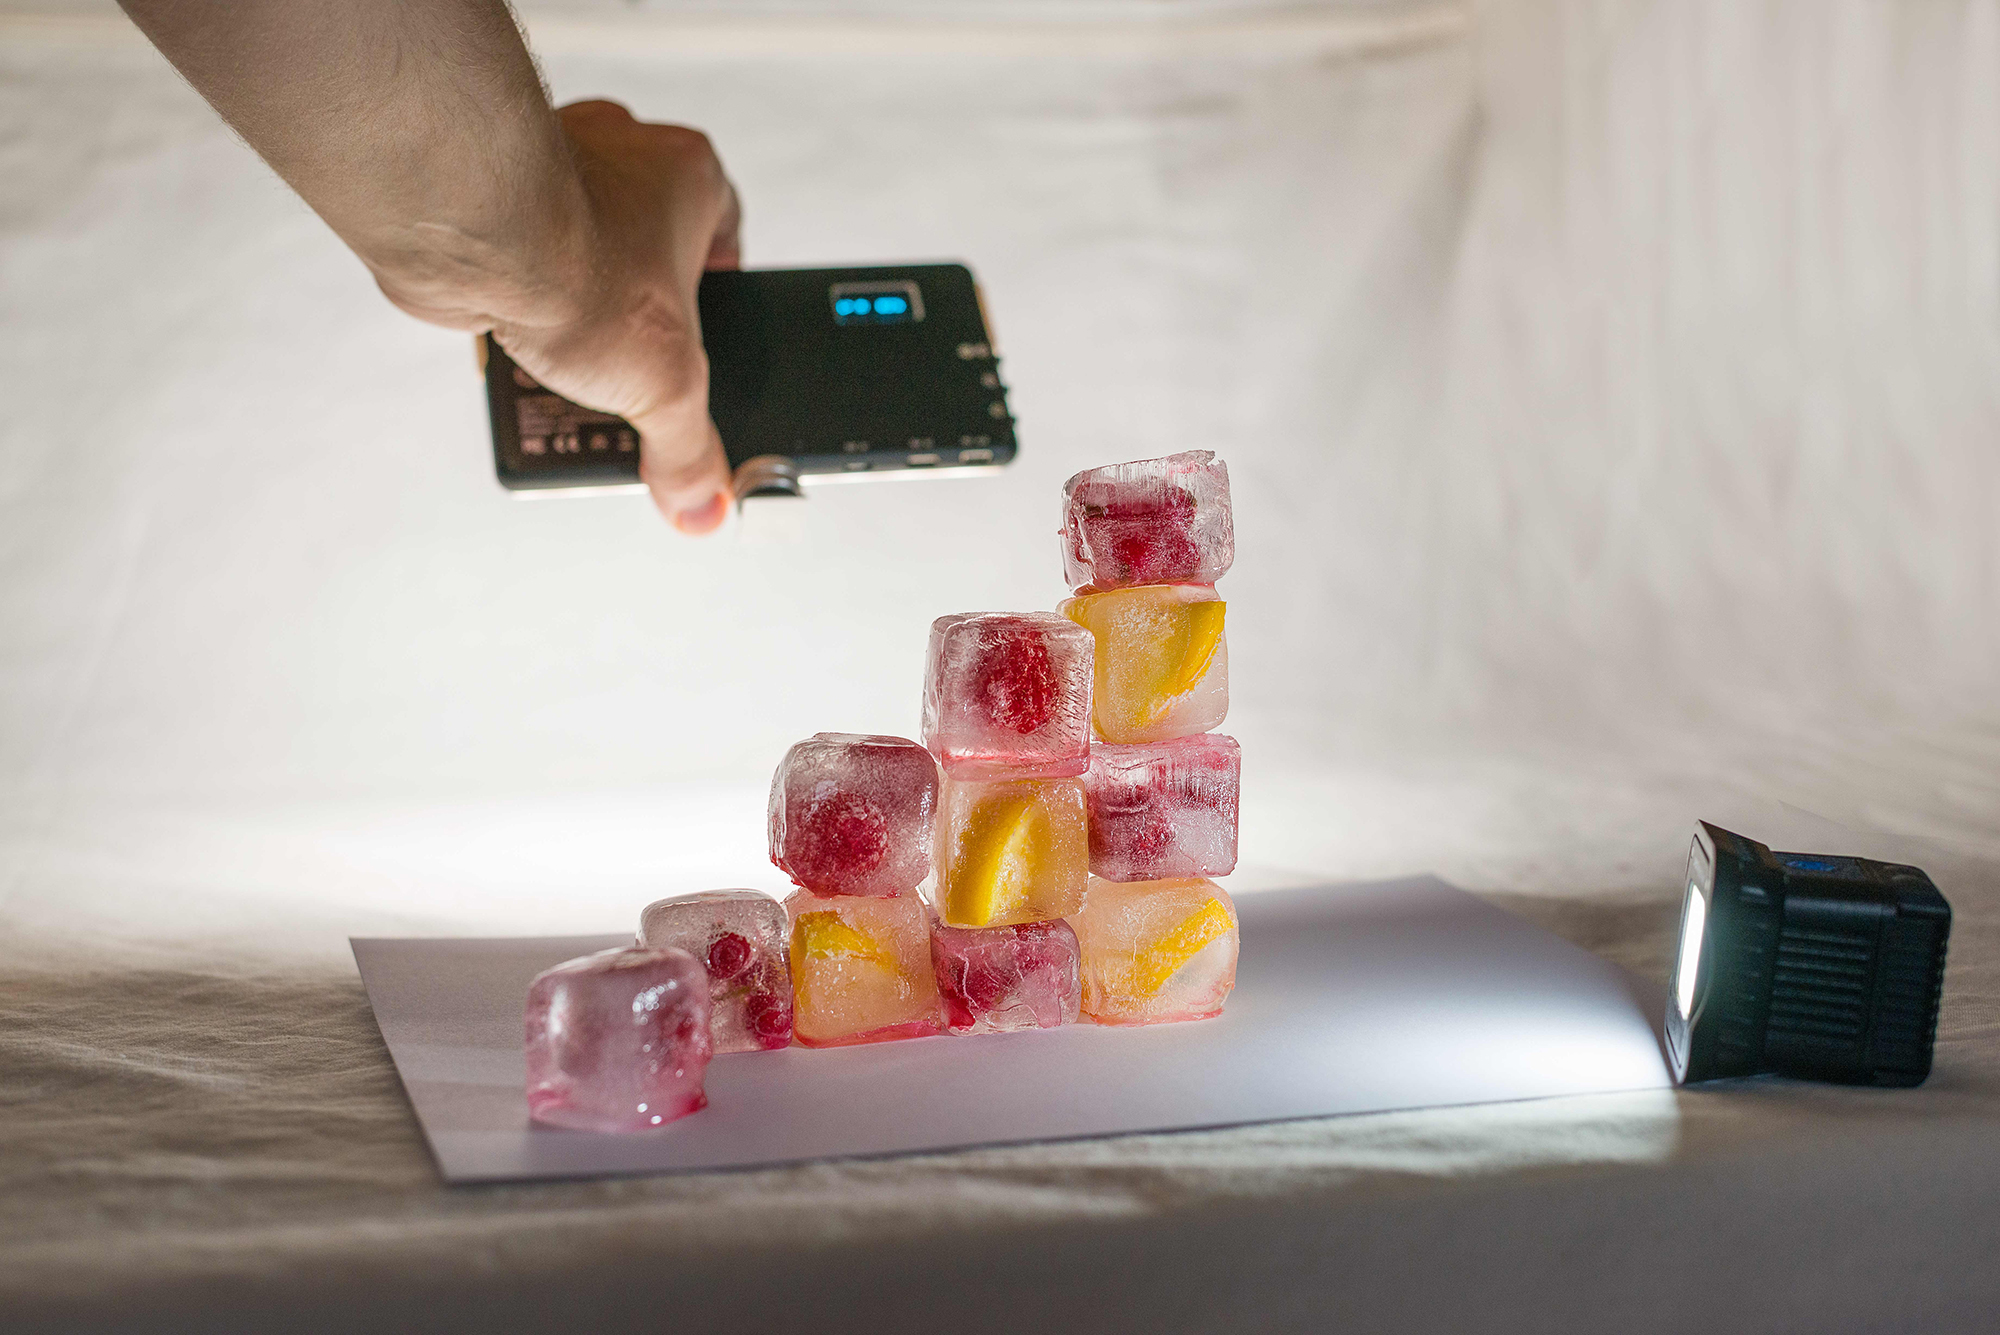
We illuminated our subject with Lume Cube LED light panels. The light to the right illuminated the front of the subject, while the other was held behind and above the ice cubes to illuminate the backdrop. This bounced back through the ice too, helping to bring out the frozen details and add depth to each ice cube.
Manual focus
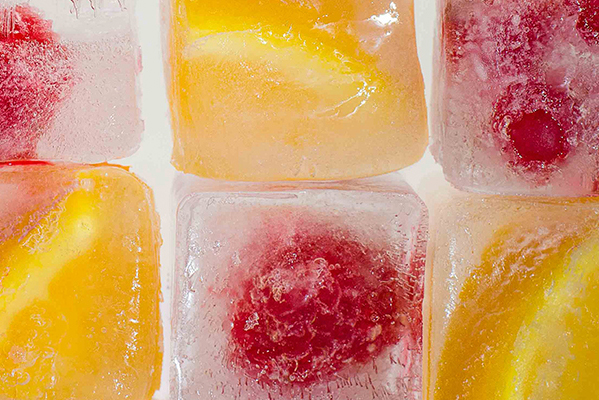
Focusing can be challenging when shooting close-ups. If you have trouble with autofocus, try switching over to manual focus. Whichever you choose, just make sure you zoom into Live View to make sure that your subject is perfectly crisp. Mirrorless camera users can use the focus peaking overlay to help them refine or check their focus.
Read more
Best mirrorless camera
Best Nikon camera
Best Canon camera
Best LED light panels

Mike studied photography at college, honing his Adobe Photoshop skills and learning to work in the studio and darkroom. After a few years writing for various publications, he headed to the ‘Big Smoke’ to work on Wex Photo Video’s award-winning content team, before transitioning back to print as Technique Editor (later Deputy Editor) on N-Photo: The Nikon Magazine.
With bylines in Digital Camera, PhotoPlus: The Canon Magazine, Practical Photography, Digital Photographer, iMore, and TechRadar, he’s a fountain of photography and consumer tech knowledge, making him a top tutor for techniques on cameras, lenses, tripods, filters, and more. His expertise extends to everything from portraits and landscapes to abstracts and architecture to wildlife and, yes, fast things going around race tracks...
