The best camera deals, reviews, product advice, and unmissable photography news, direct to your inbox!
You are now subscribed
Your newsletter sign-up was successful
Portraiture is great avenue of photography to explore that will help you develop both your camera craft and people skills, as communication is key to getting the best poses and expressions out of the people you are working with.
Studio photography and lighting can seem like a bit of a dark art and with so many variables from flashes and lighting modifiers to model poses or outfits and everything in-between.
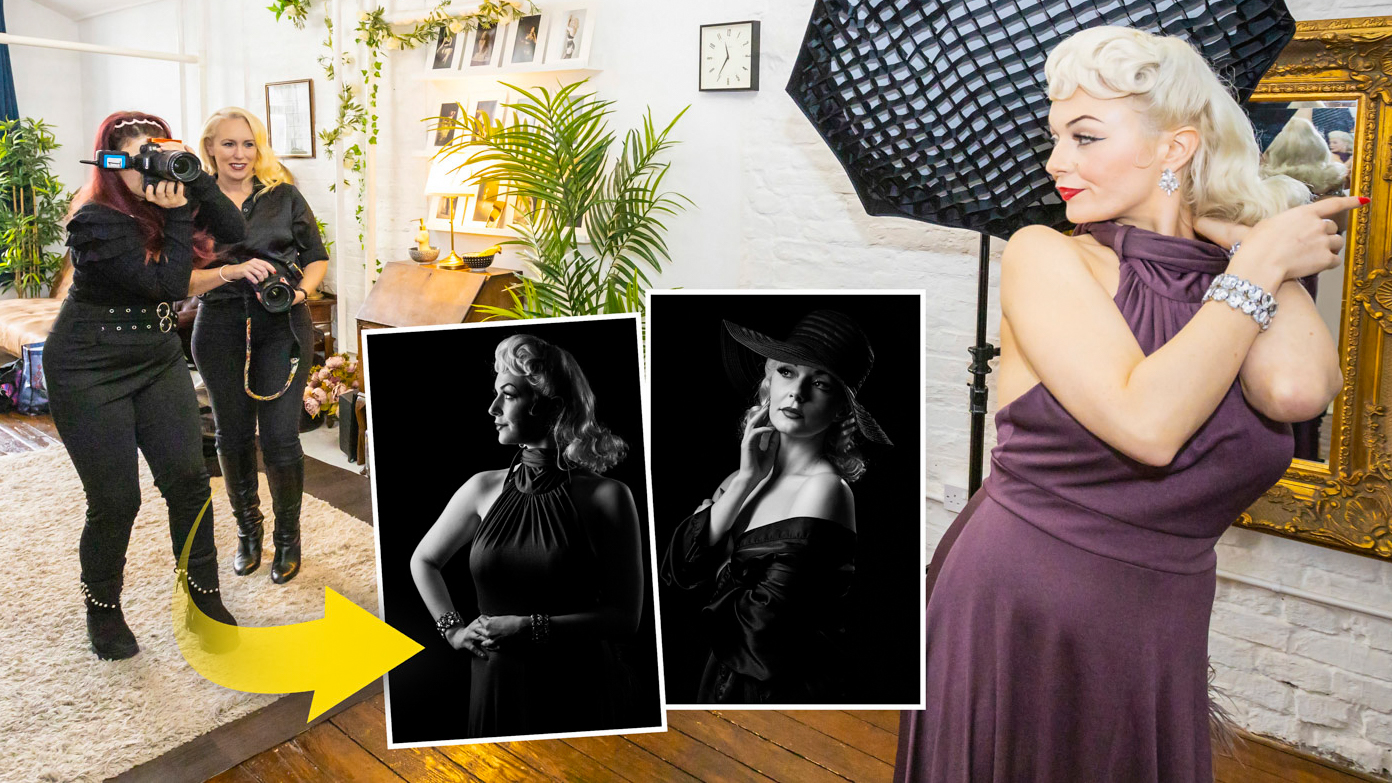
It can be difficult to know where to start so that's why this month we teamed up with a reader of PhotoPlus: The Canon Magazine, Rebecca Redmond, for a masterclass in studio portraiture to create Hollywood inspired images with Canon pro Emma Finch at her studio in Manchester, UK.
• These are the best lenses for portrait photography
Emma is an award-winning photographer, influenced by femininity and elegance. She specializes in female portraits and works for private and commercial clients from her studio. She’s been published multiple times on front covers and is also a tutor, event planner and runs photography sessions with Graham Currey. On top of all that, Emma has a separate photography business specializing in family and lifestyle photography. We met up with her at her studio in Manchester, UK.
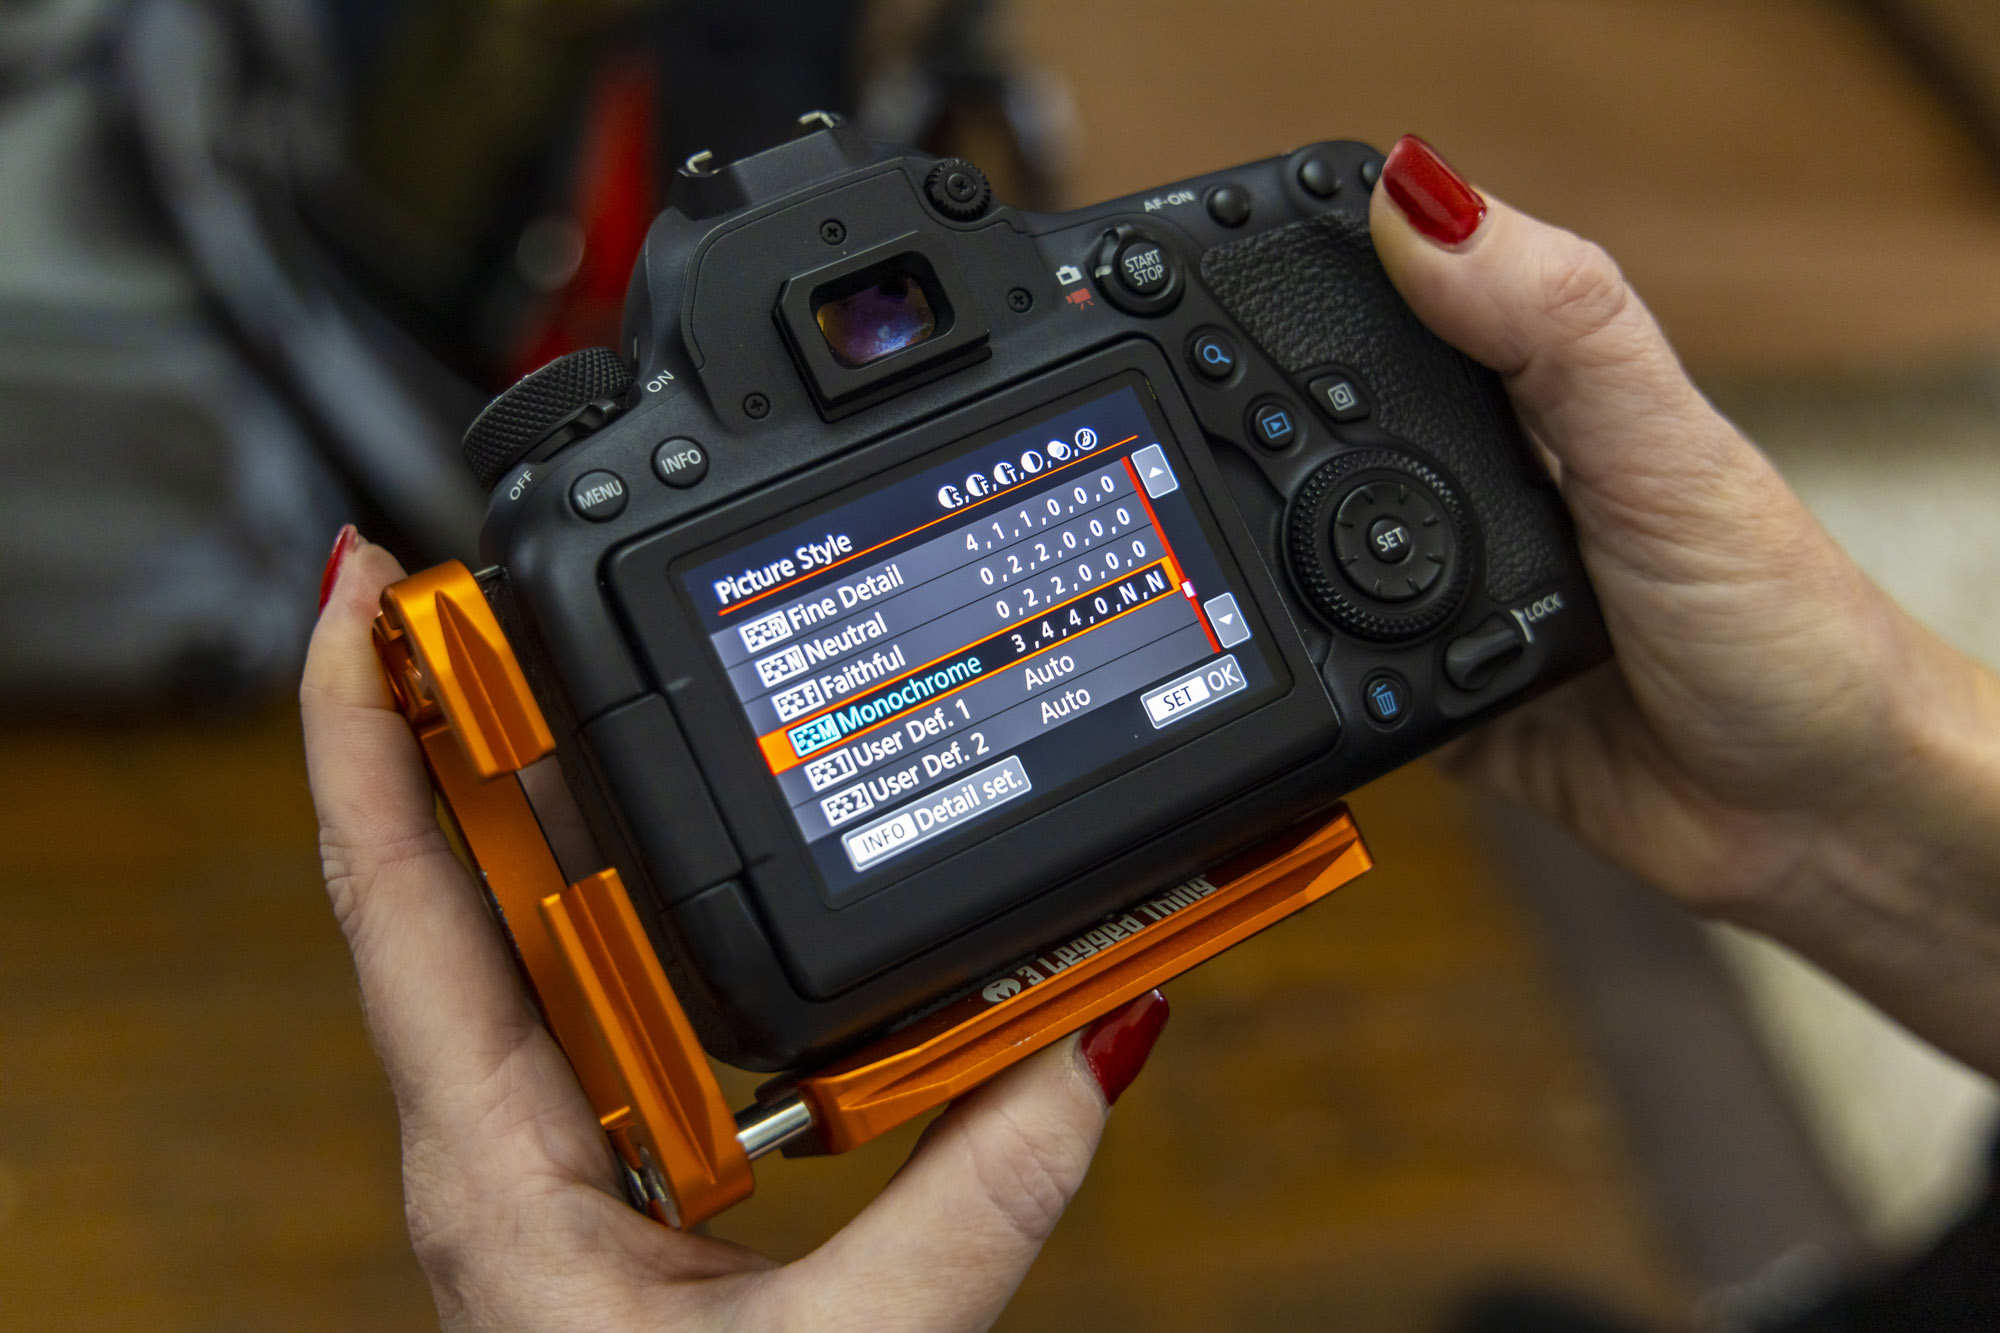
1. Mono picture style
Emma changed the Picture Style on Rebecca’s Canon EOS 6D Mark II to the Monochrome setting as they were shooting for black and white. When you use Live View, the image on the back of the camera will then be devoid of color, so it’s much easier to see the shape, form and shadows. You can also press the Info button to adjust Sharpness, Contrast, Filter, and Toning effects, and you can add a Sepia effect. Shooting Raw means you’ll still have access to the full color image.
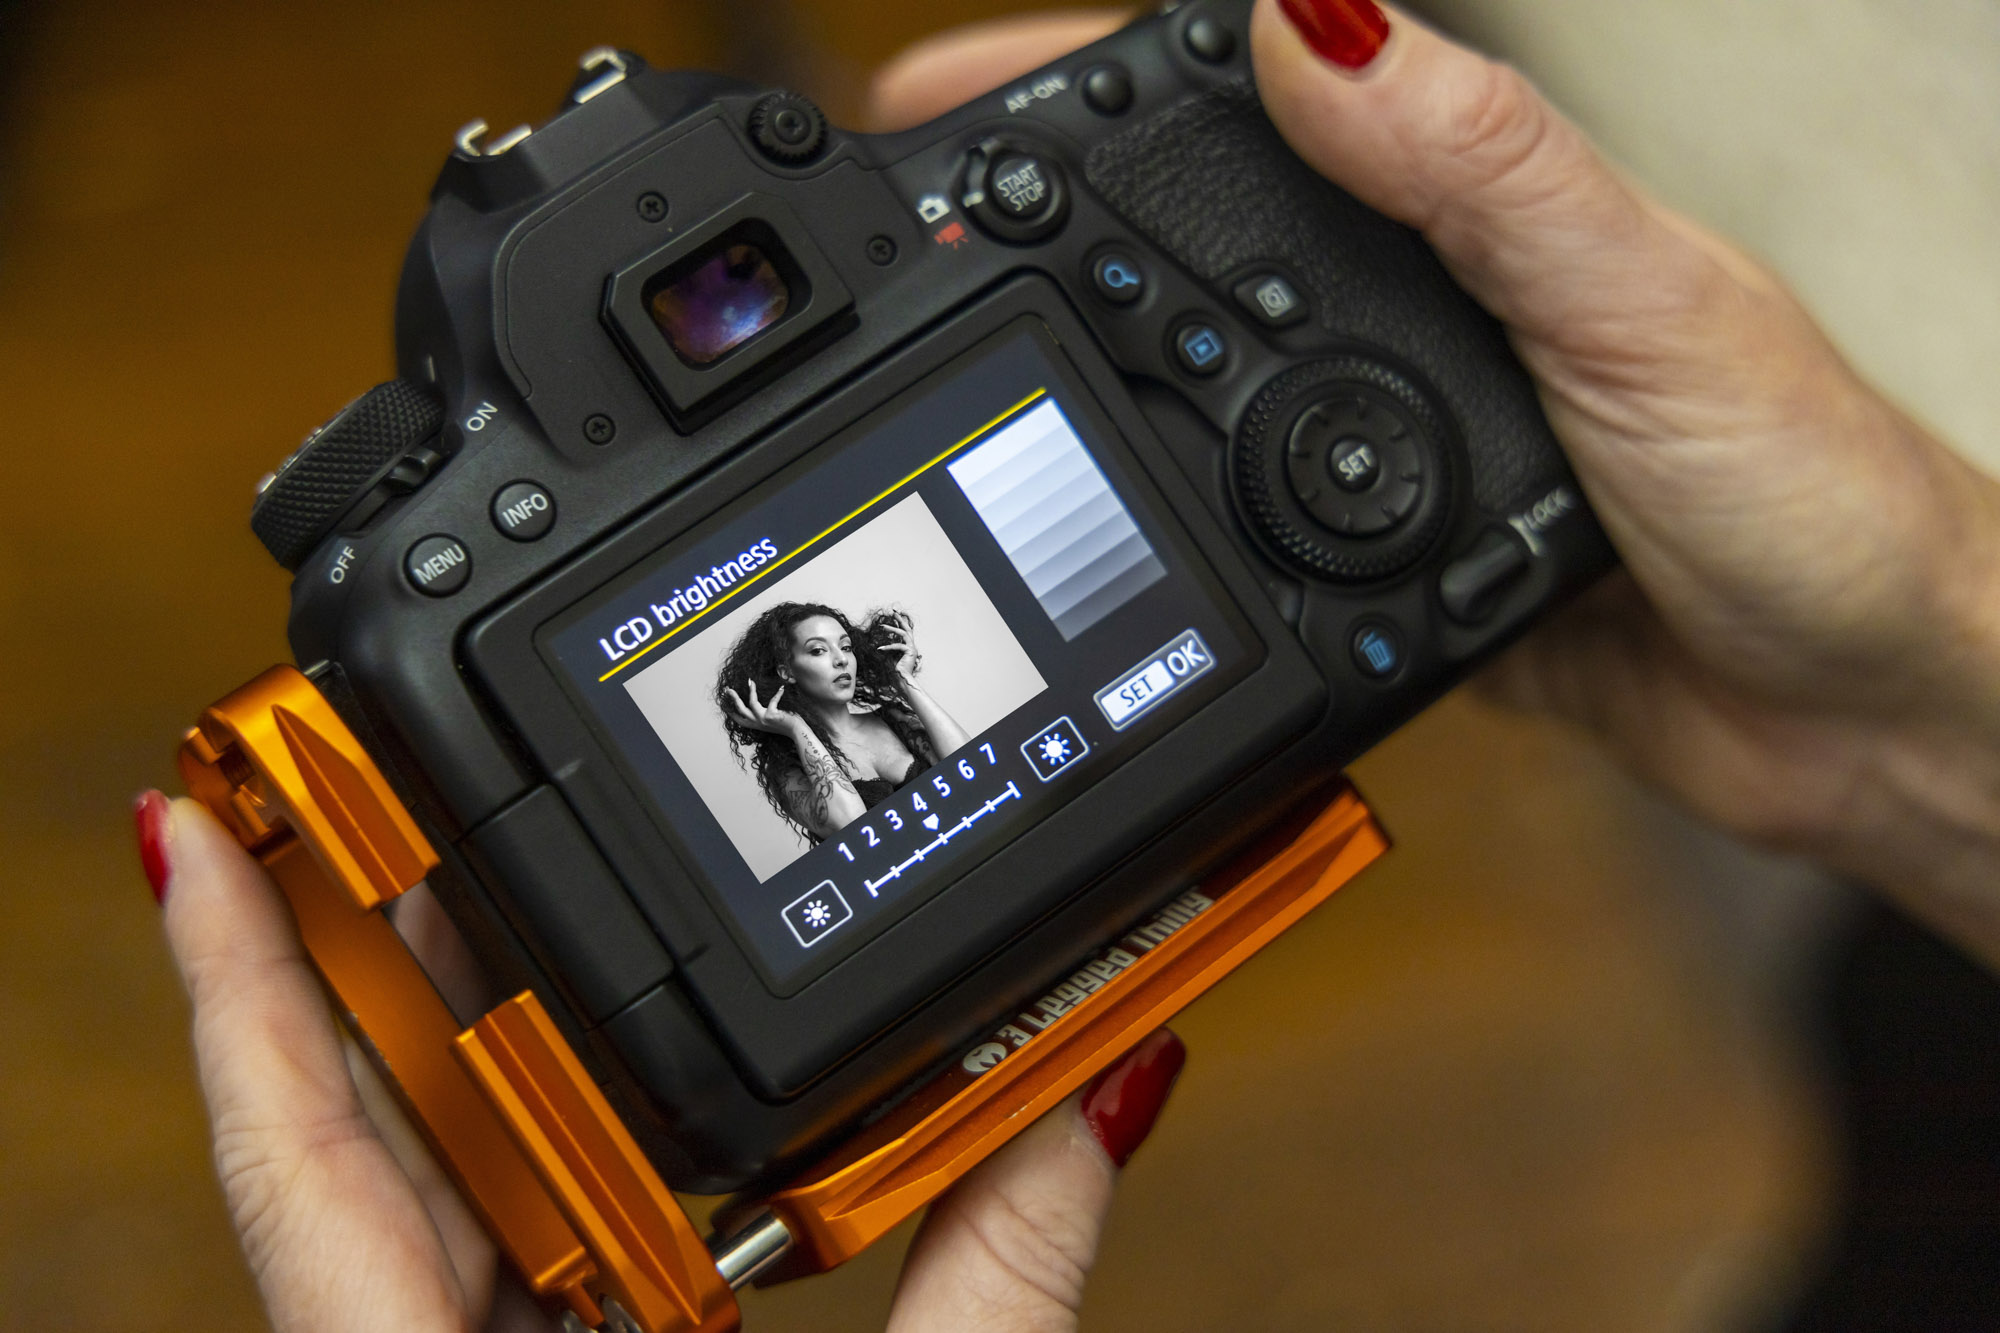
2. LCD brightness
Emma also went into Rebecca’s Canon menu and set the LCD brightness to the middle value of 4 as it was set to the maximum 7 setting. It would be easy to think your image is correctly exposed by having the brightness turned up, but when you get back home you’ll suddenly realize all of your shots are underexposed. Emma also explained the use of the histogram in Live View and the importance of checking that no tones are clipped when she is reviewing the images.
The best camera deals, reviews, product advice, and unmissable photography news, direct to your inbox!
3. Use a reflector
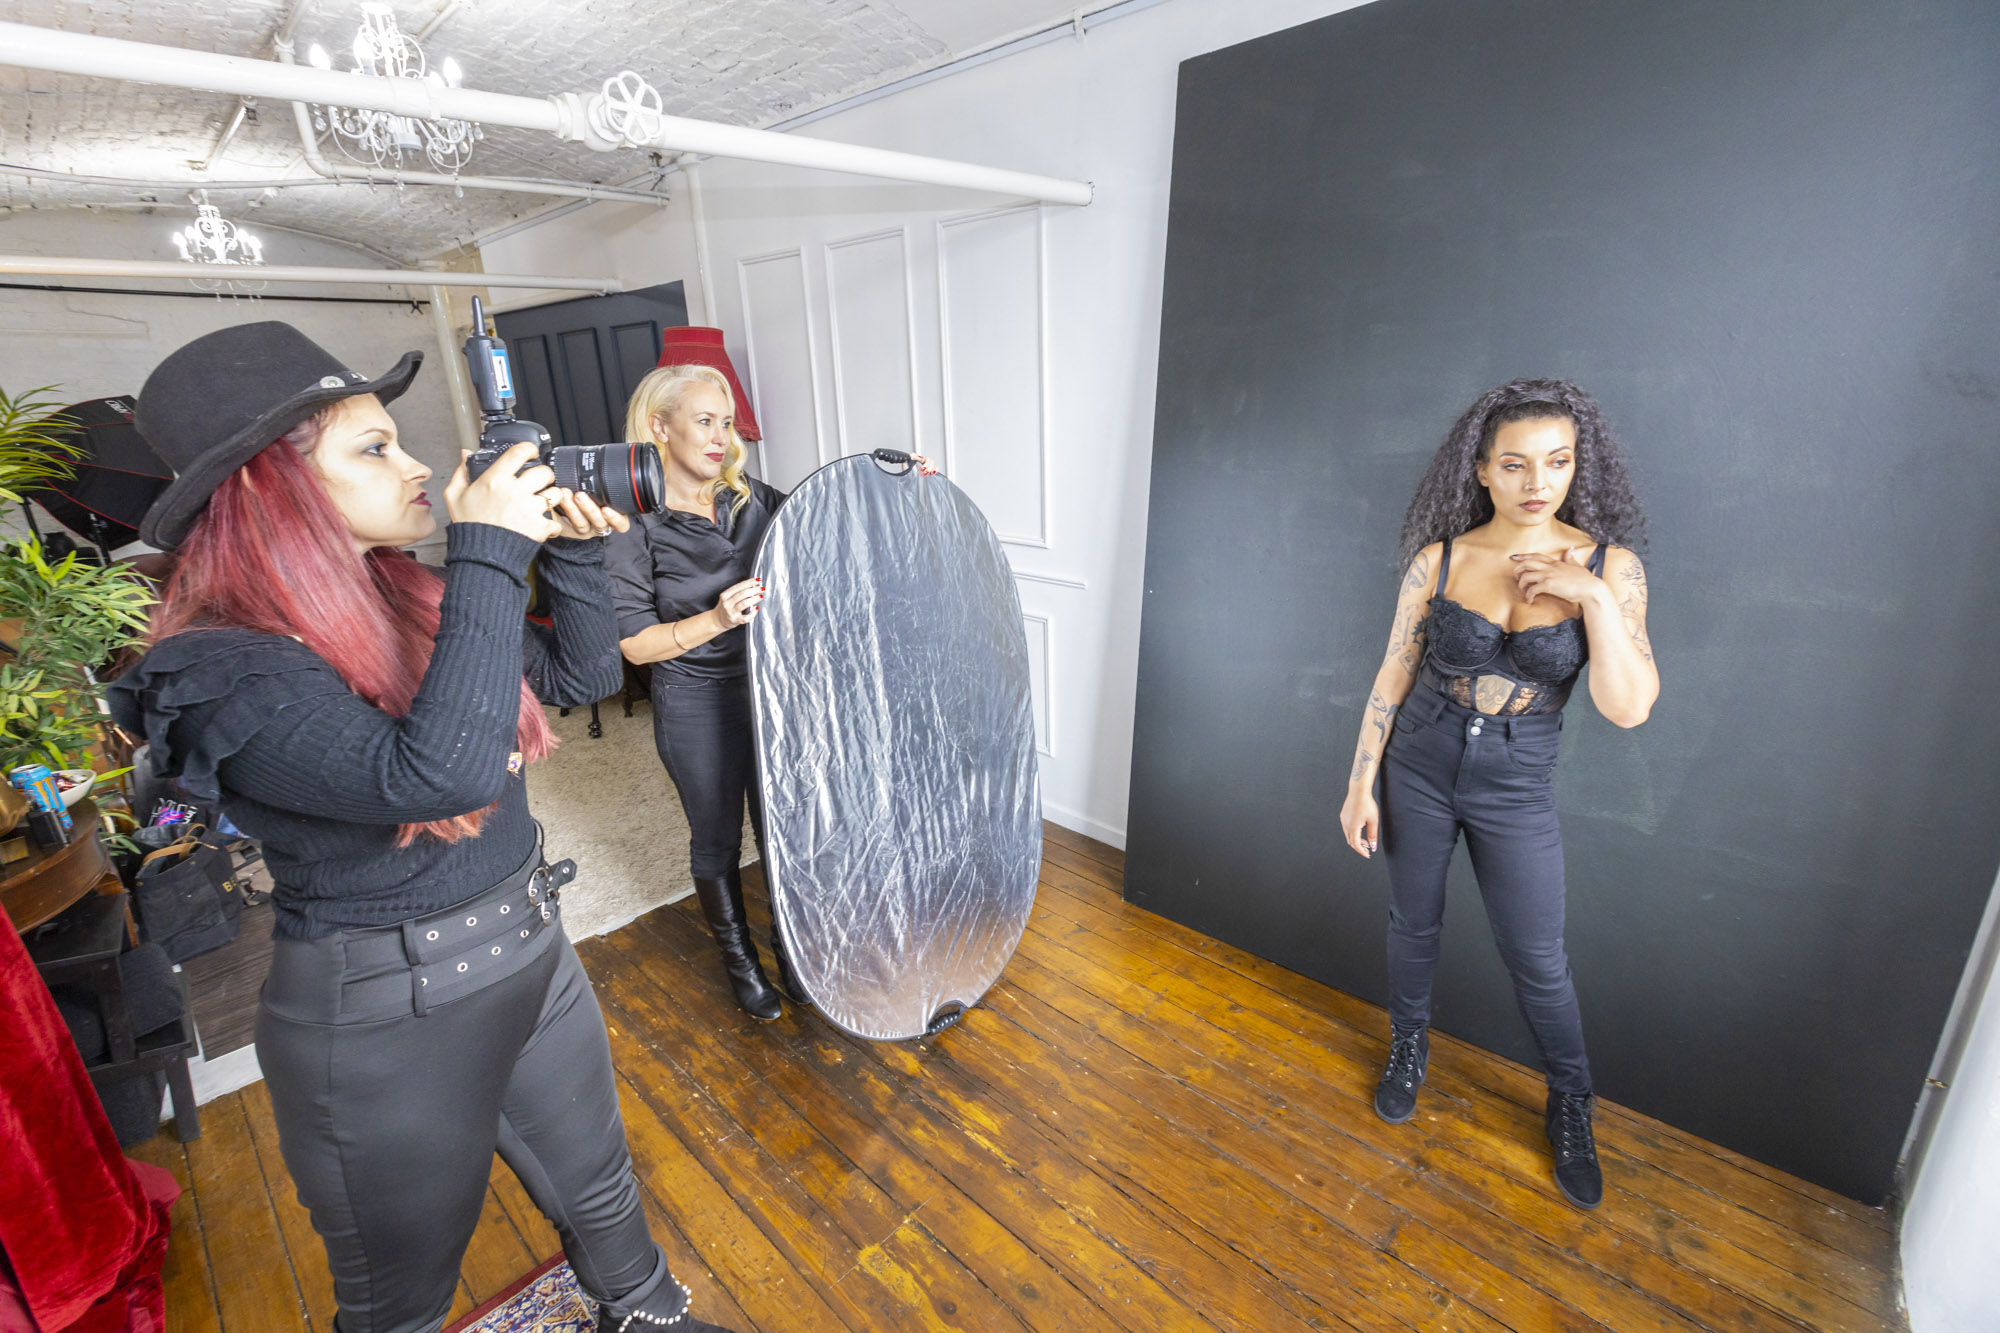
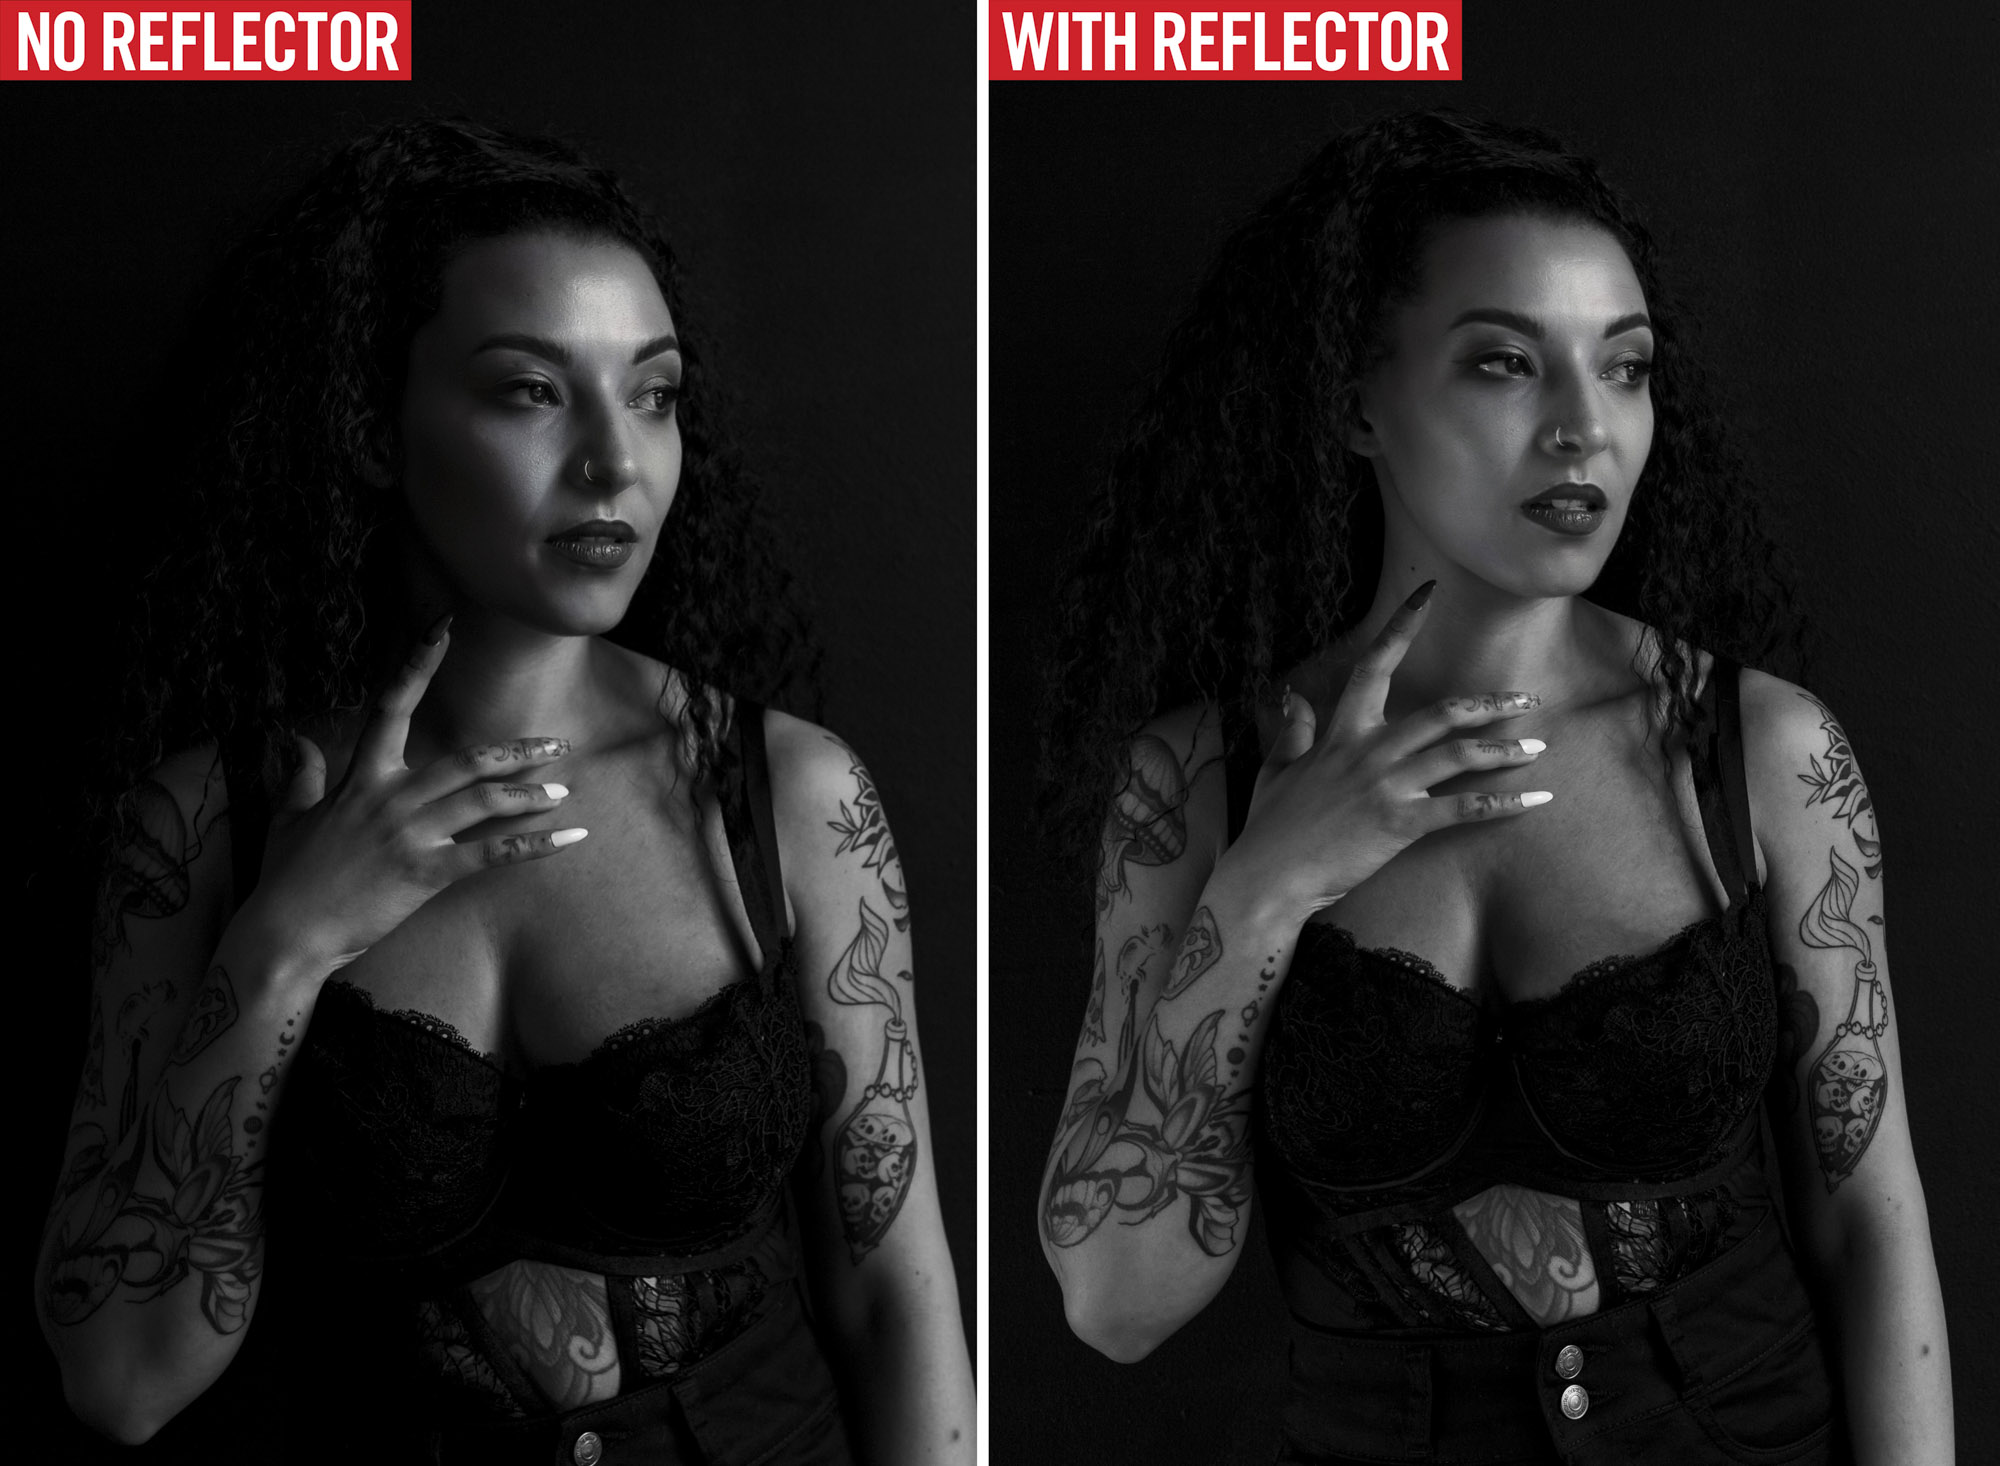
Emma uses a range of Pixapro 80x120cm reflectors she found on Amazon but you can get great results with inexpensive foam board and their white sides; you can spray paint them silver or gold for different tones. Reflecting light back into the scene is useful with both natural light and flash. Emma’s reflector here has a silver side to reflect a cool, metallic light, and also a black side which can help take light out of the scene and may be used as a ‘flag’.
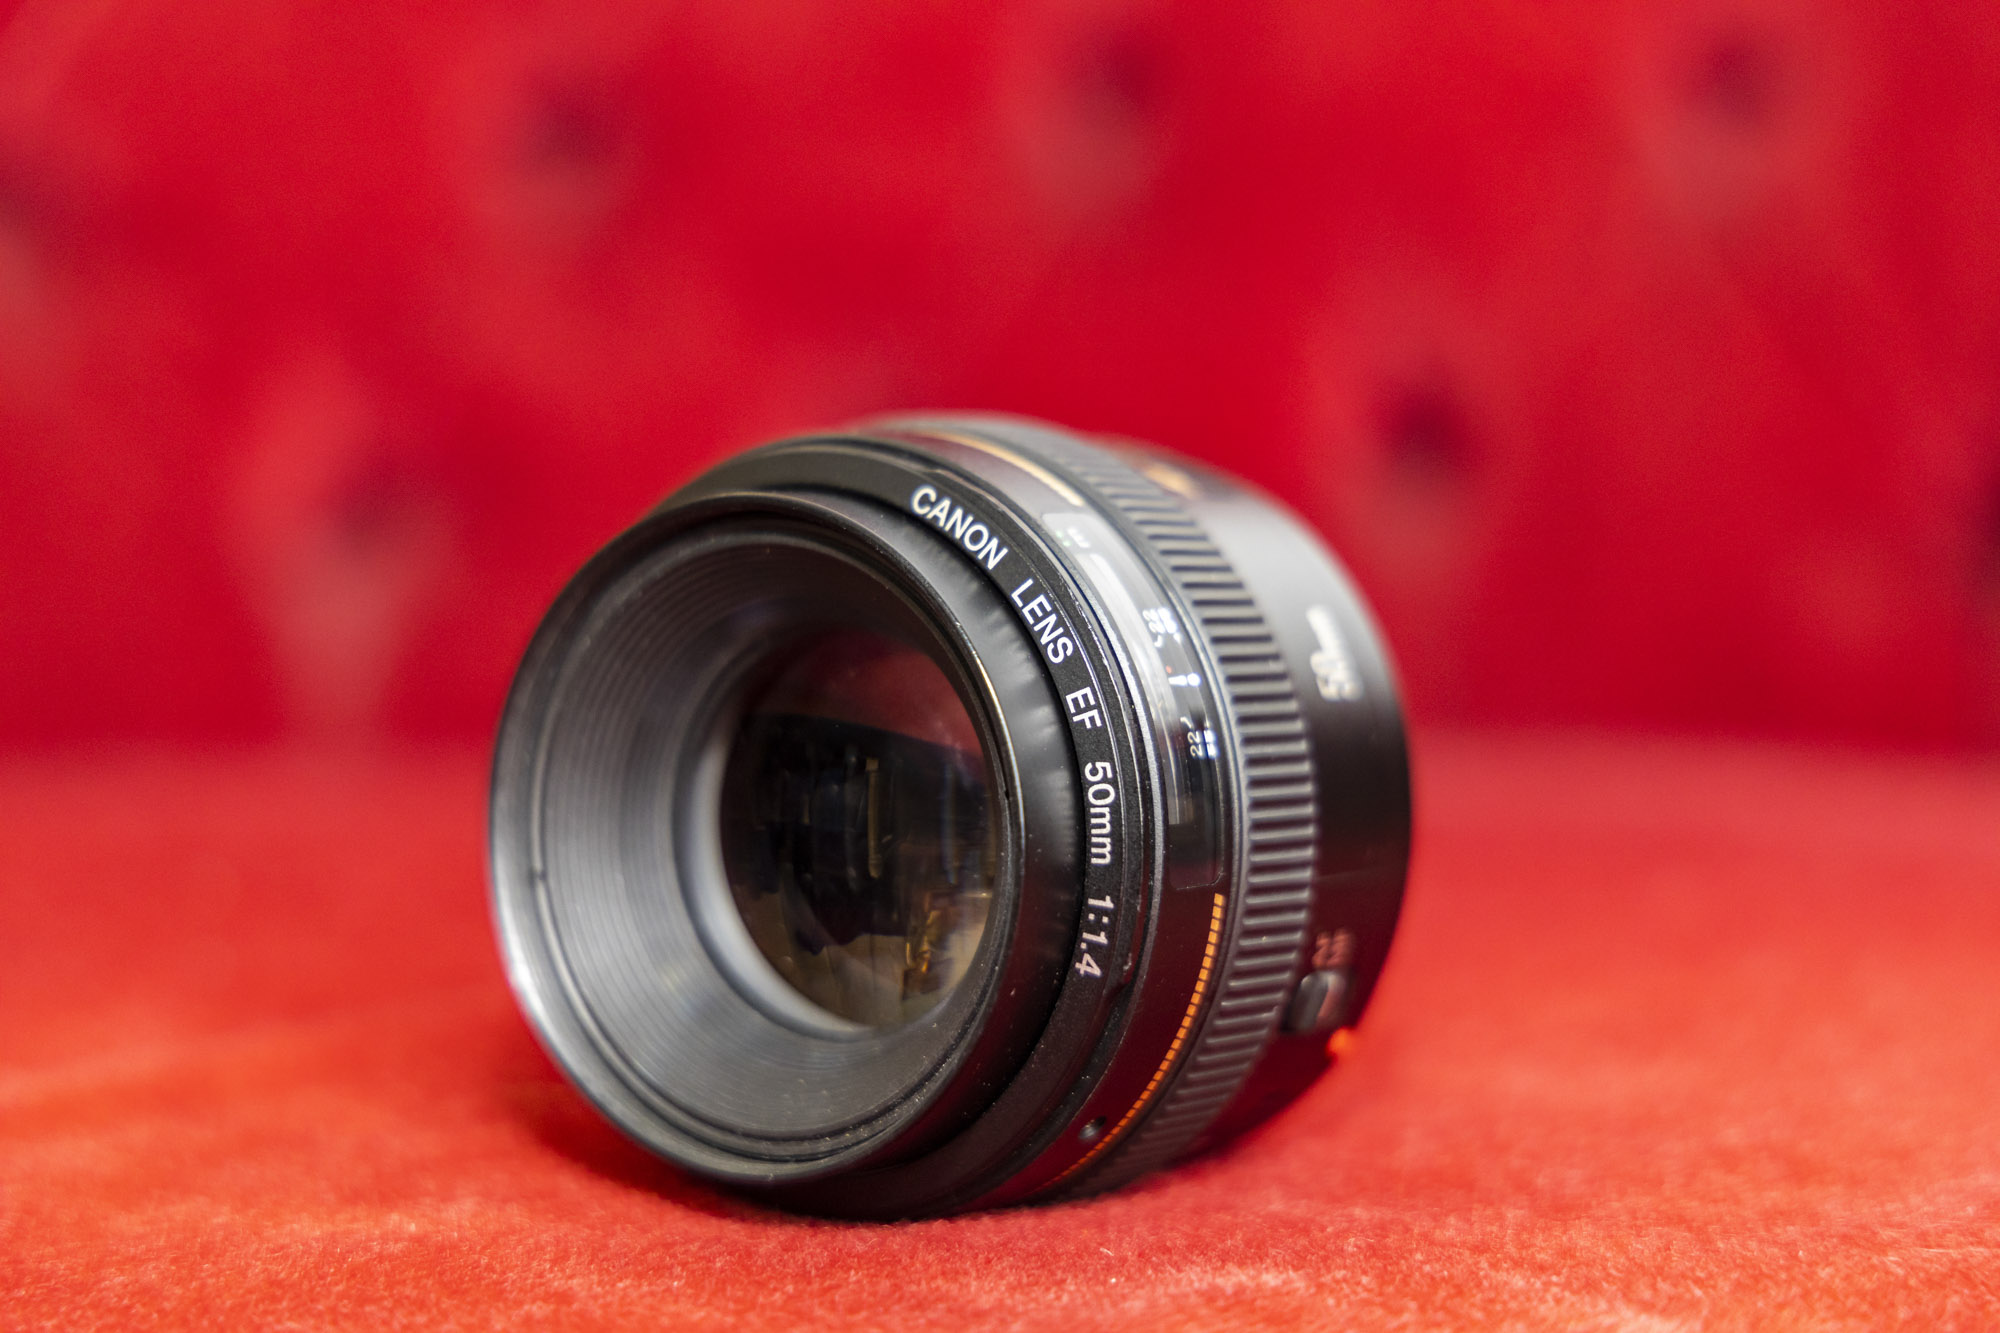
4. Nifty 50mm lens
For most new photographers a 50mm lens is the natural optic upgrade, so it’s no surprise that pros from all walks of life have at least one 50mm lens. Also called a ‘nifty fifty’, they are usually very low cost and have a focal length similar to what the human eye sees for minimal distortion. They boast wide maximum apertures like f/1.8 which flood the sensor with light and help to blur backgrounds.
5. Studio flash
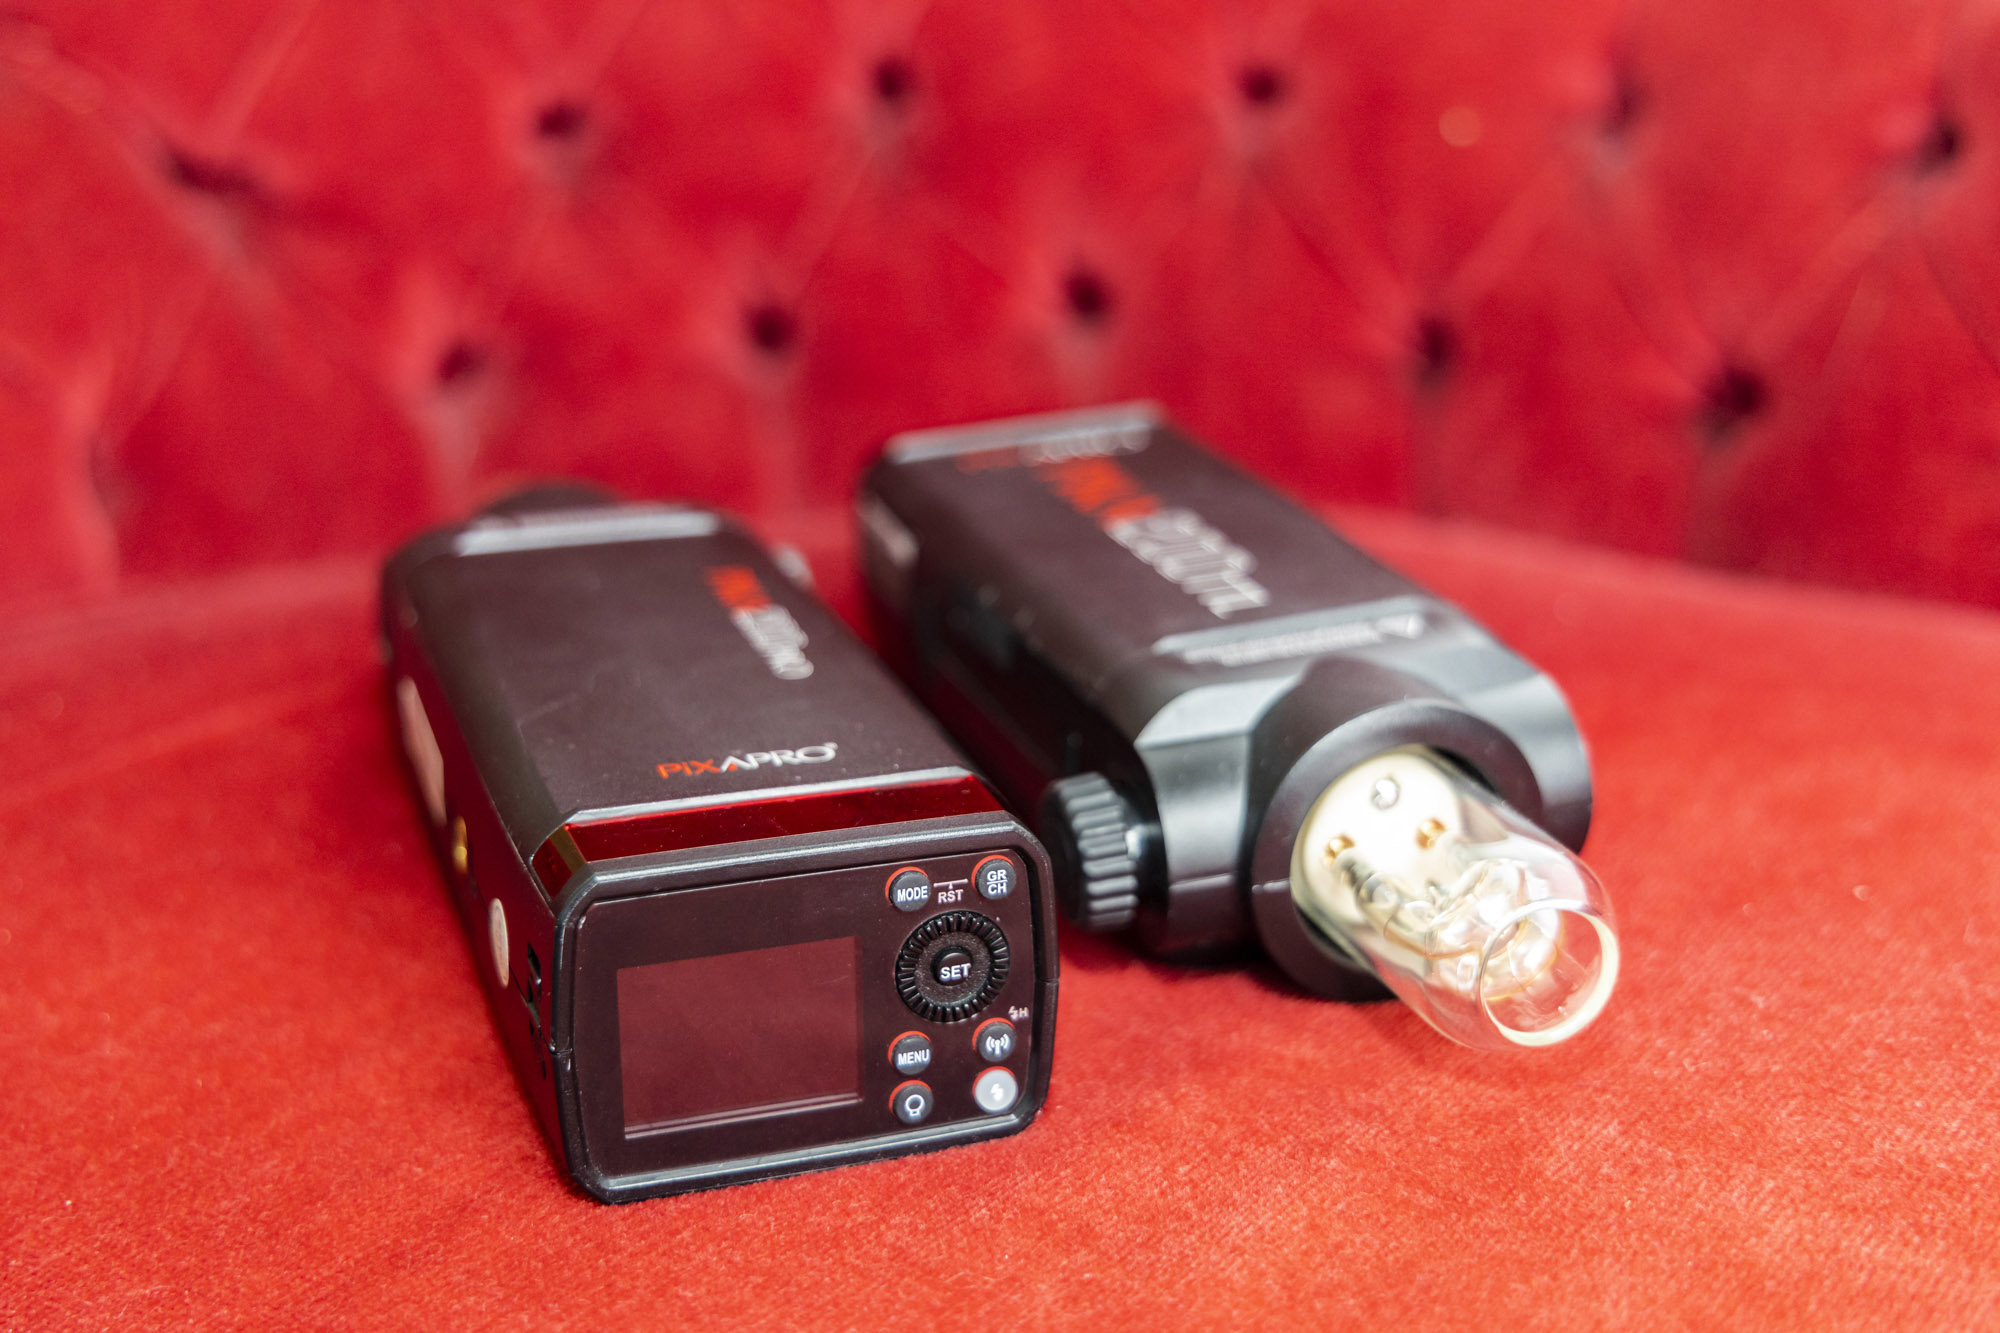
When Emma isn’t shooting with natural light, she uses Pixapro Pika 200 TTL flash heads which are portable and run off battery packs that last for about 500 shots from a full charge. She has a whole bunch of them and we used up to four units at one time for some of our setups. Emma mounts them onto a light stand adapter which allows Bowens S-mount modifiers to be attached, which make the light more or less diffused or restrict the light output to spotlight a specific area.
6. Lighting modifiers
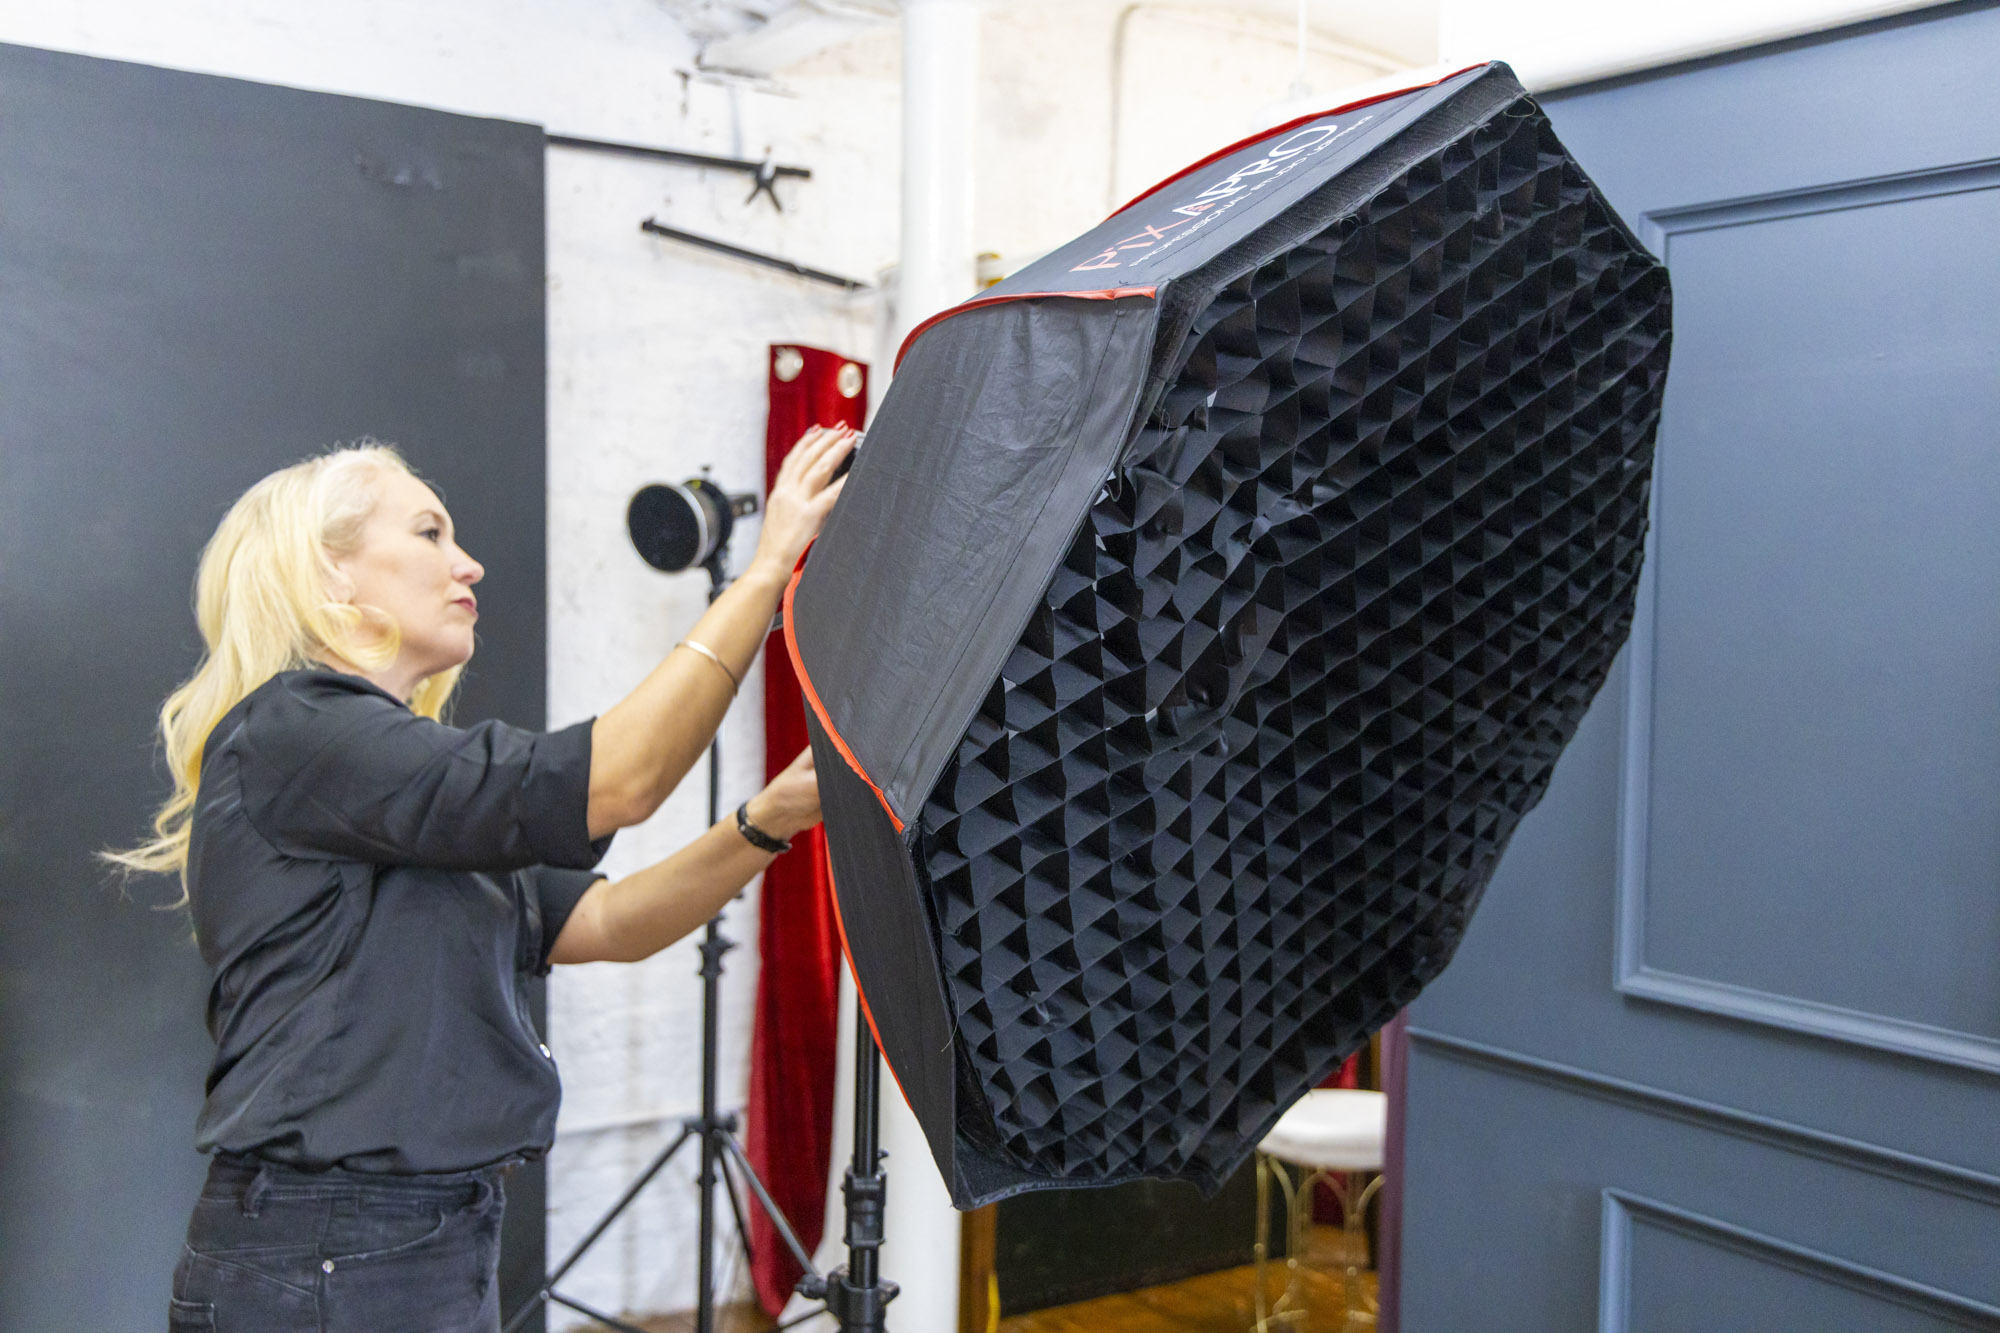
Emma predominantly uses flash lighting with multiple Pixapro Pika 200 flash heads. She mounts these on a lightstand with an adapter that allows her to mount modifiers with a standard Bowens S-mount. Emma has everything from small ‘snoots’ used to spotlight a very specific area of the setup, such as the model’s hair, to larger Pixapro octaboxes and umbrellas to give her models a very soft feathered light, as well as thin and tall Luxlight strip lights which help to reduce any light spill.
7. Flash triggers
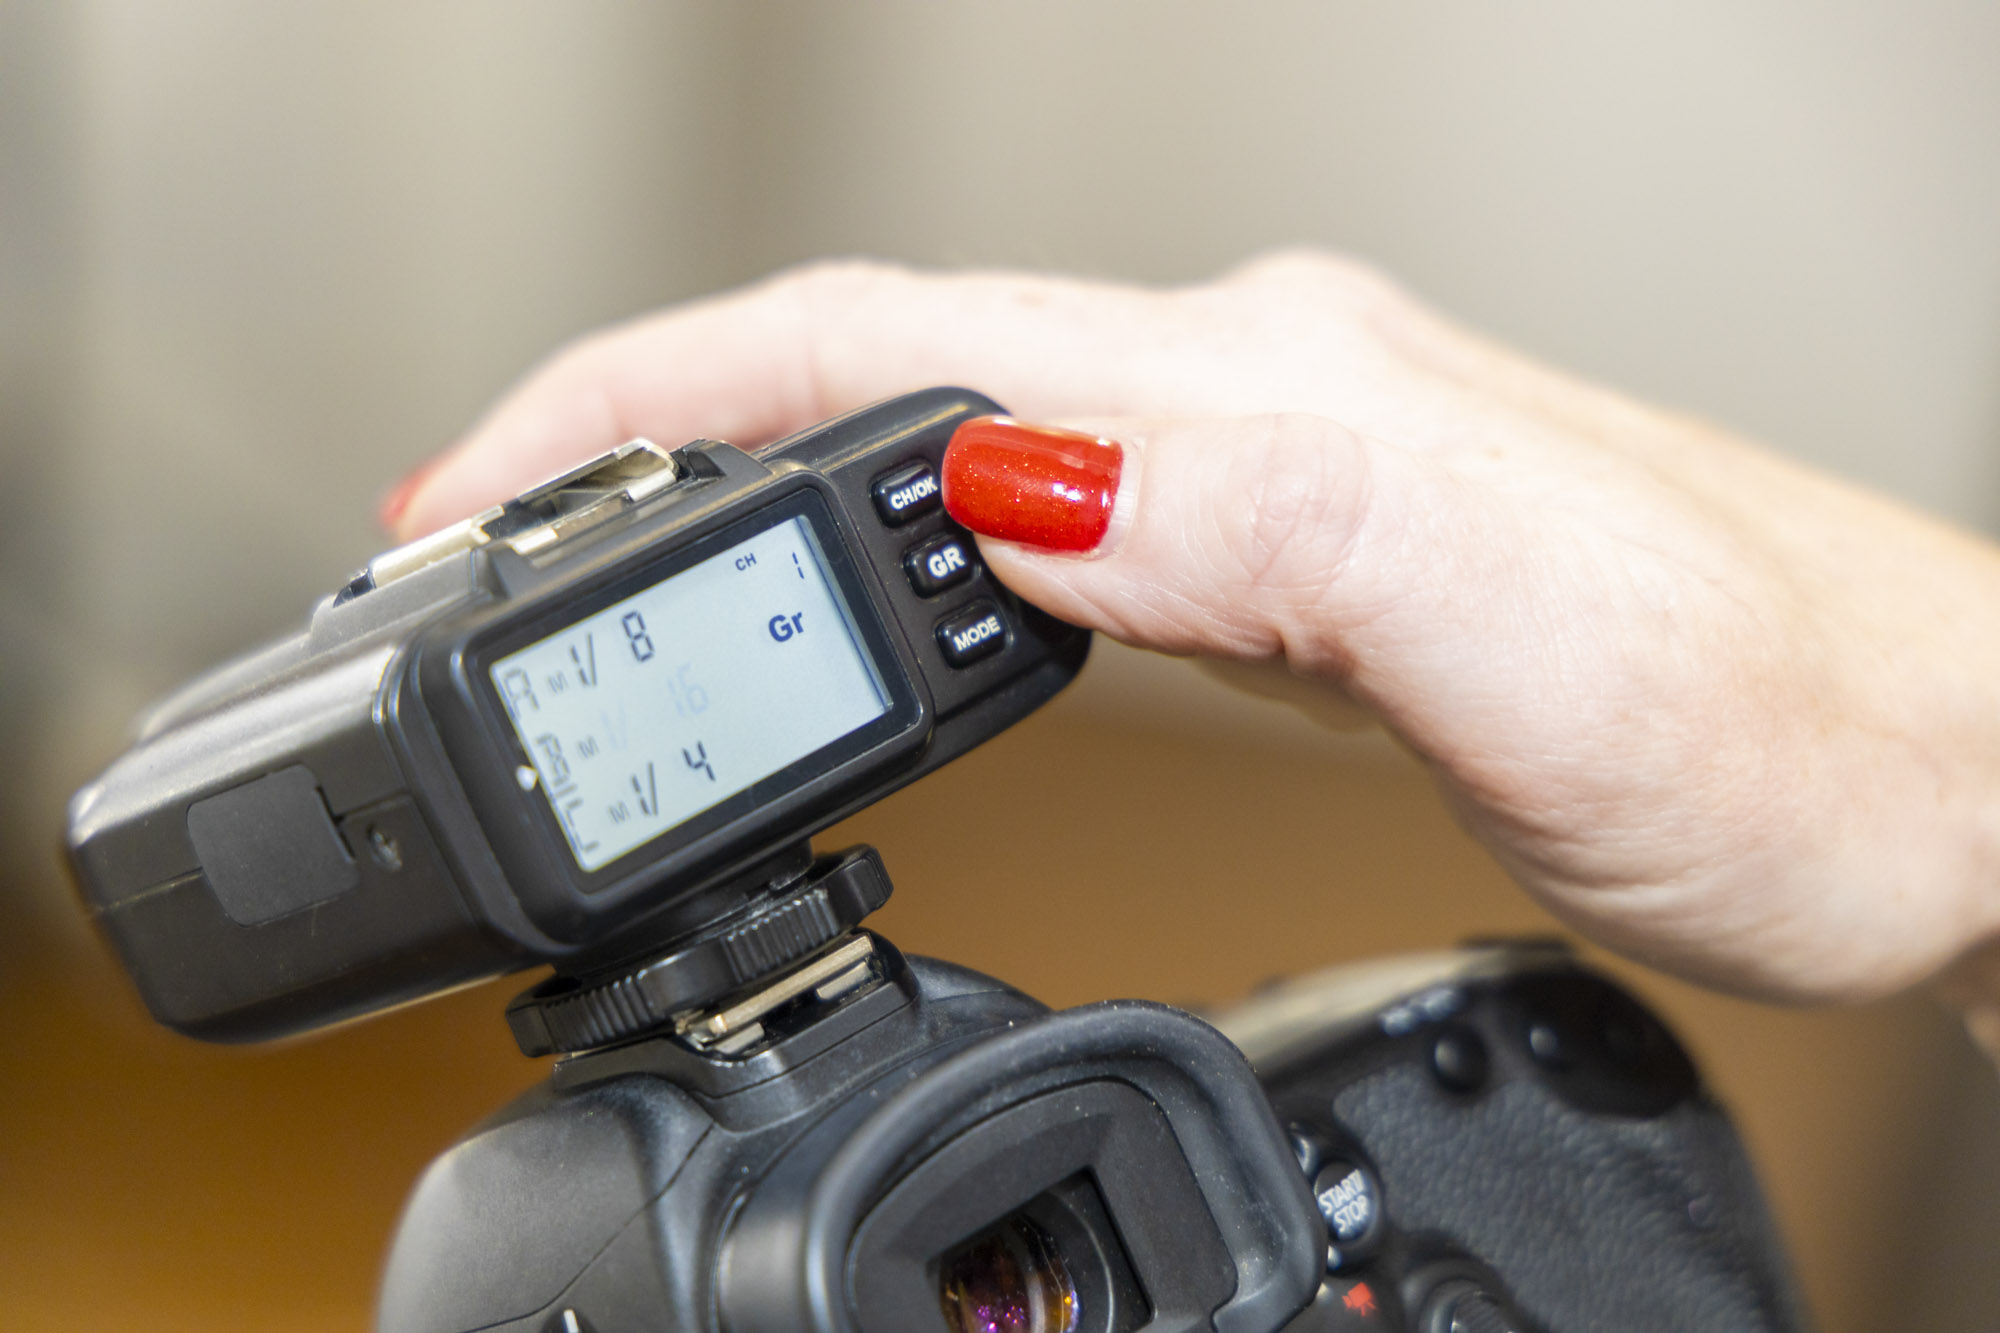
Emma fires flashes off-camera and gets much more creative with her lighting than, say, a hotshoe-mounted flashgun. She uses a PixaPro ST-III TTL-T trigger attached to the hotshoe of her Canon EOS 5D Mark IV and connects to all of the PixaPro heads in her studio. She can quickly change the power of each flash on trigger interface.
8. Full-frame camera body
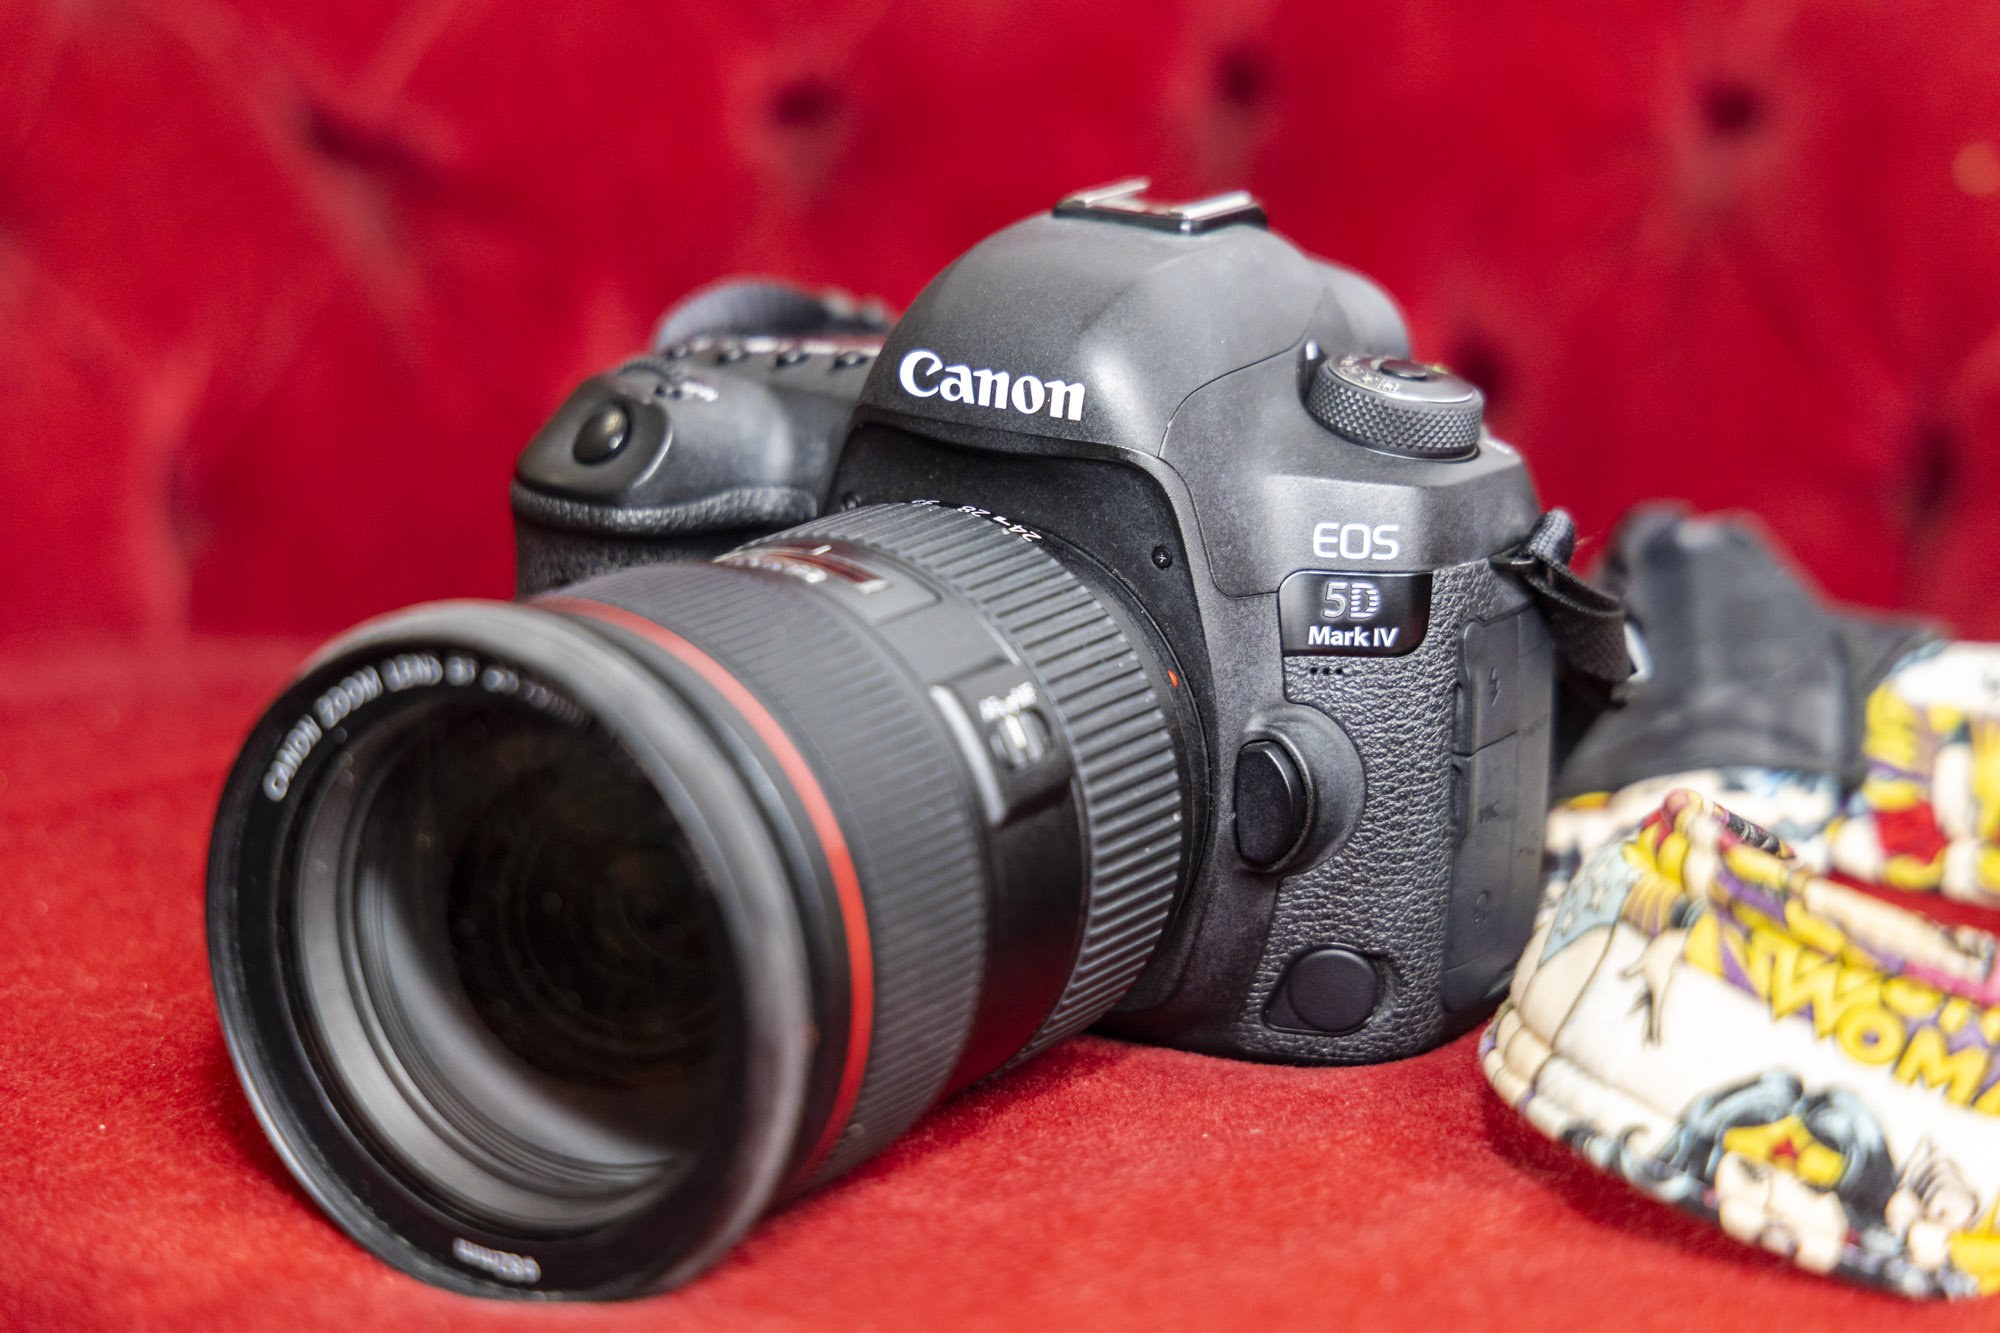
Emma’s camera of choice when working in and out of the studio is her trusty Canon EOS 5D Mark IV, a professional DSLR with a 30MP full-frame sensor and 61 AF point system. Like all good professionals, Emma’s older Canon EOS 5D Mk III DSLR body is always close to hand just in case her main camera body suddenly develops a fault on a shoot.
9. Watch the lighting
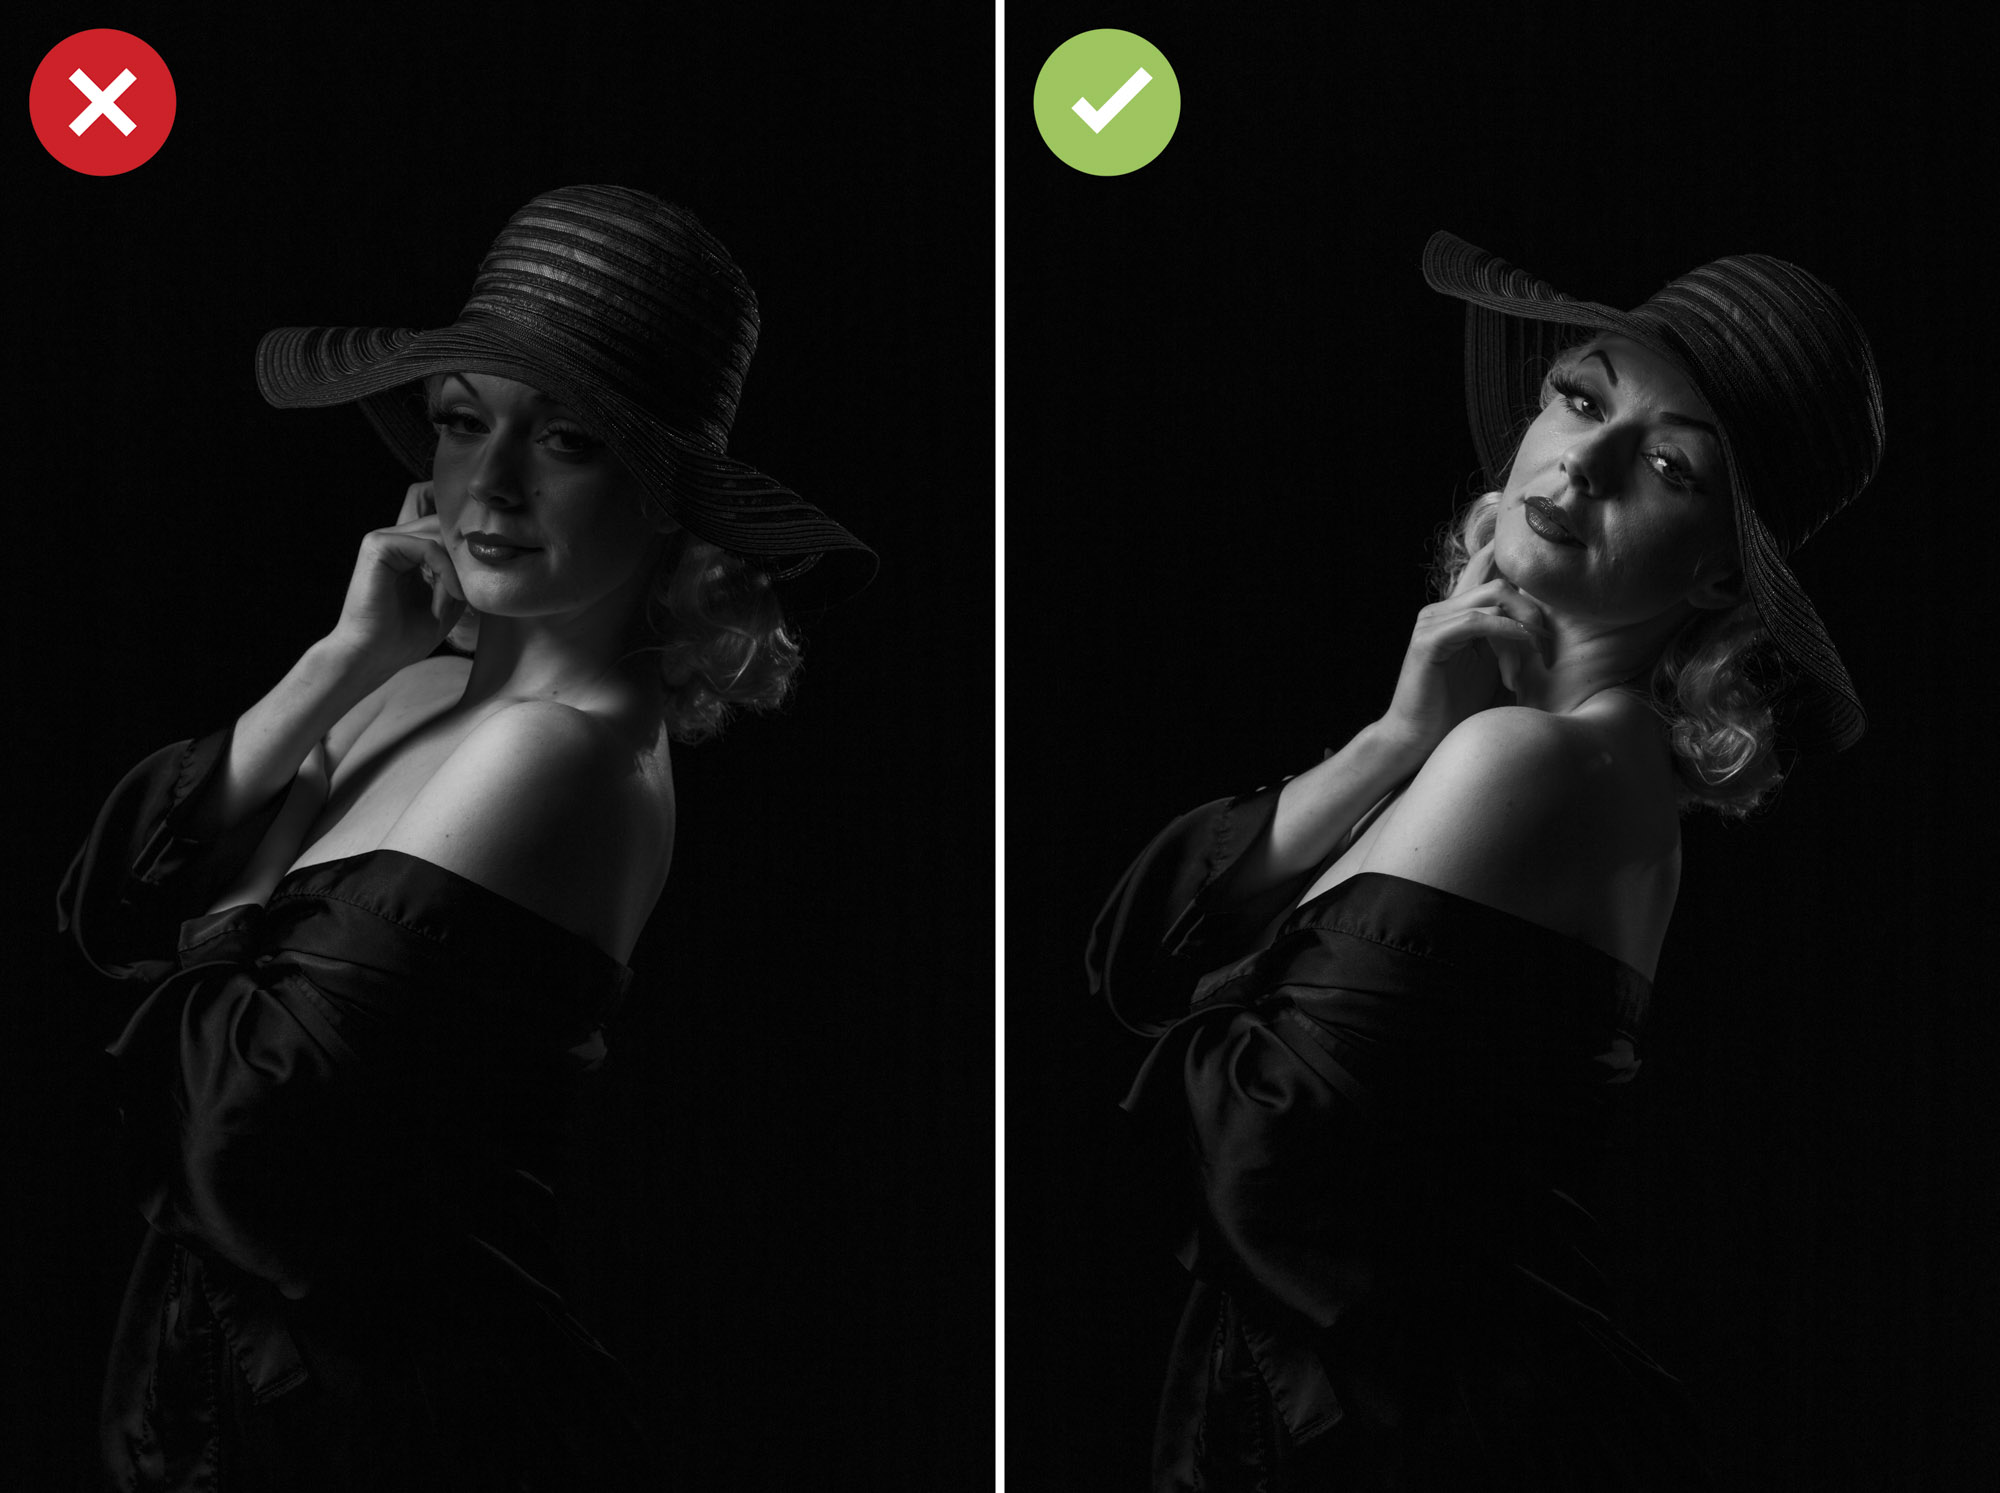
When working with studio flash it’s worth checking your shots regularly to make sure the light is falling on your subject as you’d like it to. It’s easy for a model’s hand or arm to block the light hitting the face which would cause an unsightly shadow. For these shots it was the model’s hat that Rebecca needed to look out for as the light was coming from above it would create a shadow. Rebecca fixed this by asking Miss Baby Daisy to tilt her head to reveal her facial features.
10. Versatile zoom lens
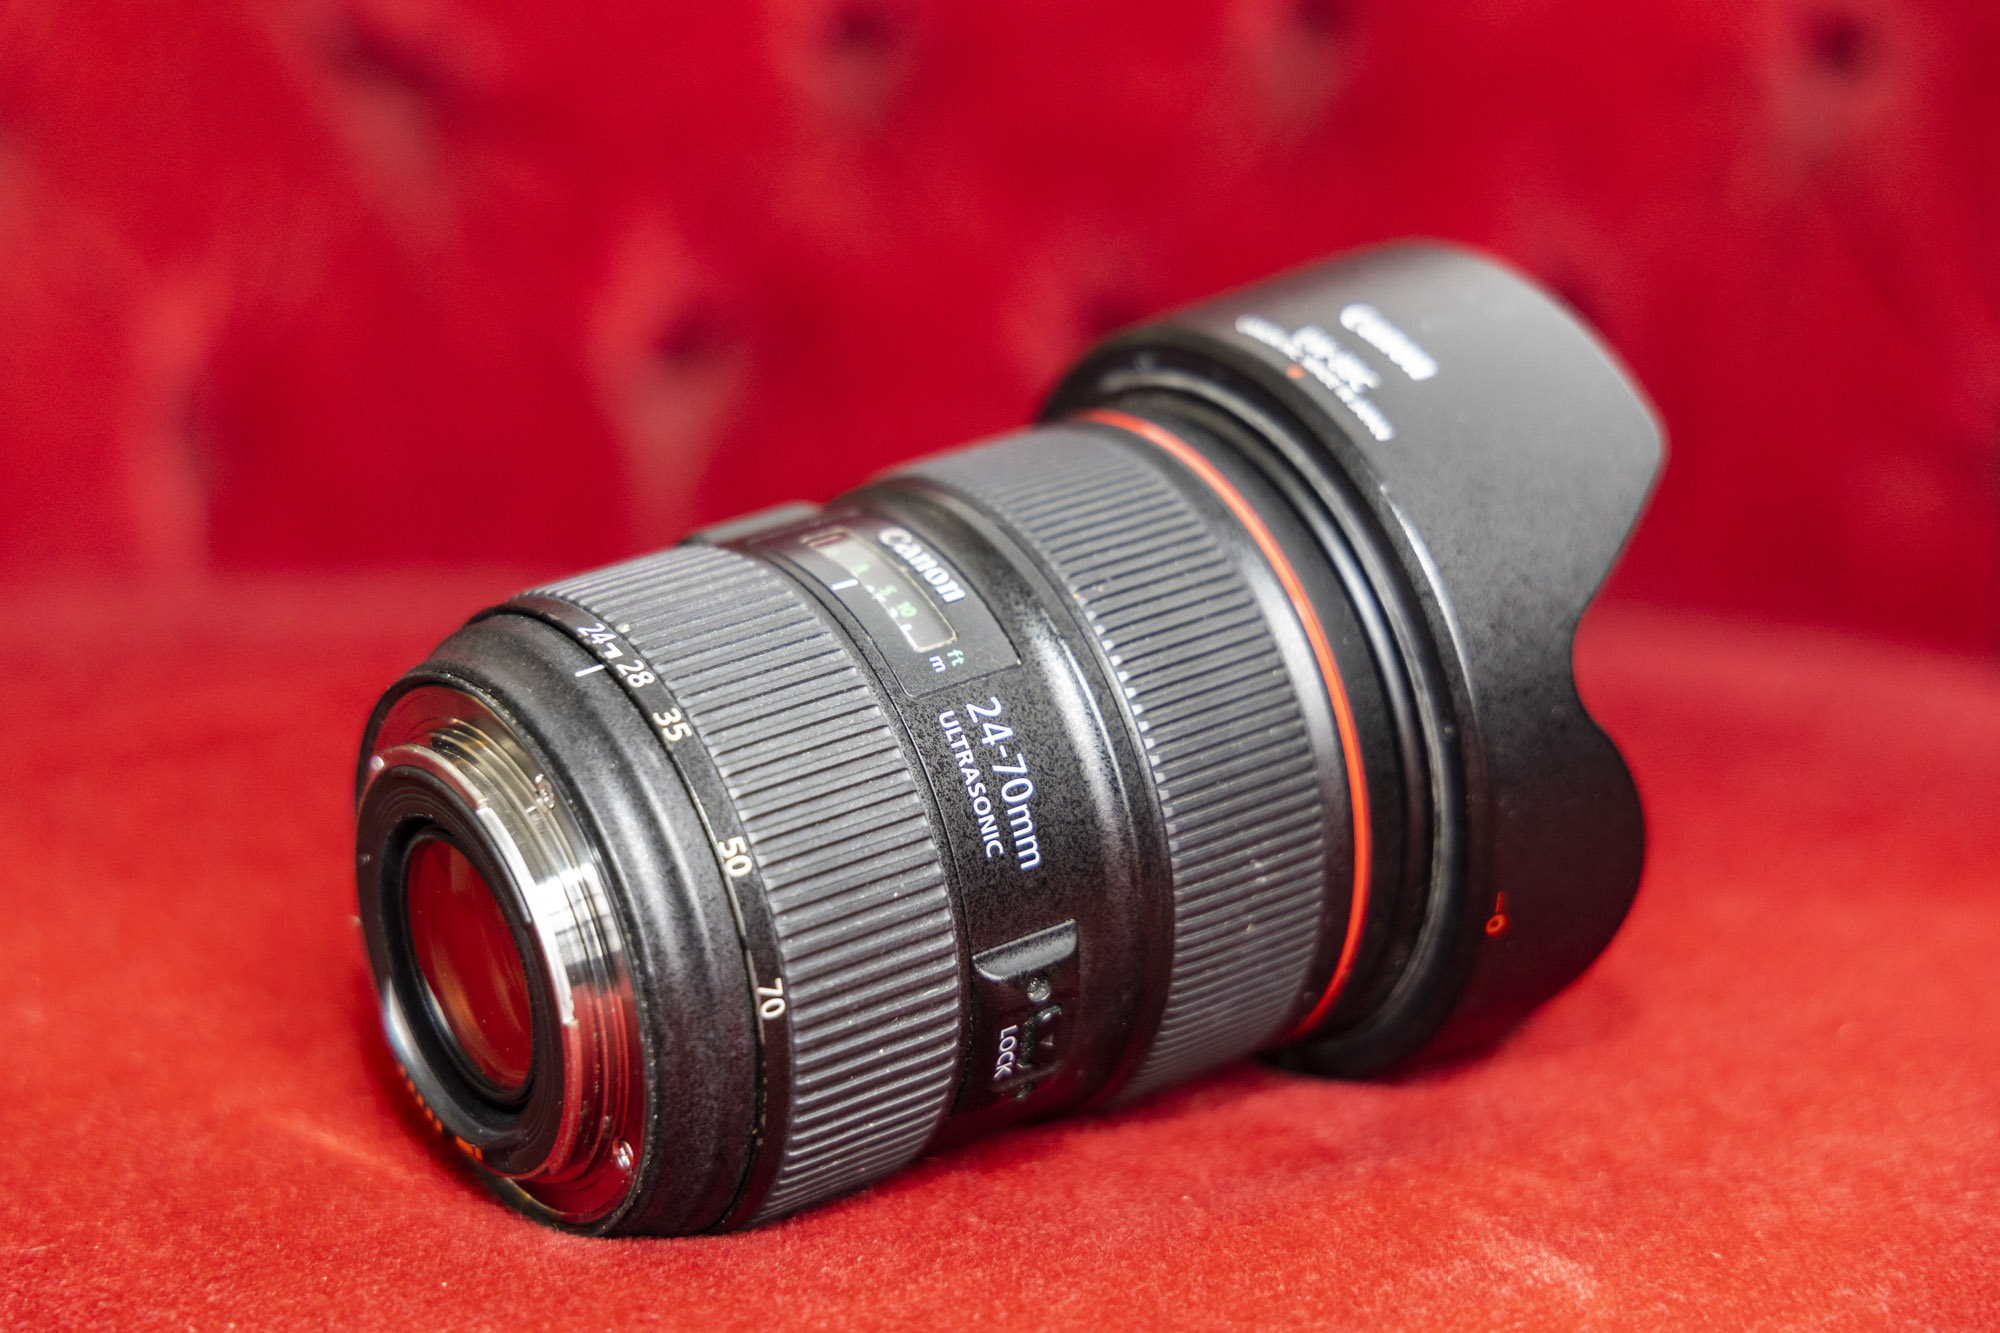
For studio shots Emma says: “You don’t need the super-wide aperture of f/1.8 or f/1.4 in studio lights. I’m usually shooting at f/8 to ensure the model’s full-length is in focus. Also a good zoom is ideal so that you don’t have to keep switching lenses. A lens like a 24-70mm, or 24-105mm, is ideal when shooting on full-frame bodies (18-55mm kit on APS-C bodies) as they allow you to quickly go from wide-angle full-length portraits to a tight head-and-shoulders crop.”
Rebecca Redmond's portfolio
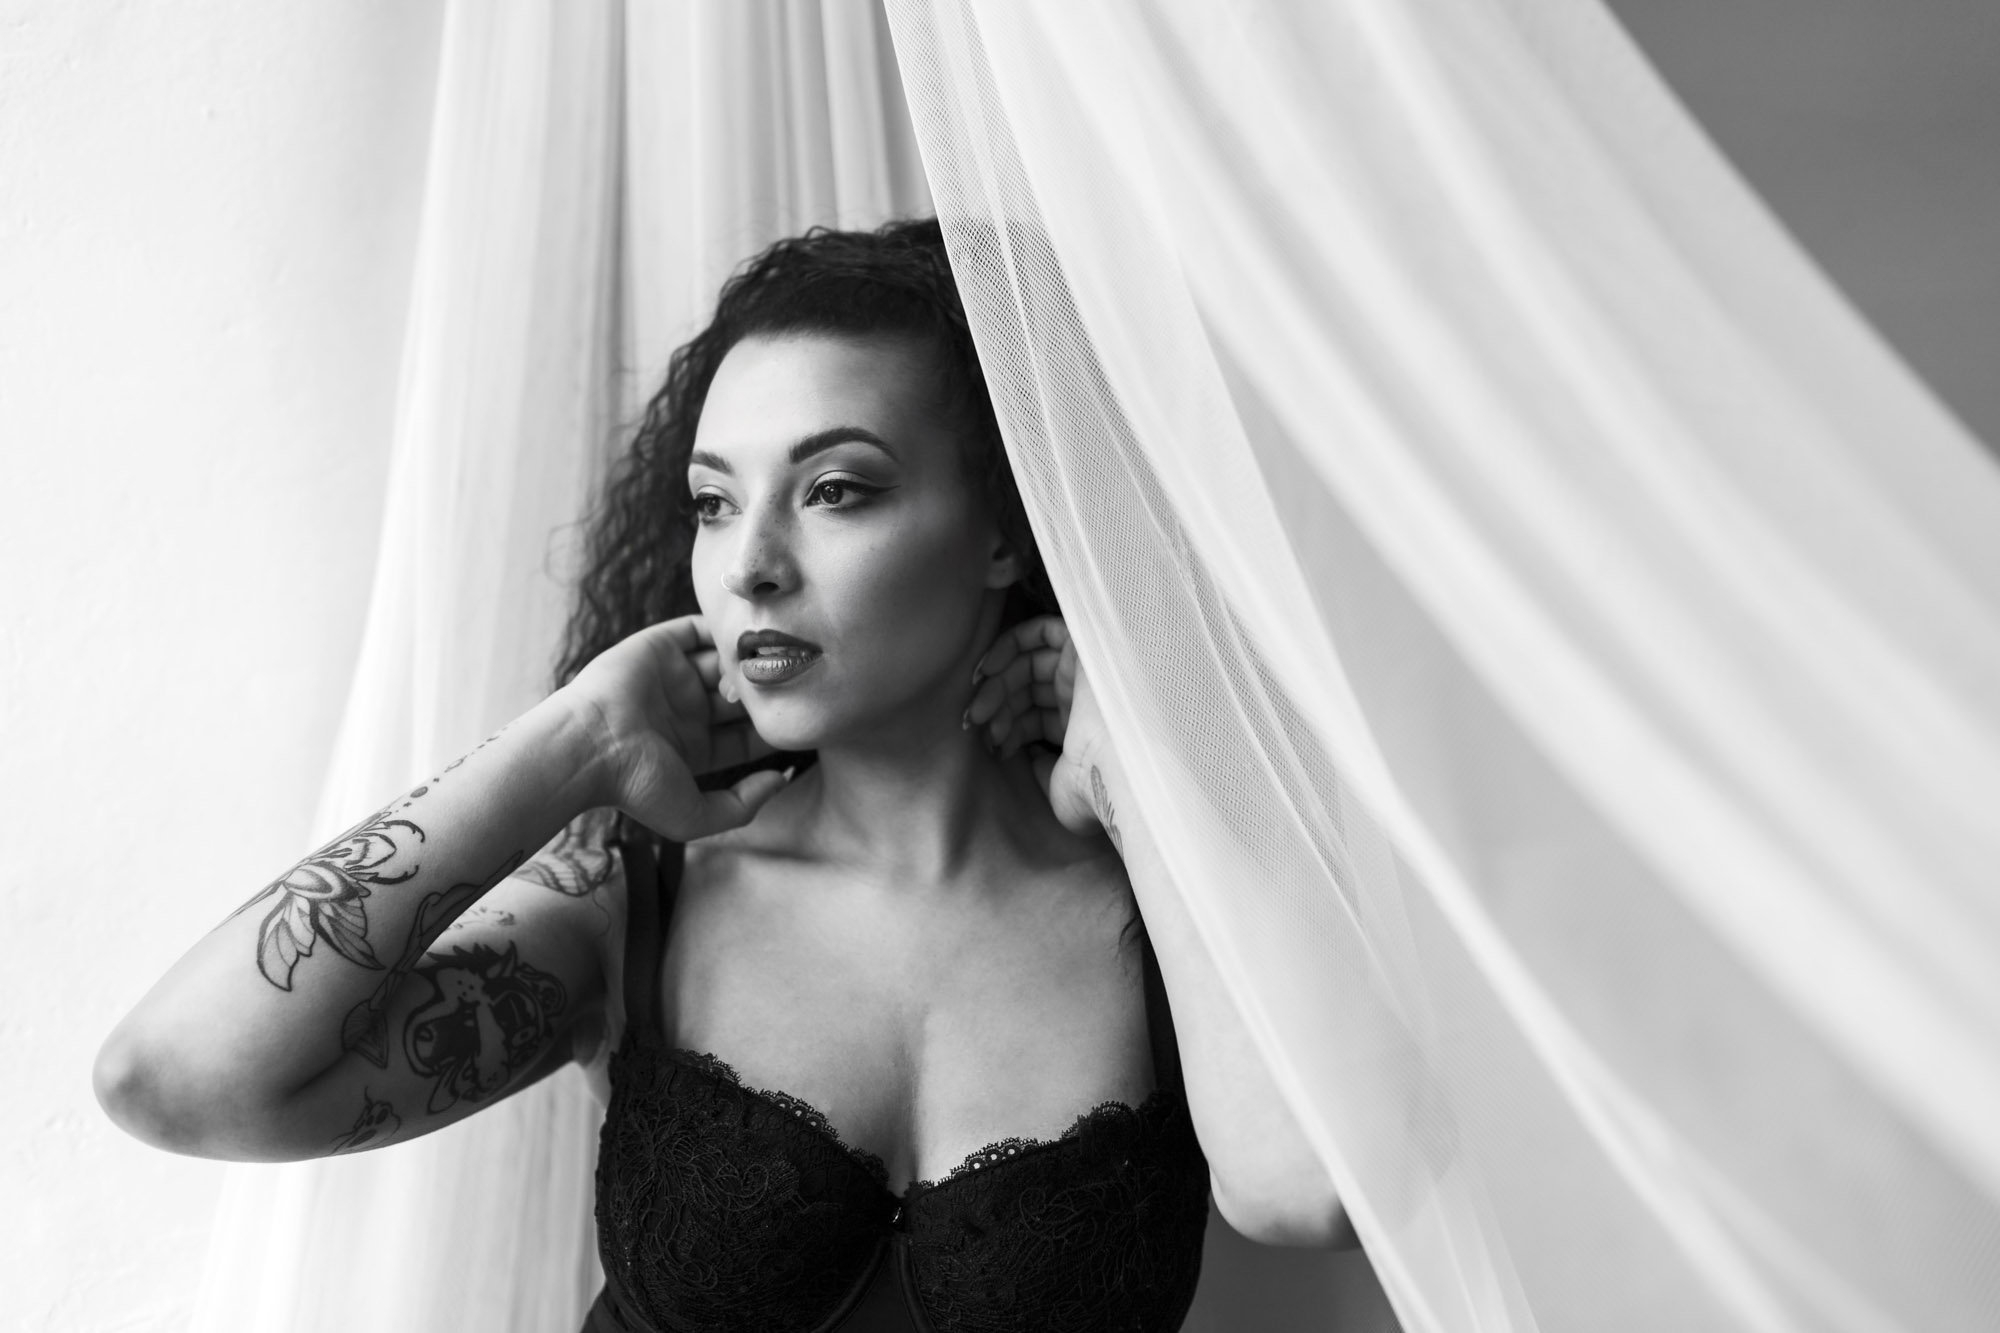
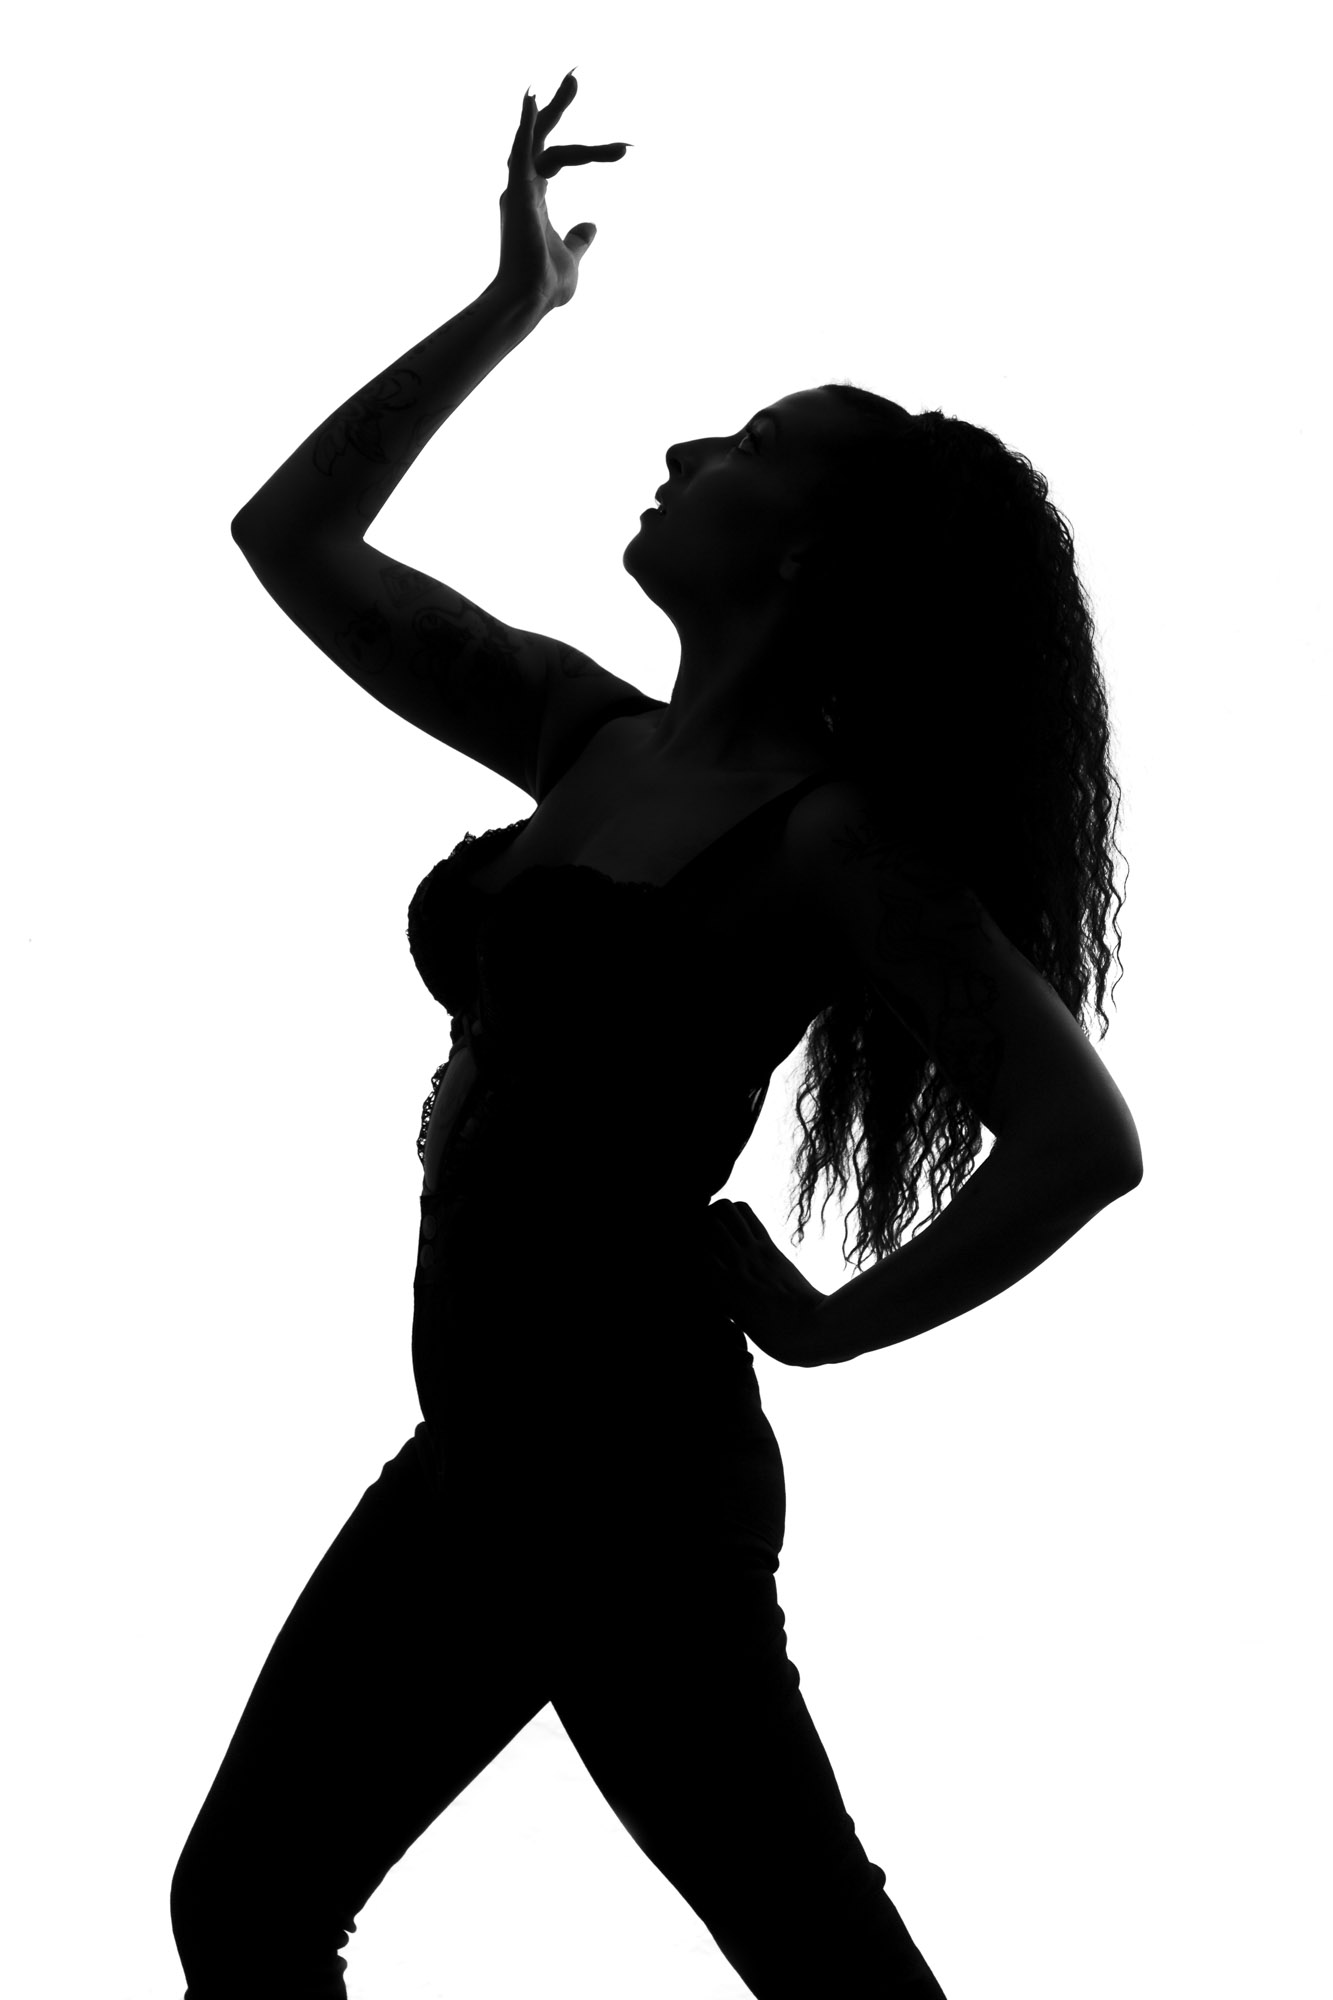
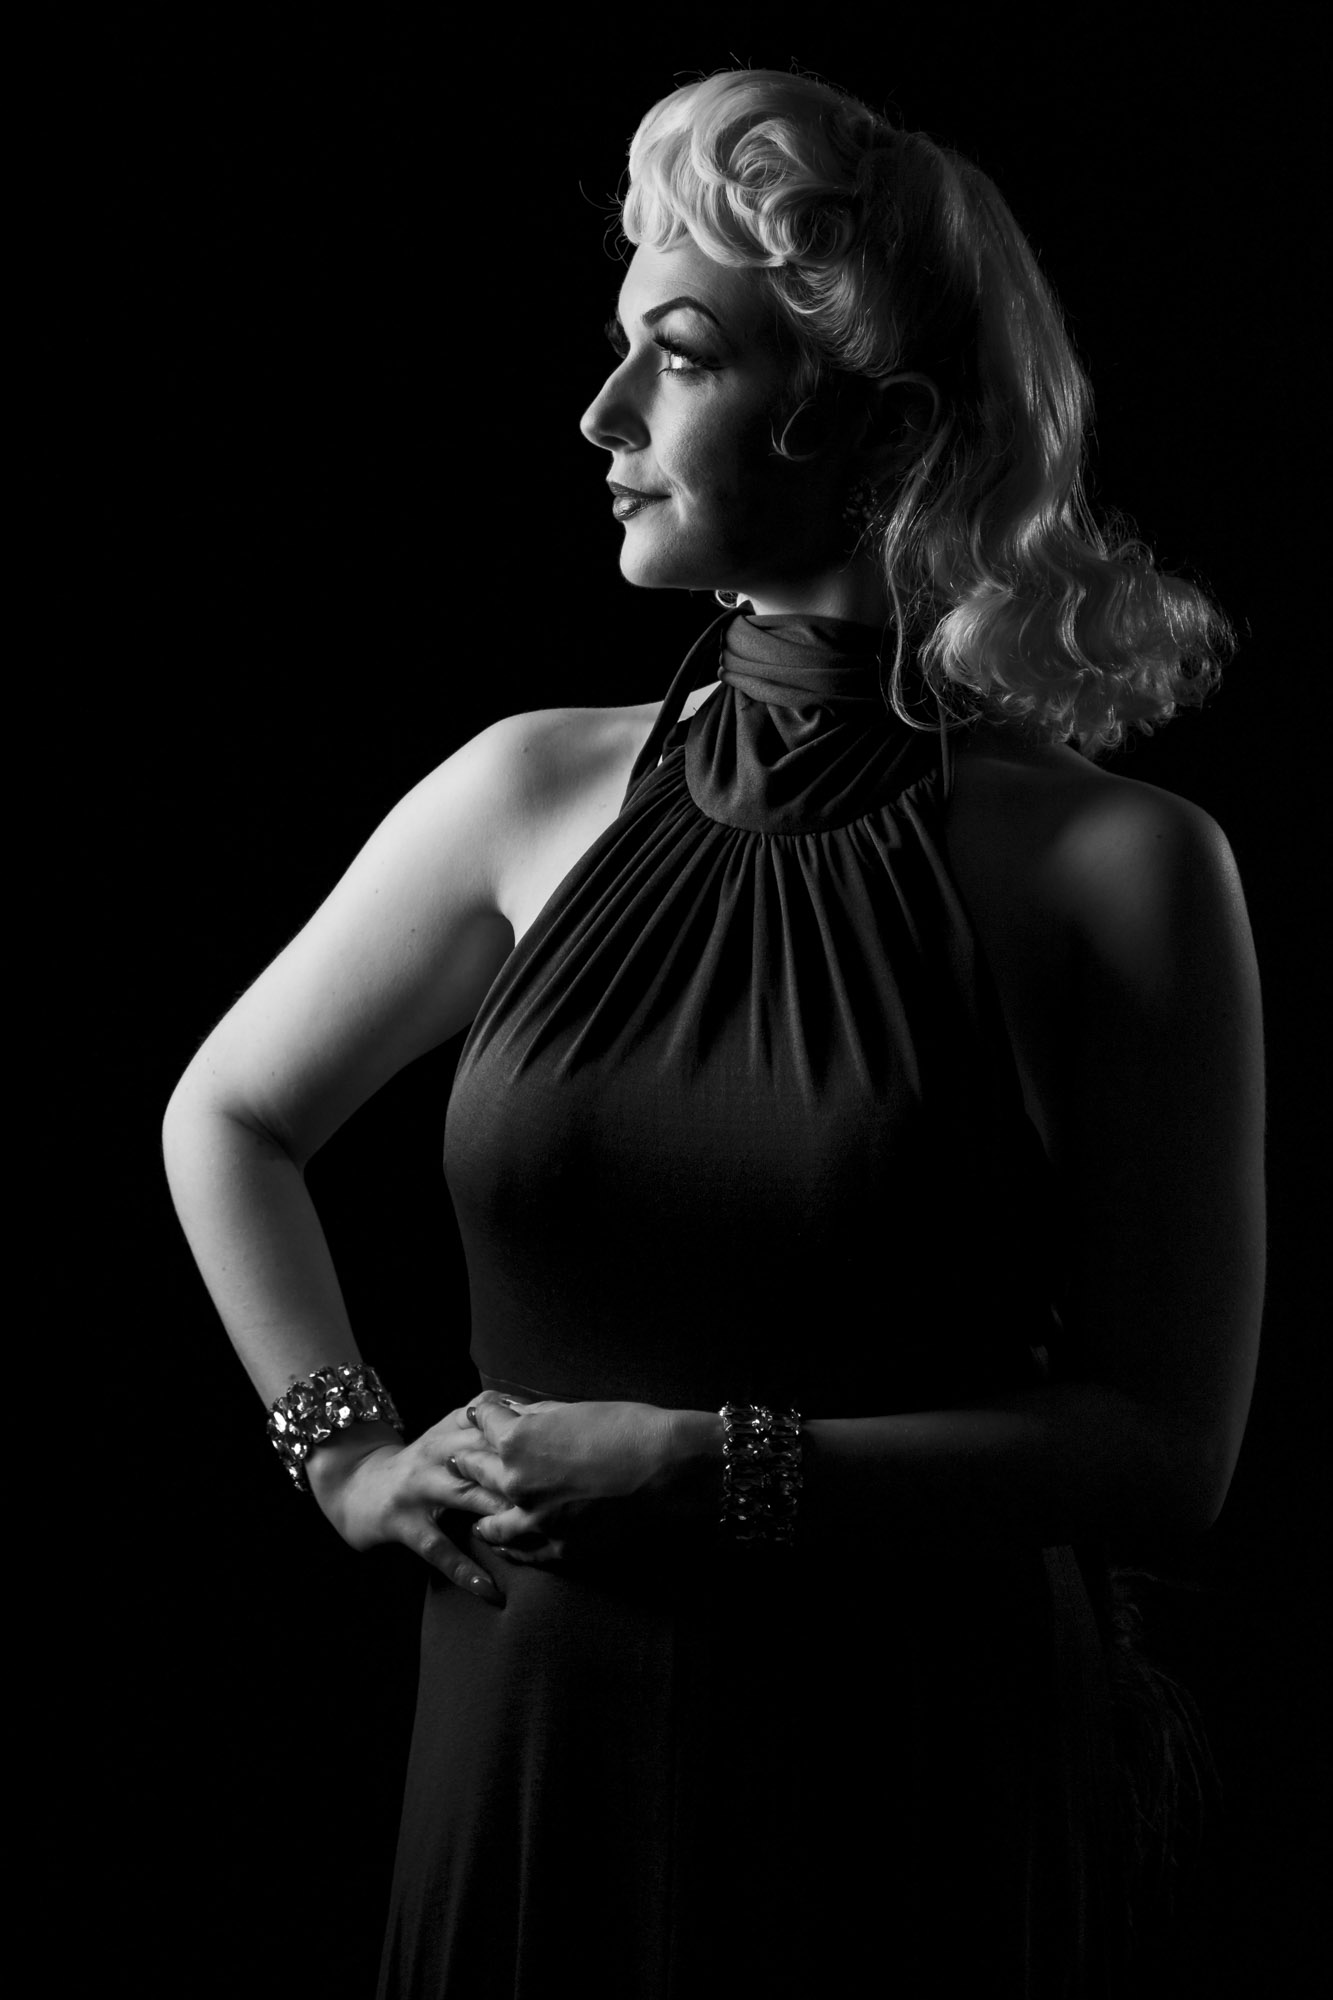
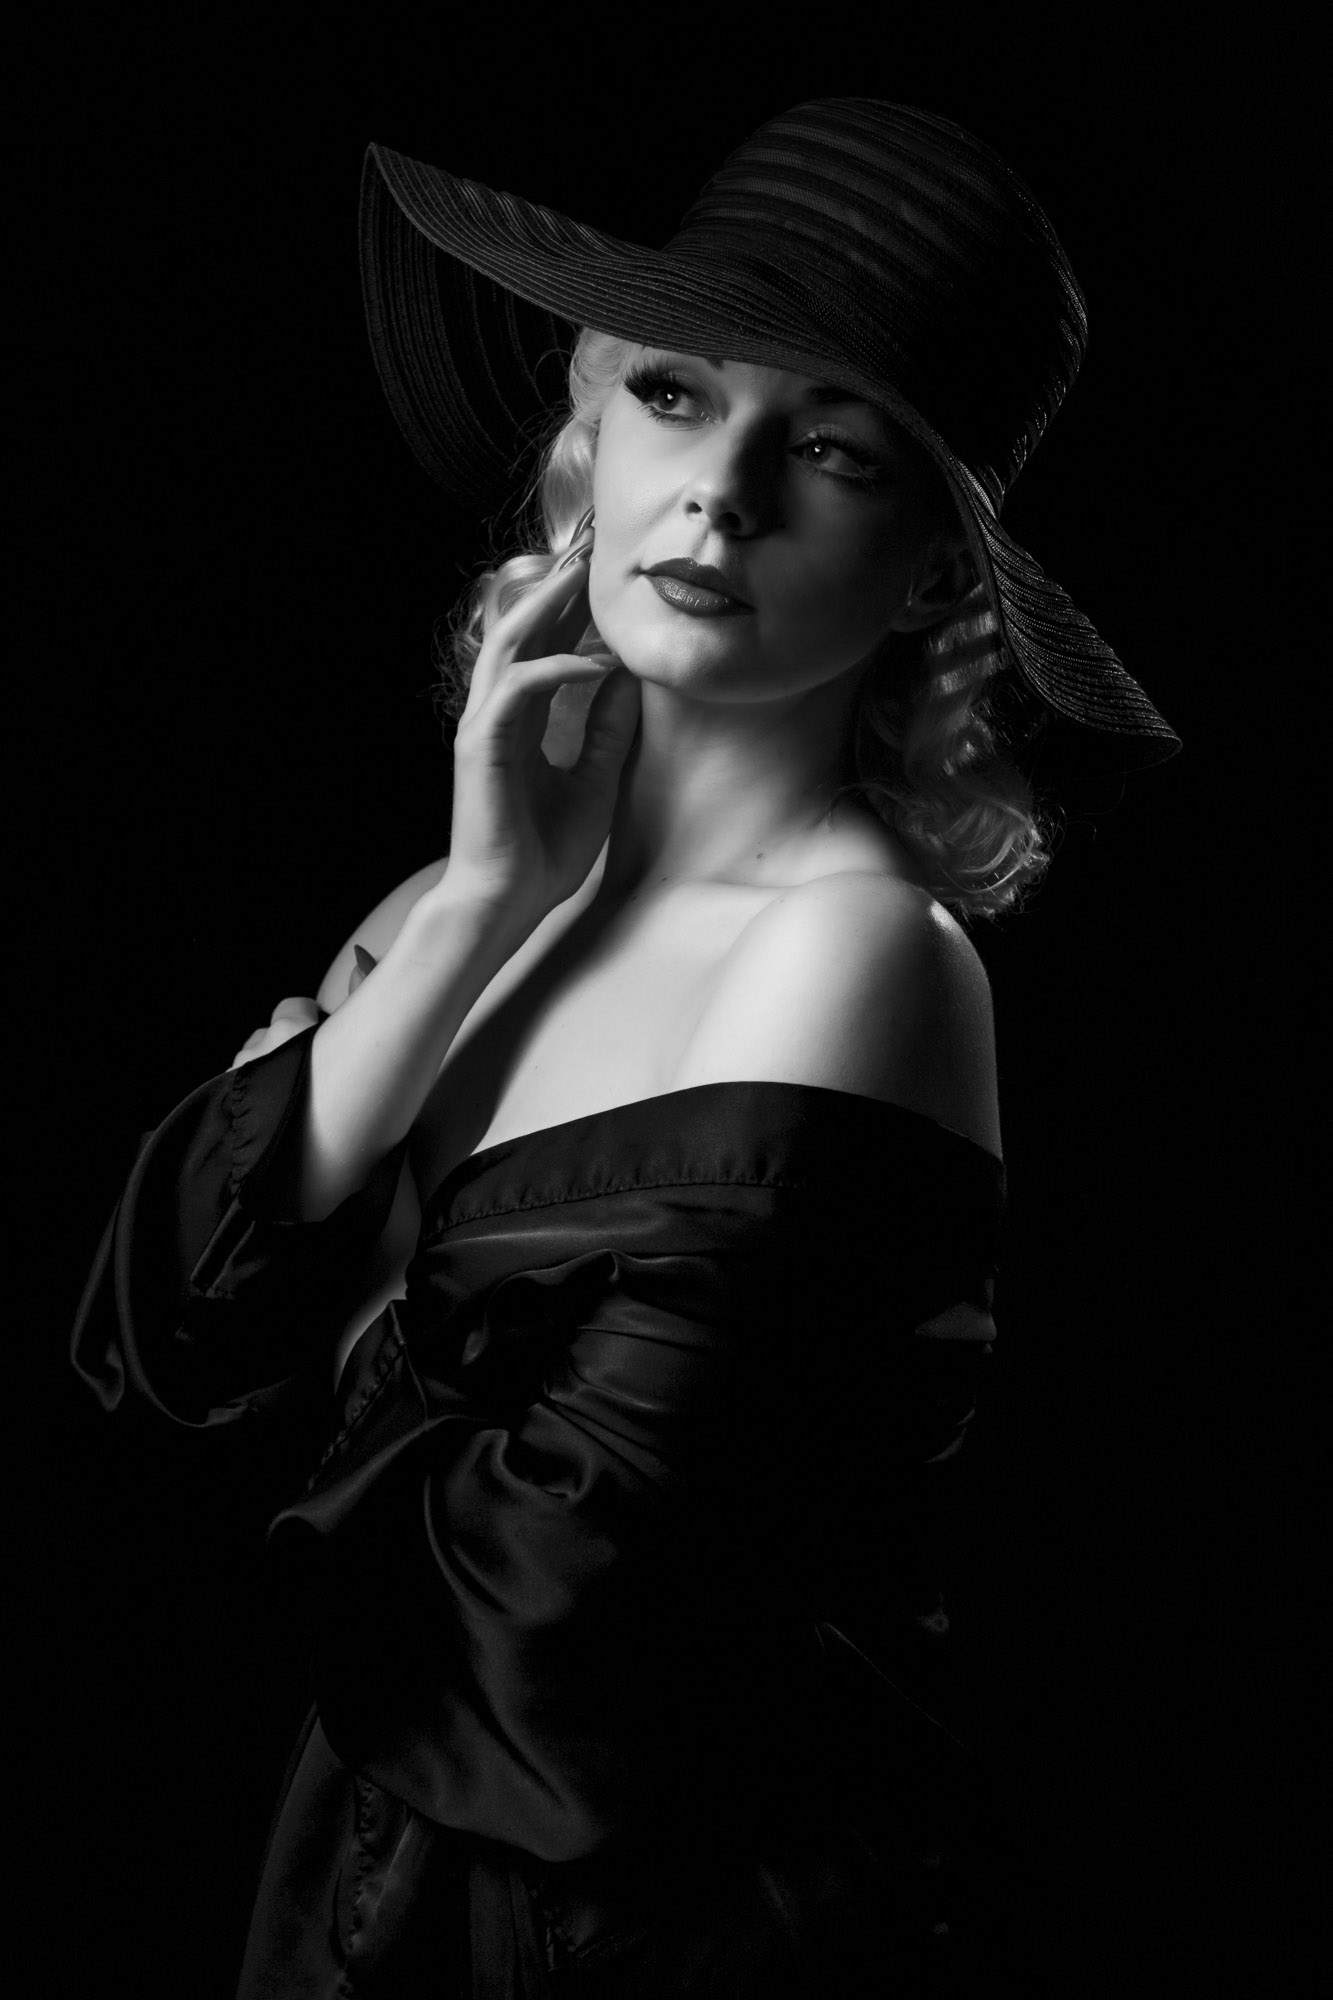
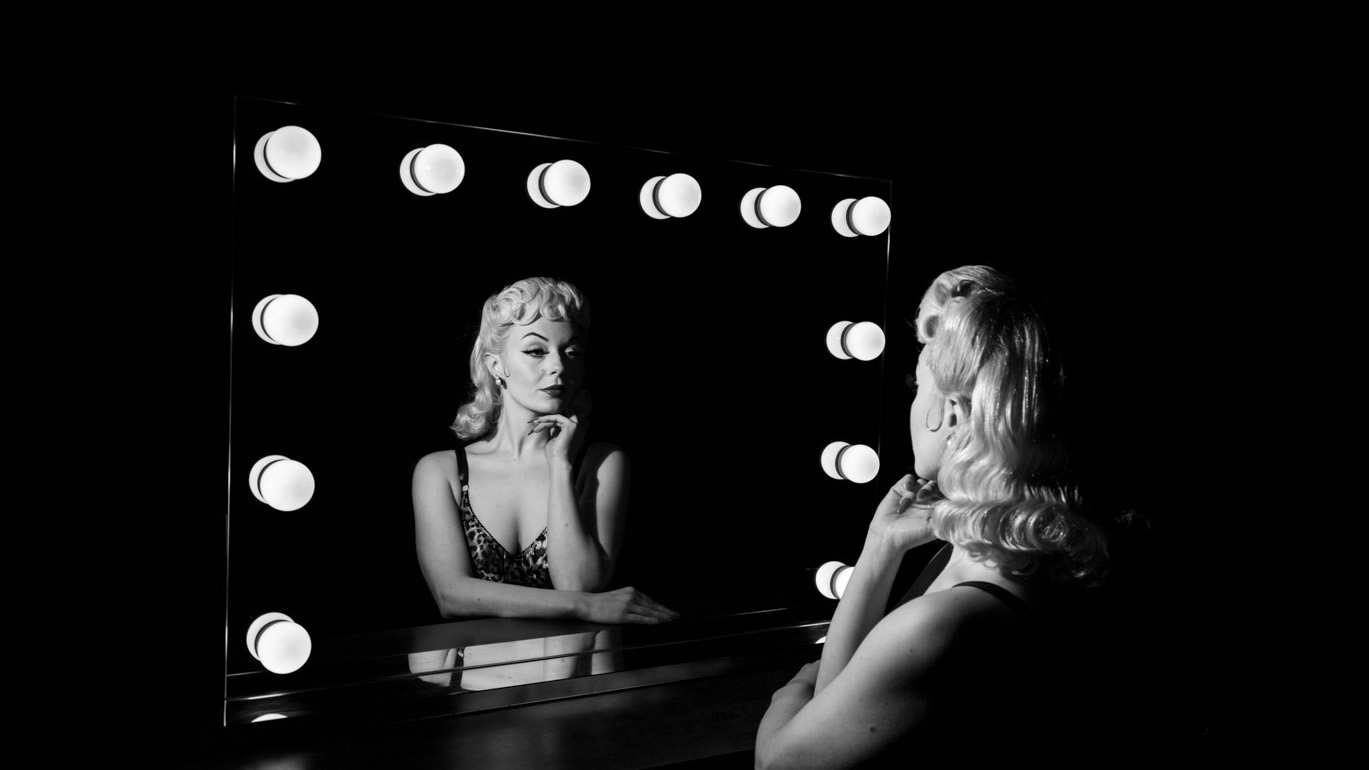
If you're really into portrait photography, you'll want to check out the best lenses for portraits. Emma uses a Canon EOS 5D Mark IV. To see his stunning portfolio or to book a workshop visit his website.
PhotoPlus: The Canon Magazine is the world's only monthly newsstand title that's 100% devoted to Canon, so you can be sure the magazine is completely relevant to your system. Every issue comes with downloadable video tutorials too.

In addition to being a freelance photographer and filmmaker, Dan is a bona fide expert on all things Canon and Adobe. Not only is he an Adobe-certified Photoshop guru, he's spent over 10 years writing for specialist magazines including stints as the Deputy Editor for PhotoPlus: The Canon Magazine, Technical Editor for Practical Photography and Photoshop Editor on Digital Photo.
