The best camera deals, reviews, product advice, and unmissable photography news, direct to your inbox!
You are now subscribed
Your newsletter sign-up was successful
Architectural and street is a fantastic genre of photography where you can create some brilliant compositions using the lines and shapes of buildings in your cityscape.
Jeremy Flint is a pro photographer that specializes in travel, landscape and location photography. Jeremy won the National Geographic Traveller Grand Prize in 2016 and the Association of Photographers Discovery Award in 2017.
• Read more: Best lenses for street photography
We met up with him in the beautifully architecture rich city of Oxford, England, and paired him with reader of PhotoPlus: The Canon Magazine, Hari Mangat, for a masterclass in taking some incredible shots of buildings as day turned to night.
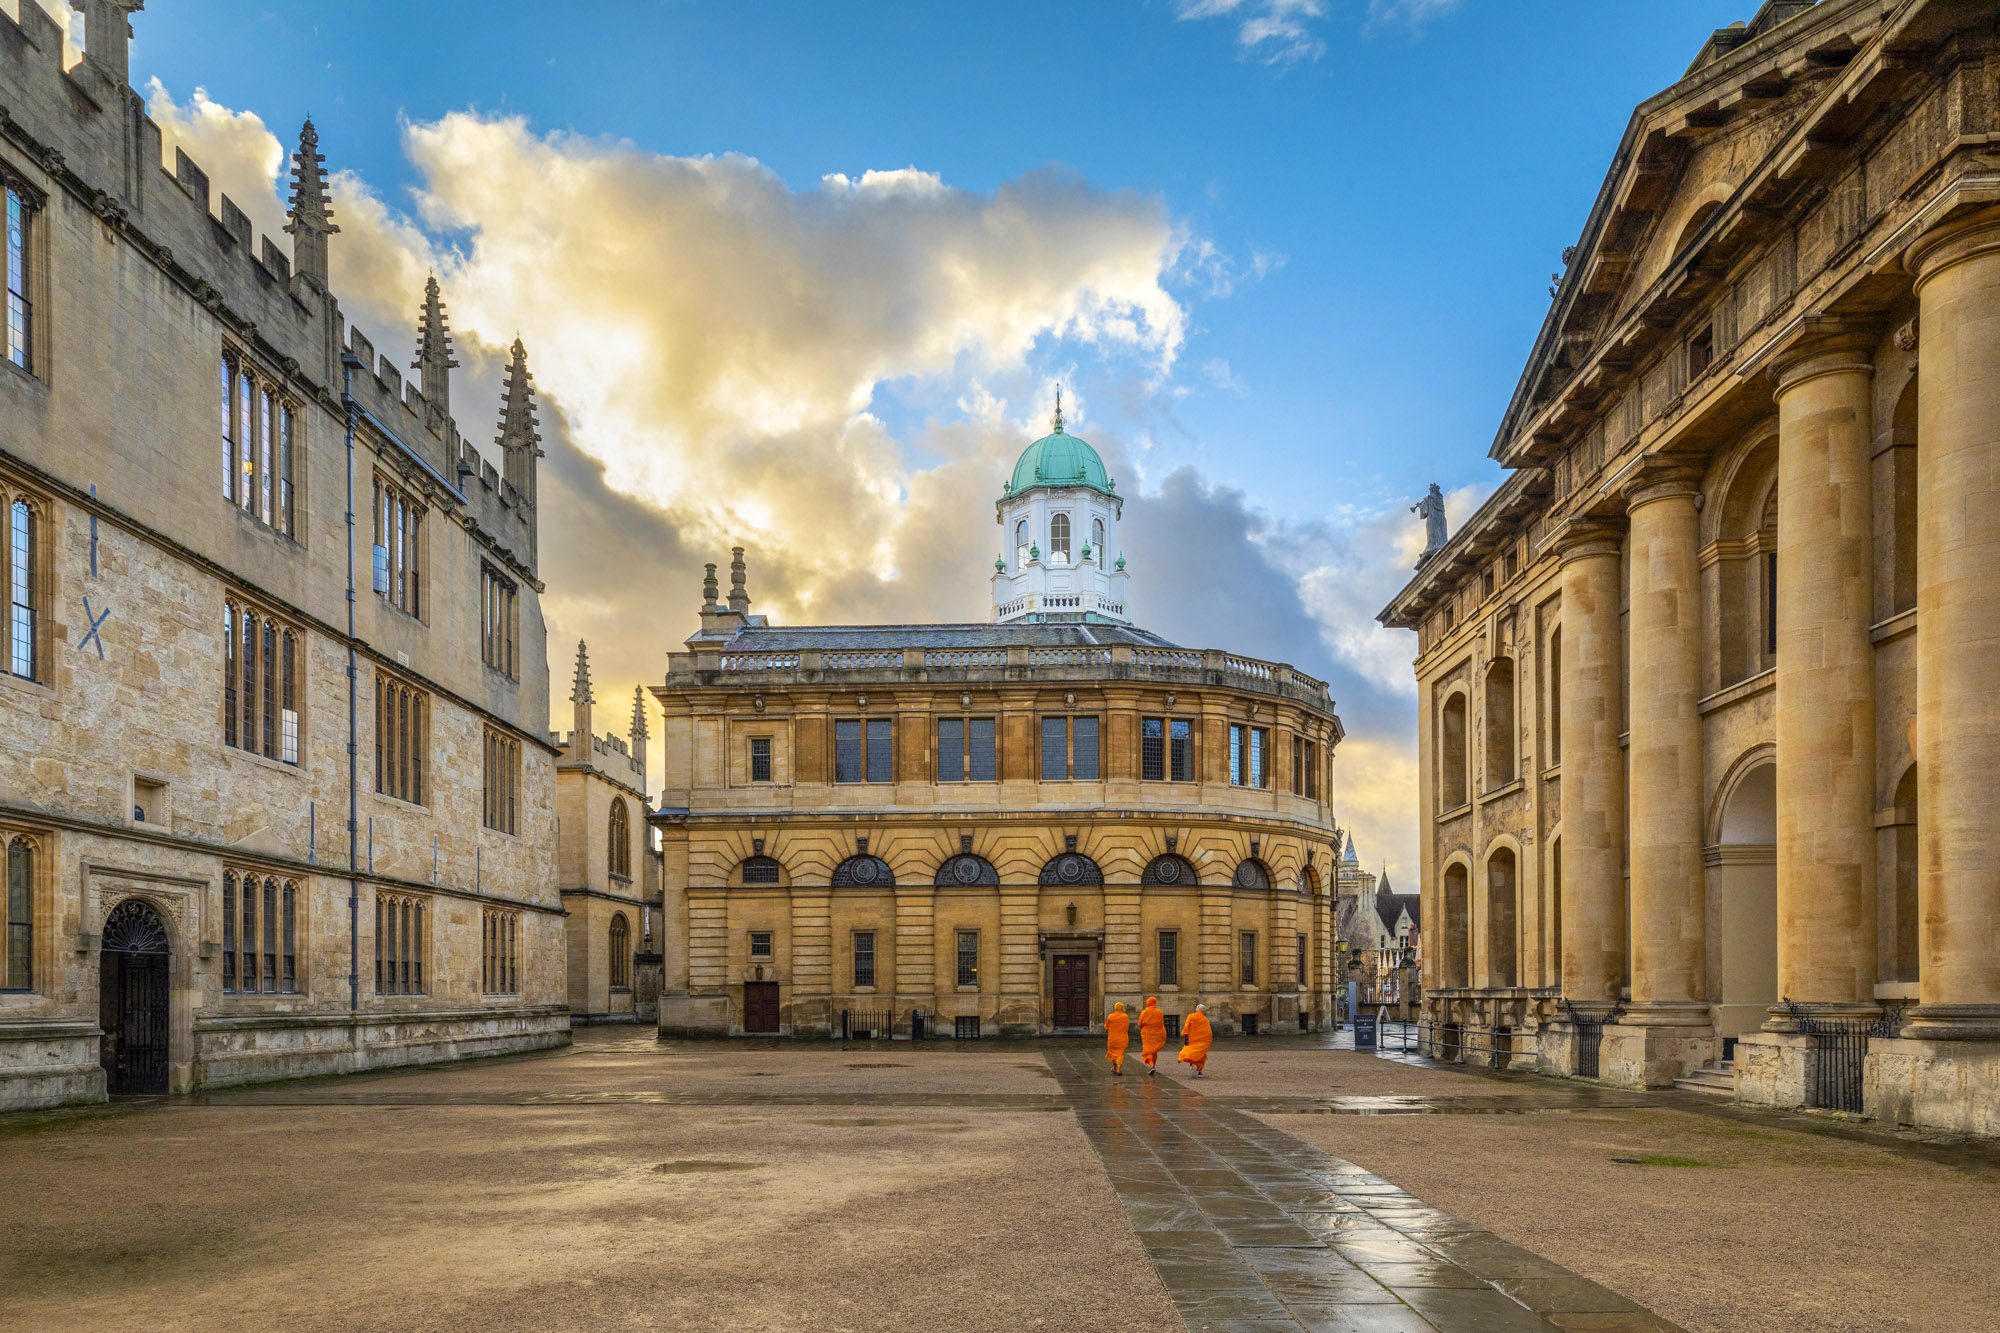
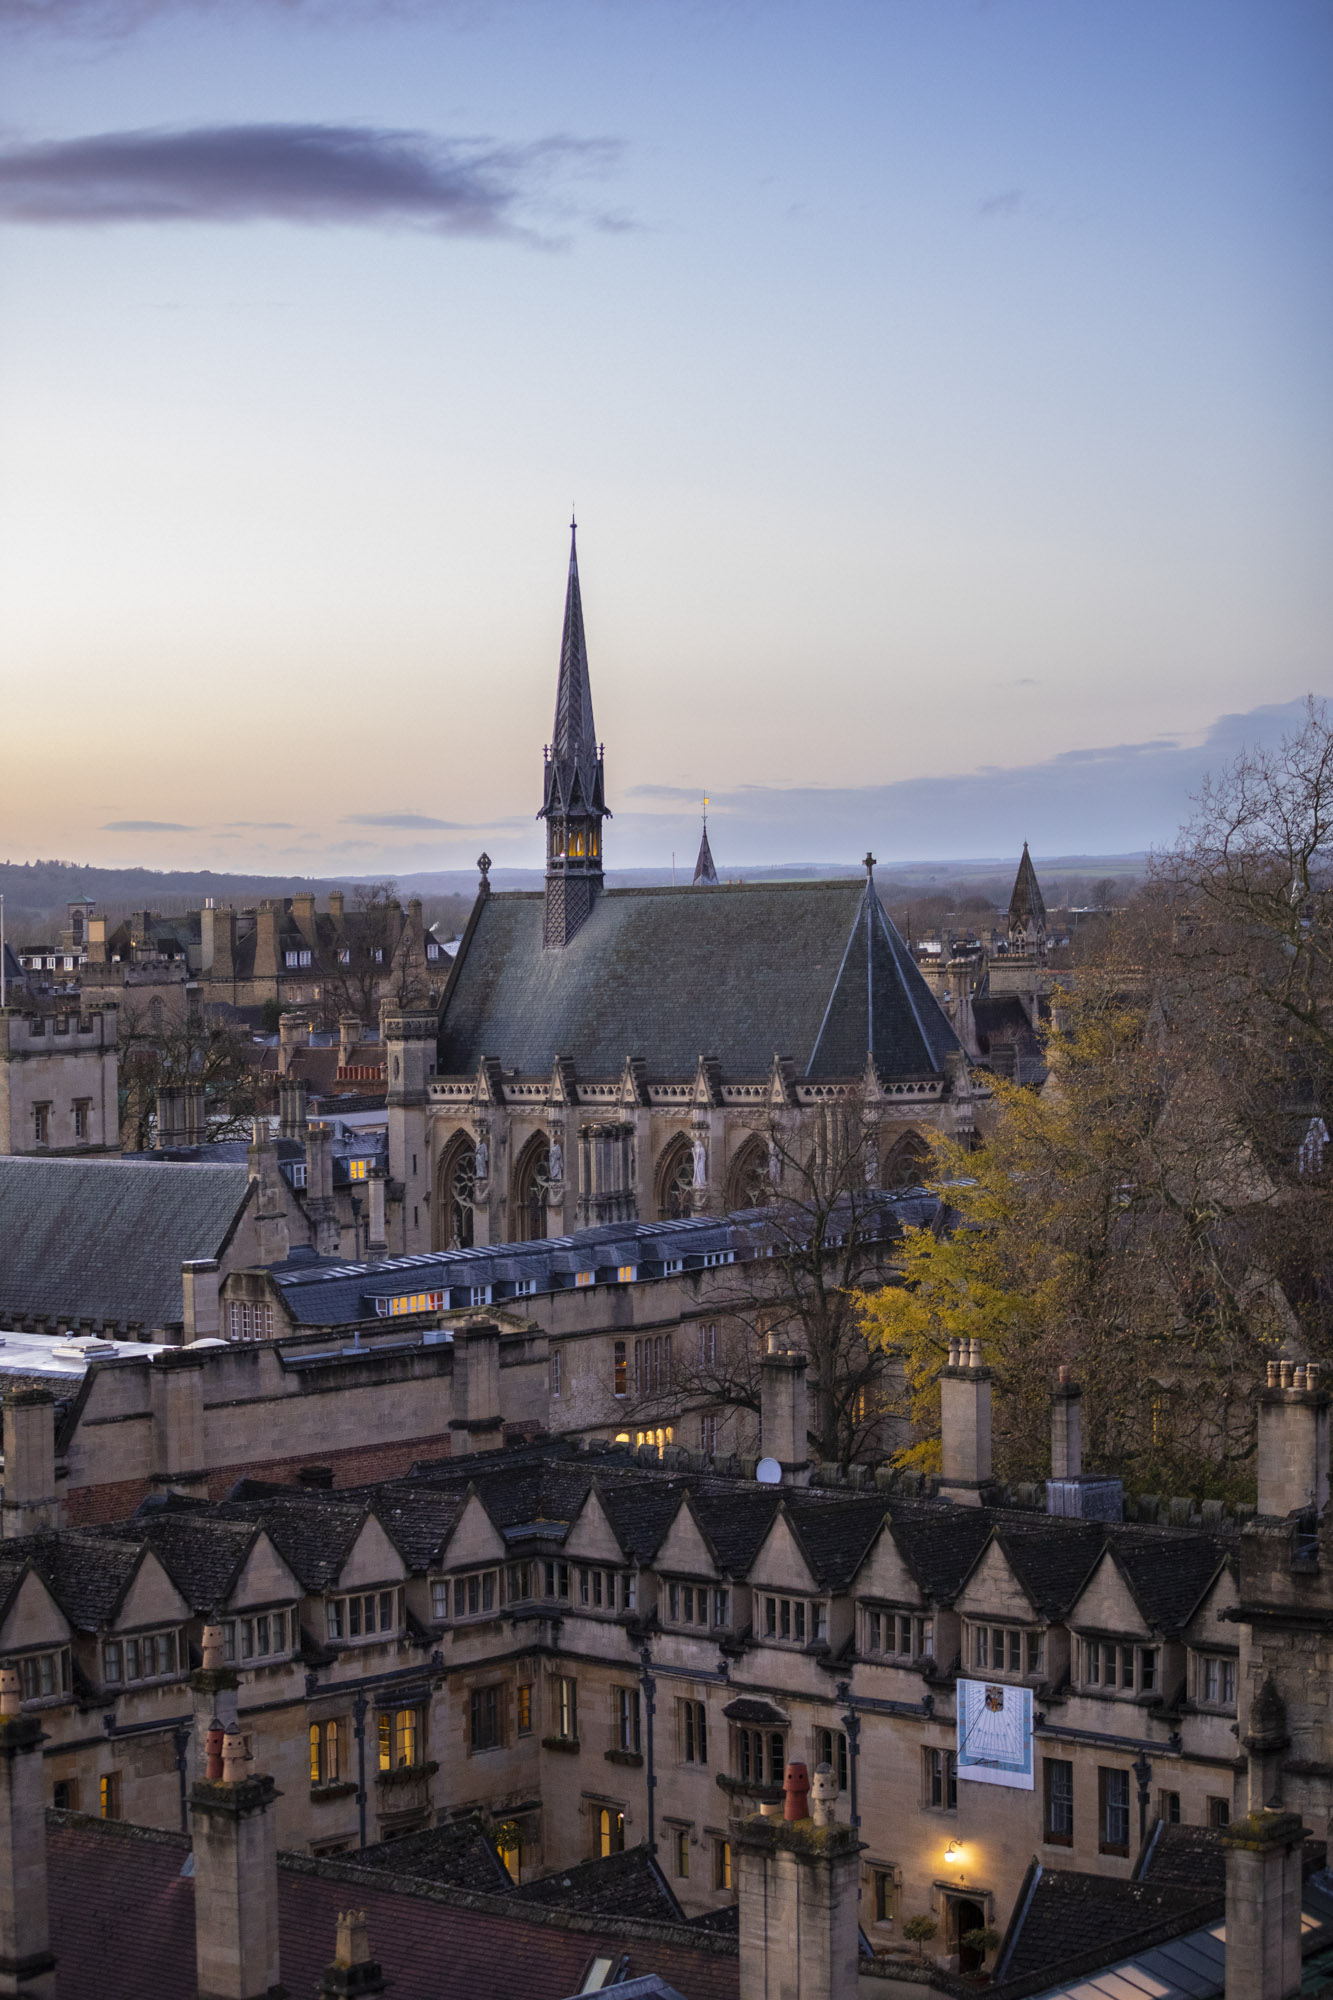
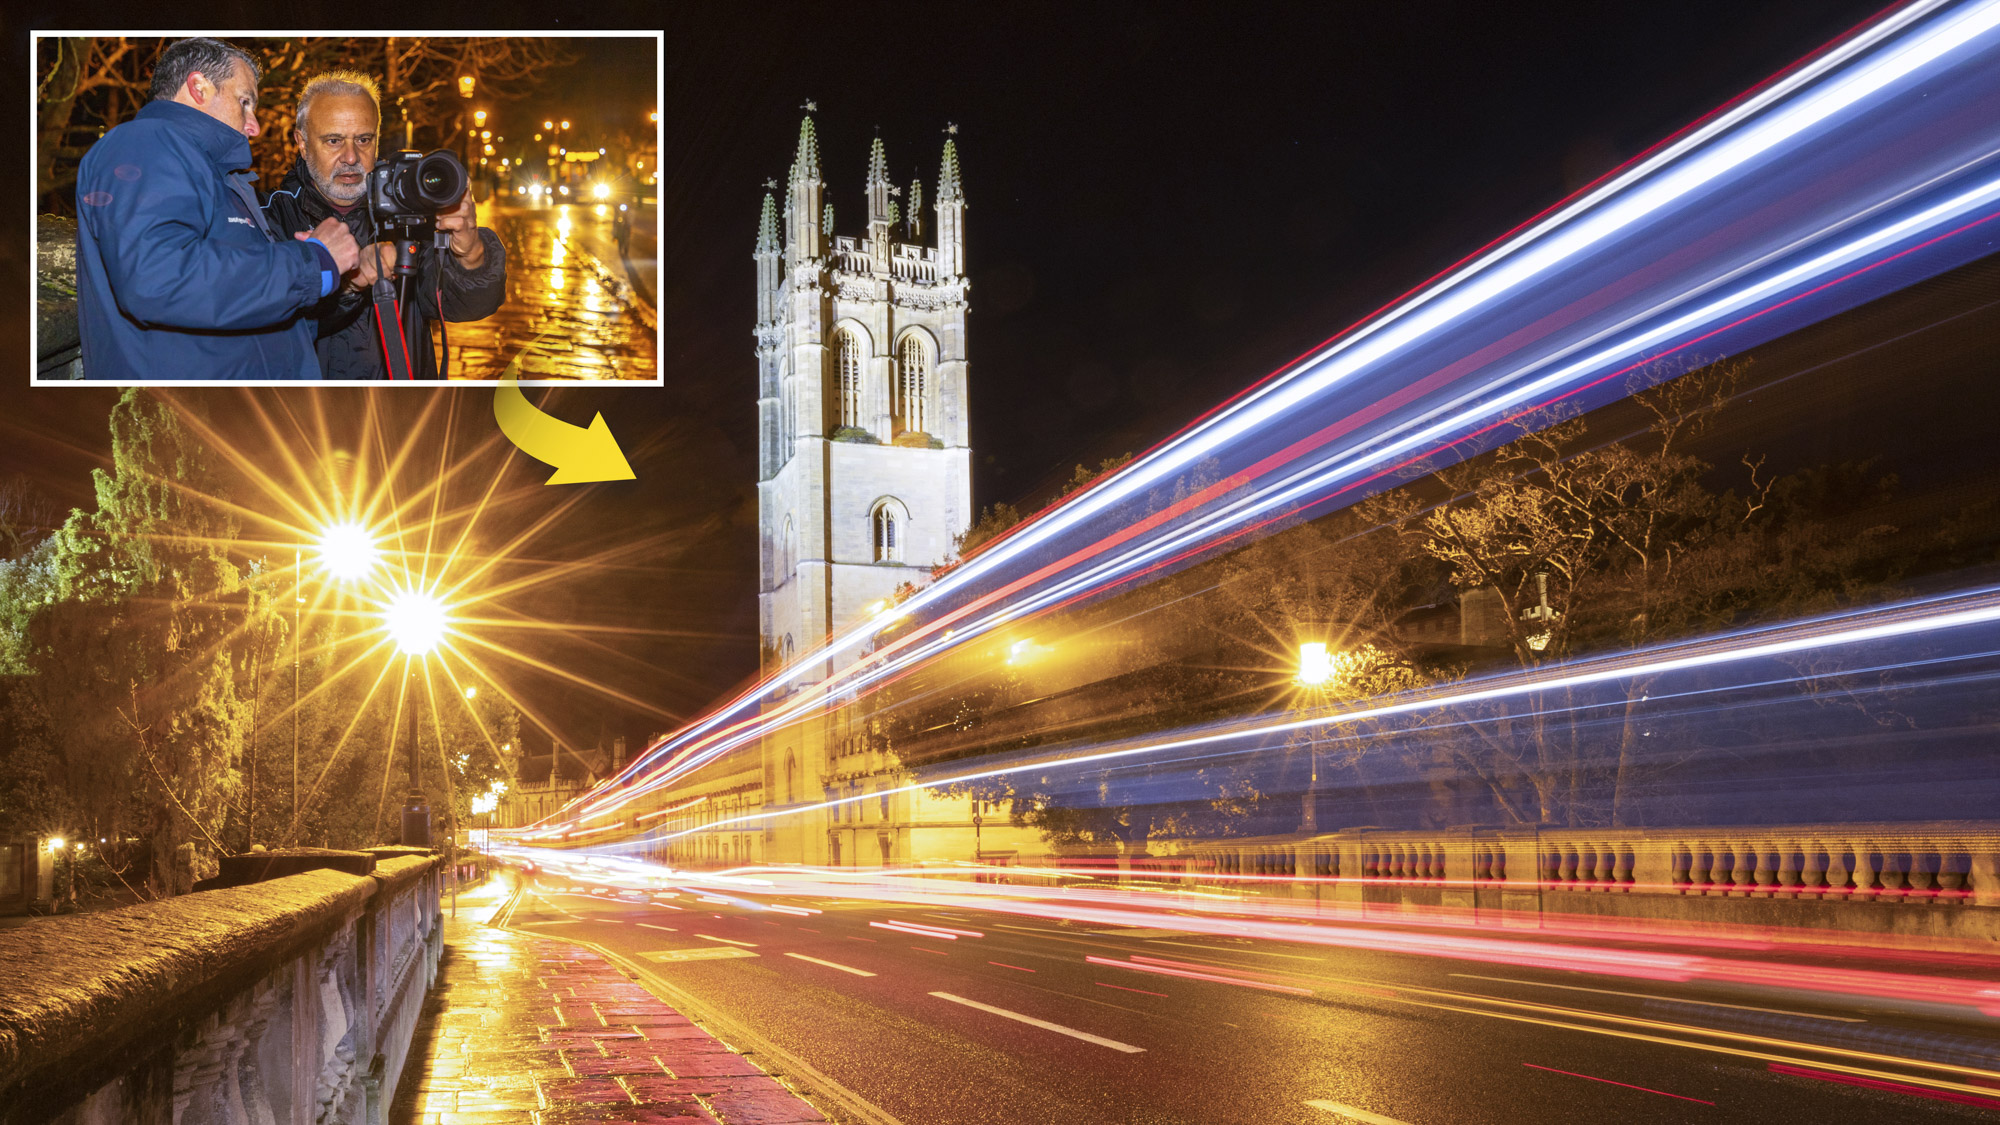
Here, you'll find Jeremy's top 10 tips for cityscape shots, along with some of the images that Hari was able to take by applying them to his own photography.
You can find out more about Jeremy's work on his website.
01 Manual mode
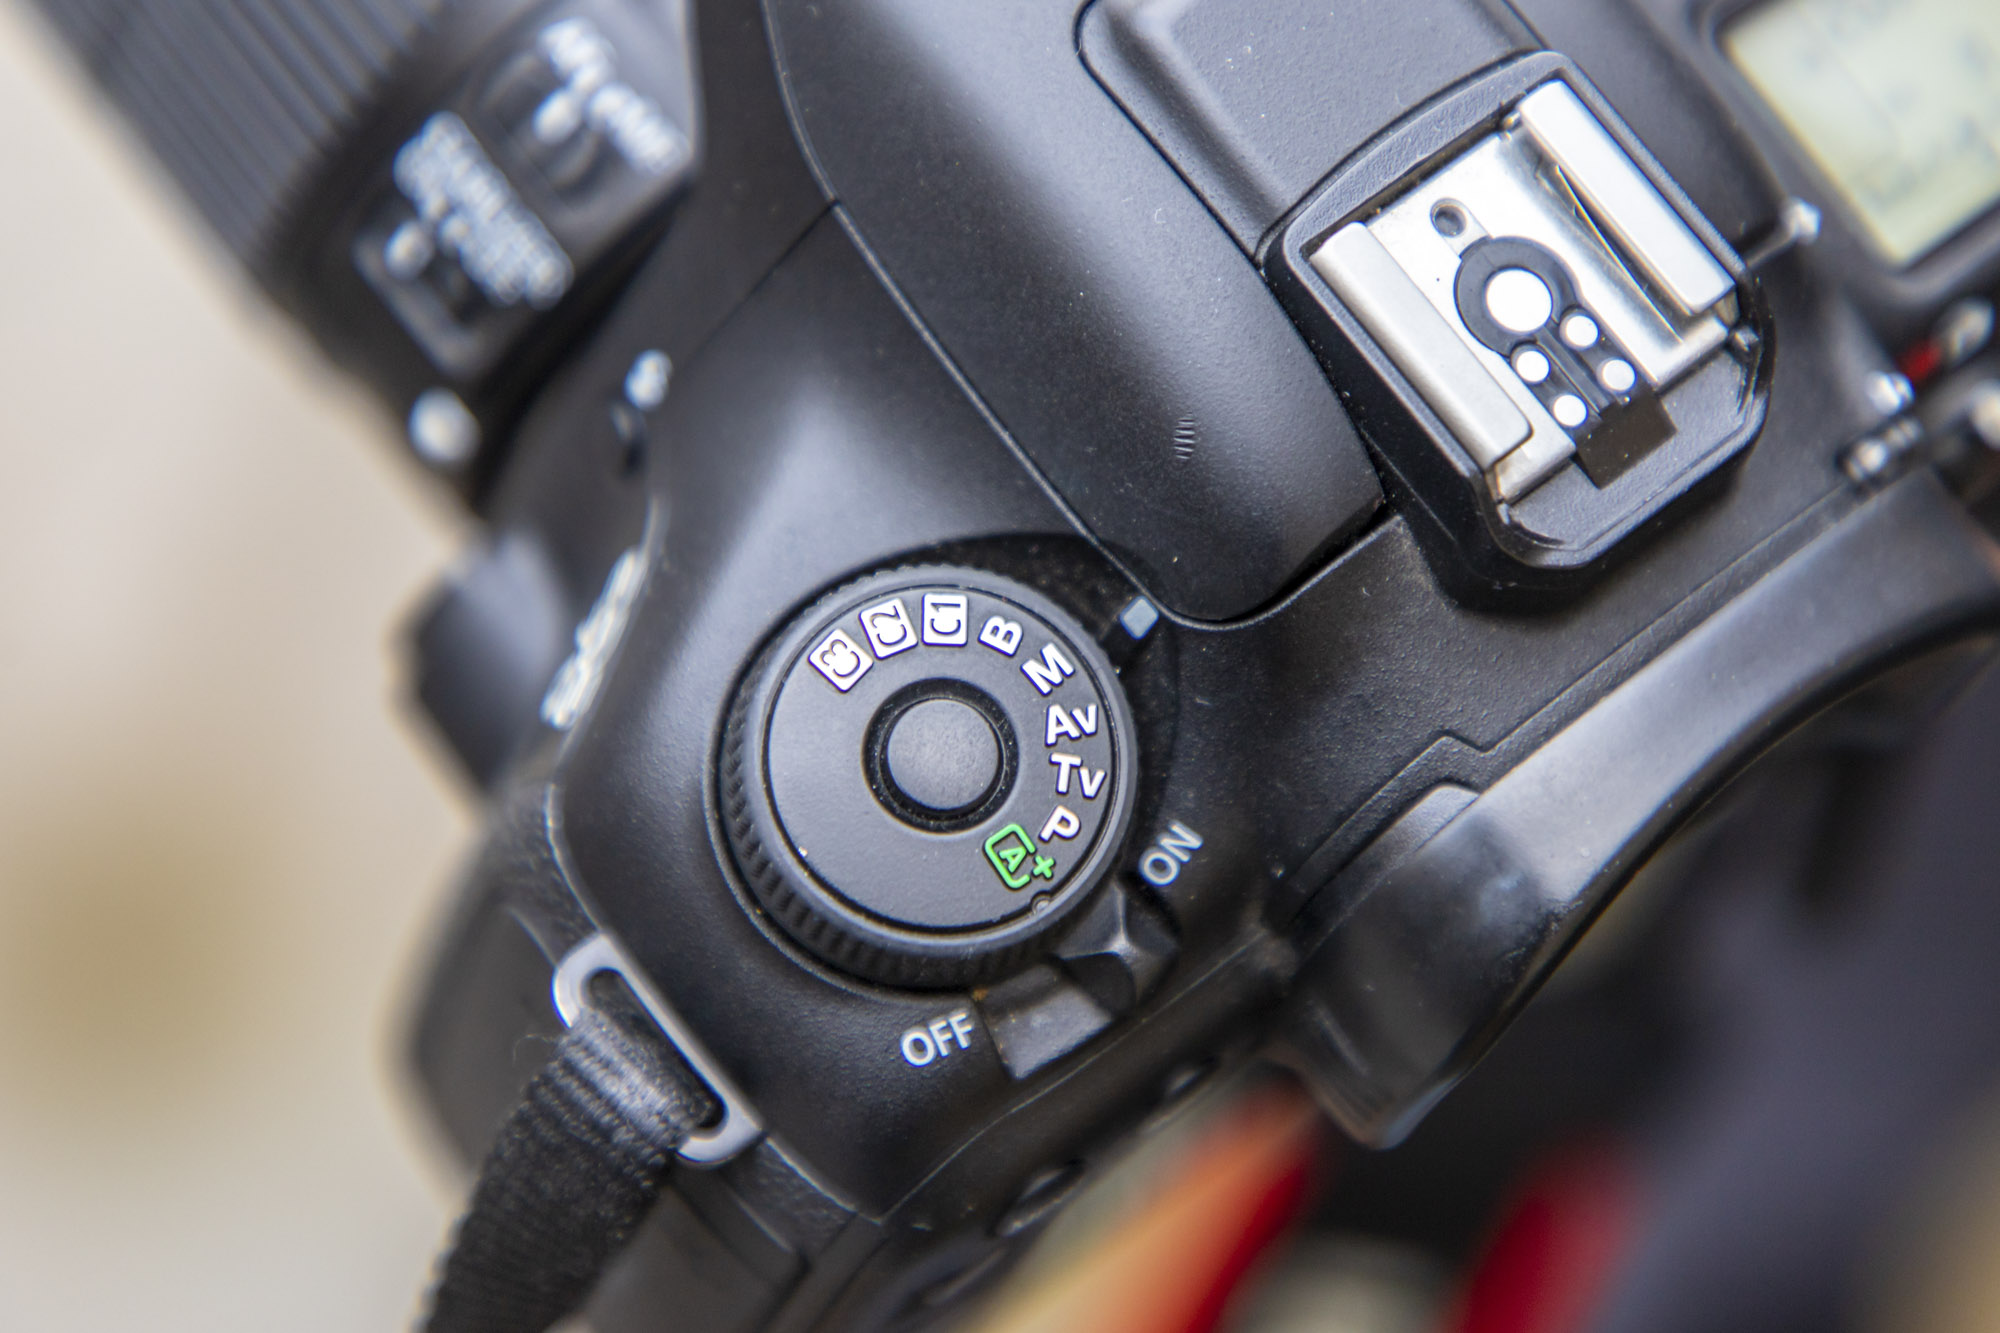
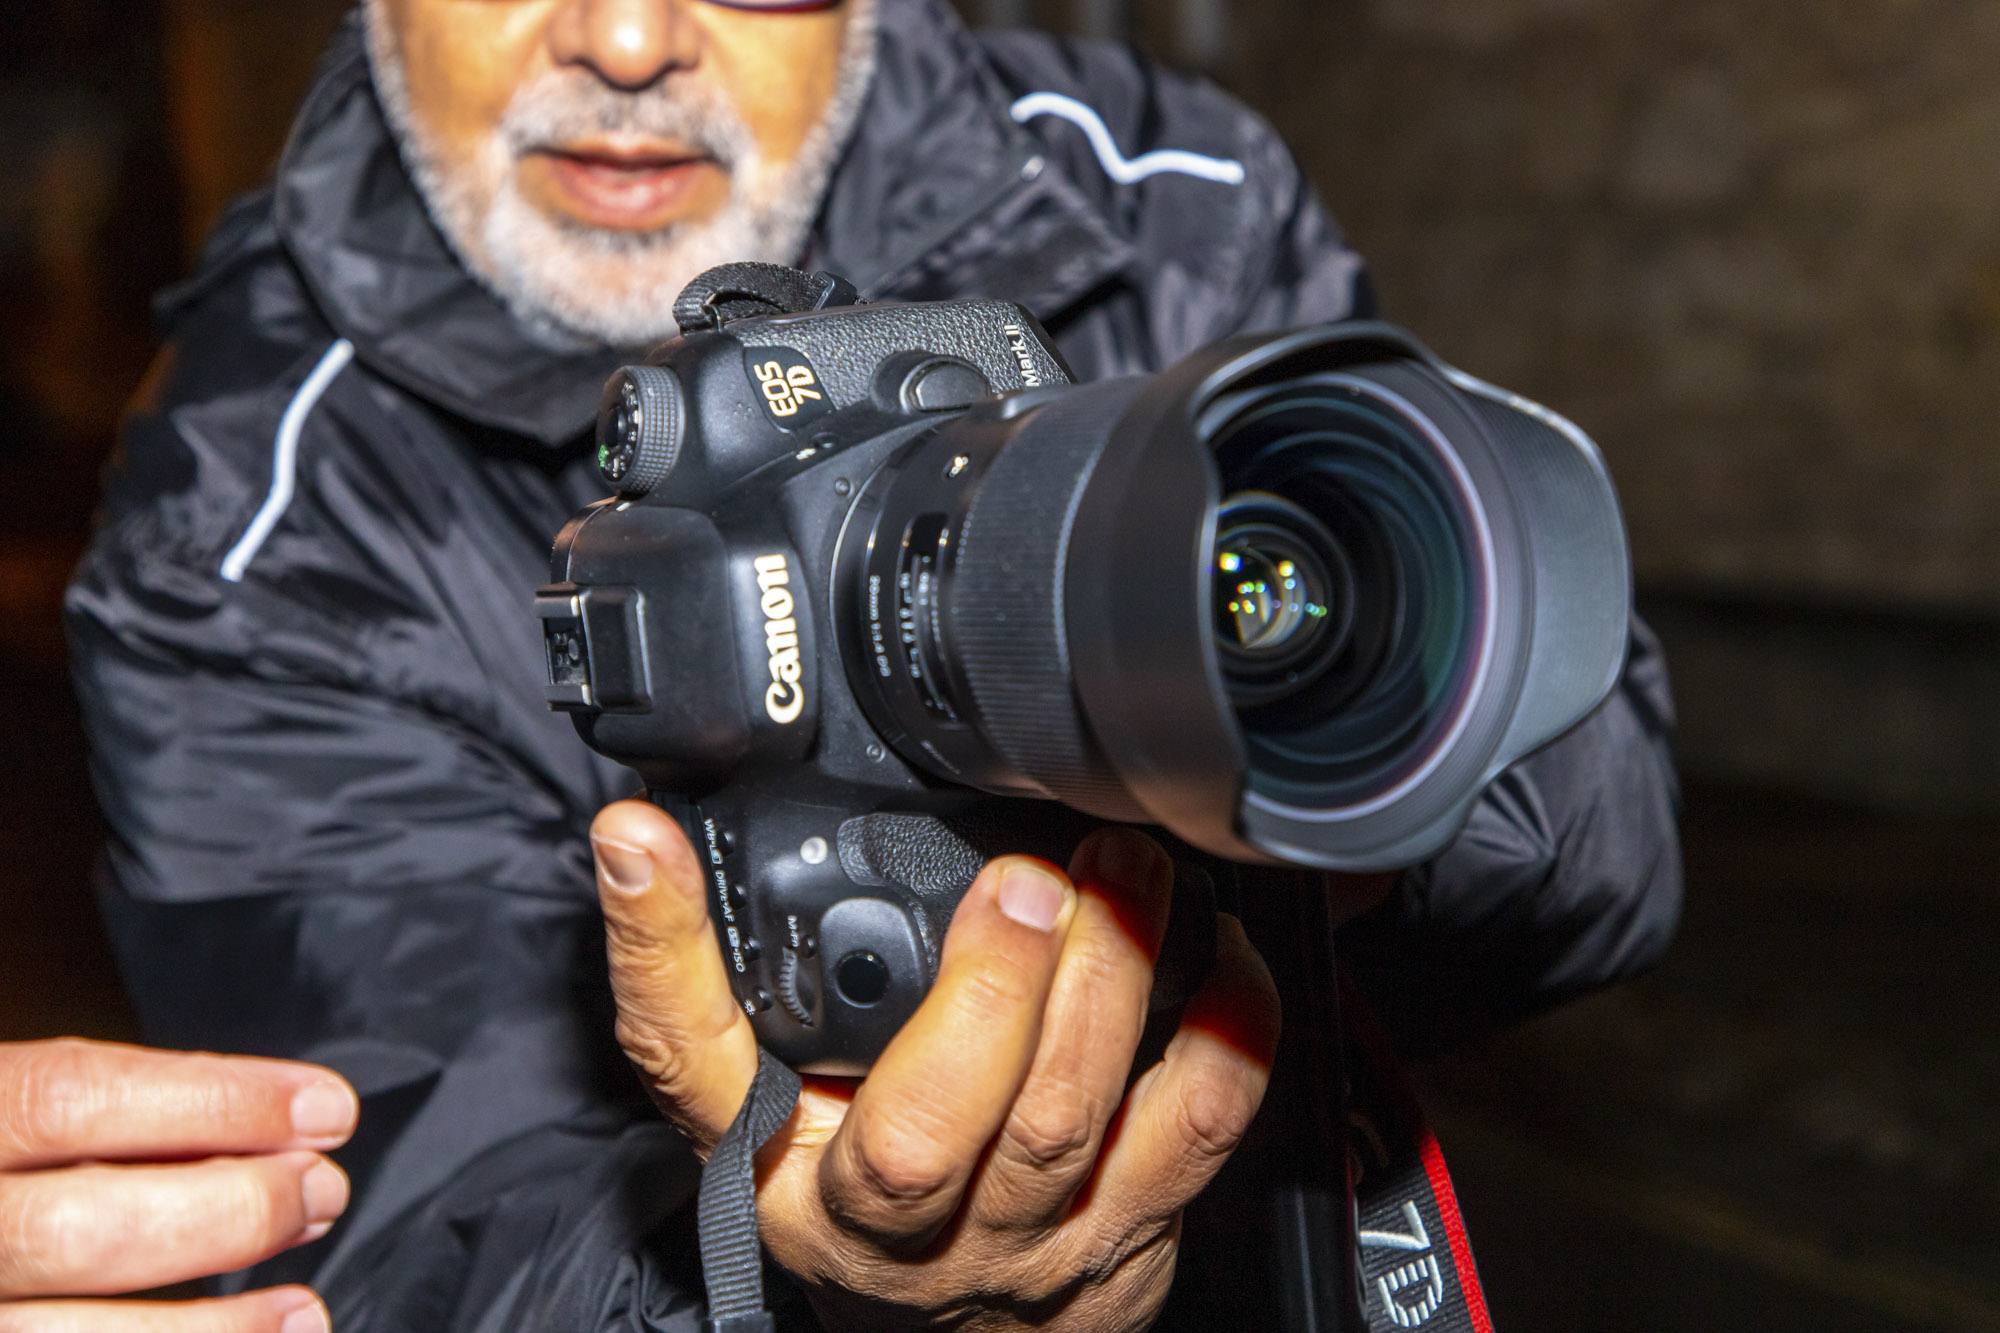
To begin Jeremy suggested that Hari set his Canon EOS 7D Mark II to its Manual mode, this would let him take full control of his exposure parameters: aperture, shutter speed and ISO. It also means his camera settings will be locked off and won’t change even if the lighting does. Jeremy recommends regularly checking your shots on the back of the camera screen to make sure the exposures look good, and to reshoot if you’re not totally happy with them.
The best camera deals, reviews, product advice, and unmissable photography news, direct to your inbox!
Using Manual mode, Jeremy suggested Hari start with a middle aperture of around f/8, which is usually the ‘sweet spot’ on most kit lenses and wide-angles, so that he could get fantastic sharpness throughout his city scenes. He also set the shutter speed to 1/200 sec, which would be fast enough to eliminate camera shake caused by the vibrations when hand-holding the camera.
02 Professional tripod
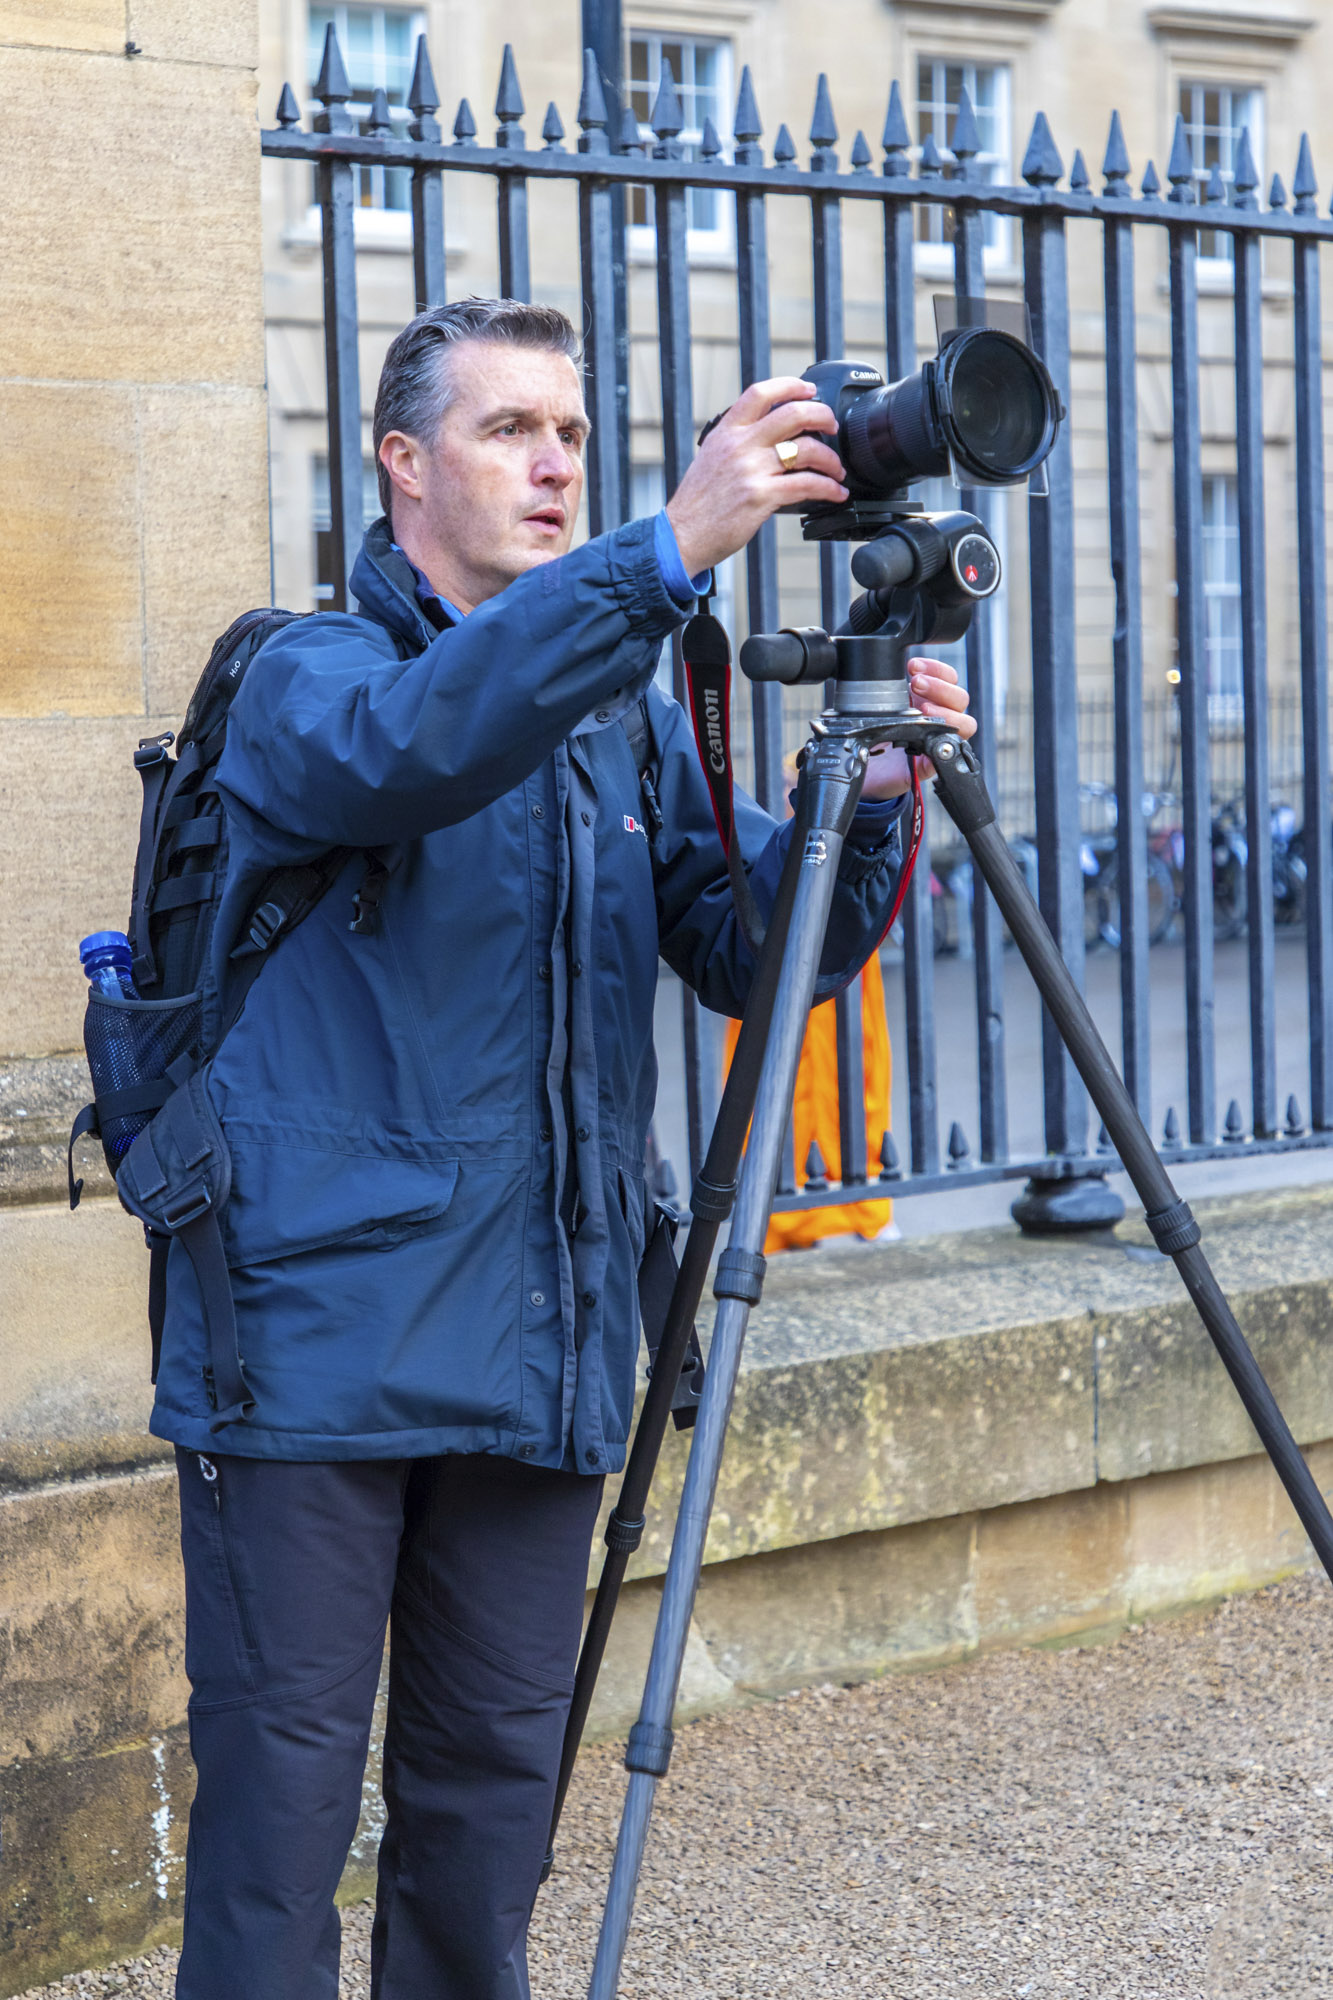
For landscapes and architecture shots you usually have the luxury of time to frame up on a tripod to get the composition exactly how you want it. This also has the benefit of helping remove camera shake and allows for longer exposures to blur moving elements, such as clouds or people. Jeremy’s tripod of choice is a Gitzo GT2542LS with a Manfrotto 405 head.
• Best tripods for photographers
03 Brace yourself against a wall to steady yourself
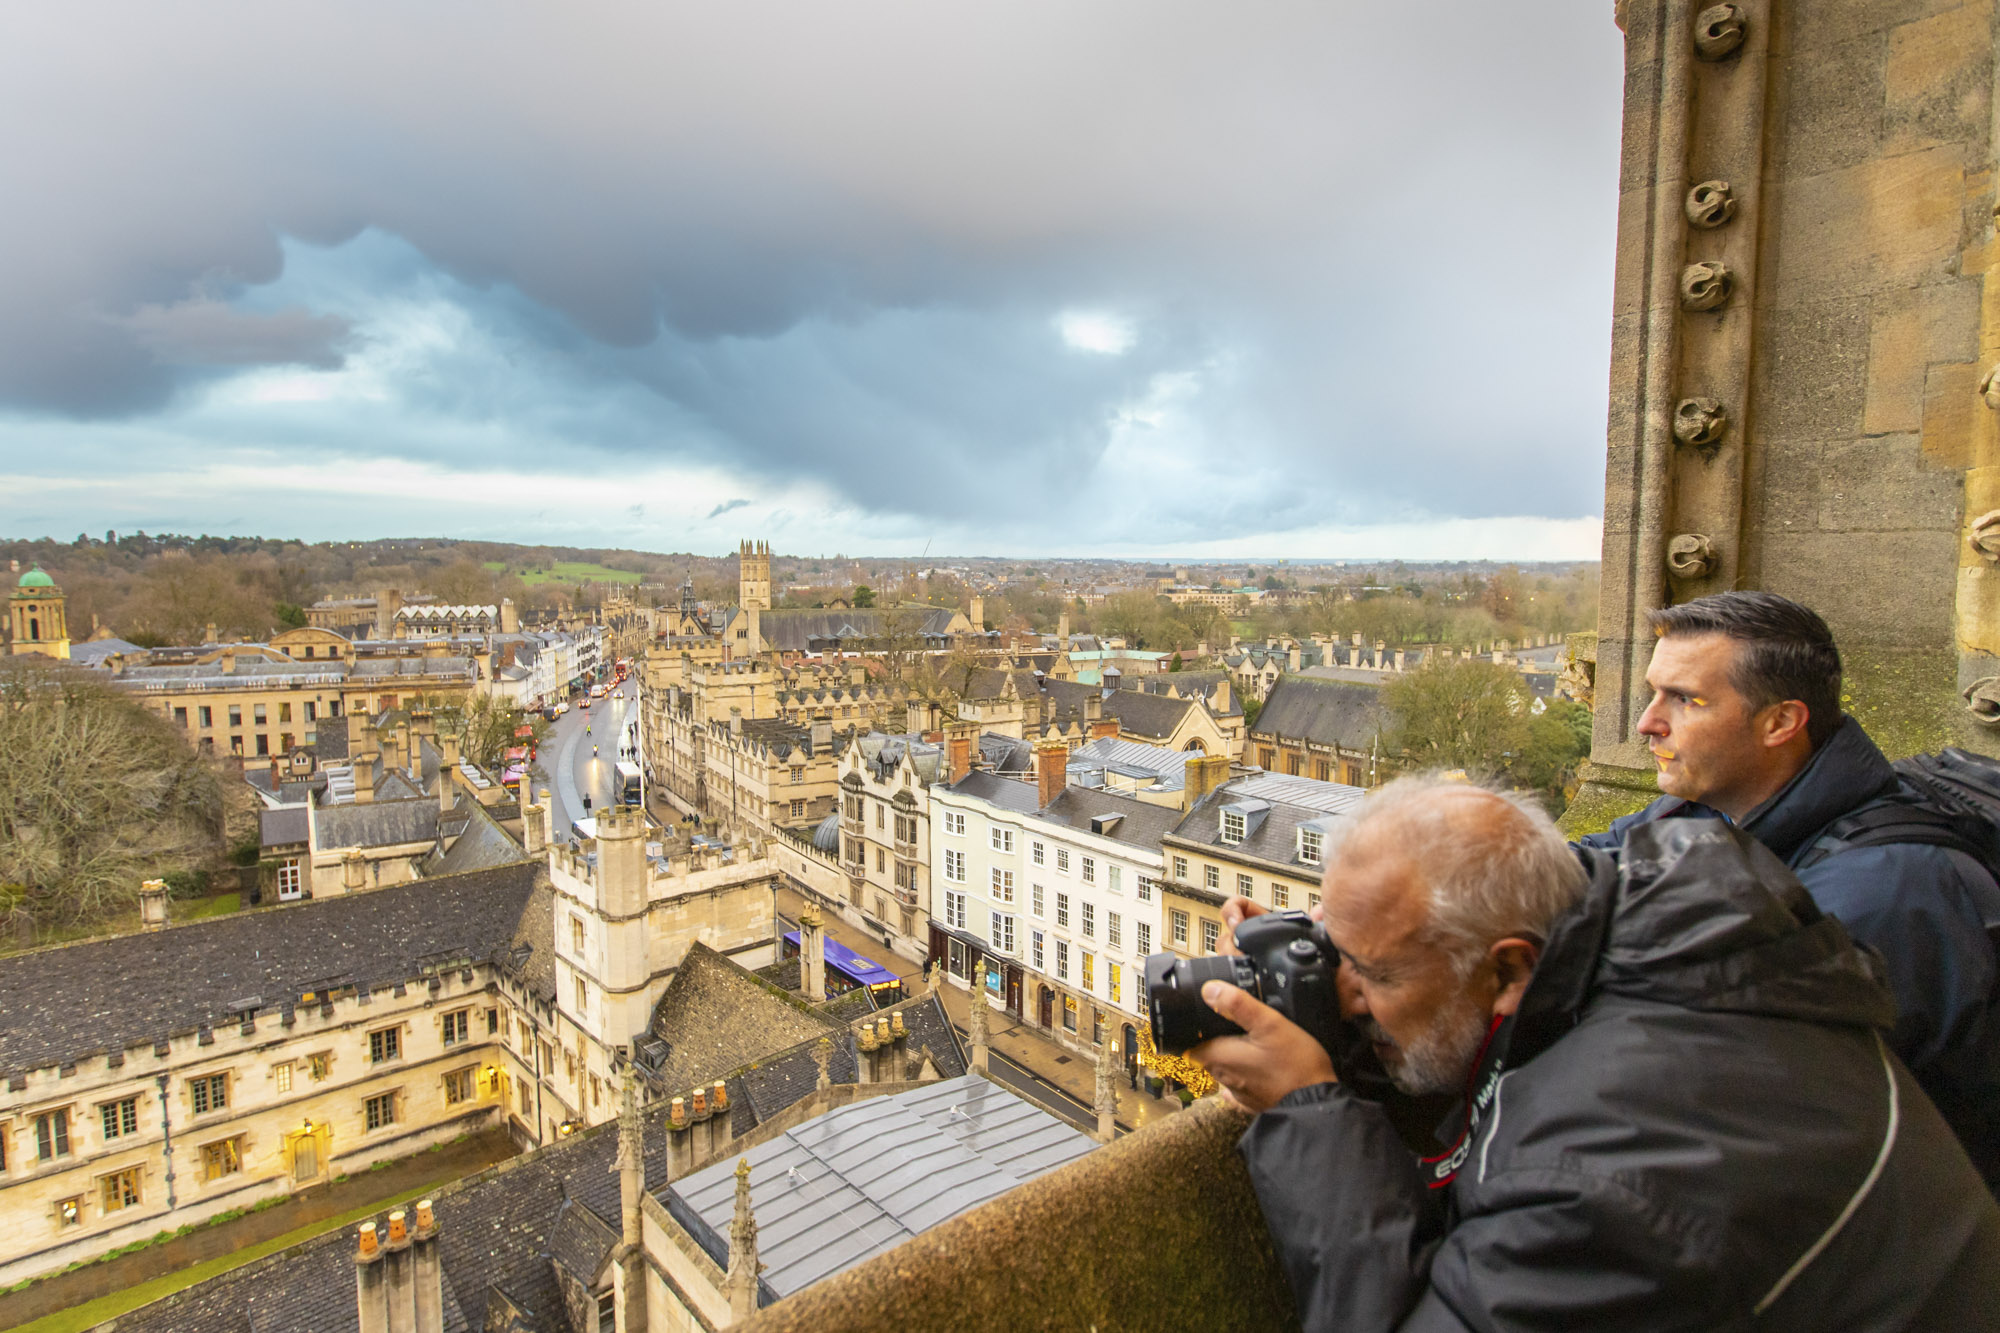
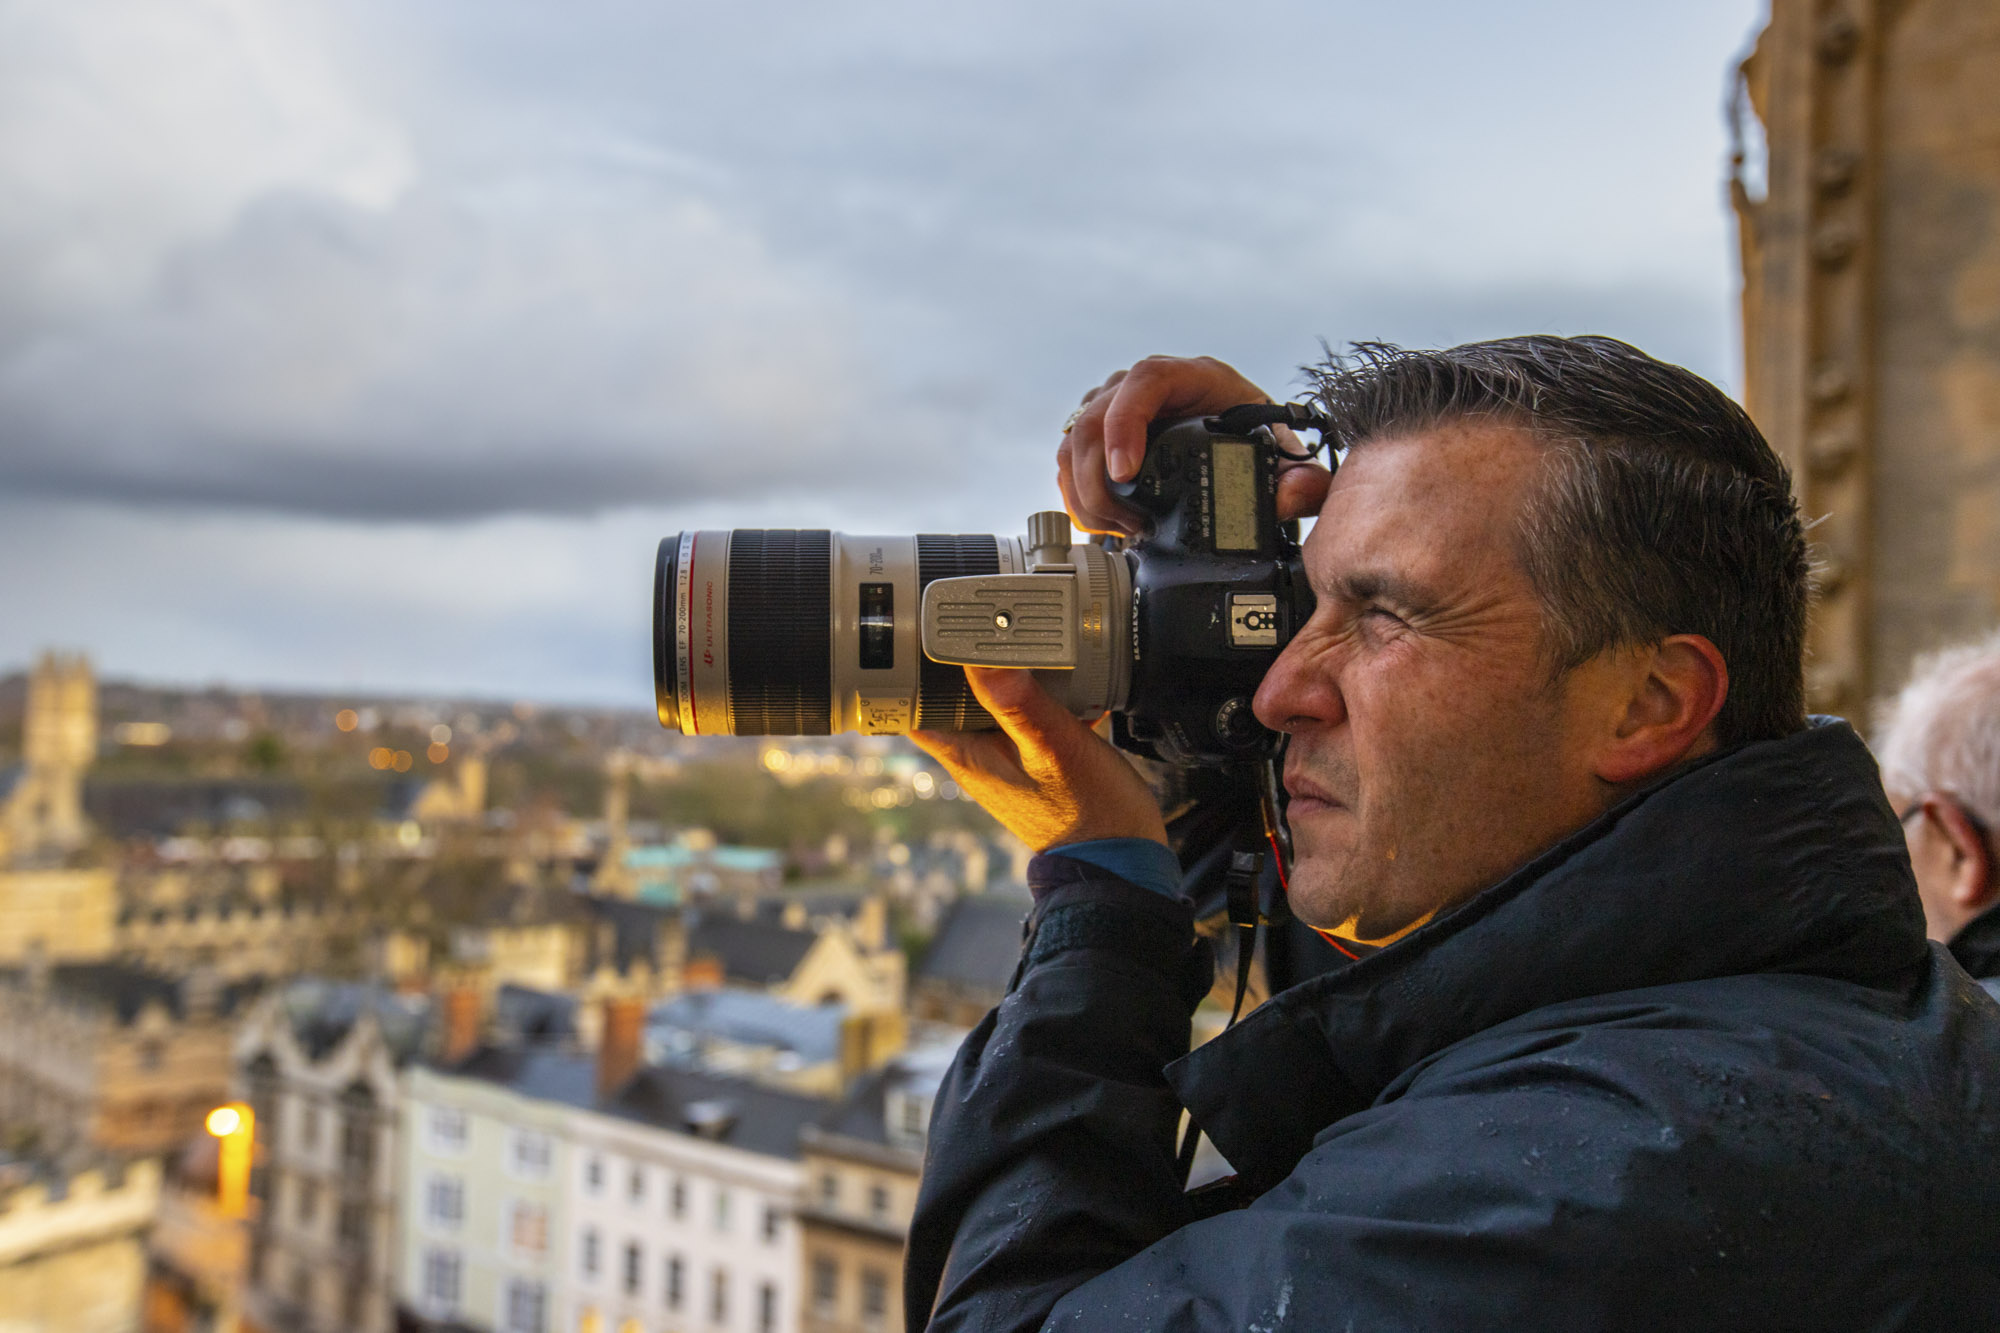
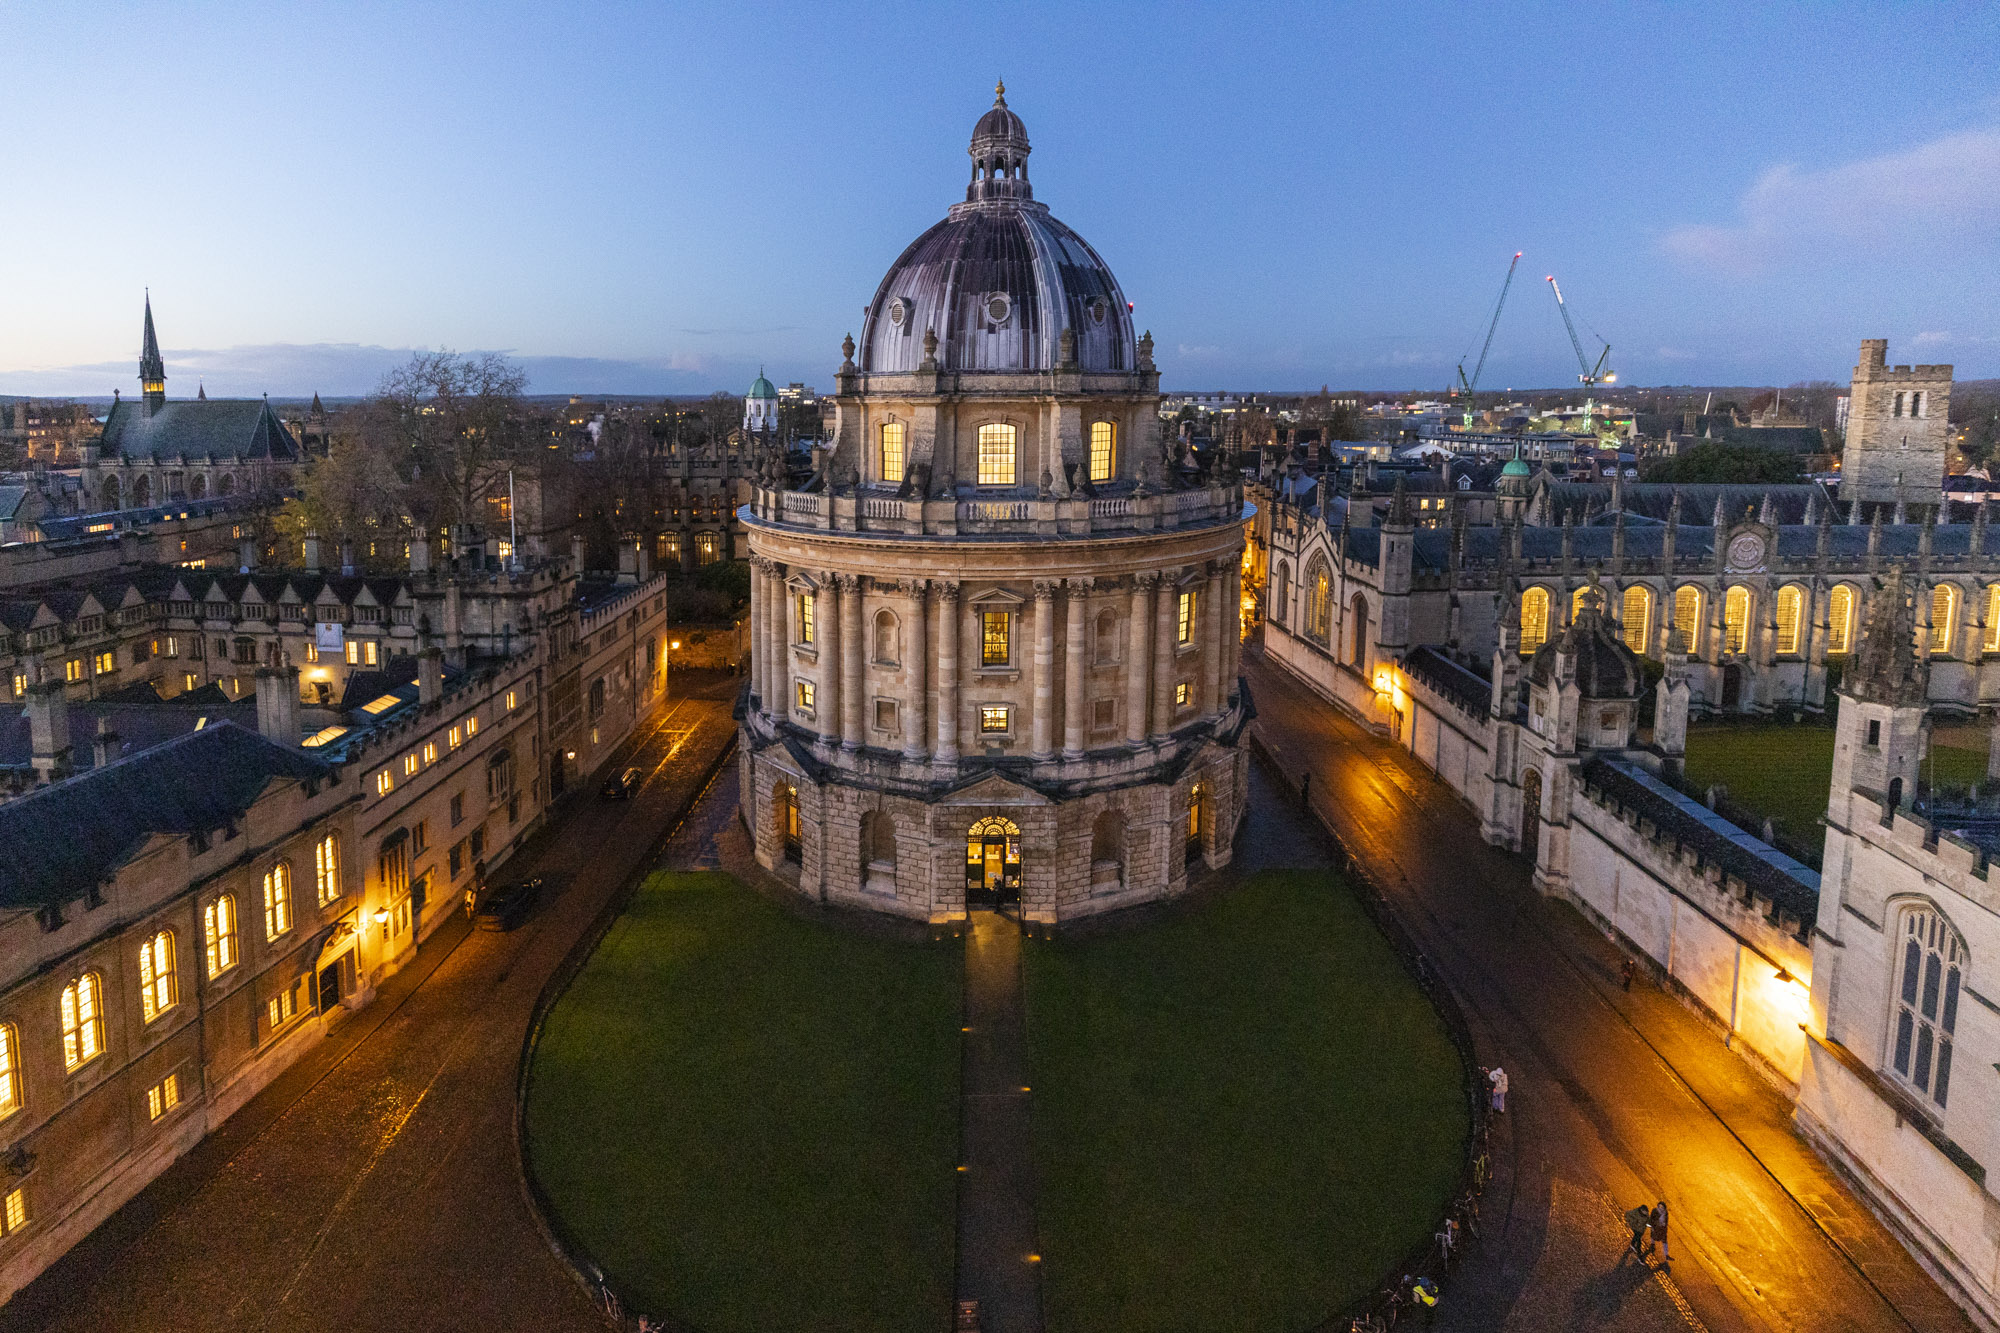
Space was very limited on the viewing platform at the top of the church tower and as such tripods were not permitted. If you want to get sharp photos hand-held with the light levels fading it can be tricky, but it is not impossible. We boosted the ISO value, switched on any image stabilization on the lens, or camera body, and braced ourselves tightly against the edge of the viewing platform to keep as steady as possible. Of course, you also always want to wear your camera strap firmly around your neck to avoid accidentally dropping your camera!
04 Telephoto lens
You may think a wide-angle lens might be the best choice for landscapes and cityscapes, but a long lens like the 70-200mm Jeremy uses can work too. They allow you to zoom in on details to get frame-filling shots and also help compress the perspective, so buildings appear closer together. Jeremy’s telephoto lens of choice is the Canon EF 70-200mm f/2.8L IS III USM.
05 Correct the White Balance
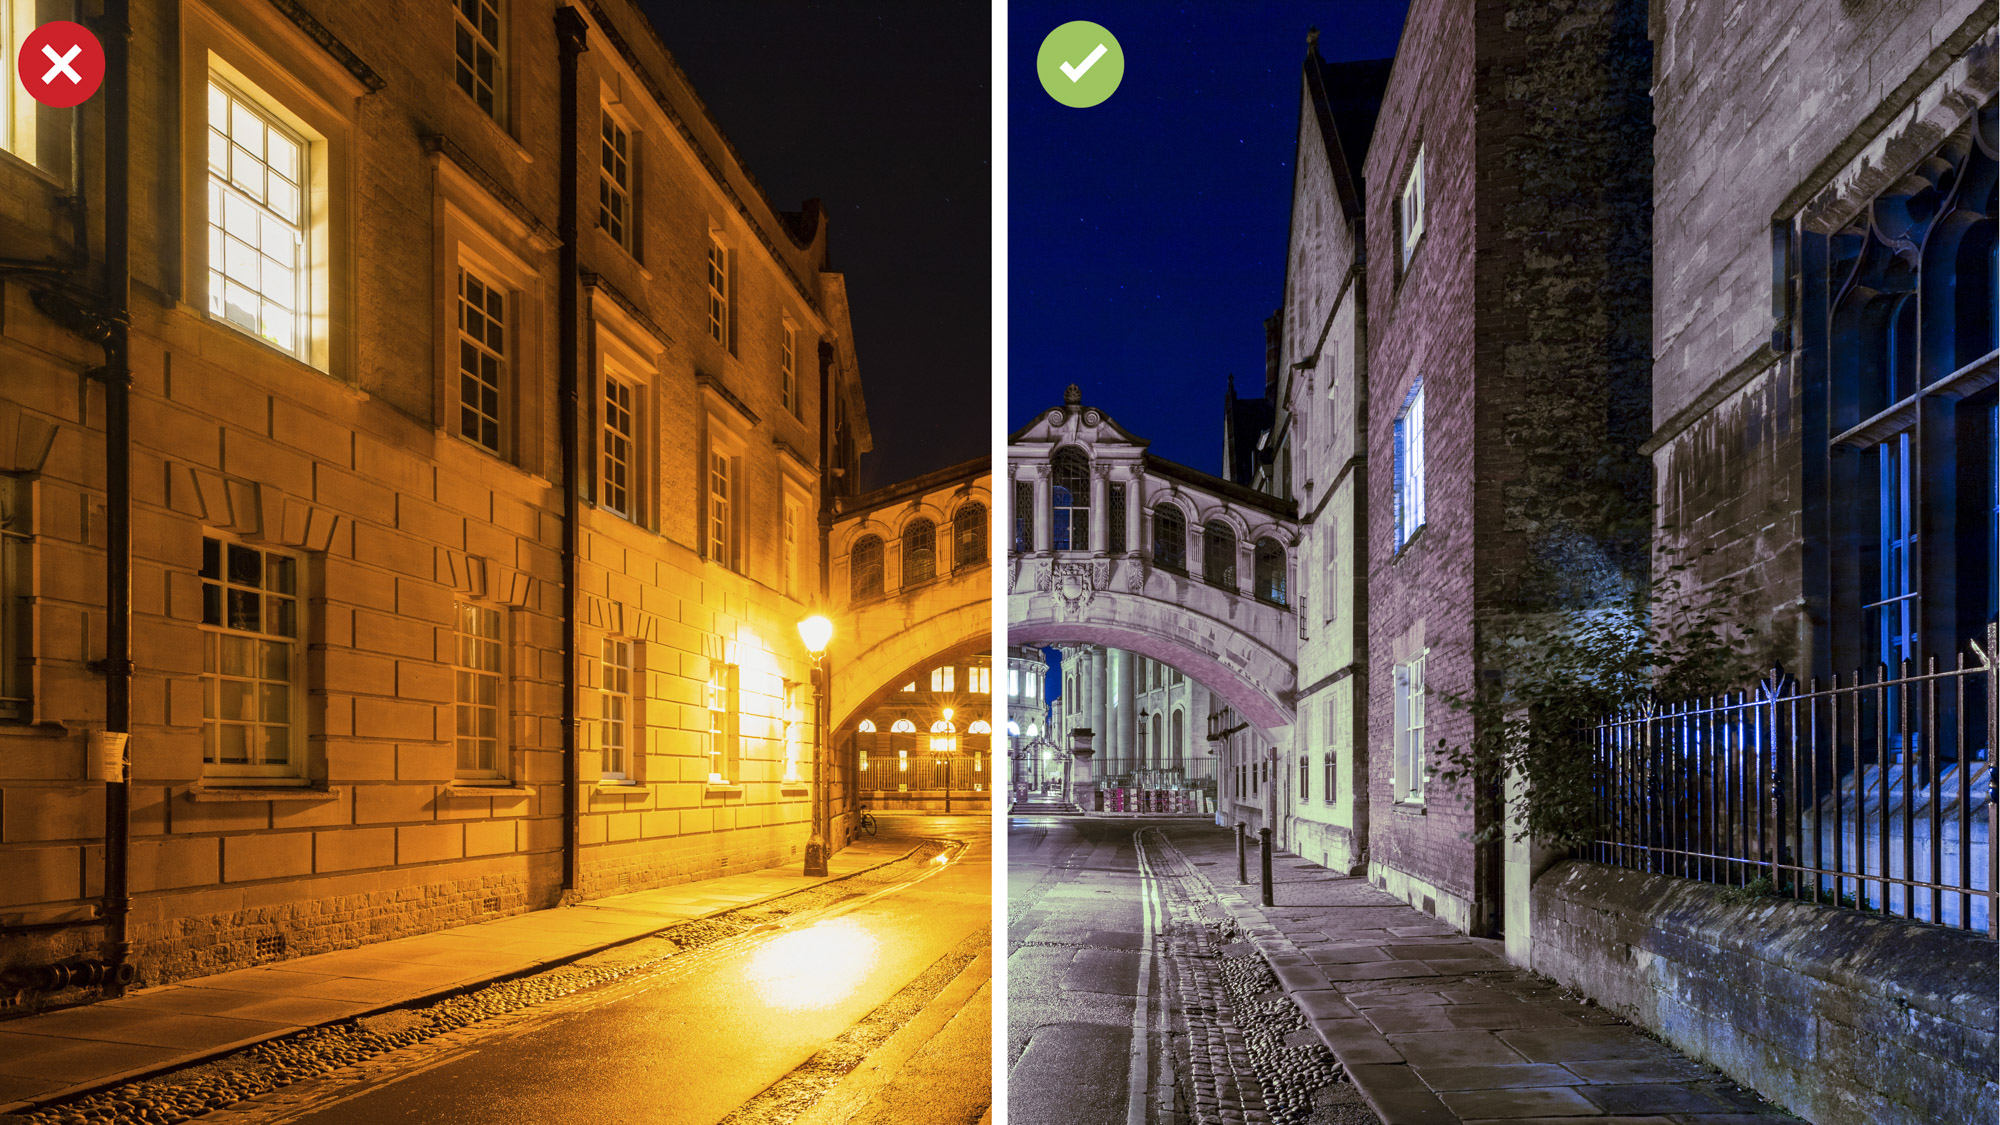
The orange glow from the street lights was producing overly ‘hot’ looking pictures using the automatic white balance mode in-camera. But when you’re shooting in Raw you can correct the white balance with programs such as Photoshop CC using the Tint and Temperature sliders to suitably cool the images down. You can also change the white balance preset in-camera or create a custom one to get it right when you’re in the field.
• Cheat sheet: white balance presets?
06 Shutter priority mode
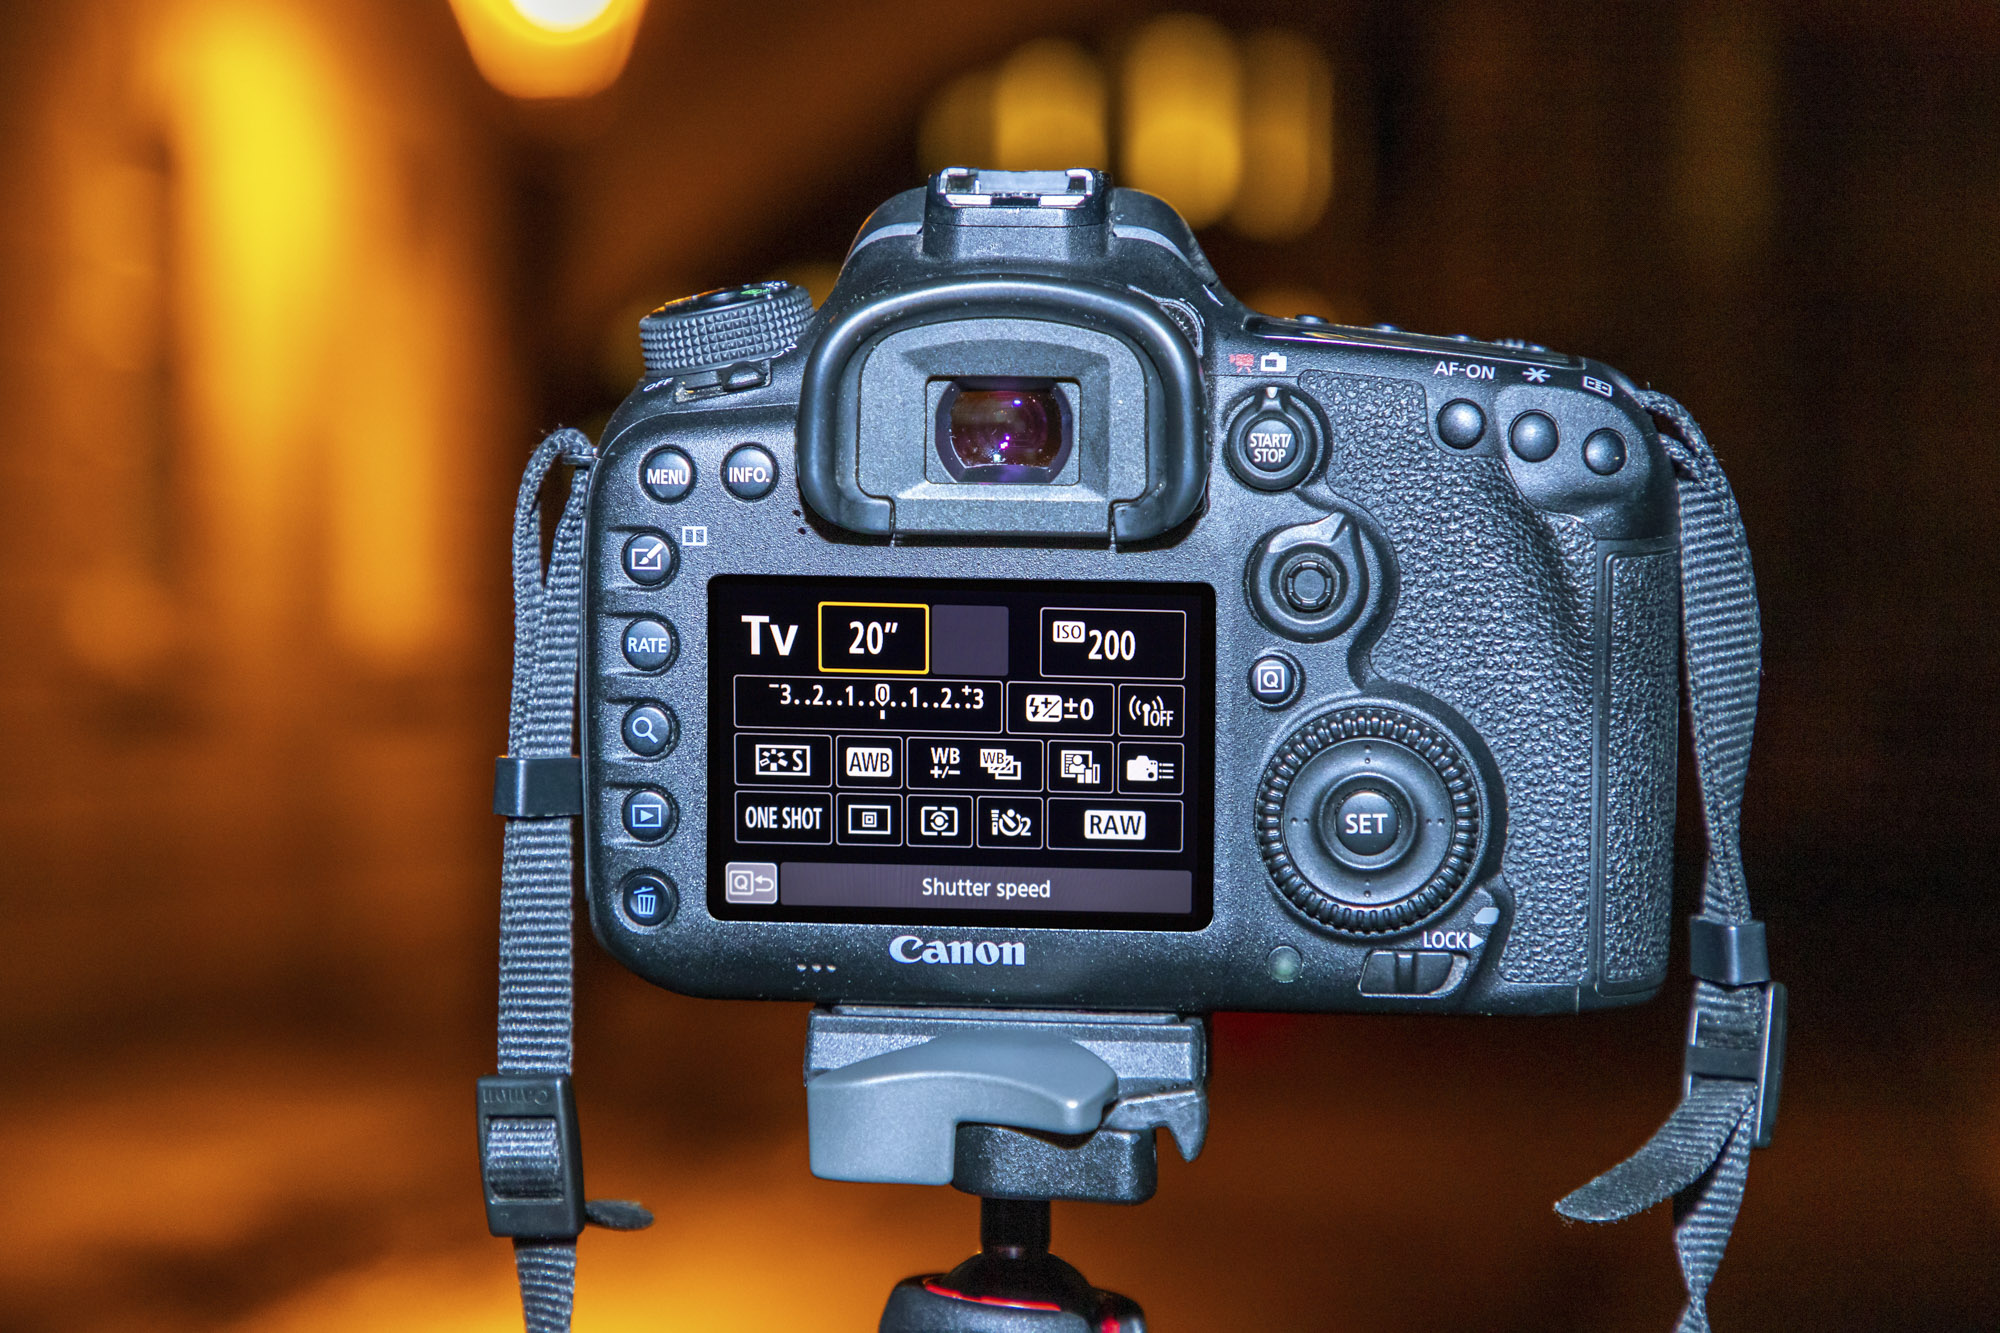
Shutter priority mode (or Tv / Time Value on Canon cameras) is a semi-automatic mode where you set the desired exposure time, as well as the ISO value, and the camera will then work out the aperture value needed for a decent exposure based on your chosen metering mode algorithm. If you see the aperture icon blinking it means that the aperture can’t open wide, or close down far enough, to create a correct exposure, which means you’ll need to adjust your shutter speed until it stops flashing.
07 Banish the blur
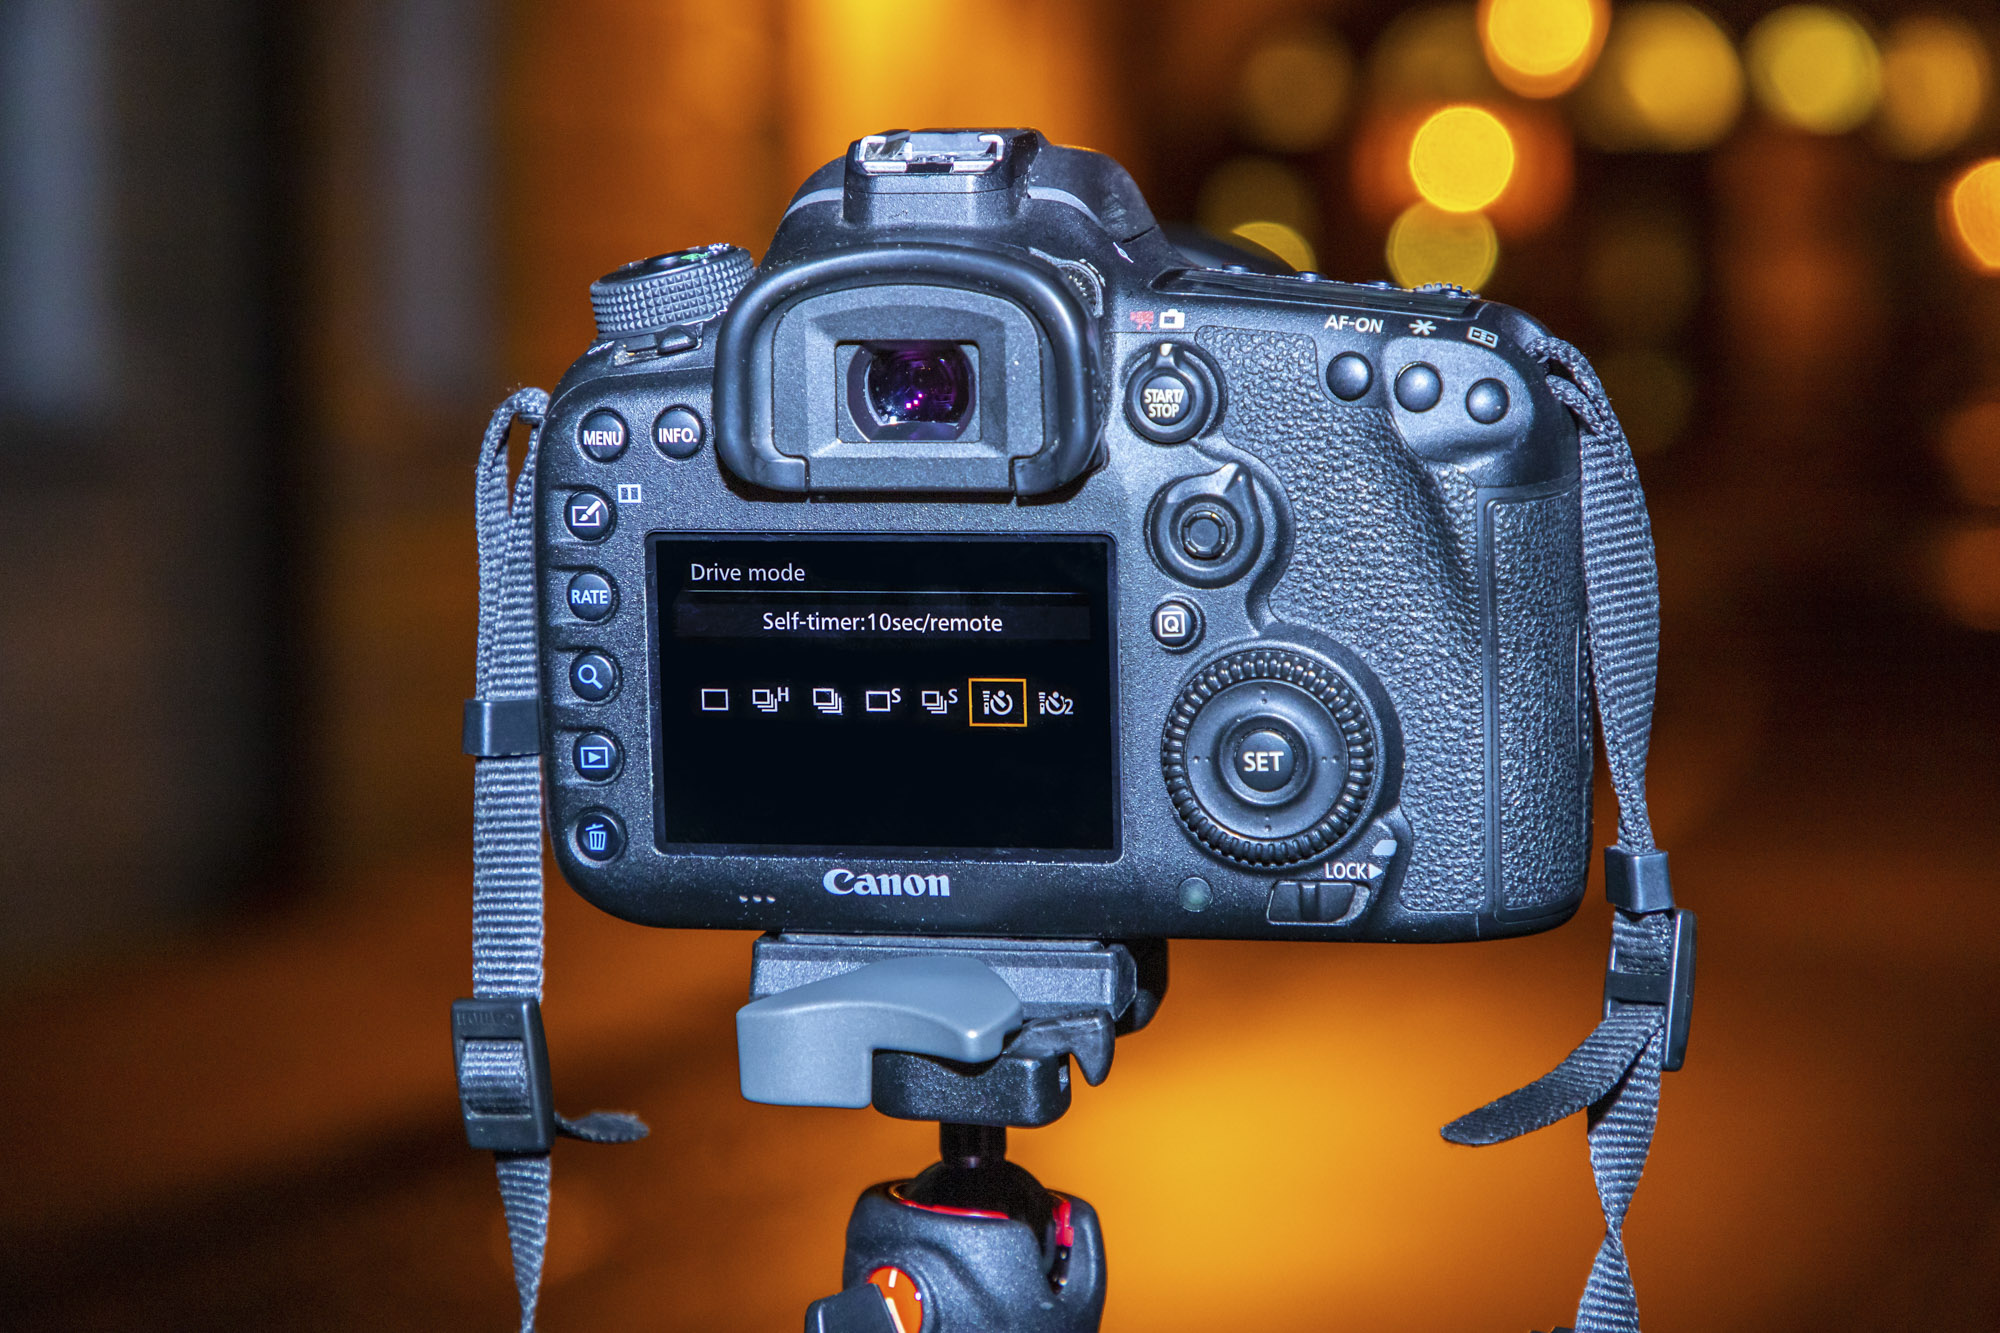
When you’re set up on a tripod to shoot long exposures at night the simple act of pressing the shutter button on your camera can cause enough movement to result in unsightly camera shake. Jeremy uses the two-second self-timer mode, so there is a short delay between when he presses the shutter button and when the exposure begins.
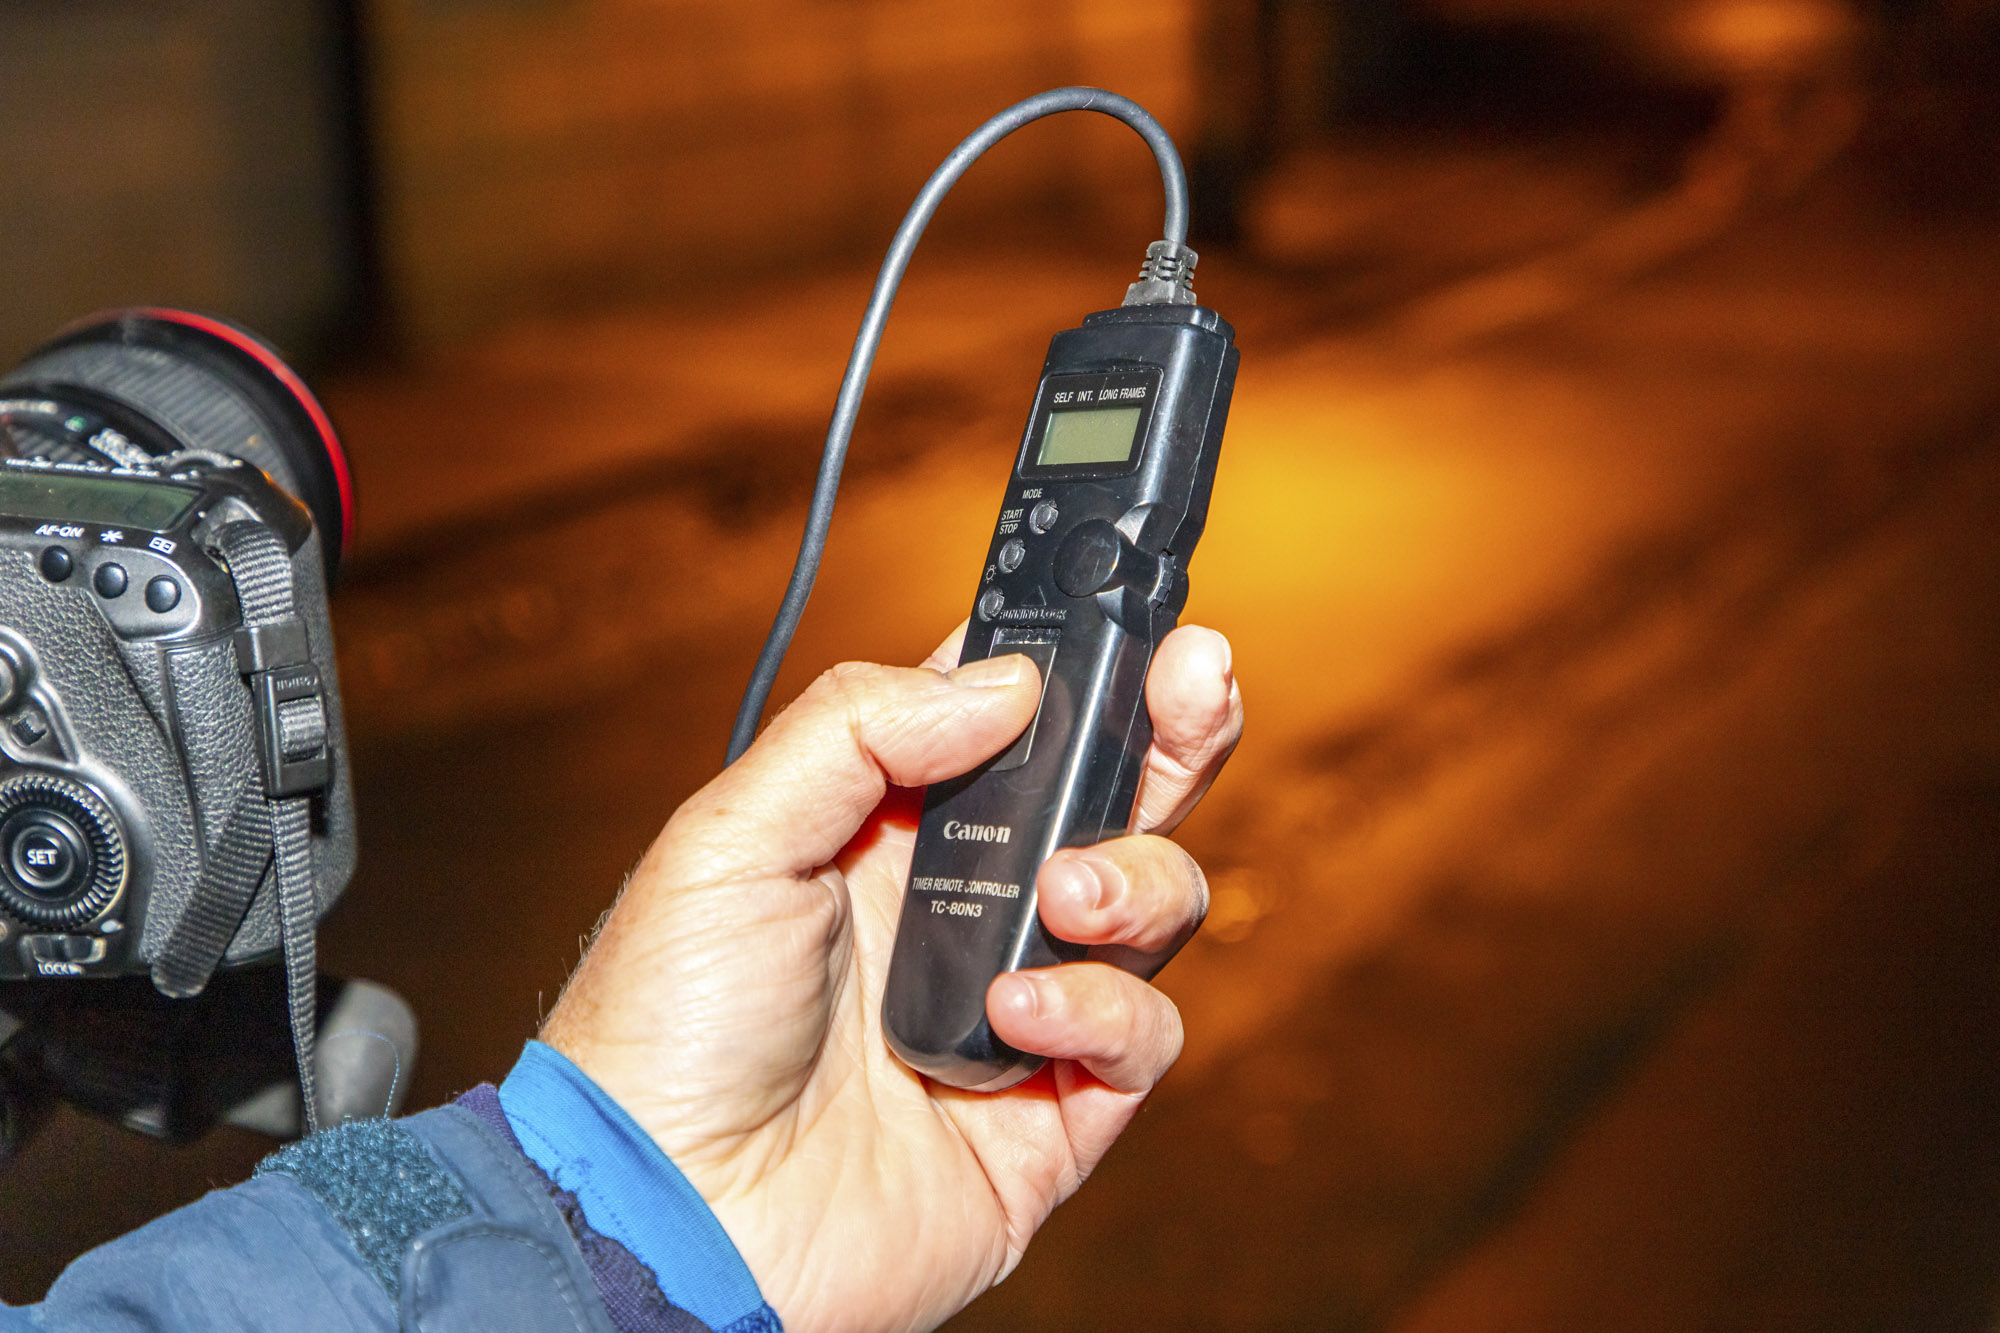
A shutter release cable comes along with Jeremy on every city shoot because it enables him to shoot remotely, meaning that he doesn’t knock the camera as he presses the shutter button for those longer exposures.
• Best camera remotes and cable releases
08 Create a starburst effect
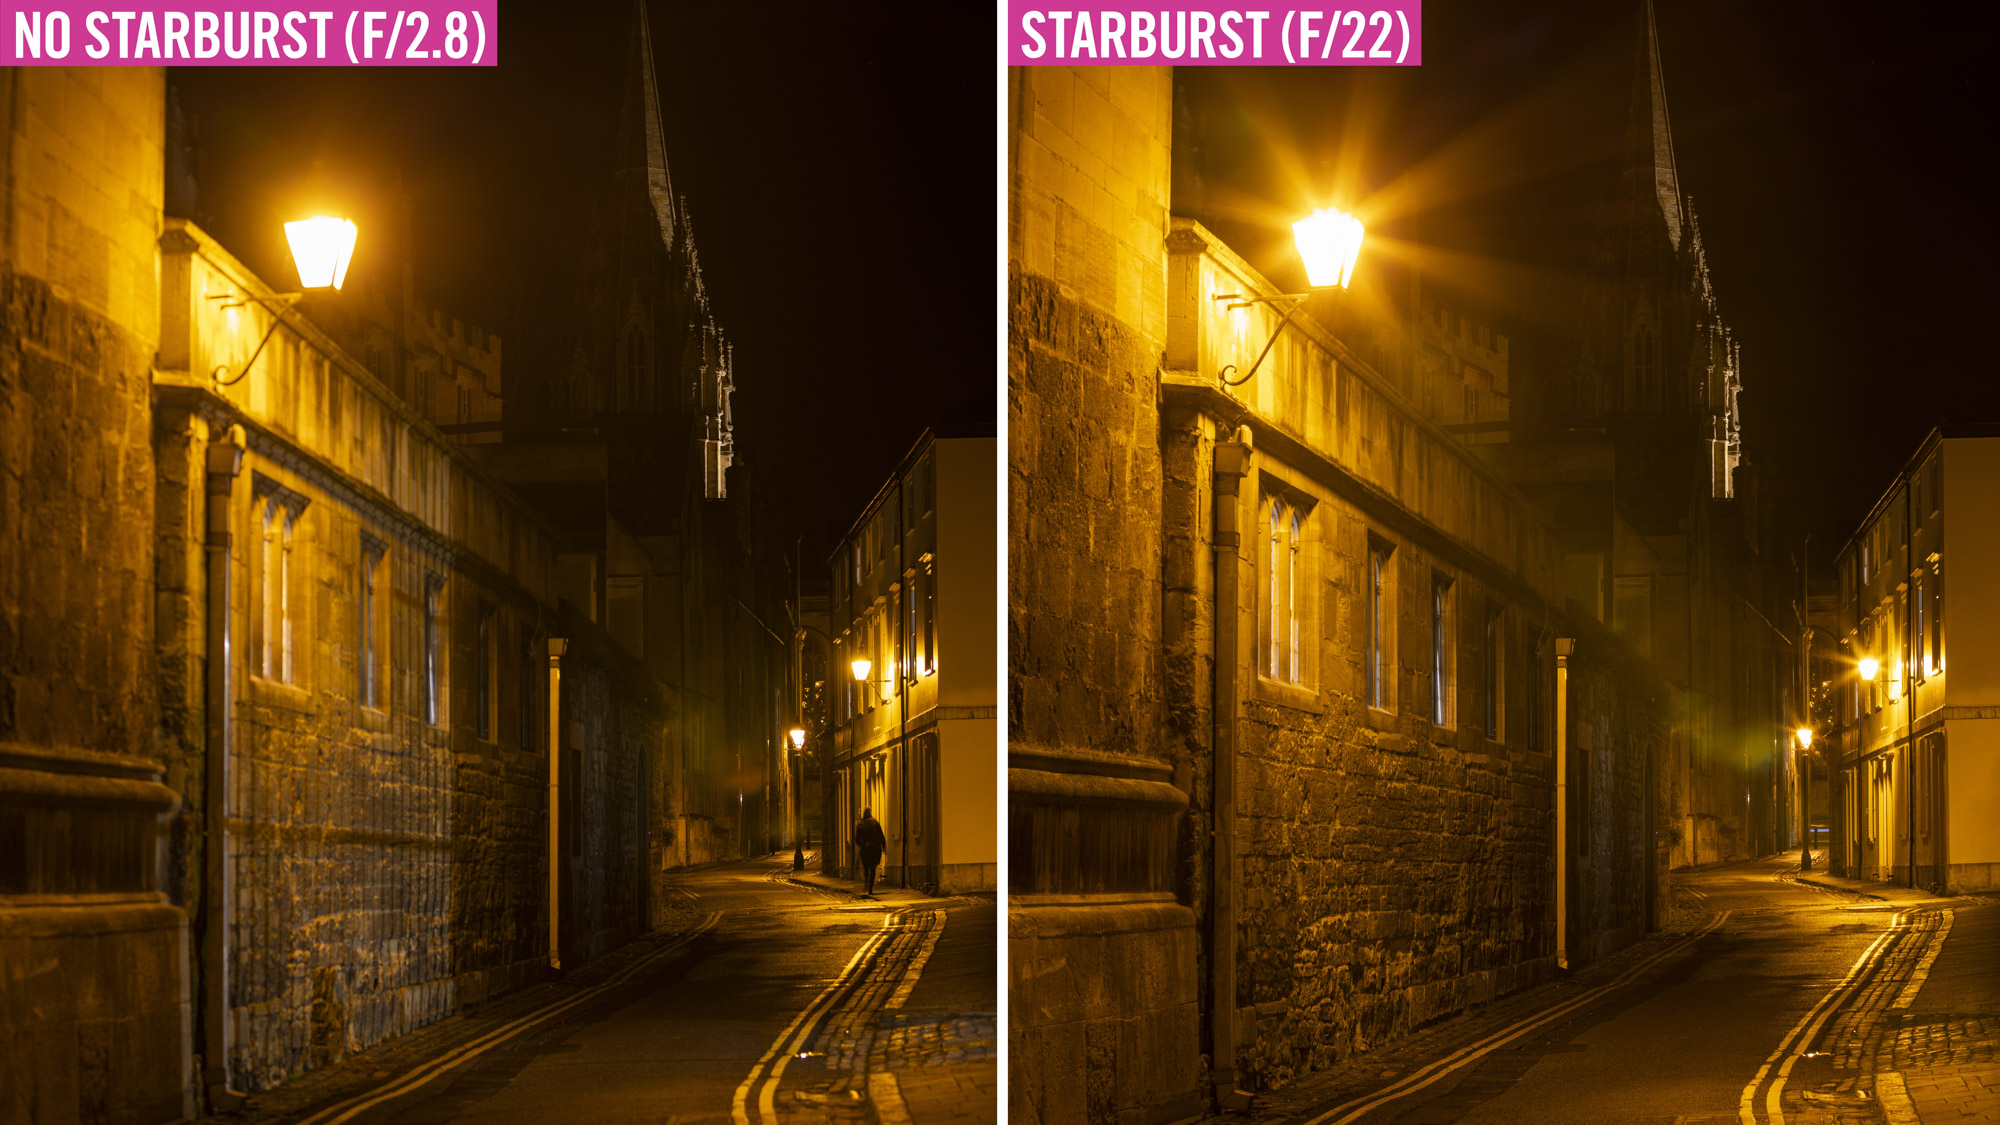
Turn light sources at night, such as street lights, into a ‘starburst’ with high aperture values. A high aperture value, such as f/22, will create a lush star effect on your light sources, though due to the restricted light flow from using a narrow aperture you’ll likely need to compose on a tripod. If your lens’s aperture is made up of five blades you’ll have a five-pointed star and so on.
09 Full frame camera
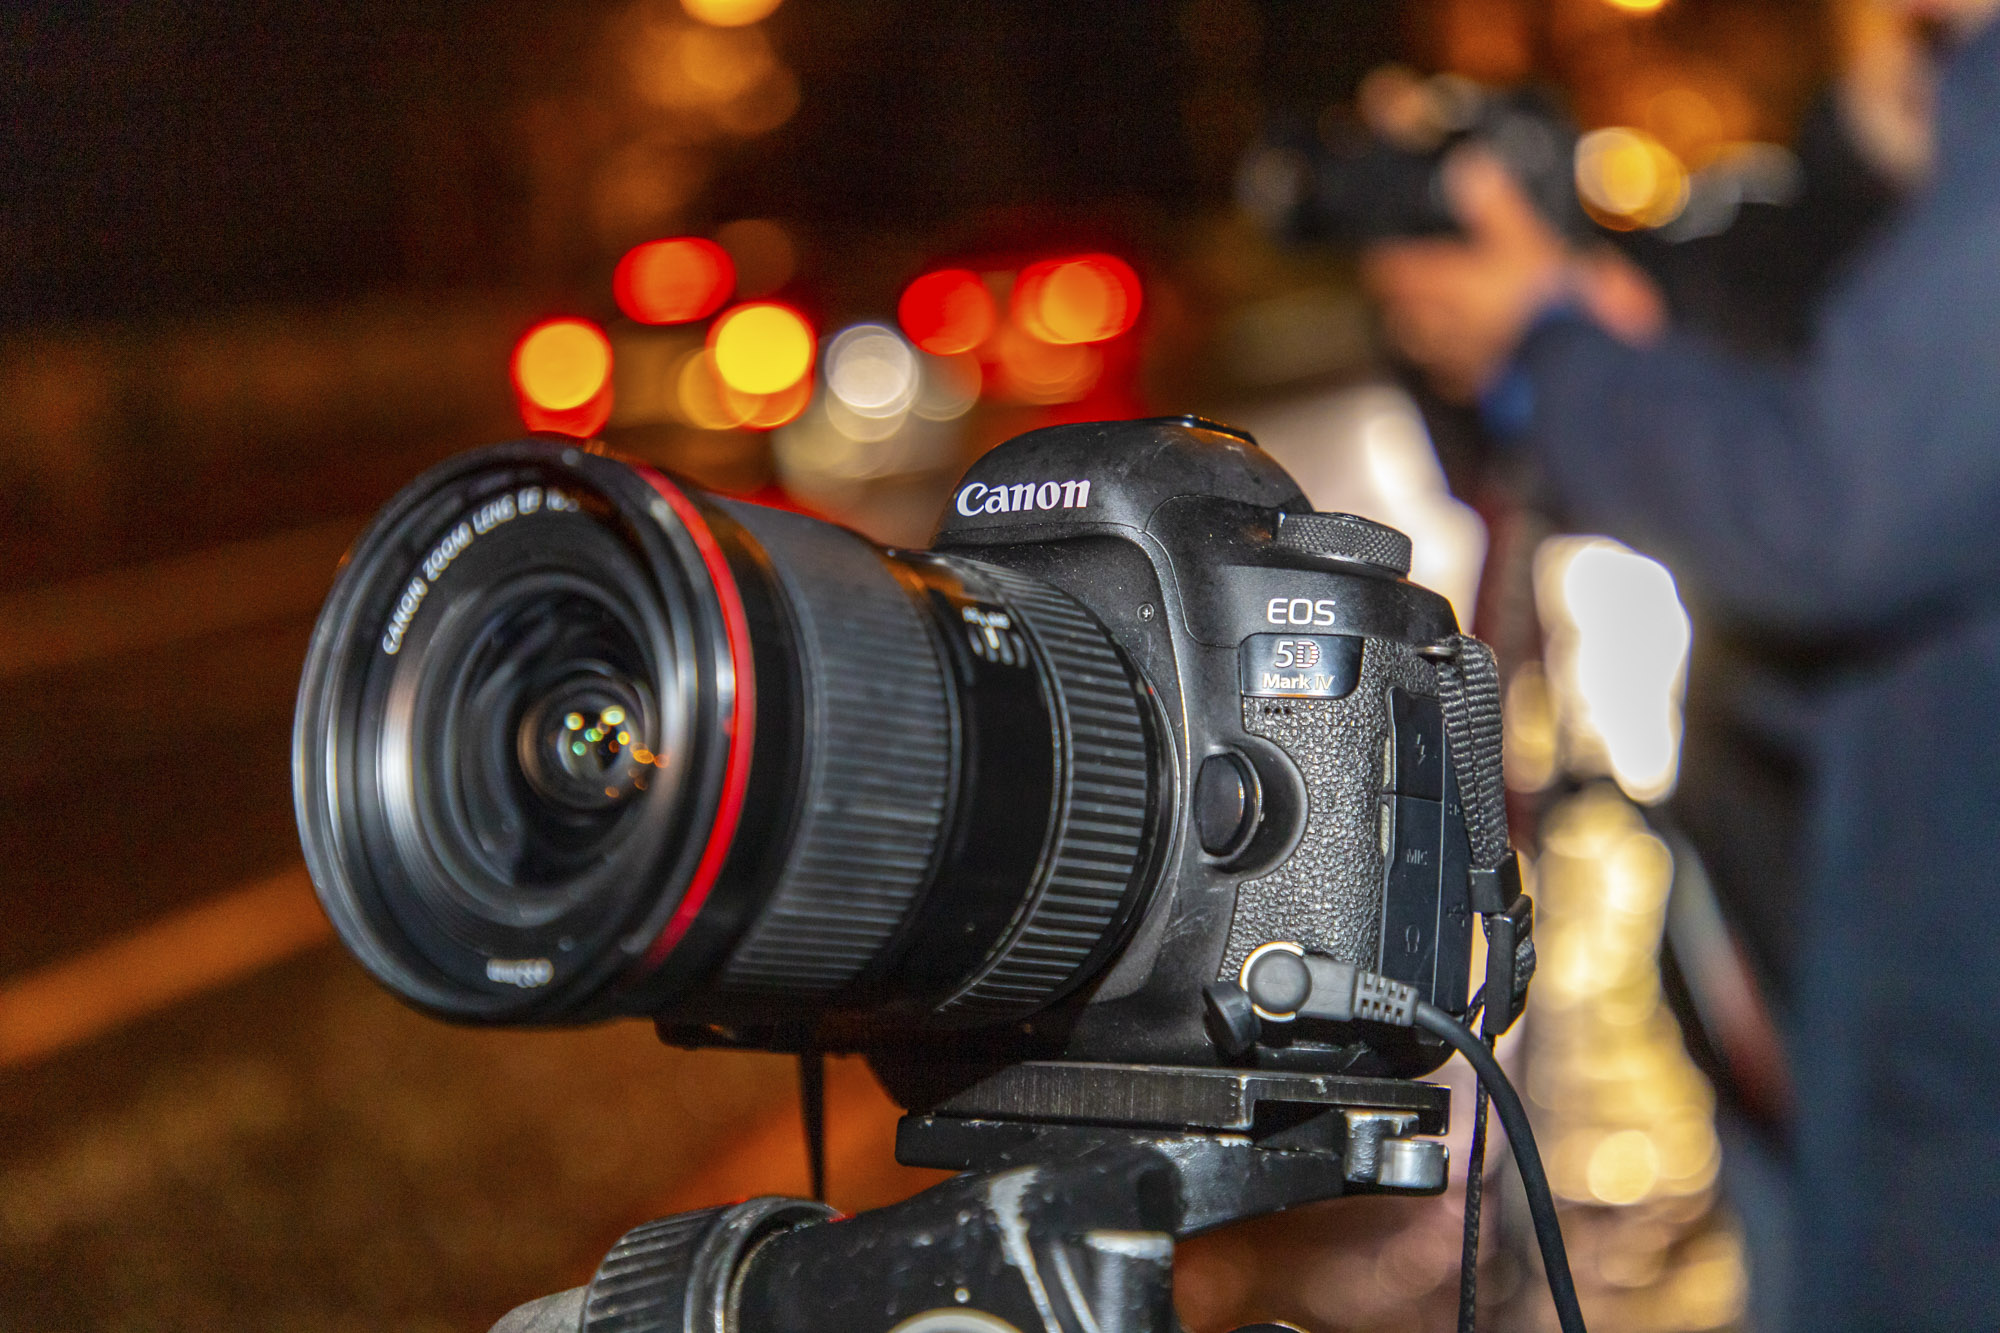
Jeremy’s go-to camera is the Canon EOS 5D Mark IV. Its frame rate of 7fps may seem a bit pedestrian compared to faster mirrorless models, but you’re rarely shooting at a fast pace for cityscapes and landscapes, instead carefully composing and concentrating on a single shot. The full-frame 30.4MP sensor is well suited to capturing detail in low-light scenes.
10 Wide-angle prime lenses
Hari’s Sigma 20mm f/1.4 DG HSM Art lens is fantastic for low-light city scenes, as it has a super wide aperture of f/1.4, which sucks in loads of light with great bokeh and low ISO values for better image quality. It’s razor sharp too! It’s worth noting that Hari’s 20mm lens behaved more like a 32mm optic, due to the 1.6x crop factor on his Canon EOS 7D Mark II, so his shots had more of a standard wide-angle framing than super wide.
PhotoPlus: The Canon Magazine is the world's only monthly newsstand title that's 100% devoted to Canon, so you can be sure the magazine is completely relevant to your system.
Read more:
Best lens for street photography
Best camera for street photography
Shoot Amazing Artistic Architecture
Photography tips
Canon EOS R5 review

In addition to being a freelance photographer and filmmaker, Dan is a bona fide expert on all things Canon and Adobe. Not only is he an Adobe-certified Photoshop guru, he's spent over 10 years writing for specialist magazines including stints as the Deputy Editor for PhotoPlus: The Canon Magazine, Technical Editor for Practical Photography and Photoshop Editor on Digital Photo.
