The best camera deals, reviews, product advice, and unmissable photography news, direct to your inbox!
You are now subscribed
Your newsletter sign-up was successful
Head to any urban environment and you'll be faced with a bounty of big and beautiful buildings to turn your camera towards. It's a rich and fruitful genre to get into, whether you're interested in the minute details of carvings, etchings and engravings, or squeezing in large skyscrapers and interior spaces into a single frame.
It can however be tricky to get right in-camera. Straight lines can bend, warp and converge inwards when using a wide-angle, or framing up from a lower perspective looking upwards. There's a vast amount of kit out there to remedy such problems, but it can be difficult to know where to start.
• To shoot amazing architecture shots of your own, check out the best tilt-shift lenses
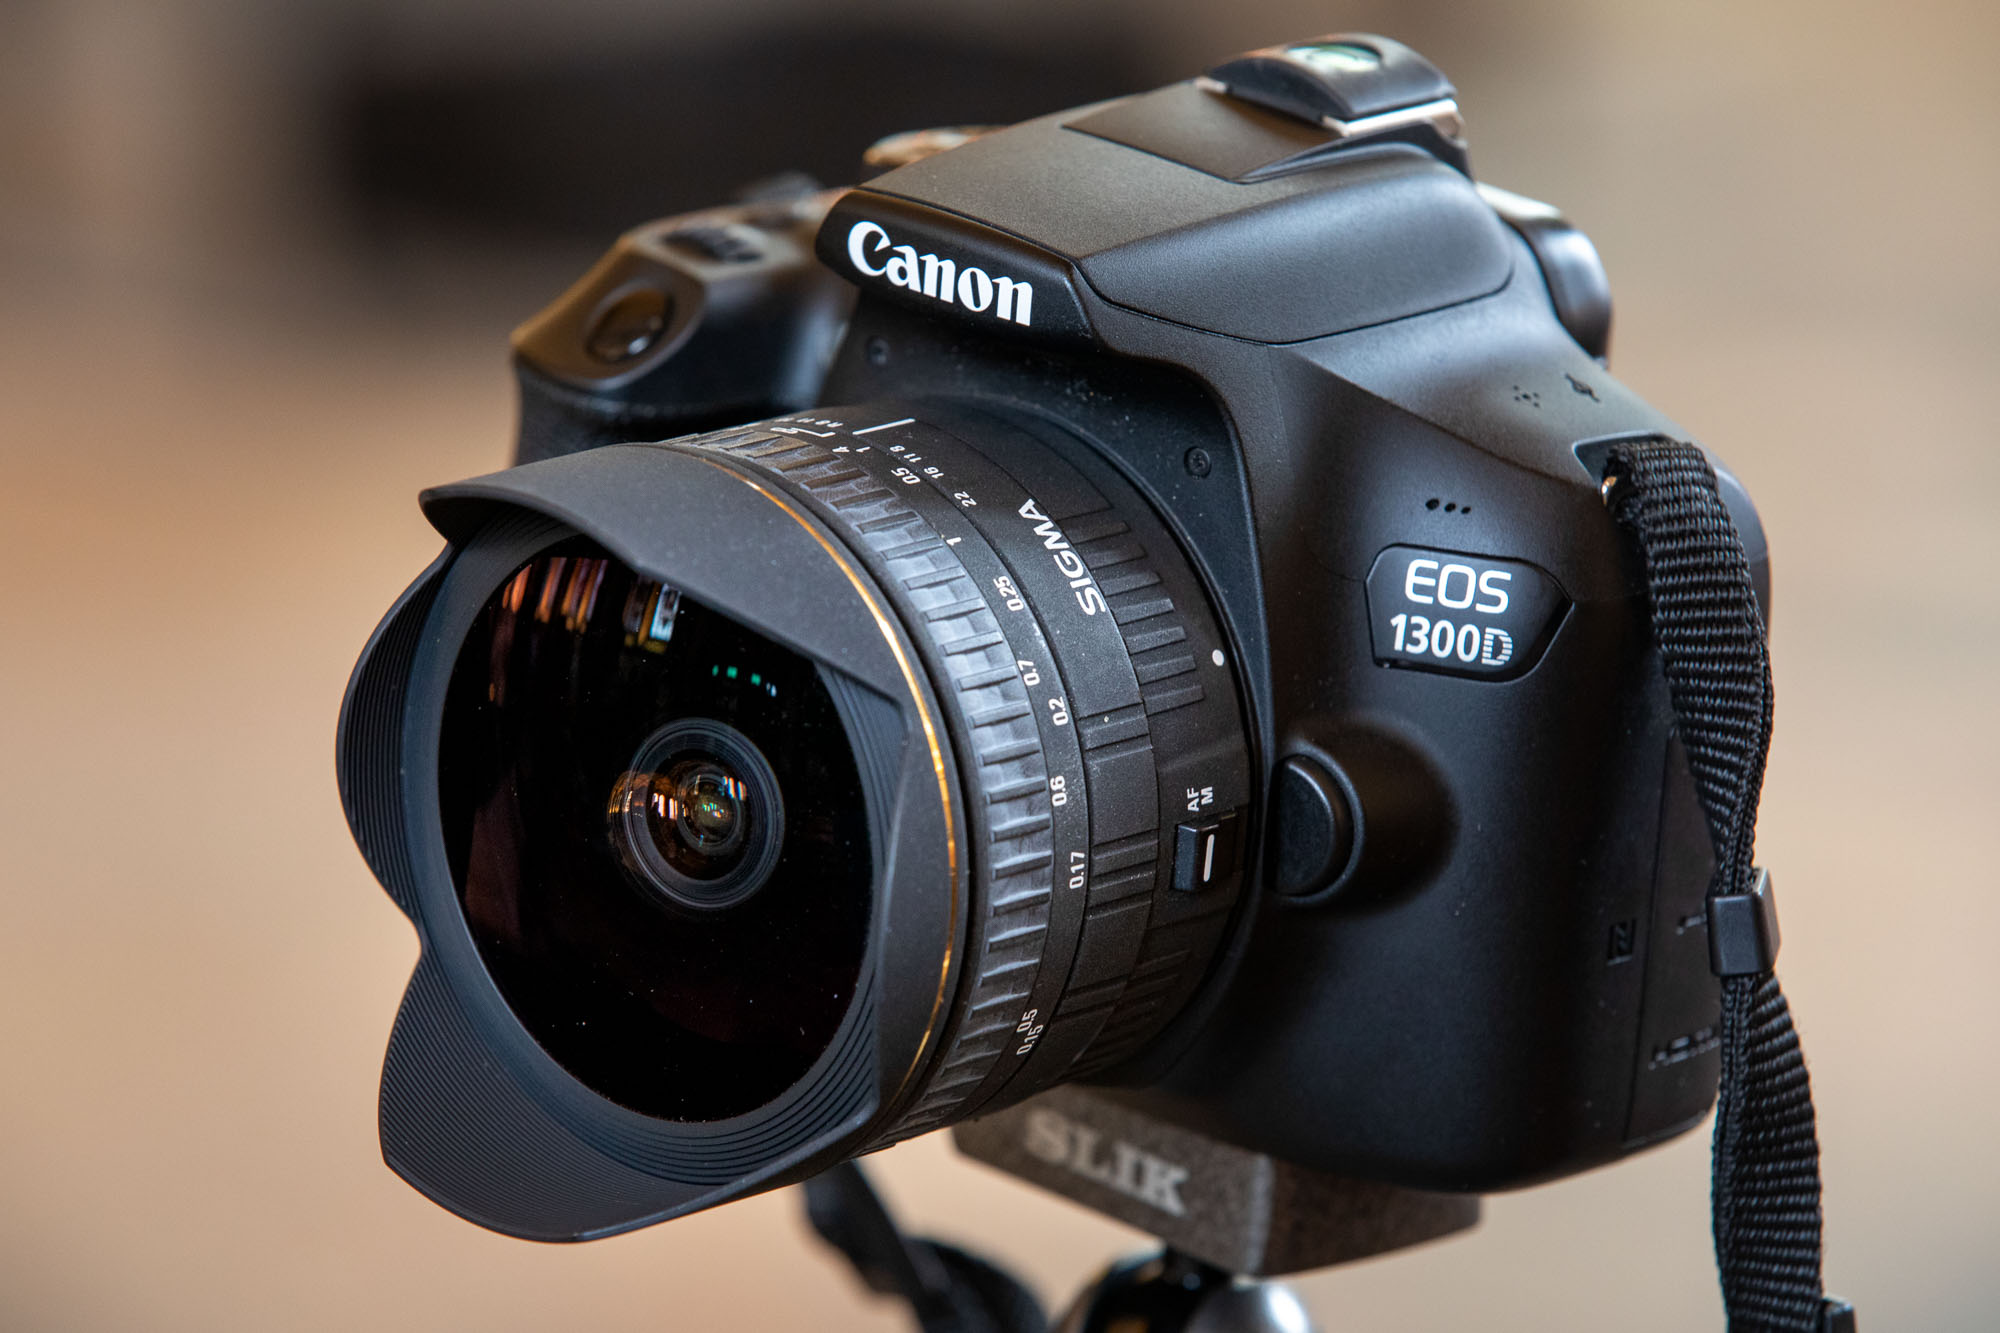
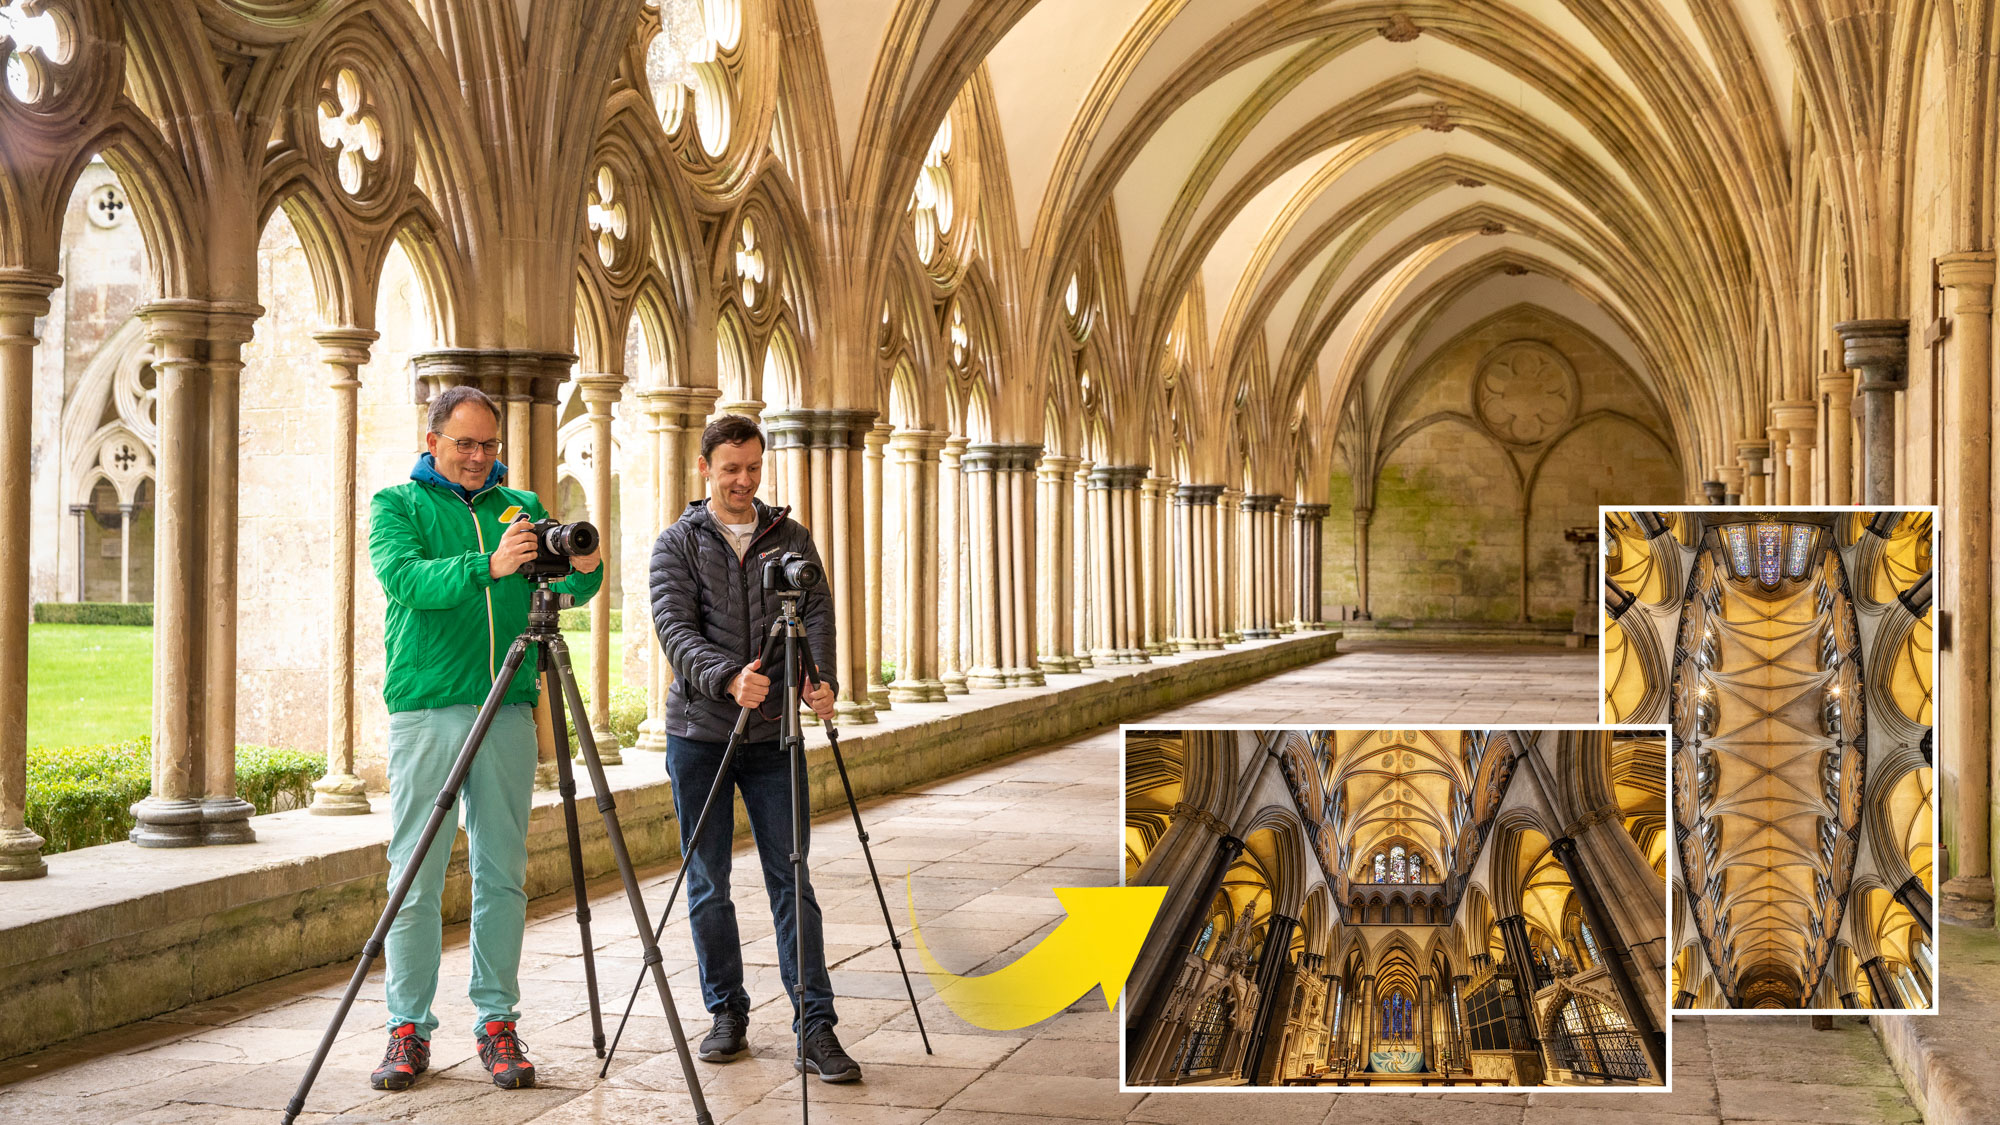
Reader of PhotoPlus: The Canon Magazine, Pierre is 37 and originally from Namibia. He moved to Salisbury in 2016, where he works as a receptionist at a care centre. “My interest in photography came from reading a copy of PhotoPlus. I then purchased my first Canon, an EOS 1300D DSLR, from Castle Cameras in Salisbury. Weather pending, I like to spend time outdoors, and I usually take my camera as there is always something interesting to capture in beautiful Wiltshire.”
We paired him with architecture pro David Clapp at the awe-inspiring Salisbury Cathedral to show him how to better his buildings shots. Here's David's top tips from their workshop together.
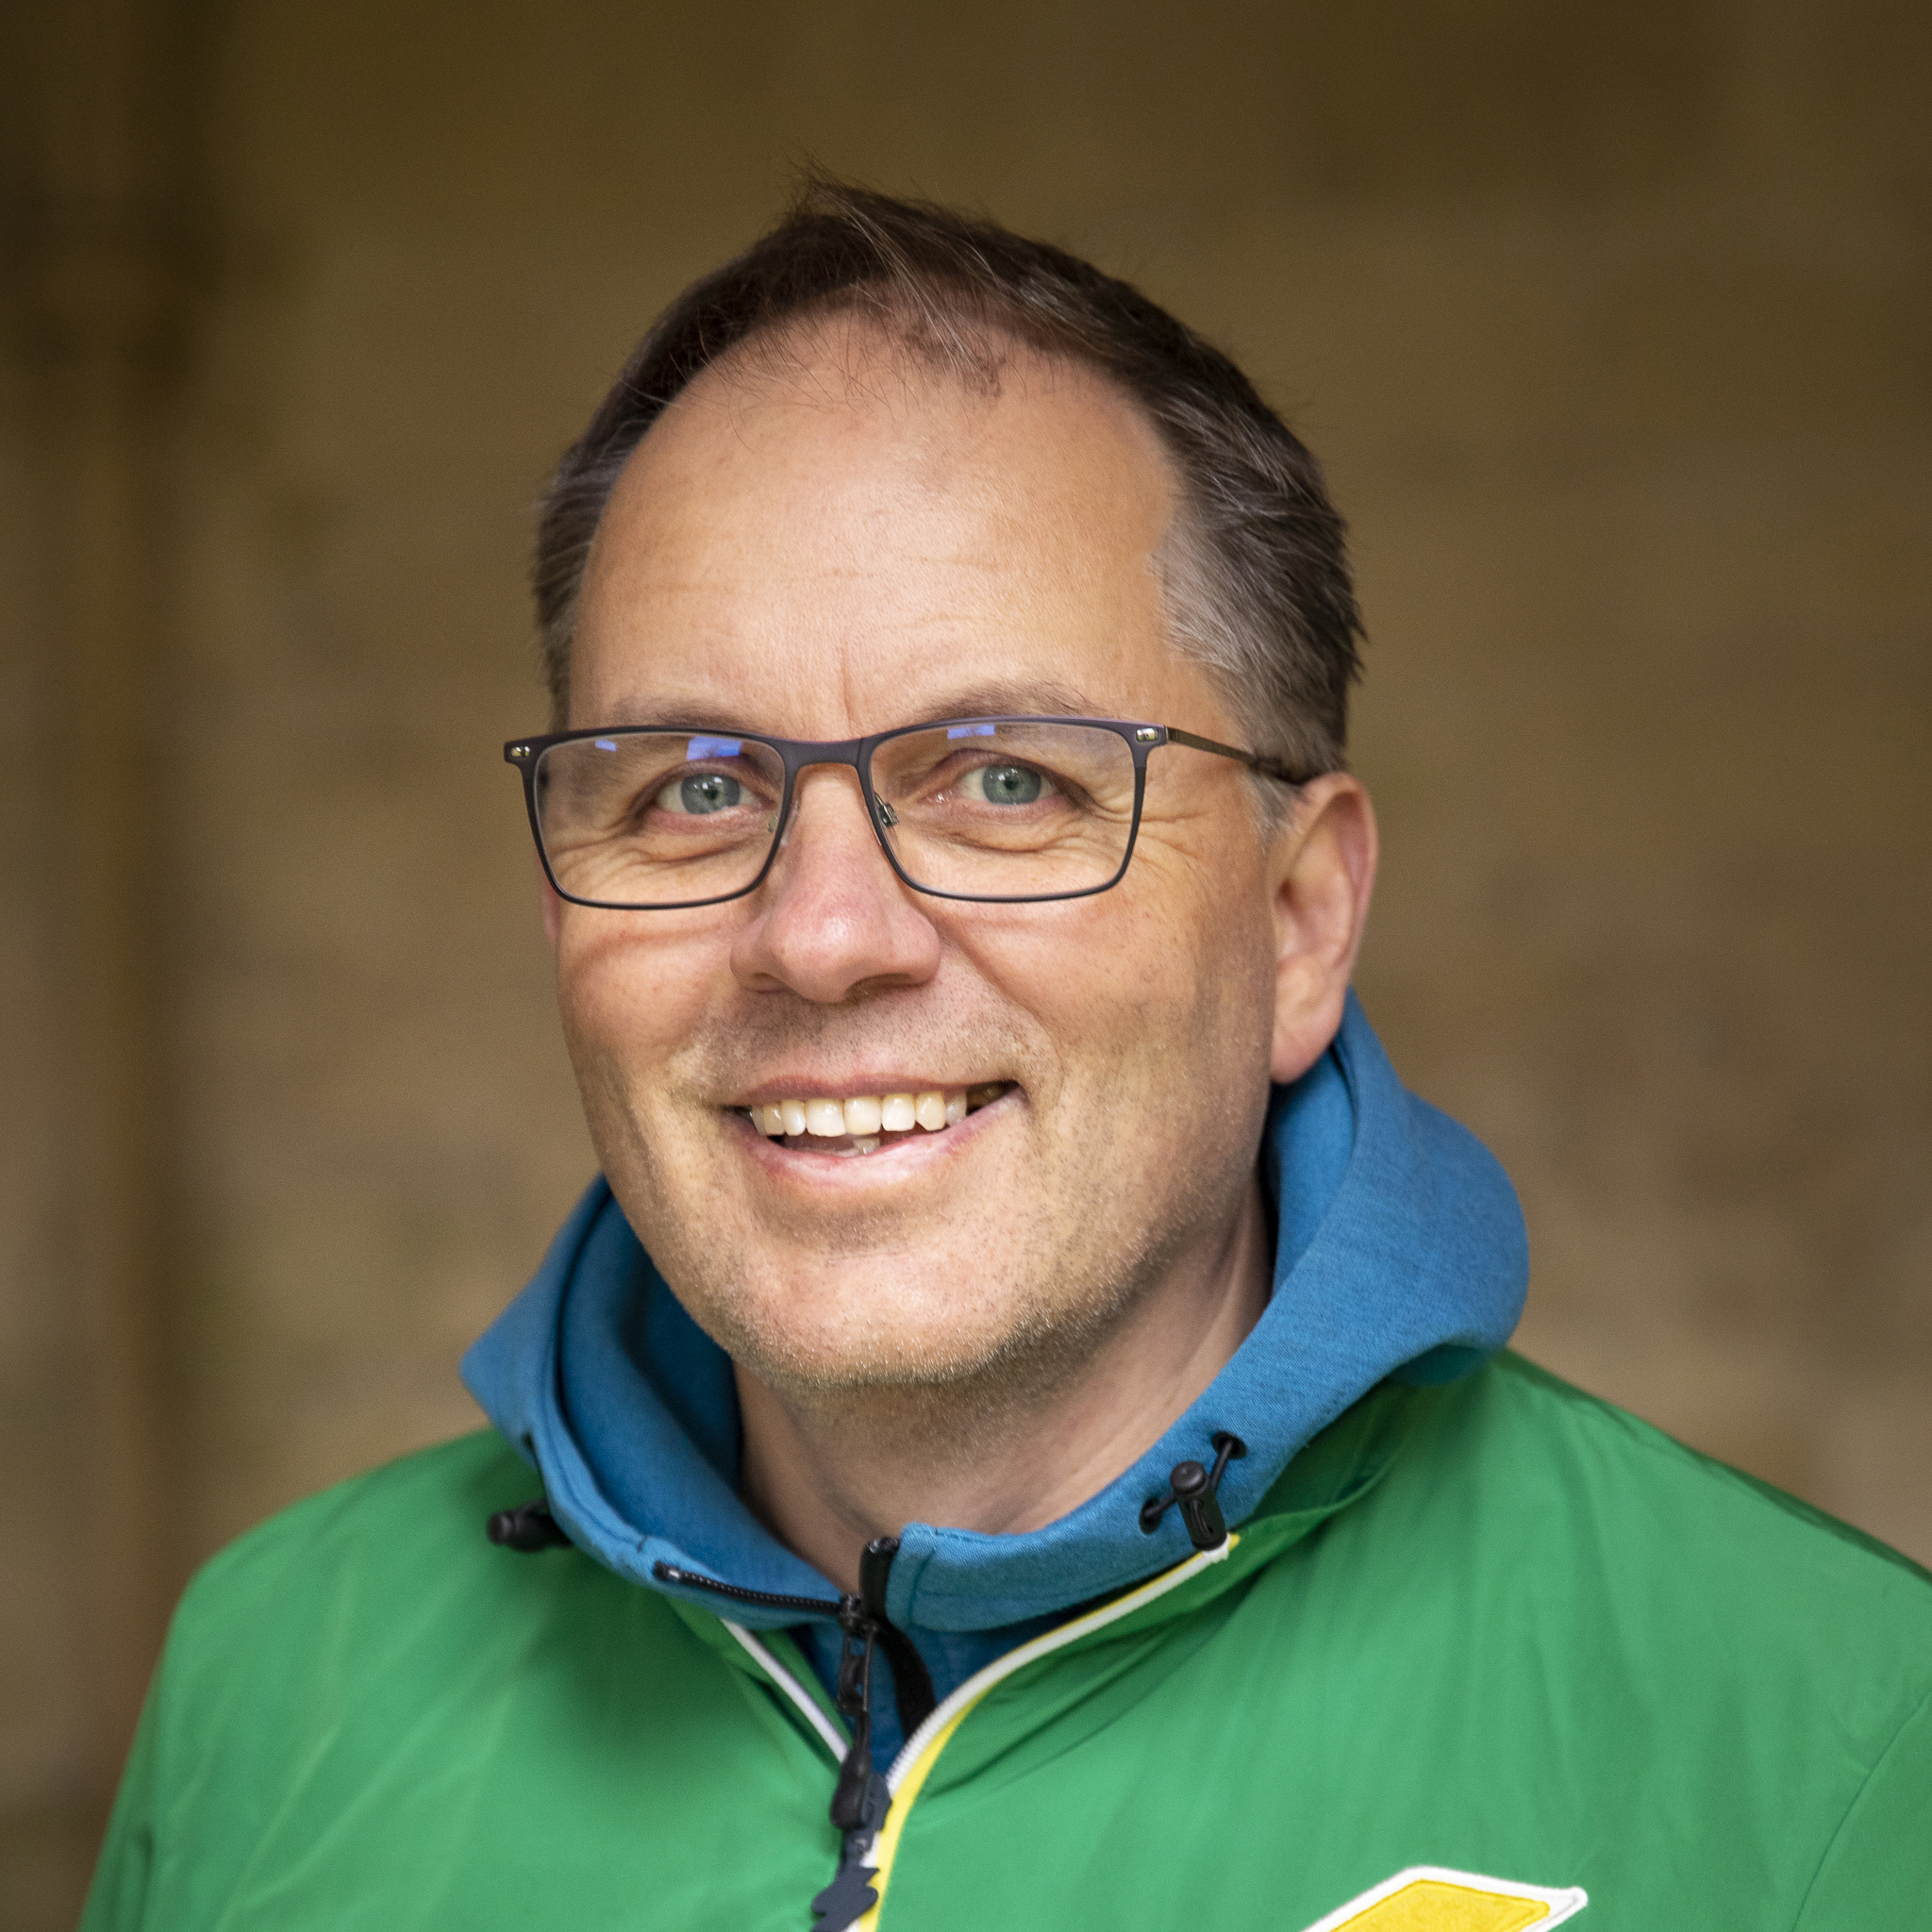
Landscape, travel and architectural photographer David, 52, is based in South Devon, but spends much of his time travelling the world with his Canon cameras. He runs seminars for Canon and his own photography workshops, and was the perfect pro to show Pierre how to capture Salisbury’s historic architecture.
1. Manual mode
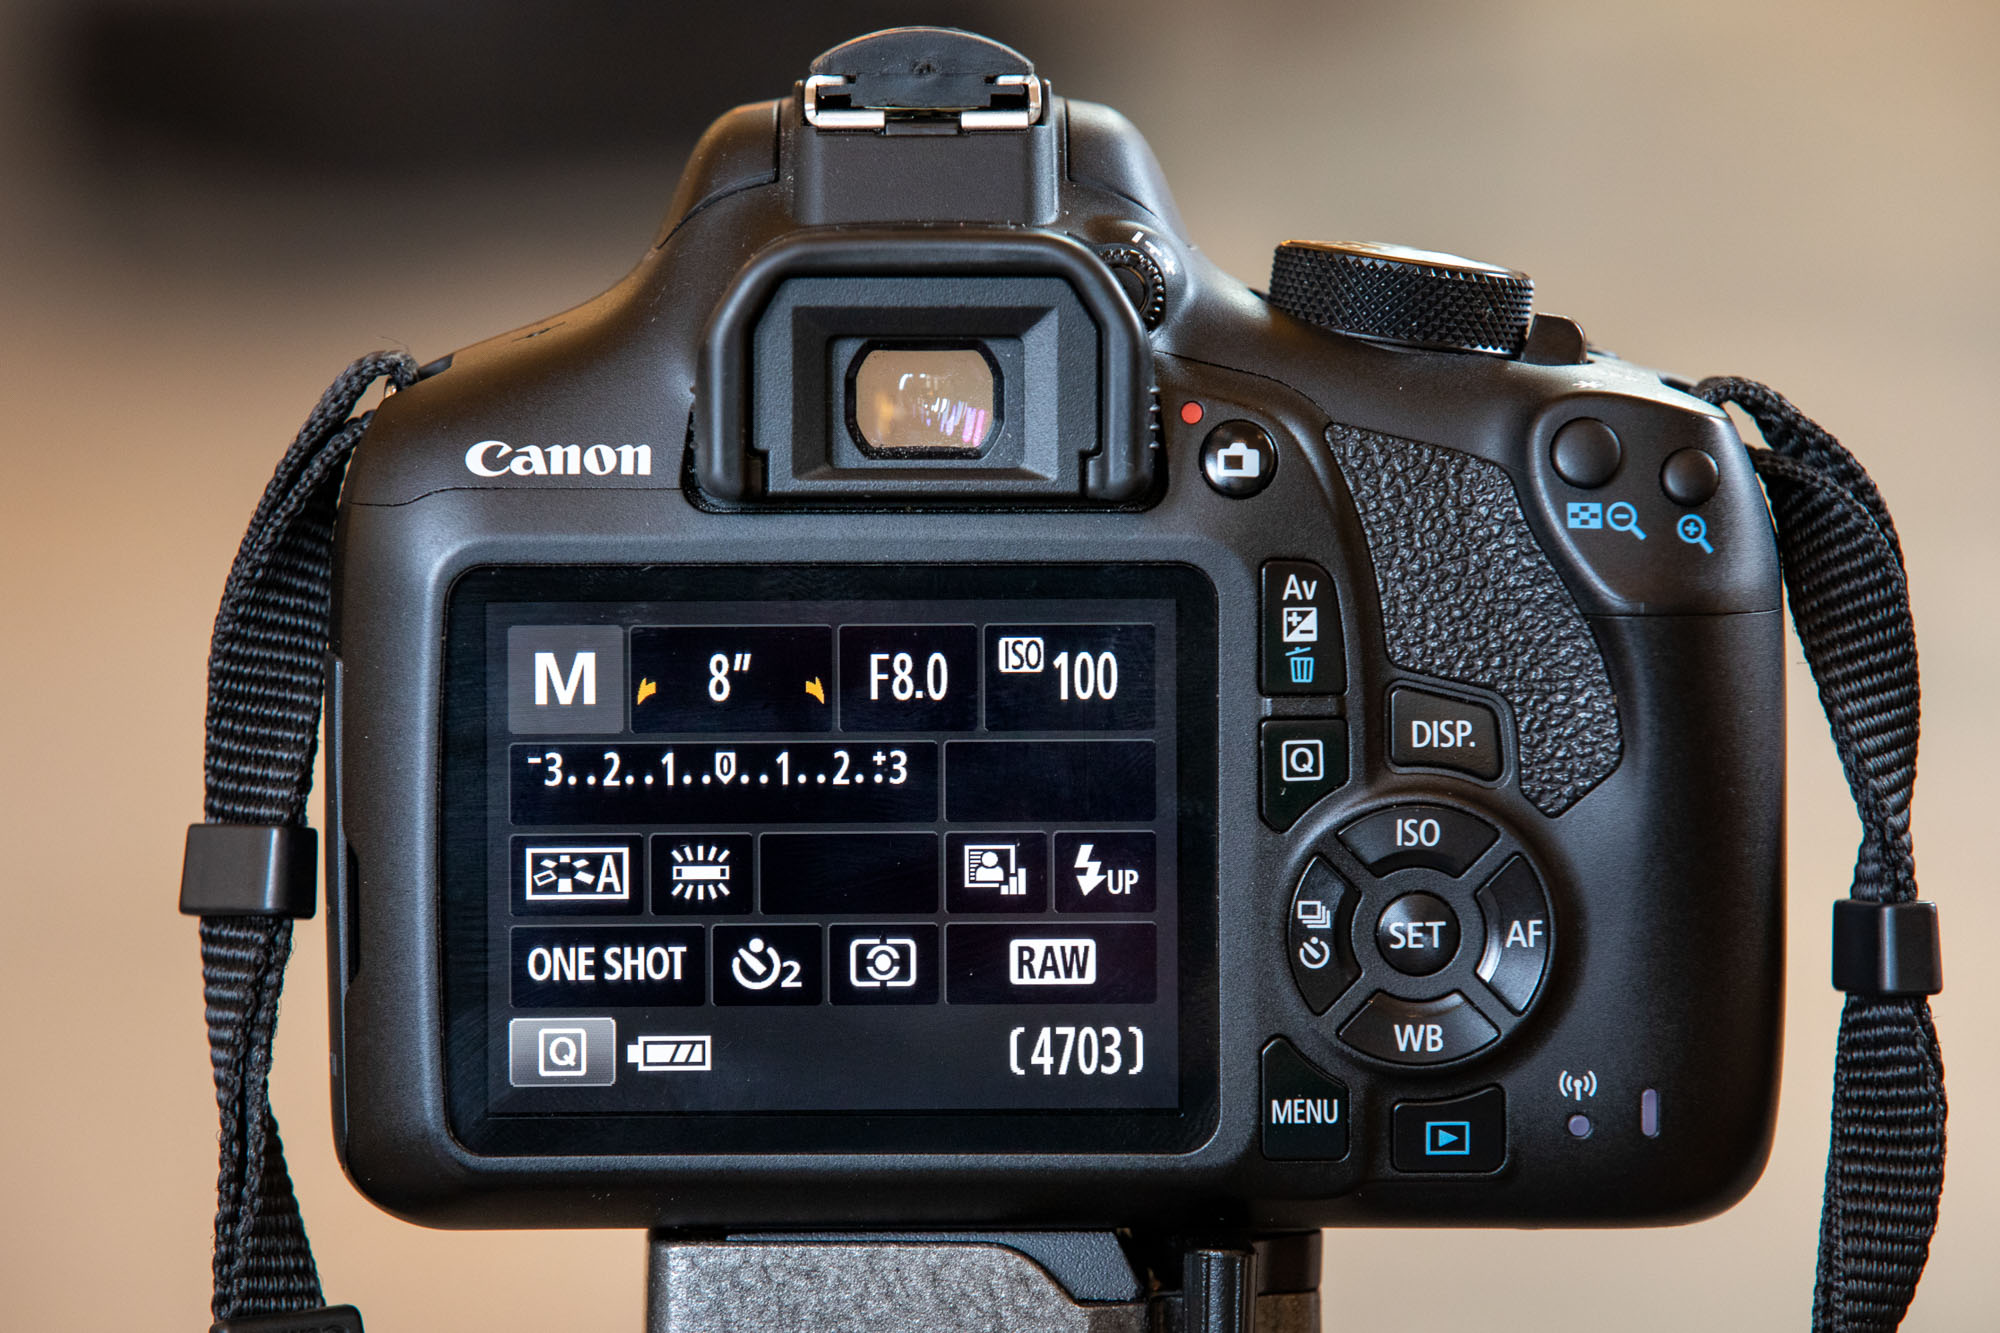
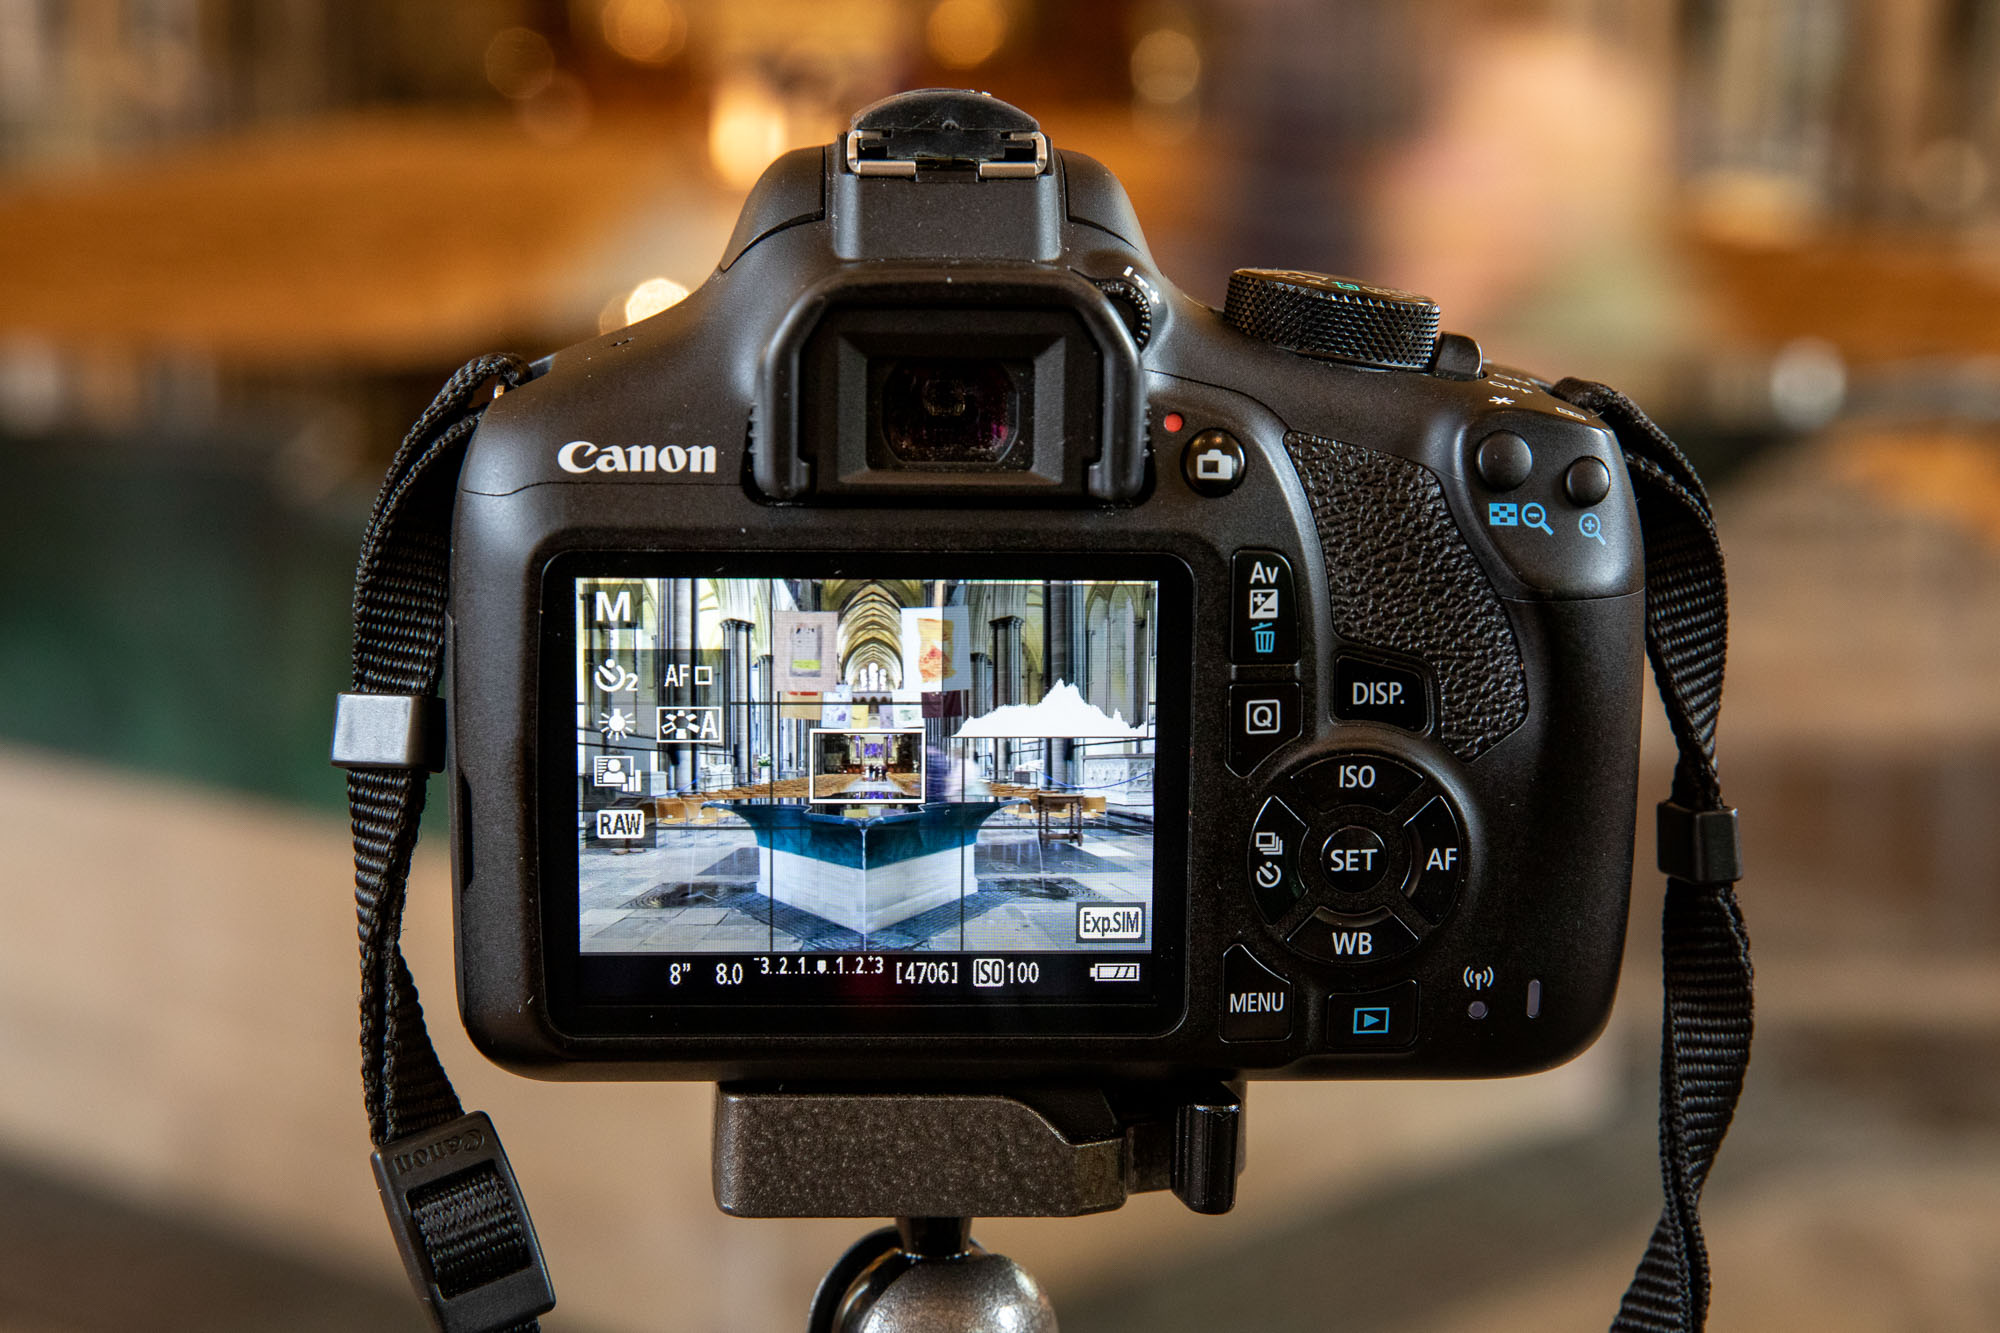
Pierre liked to use Manual mode and set his apertures, but needed some help understanding how to set the shutter speed for a good exposure, as he’d used Auto ISO, which meant his shots were often noisy as his 1300D would need to set a high ISO as the shutter speeds he’d set were very slow. “I set ISO100, aperture to f/8, and then increased the shutter speed until the exposure level indicator was central on the exposure index – indoors he needed a shutter speed of 8 secs,” says David.
2. Tilt shift
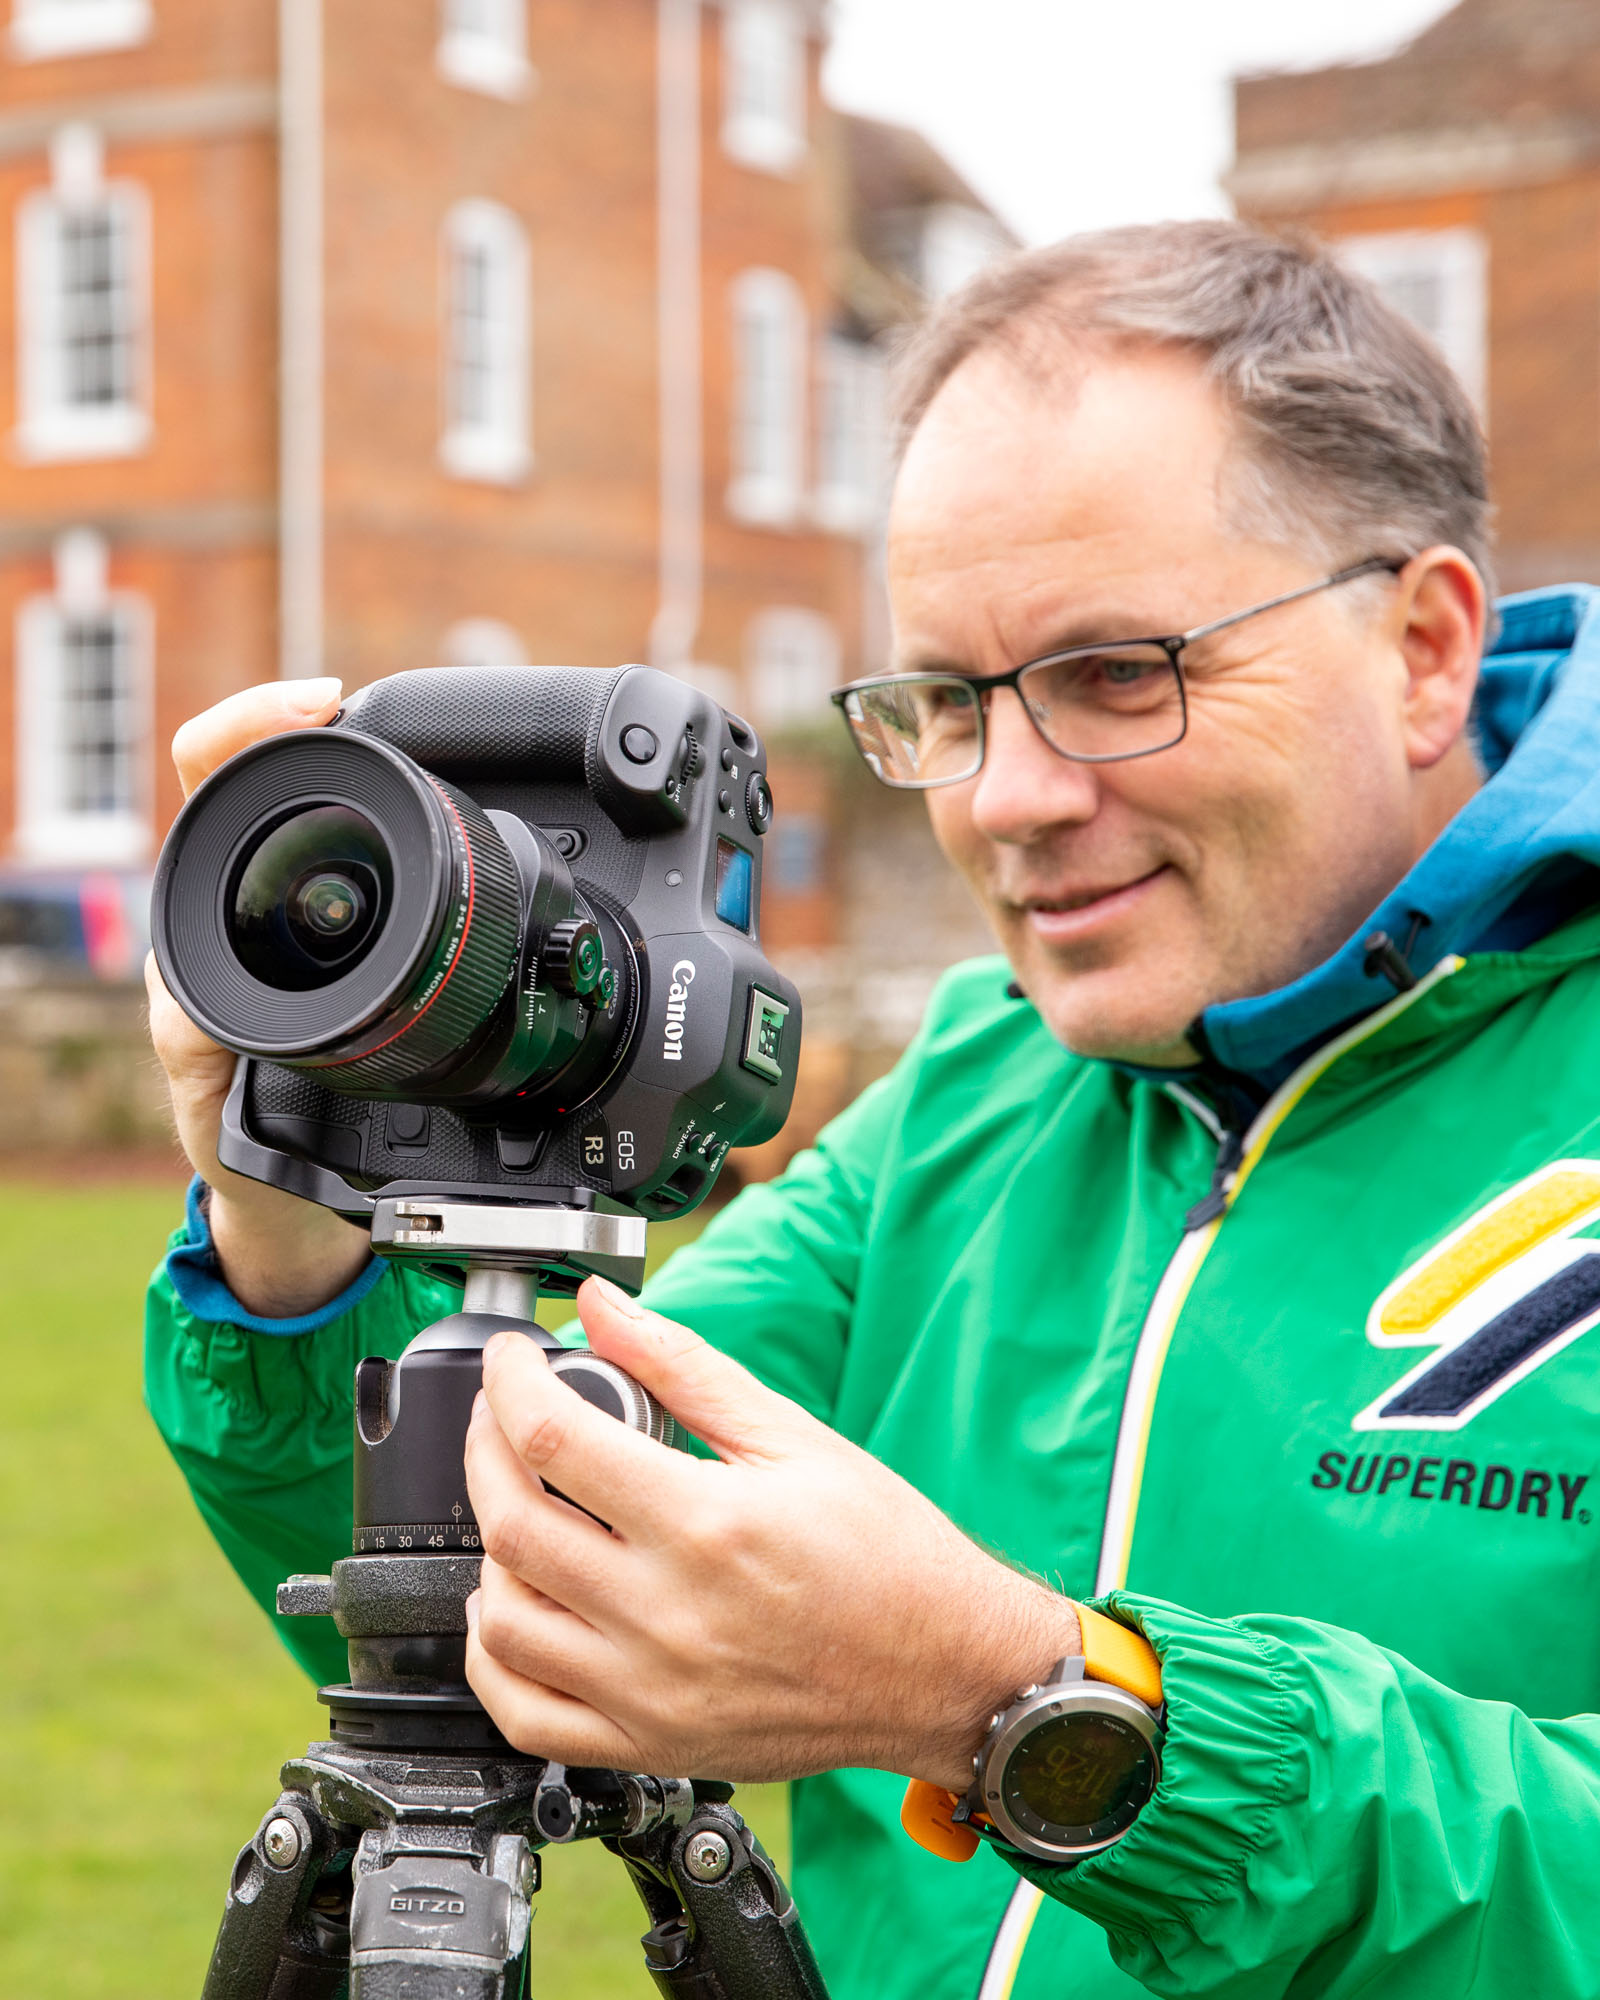
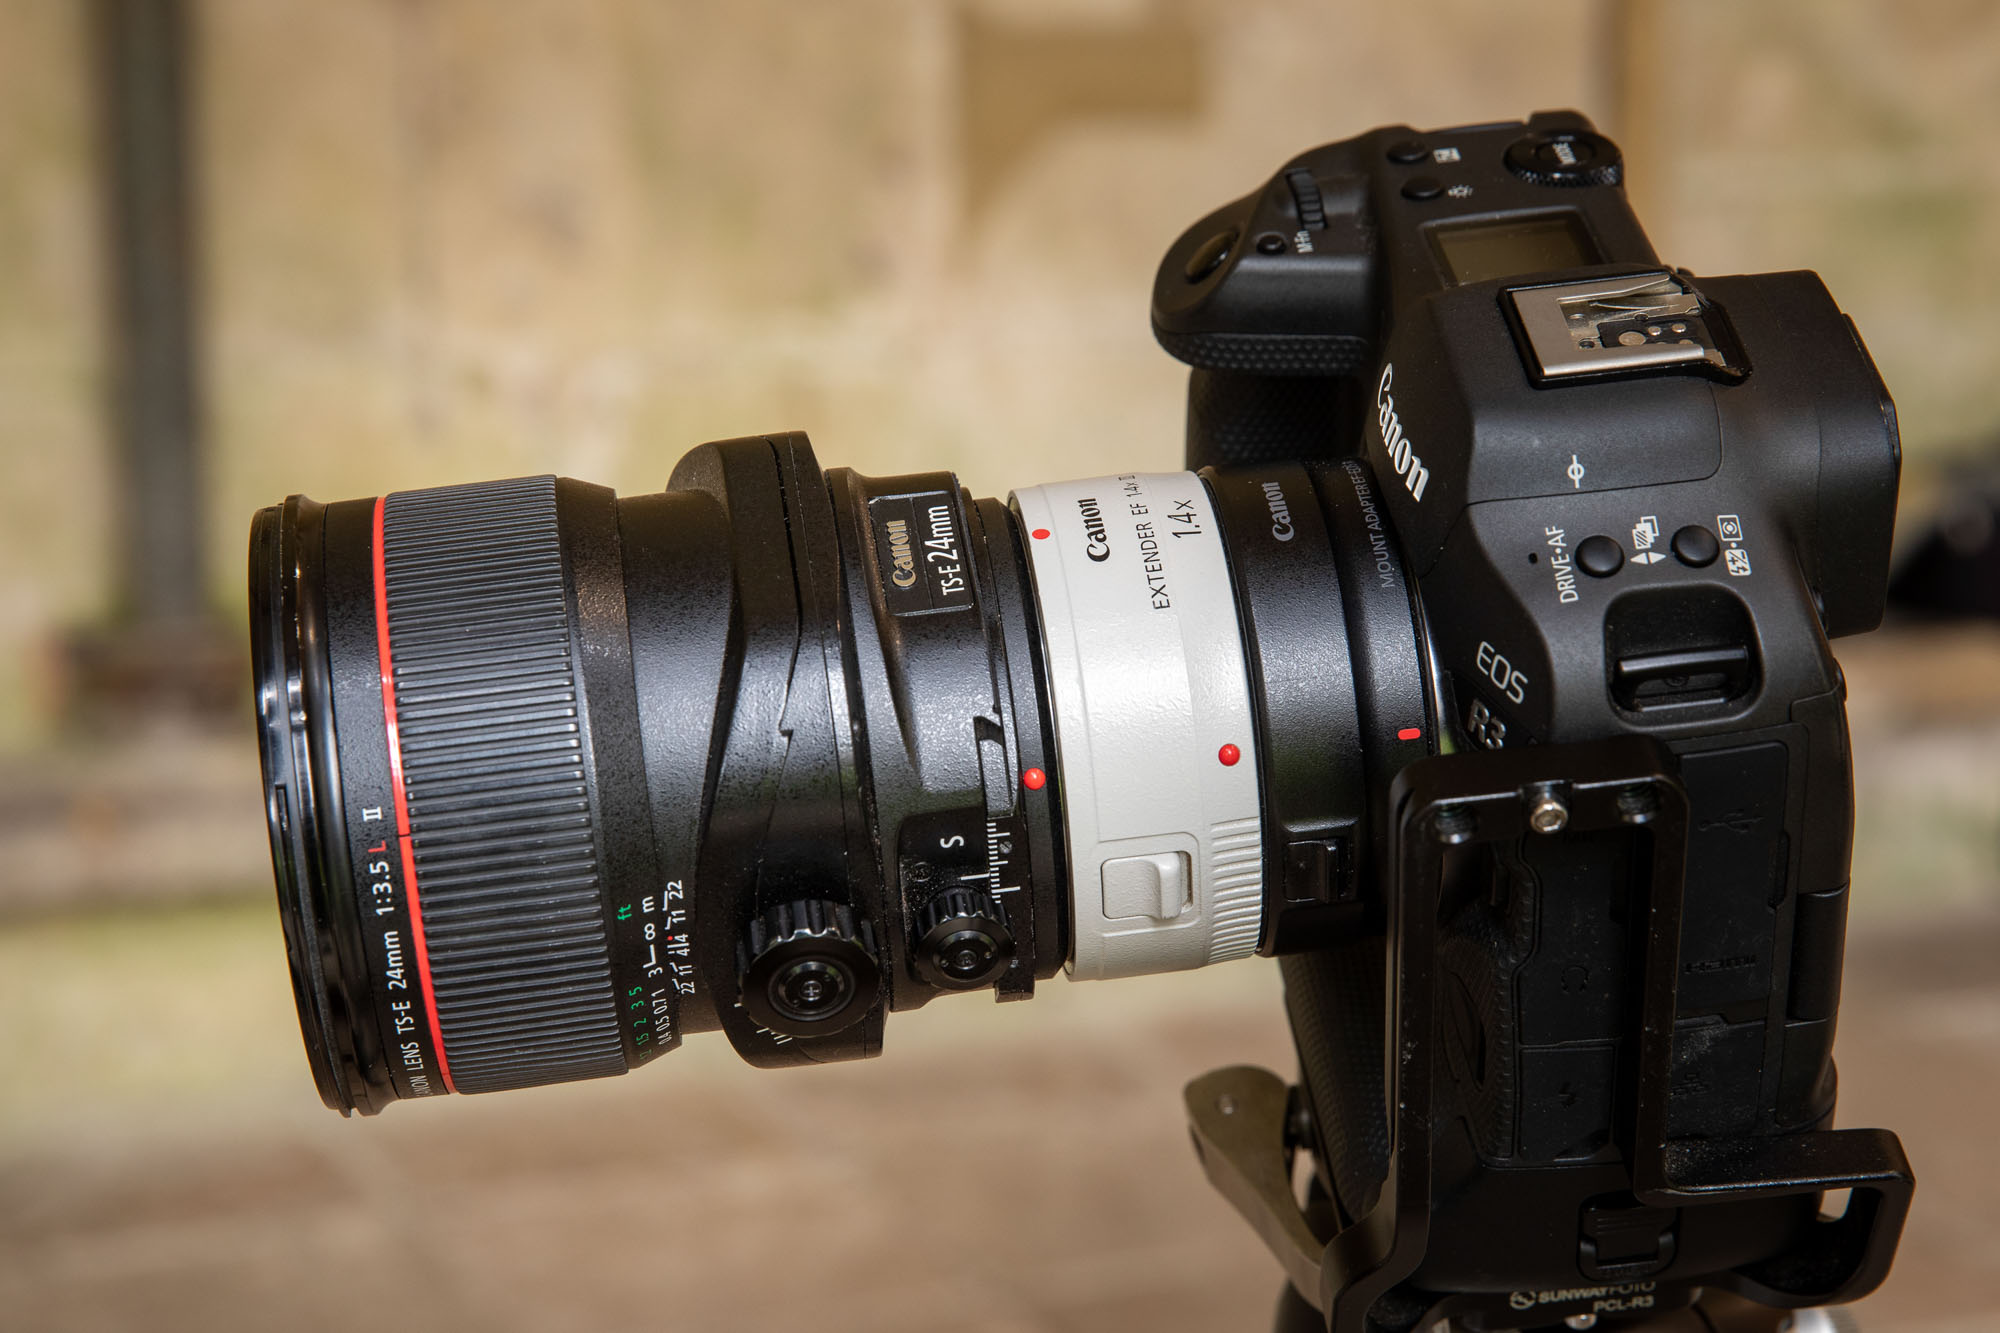
“My well-used Canon TS-E 24mm f/3.5L II tilt-shift lens is an amazing optic,” reveals David. “With a large field of view, your camera can be levelled and square to buildings, and then the composition ‘shifted’ around in the viewfinder. This keeps those important verticals straight, just as the eye sees them, which is an essential look for professional architecture photography.”
The best camera deals, reviews, product advice, and unmissable photography news, direct to your inbox!
3. Canon Extender
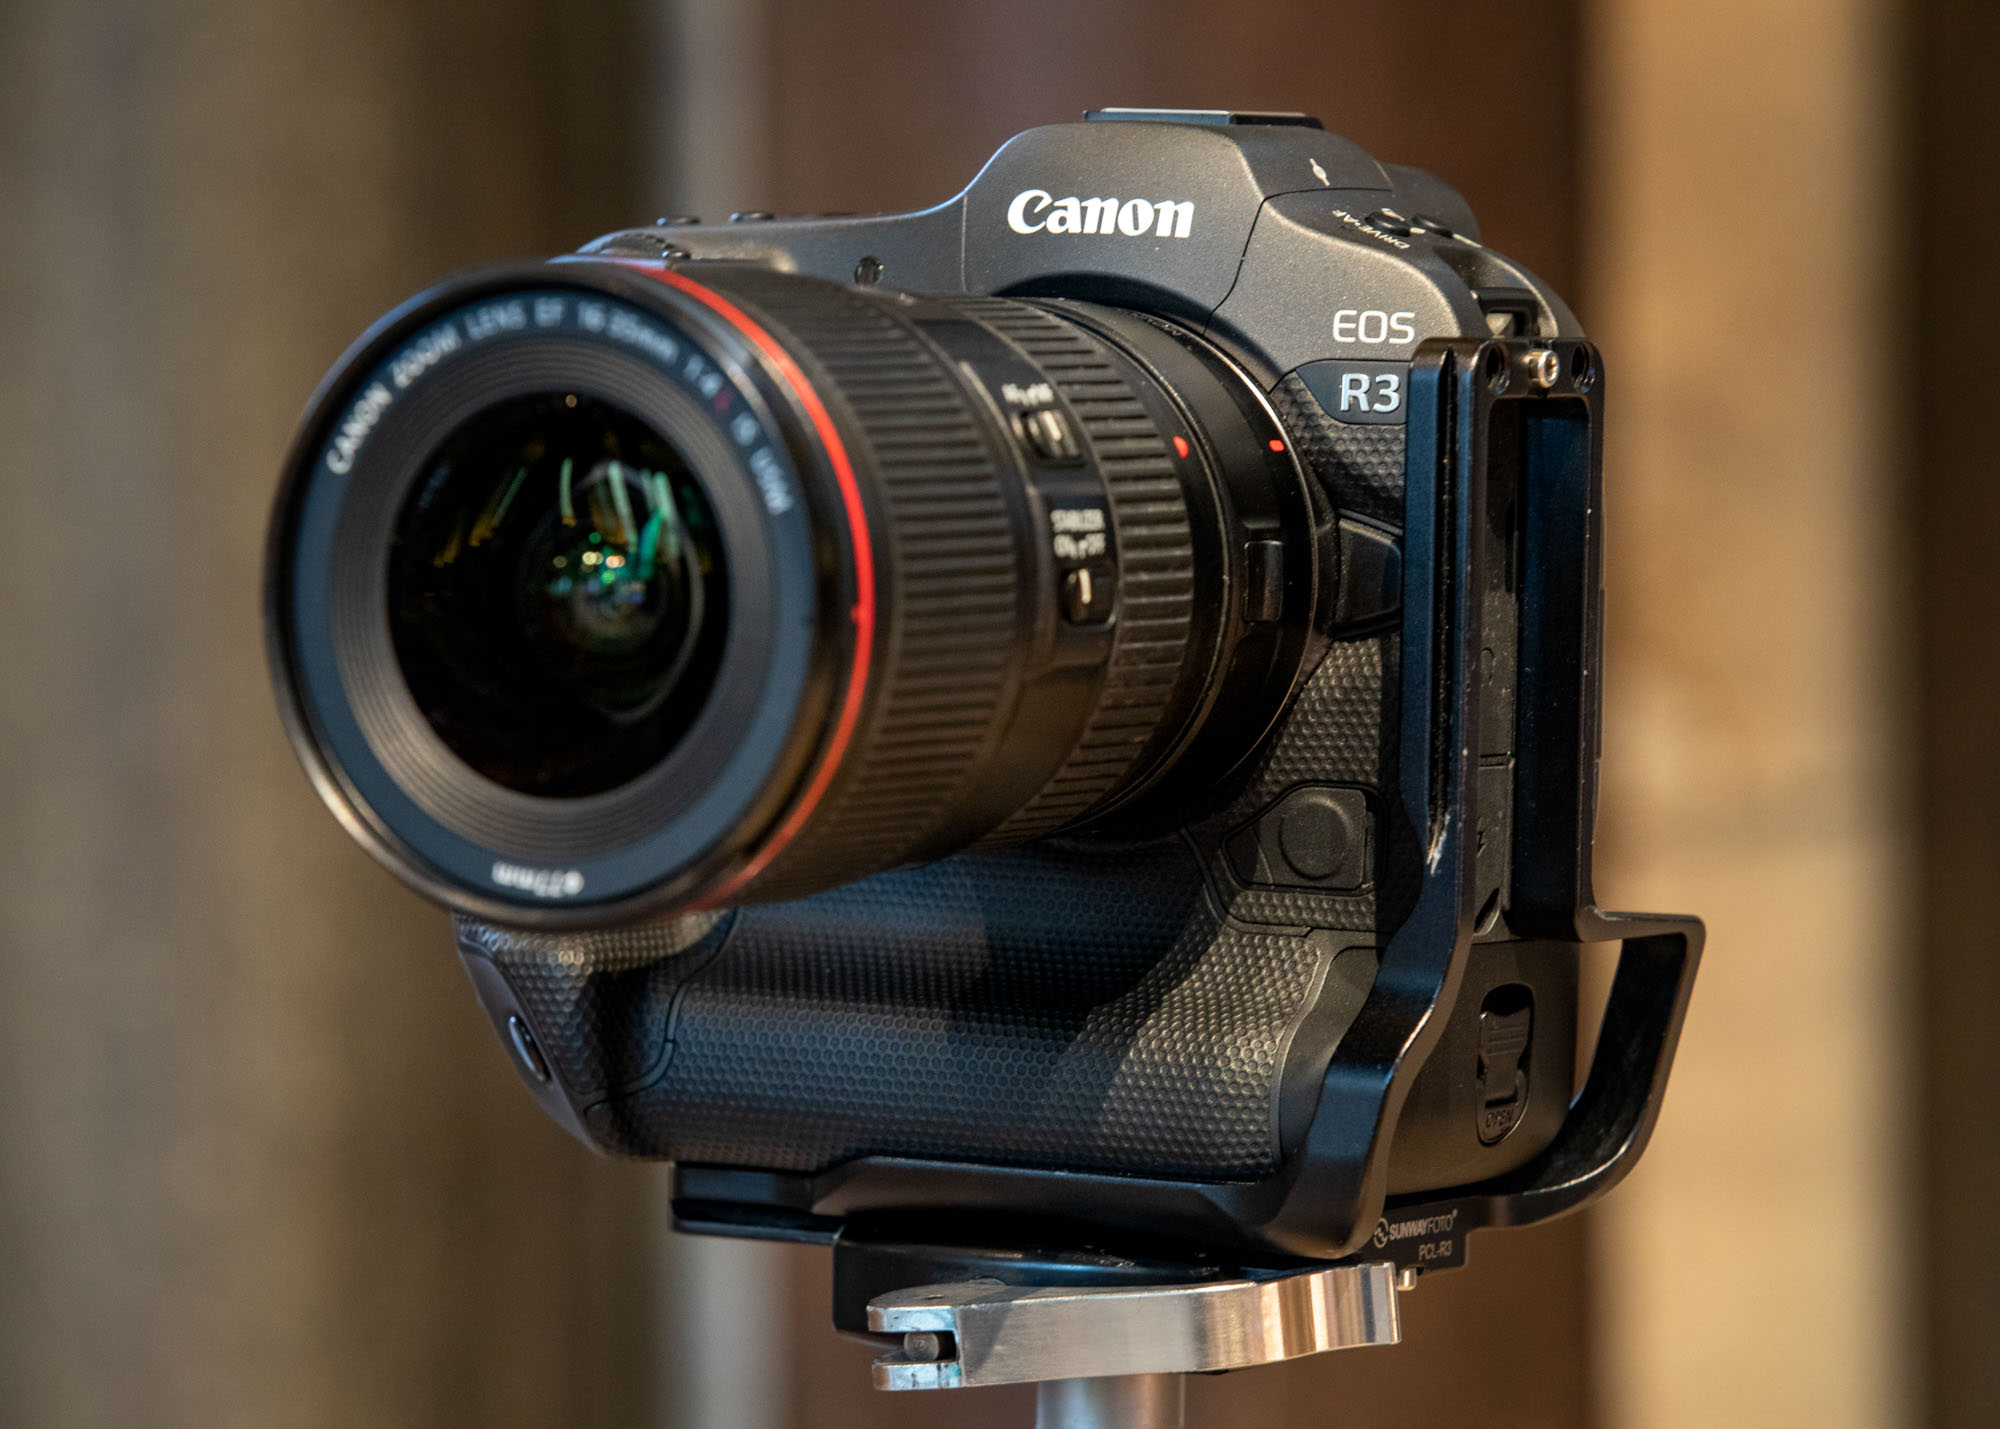
“This little EF Extender 1.4x III is my secret weapon! I use this teleconverter to multiply the focal length of my favorite lenses to make them even more versatile. My TS-E 24mm f/3.5L II becomes a 35mm and my EF 100-400mm f/4.5-5.6L IS II USM telephoto zoom becomes a 560mm at the long end!” says David. “I simply use the EF-EOS R mount adapter so I can use the Extender and EF/TS-E lenses on my EOS R3 camera.”
4. Telephoto creativity
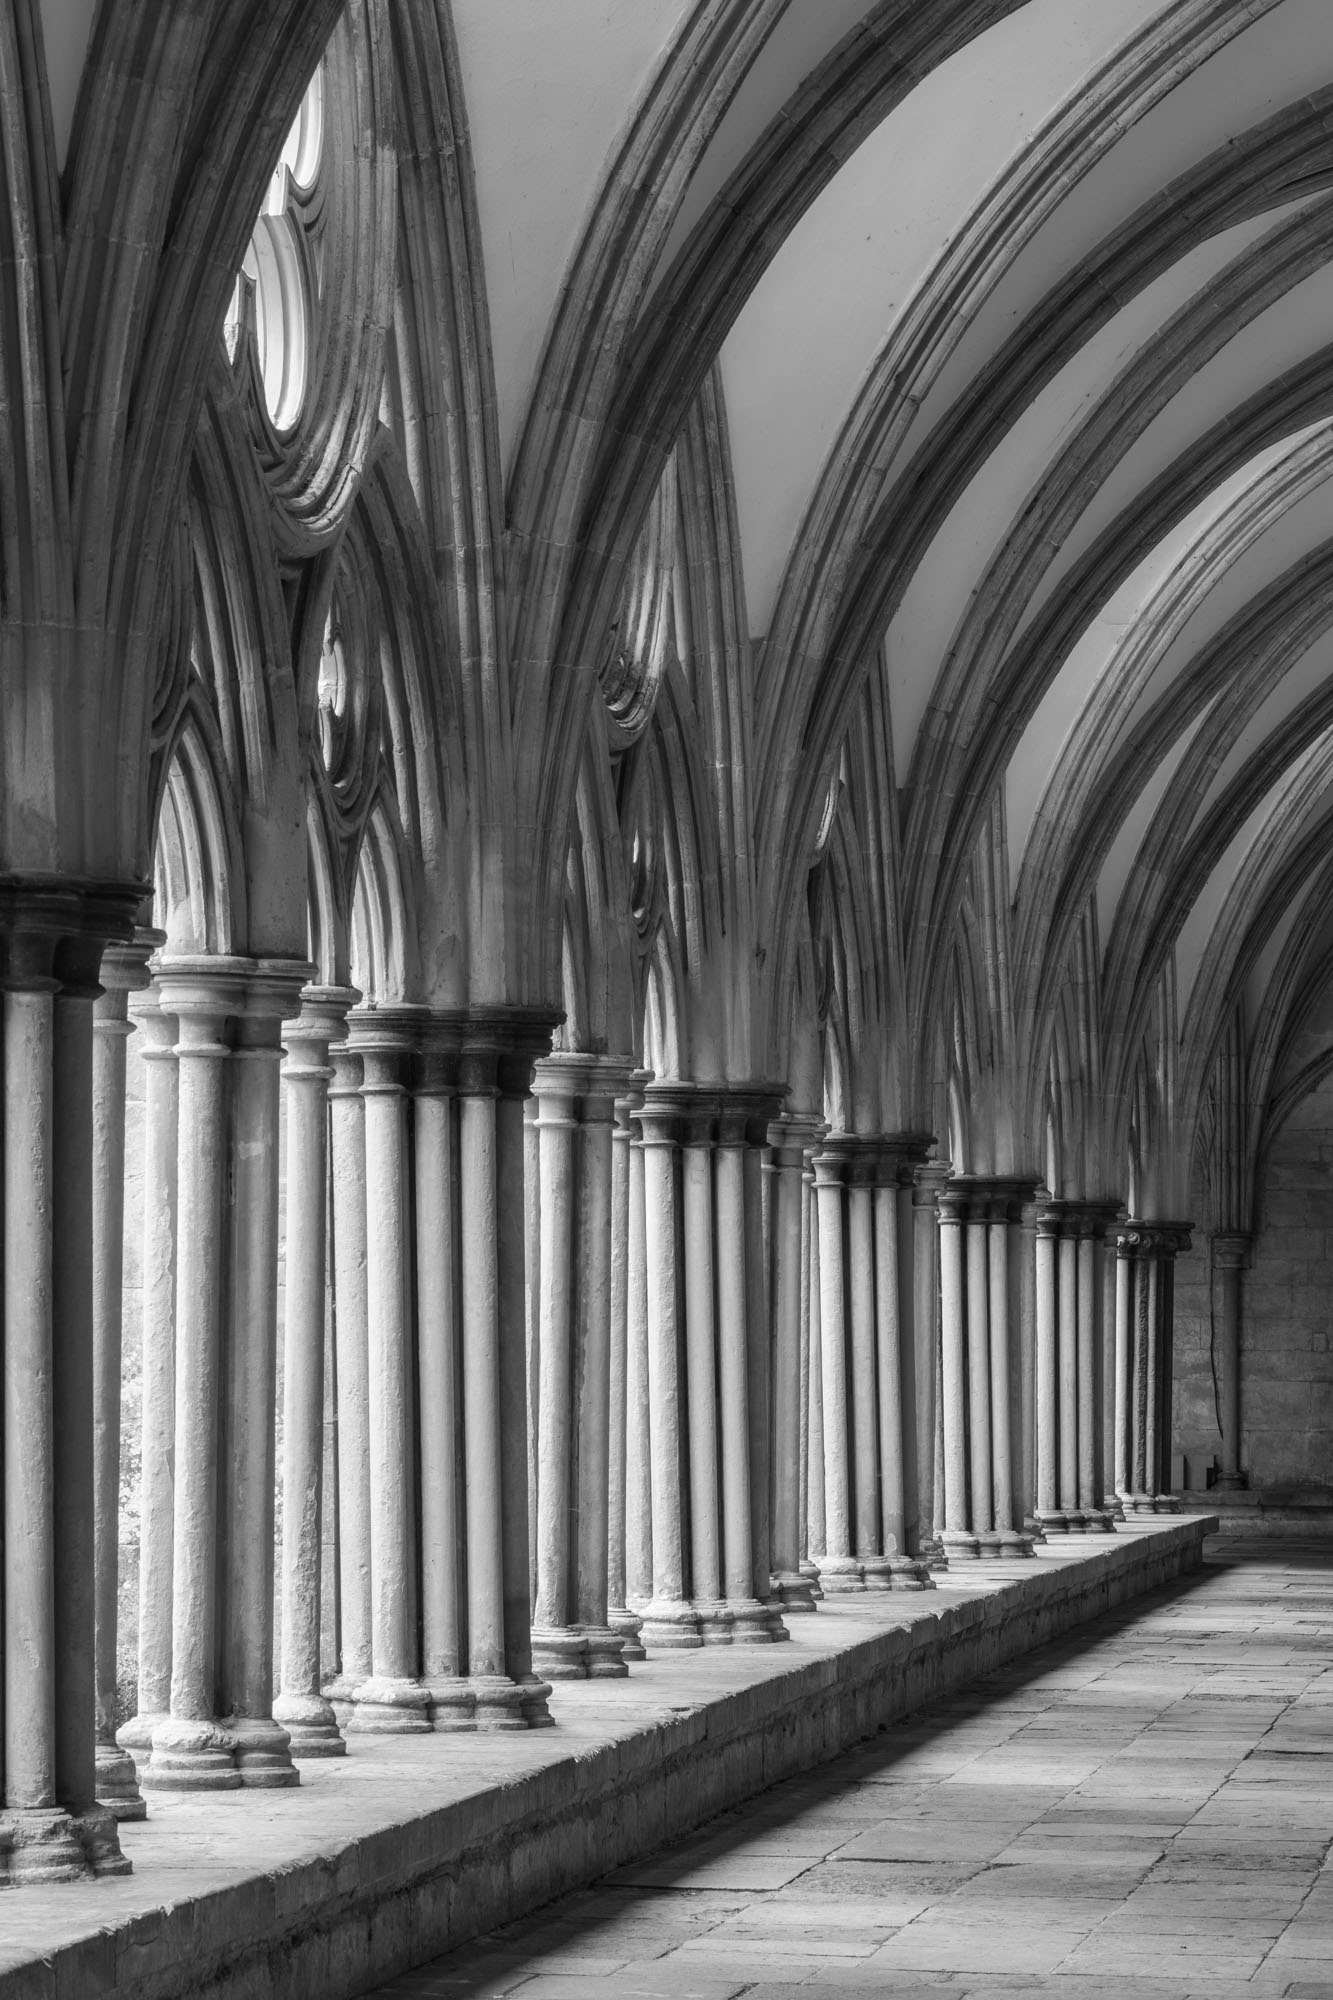
“I often use my Canon EF 100-400mm f/4.5-5.6L to pick out interesting bits. I love the repeating patterns of these old columns. At 100mm and f/16, I’ve ensured that the columns from front to rear are sharp in this shot. I also used a Mono Picture Style to go for a black and white look,” says David.
5. Sharp and clear images
David was very keen to emphasize to Pierre the importance of capturing the sharpest possible photos, and with minimal noise, which can be very apparent when shooting at higher ISOs on smaller sensor cameras like his 1300D. “I made sure Pierre switched from Auto ISO and set his ISO to 100 for cleaner images, as we were able to use tripods inside the cathedral, so it didn’t matter if our shutter speeds were really slow.
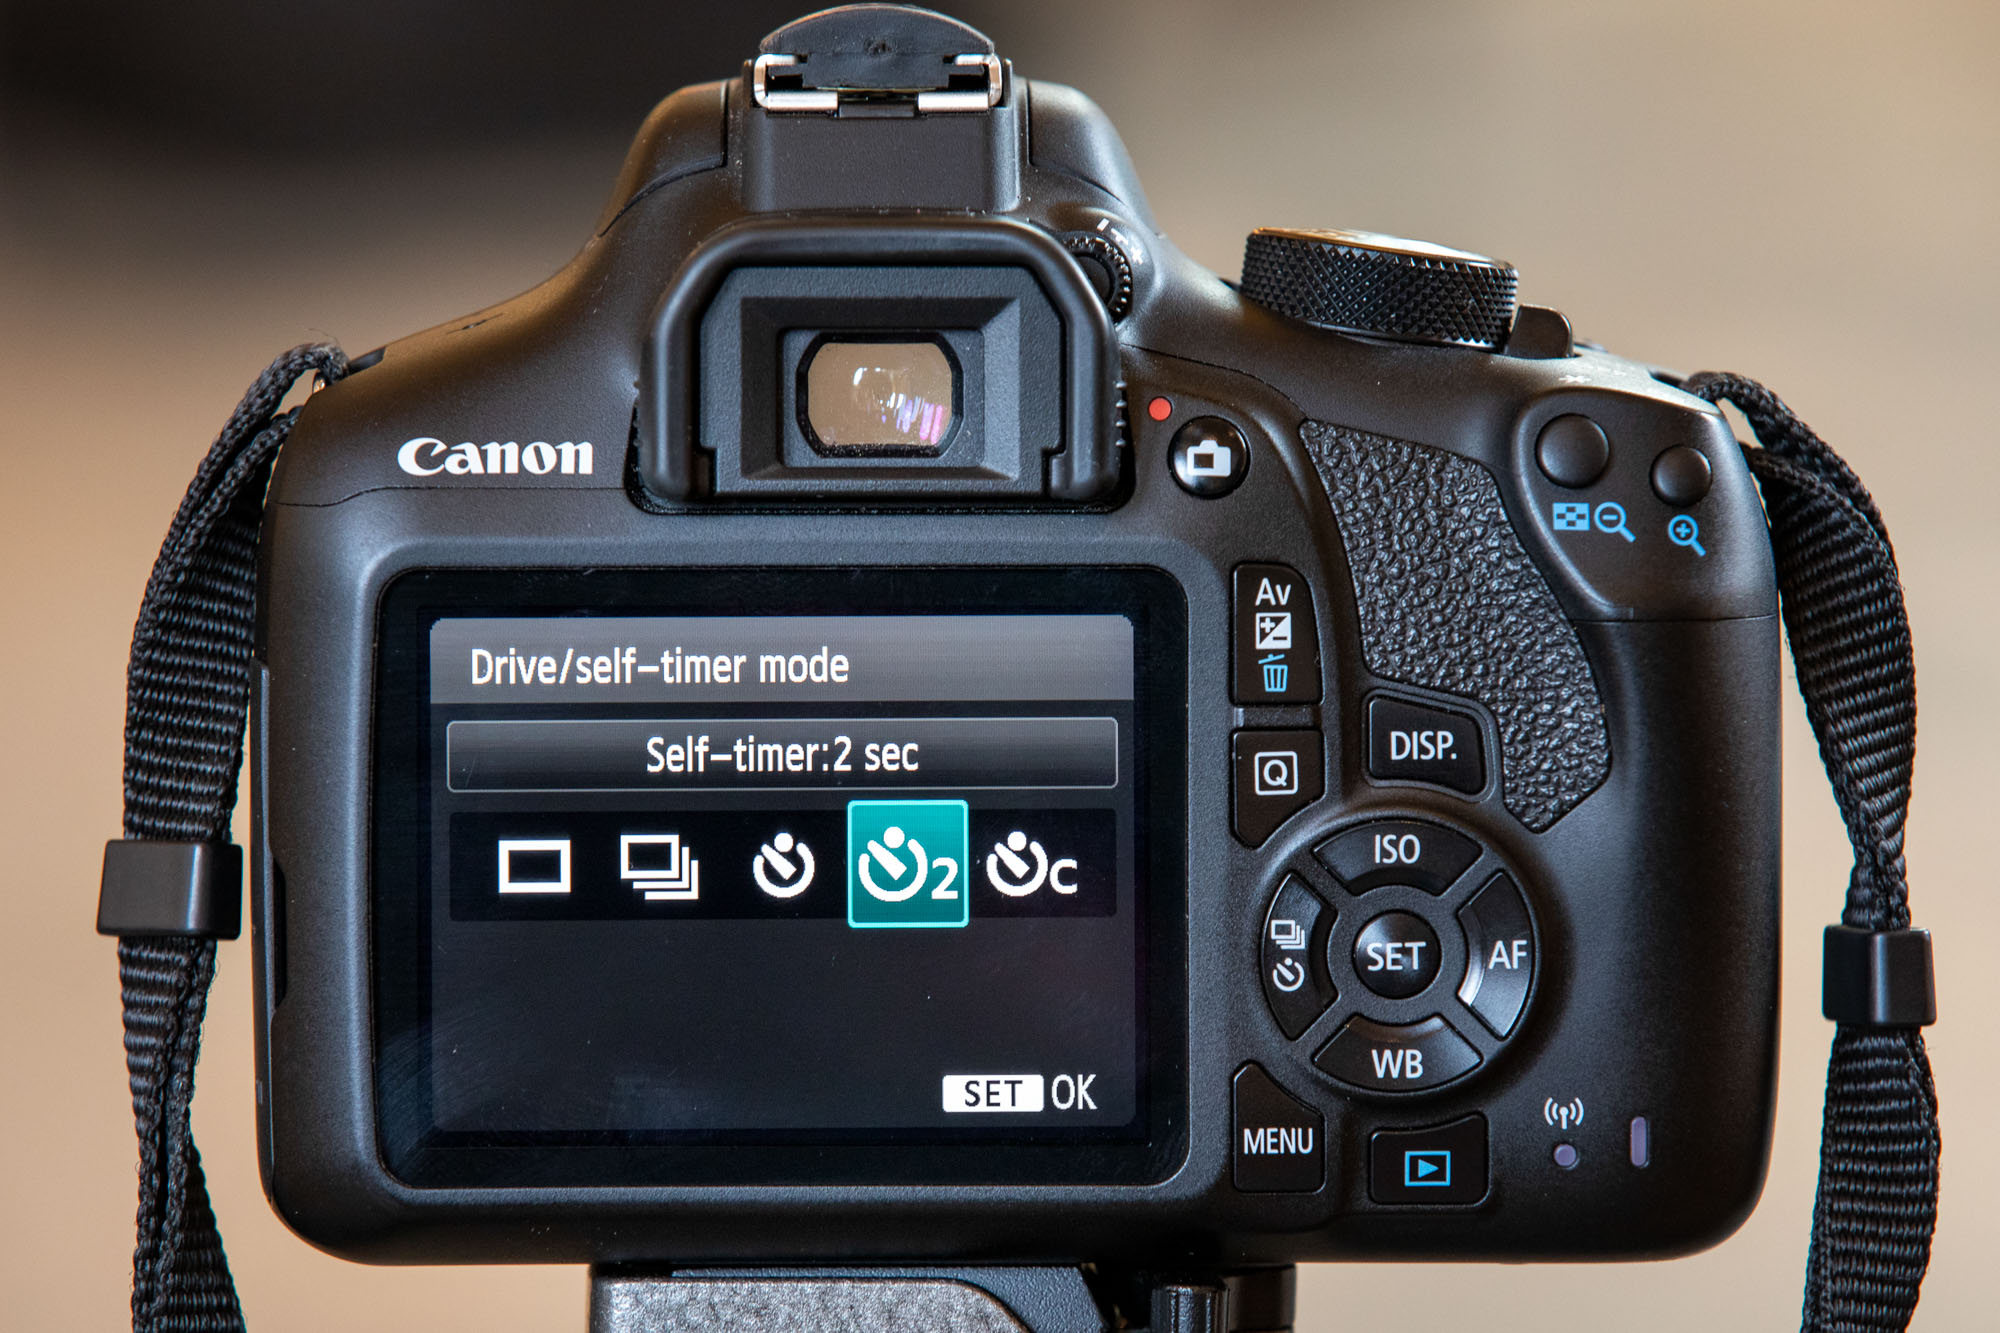
I also got him to use the 2-sec self-timer to get sharper shots on his wobbly and skinny tripod! He was often pressing the shutter button and still holding his camera, which meant blurry shots when shooting at longer exposure of 4 secs and slower. Press the button then get your hands off!” chuckles David.
6. Wide zoom lens
“My go-to wide-angle lens is still the Canon EF 16-35mm f/4L IS USM, even though I’ve moved to mirrorless. I prefer it over the f/2.8 as it’s lighter, has image stabilization, and takes more popular (and cheaper) 77mm filters, rather than 82mm. The f/4L lens is incredibly sharp, even wide open, but for the best combination of depth of field and image quality, use your wide-angle lens at a mid-range aperture of f/8.”
7. Hotshoe spirit level
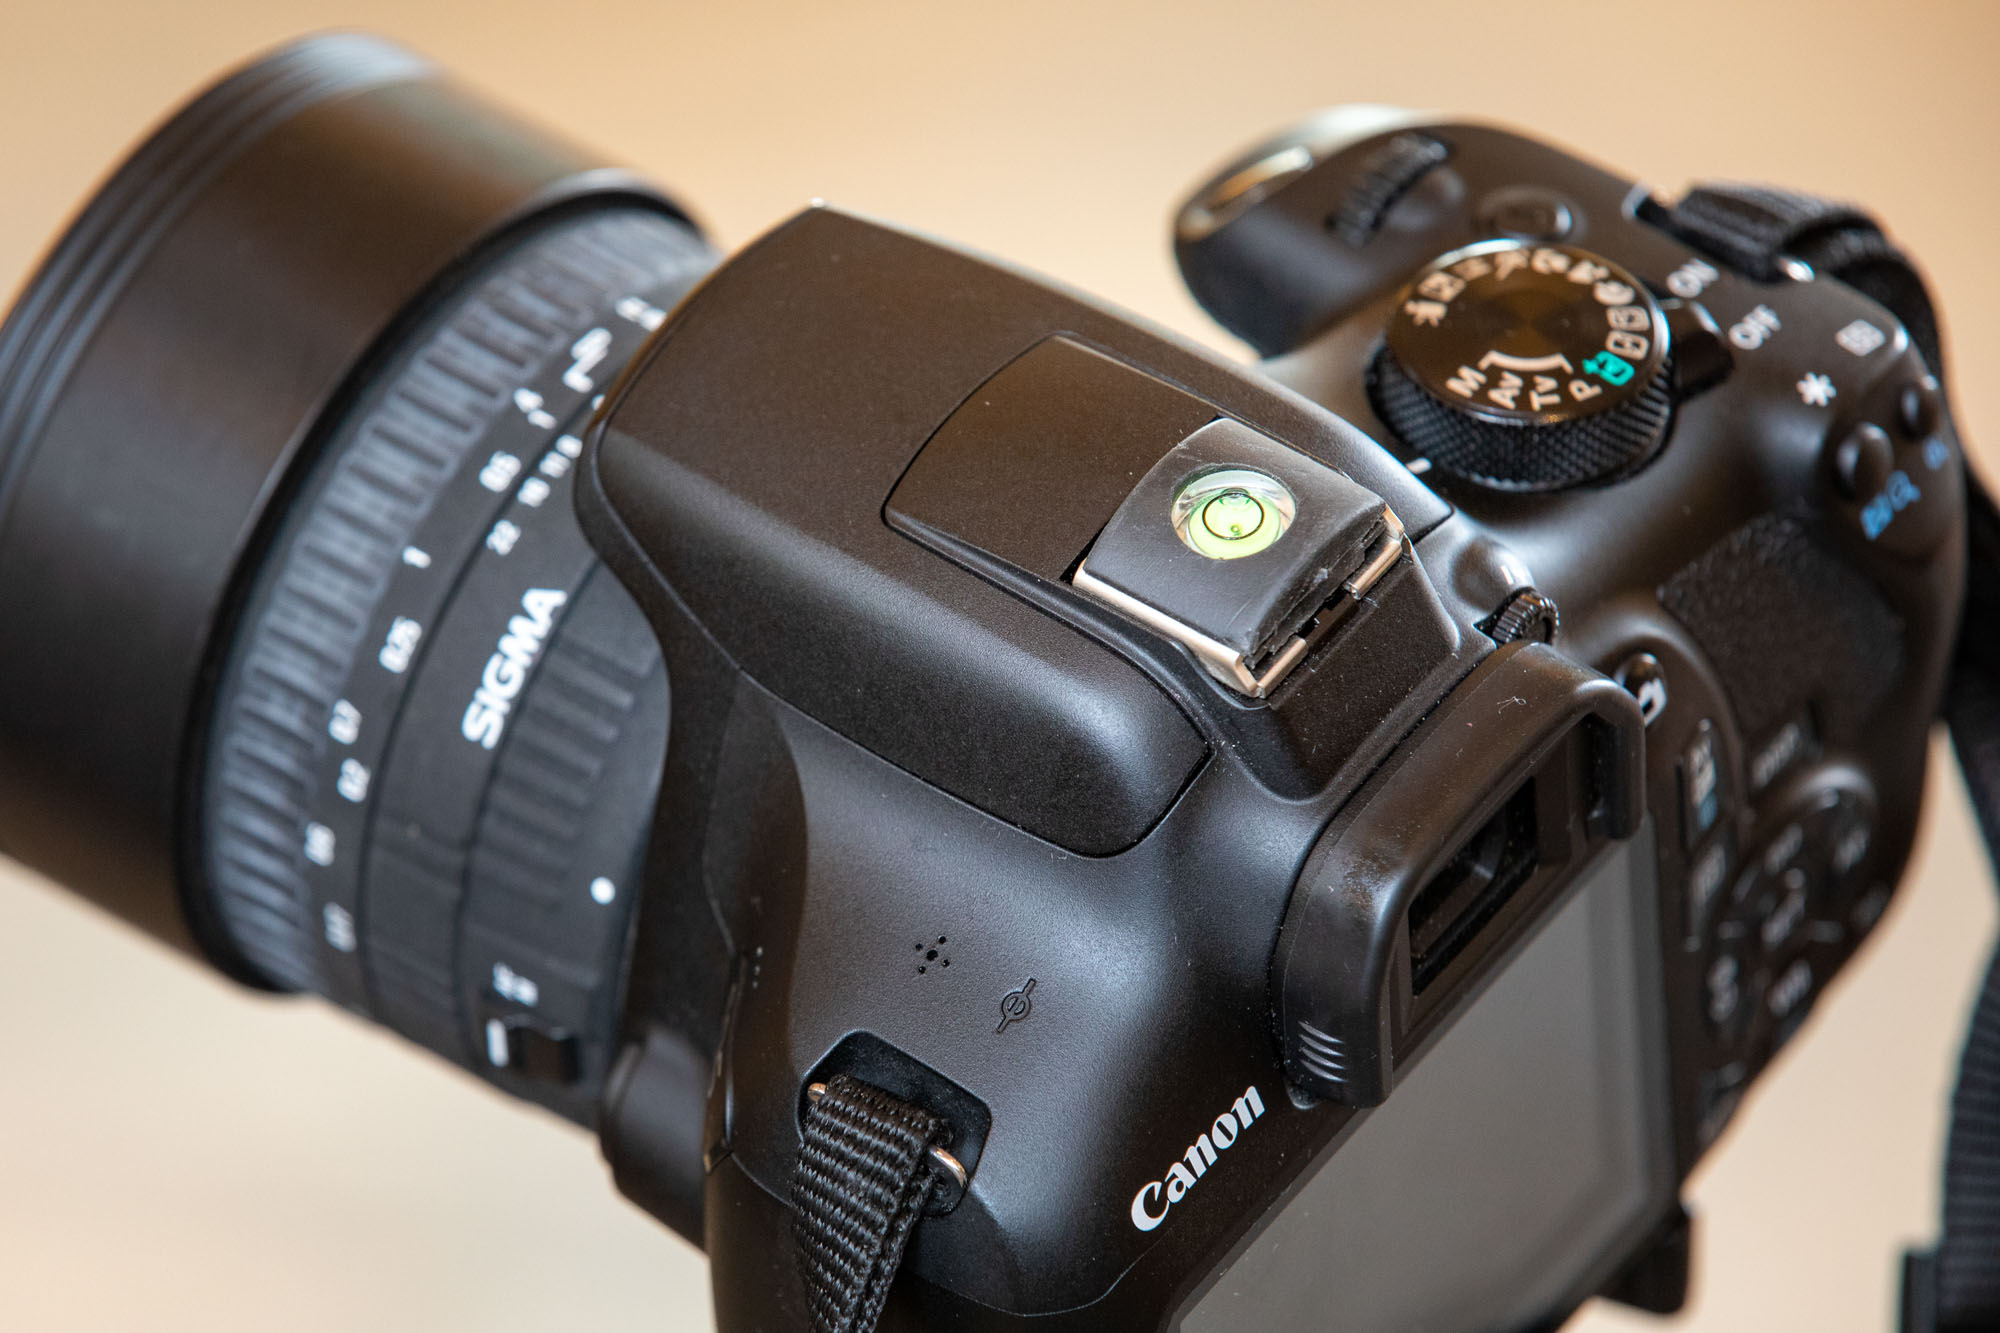
Pierre’s entry-level EOS 1300D DSLR doesn’t have a digital level on screen, nor did his budget tripod have a spirit level on the legs or head, so he was finding it difficult to get his camera level for straighter photos. “I have these great little spirit levels that slot into your camera’s hotshoe. So simple, but so effective. It instantly helped Pierre with his photos. This type is available on Amazon and eBay for less than a fiver!” smiles David.
8. Switch off IS
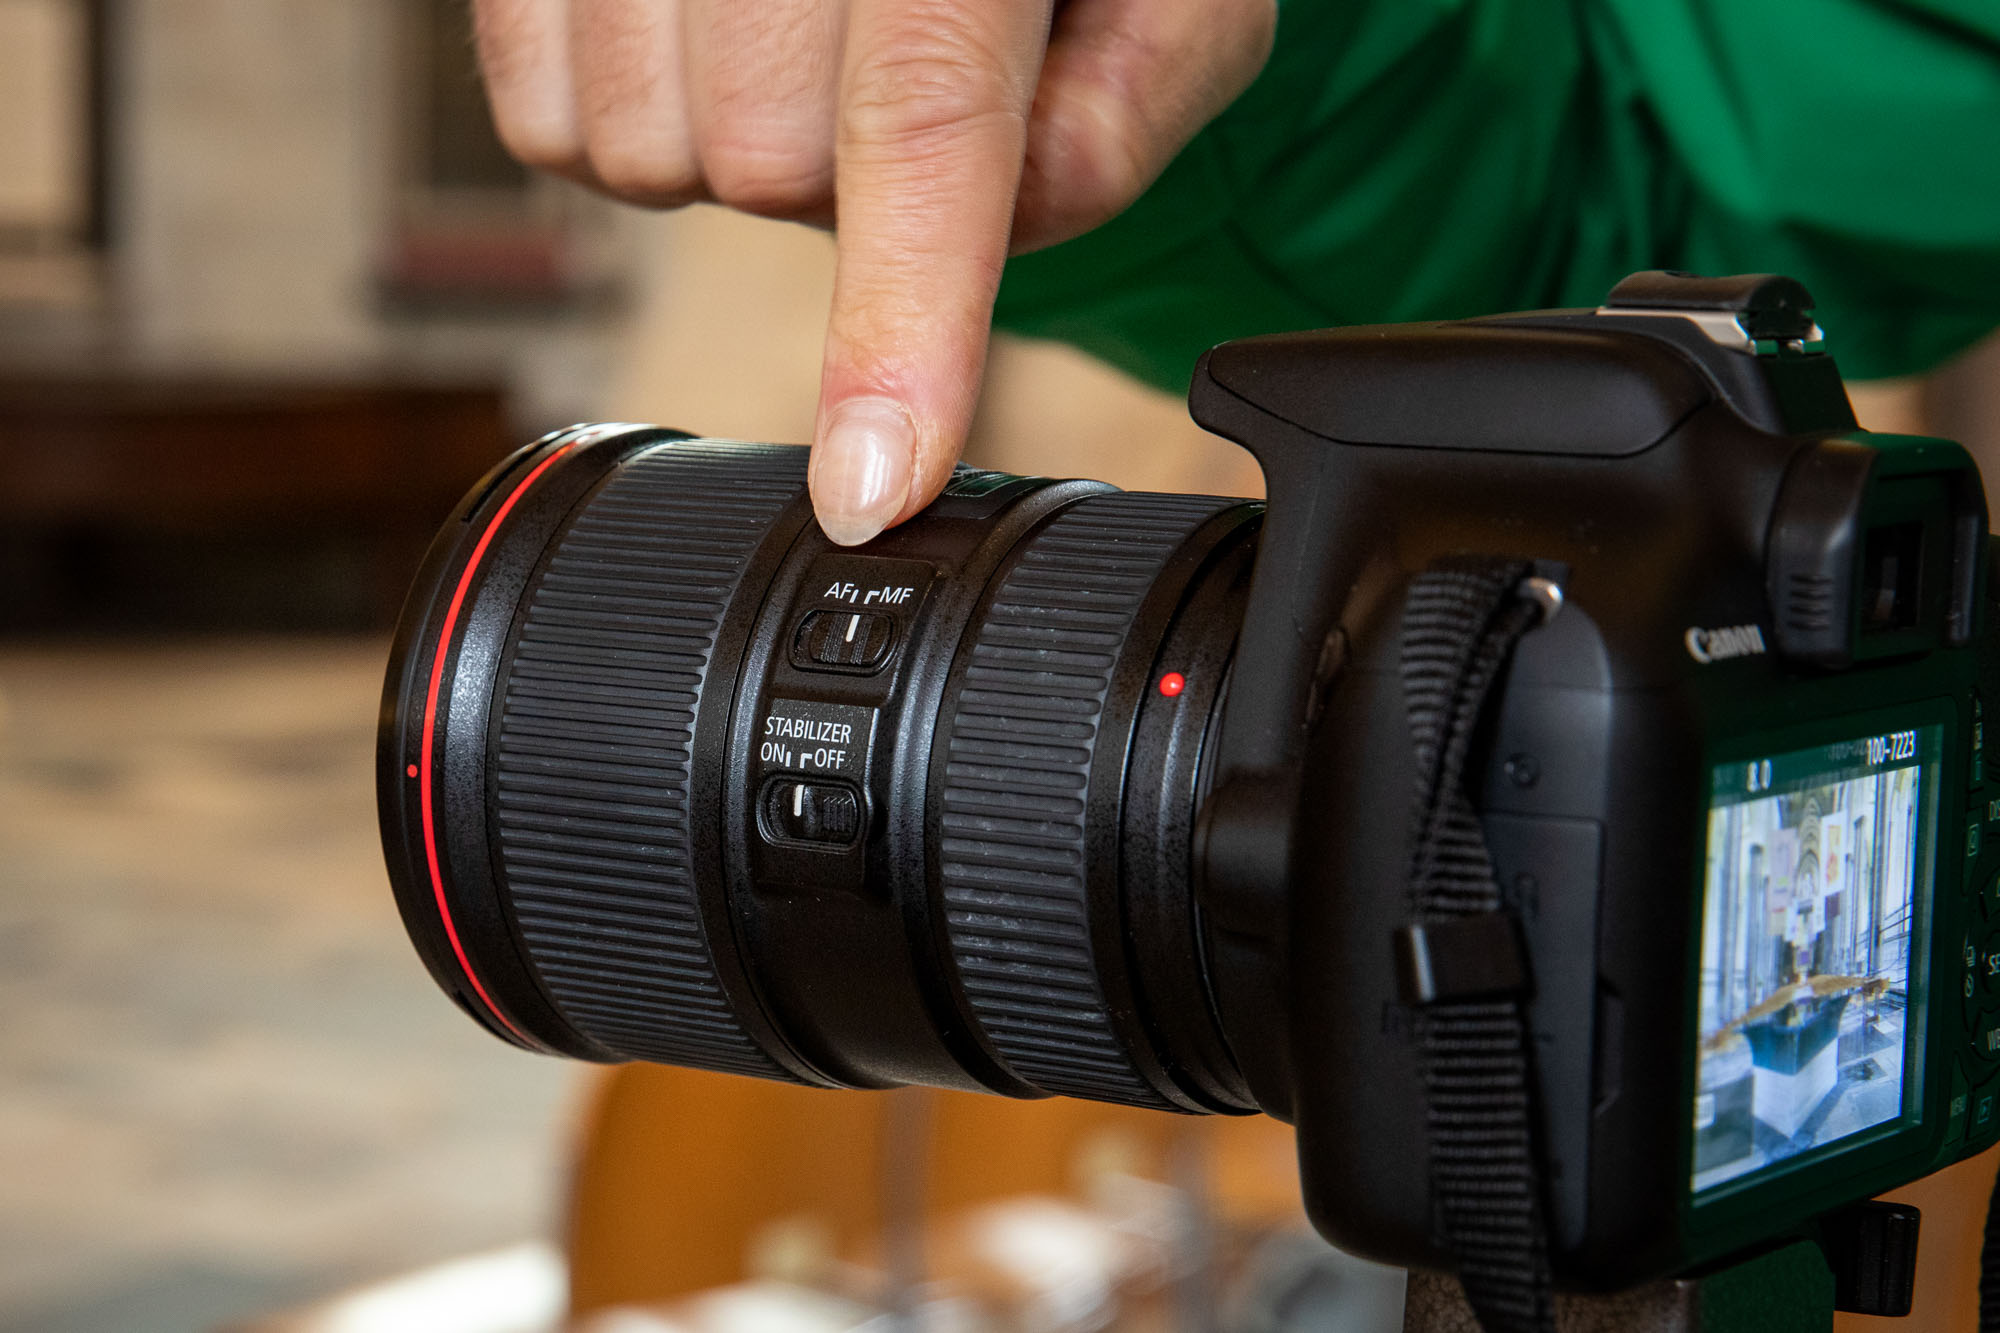
Pierre was struggling with his focusing on his 1300D. In Live View, it kept hunting around trying to focus on the wrong parts of the scene. David advised switching off Image Stabilization on the lens and switch to manual focus (MF) on the lens to lock the focus.
9. Compact fisheye lens
“I still swear by this great little, budget Sigma 15mm f/2.8 EX DG Diagonal Fisheye lens that’s still sharp from centre to edges. On my full-frame R3 (with the adapter as this is an EF lens) it captures an amazing 180-angle of view. You can pick up a used lens for around £250 online. An amazing price in today’s worth for such superb optical quality at 15mm,” says David. “Pierre tried it out on his 1300D, even with the 1.6x crop factor it created wide 24mm shots.”
10. Live View to expose and compose
Try moving your camera around in hand with Live View on screen to find the best composition,” suggests David. “When in position, compose with more precision using the tripod. Zoom 10x in to get the maximum sharpness, using AF to focus on an area with edges and contrast or adjusting focus manually. Use the Live View histogram to check highlights.
If you're really into photography of buildings, you'll want to check out the best lenses for architecture. David uses a Canon EOS R3. To see more from his stunning portfolio be sure to check out his website.
PhotoPlus: The Canon Magazine is the world's only monthly newsstand title that's 100% devoted to Canon, so you can be sure the magazine is completely relevant to your system. Every issue comes with downloadable video tutorials too.
PhotoPlus: The Canon Magazine is the world’s only 100% Canon-focused title on the newsstand. Launched in 2007, for 14 years it has delivered news, reviews, buying guides, features, inspirational projects and tutorials on cameras, lenses, tripods, gimbals, filters, lighting and all manner of photography equipment.
Aimed squarely at enthusiast photographers who use the Canon DSLR or mirrorless camera systems, all content is tailored to Canon users – so everything from techniques to product tests are tailored to those using the EOS camera system.
Editor Peter Travers brings 14 years of experience as both a journalist and professional photographer, with Technique Editor Dan Mold shoring up the magazine with his 6 years of expertise.
- Dan MoldProfessional photographer
