Bring the drama in your landscape photos with color grading in Affinity Photo
Use Affinity Photo 2 to add mood and color to a lacklustre image
The best camera deals, reviews, product advice, and unmissable photography news, direct to your inbox!
You are now subscribed
Your newsletter sign-up was successful
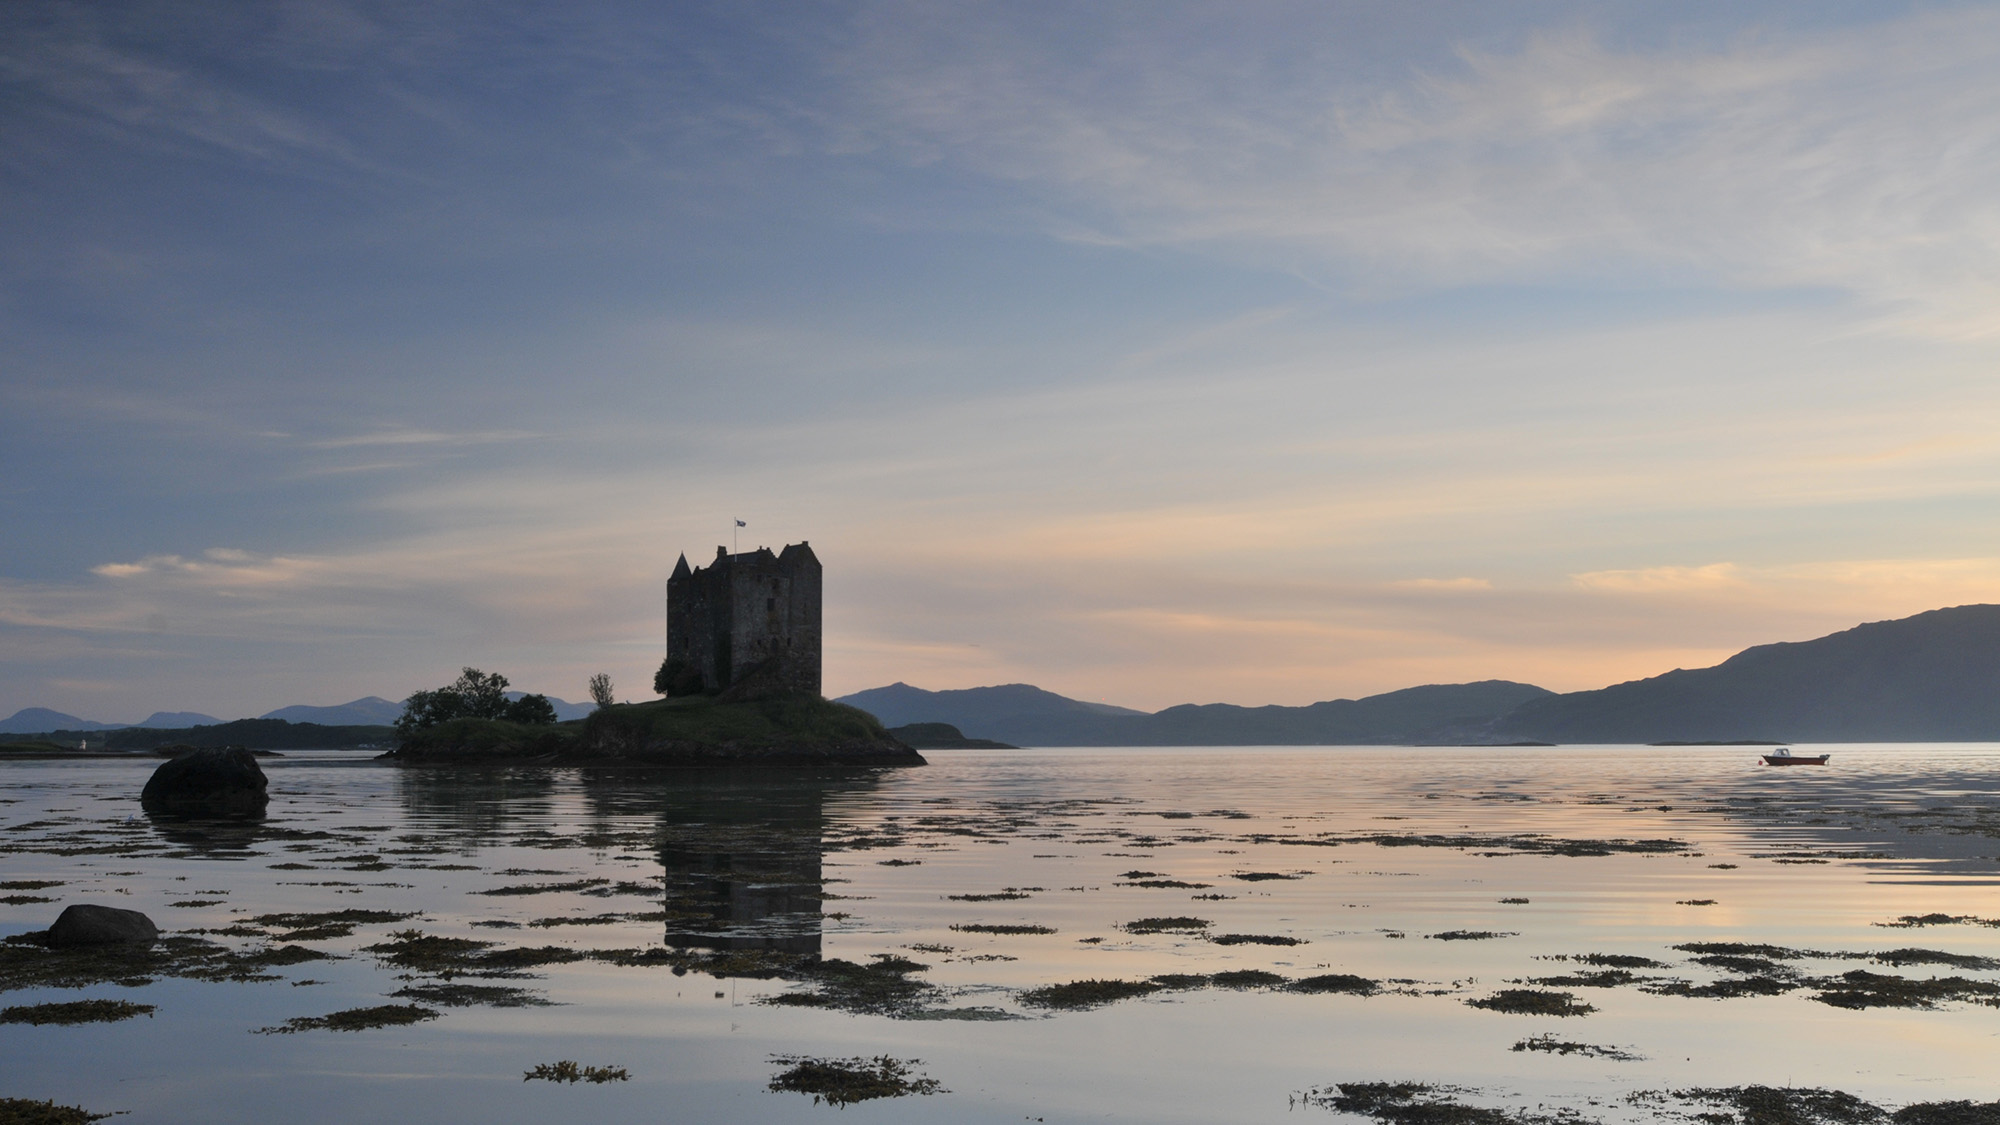
Sometimes the photo you take just doesn't live up to the dramatic spectacle that you experienced when you took it. Fortunately Affinity Photo has a range of color grading tools that can bring the drama back and give an image much more impact. How much you use of each one largely depends on the qualities of the image that you are processing, but put them all together and any image can be significantly enhanced. In this tutorial, weíll be looking at color balance, HSL shifts and split toning.
1. Adjust the brightness
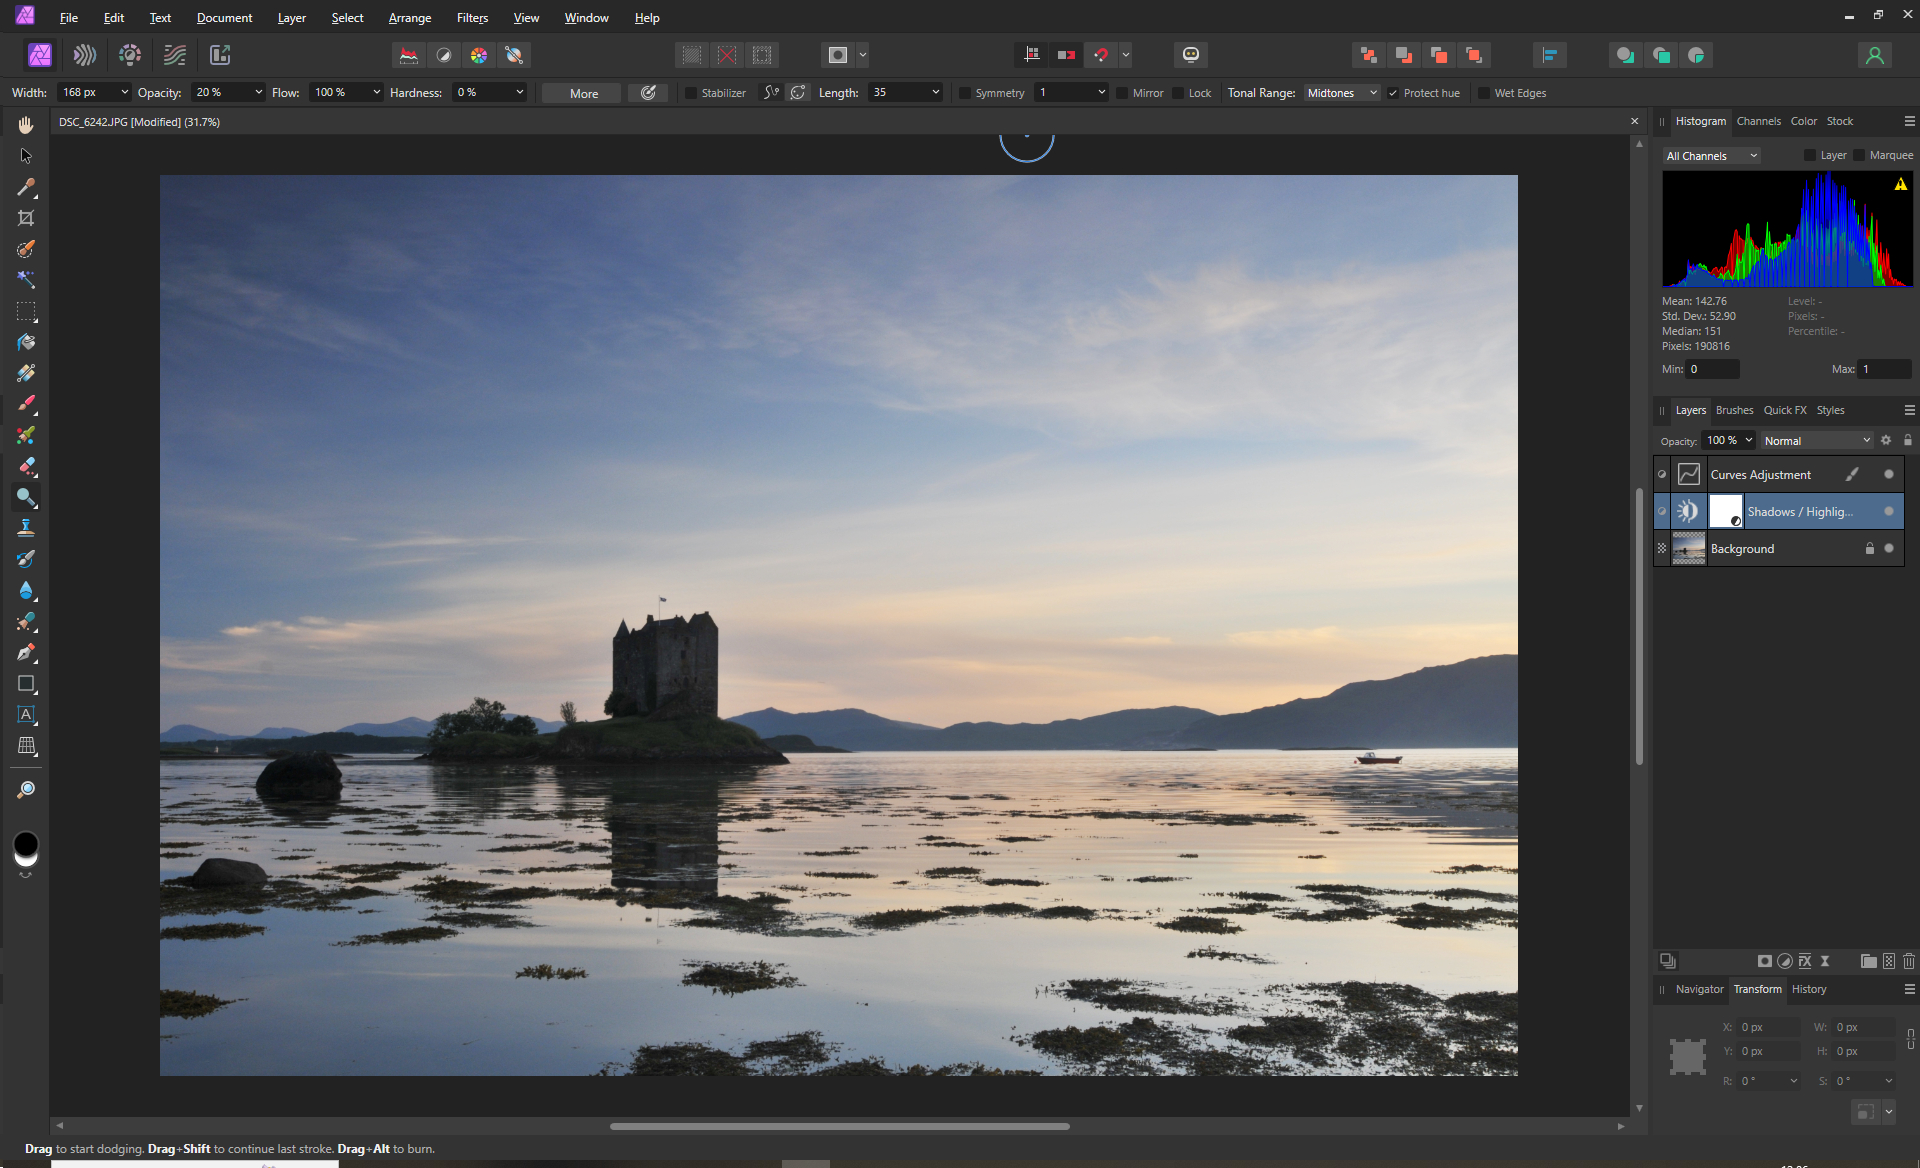
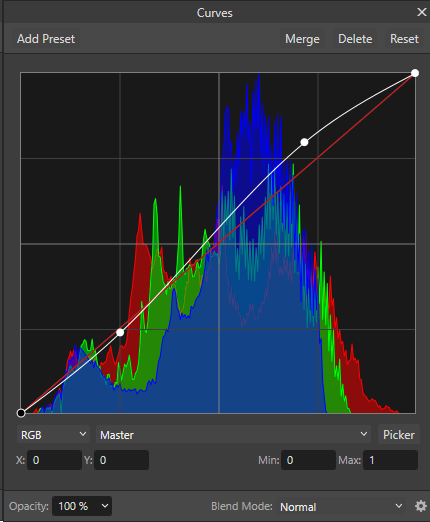
The first step is to get the brightness right across the image. Here the shadows are a bit too dark so needed brightening. All these adjustments are in the Photo Persona so firstly go to Layer> New Adjustment Layer> Shadows/Highlights. Increase the brightness of the shadows. Then use a Curves adjustment layer to add more contrast using an S-shape.
2. Start coloring
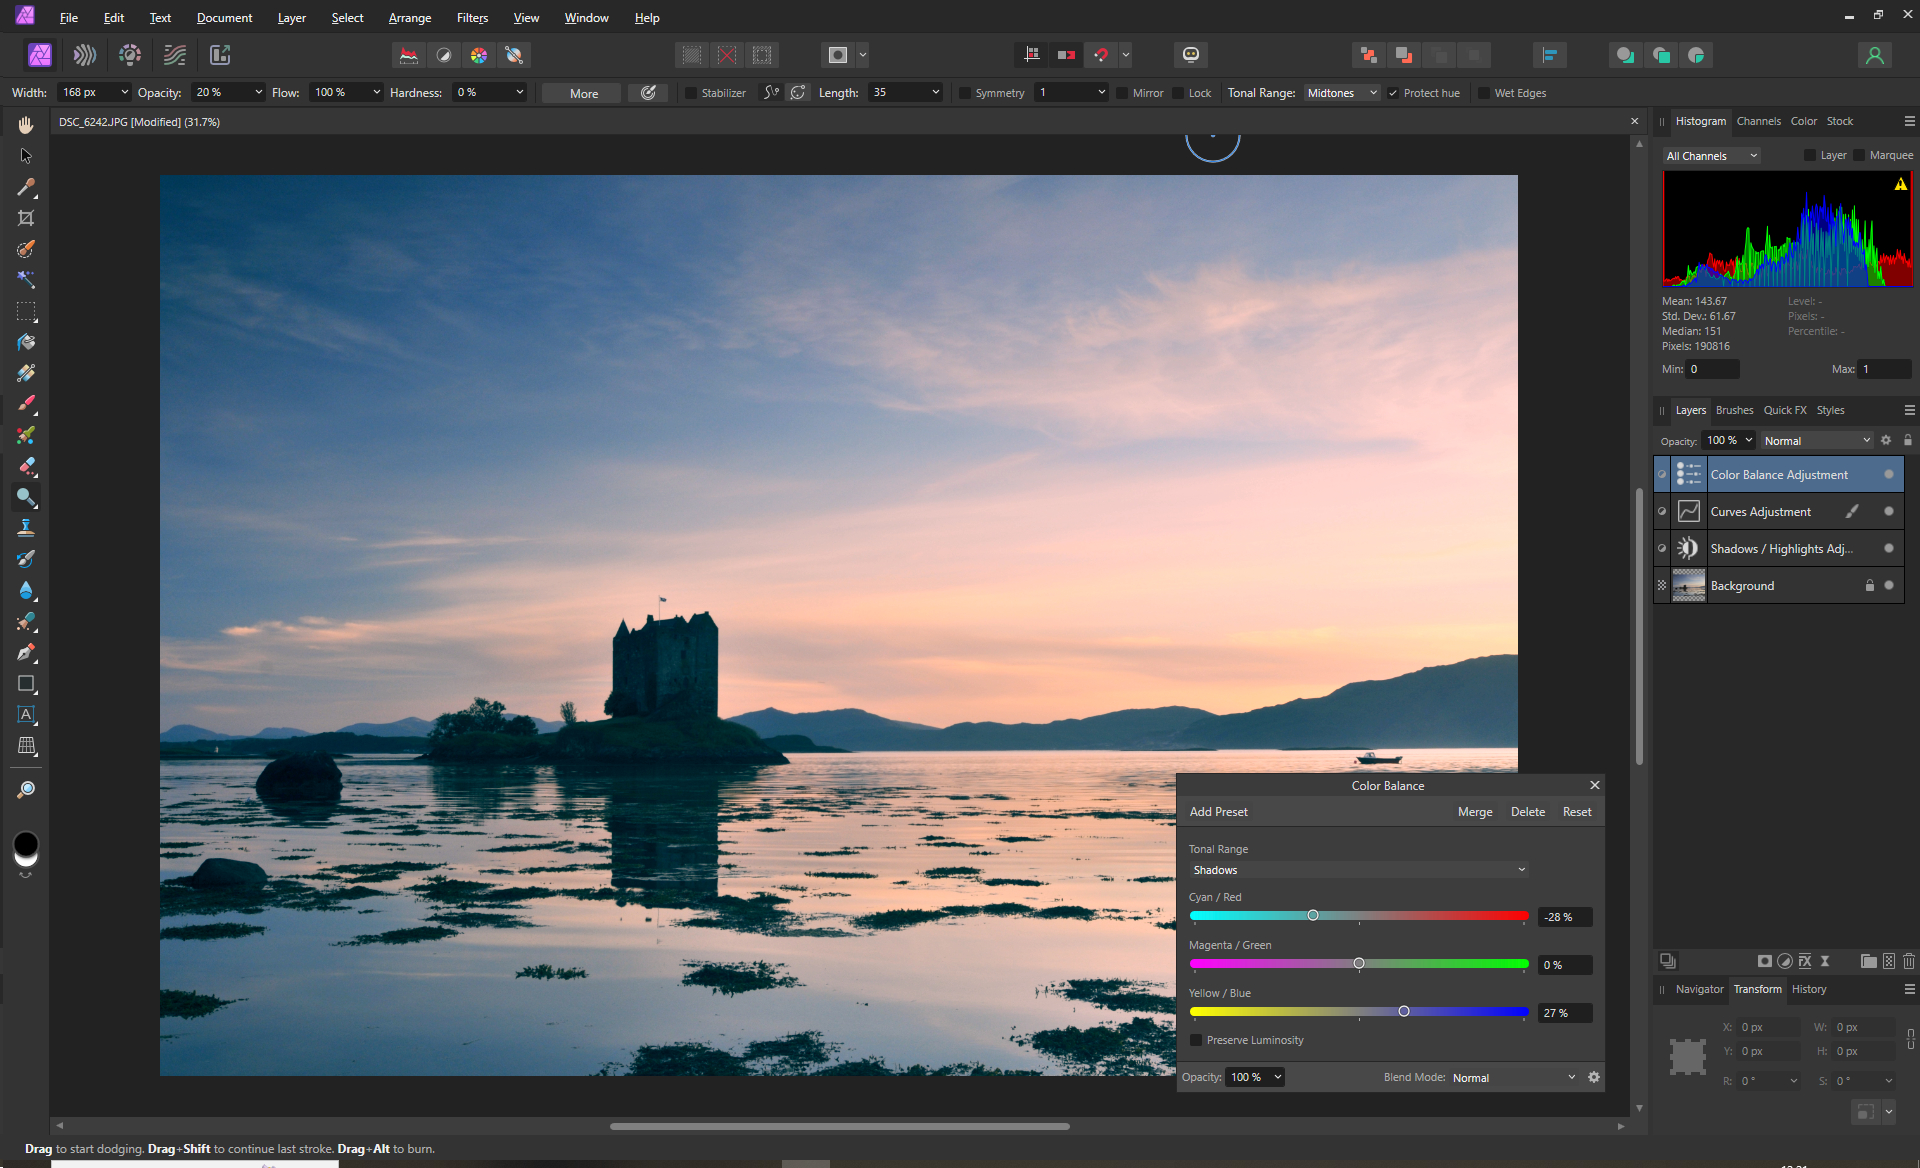
Go to Layer> New Adjustment Layer> Color Balance. Select the Shadows from the Tonal Range list. Now, increase the cyan and blue tones to give those areas a much more cooler feel. Then select the Highlights from the Tonal Range list and increase the red and yellow elements. As these are adjustment layers you can always come back later and tweak them.
Article continues below3. Increase the saturation
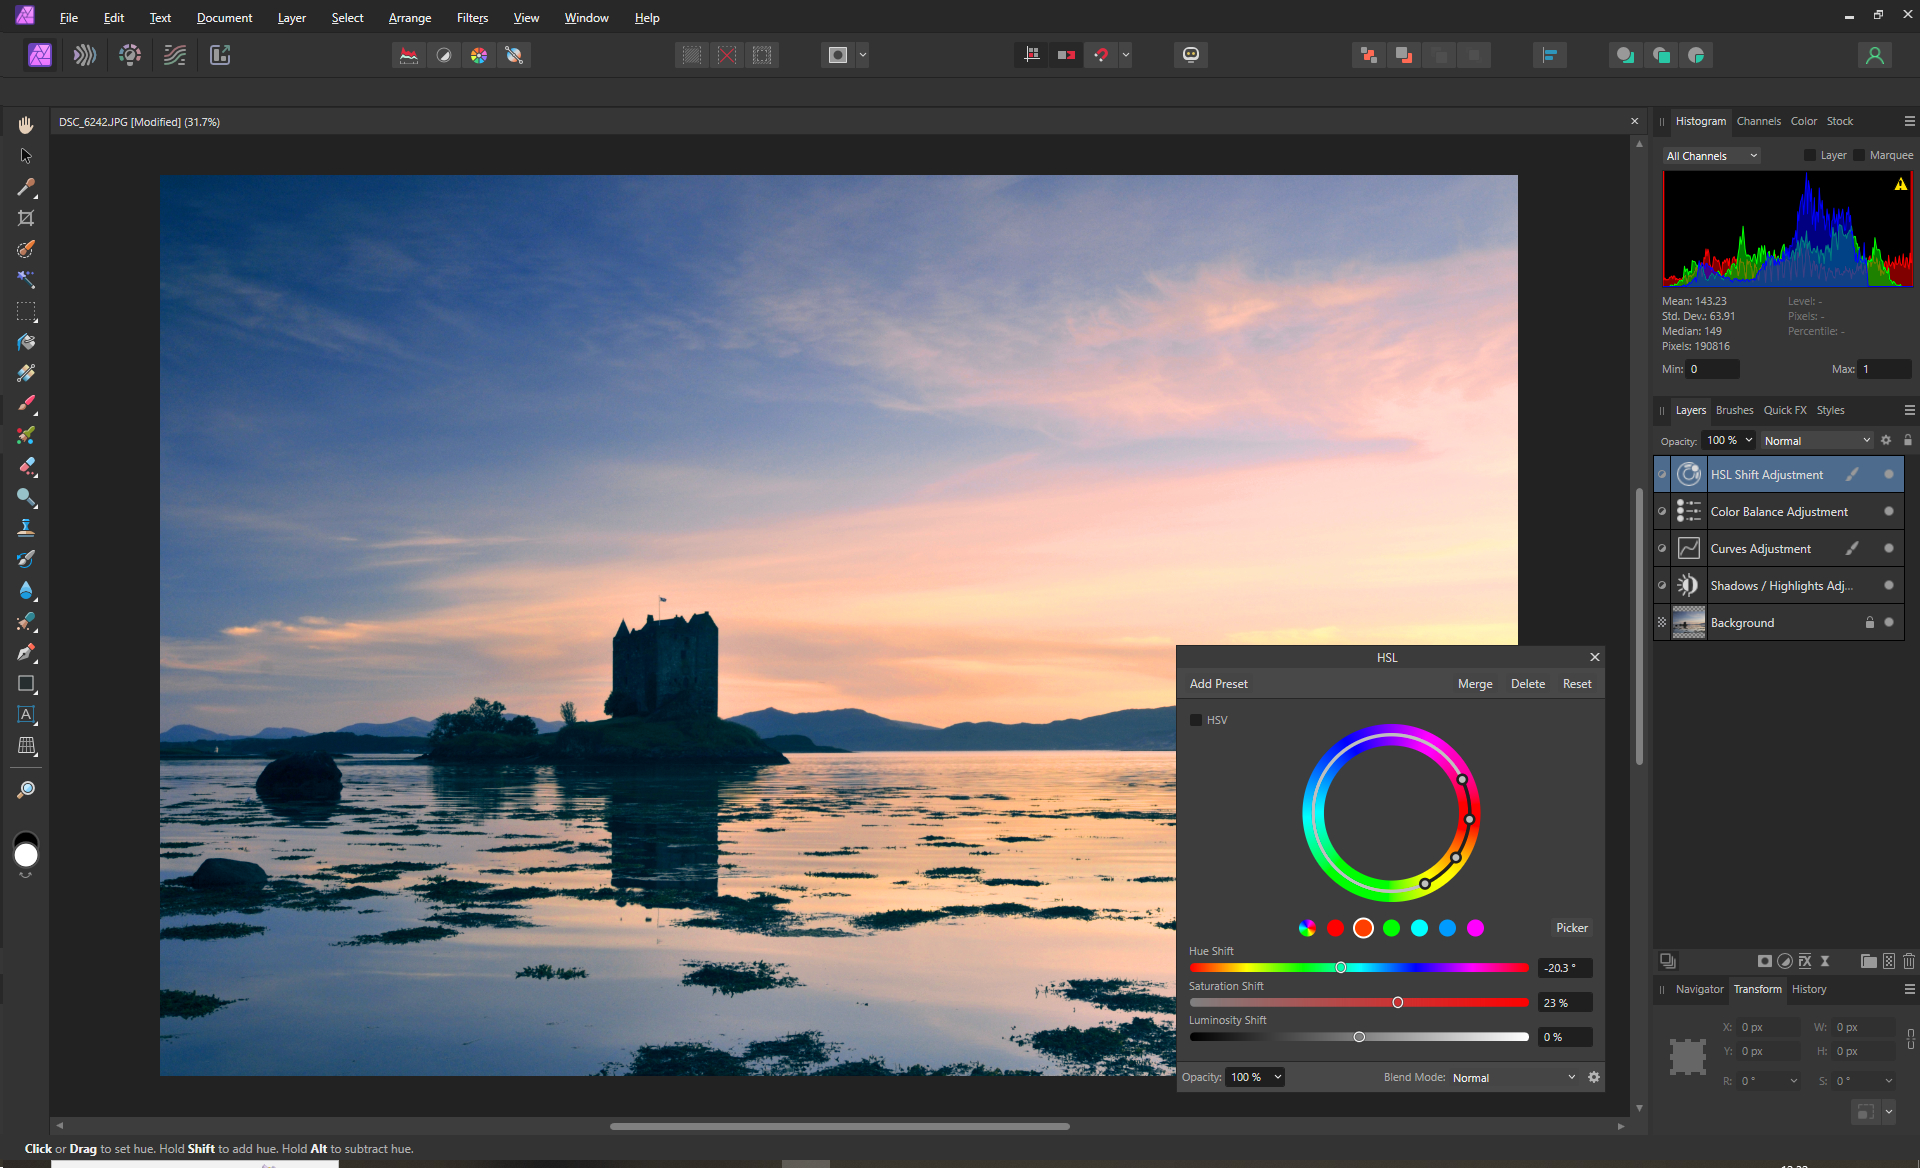
Time to boost individual colors with a HSL adjustment layer. Select a specific color and use the color Picker tool to click on the precise color itself. Increase the Saturation Shift to give it more saturation but be careful not to introduce color noise. If you want to change the colors, such as making the white more yellow, then use the Hue Shift slider.
4. Use split toning
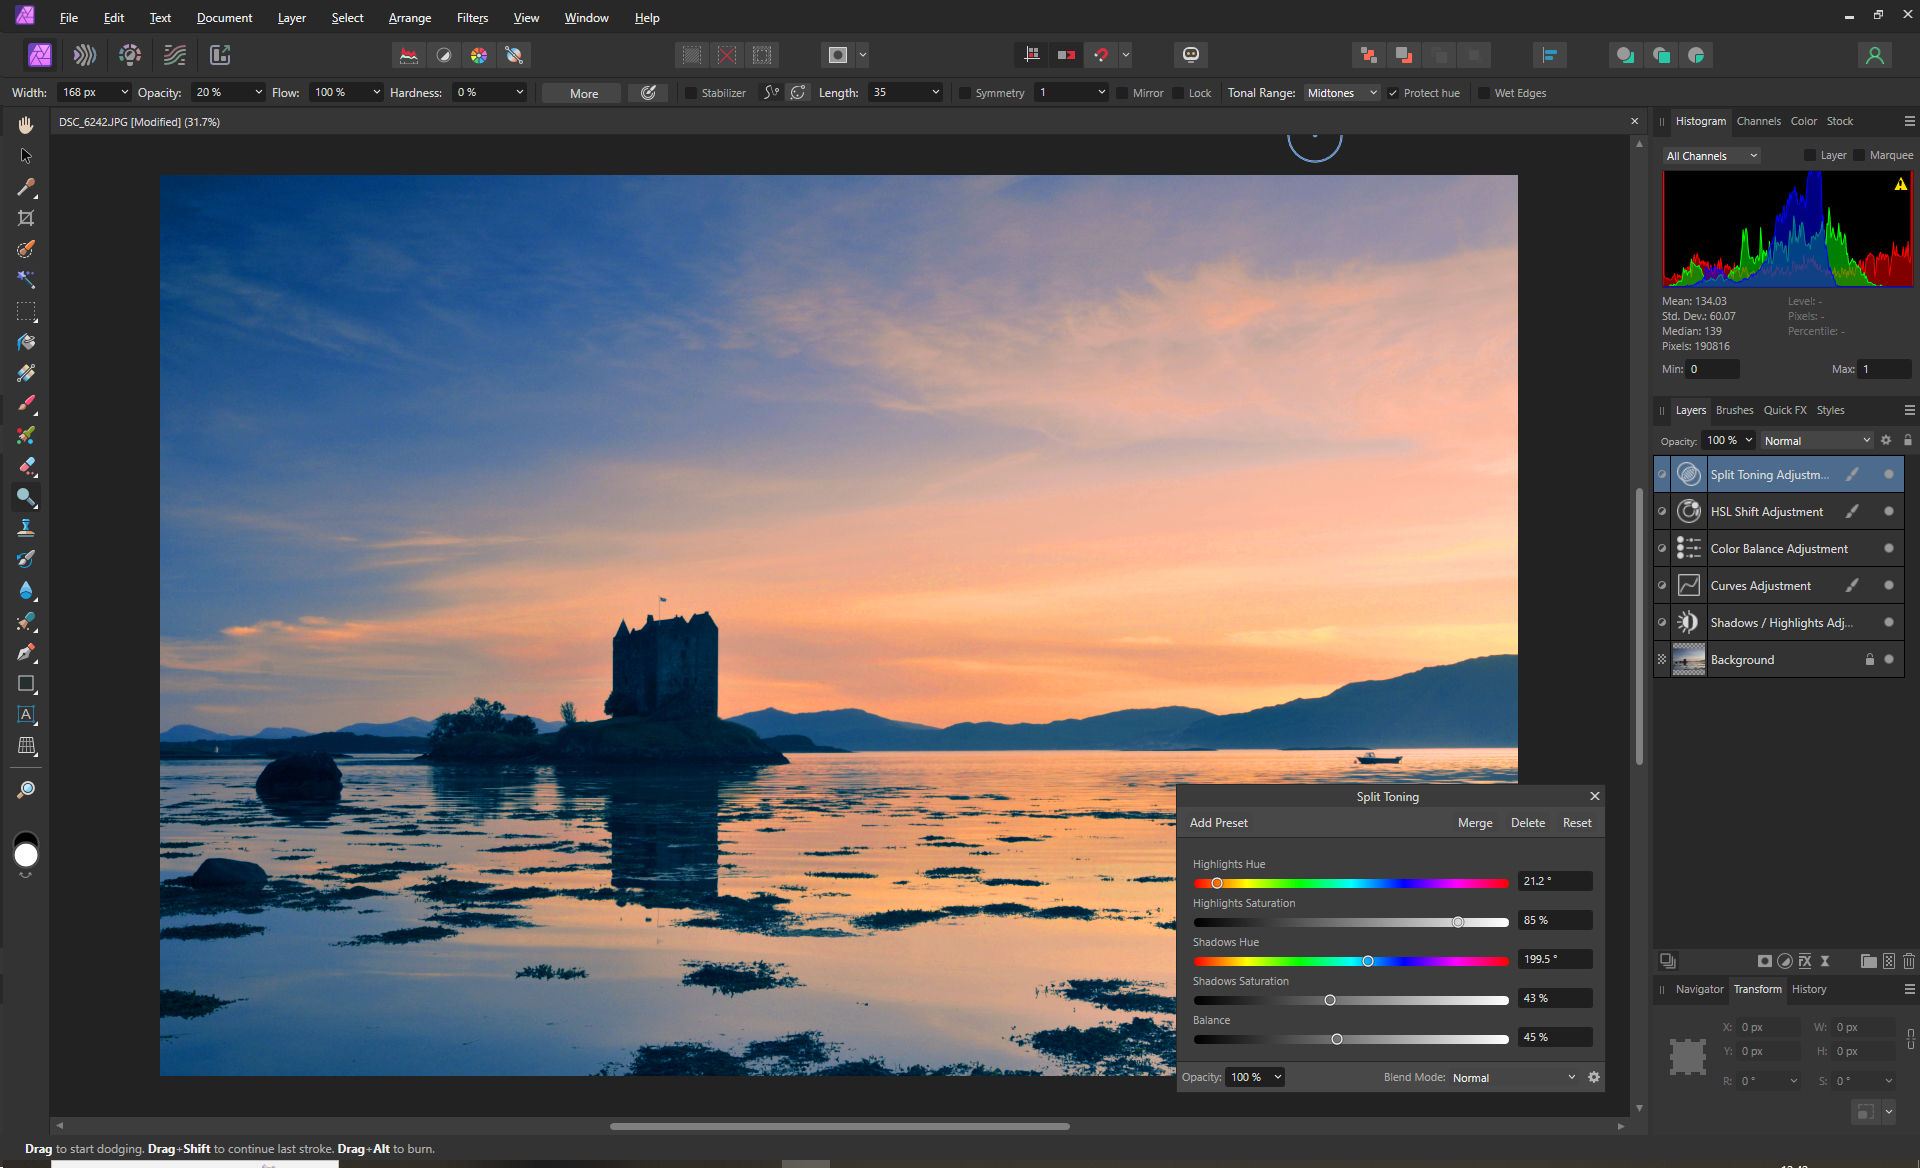
The final adjustment can have the most dramatic effect. Add a Split Toning adjustment layer and then use the Highlights Hue to tweak the overall coloring of the highlights and use the Highlights Saturation to add more red/yellow. Do the same with the Shadows Hue and Saturation sliders for more cyan/blue. Use the Balance slider to weight the image to one or the other.
Final look and feel
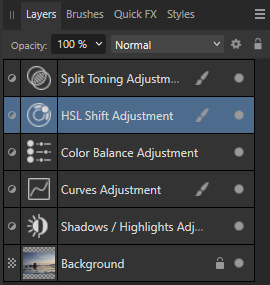
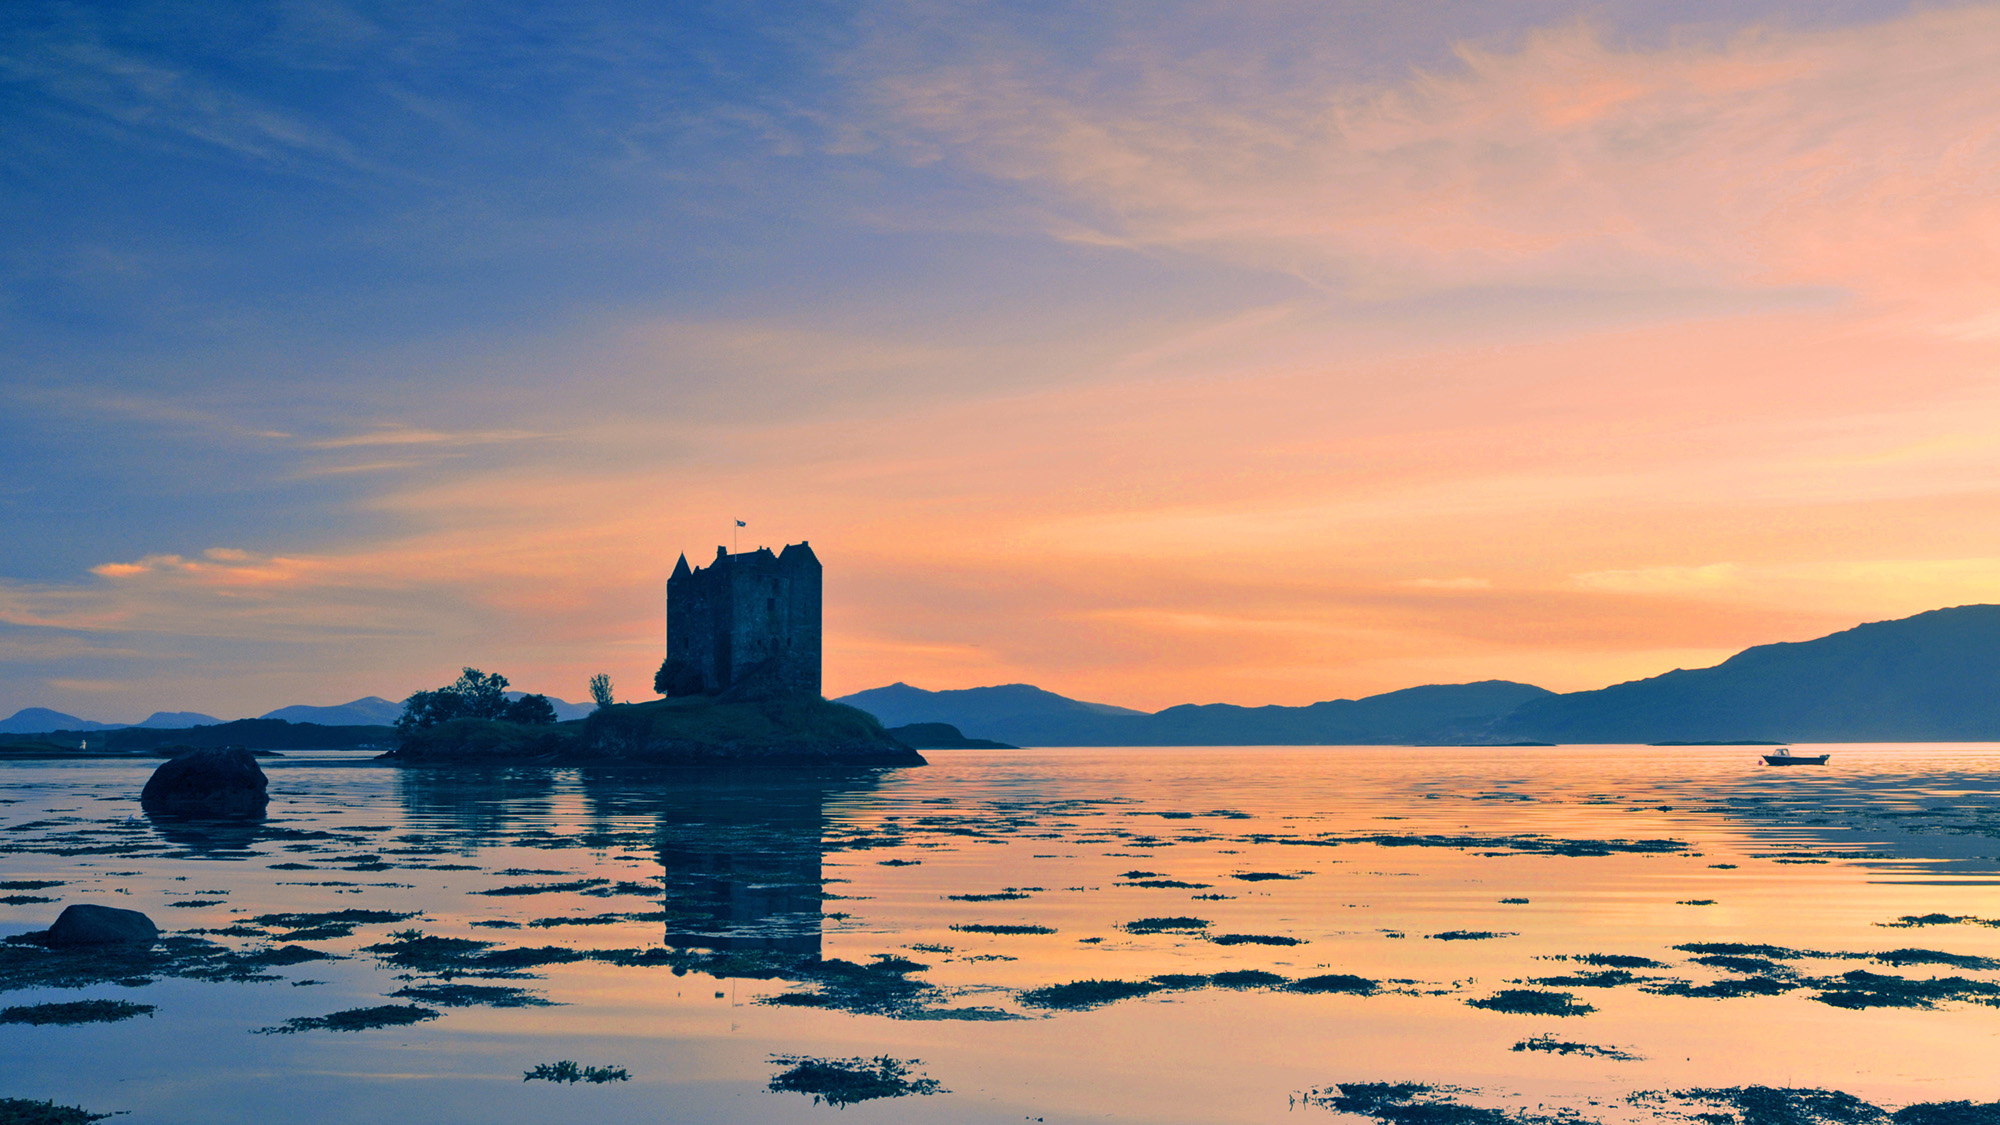
All of these adjustments are editable layers so if you're not quite happy with the overall effect, or you want to try different styles, simply go back in and click on the adjustment effect icon in the layers palette to tweak the settings. If you save the project as an Affinity file you can create more variations later. Simply export the ones you like as JPEG/TIFs.
Digital Camera World is the world’s favorite photography magazine and is packed with the latest news, reviews, tutorials, expert buying advice, tips and inspiring images. Plus, every issue comes with a selection of bonus gifts of interest to photographers of all abilities.
The best camera deals, reviews, product advice, and unmissable photography news, direct to your inbox!

Wendy was the Editor of Digital Photo User for nearly five years, charting the rise of digital cameras and photography from expensive fad to mass market technology. She is a member of the Royal Photographic Society (LRPS) and while originally a Canon film user in the '80s and '90s, went over to the dark side and Nikon with the digital revolution. A second stint in the photography market was at ePHOTOzine, the online photography magazine, and now she's back again as Technique Editor of Digital Camera magazine, the UK's best-selling photography title. She is the author of 13 photography/CGI/Photoshop books, across a range of genres.
You must confirm your public display name before commenting
Please logout and then login again, you will then be prompted to enter your display name.
