Vintage magic: shoot fine-art monochrome landscapes
Create a vintage style black and white scenic shot which emphasizes contrast and texture
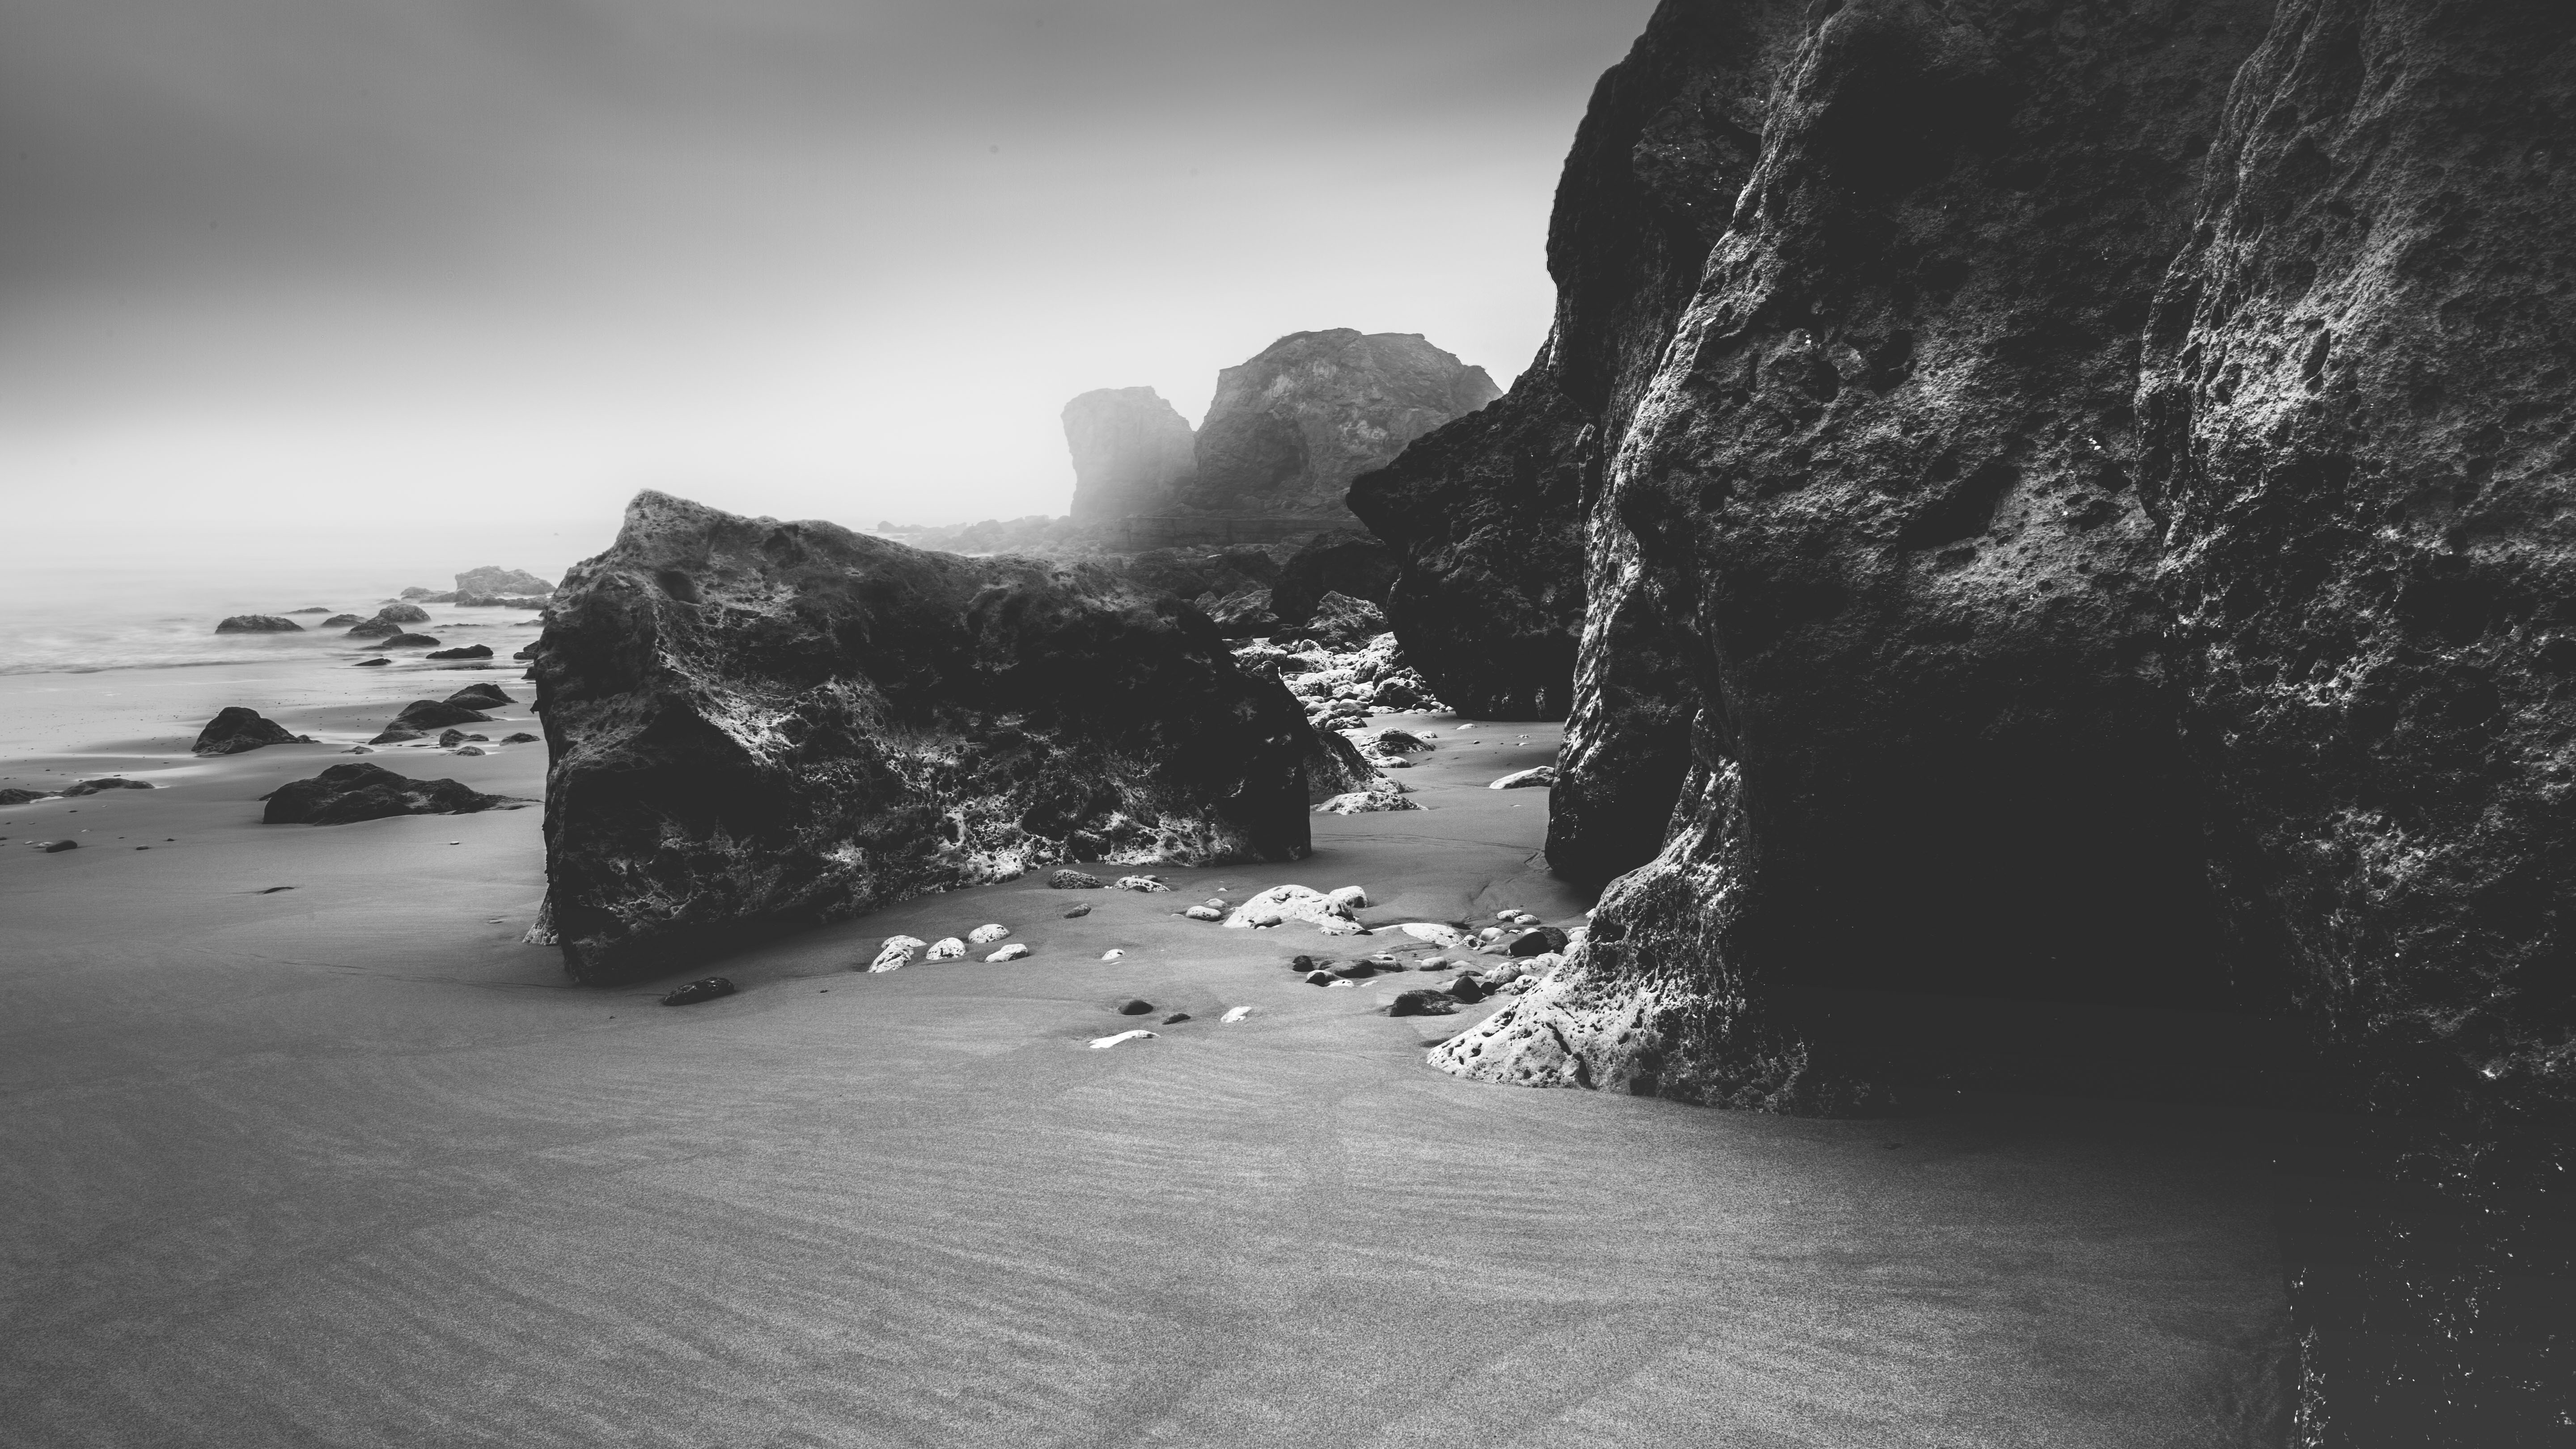
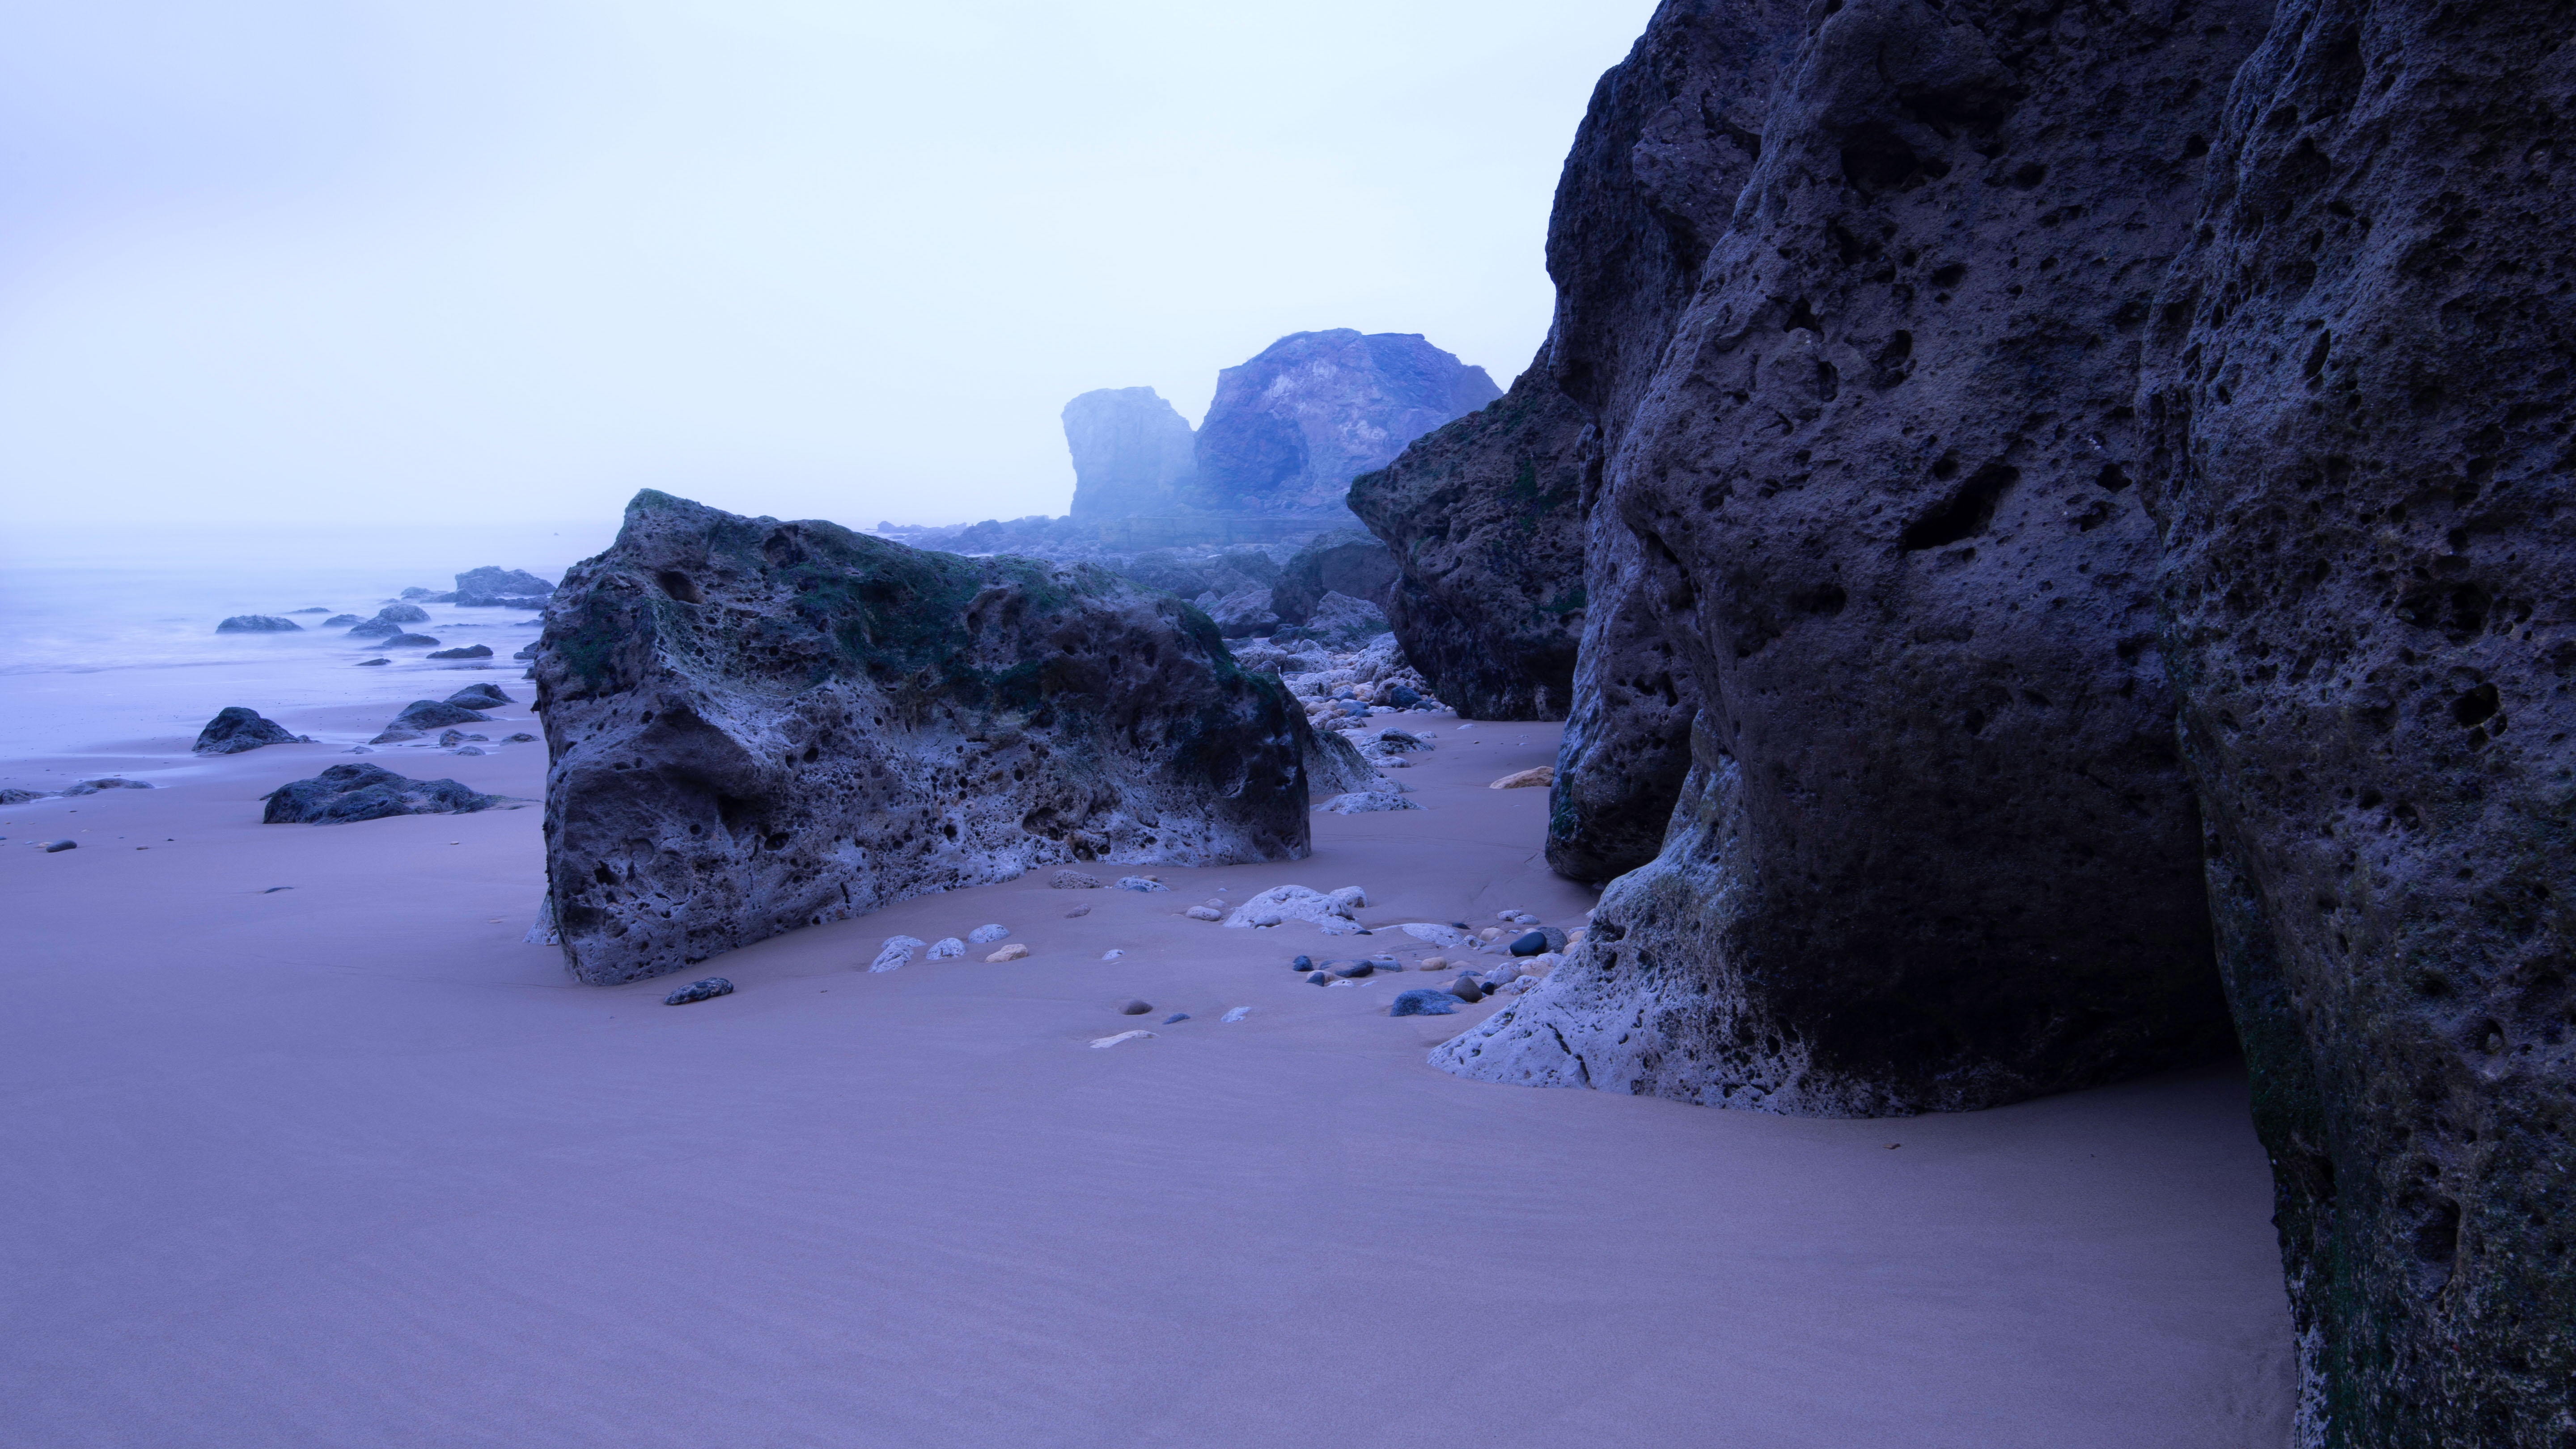
Landscape photography is a genre which benefits greatly from monochrome treatment, most probably because black and white landscapes conjure up images of the work of Ansel Adams and others experimenting with photography, as an art form, in earlier days of the medium. While many landscape scenes are all about colour, there are occasions where monochrome is a better option for conveying the atmosphere of a location. In some circumstances an absence of colour enables the viewer to appreciate the weather conditions present at the shoot, by forcing them to call on their other senses.
A colourless image can encourage the audience to imagine the texture of a rock, the cold air on their face and the sound of water lapping at a shoreline - a more depthful experience.
However, as we have explored elsewhere this issue of the magazine, the best black and white images can only be achieved when the photographer commits to a monochrome way of thinking. Here we explore how, when capturing a black and white photograph, you should adjust your camera work to distribute the tones optimally. Then we shall consider a processing option which enhances the timeless feels of a scene and captures the natural atmosphere the location has to offer.
Article continues belowWhat you'll need
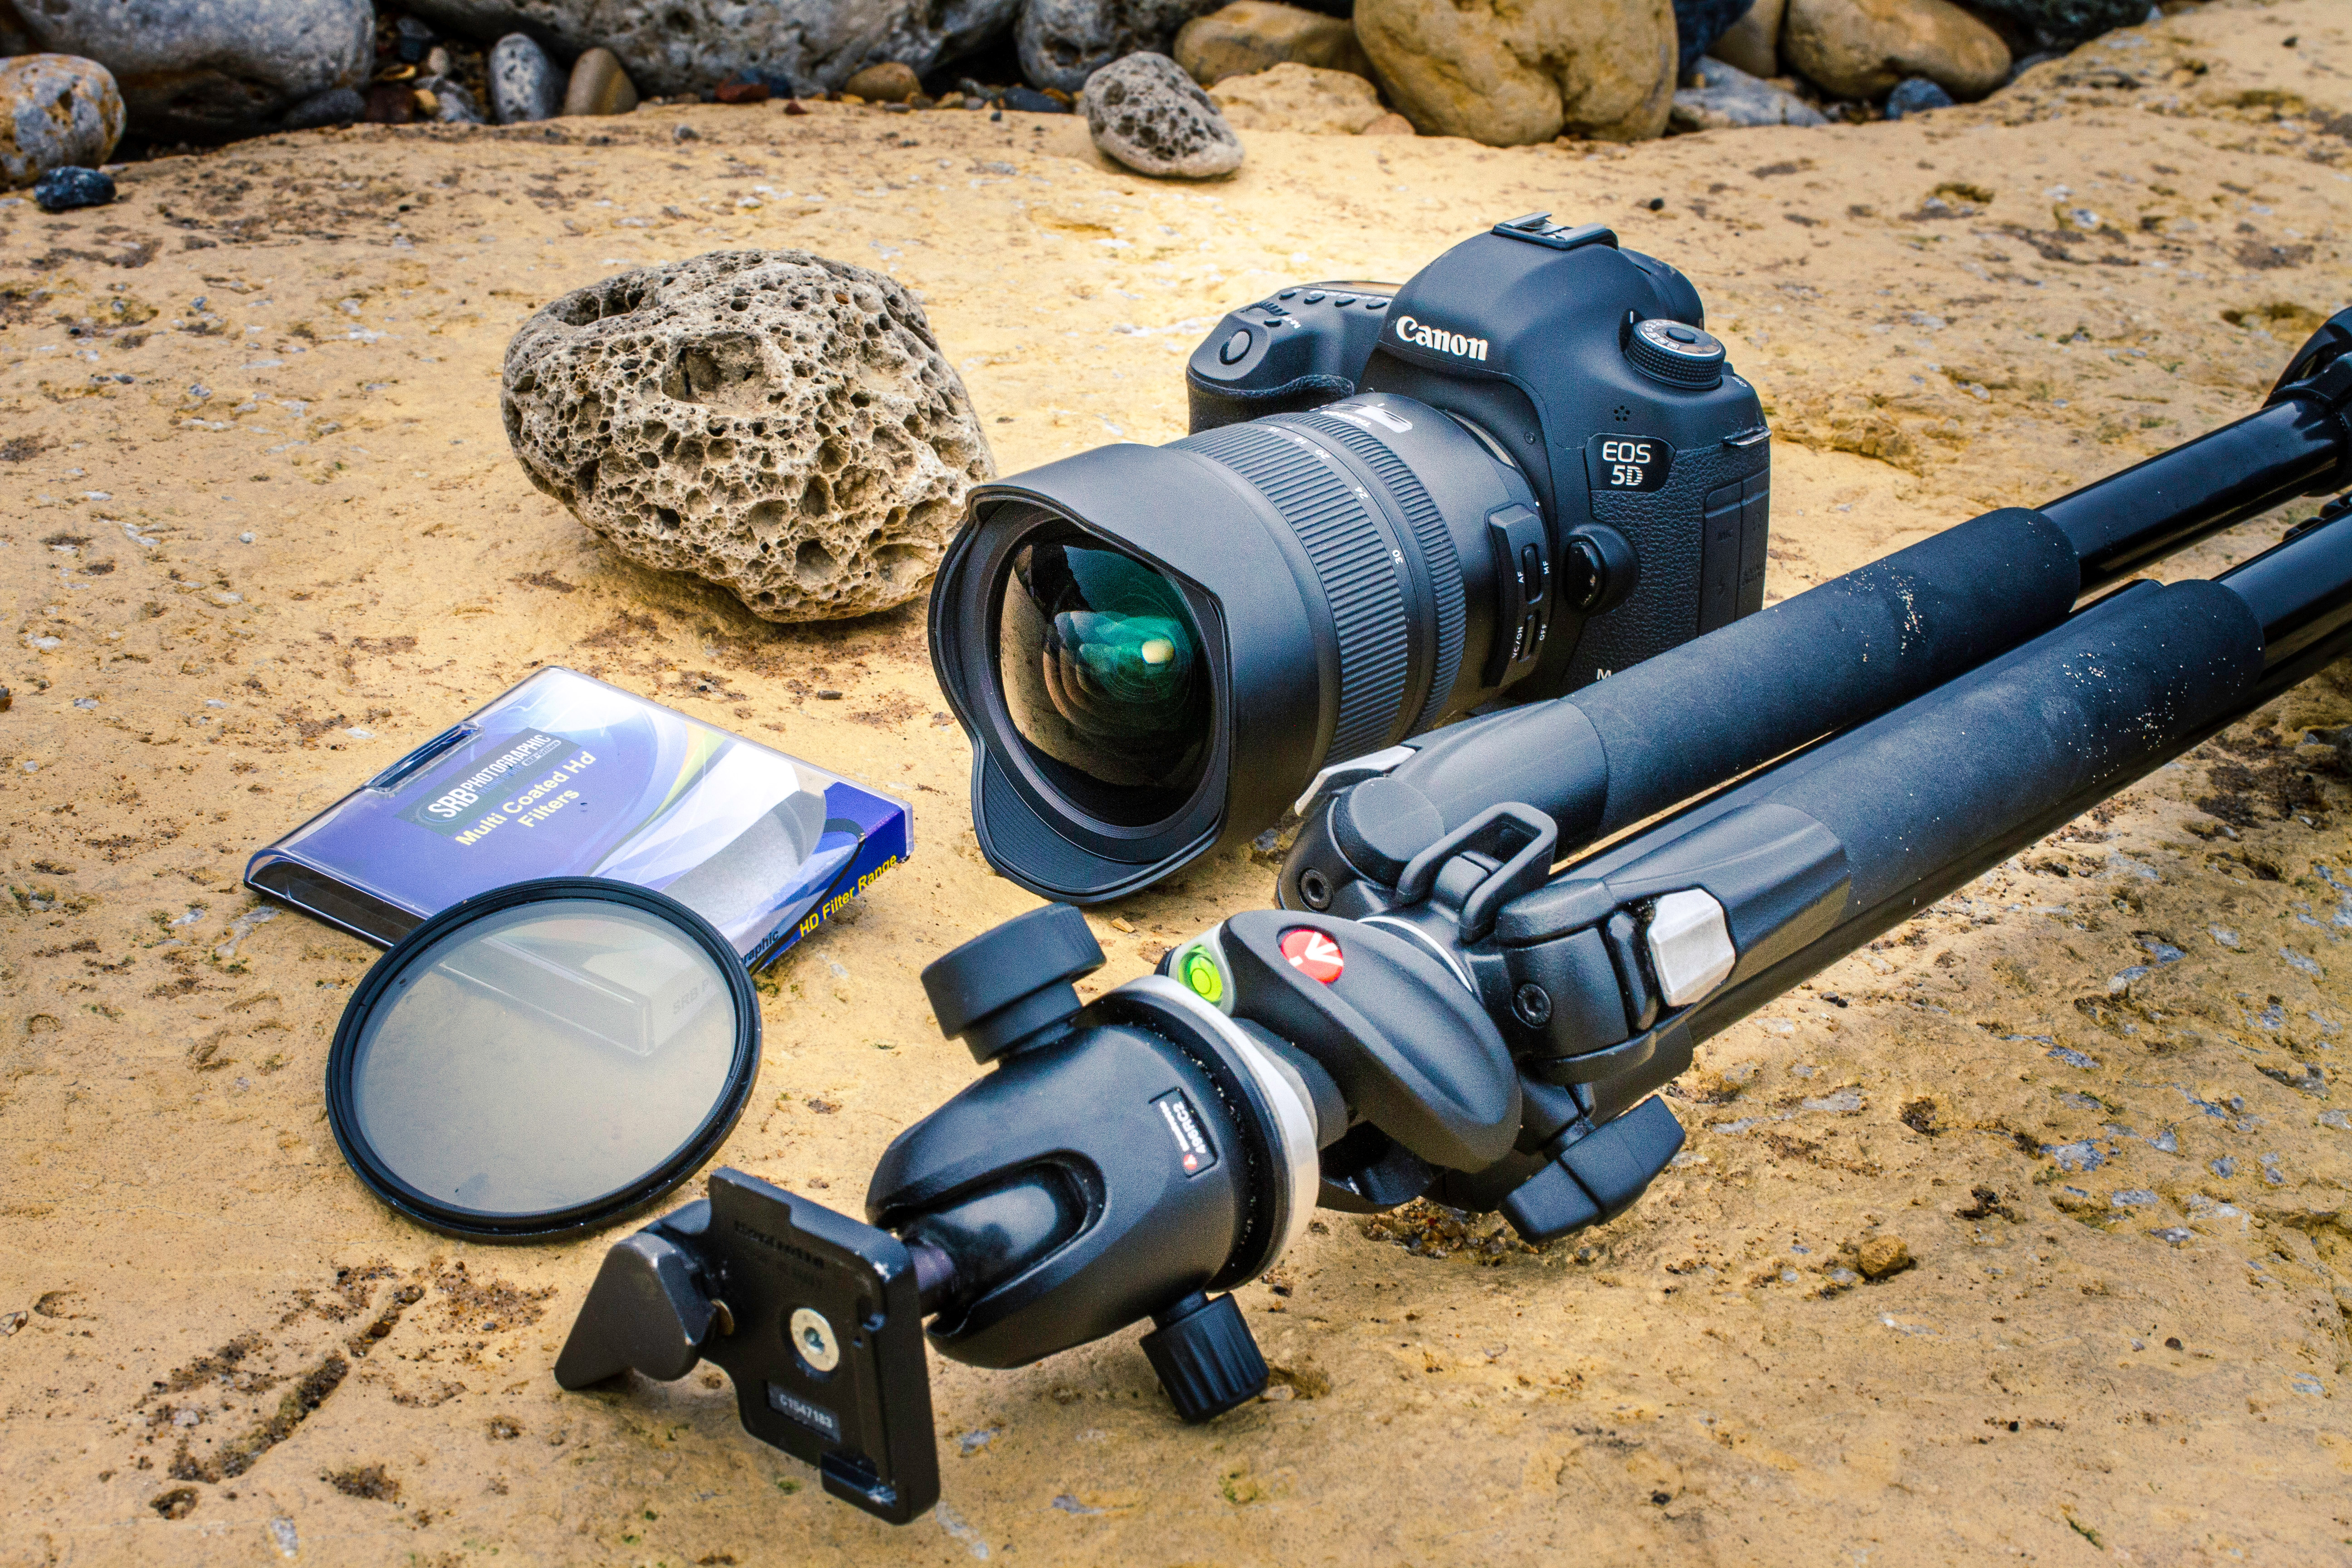
- Wideangle zoom
- DSLR or Mirrorless (ideally Full Frame)
- Variable ND Filter
- Pro tripod and ball head
Shooting steps
1- Explore the scene
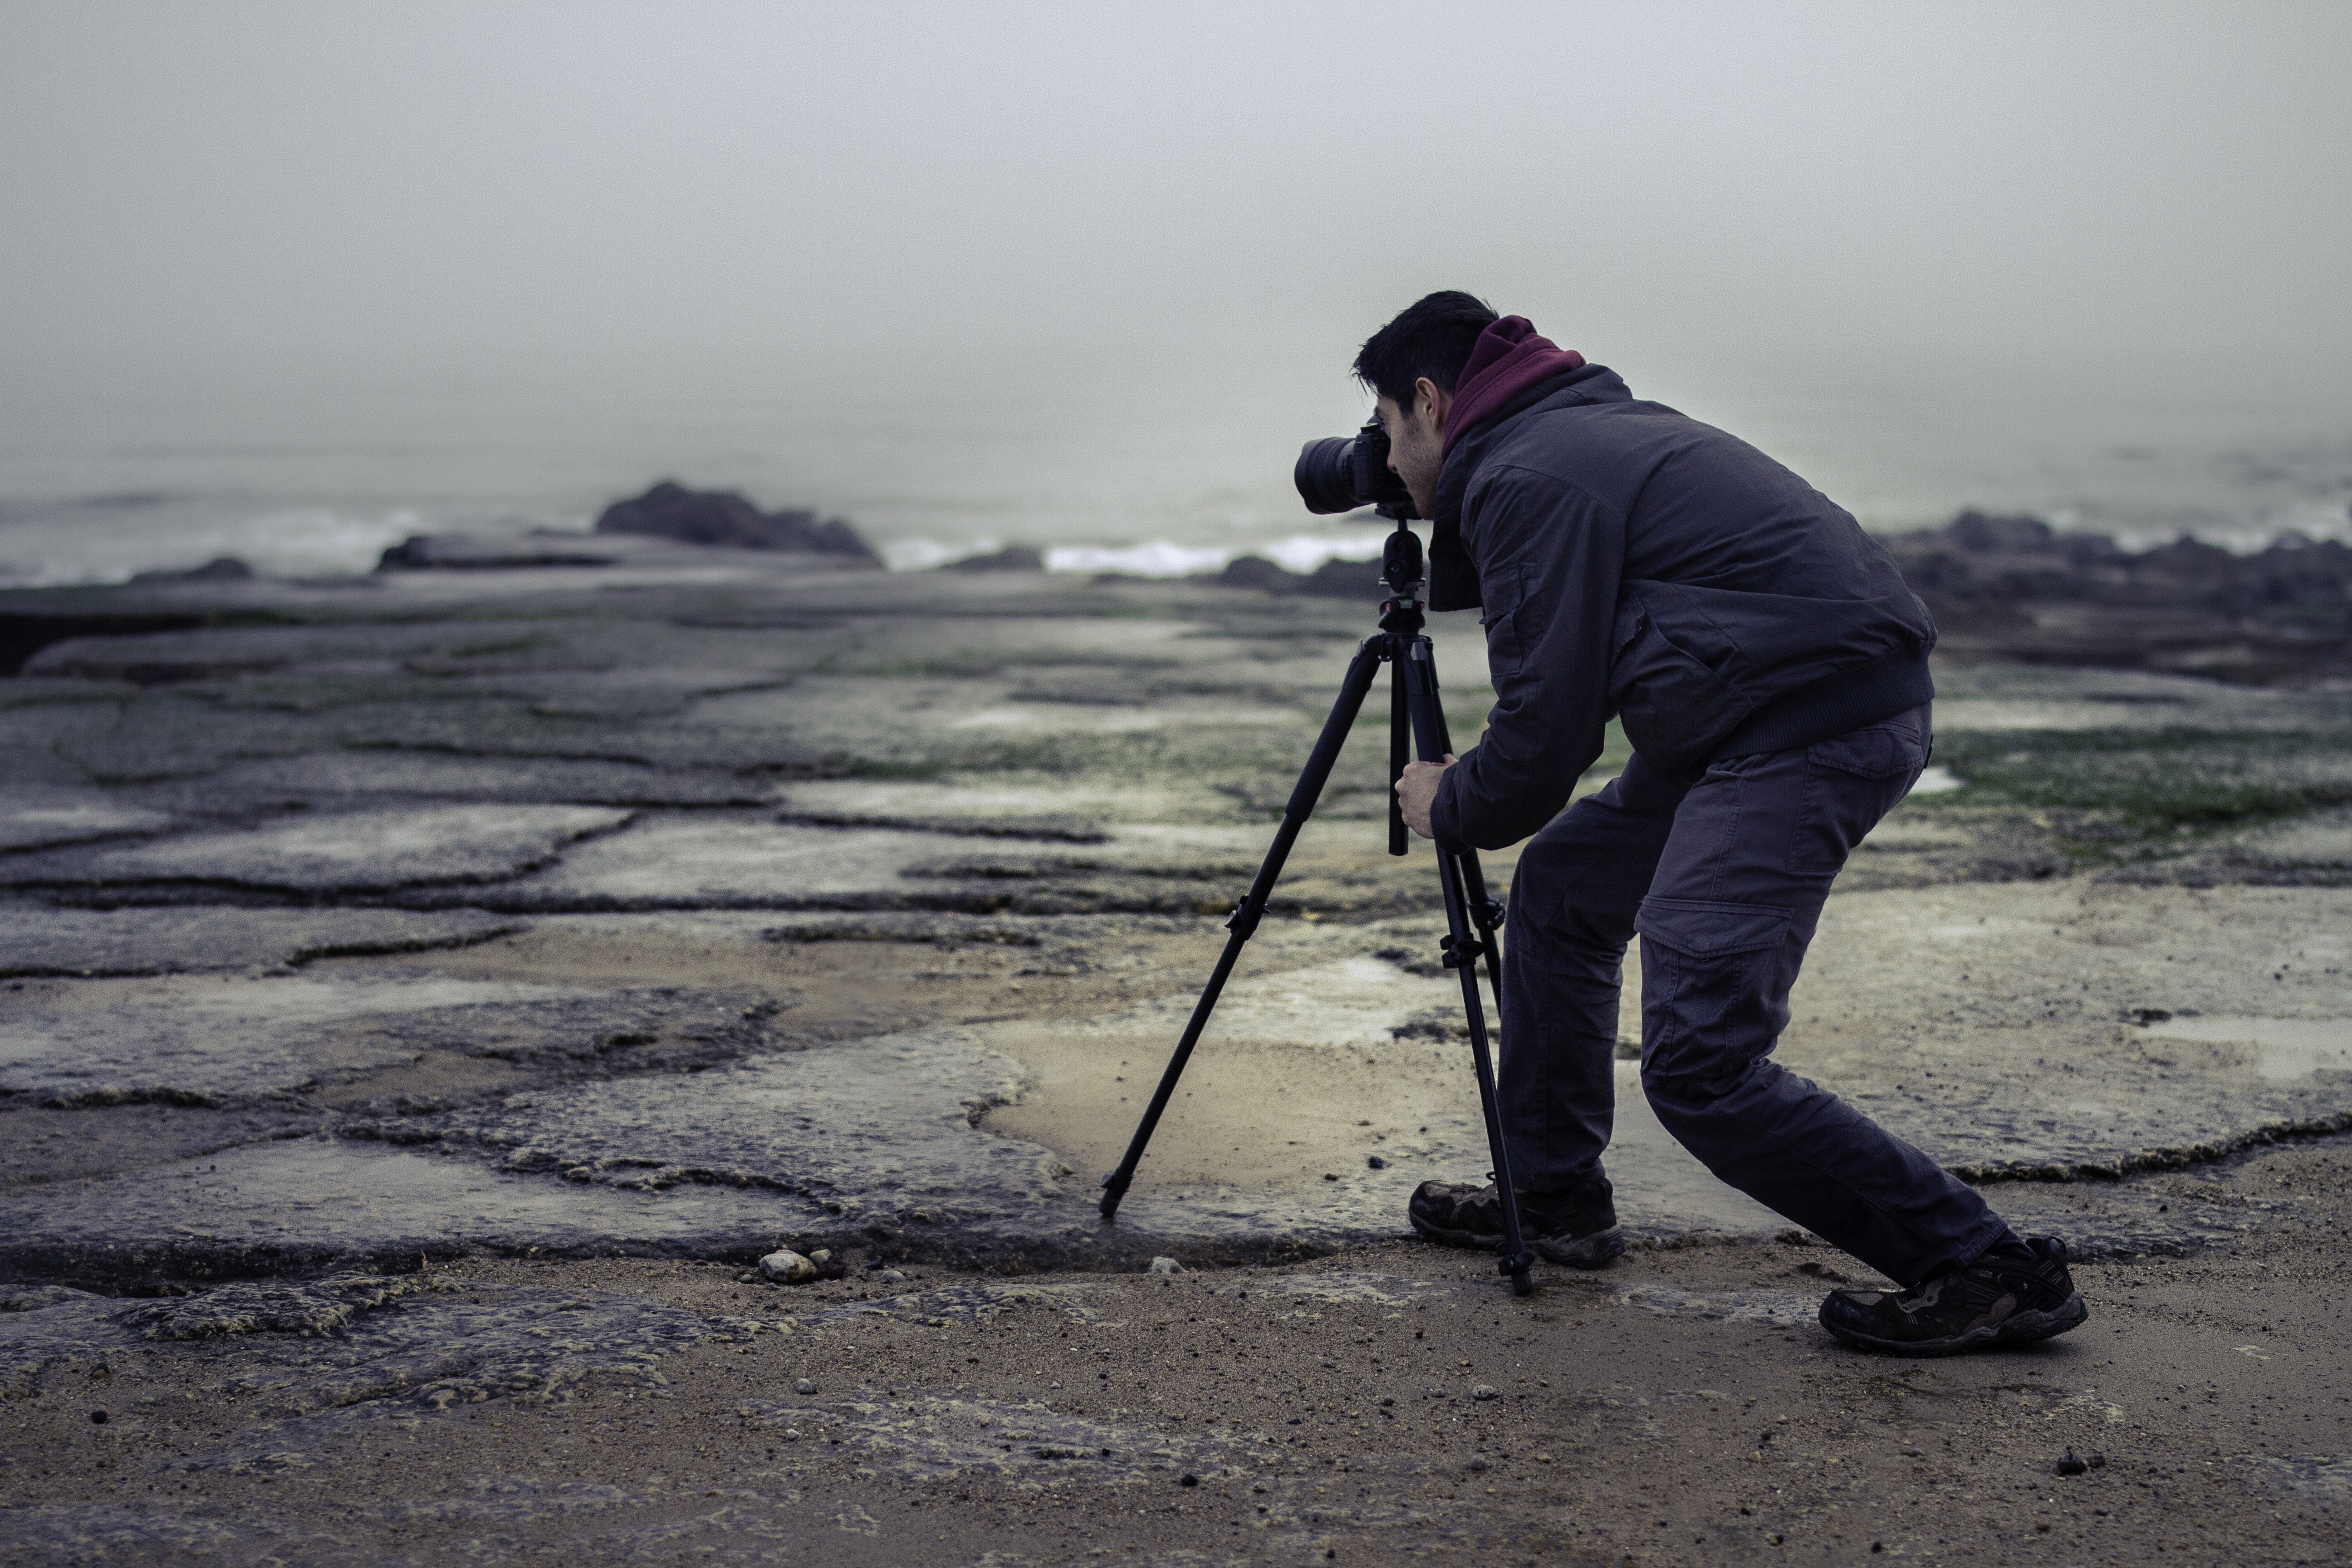
For this type of image we want a clean composition, so walk around the location to explore multiple angles. Alter the camera height and pitch to experiment with achievable perspectives and check the scene for a clear fore, middle and background, seeking defined shapes.
2- Alter focal length
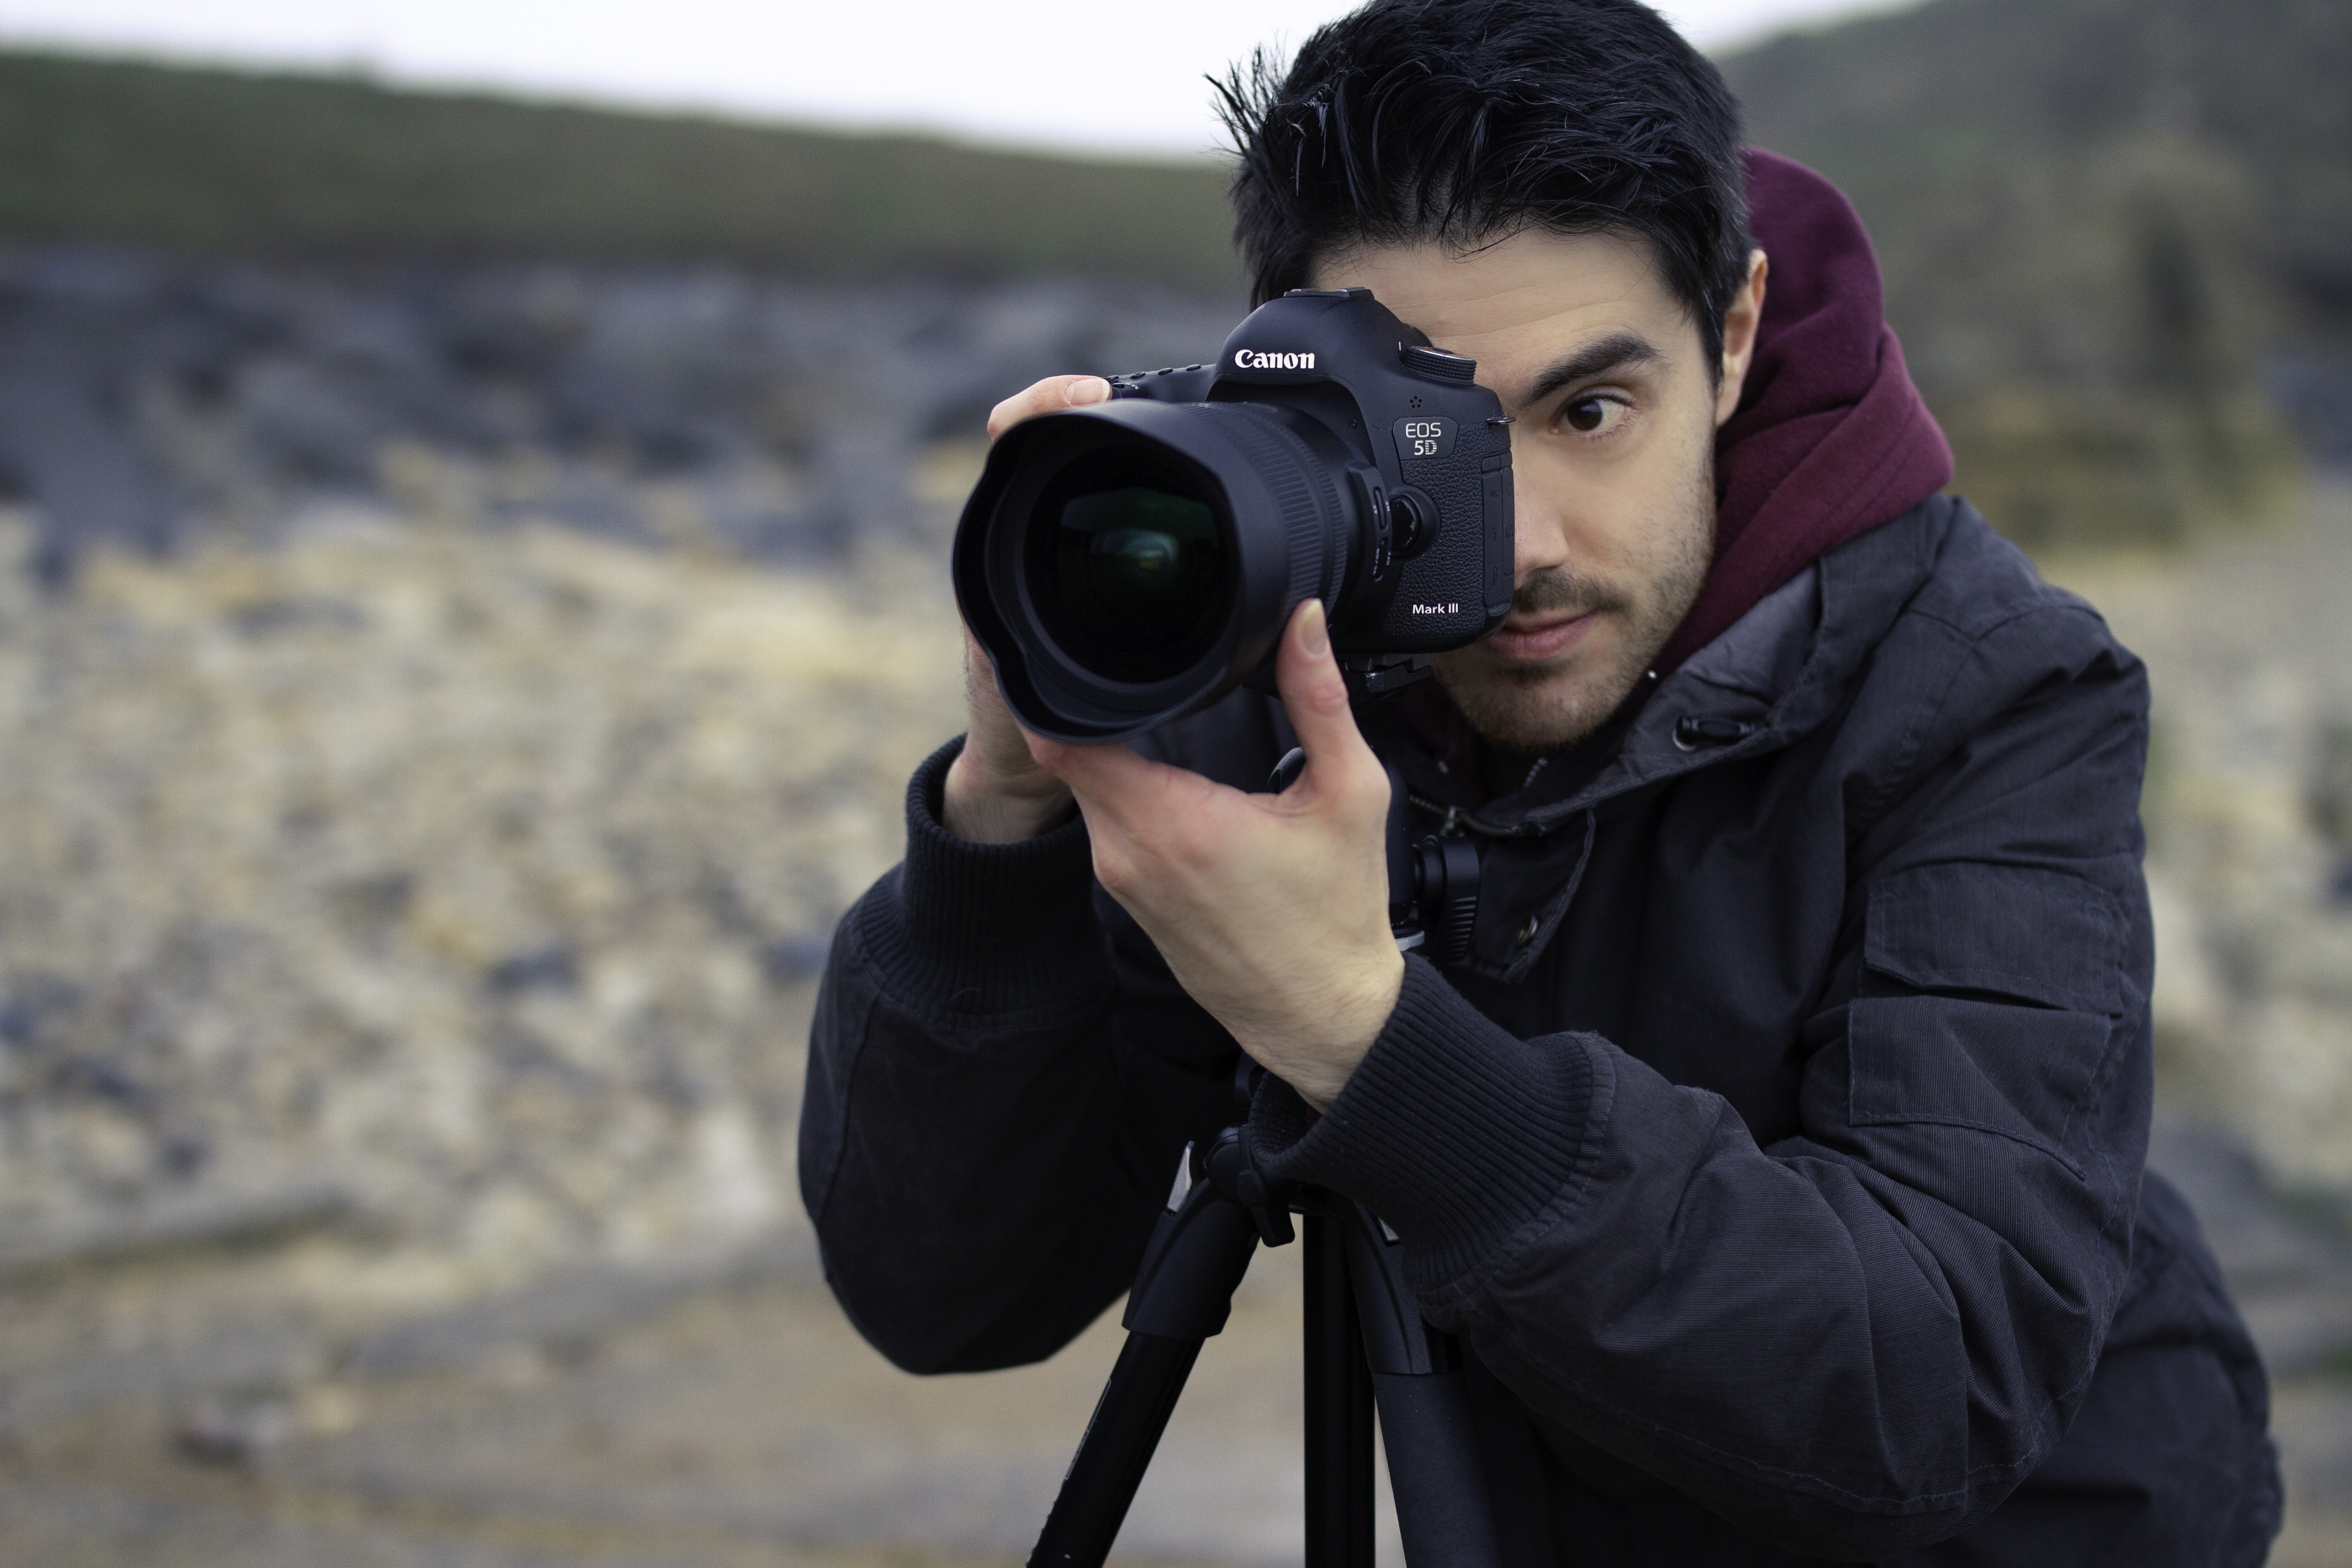
Fine tune the composition by altering either the focal length setting or the camera-subject distance. Look to arrange elements to create a strong sense of direction, or to divide the frame into identifiable zones - an approach which suits contrasty monochrome images.
3- Slow things down
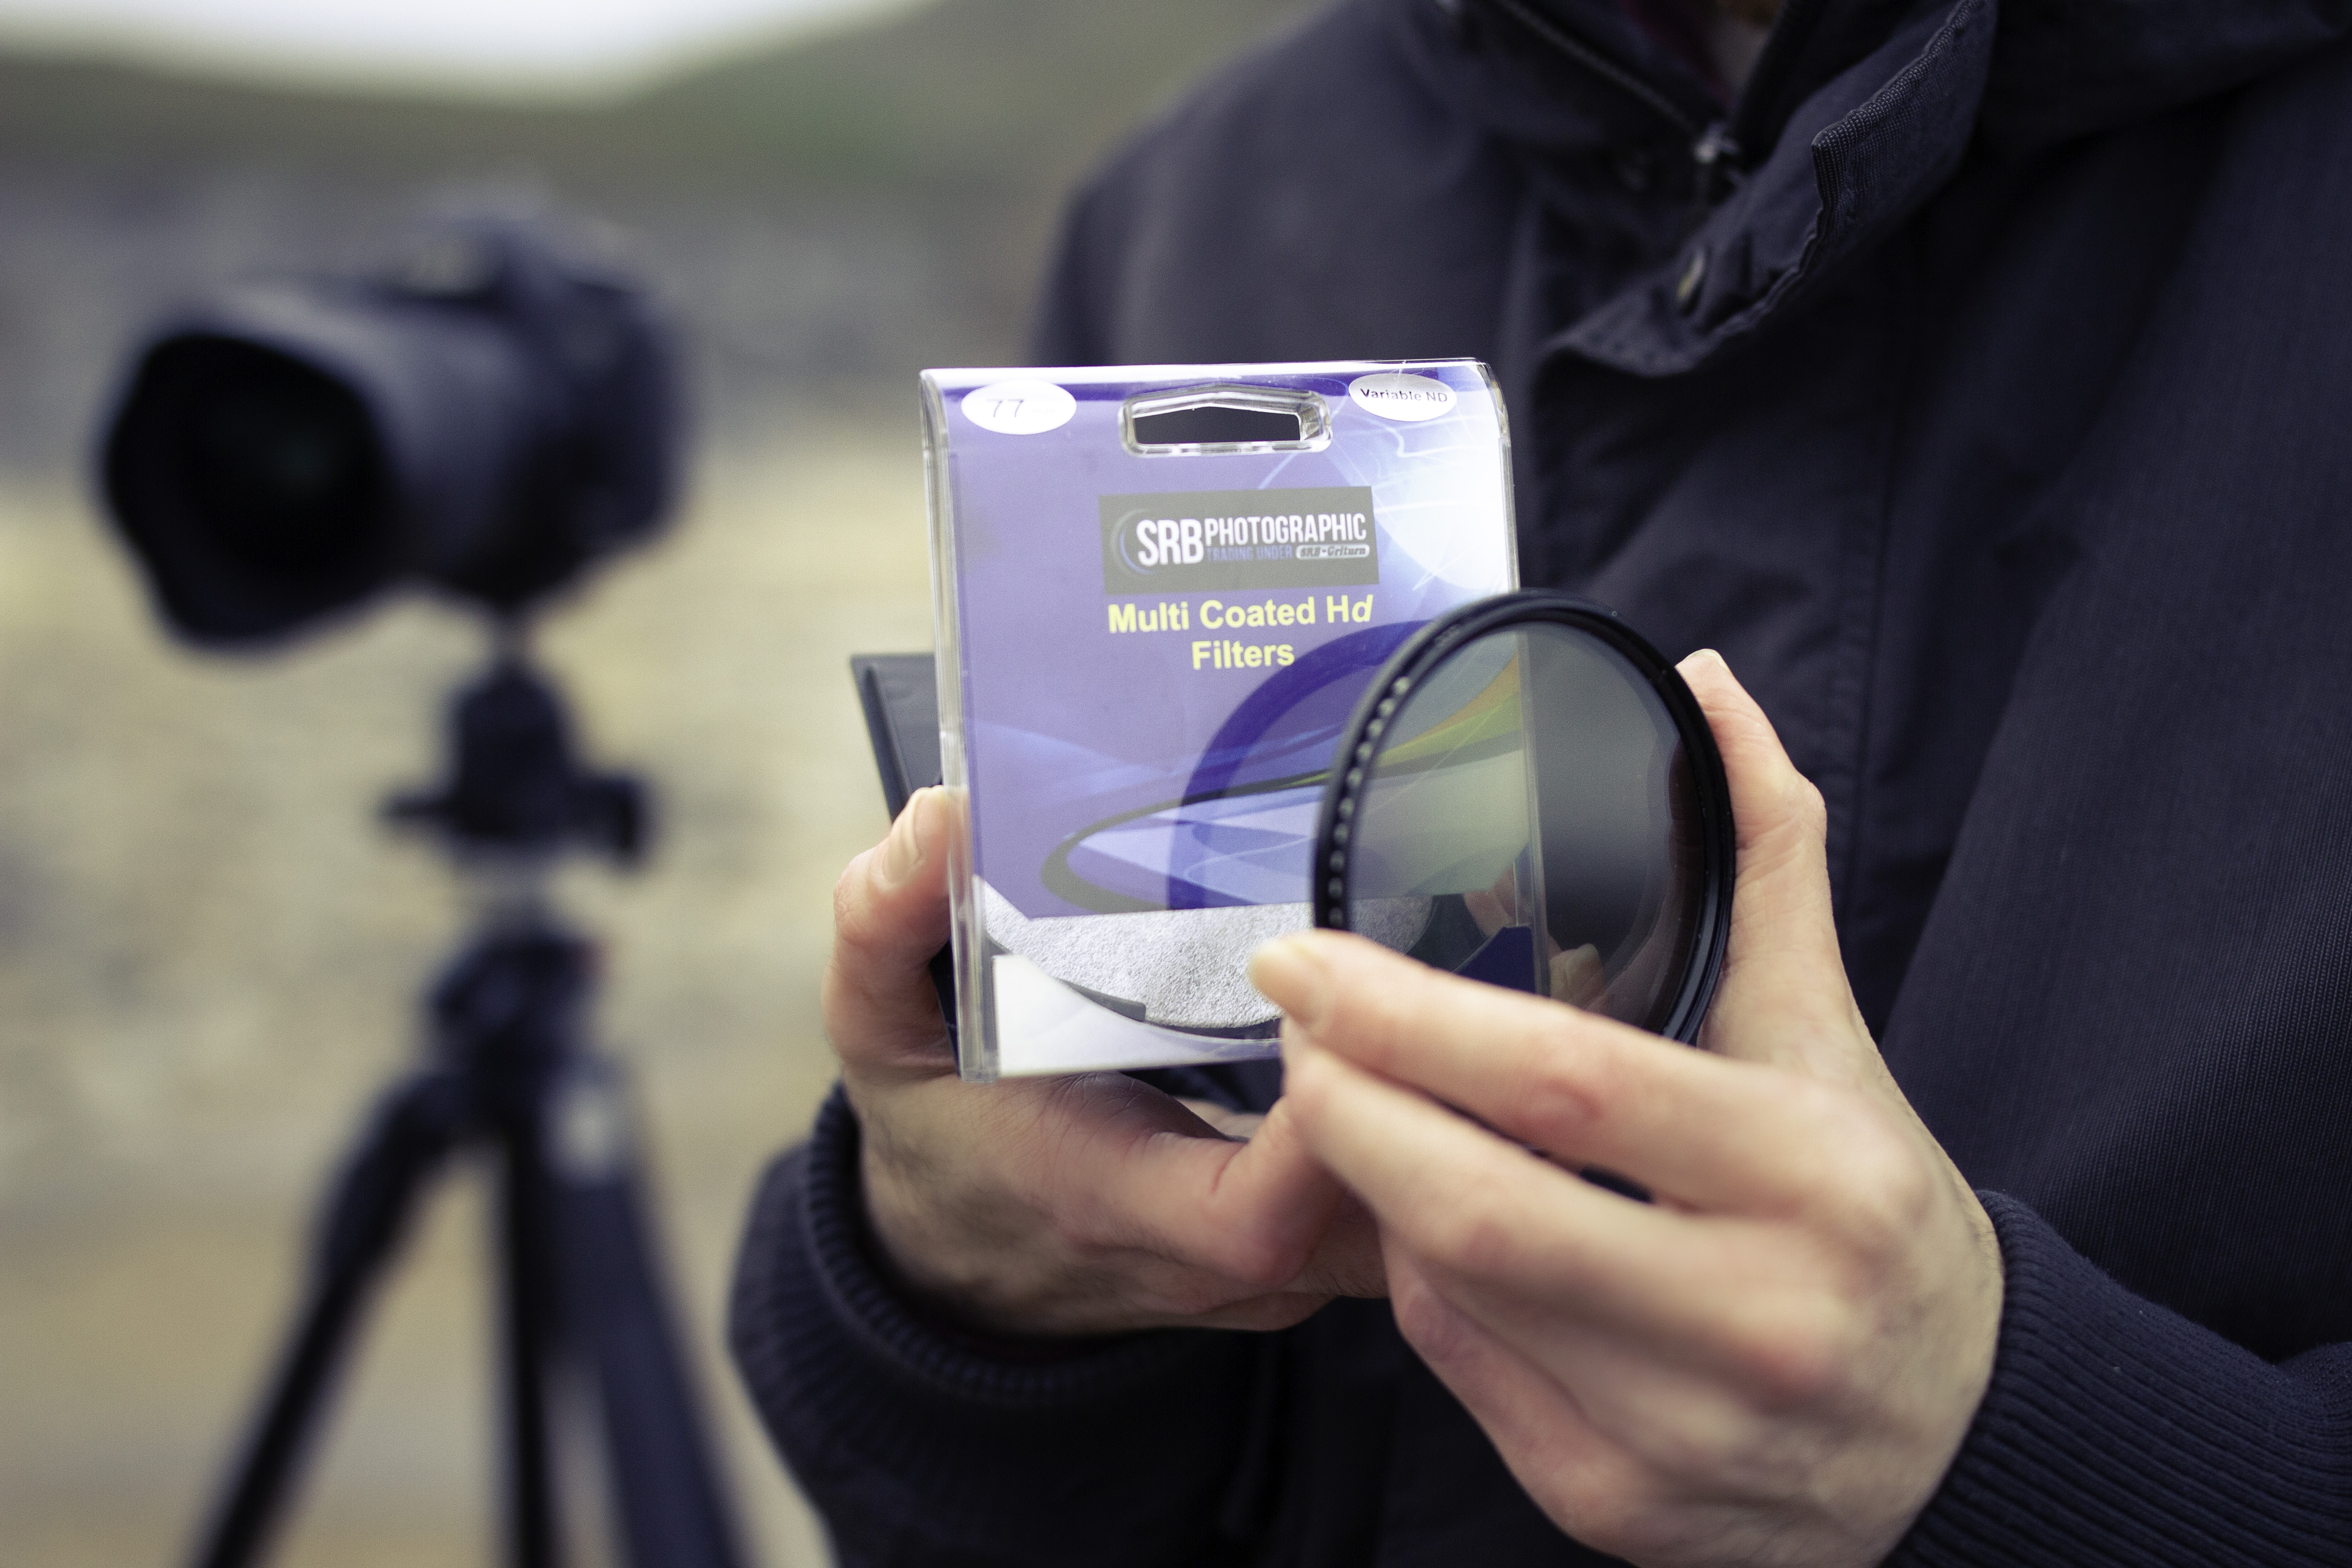
For a subtle introduction of movement add a Neutral Density filter to lengthen the exposure. Here a 2 - 8 stop variable ND was attached to the front of the lens to precisely control the shutter speed, adding motion while retaining detail.
4- Control using aperture
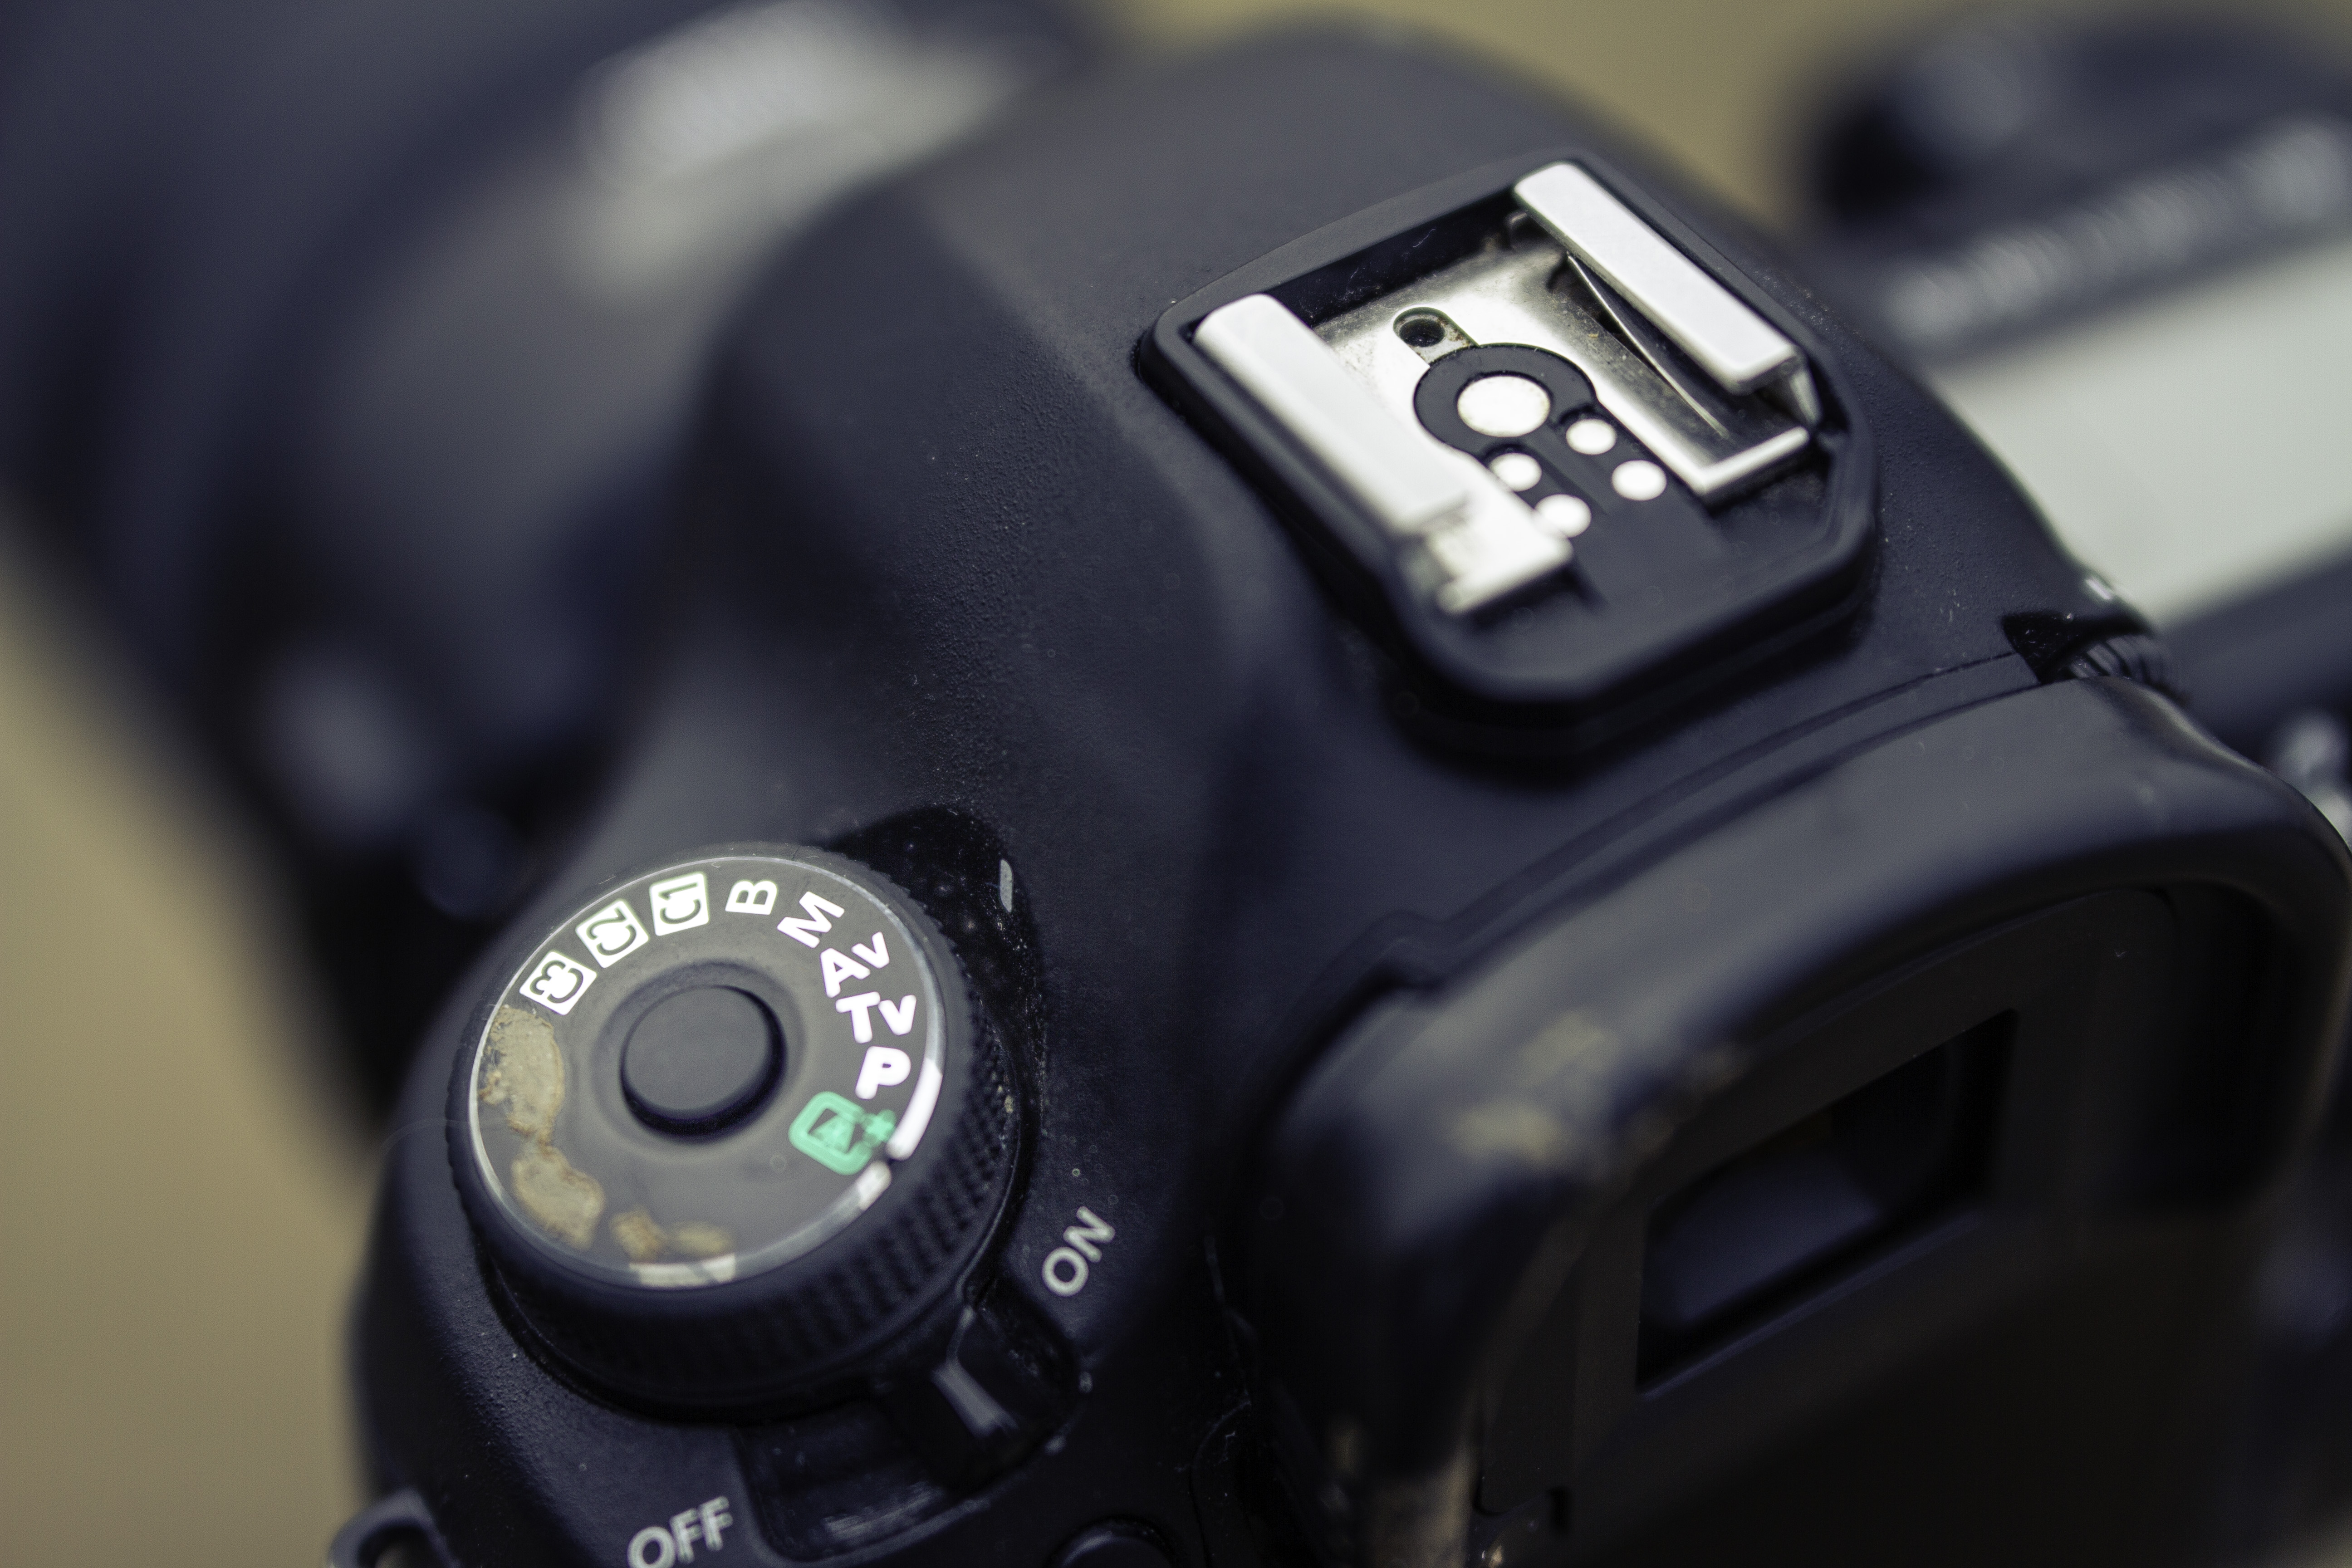
Adjust the shutter speed by setting the aperture in Aperture Priority Mode. This allows you to alter the style of your image quickly, by adjusting two parameters simultaneously - motion blur and depth-of-field. This helped me find the balance between sharpness depth and water motion.
The best camera deals, reviews, product advice, and unmissable photography news, direct to your inbox!
5- Use lowest ISO
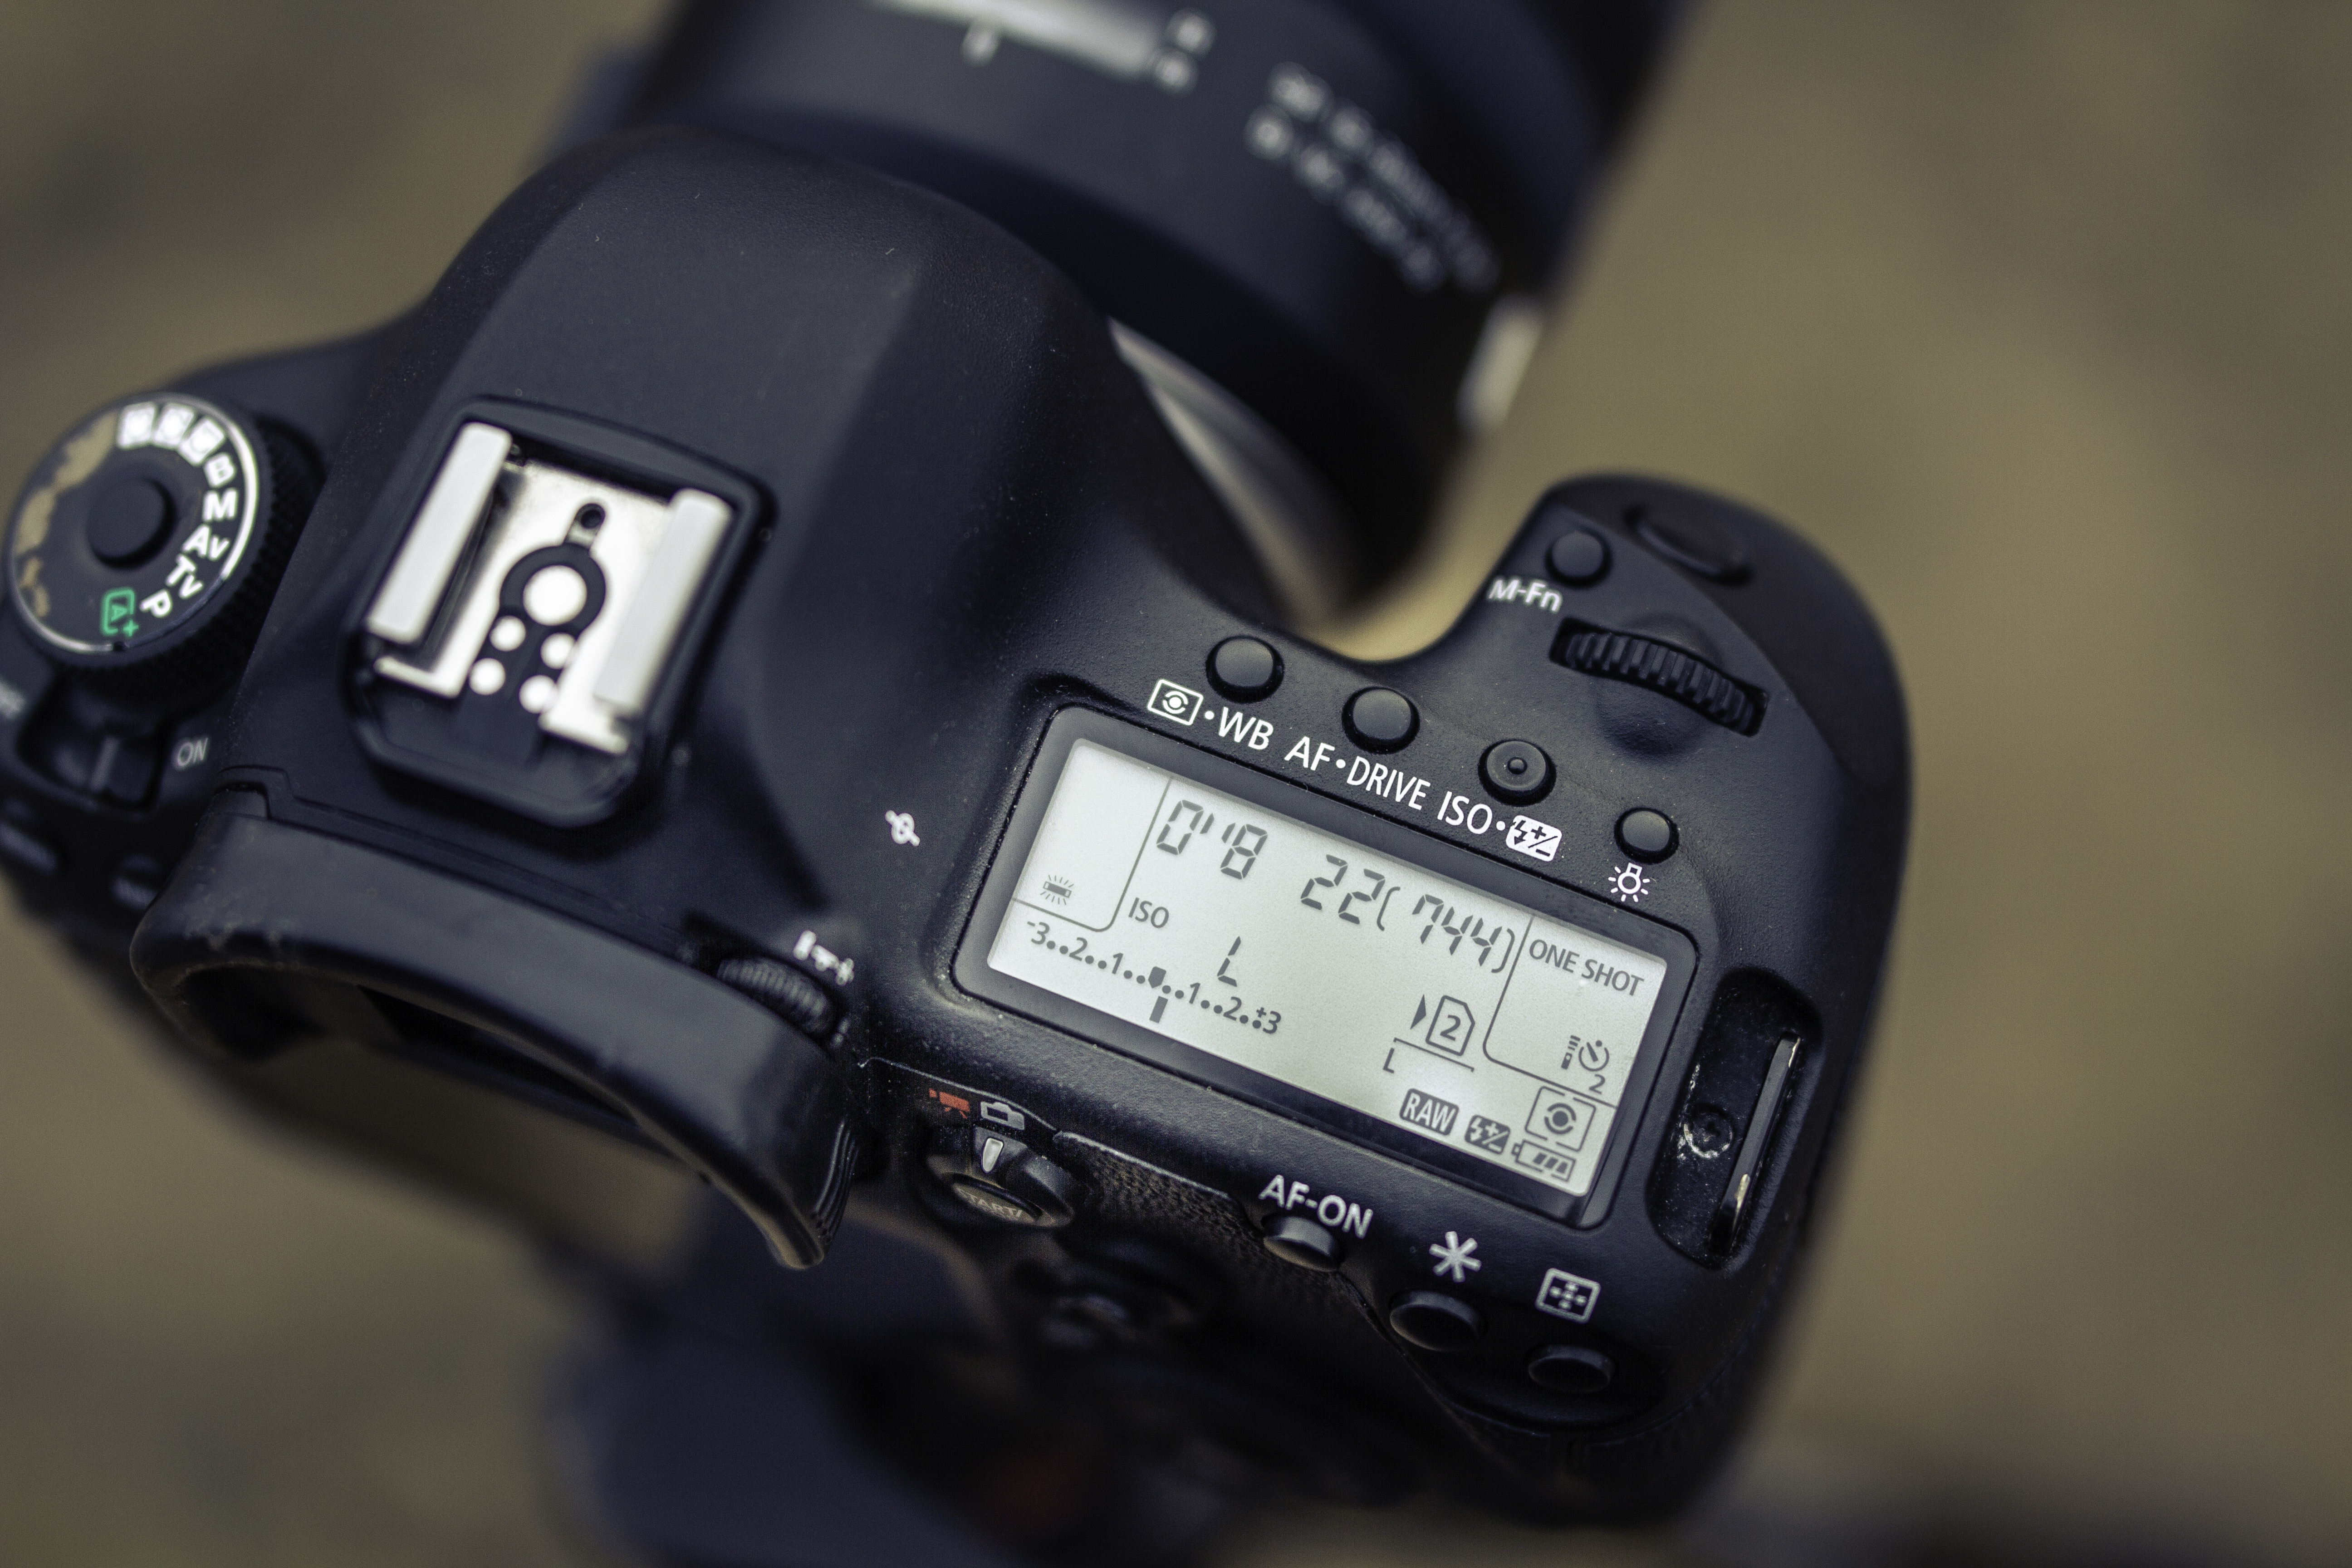
Early films were not very sensitive so to force a similar shooting process I set the lowest ISO possible. This helped to slow the exposure and create a fine grain, guiding the composition process. Take care of highlight clipping at extended low ISO settings.
6- Vary exposure
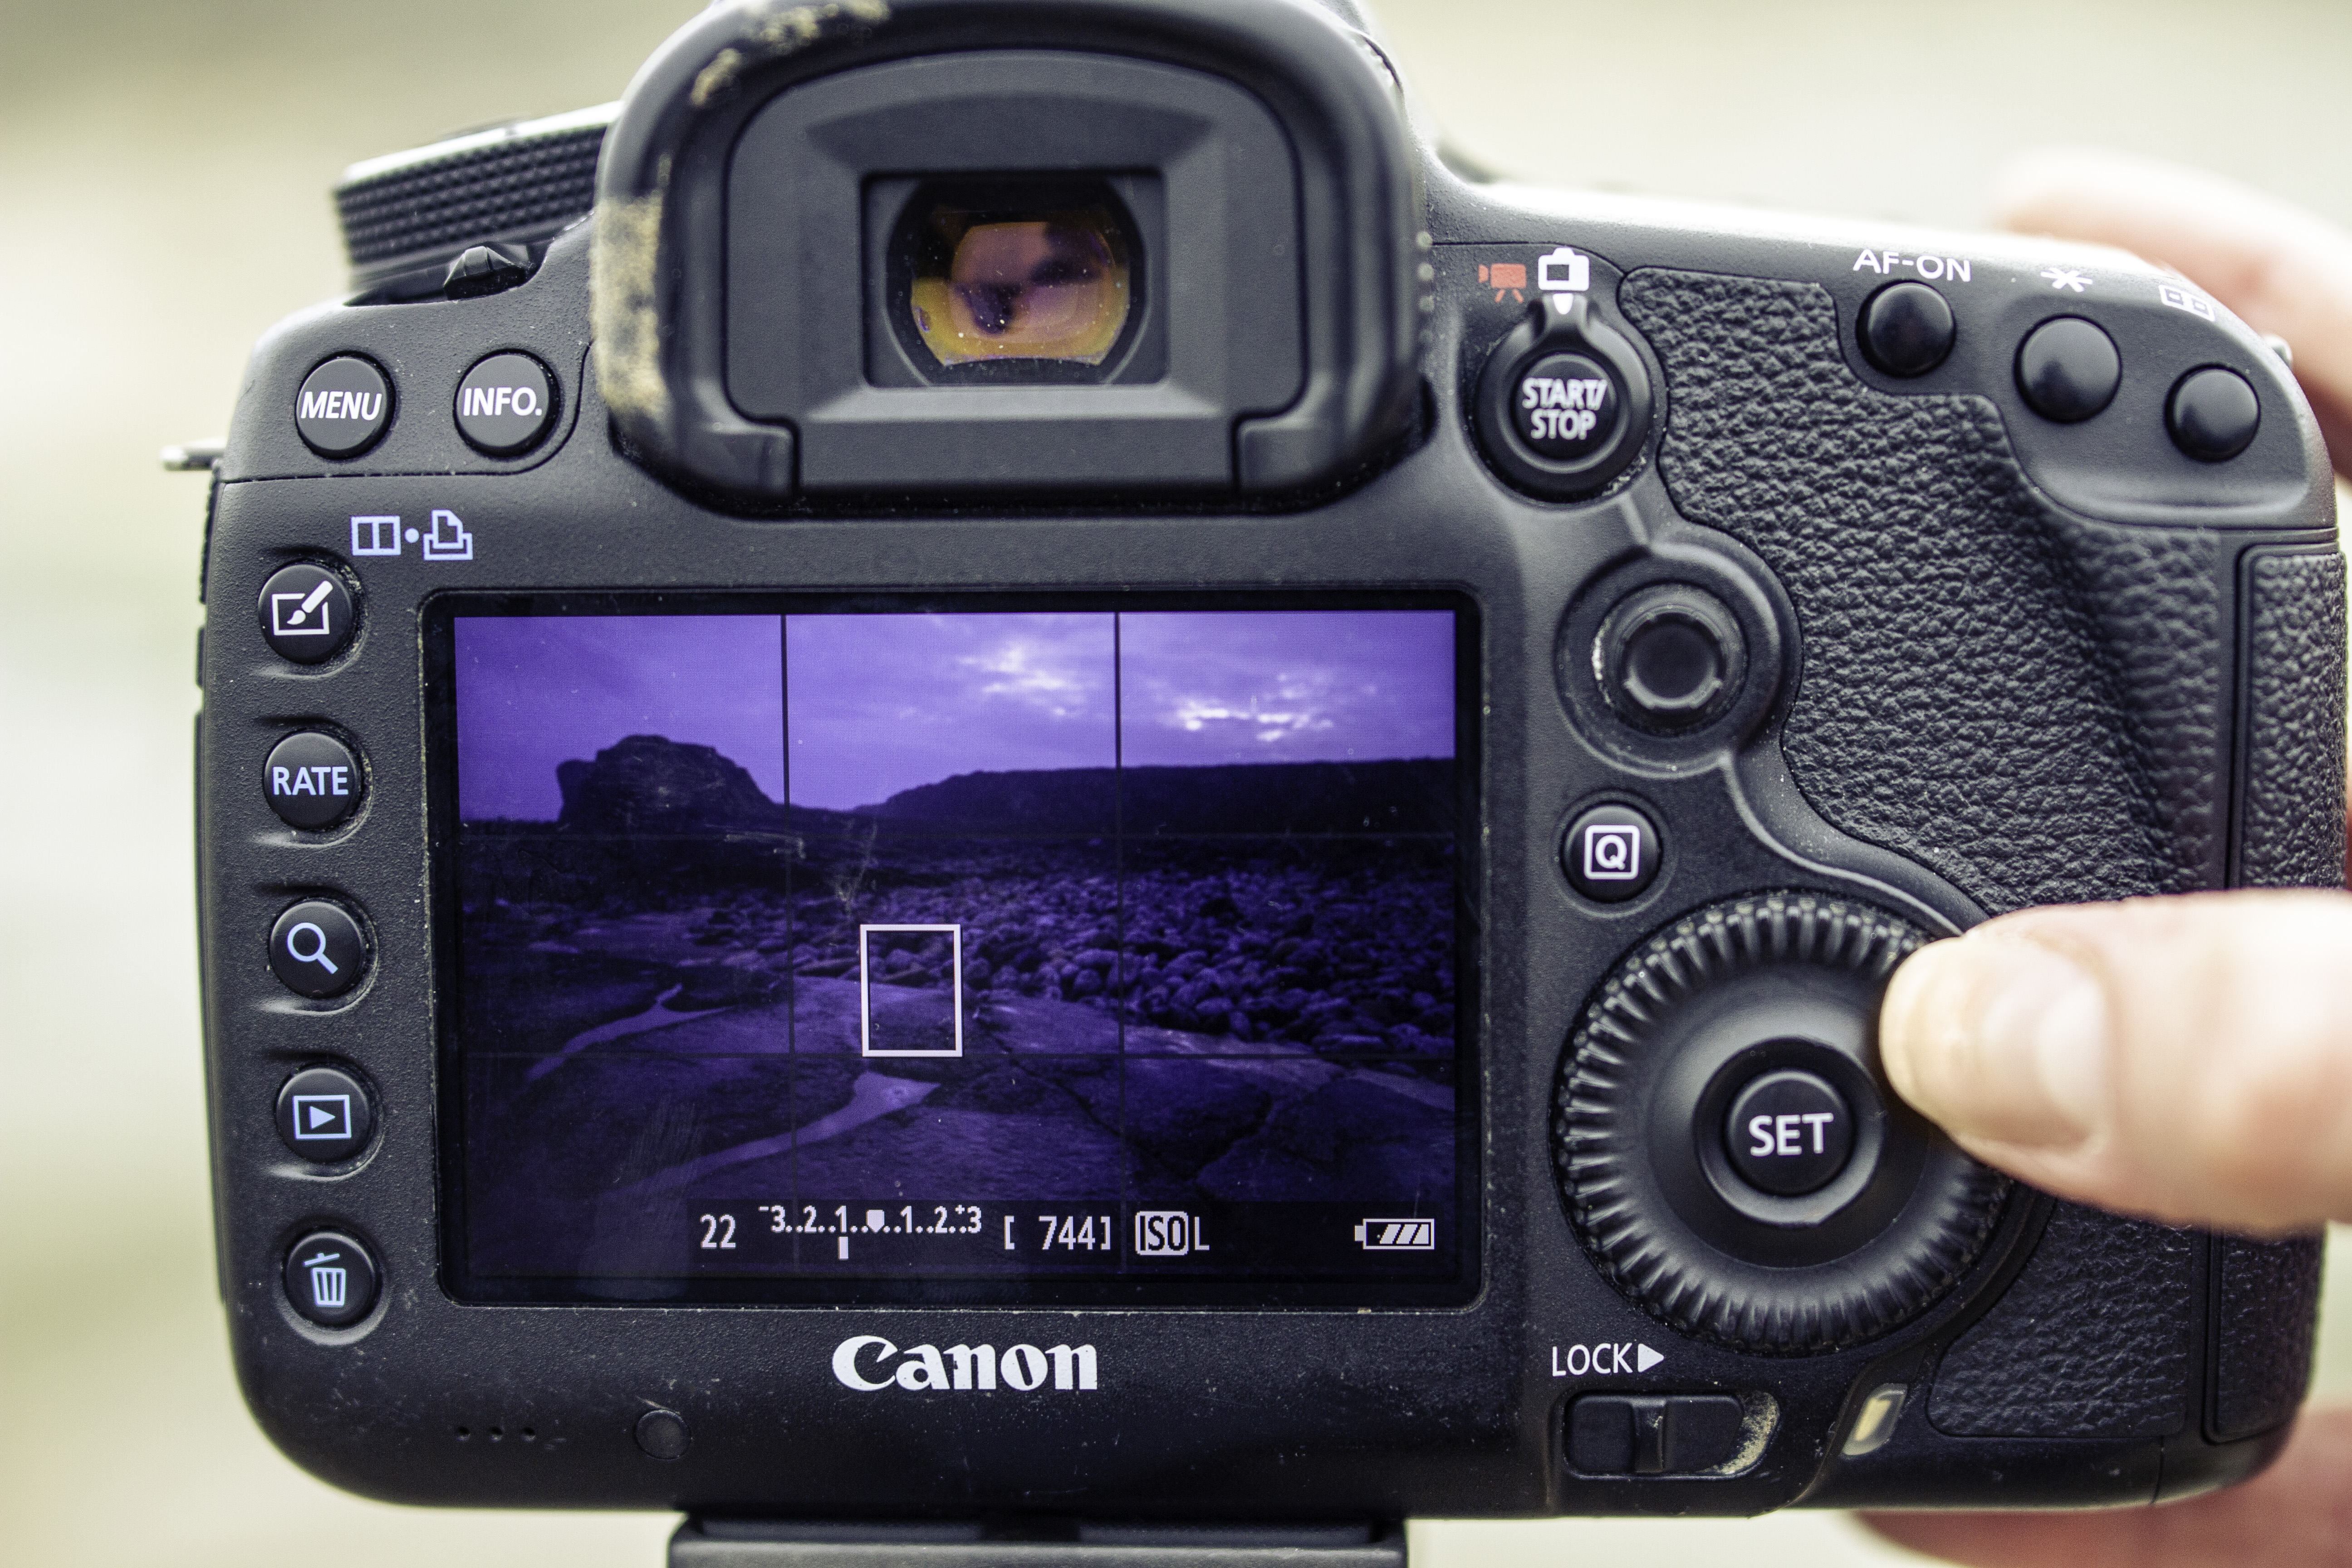
For this image I wanted bright highlights to glow against dense shadows, for a filmic quality. I pushed the exposure as high as possible without blowing highlight detail, knowing it was better to darken shadows than to brighten them. Metering was done from the ocean surface.
Edit your shot
1- Standard adjustments
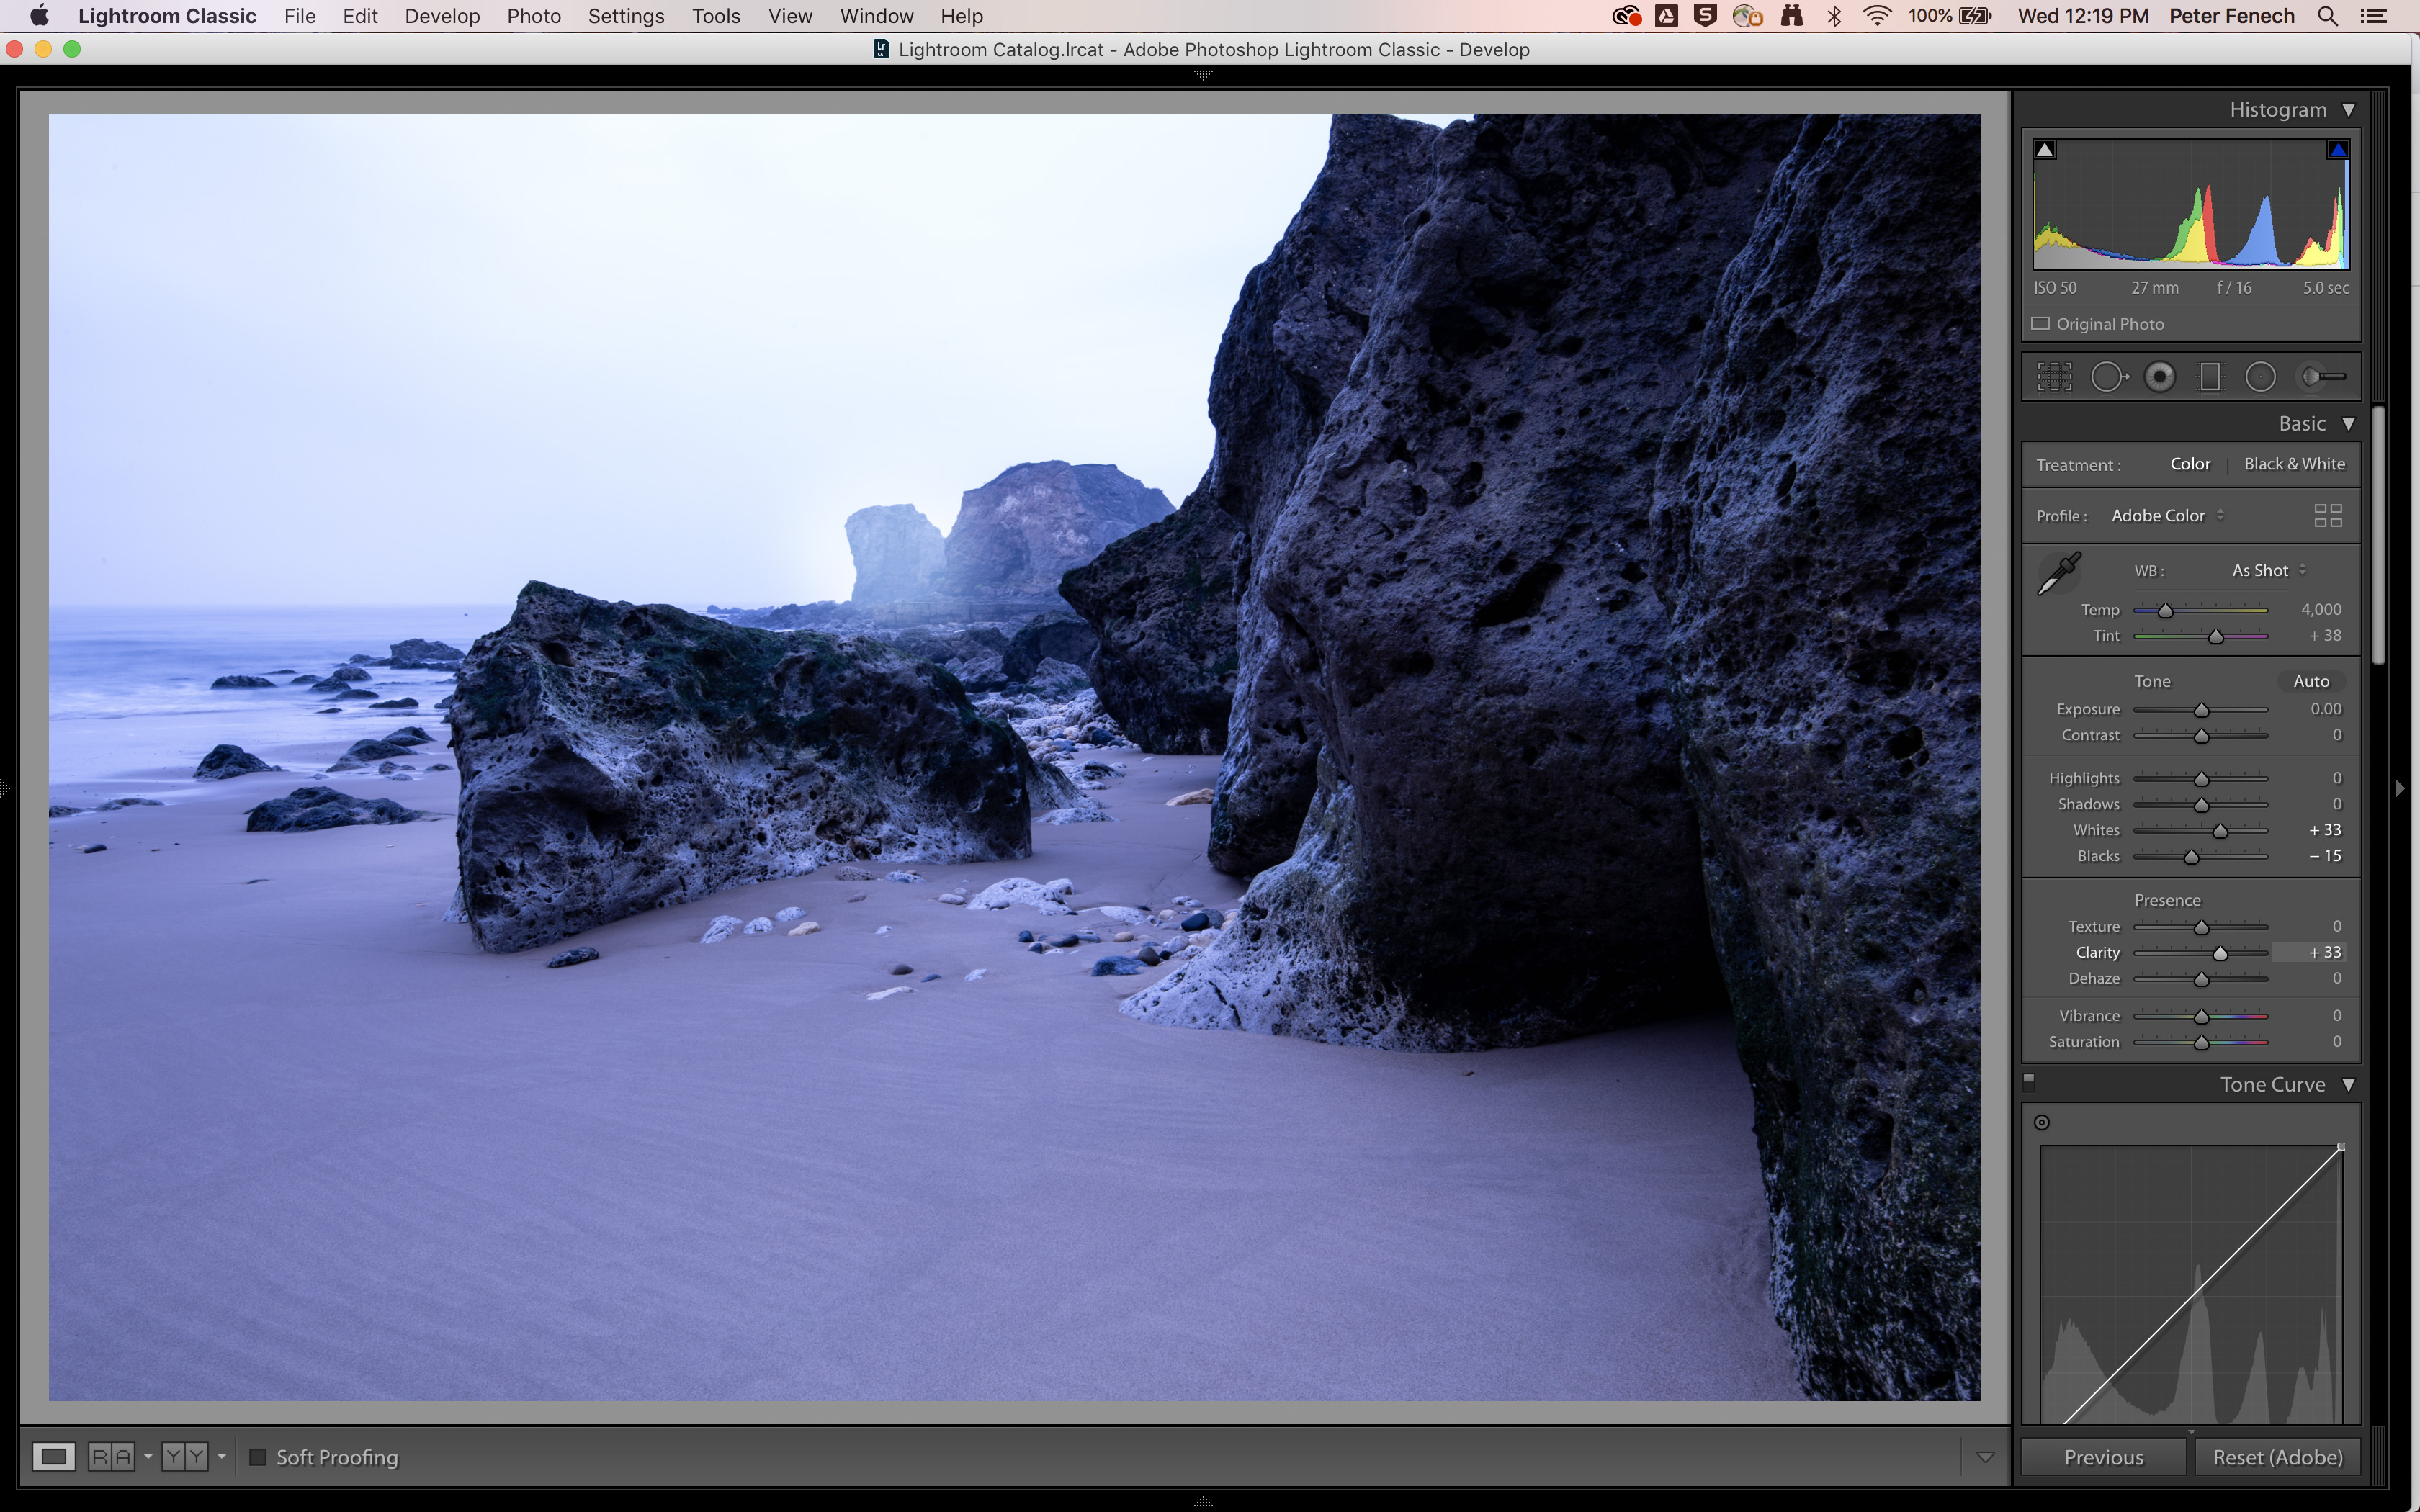
Start by correcting any tonal imbalances and by setting the black and white points. This will ensure a good amount of contrast before we move on to monochrome conversion. Here the colour made it easier to see where there may be some danger or highlight clipping.
2- Mono conversion
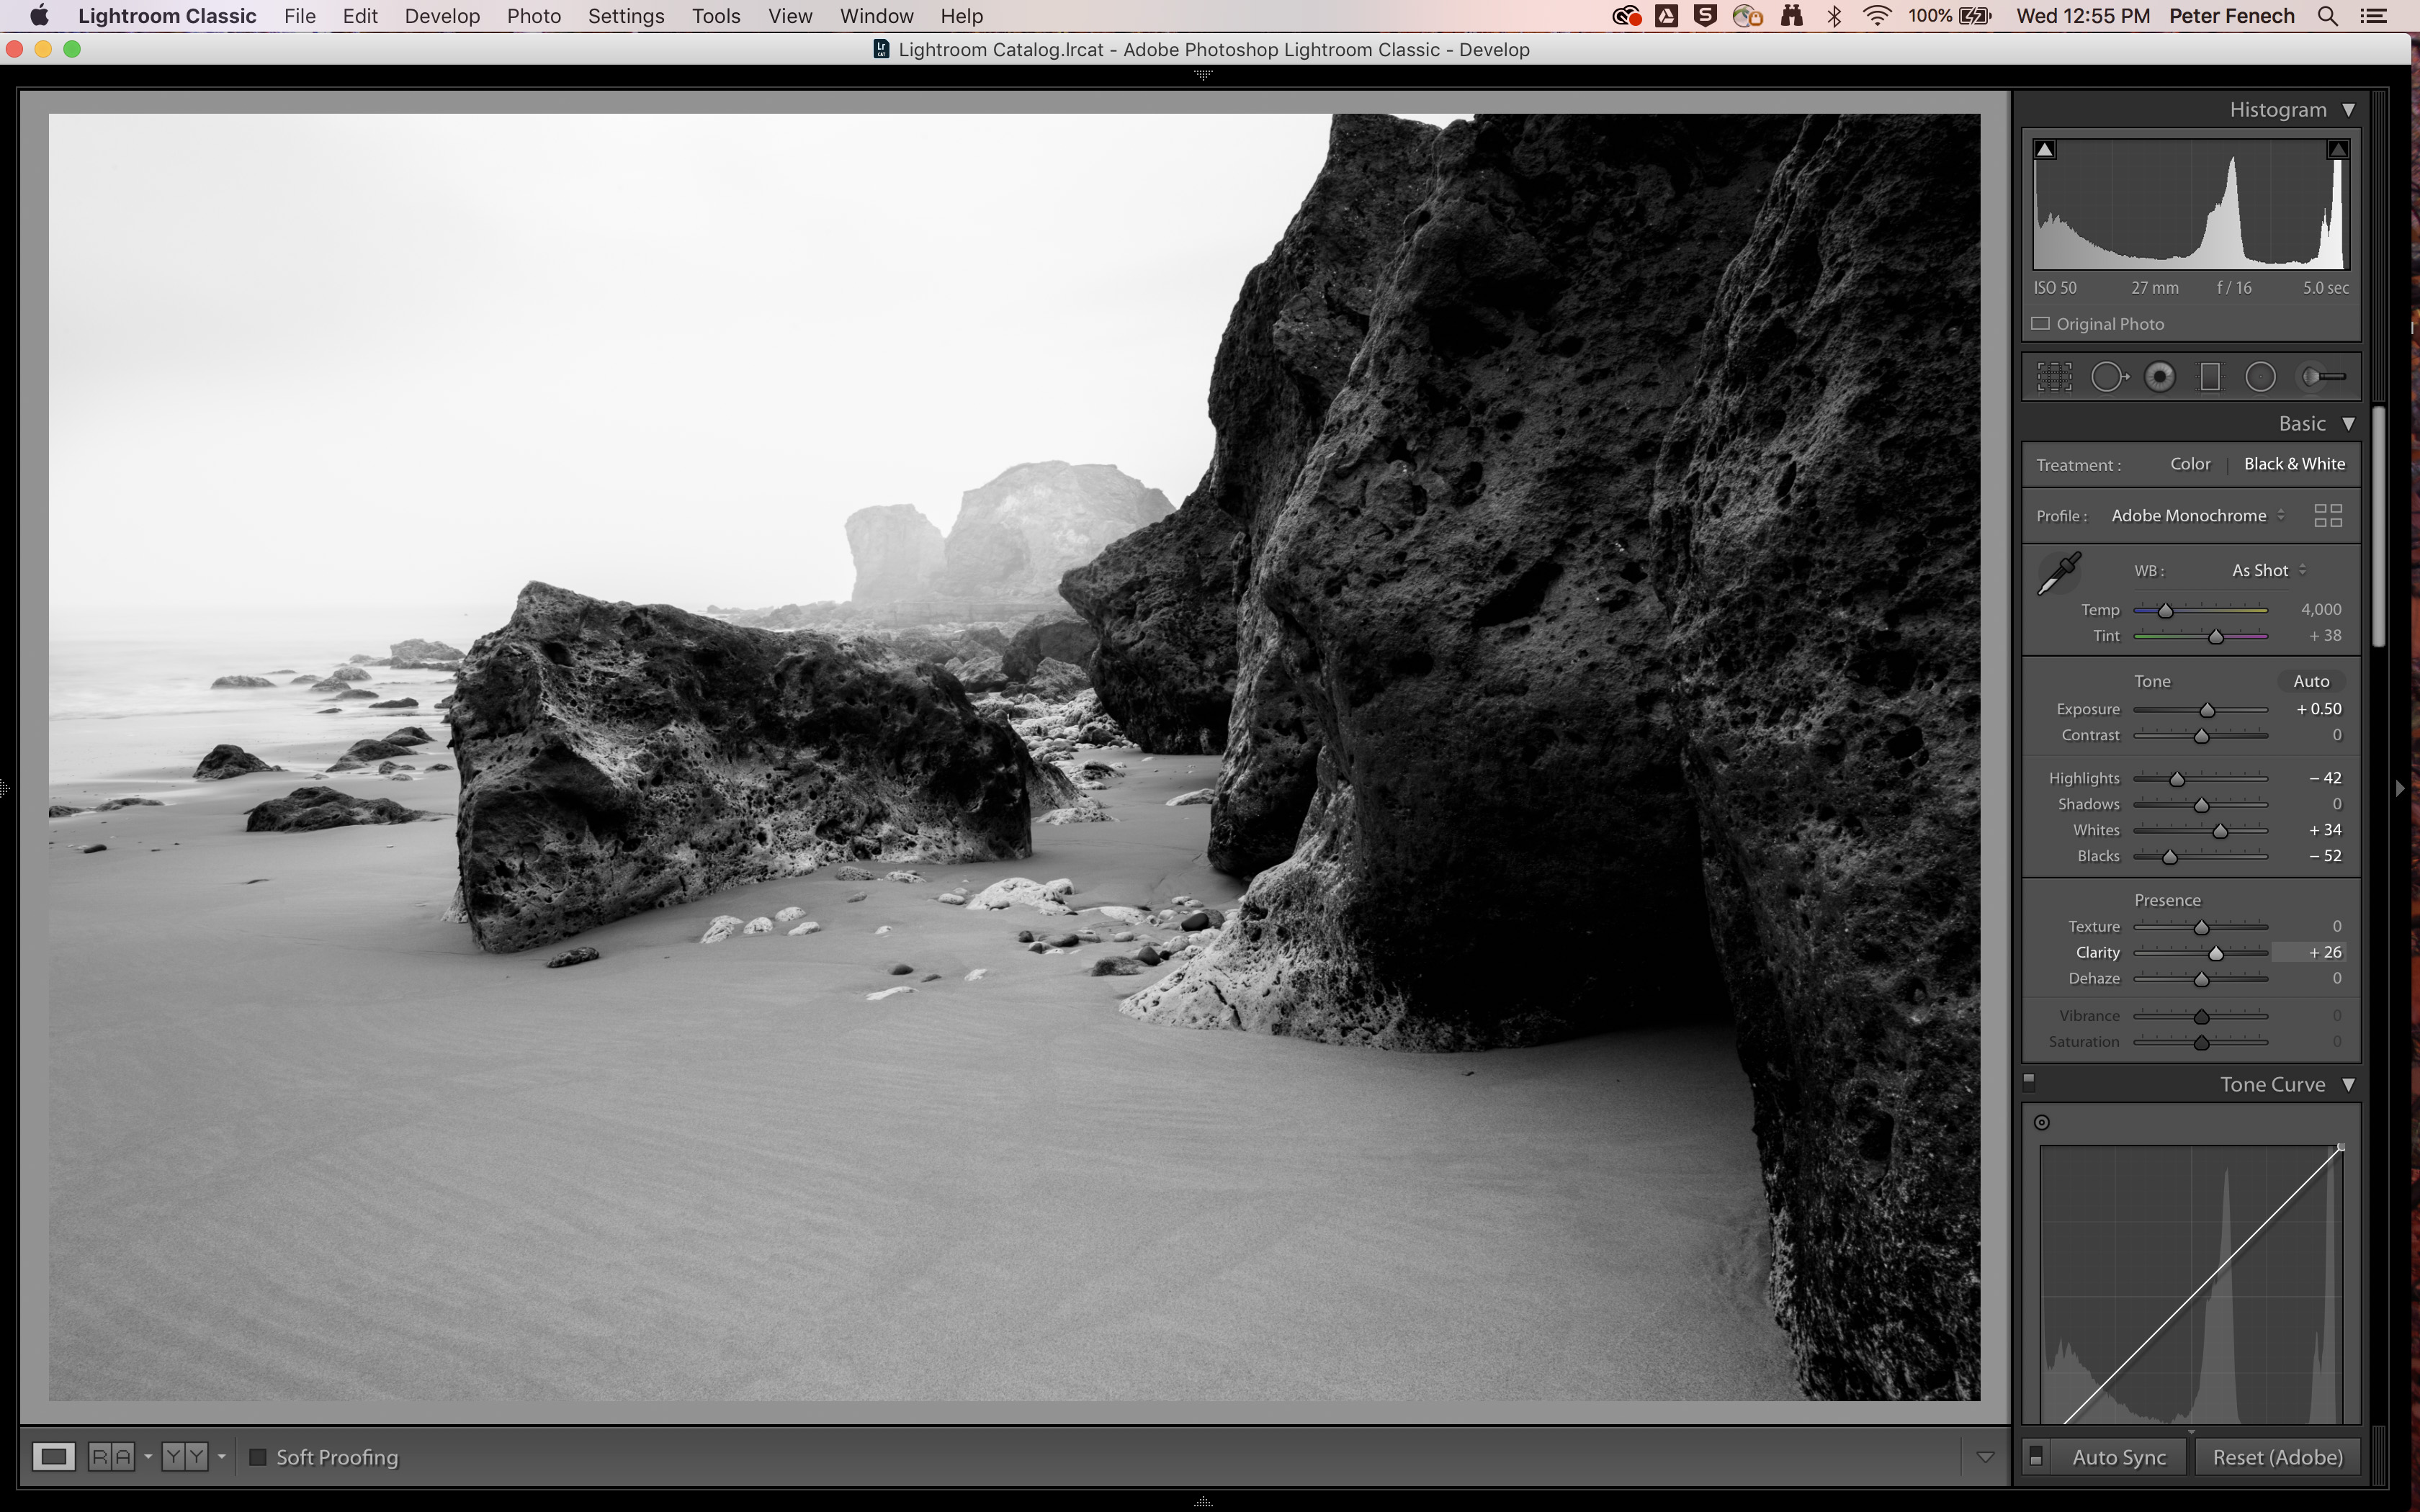
If working in Lightroom or Camera Raw, toggle the Black and White radio button to convert the image to monochrome. By default the image will be a little flat so finalise the global tonal adjustments to ensure good overall contrast.
3- Curves adjustment
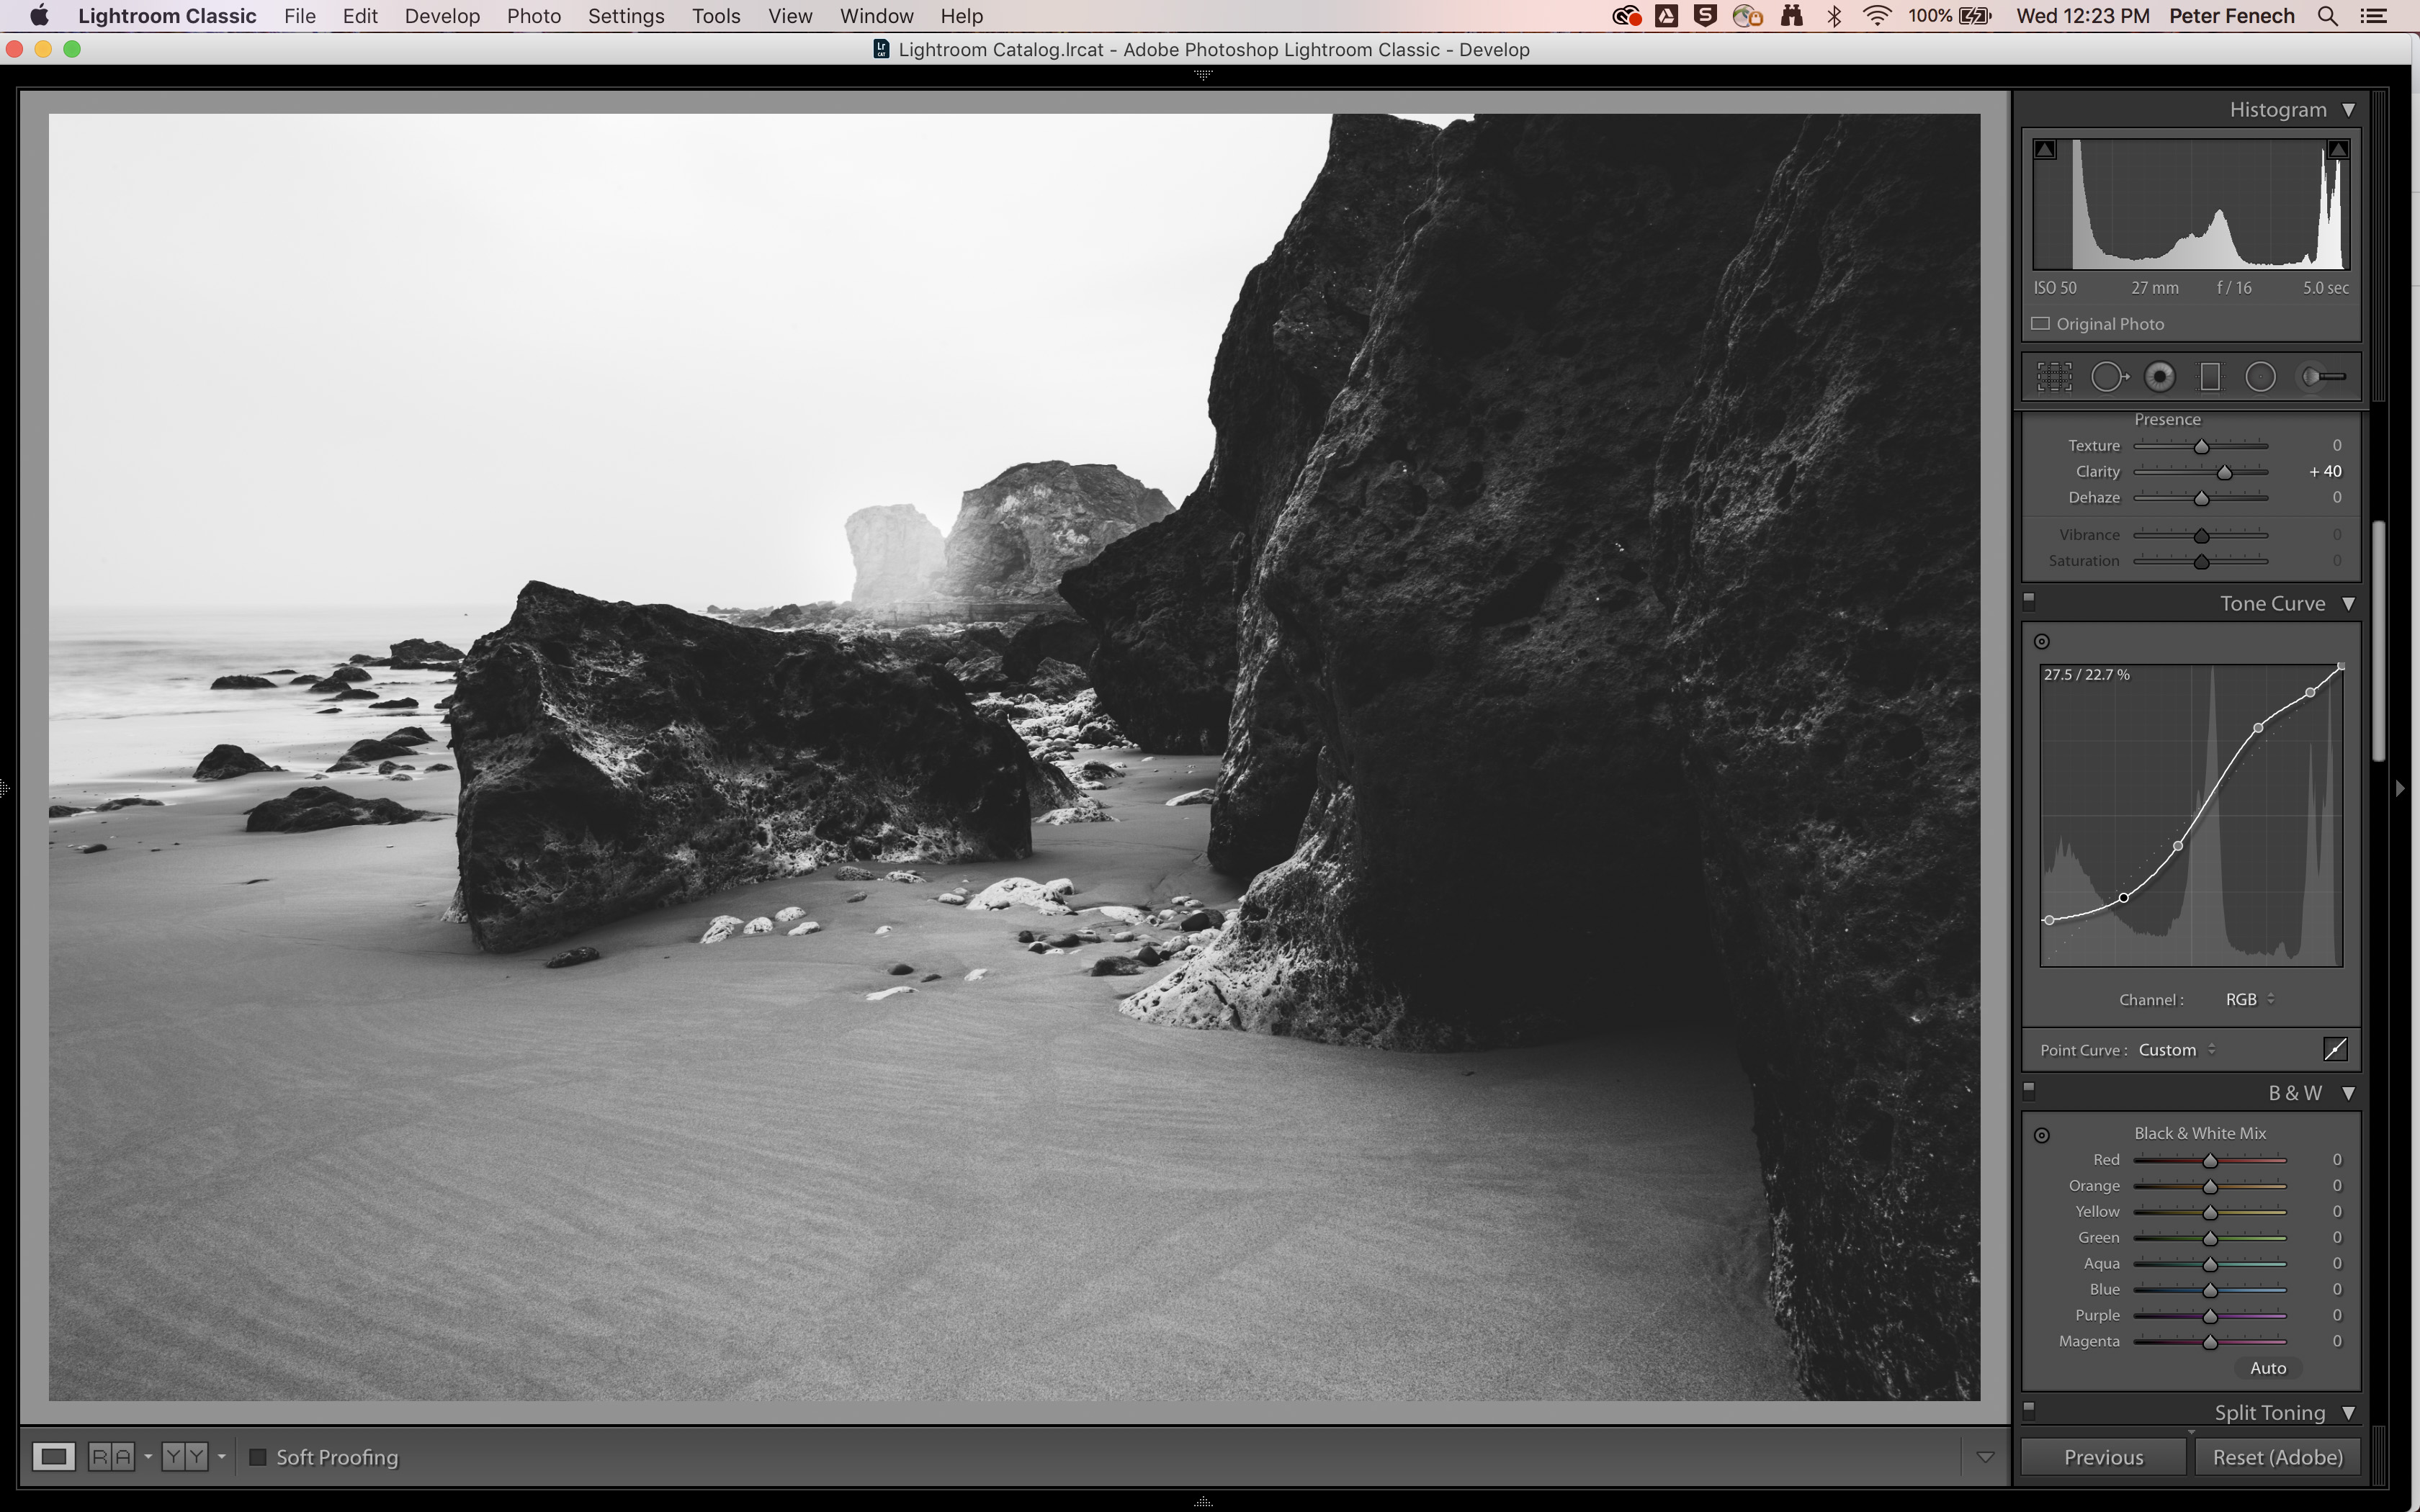
We’re going to introduce slightly faded look to enhance the misty atmosphere of this winter dawn seascape, while adding overall contrast. Lift the bottom of the curve up, while spacing the lower and upper midtones. A highlight ‘dip’ was added to hold some sky detail.
4- Darken the sky
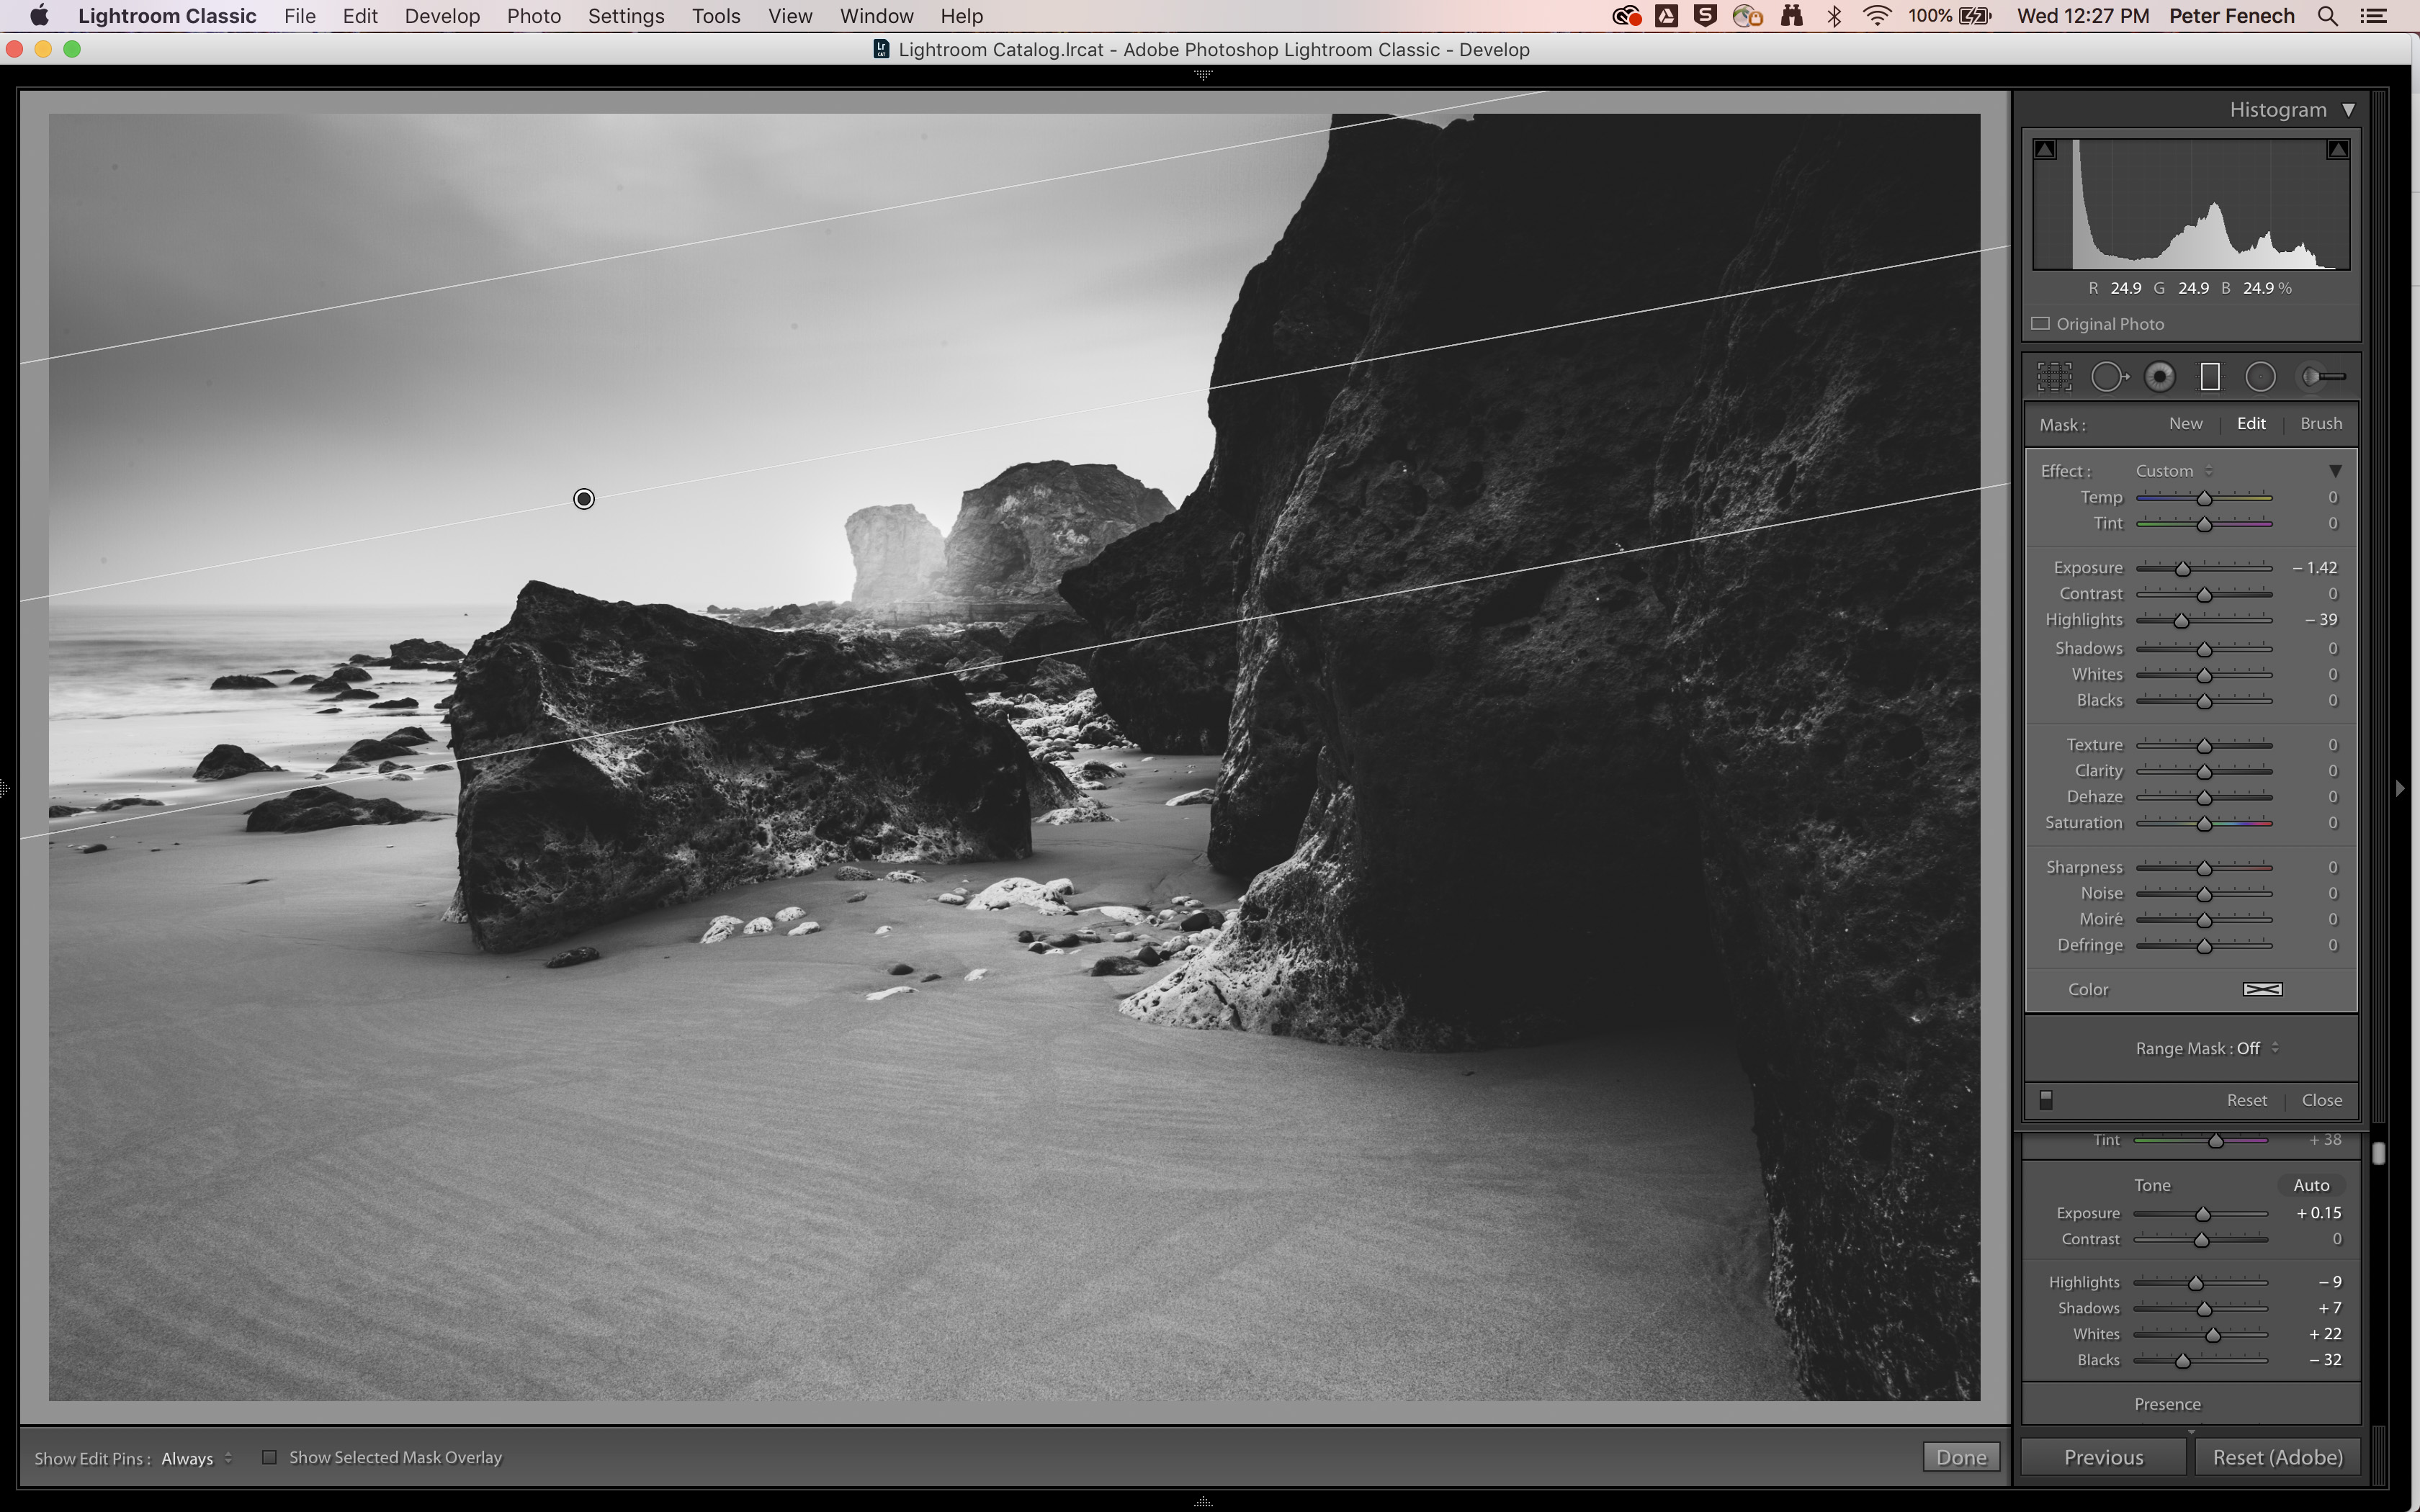
A fog bank is partially obscuring the horizon but above this there is some detail in the sky. To add back some structure the Gradient Filter Tool (M) was used to drag in a darker tone at the top of the composition and add weight.
5- Dodge and Burn
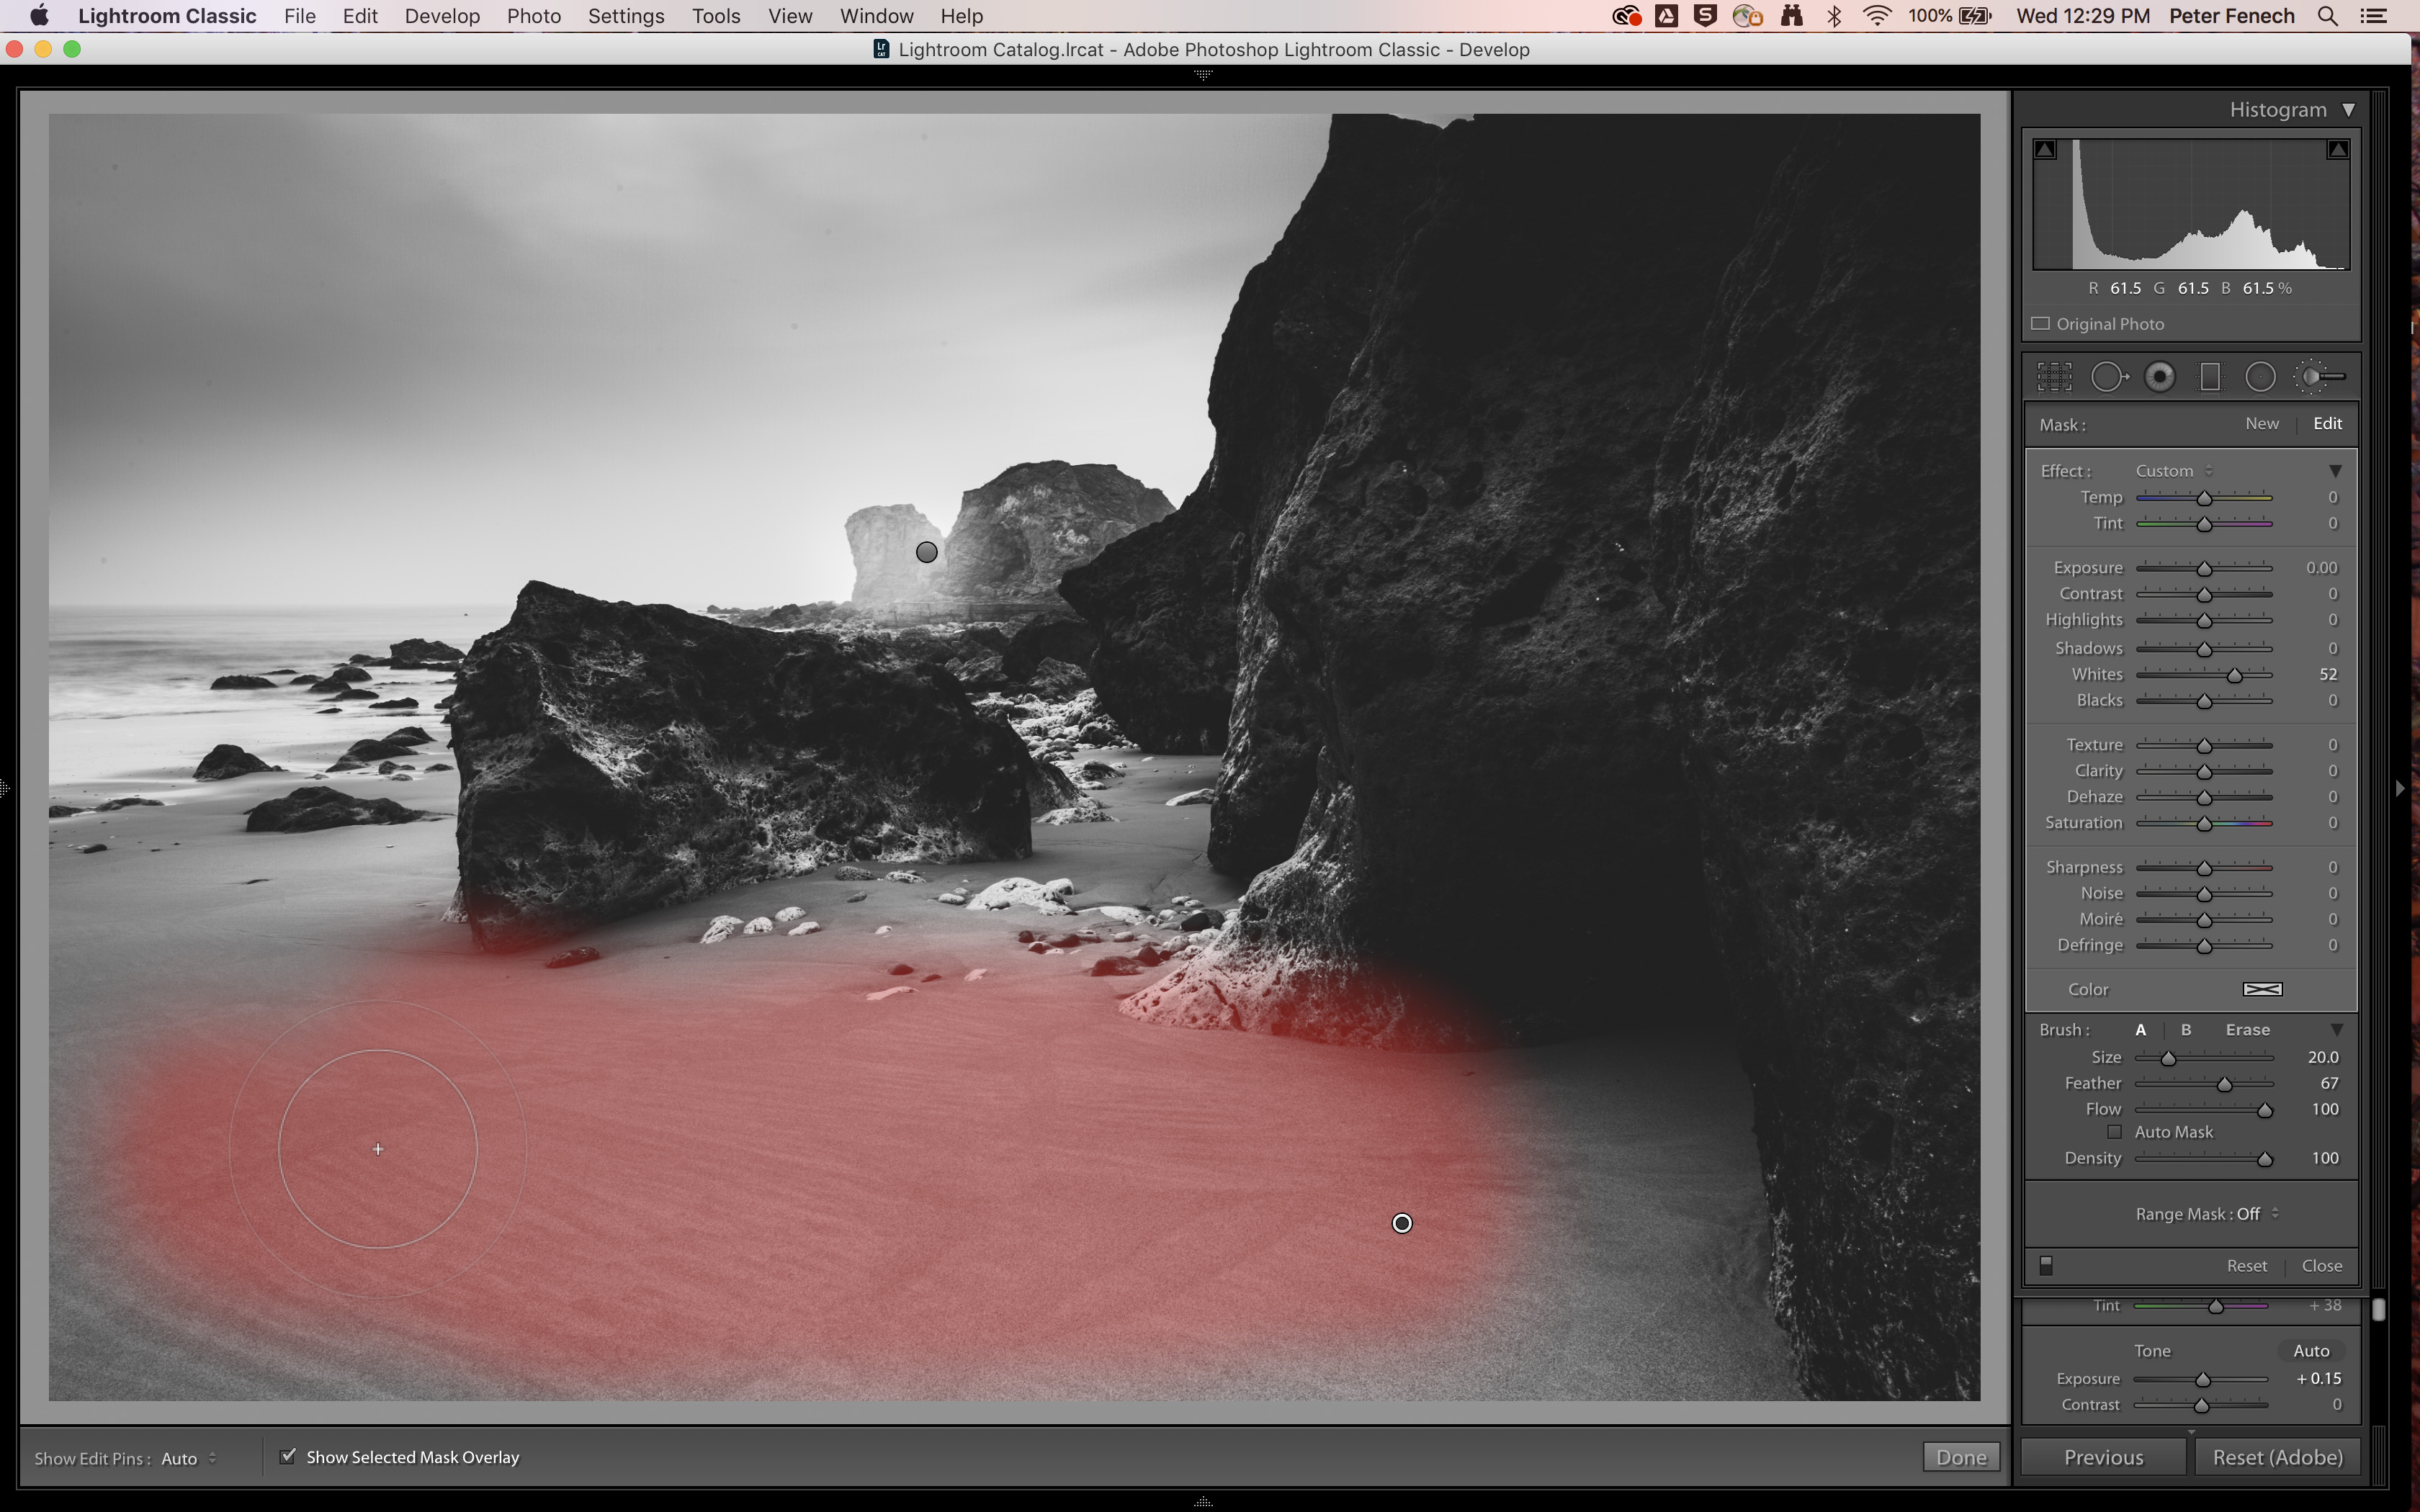
In Photoshop use the Dodge and Burn tools to brighten areas of upper midtone and darken some lower midtones. We used the Adjustment Brush (K) here to selectively add back some negative Blacks and positive Whites to create some local contrast and shape the rock and sand.
6- Extract texture
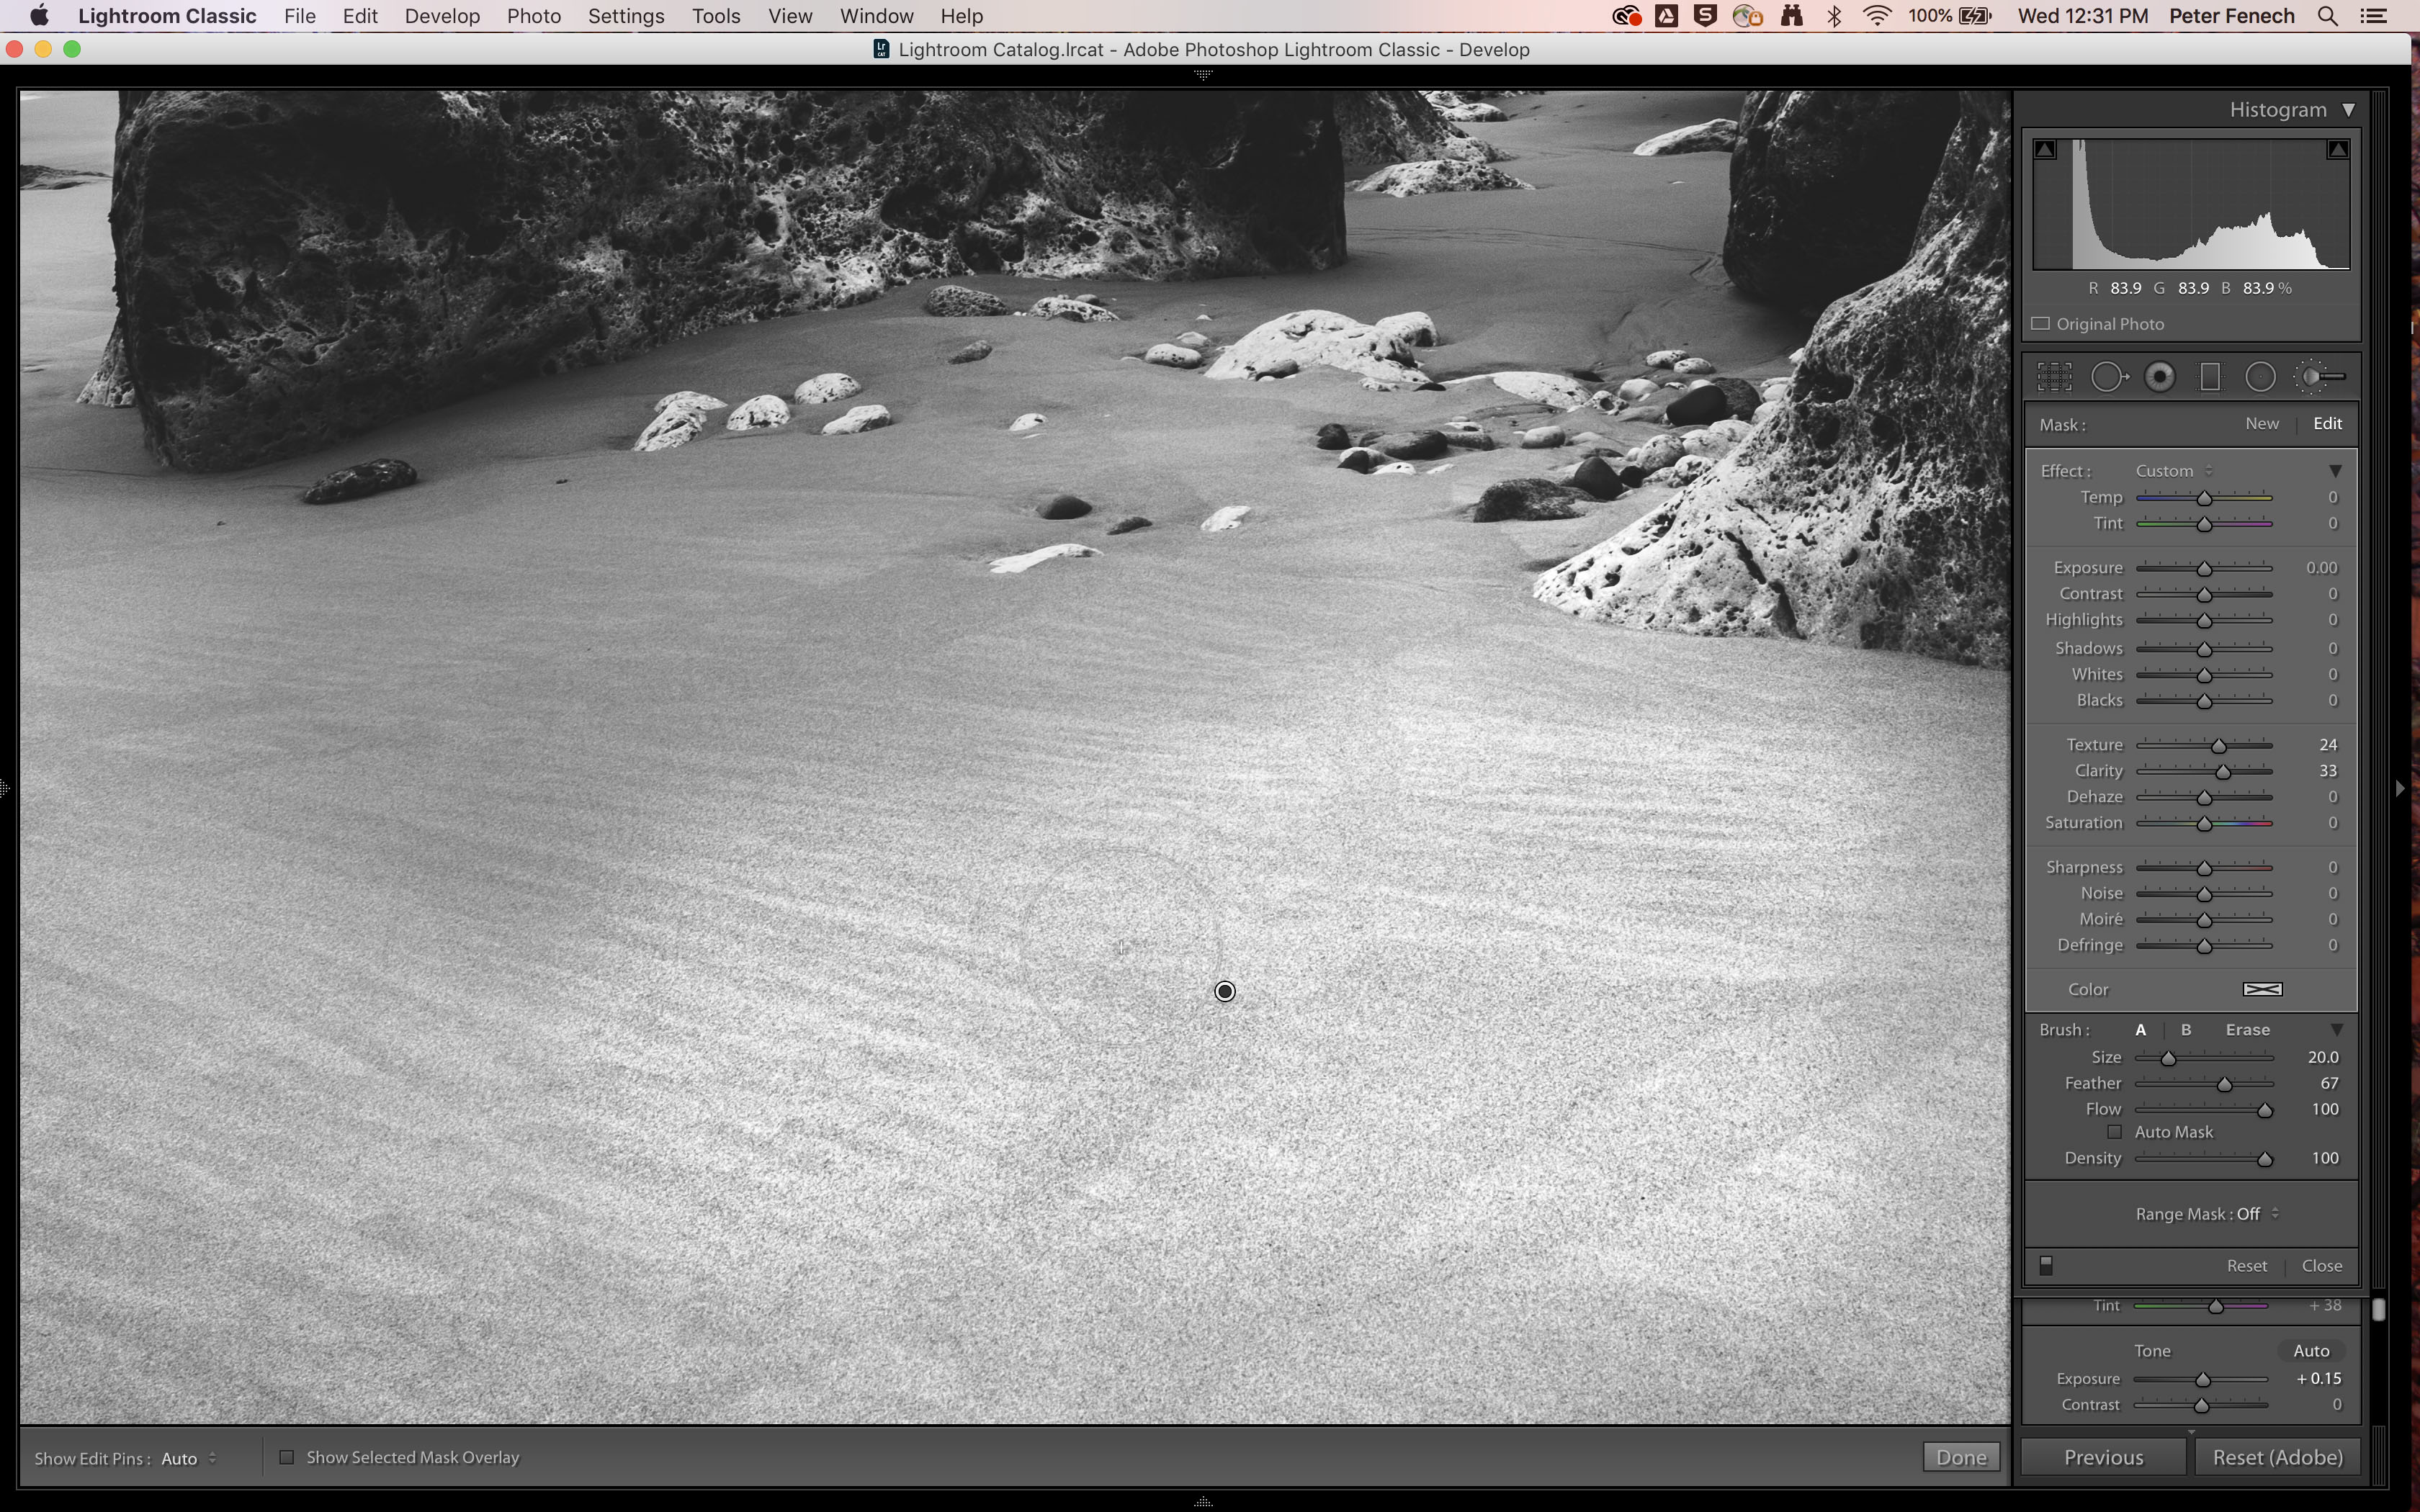
In your RAW editor use the selective adjustment tools to introduce some Clarity and Texture. Here the Lightroom Adjustment Brush was useful for bringing out more of the beach patterns, with Clarity set to +33 and Texture at +24, on a soft brush.

Read more
9 things we know about the Nikon Z9
Adapt and conquer! Learn to use lens adaptors the right way
The best Canon lenses in 2021: go longer, wider and closer with your Canon camera
As the Editor for Digital Photographer magazine, Peter is a specialist in camera tutorials and creative projects to help you get the most out of your camera, lens, tripod, filters, gimbal, lighting and other imaging equipment.
After cutting his teeth working in retail for camera specialists like Jessops, he has spent 11 years as a photography journalist and freelance writer – and he is a Getty Images-registered photographer, to boot.
No matter what you want to shoot, Peter can help you sharpen your skills and elevate your ability, whether it’s taking portraits, capturing landscapes, shooting architecture, creating macro and still life, photographing action… he can help you learn and improve.
