The Love Island look! How to shoot glitzy product photos
Warm yourself up this winter and place a product in a setting which suggests a tropical forest location, indoors or out

Credible lighting is the best way to sell an environmental composition. Since we're shooting a sunset theme, adding a flash to backlight the subject adds a wash of light reminiscent of low sunlight naturally illuminates the environment, but in a controllable way. For a firelight effect, even if ambient light is present, supplementing this with a gelled flash can make the glow stronger and introduce color continuity too.
A technique many pro commercial advertising photographers use to communicate the target customer for a product is to capture the subject in a thematic setting.
Environmental product shots add soft subliminal cues, suggesting the branding to the viewer without directly hard-selling it. This works as potential buyers of the product feel like they have made a decision themselves, based on how they perceive the product fits into the environment portrayed.
The great aspect of product imaging is the freedom to control context; the tight framing means we have complete flexibility to arrange the scene, which can be shot inside or out.
The aim of any environmental shot is to make the subject seem like it fits in with its surroundings. The light, color and texture need to seem compatible. Here we've gone for a familiar ultra-colorful branding theme. You'll need a camera for product photography and a flashgun before getting started.
1. Elevate the product
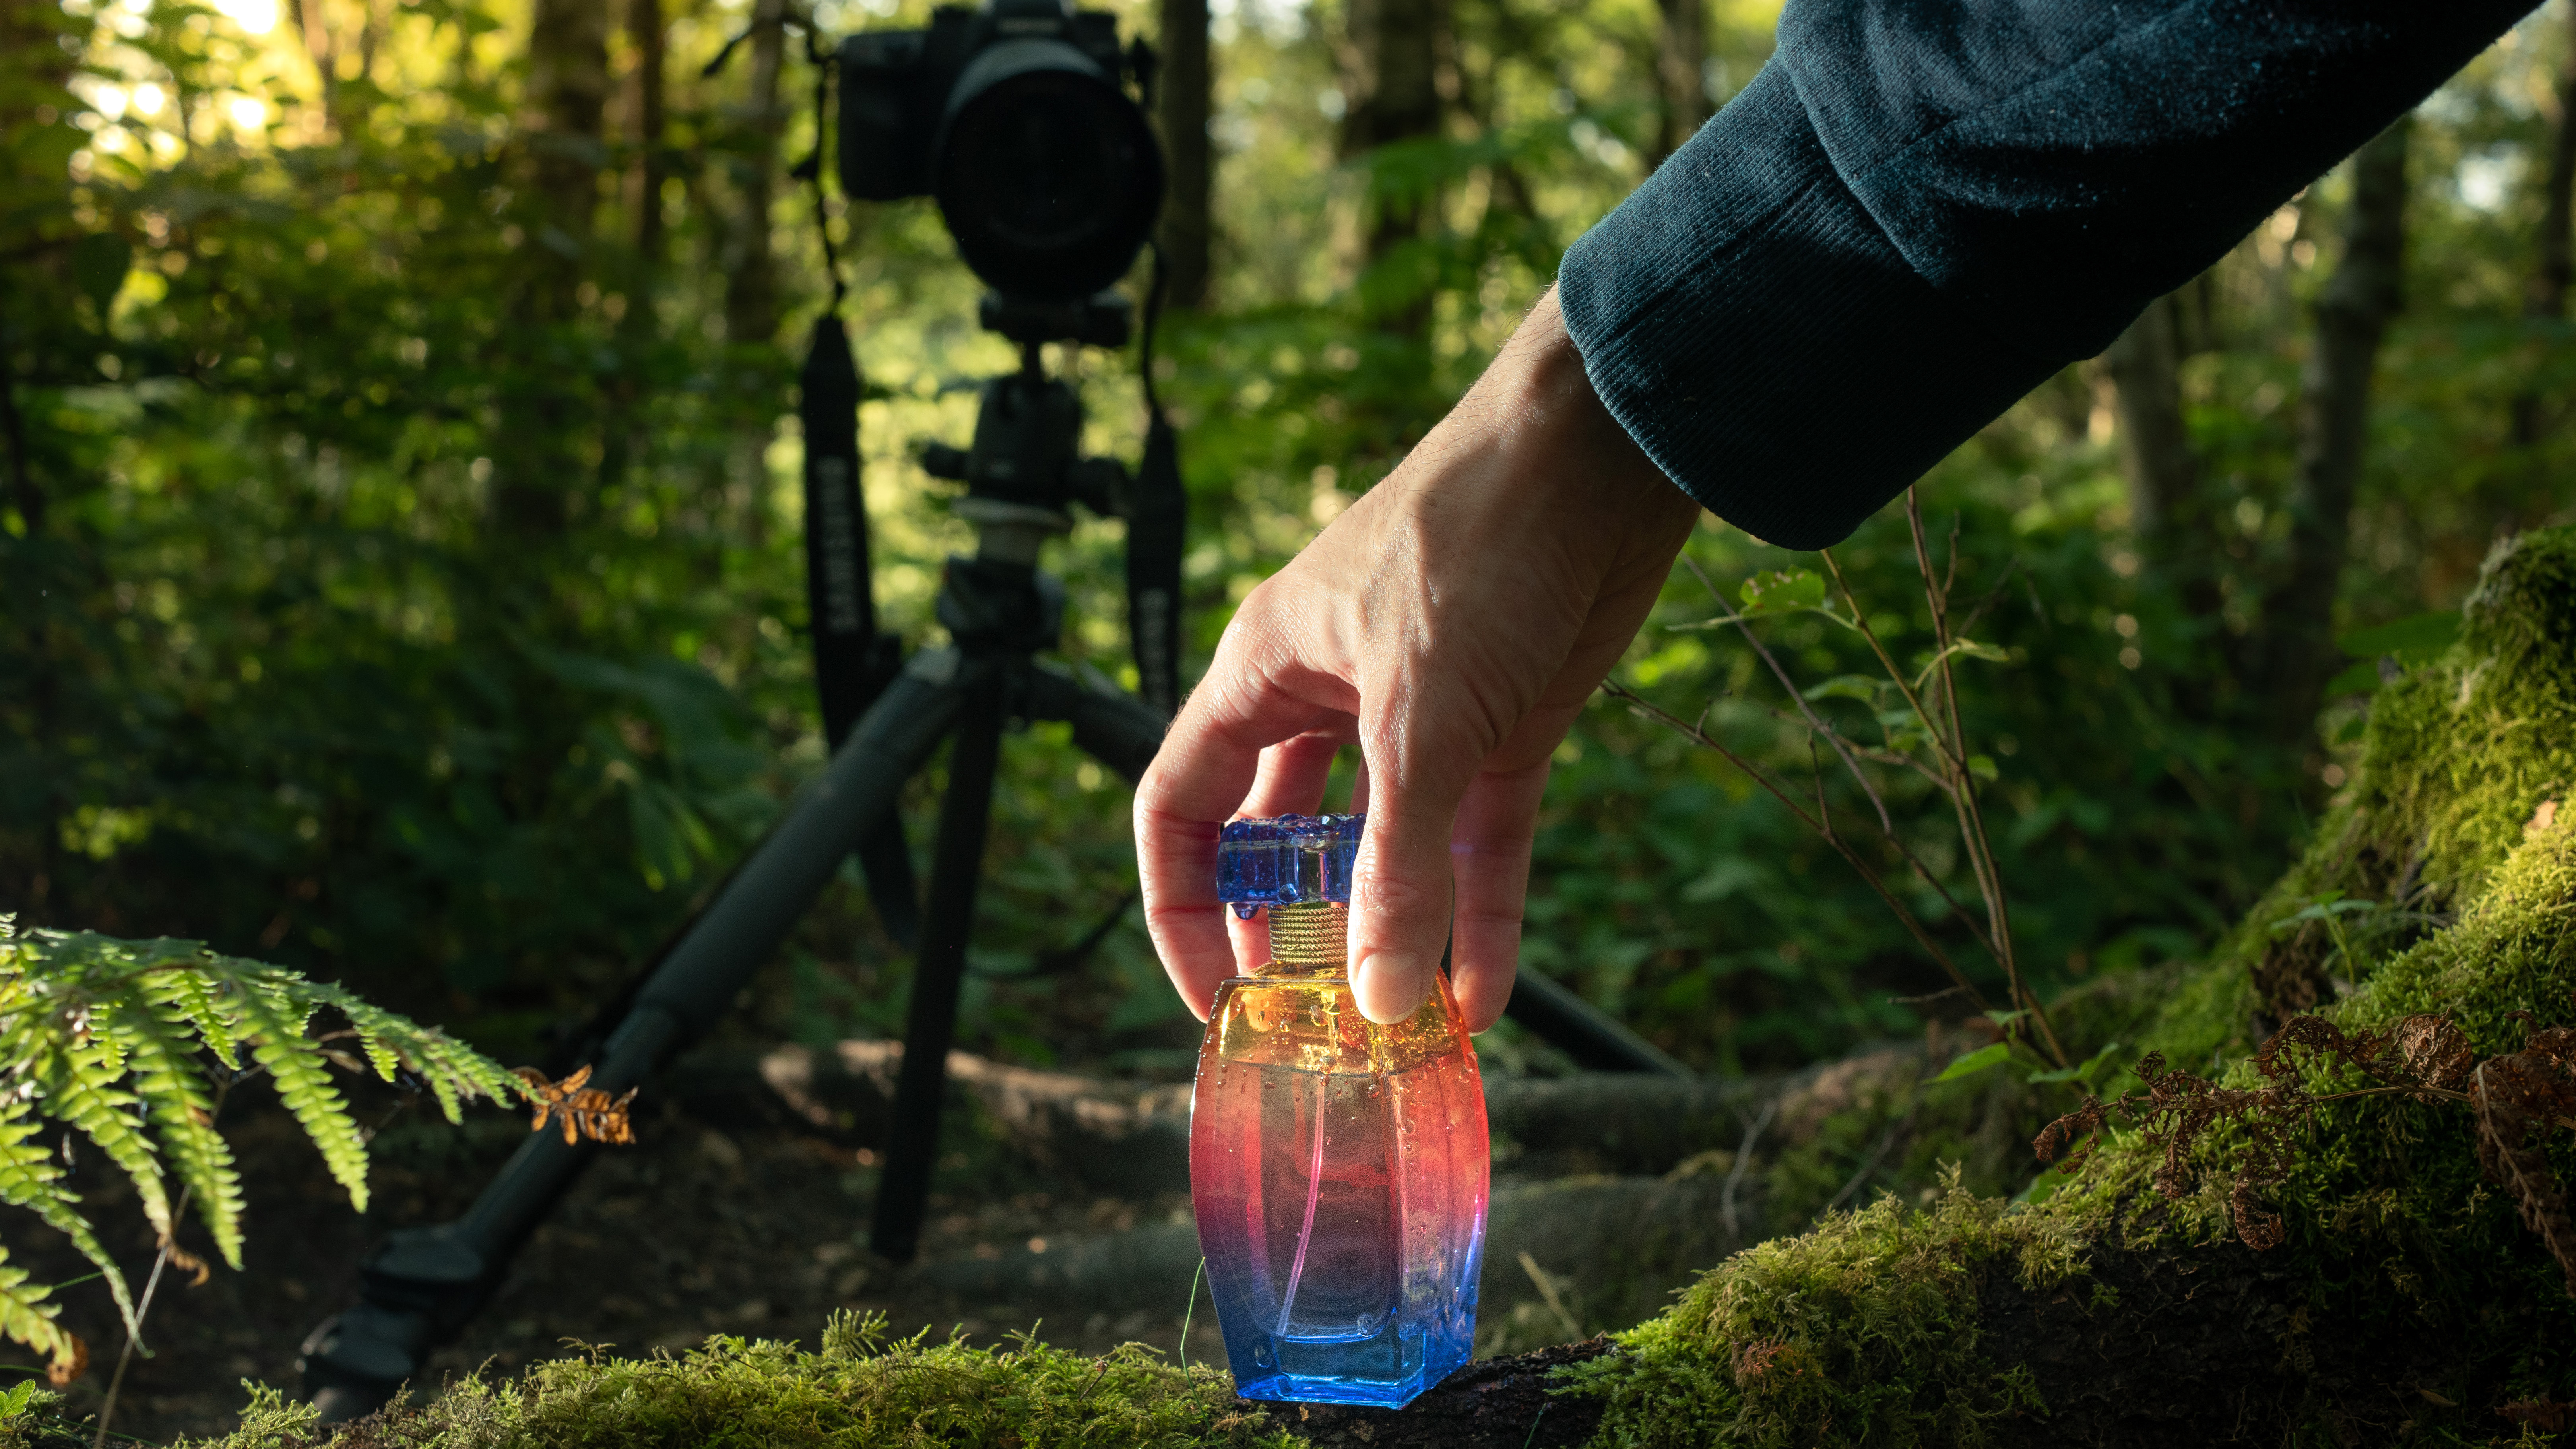
One challenge of shooting on location is room to maneuver and place equipment. Find a flatter surface that is several feet higher than the surrounding terrain so you can easily get behind the subject and re-dress it if necessary. Compose the shot to leave space for text.
2. Add the elements
A great way to make the product feel continuous with the novel environment is to add in elemental components. In this case we sprayed a fine mist of water on the glass bottle to produce beads of what looks like condensation, suggesting the humid climate.

3. Position fill light
Place the main light in order to fill shadows on the front surface of the product. It is better to place the subject out of the direct sun and then control fill artificially to ensure the sunset effect appears natural. Diffuse with a softbox, in our case a Speedlight model.
The best camera deals, reviews, product advice, and unmissable photography news, direct to your inbox!
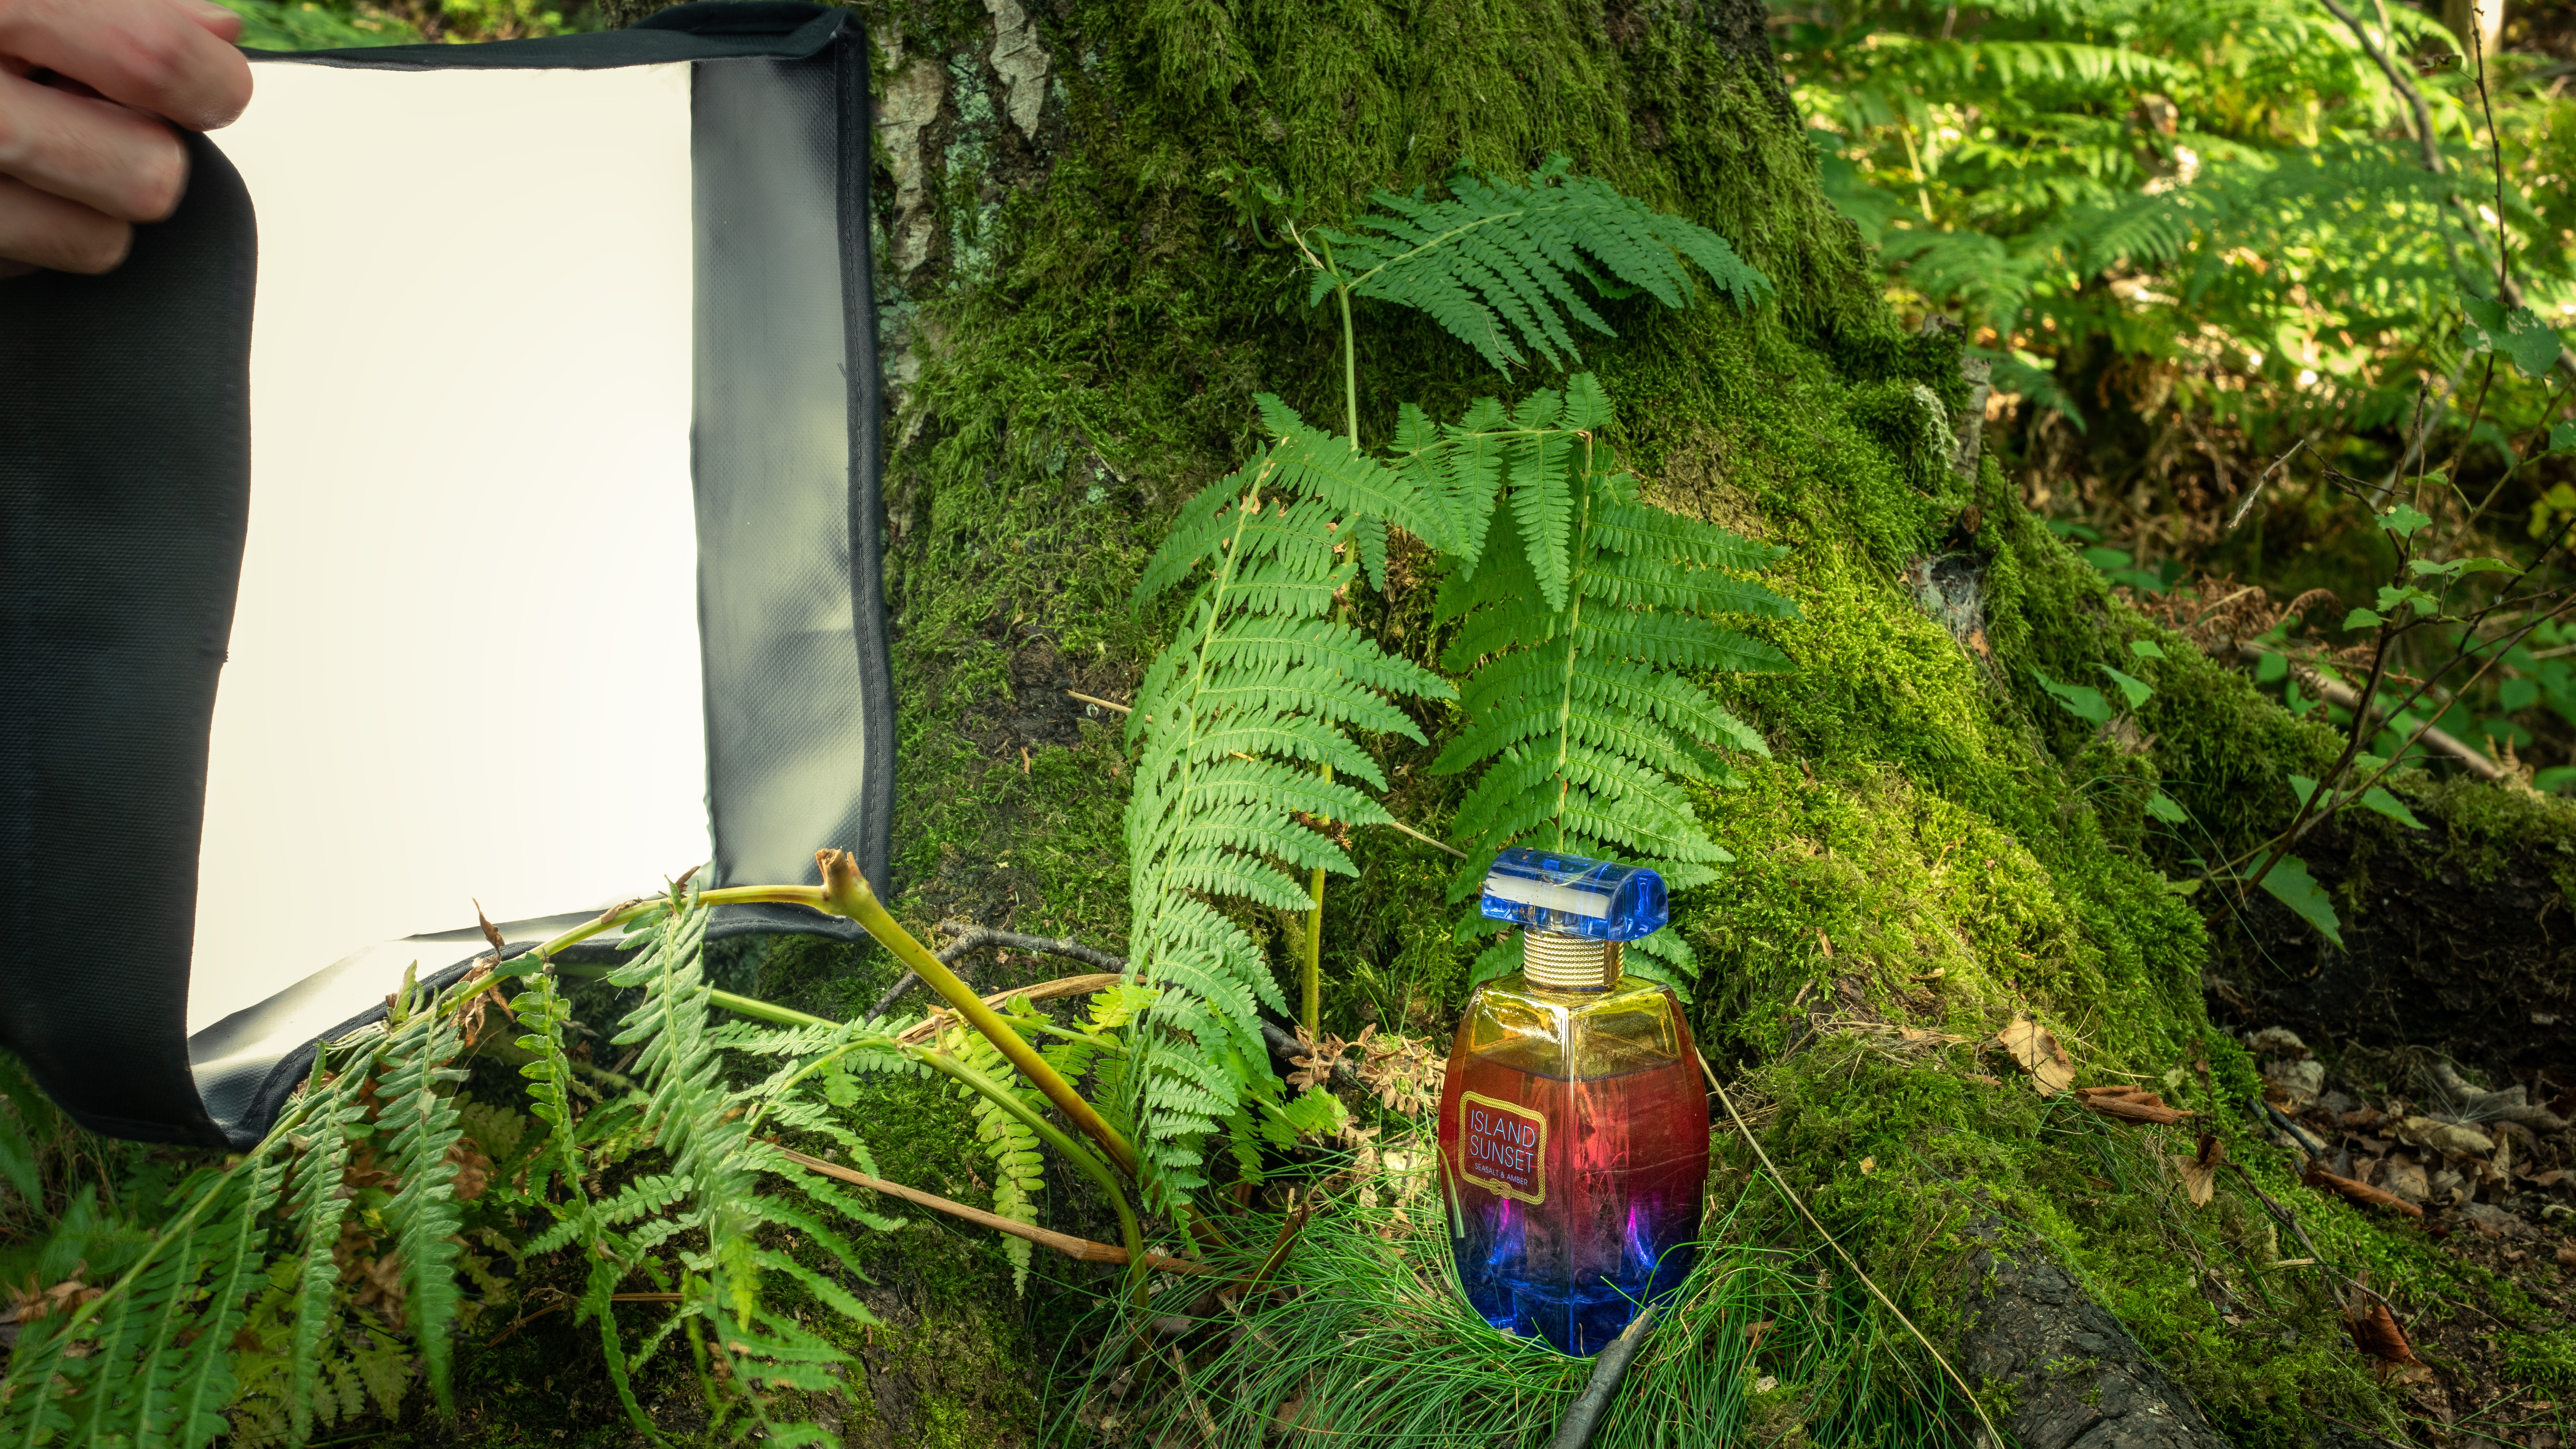
4. Add backlight
Place a CTO gel on a second flash and put this behind the subject, at a 45° angle to the lens. This light will be your ‘sun’. Don’t worry about the flash head clipping on the histogram, but avoid losing important detail or color in the product.

5. Shoot multiple directions
The logo or brand titles are often the most important part of a product, so be certain that these areas are legible. Capture multiple shots with the fill light in various positions as frames can be blended in post, creating the perfect lighting structure.

6. Create flare
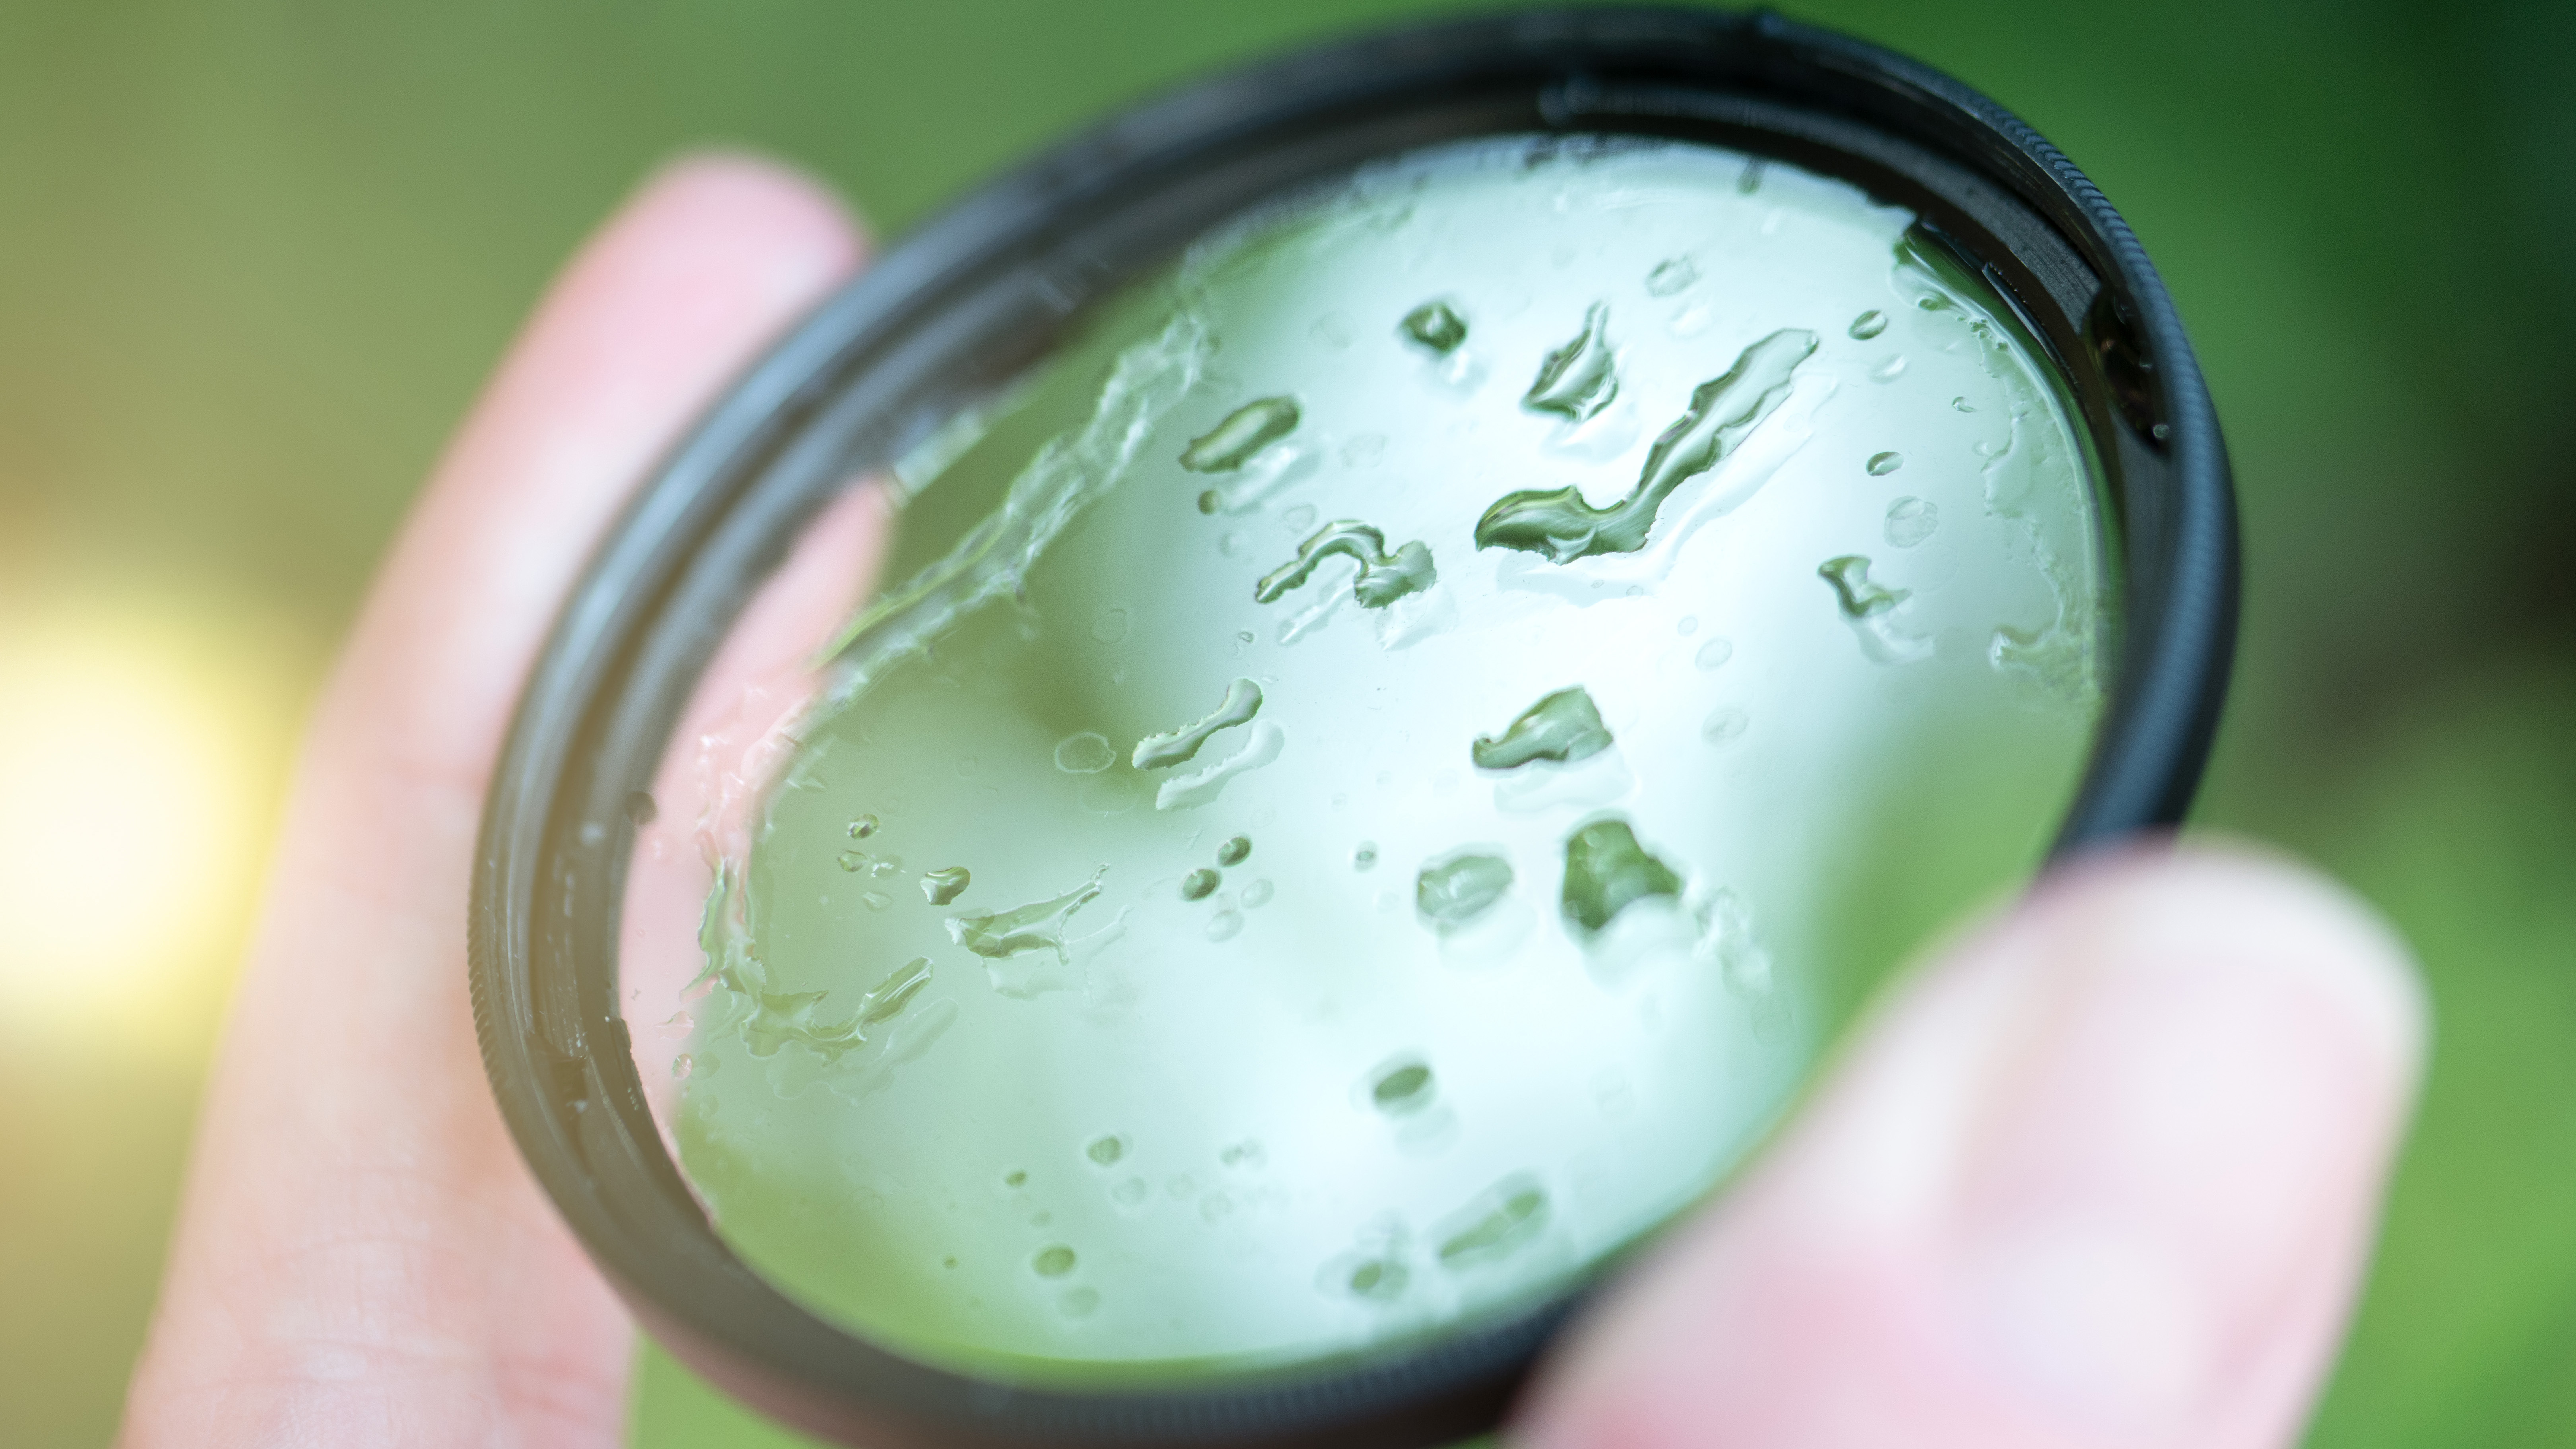
To push the summery look in our shot further we added water droplets to a protector filter, which turned into flare bokeh when hit by the backlight, firing into the lens. Take shots with and without the filter attached for the option to control or remove this.
Digital Photographer is a monthly magazine, and the kitbag essential for pros, enthusiasts and amateurs alike!
Inside, you'll find practical guides, shooting tips and techniques from working photographers, plus all the latest industry news.
Read more:
Make a DIY photo studio for peanuts!
Use overlays to transform your photography
As the Editor for Digital Photographer magazine, Peter is a specialist in camera tutorials and creative projects to help you get the most out of your camera, lens, tripod, filters, gimbal, lighting and other imaging equipment.
After cutting his teeth working in retail for camera specialists like Jessops, he has spent 11 years as a photography journalist and freelance writer – and he is a Getty Images-registered photographer, to boot.
No matter what you want to shoot, Peter can help you sharpen your skills and elevate your ability, whether it’s taking portraits, capturing landscapes, shooting architecture, creating macro and still life, photographing action… he can help you learn and improve.
