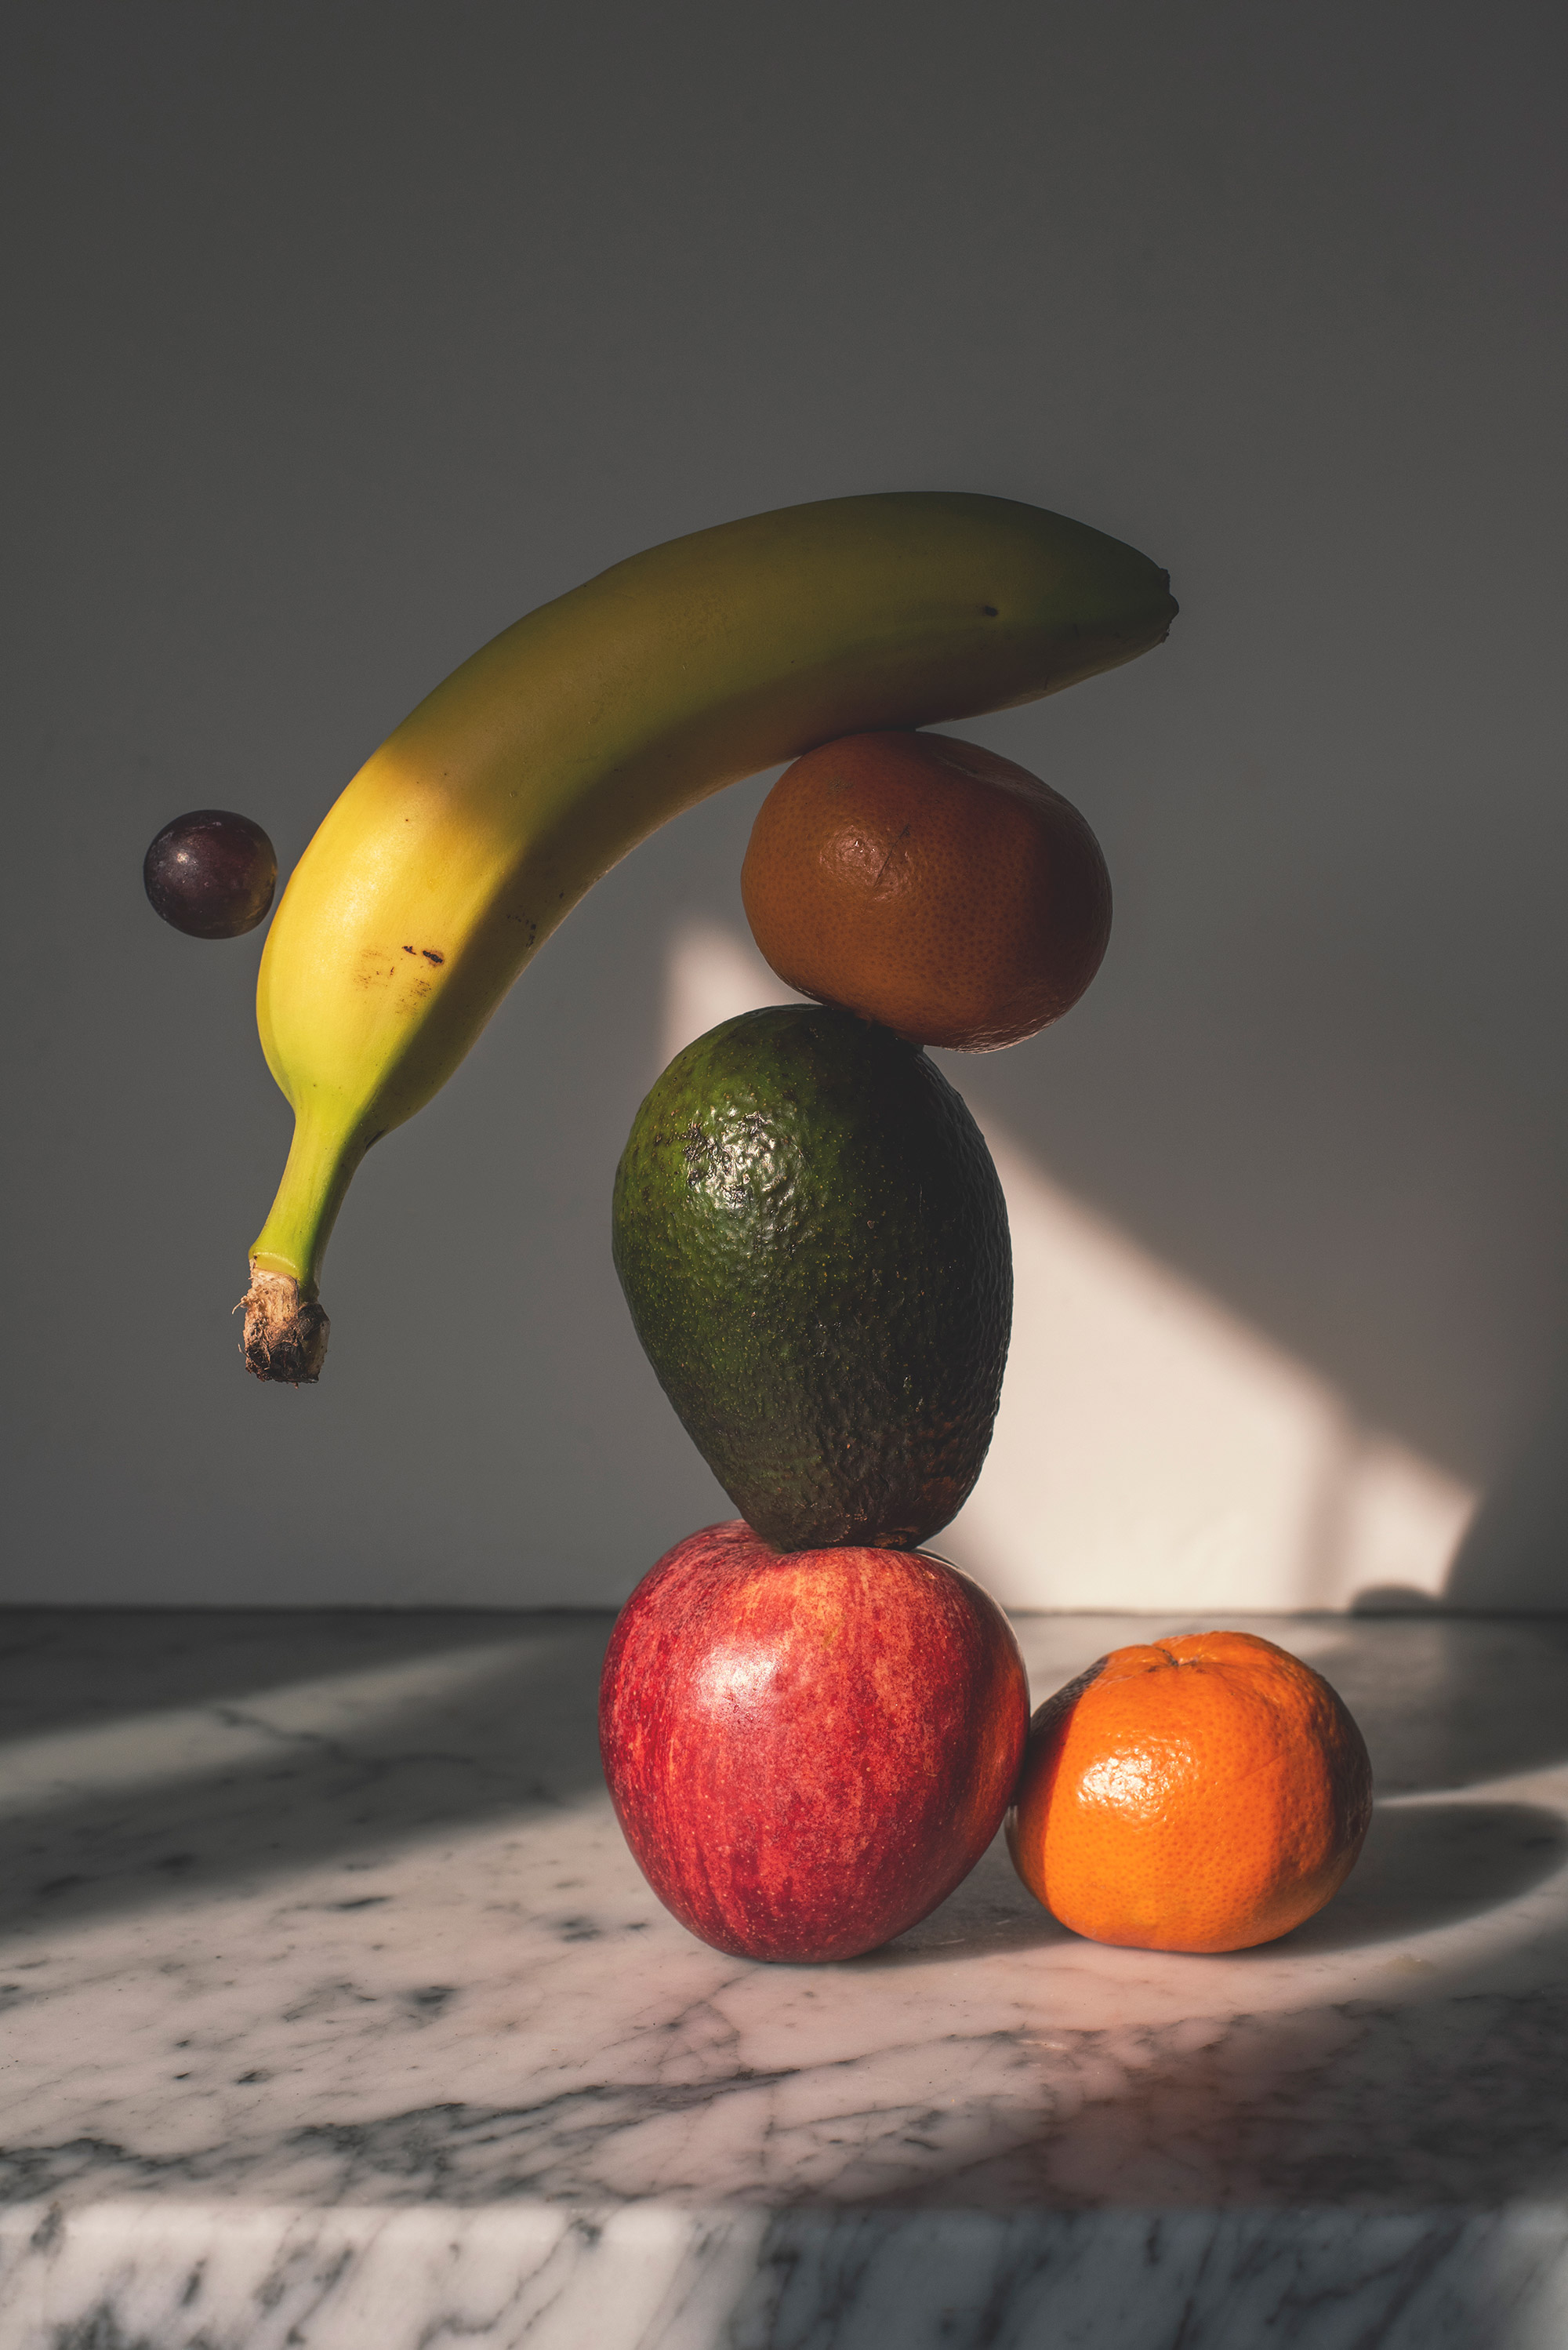
Shoot surreal sculptures using fruit, in this fun DIY project!
Follow Claire Gillo's step-by-step guide to creating an abstract artistic sculpture using some fruit and cocktail sticks
The best camera deals, reviews, product advice, and unmissable photography news, direct to your inbox!
You are now subscribed
Your newsletter sign-up was successful
Photography projects at home
• More home photography ideas
Useful home photography kit
• Best tripods
• Best lighting kits
• Best reflectors
• Best macro lenses
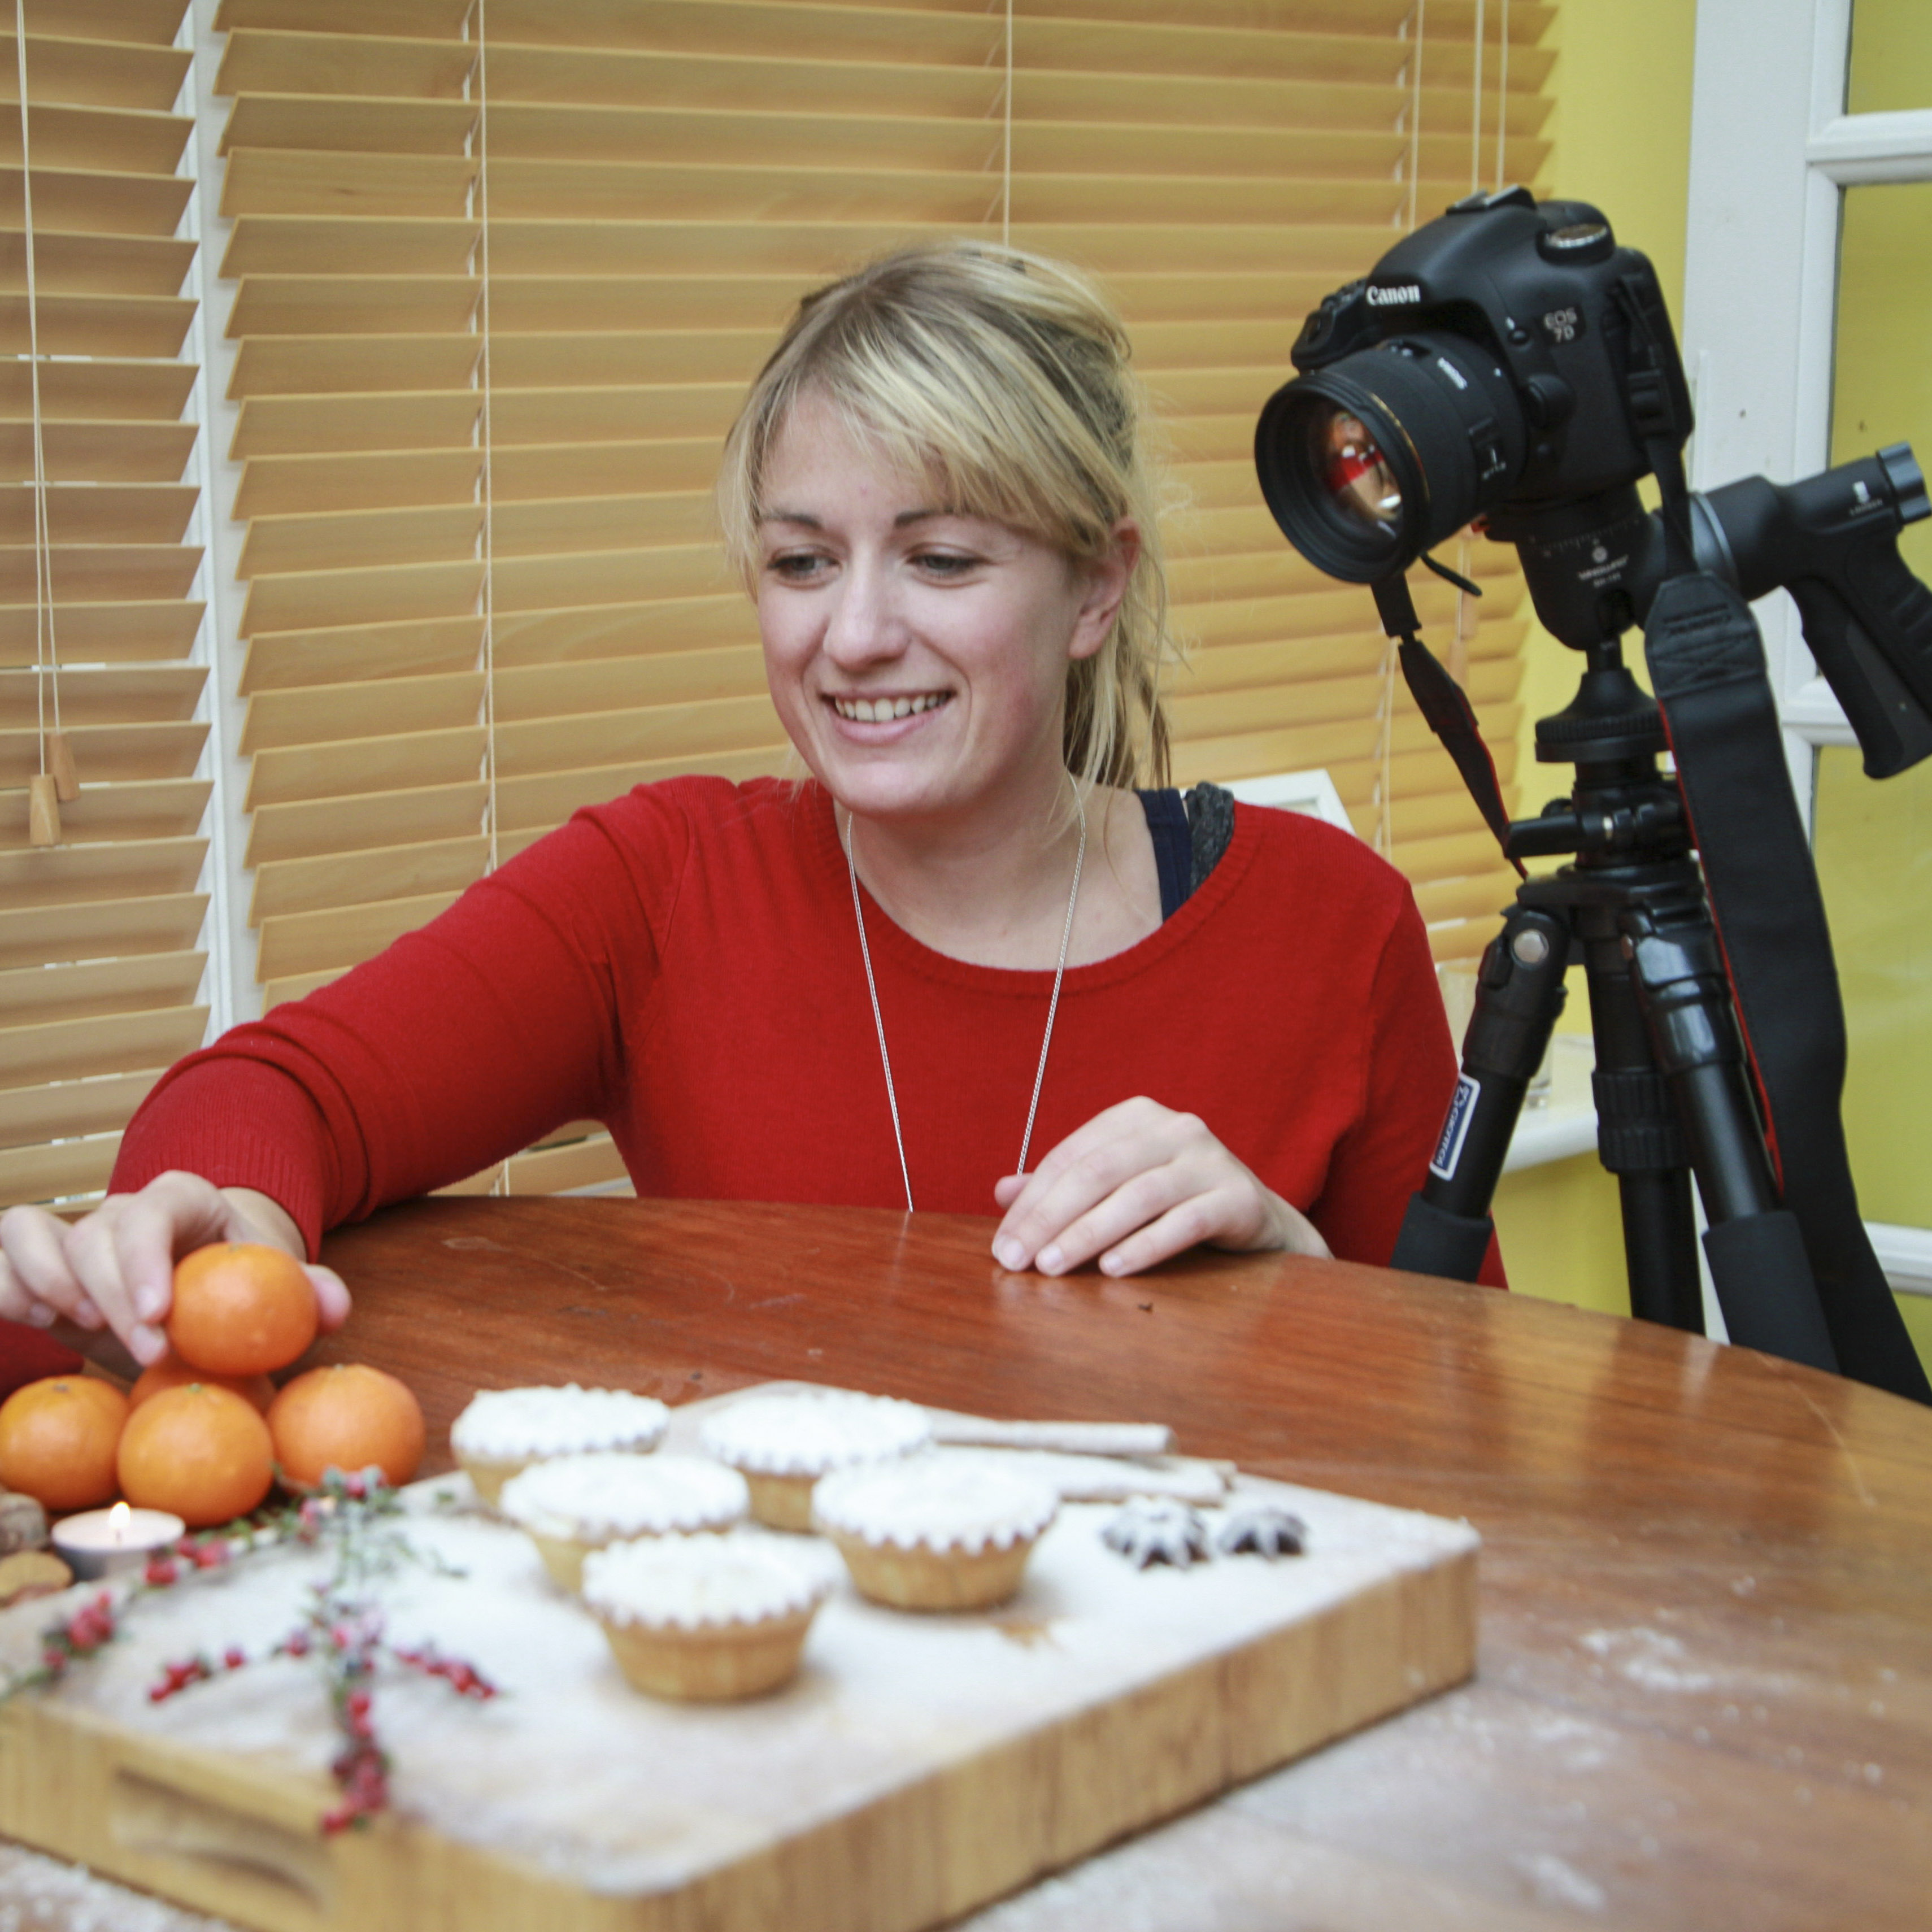
For this DIY, home-photography project, the only thing you are going to need is some food in different shapes and sizes.
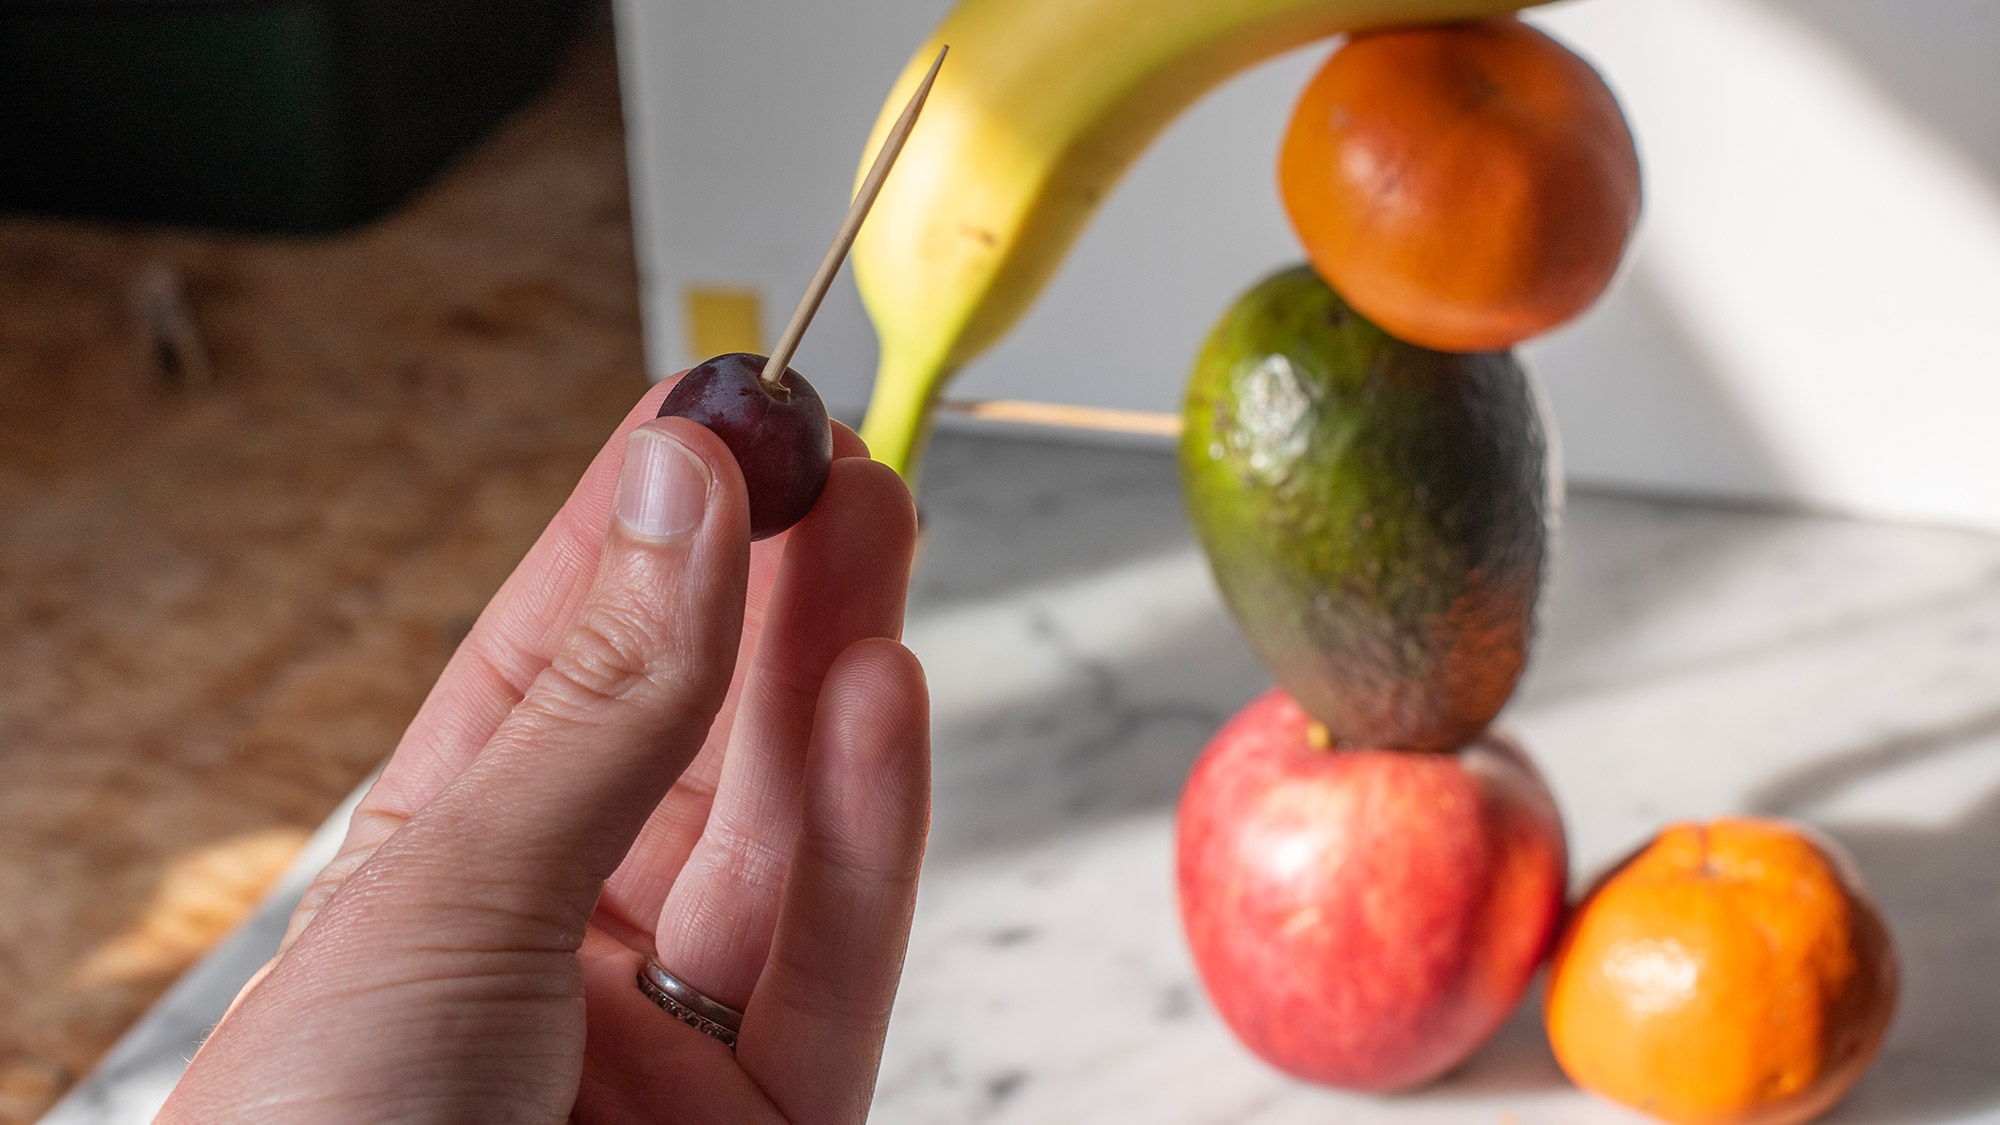
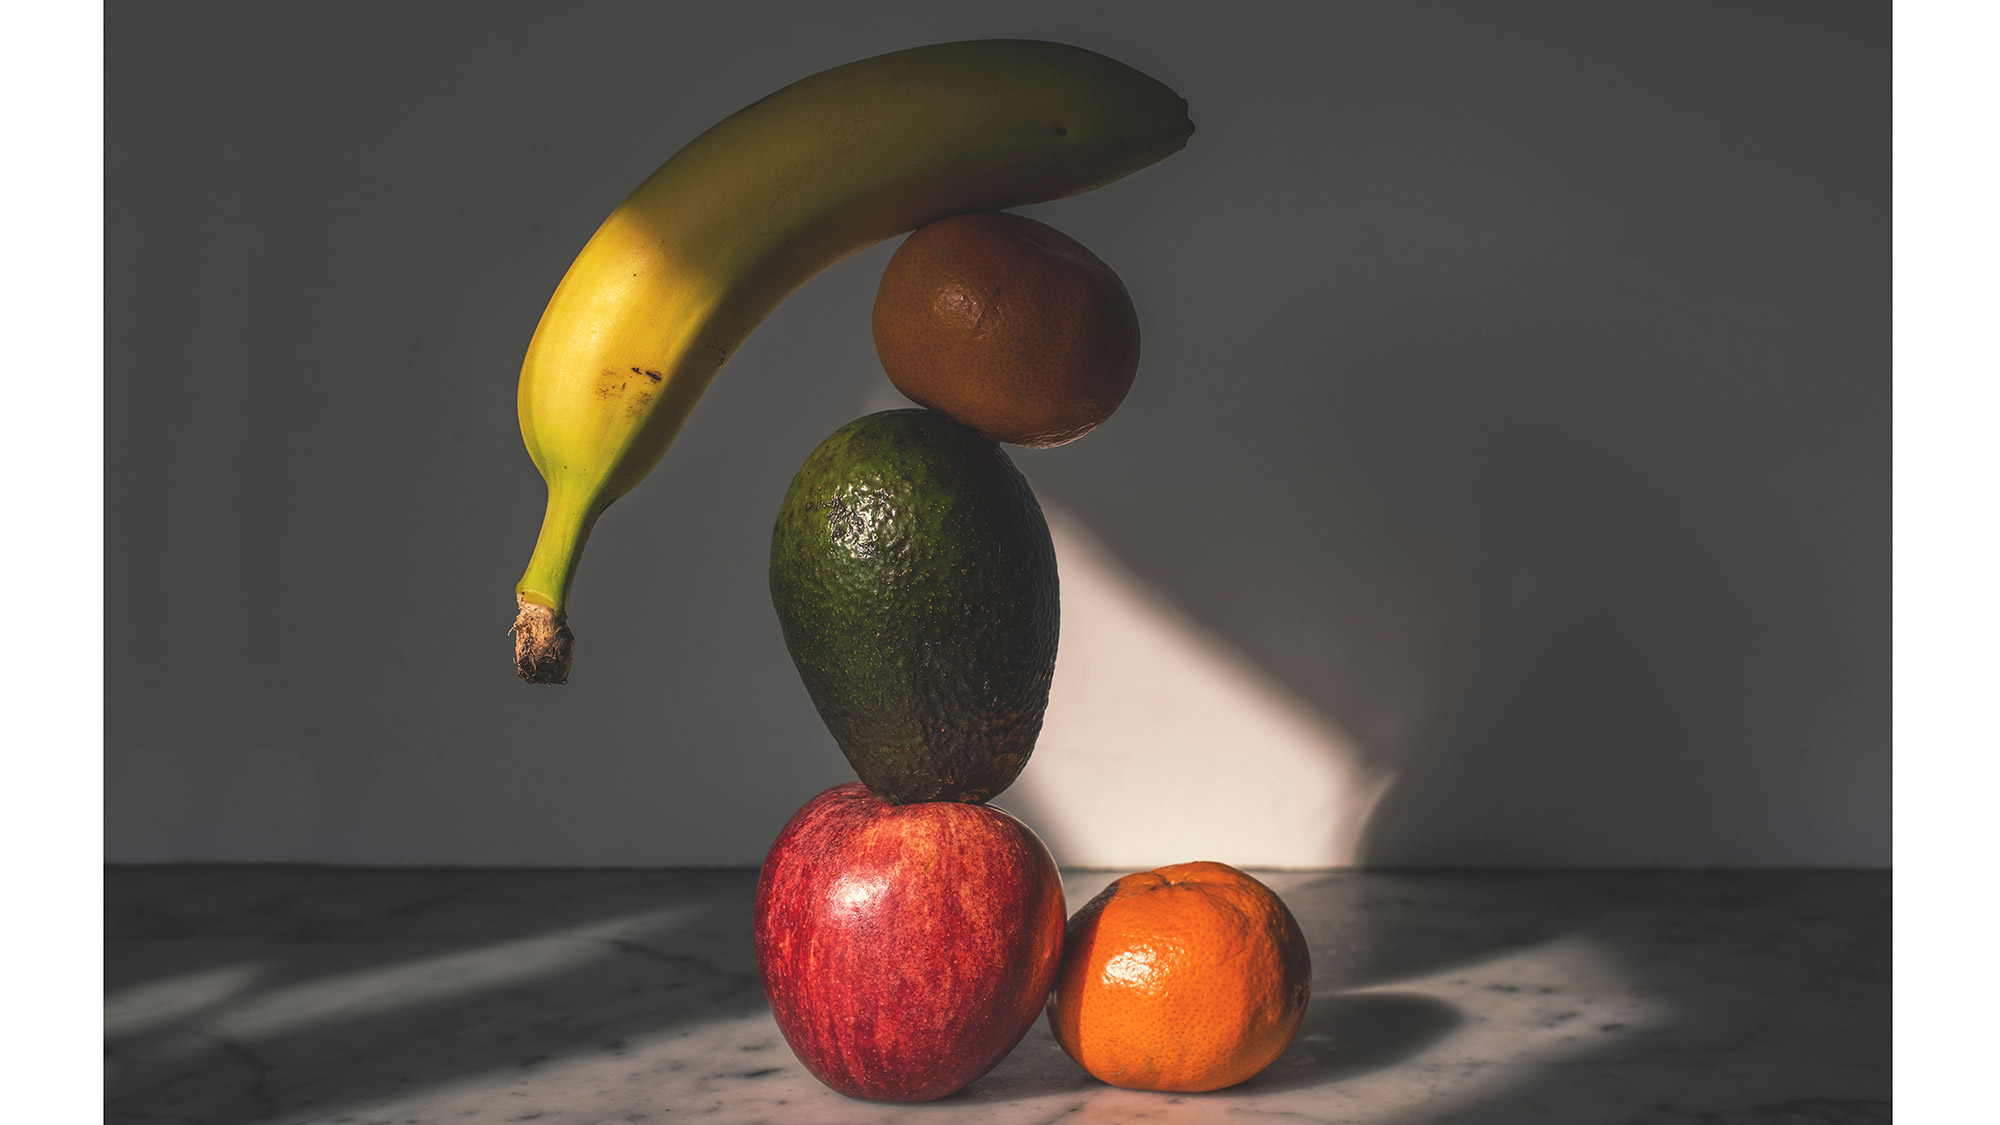
I opted to use fruit and chose an apple, an avocado, two easy-peelers, a banana and a grape – attaching them together using cocktail sticks. The trick with the assembly is to make the different fruit items look as if they are balancing, but also defying the act of gravity.
• Read more: The best lenses for food photography
Fruit is not the only thing you can use to create your tower – you can be as experimental as you like; anything goes, as long as you can attach it together!
When it came to lighting my fruity tower, I opted to use natural light and waited for a sunny day. As I wanted to work with a pleasing soft light, I shot towards the end of the day when the sun was streaming into my kitchen. The light through the window also created wonderful geometric triangle shadows behind and over the sculpture, therefore enhancing the overall effect.
Creating your own balancing tower of fruit
01. Build a fruit tower
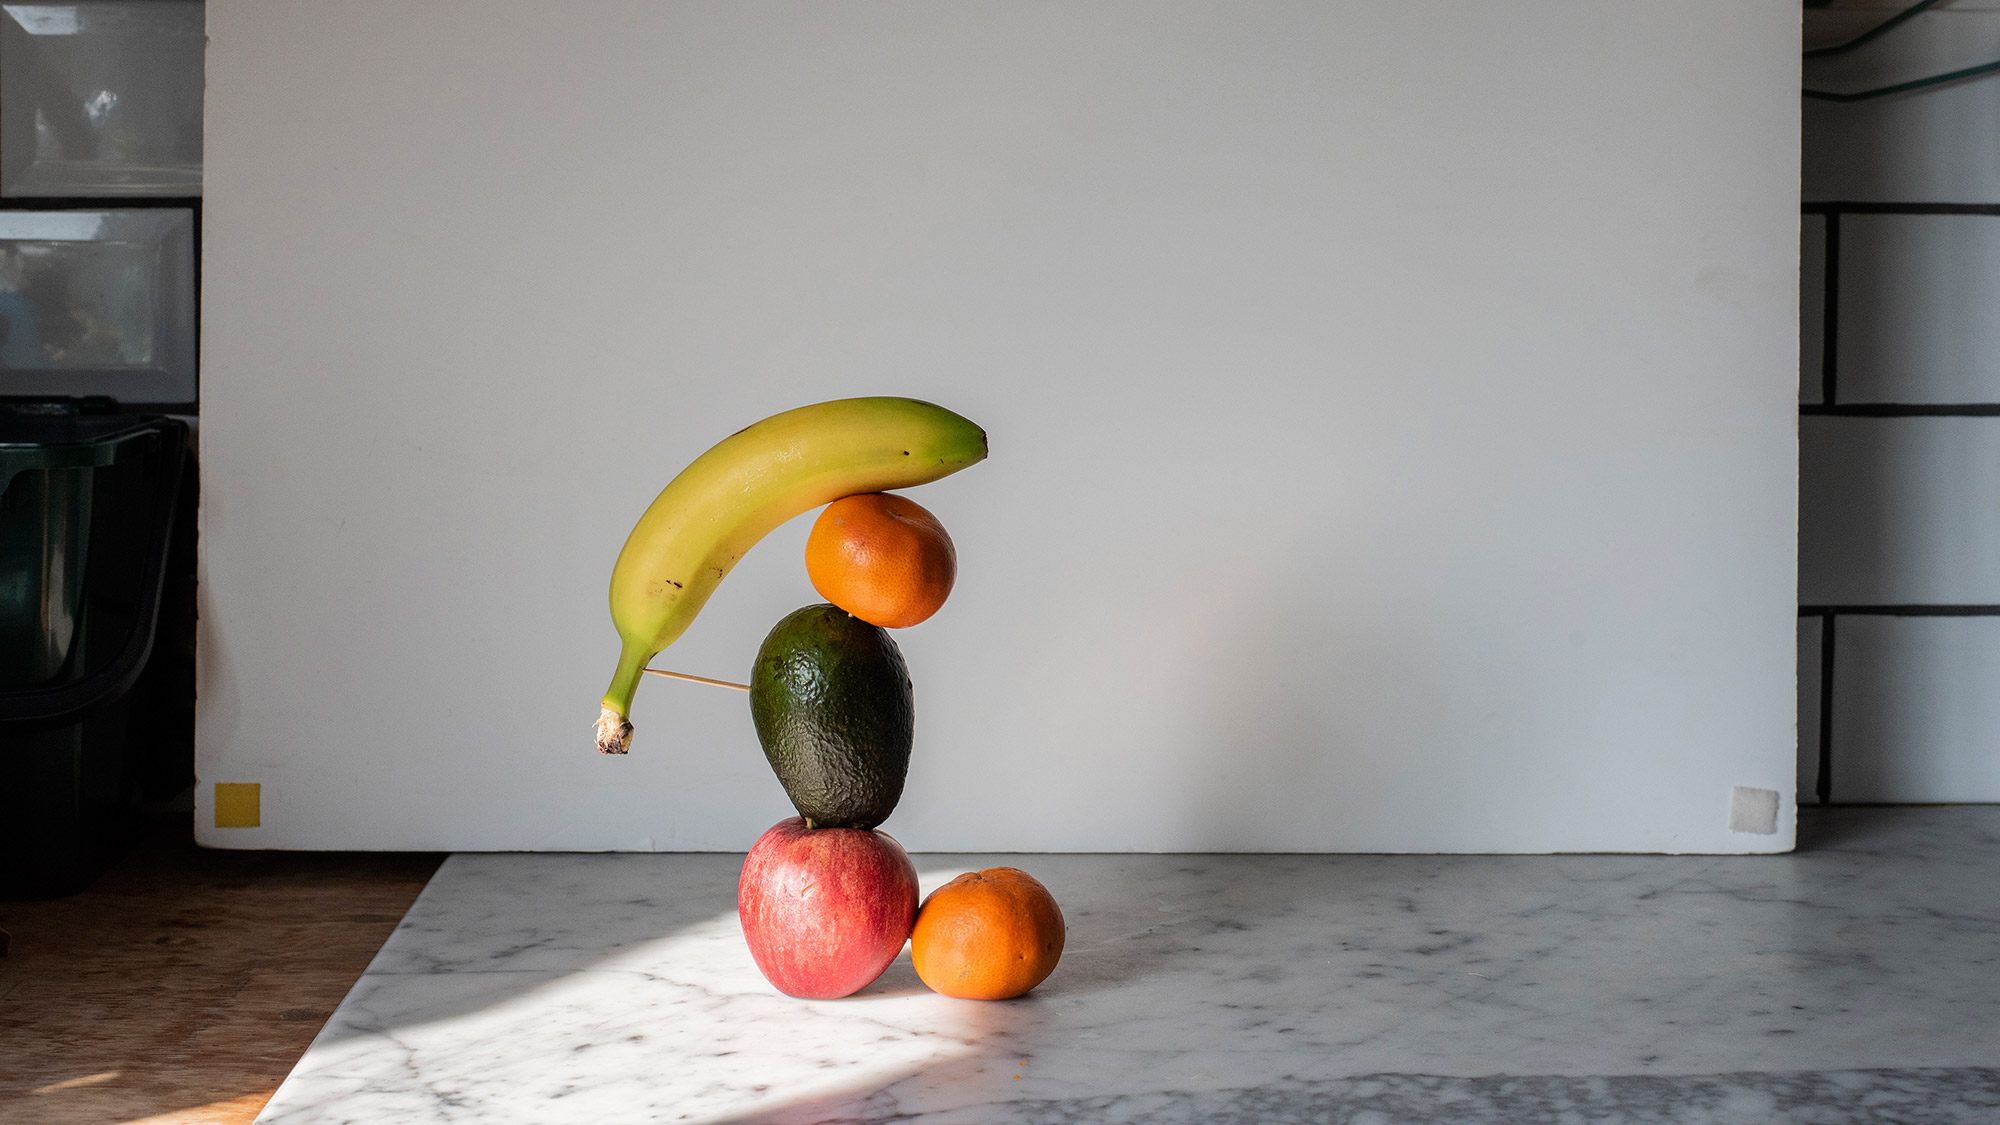
Gather a selection of fruit and a few cocktail sticks. You may need more than one cocktail stick to attach each piece of fruit together. Build your formation up slowly so it doesn’t topple over! This can be quite a fiddly job, and don't worry if you can see the cocktail sticks poking out of the fruit – you can sort these out at the post-production stage. However, if you would rather not rely on editing tricks, then make sure you can’t see them when you're looking through the camera.
The best camera deals, reviews, product advice, and unmissable photography news, direct to your inbox!
02. Background and settings
Place a plain background behind your food tower, then switch your camera to aperture priority or manual mode (whichever you prefer to use). Set your aperture to f/8 to keep all of the fruit in the frame sharp. If your shutter speed is reading slower than 1/80 sec, you could either attach your camera to a tripod to keep it all steady, or push the ISO up, if you would prefer to shoot handheld. Now just watch the light pour in, and shoot!
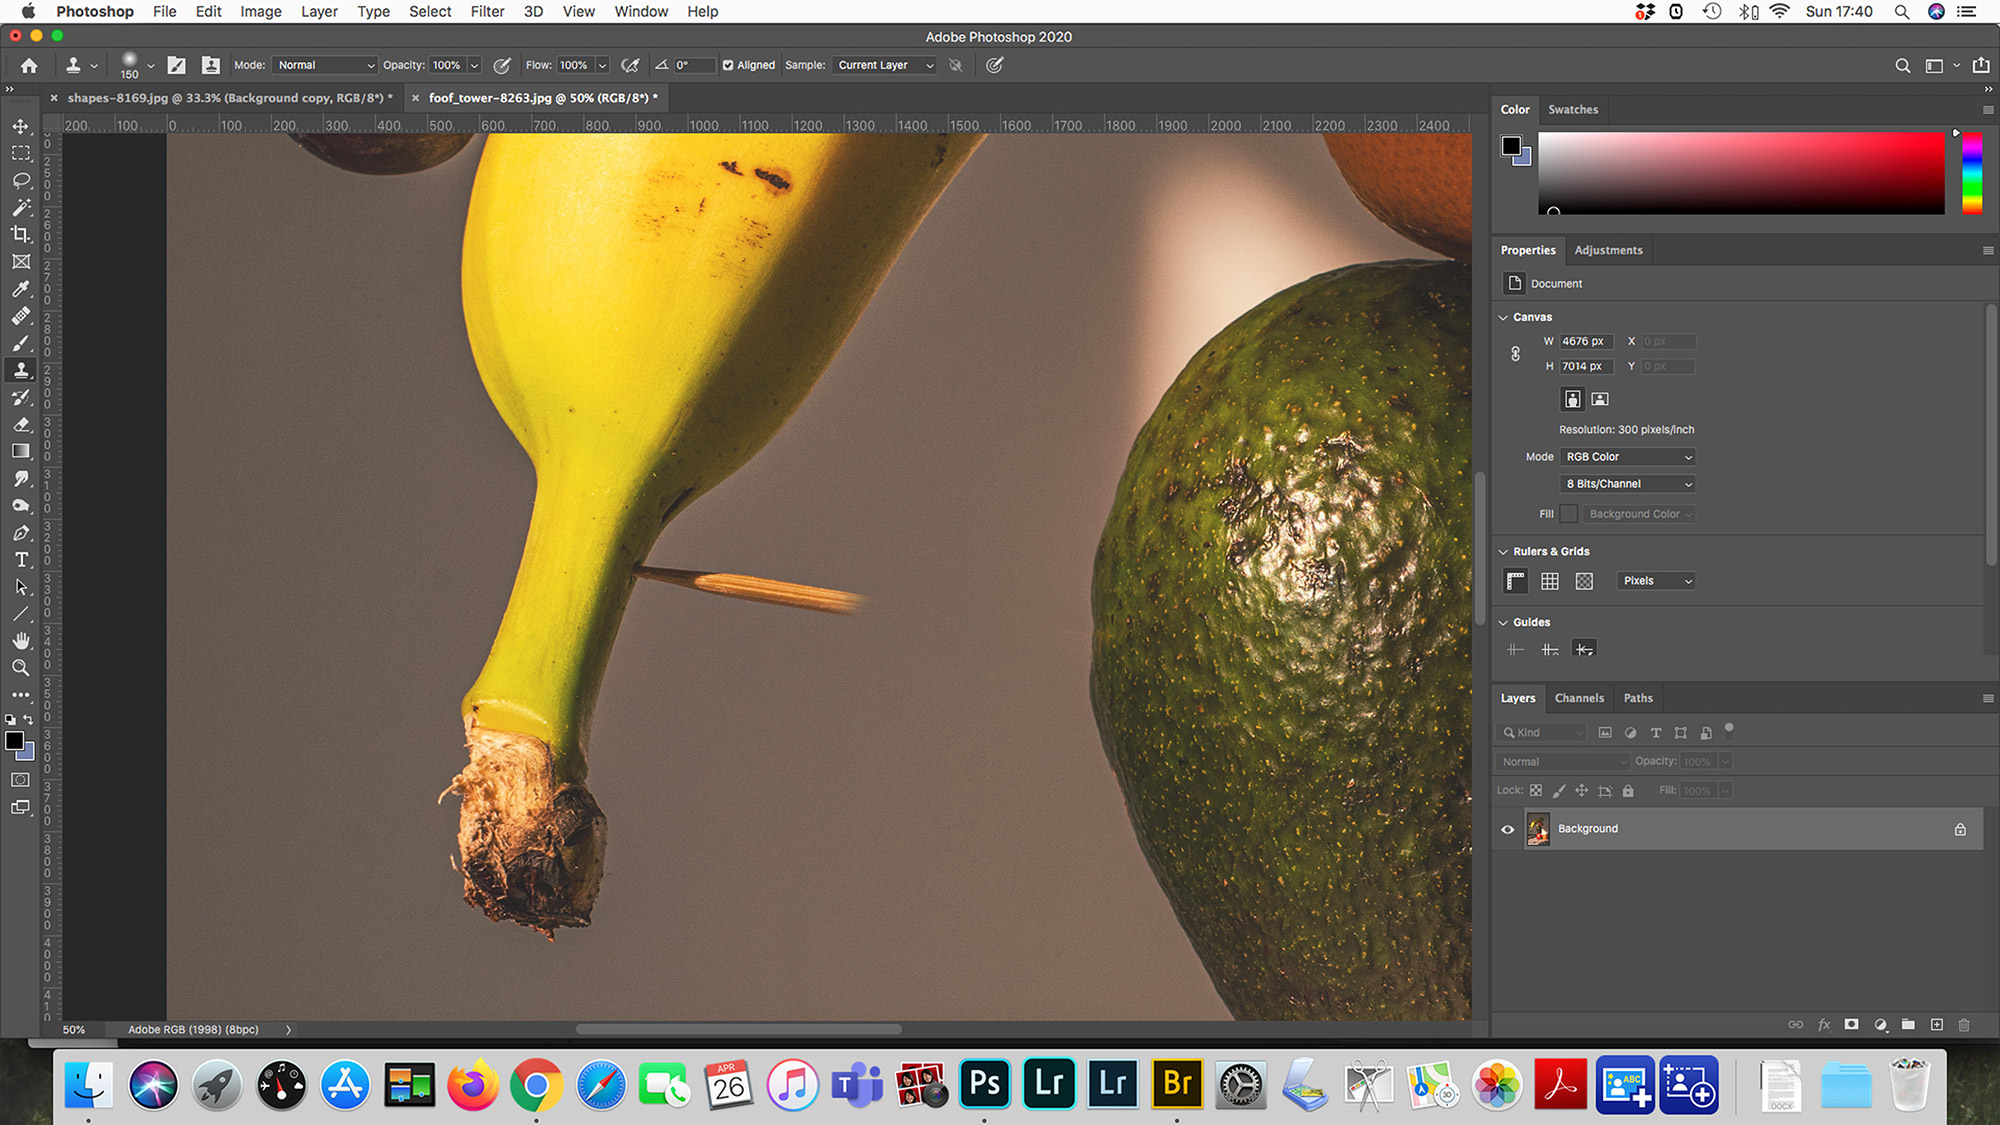
03. Clone out any visible toothpicks
To finish, at the post-production stage, adjust the basic editing settings to tone and stylize the image. We used Photoshop to remove the cocktail sticks that were visible; open your image, duplicate the background layer and go to the Clone Tool. Click on the point you want to copy in the image while pressing Alt on your keyboard, then paint over the parts you want to remove.
Read more:
Food photography tips
Best books on food photography
The best macro lenses
Best photo-editing software
Claire is a professional photographer and writer, and lives by the the sea with her two young children, husband and cat in the southwest of the UK.
After graduating from The Bournemouth Arts Institute with a first-class degree in photography, Claire worked for a number of years in the publishing industry, including as Technique Editor for Digital Camera magazine.
She loves anything and everything to do with photography, from creating magazine articles to photographing ballerinas on the beach and newborn babies (but not at the same time). She mainly shoots with digital DSLRs, but does dust off her beloved Hasselblad medium-format film camera once in a while…
