See what you can do with a trail camera!
Film wildlife in the wilderness or in your own back garden. It's easy, and we show you how
In my ten years as a married man I’ve lived by the saying "Happy wife, happy life". So when my hedgehog-obsessed wife wondered how many spiky visitors were eating the biscuits that she put out every night, I decided to find out. This is how I discovered the addictive properties of trail cameras.
If you want to find out more after reading this, check out our guide to best trail cameras – and if you want to do everything remotely, we have a guide to the best cellular trail cameras too!
What is a trail camera?
A trail camera is robust and waterproof camera that’s designed to be left outdoors to record stills and video clips of wildlife (both during the night and in daylight). Trail cameras are motion sensitive, so they only start snapping stills (or recording video) when an animal makes a move in front of the camera’s sensor. This selective shooting feature saves you the hassle of fast-forwarding through hours of footage and it also saves valuable space on the camera’s SD memory card.
As a stranger to trail cameras I checked out Digital Camera World’s best trail camera buying guide and also shopped around on Amazon before purchasing a Crenova Trail Camera for £99 (about $120/AU$170). I was attracted to the fact that it could shoot 4K clips and came supplied with a 32GB SD card.
What can a trail camera capture?
Trail cameras will capture anything that moves within their area of sensitivity (which varies from camera to camera). Sometimes a wind-blown tree is enough to set off my Crenova but for the most part it rewards me with a clip of an animal in action.
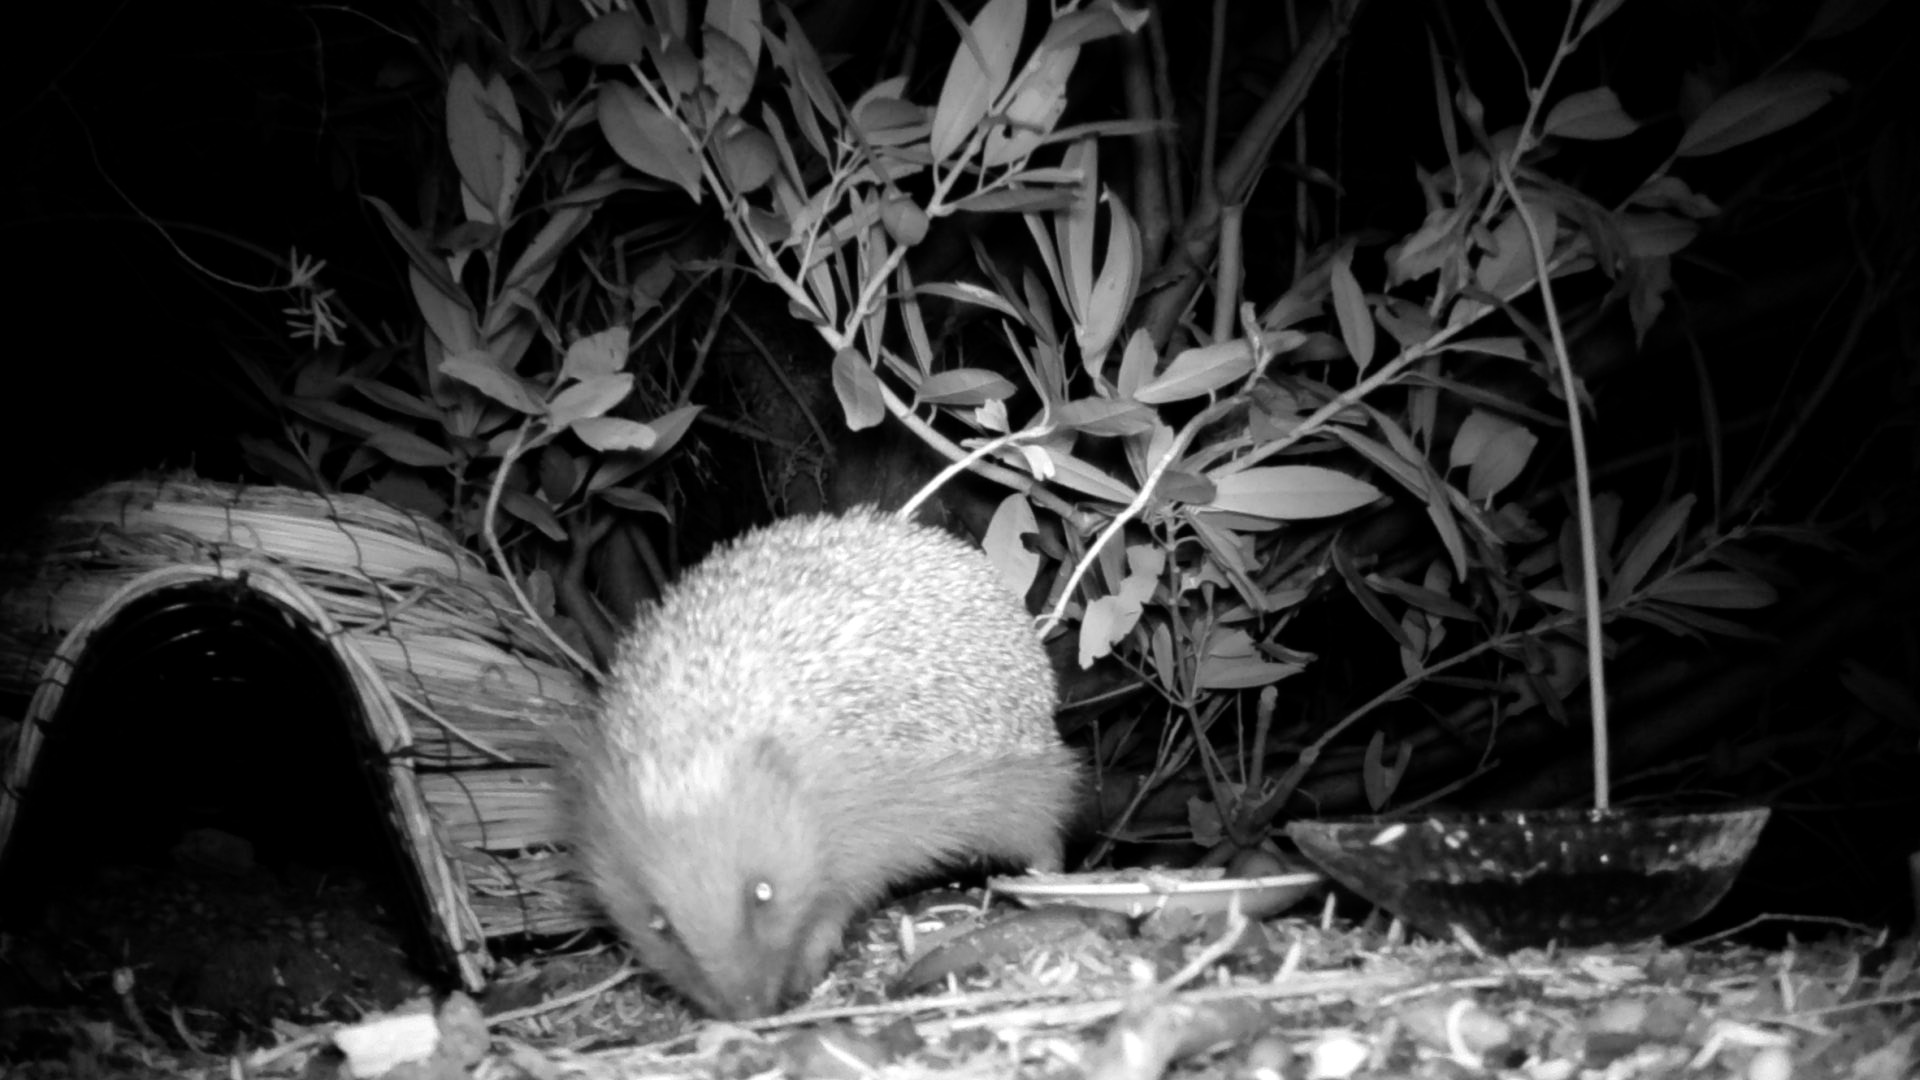
We bought a wooden igloo-shaped hedgehog feeding station, so this was the first location that we pointed our trail camera at. The next morning we excitedly whipped out the memory card and perused its contents. To our delight we had a several 30 second clips of various hedgehogs munching biscuits and lapping water from the bowls that we had put out. We were very surprised to see a couple of foxes attempting to get the heads inside the entrance to hedgehog’s wooden igloo in search of biscuits. Occasionally we’ve captured mice and squirrels.
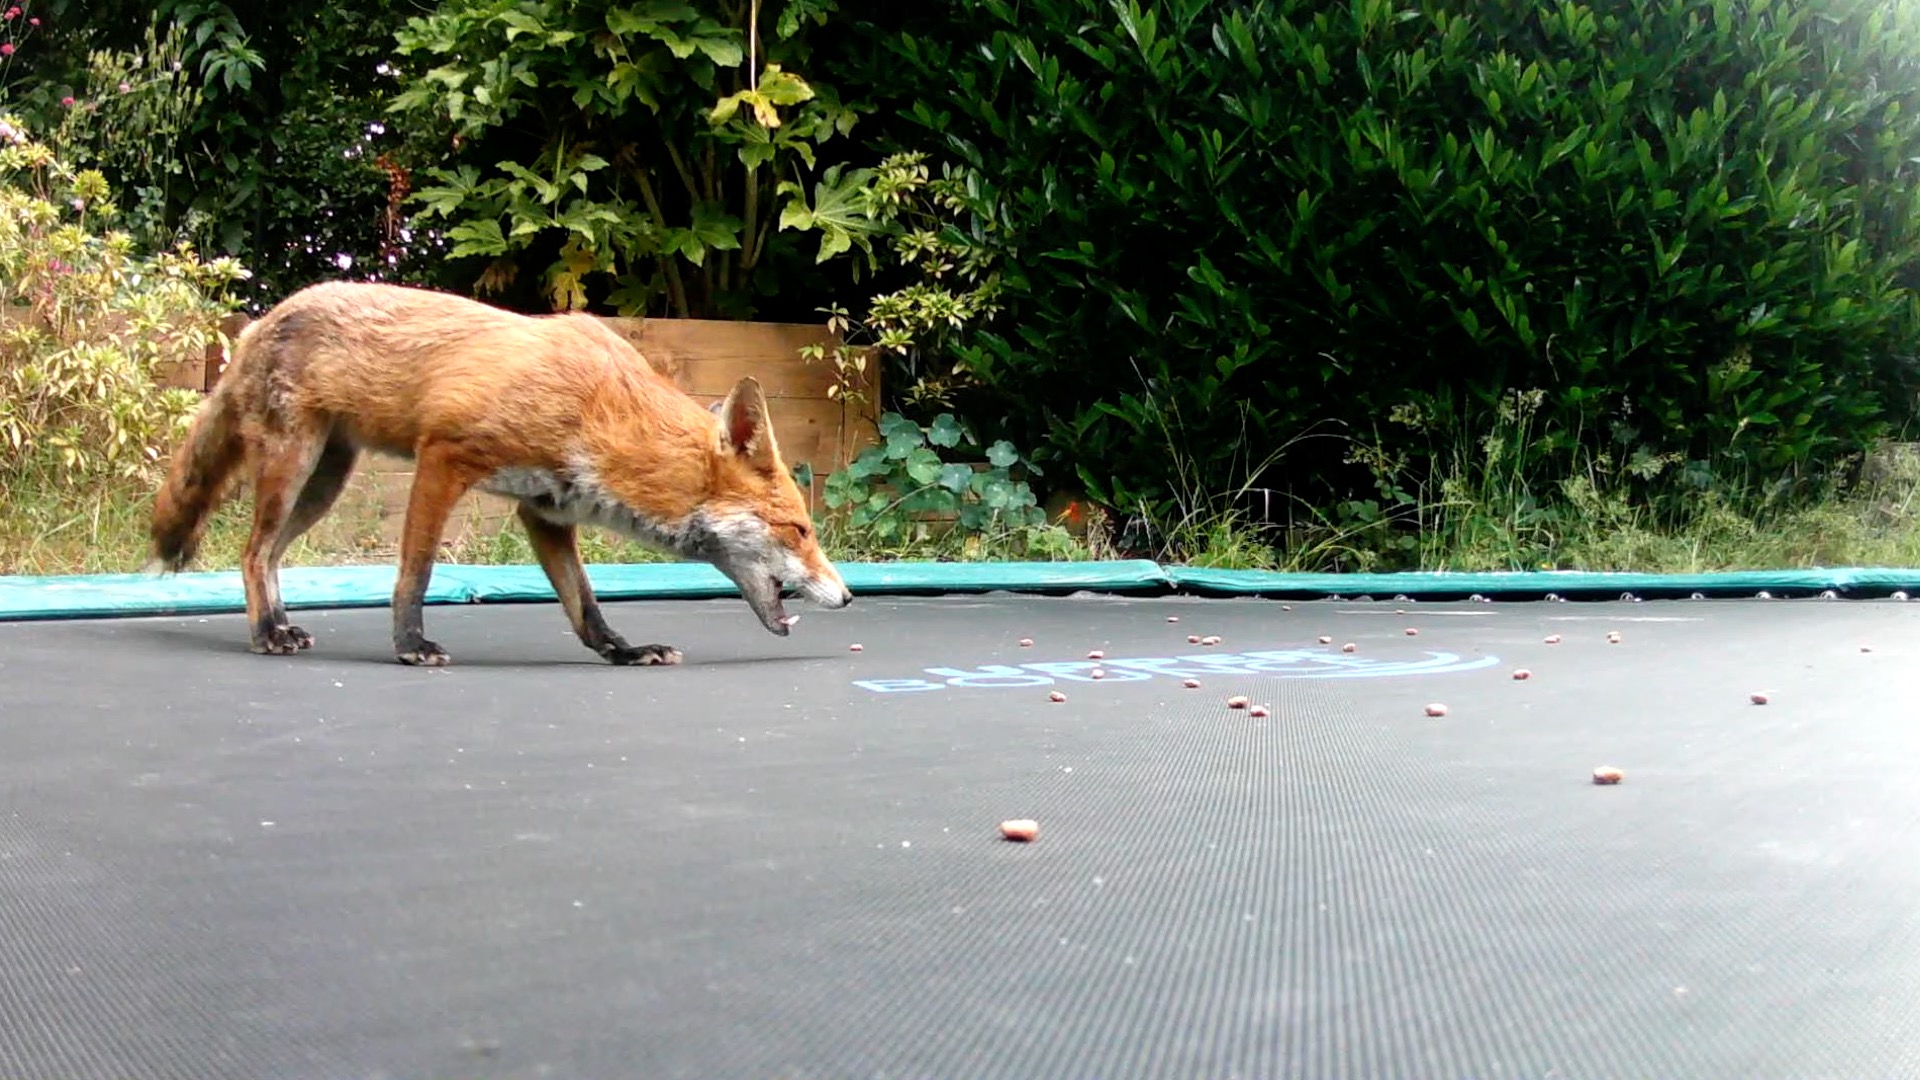
After the success of the first night (and learning that foxes like hedgehog biscuits too) I decided to lay some bait at a new location. We have a trampoline in our garden that’s at ground level so I scattered biscuits on it in the hope of luring the foxes into shot.
The best camera deals, reviews, product advice, and unmissable photography news, direct to your inbox!
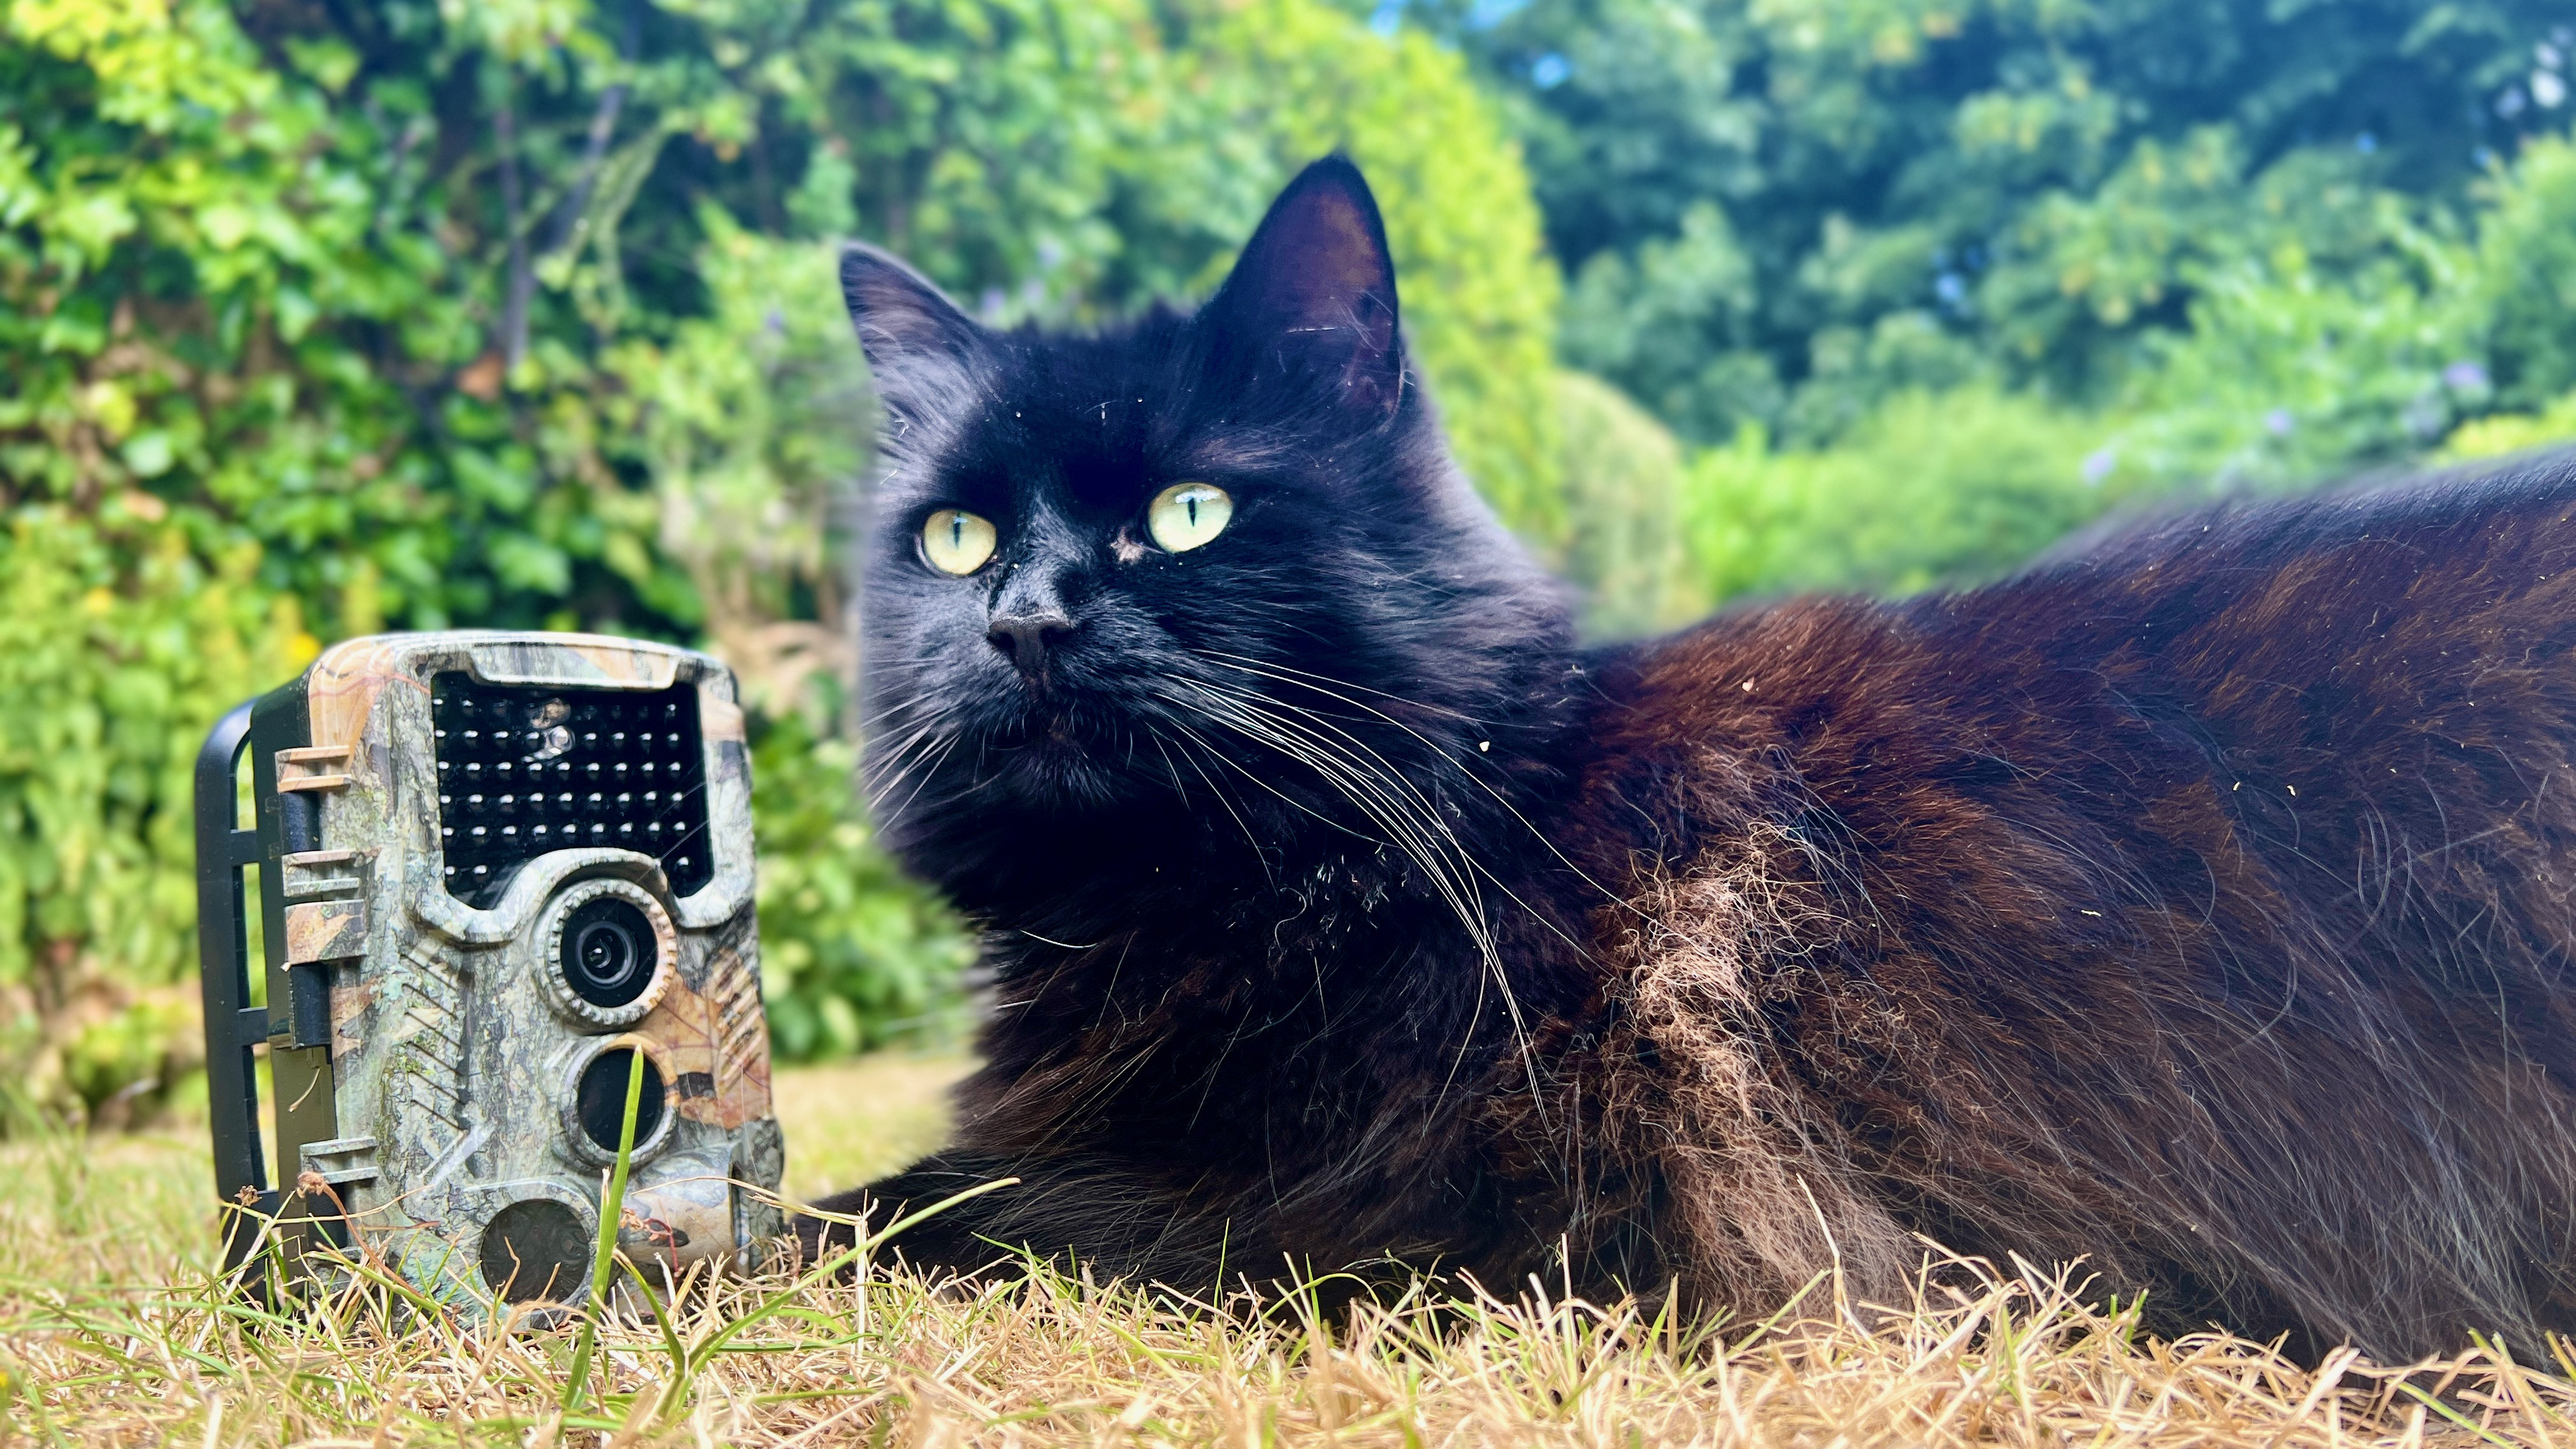
I placed the trail camera at the edge of the trampoline. When viewing the captured footage the next day I was astonished to see my cat Ebony standing his ground on the trampoline while a fox snarled and stalked around the edge. The stand-off was caught on camera but sadly some of the action occurred too close to the edge of the frame for a perfect shot (see the accompanying video).
I always presumed that the cats and the foxes ignored each other so this confrontation surprised me. As our trail cam timestamps each recording this gave us a new insight into when our two cats leave the house via the catflap to go hunting (around 4:30am).
What do trail cameras cost?
At £99/$120/AU$170, the Crenova trail camera that I bought was in the mid-range price bracket for the average trail camera on Amazon. My trail camera relies on a set of four (or eight) batteries which require recharging every few nights, but if you pay more you can buy trail cameras that are supported by solar panels (such as the Spypoint Solar-Dark which costs more than twice the price of my Crenova). Some more expensive models enable you to download and view the captured footage on your smartphone’s screen via WiFi or Bluetooth.
How do trail cameras work?
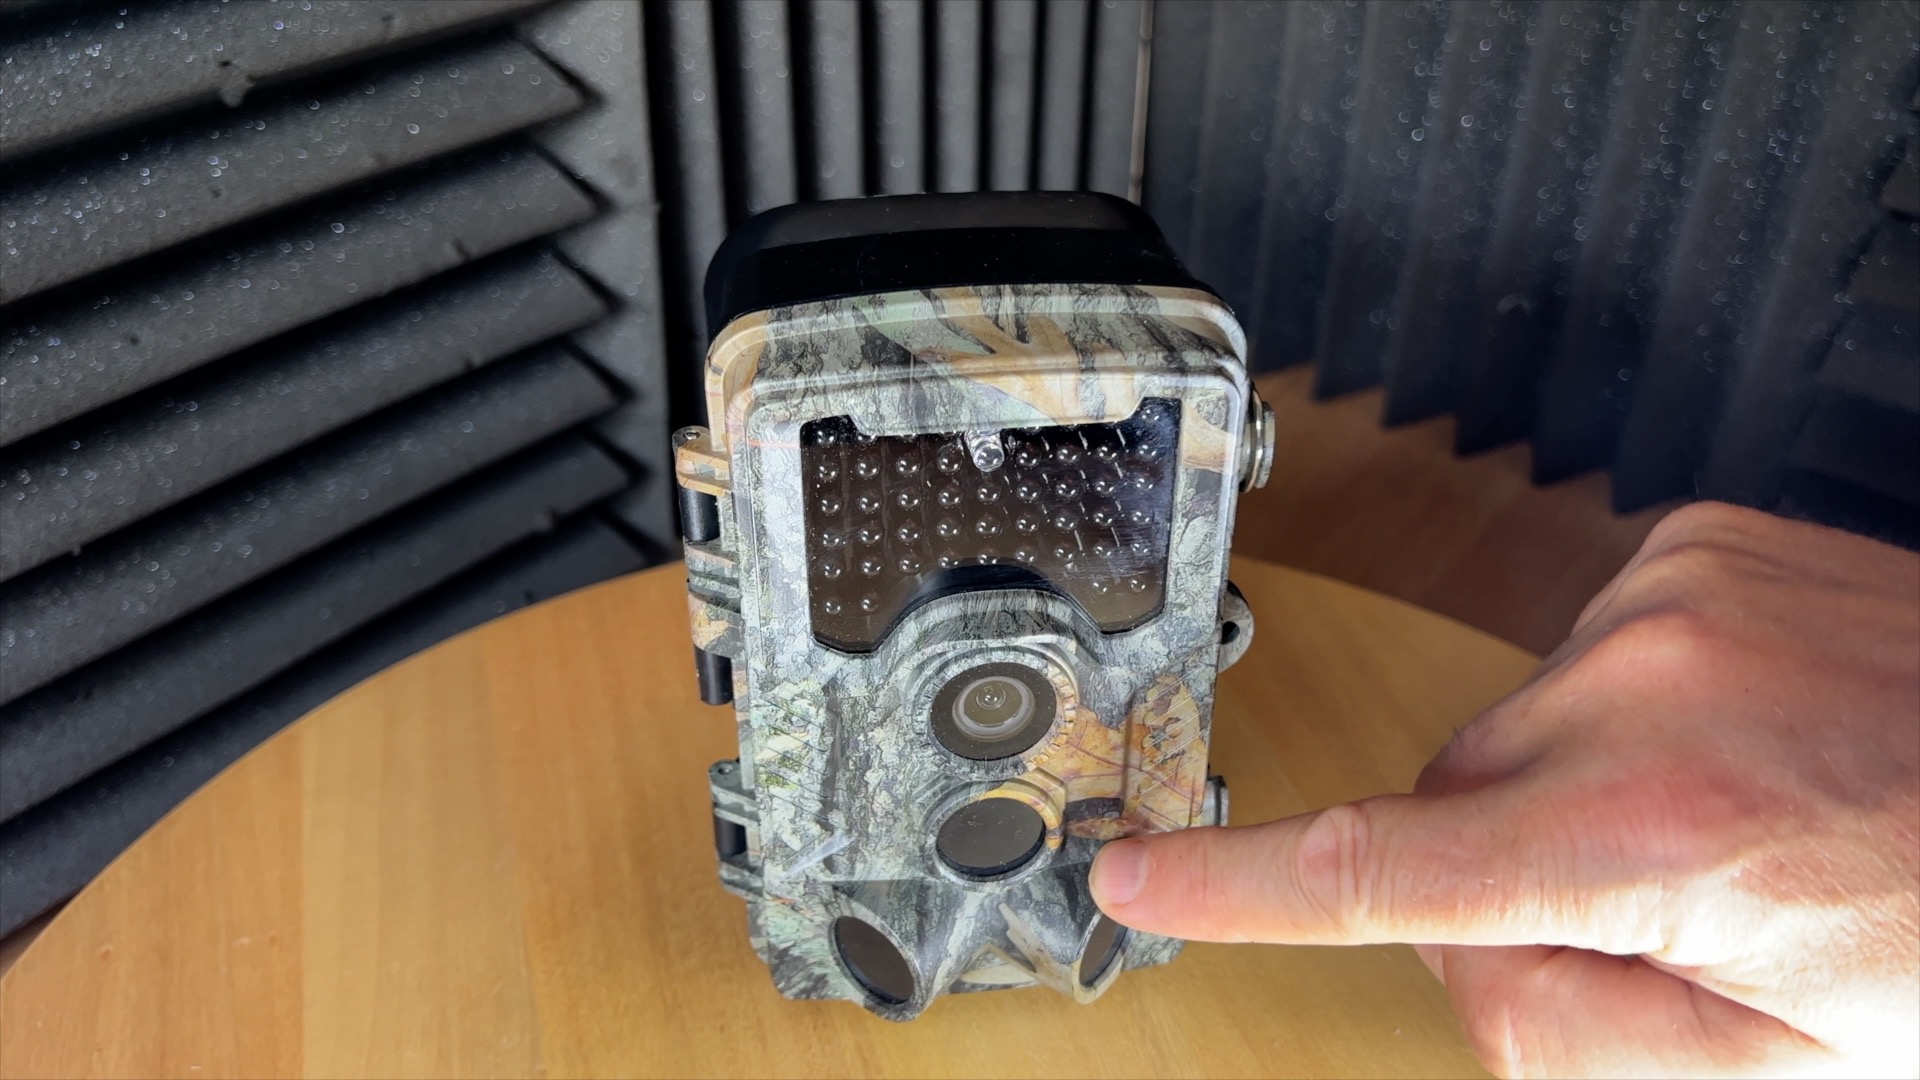
Trail cameras have a motion sensor that causes them to snap a still or record a preset amount of footage. The Crenova trial camera that I bought has a motion sensor with a 120º field of detection so it tends to capture the animal as soon as it arrives at the edge of the frame. The camera’s three motion sensors will spot animals from up to 64 feet but I usually place it closer to where animals tend to roam, such as by the hedgehog feeding station or near a hole in our garden fence.
At night the trail camera uses LEDs and an infrared light filter to illuminate and capture the antics of any animal that crosses its path. This nocturnal IR footage has a distinctive monochromatic look and the LED causes animals eyes to glow. At dawn the footage switches to colour and the high ISO setting can create a noisy grainy look. In stronger daylight the full colour footage looks great.
How do you set up a trail camera?
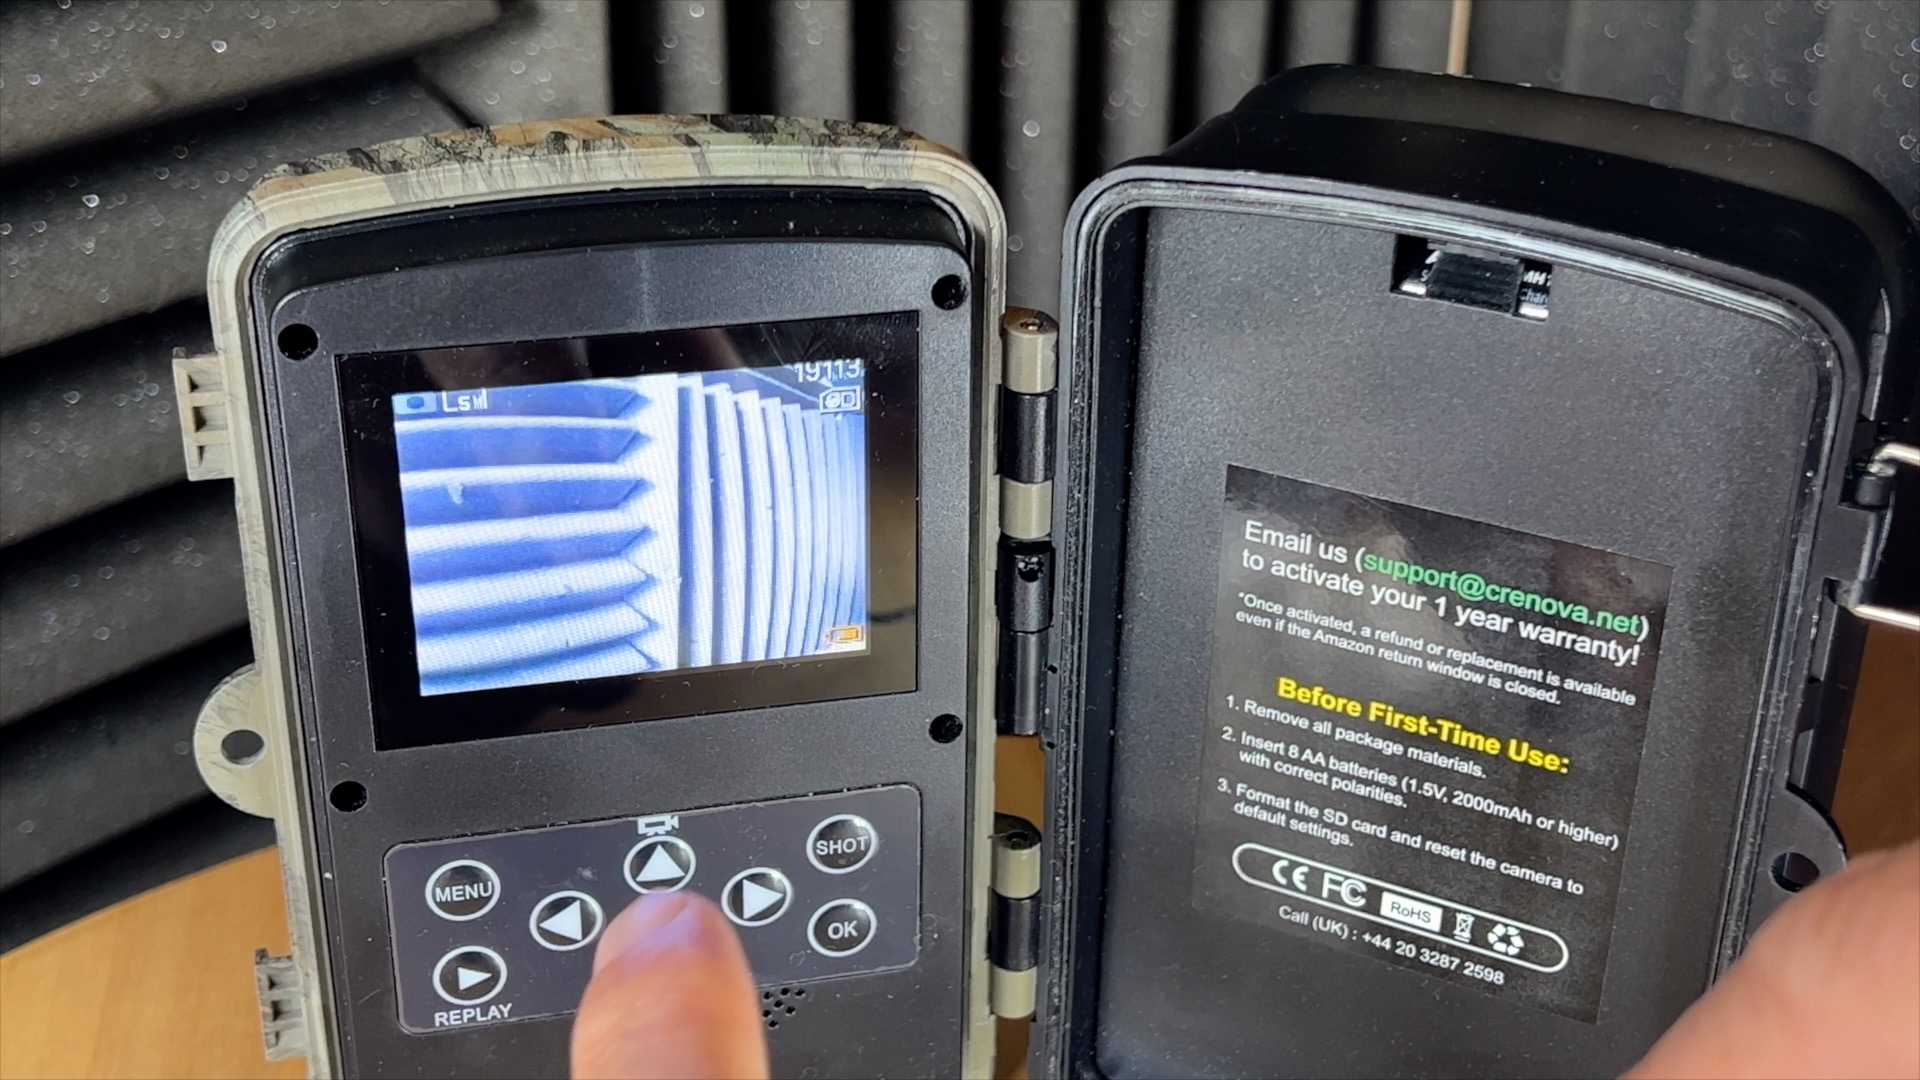
Inexpensive trail cameras like the Crenova are quick easy to set up. After unclipping two locks on the side you can access the camera’s interior where the batteries are inserted. A small panel of switches enables you to choose a recording format such as Photos, Video or both. You can also choose the duration of your clips.
The controls and menus inside a trail camera are no more difficult to set up than a digital timer or alarm clock. On mine, you flip the switch to 'active' and the camera will count down from 15 seconds, giving you time to clip the camera shut (to keep out moisture) and place it in a suitable part of your garden where it will lie in wait for its animal prey.
How do you view your trail cam photos and videos?
With my Crenova trail camera I can view the captured footage via the camera’s small built-in screen, but the small buttons are a bit fiddly to use when it comes to browsing and playing the clips. I prefer to pop the camera’s SD card into my PC’s card reader for a bigger screen experience. I can then import the stills and clips into video editing apps such as Final Cut Pro.
Some trail cameras enable you to transfer the footage via WiFi straight to your smartphone so you can edit and share the best clips via social media. I don’t tend to shoot photos because the camera doesn’t always capture the creatures in the optimum position (they might be too close to the frame edge). By shooting in 4K I can choose the perfect frame and export it as a still which is big enough to look great on a social media feed or web page.
A final word of warning – trail cameras can be addictive! It’s a bit like fishing. You cast your net at night and then rush out first thing in the morning, eager to see what you have caught. Check out our accompanying video to see some example clips captured on our Crenova trail camera.
Read more:
• Best trail cameras
• Best cellular trail cameras
• Best night vision goggles
• Best cameras for wildlife photography
George has been freelancing as a photo fixing and creative tutorial writer since 2002, working for award winning titles such as Digital Camera, PhotoPlus, N-Photo and Practical Photoshop. He's expert in communicating the ins and outs of Photoshop and Lightroom, as well as producing video production tutorials on Final Cut Pro and iMovie for magazines such as iCreate and Mac Format. He also produces regular and exclusive Photoshop CC tutorials for his YouTube channel.
