Optical illusion! Bring your toys to life with forced perspective photography
Learn how to use forced perspective photography to make toys appear larger than life
Watch video: Bring toys to life
Have you ever wished that your toys and models were life-size? In this project we’ll look at how to make them appear massive, with a combination of shooting skills and editing tricks. One such skill is forced perspective.
Used in all sorts of productions, from fun YouTube videos to big-budget Hollywood movies, forced perspectives enable you to play with scale by combining objects of different sizes into a realistic whole. Best of all, it doesn’t need any fancy Photoshop skills, just a few items and a little time spent perfecting the angles.
• Looking for the best photo editing software?
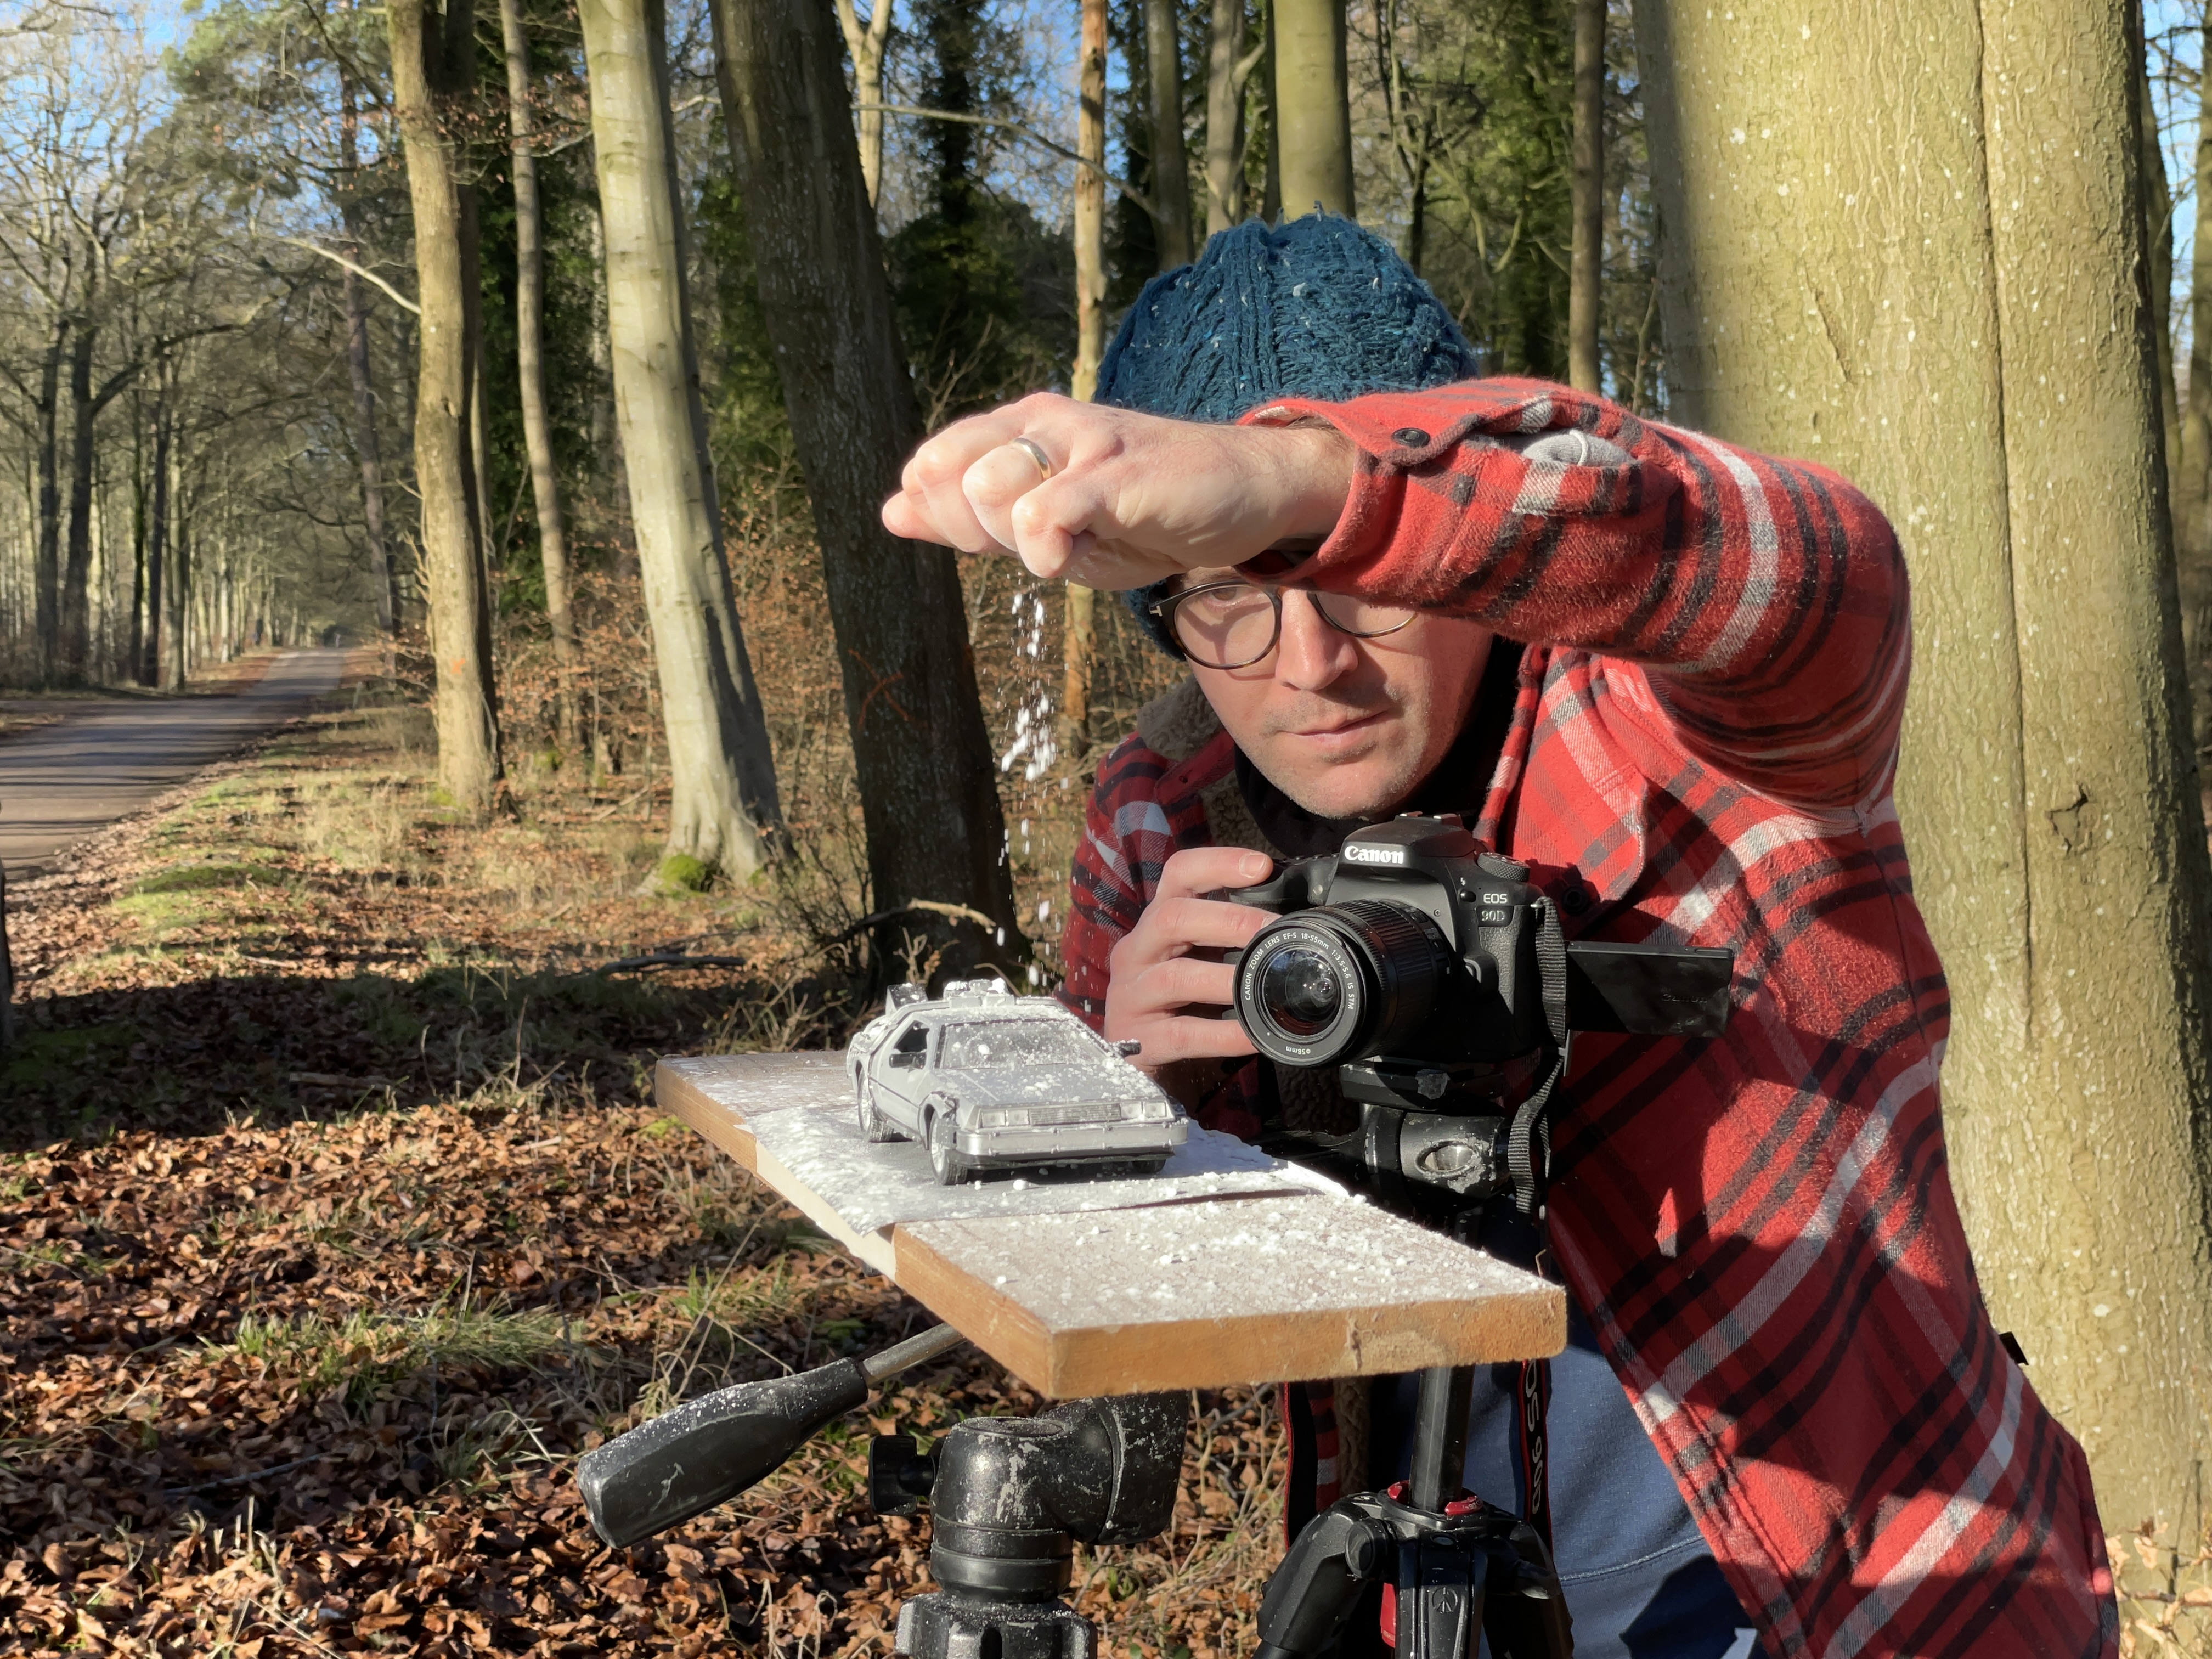
Another trick we’ll employ here is the age-old technique of ‘smoke and mirrors.’ The term refers to the old magic trick of creating floating objects with mirrors while using smoke to obscure the telltale seams in the trick. Rather than smoke, we’ll use a handful of baking powder to create a flurry of snow. Not only does this add to the atmosphere of the scene, it also helps to distract from the details that give the game away.
An iconic toy like this is ideal, but you could use all kinds of items. Perhaps you have a model of an old classic car, or a lifelike action figure that would be ideal for this effect, or maybe you have a kid’s playroom full of toys to experiment on.
Whatever you choose, the technique is the same. We begin by shooting our toy on a makeshift platform, carefully positioned to match the scene beyond. Then comes the Photoshop part where we seamlessly bring our set of photographs together.
The best camera deals, reviews, product advice, and unmissable photography news, direct to your inbox!
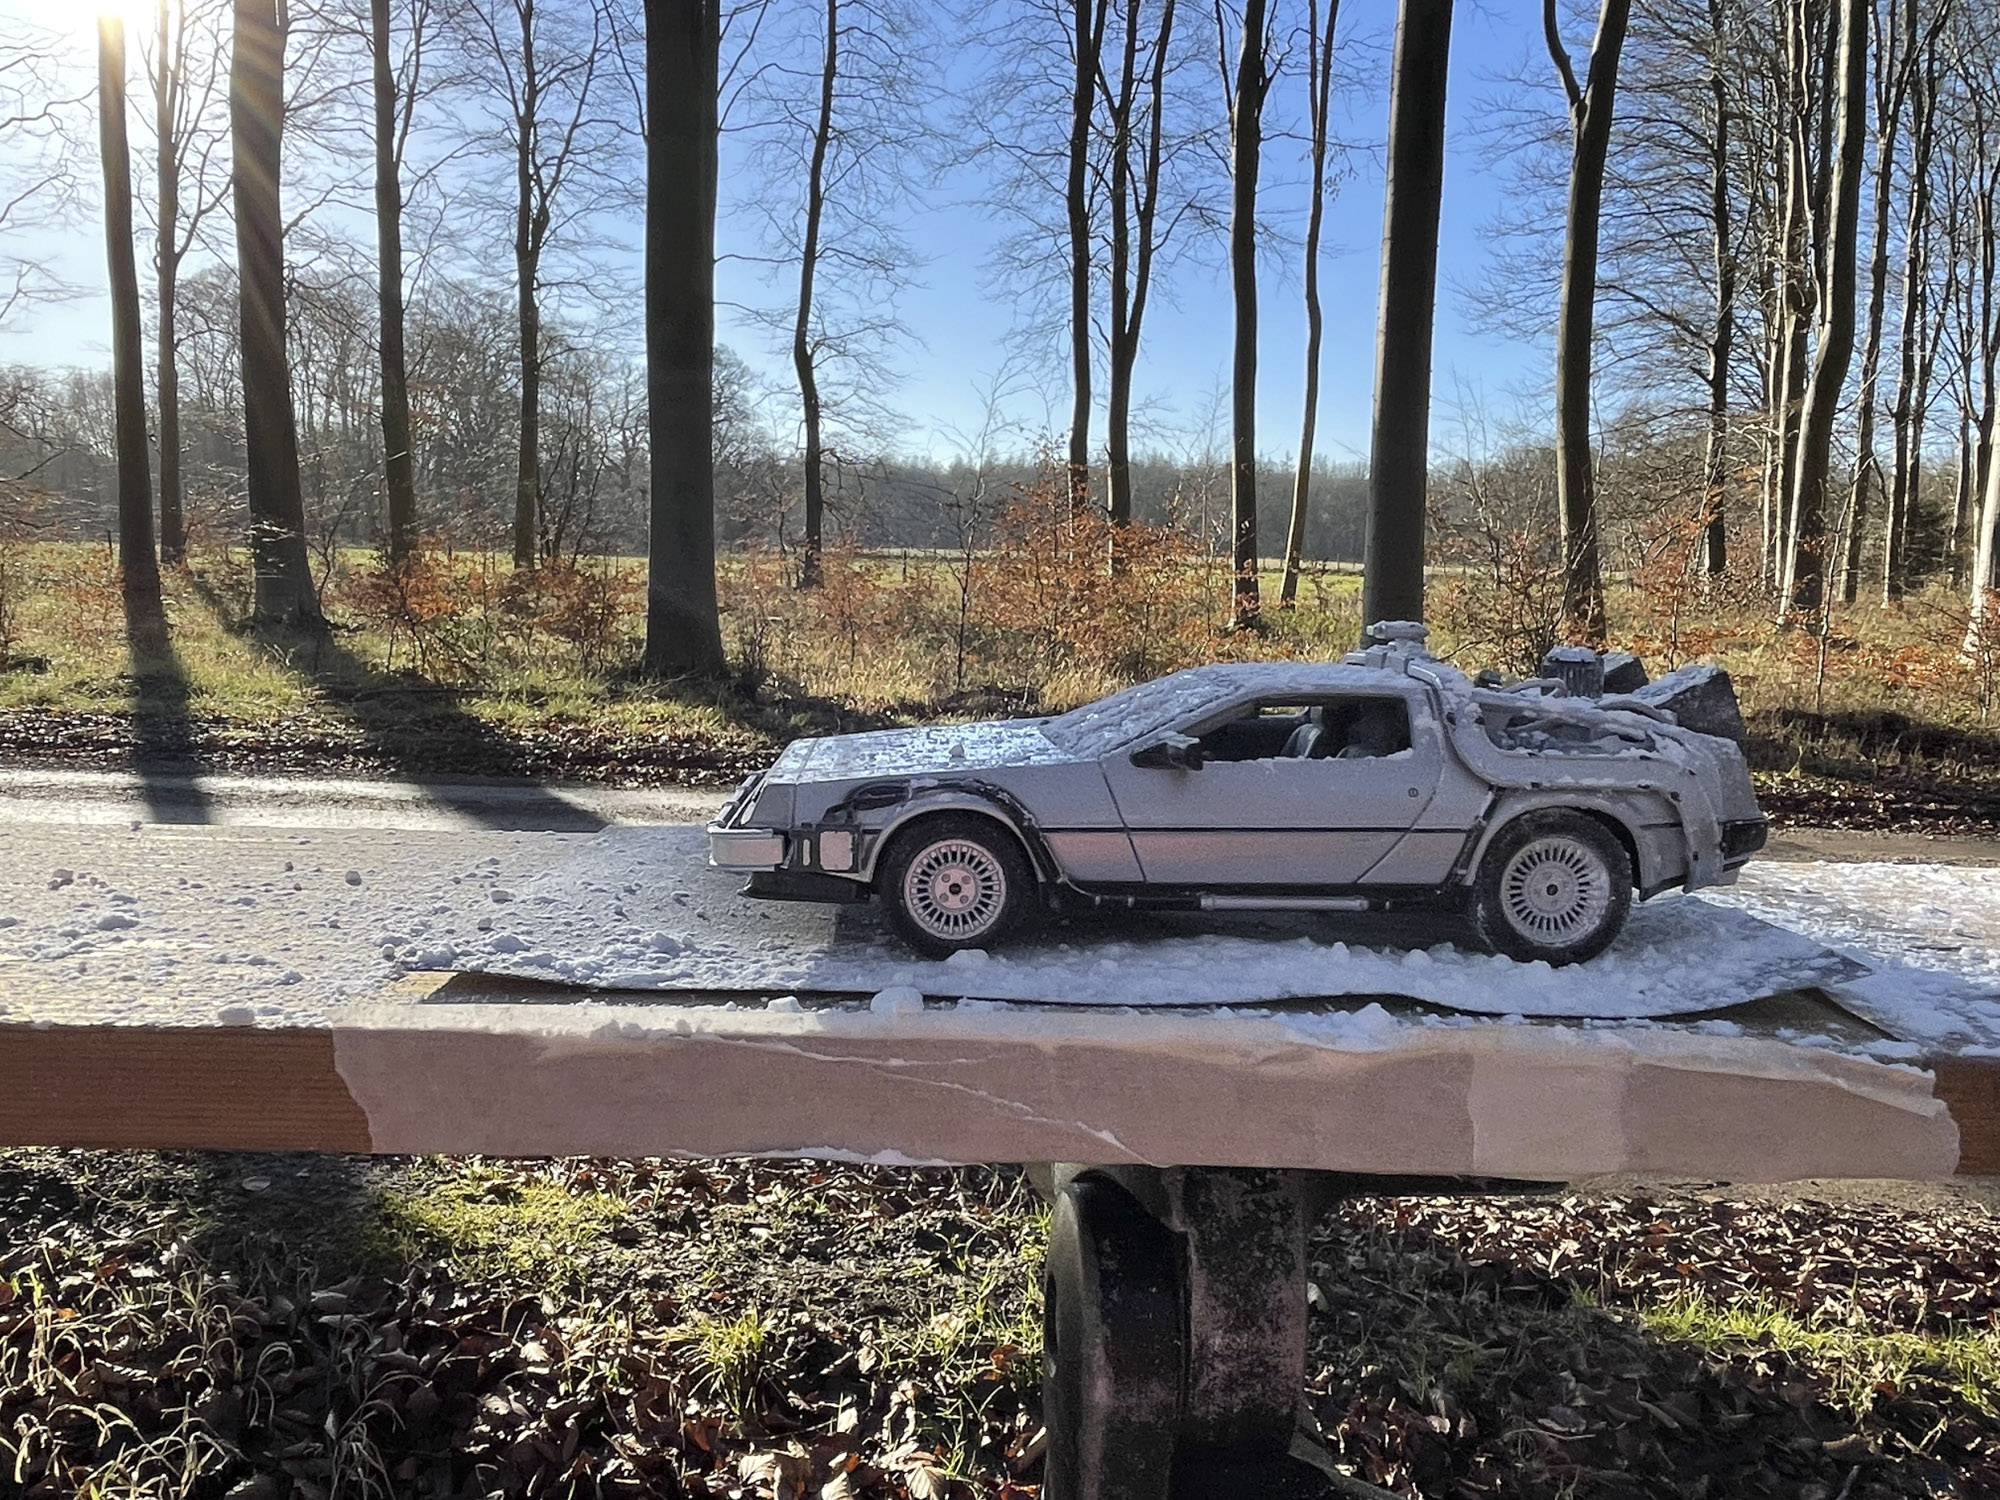
01 Fine-tune the composition
Finesse the position of the platform and the tripod until the foreground matches up with the perspective of the background. A wide-angle lens will help to exaggerate the perspective.
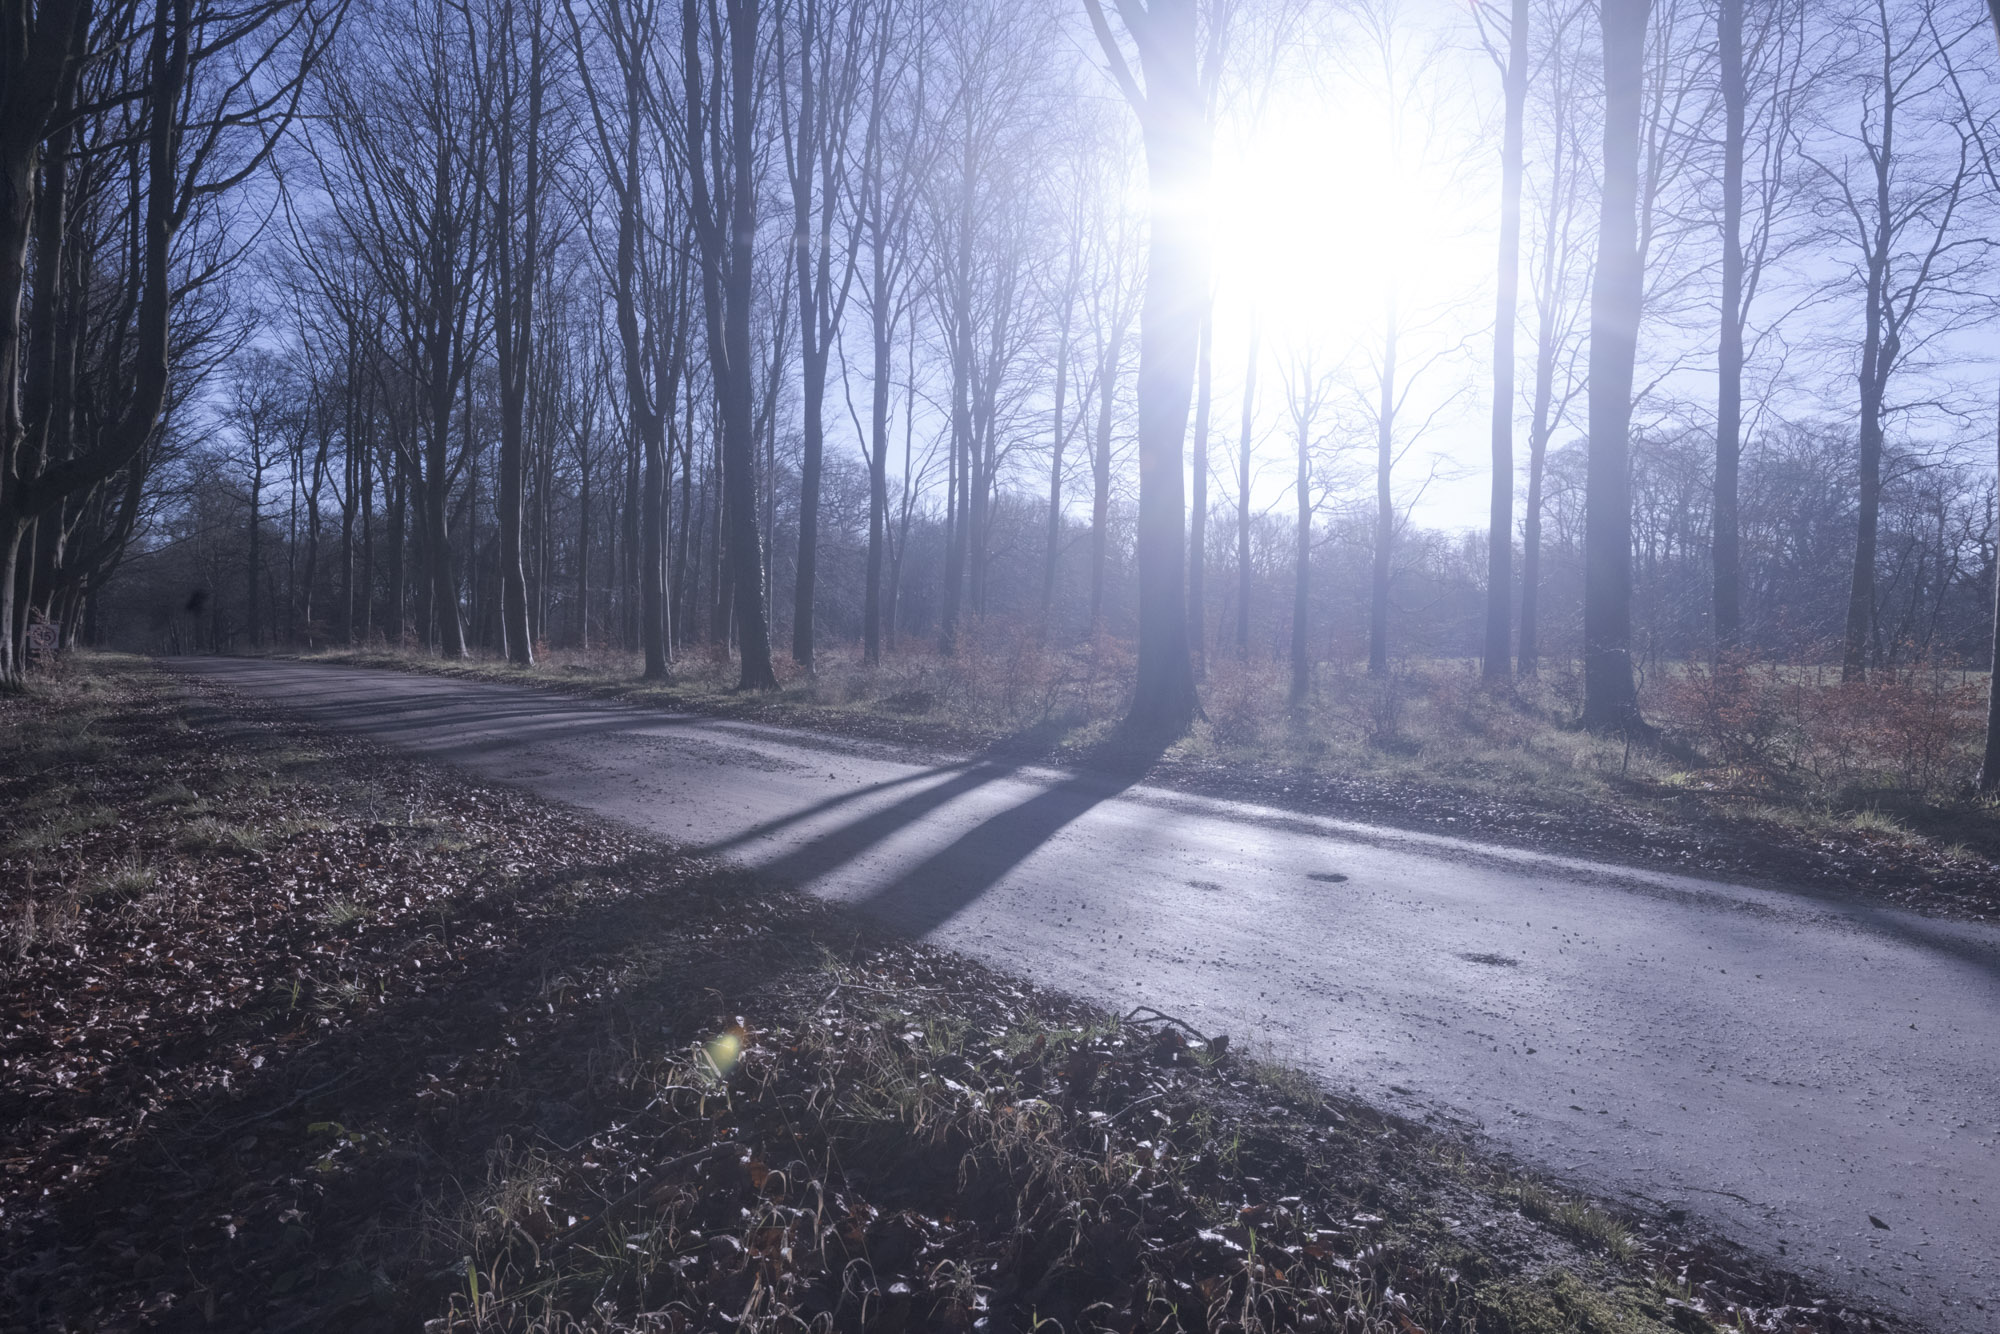
02 Take several forms
We need to take one shot with the toy on a platform, then a second with the toy and platform removed. It’s also worth firing a few frames if you’re scattering snow, as this will give you the option to combine shots later.
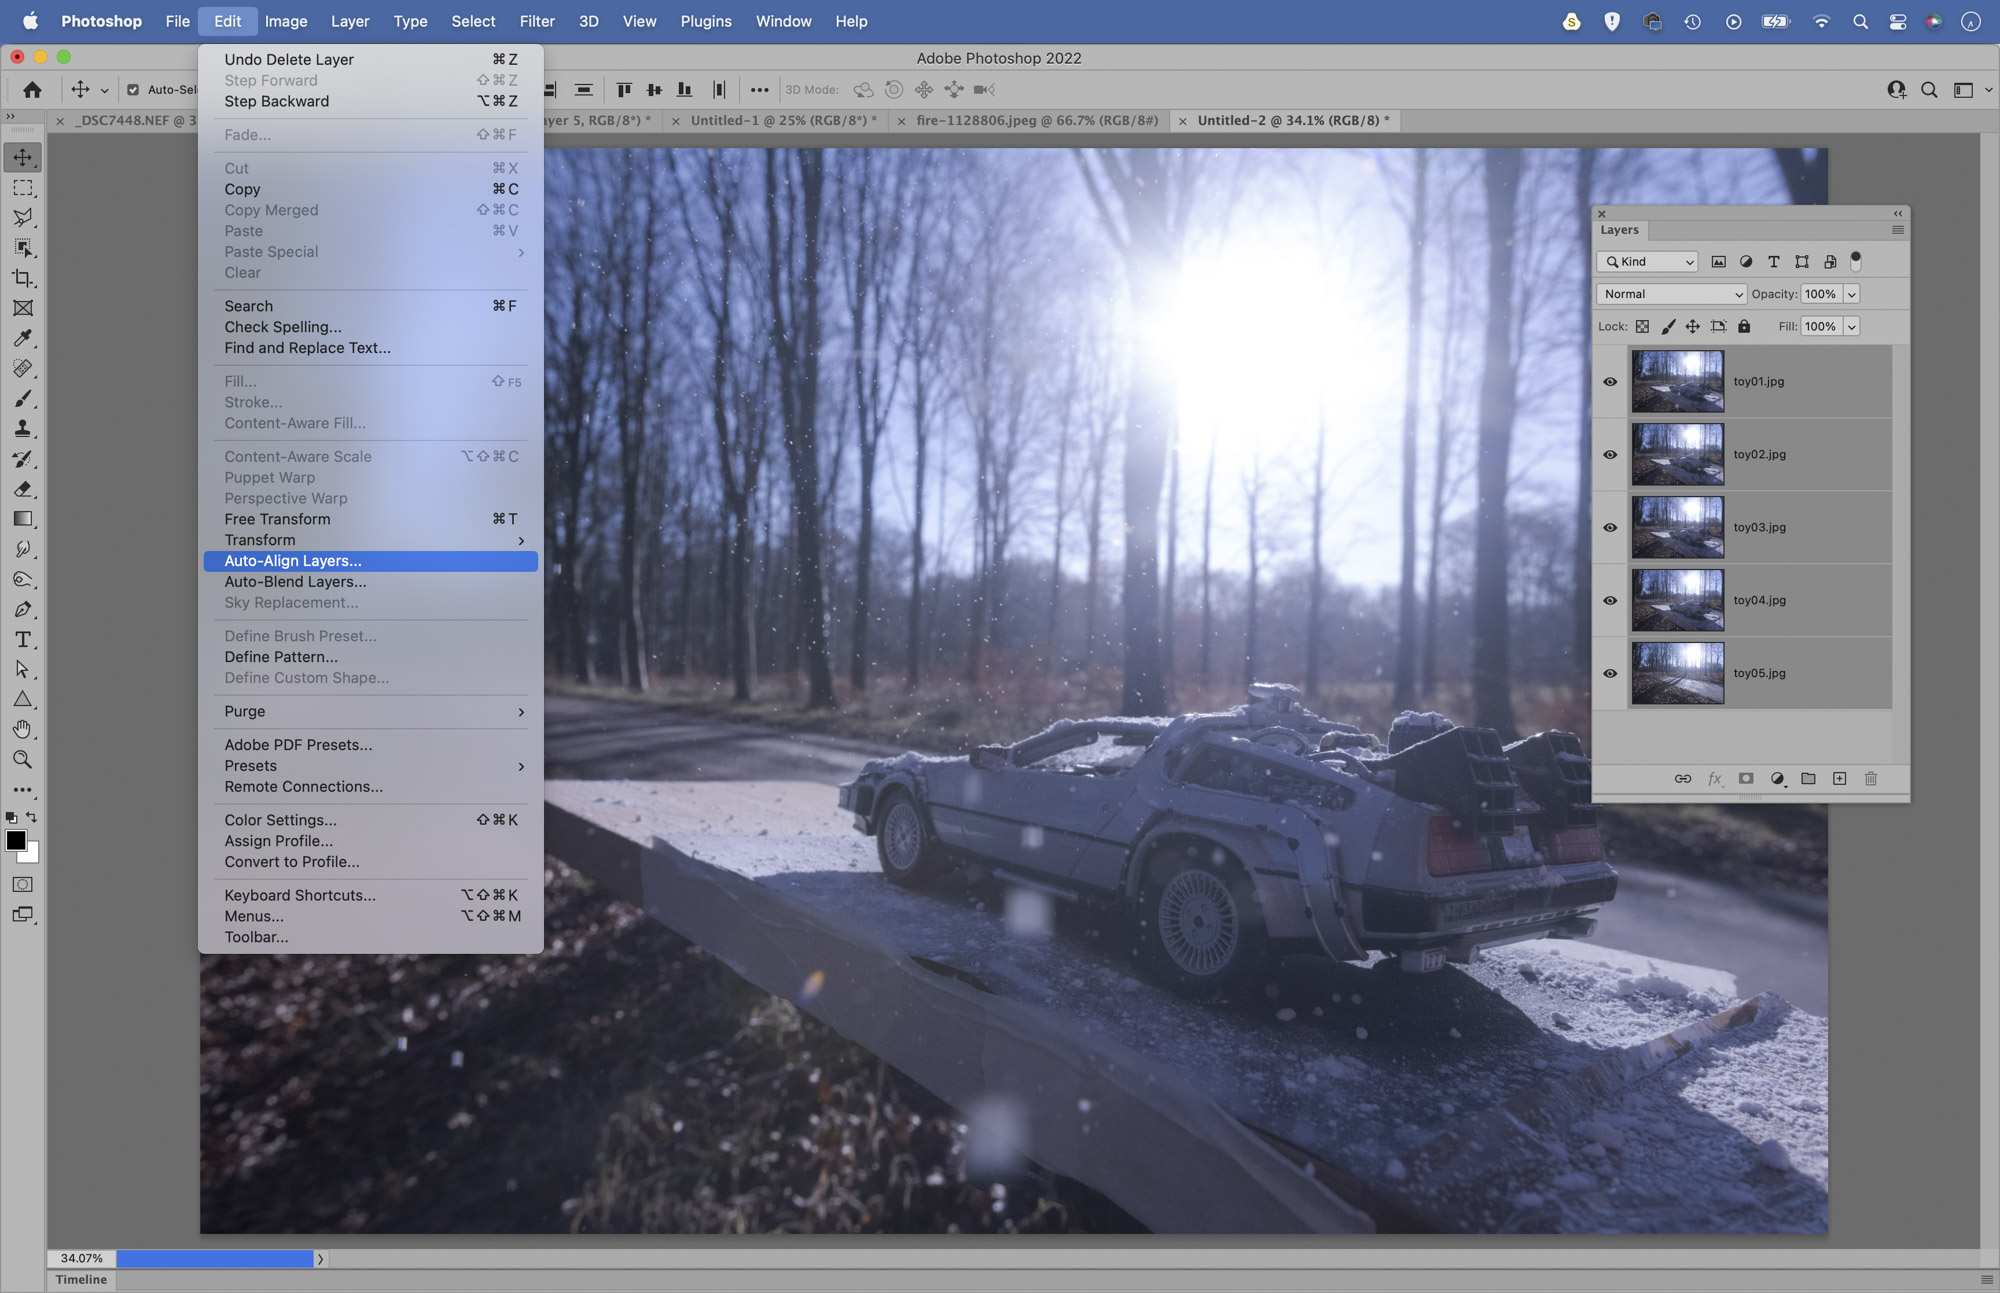
03 Align the images
Highlight all the images you want to combine in Adobe Bridge, then go to Tools > Photoshop > Load into layers. Cmd/Ctrl + click to highlight all layers, then go to Edit > Auto-Align layers, set Auto and hit OK.
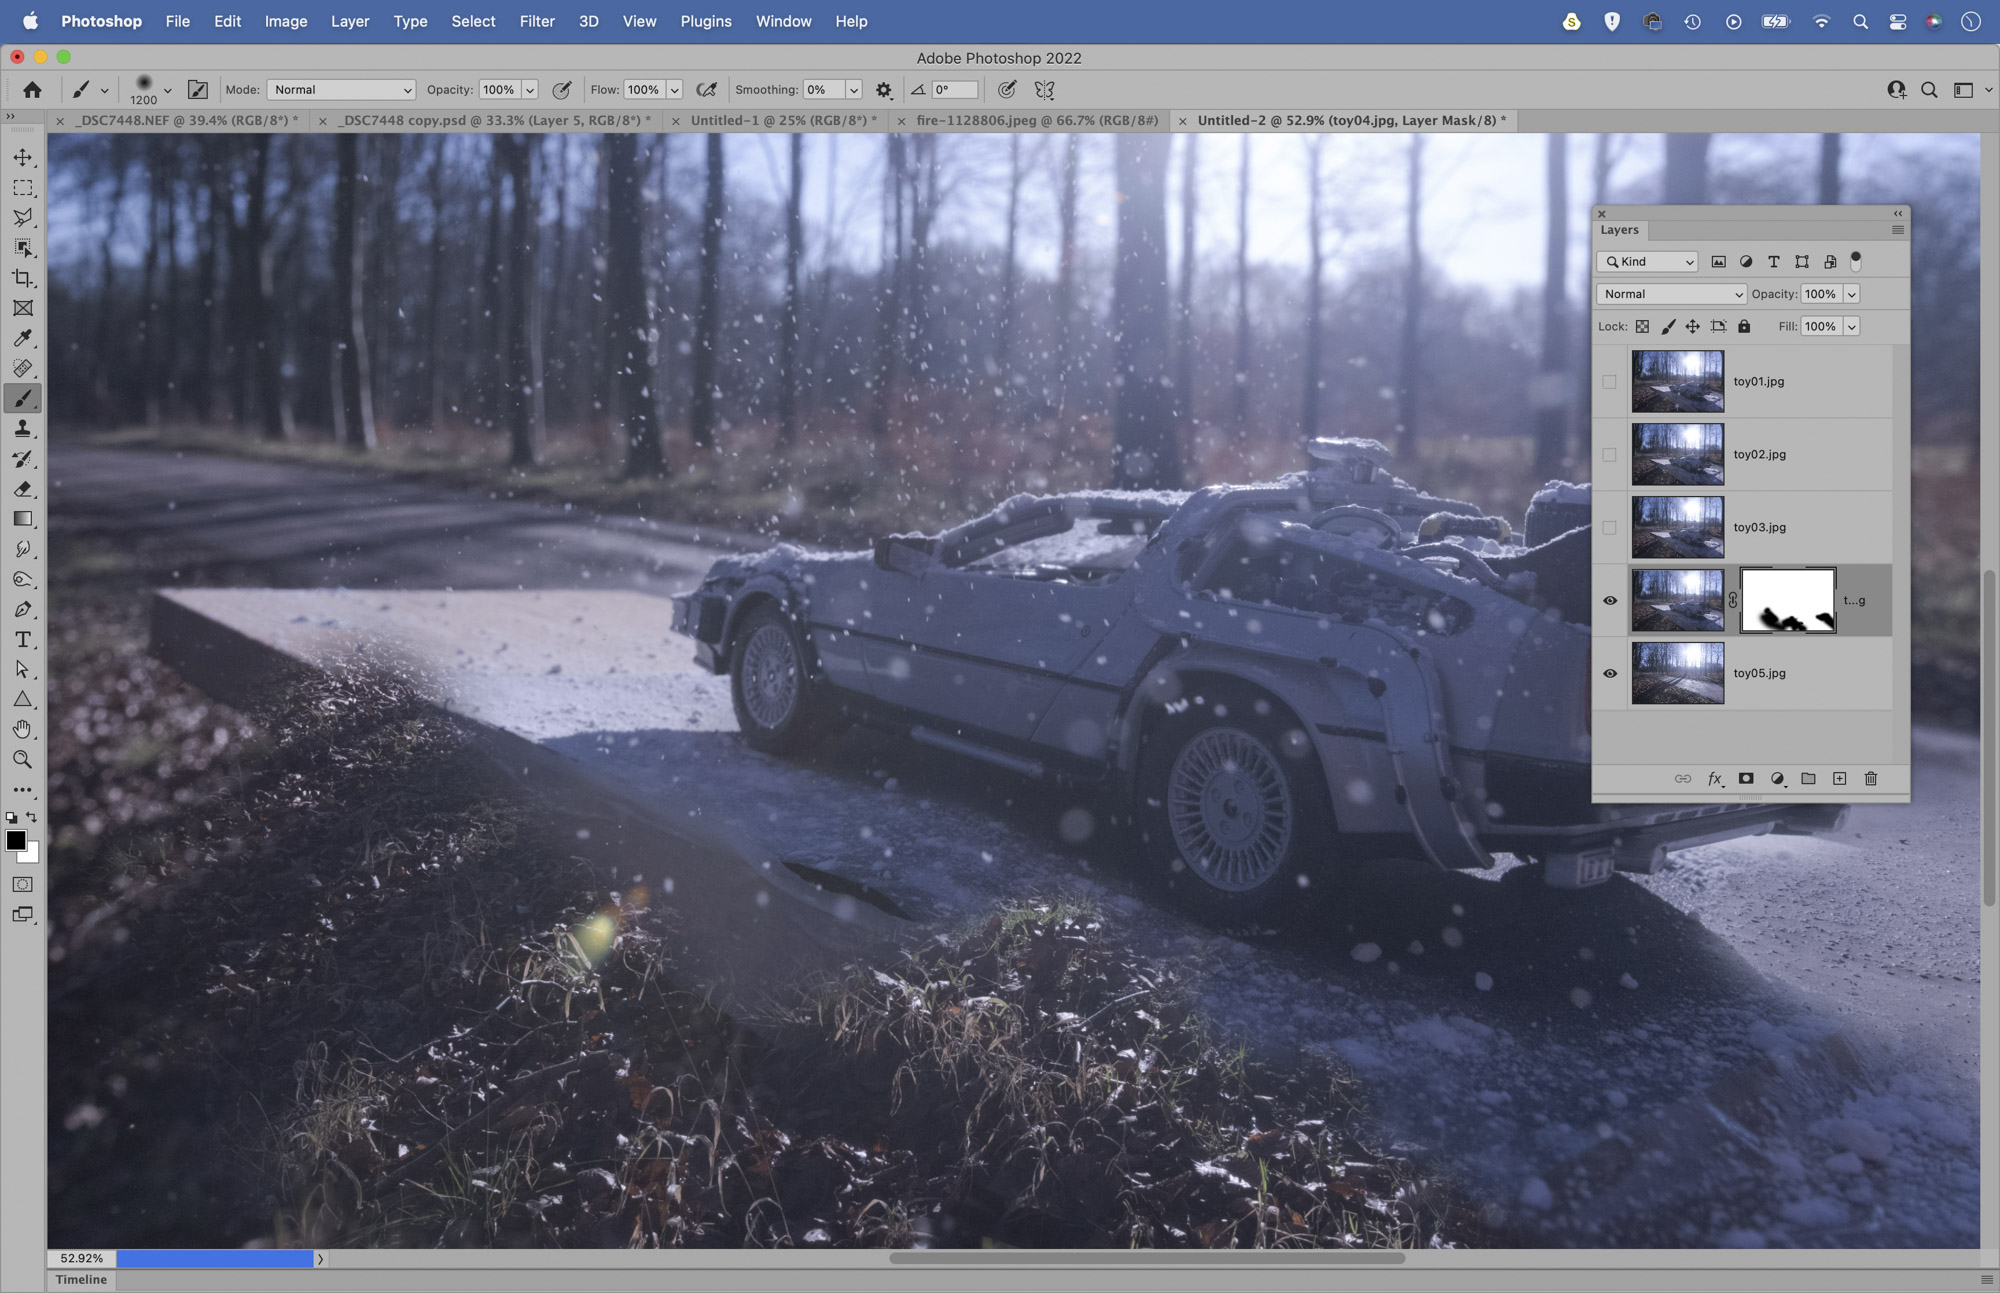
04 Mask the platform
Drag the empty layer to the bottom and hide all but the bottom two layers. Click the Add Layer Mask icon, grab the brush tool, set the color to black and paint around the edges to hide the platform on the top layer.
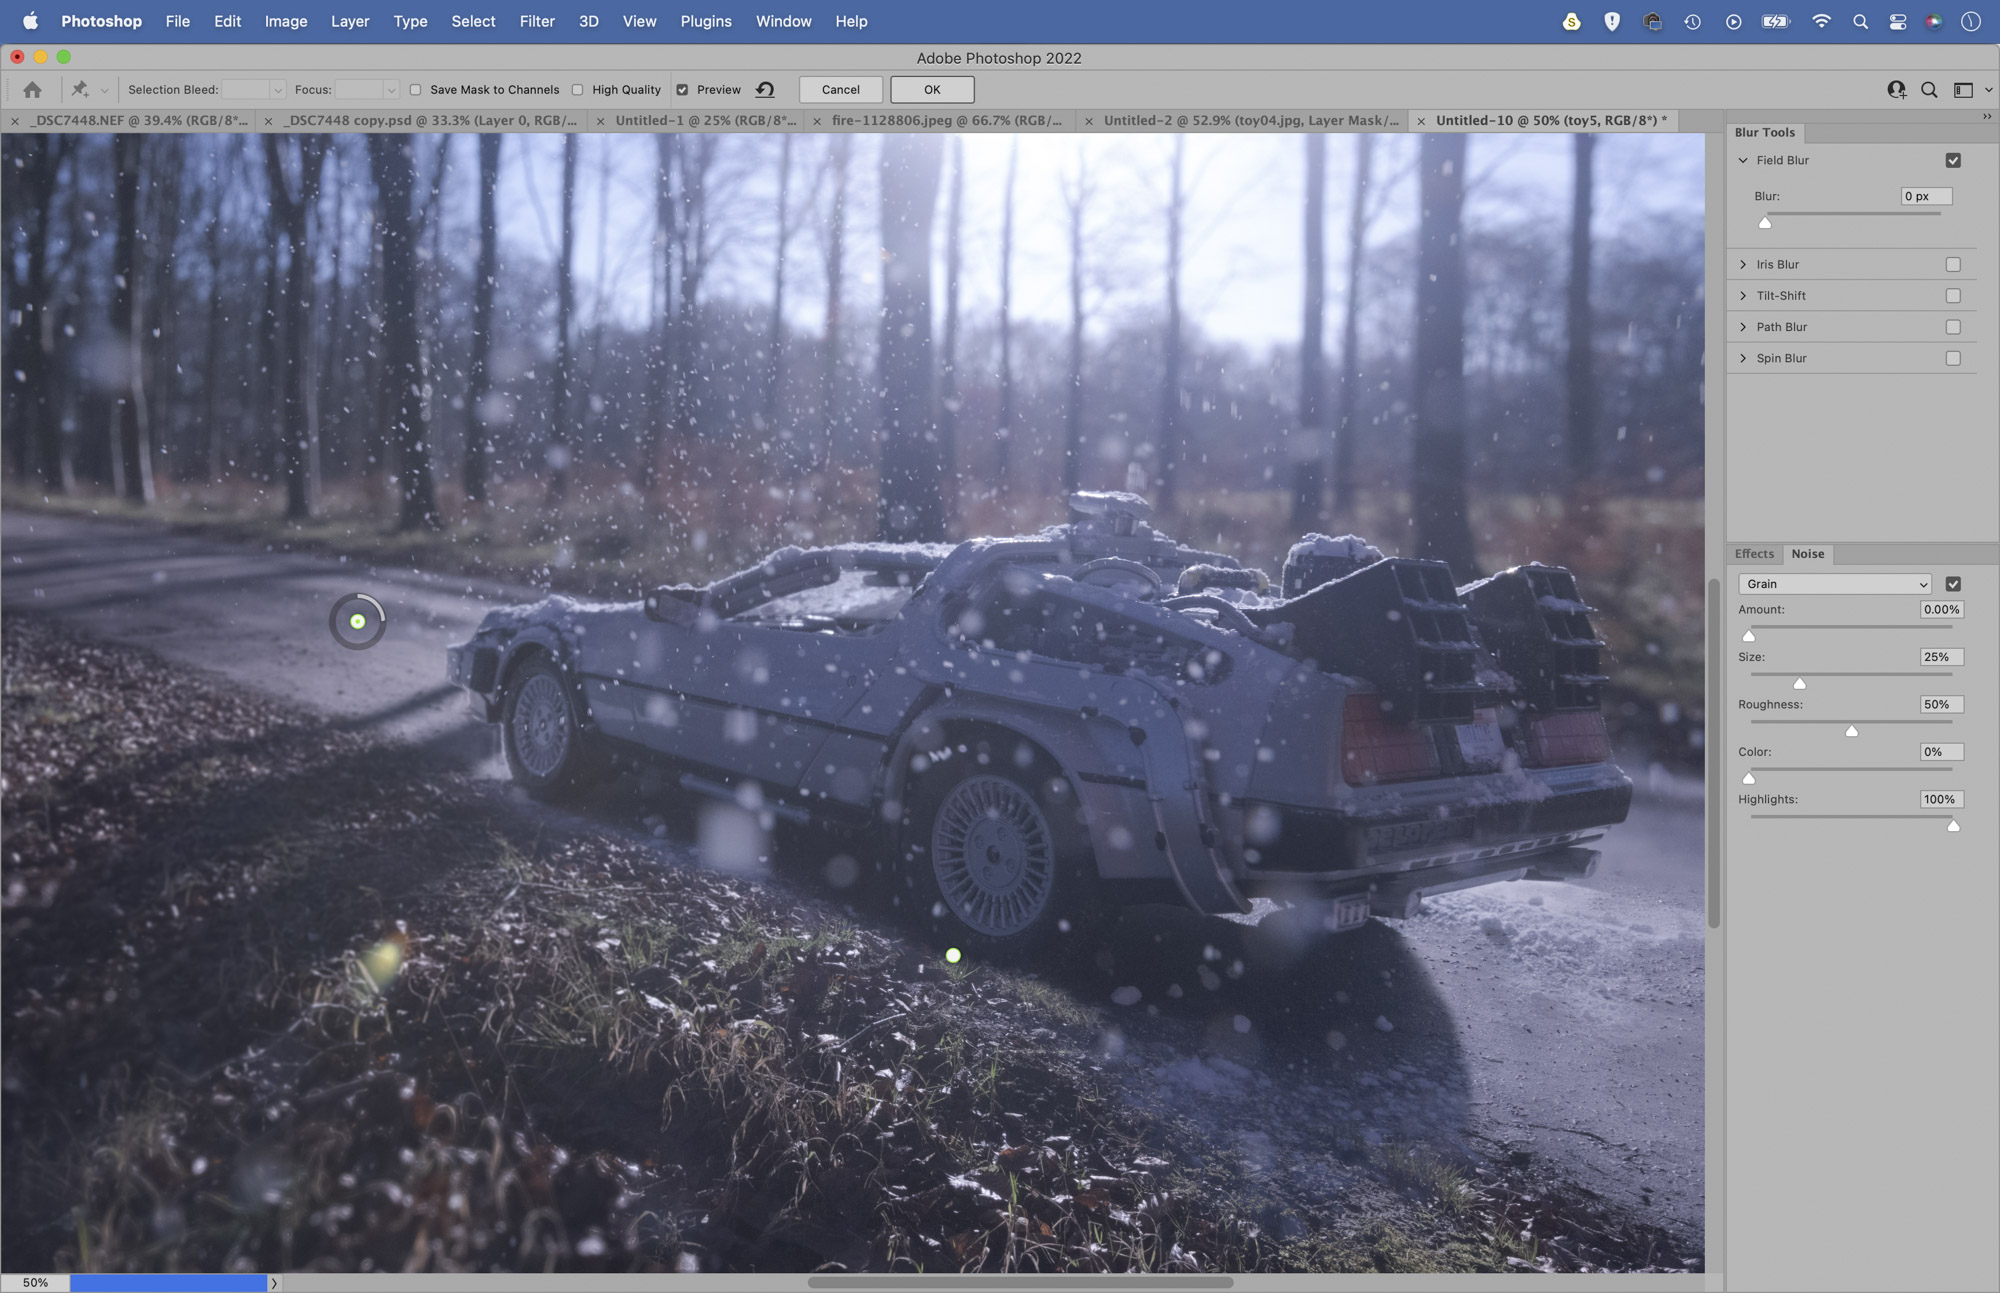
05 Match depth of field
The scene below is likely to look sharper than the toy. To fix this, go to Filter > Blur > Blur Gallery > Field Blur. Click to add two blur points and set one to 0, the other to match the distant blur in the scene.
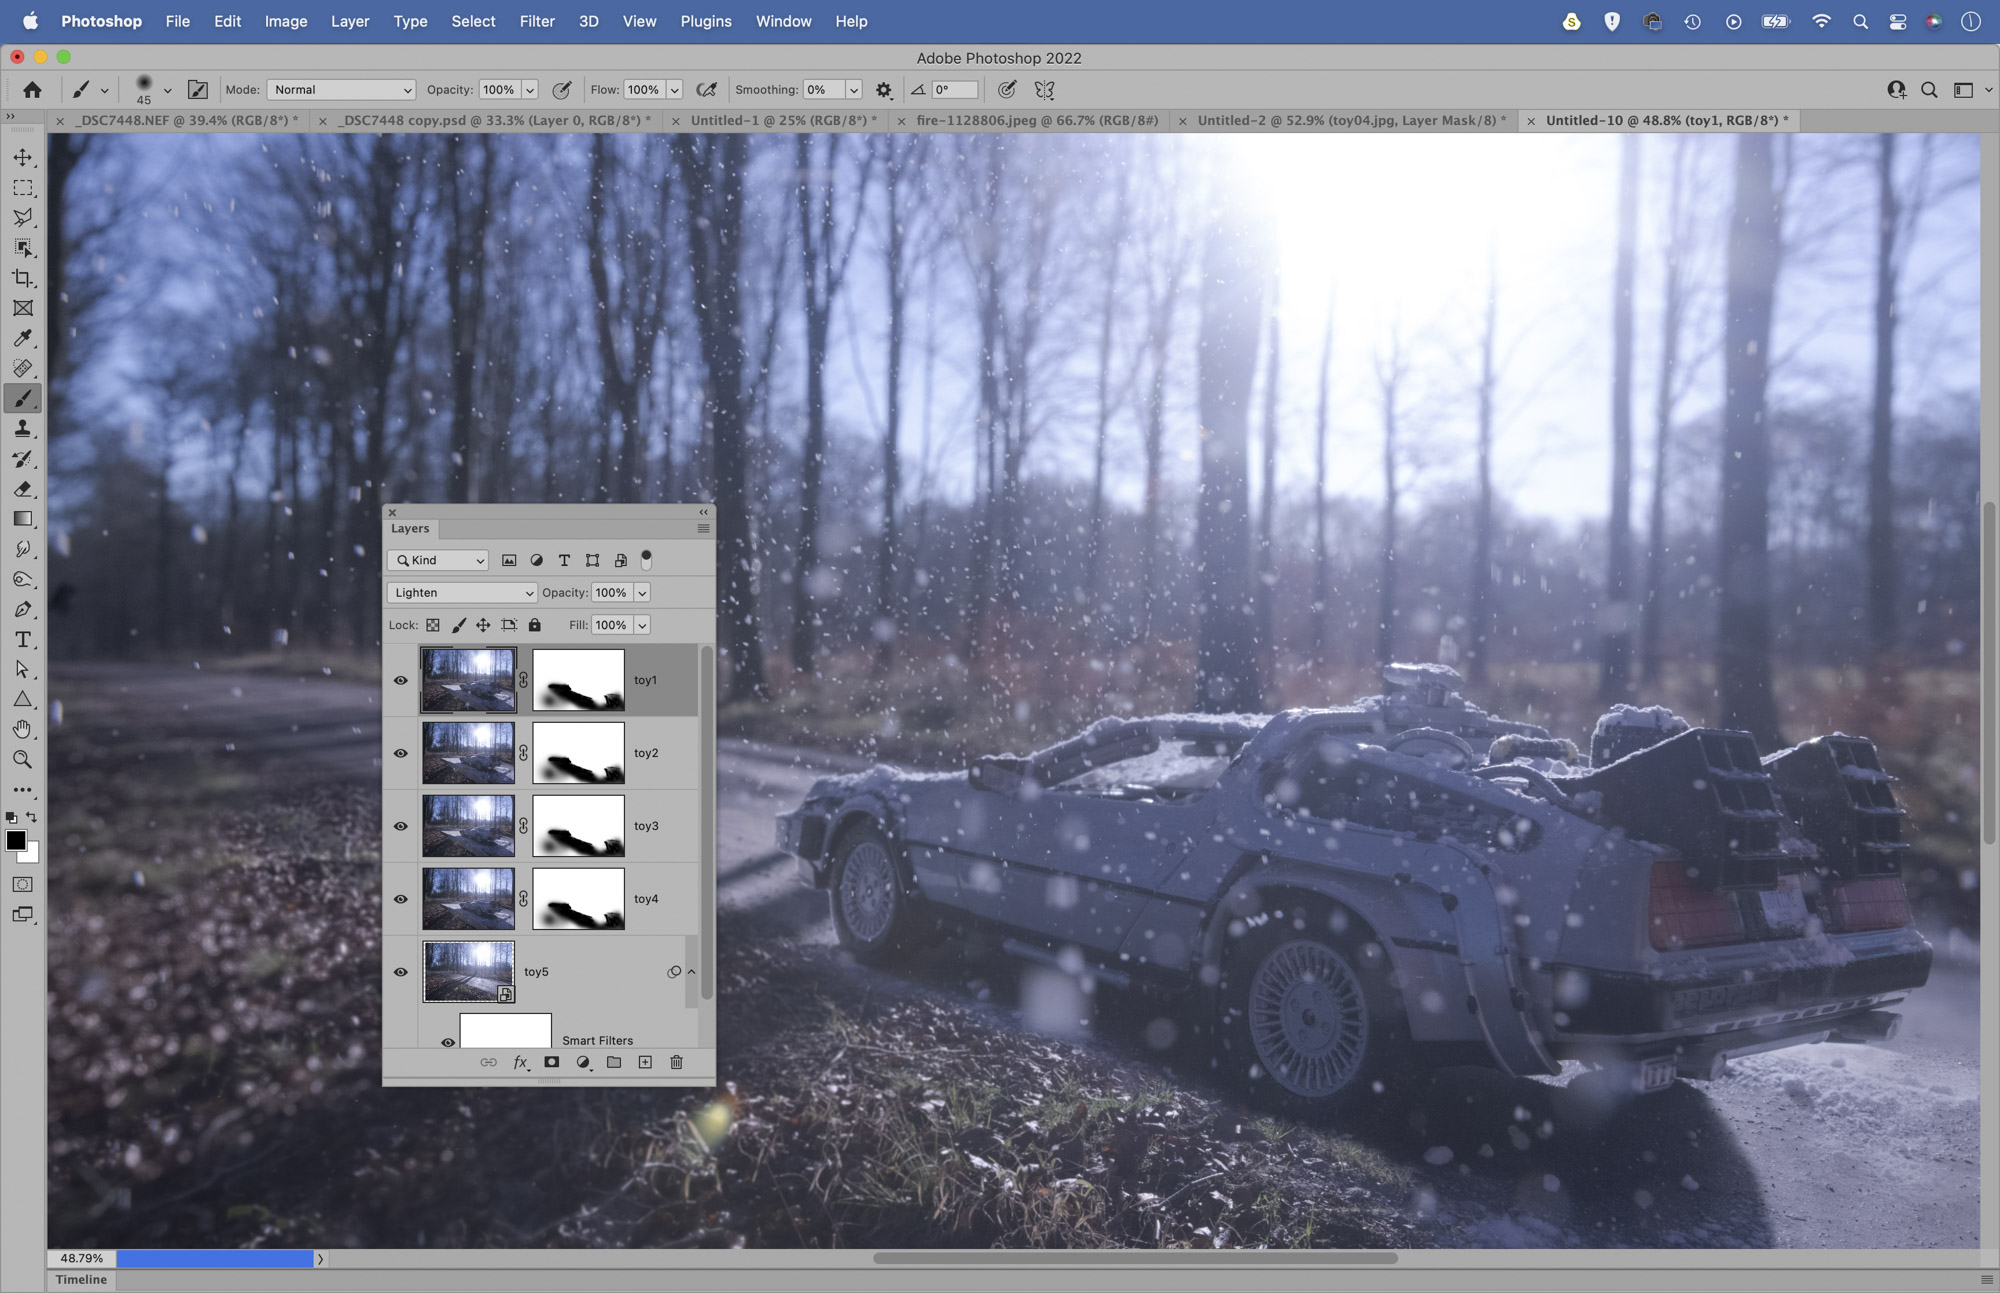
06 Build up the snow
We can combine the snow from several frames. Reveal the other layers, set the blend mode to Lighten then hold Alt and drag the layer mask thumbnail from the lower to copy it over.
07 Shoot for a stack
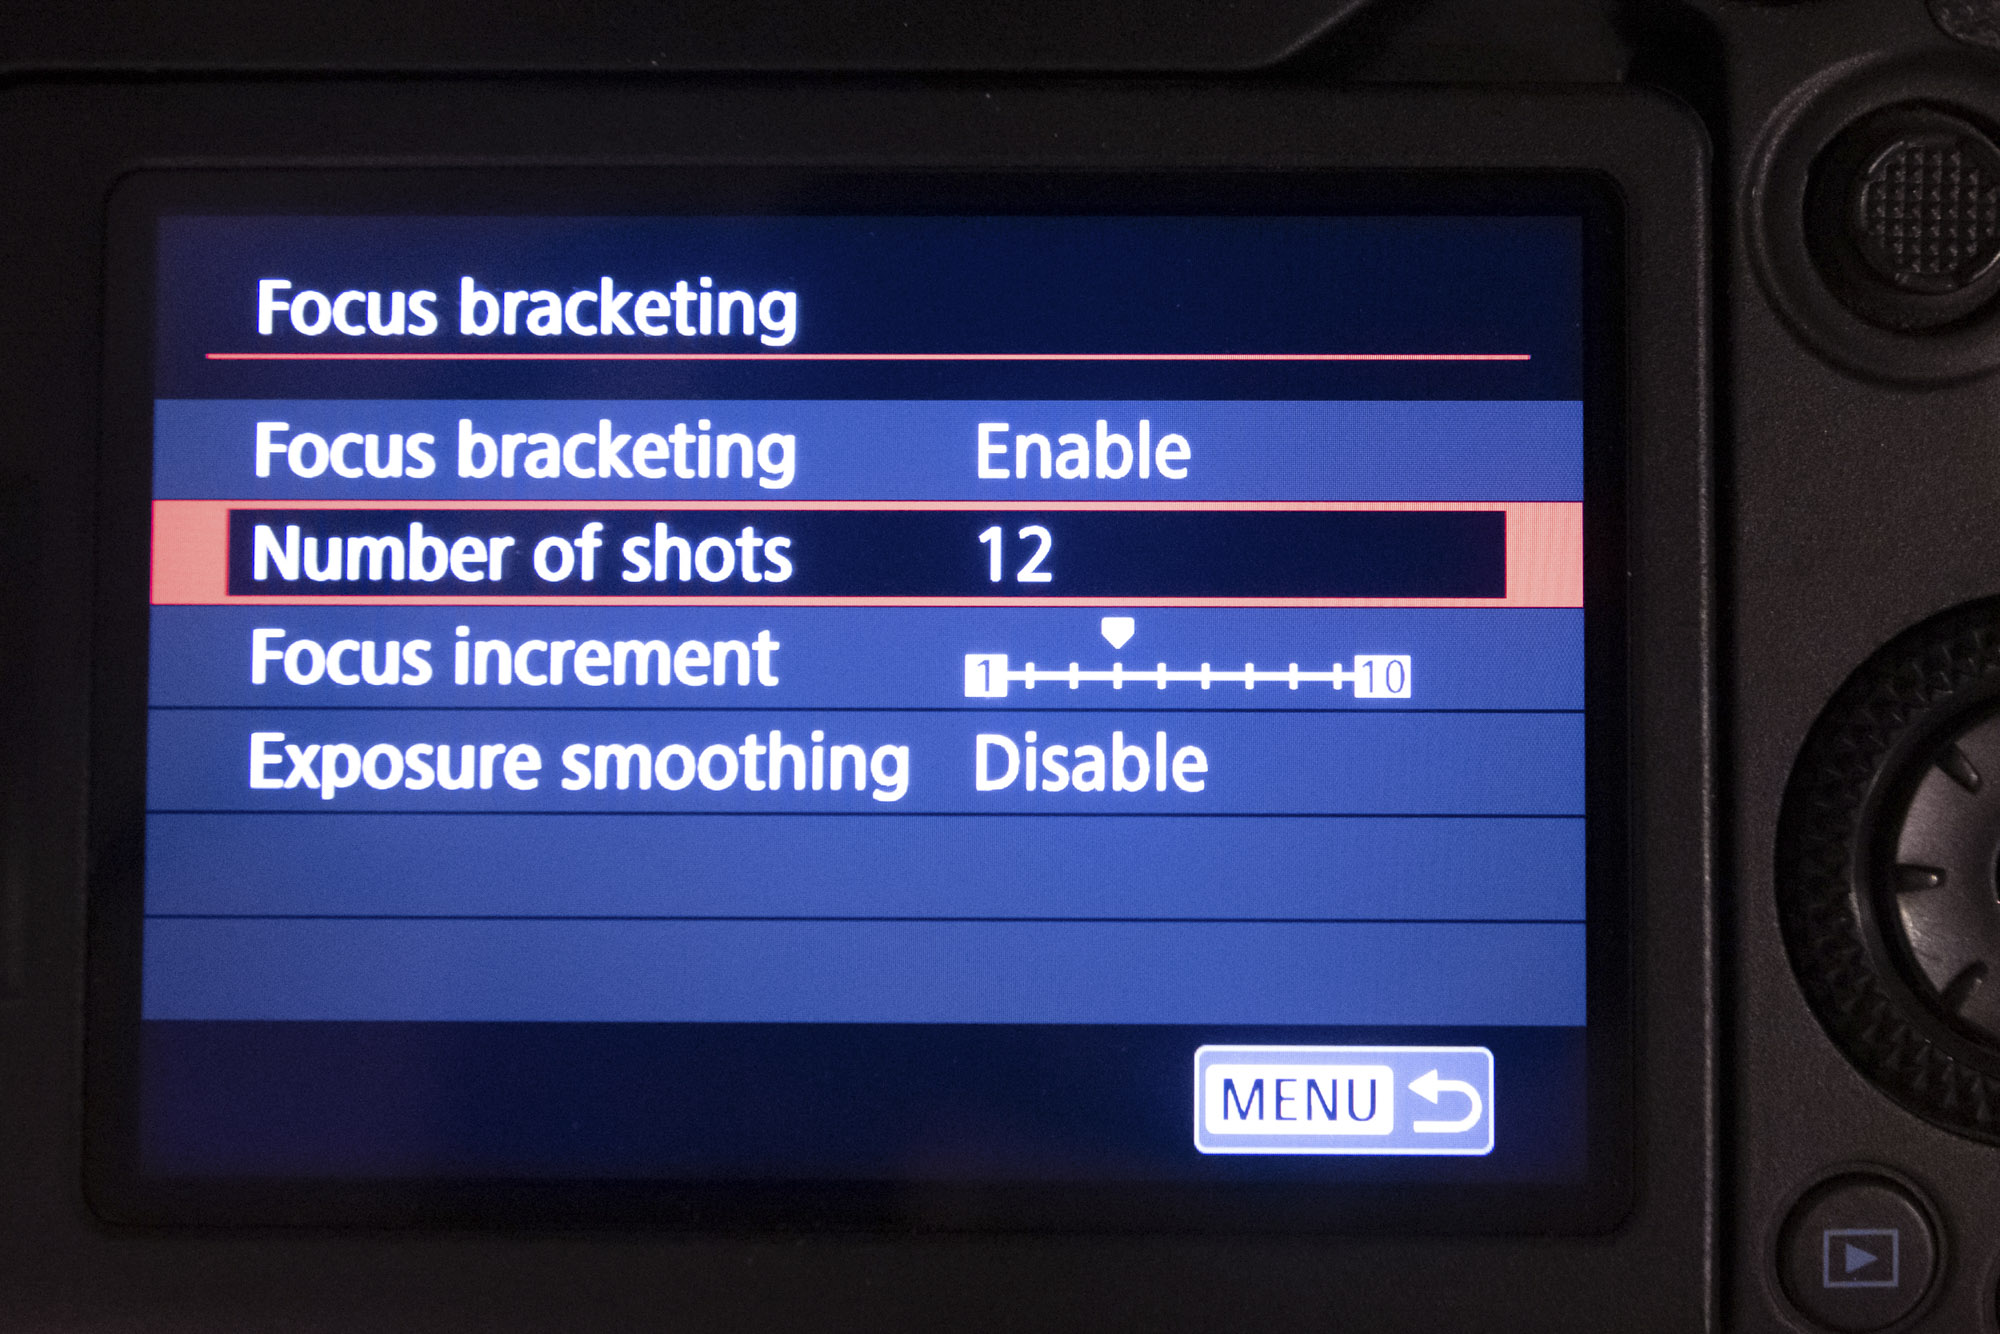
The problem we often have with toy photos like this is that the subject is close to the camera, which limits depth of field even at narrow apertures. Focus stacking is the answer. If you camera has this feature, set it up to take a series of focus-shifted frames.
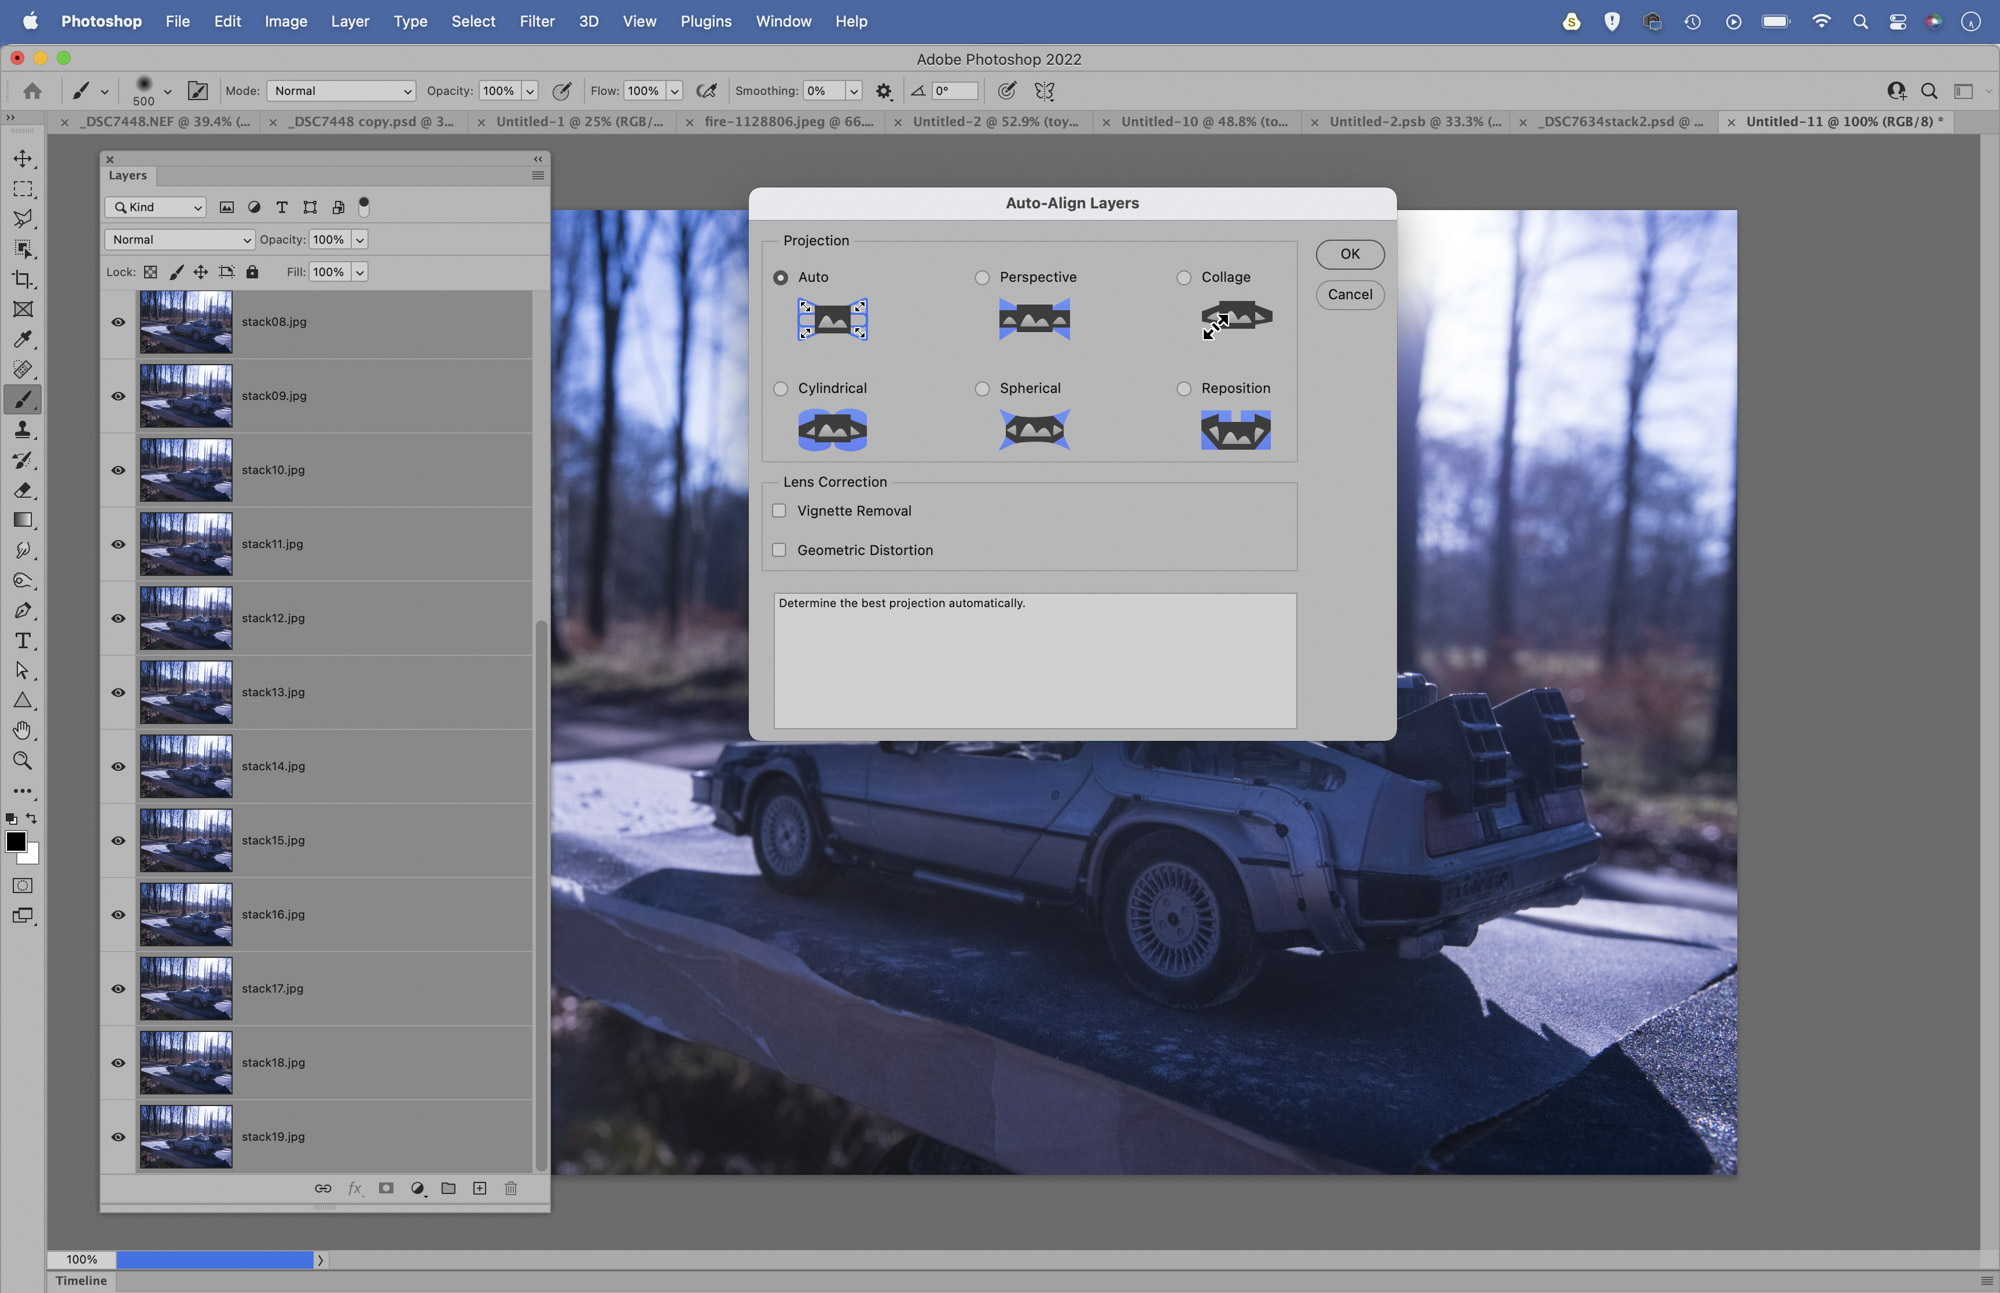
08 Align the layers
Go to the set of images in Adobe Bridge, highlight them all then go to Tools > Photoshop > Load files into Photoshop layers. Next, hold Shift and click between the top and bottom layer in the Layers Panel to highlight them all, then go to Edit > Auto-Align Layers. Set Auto and hit OK.
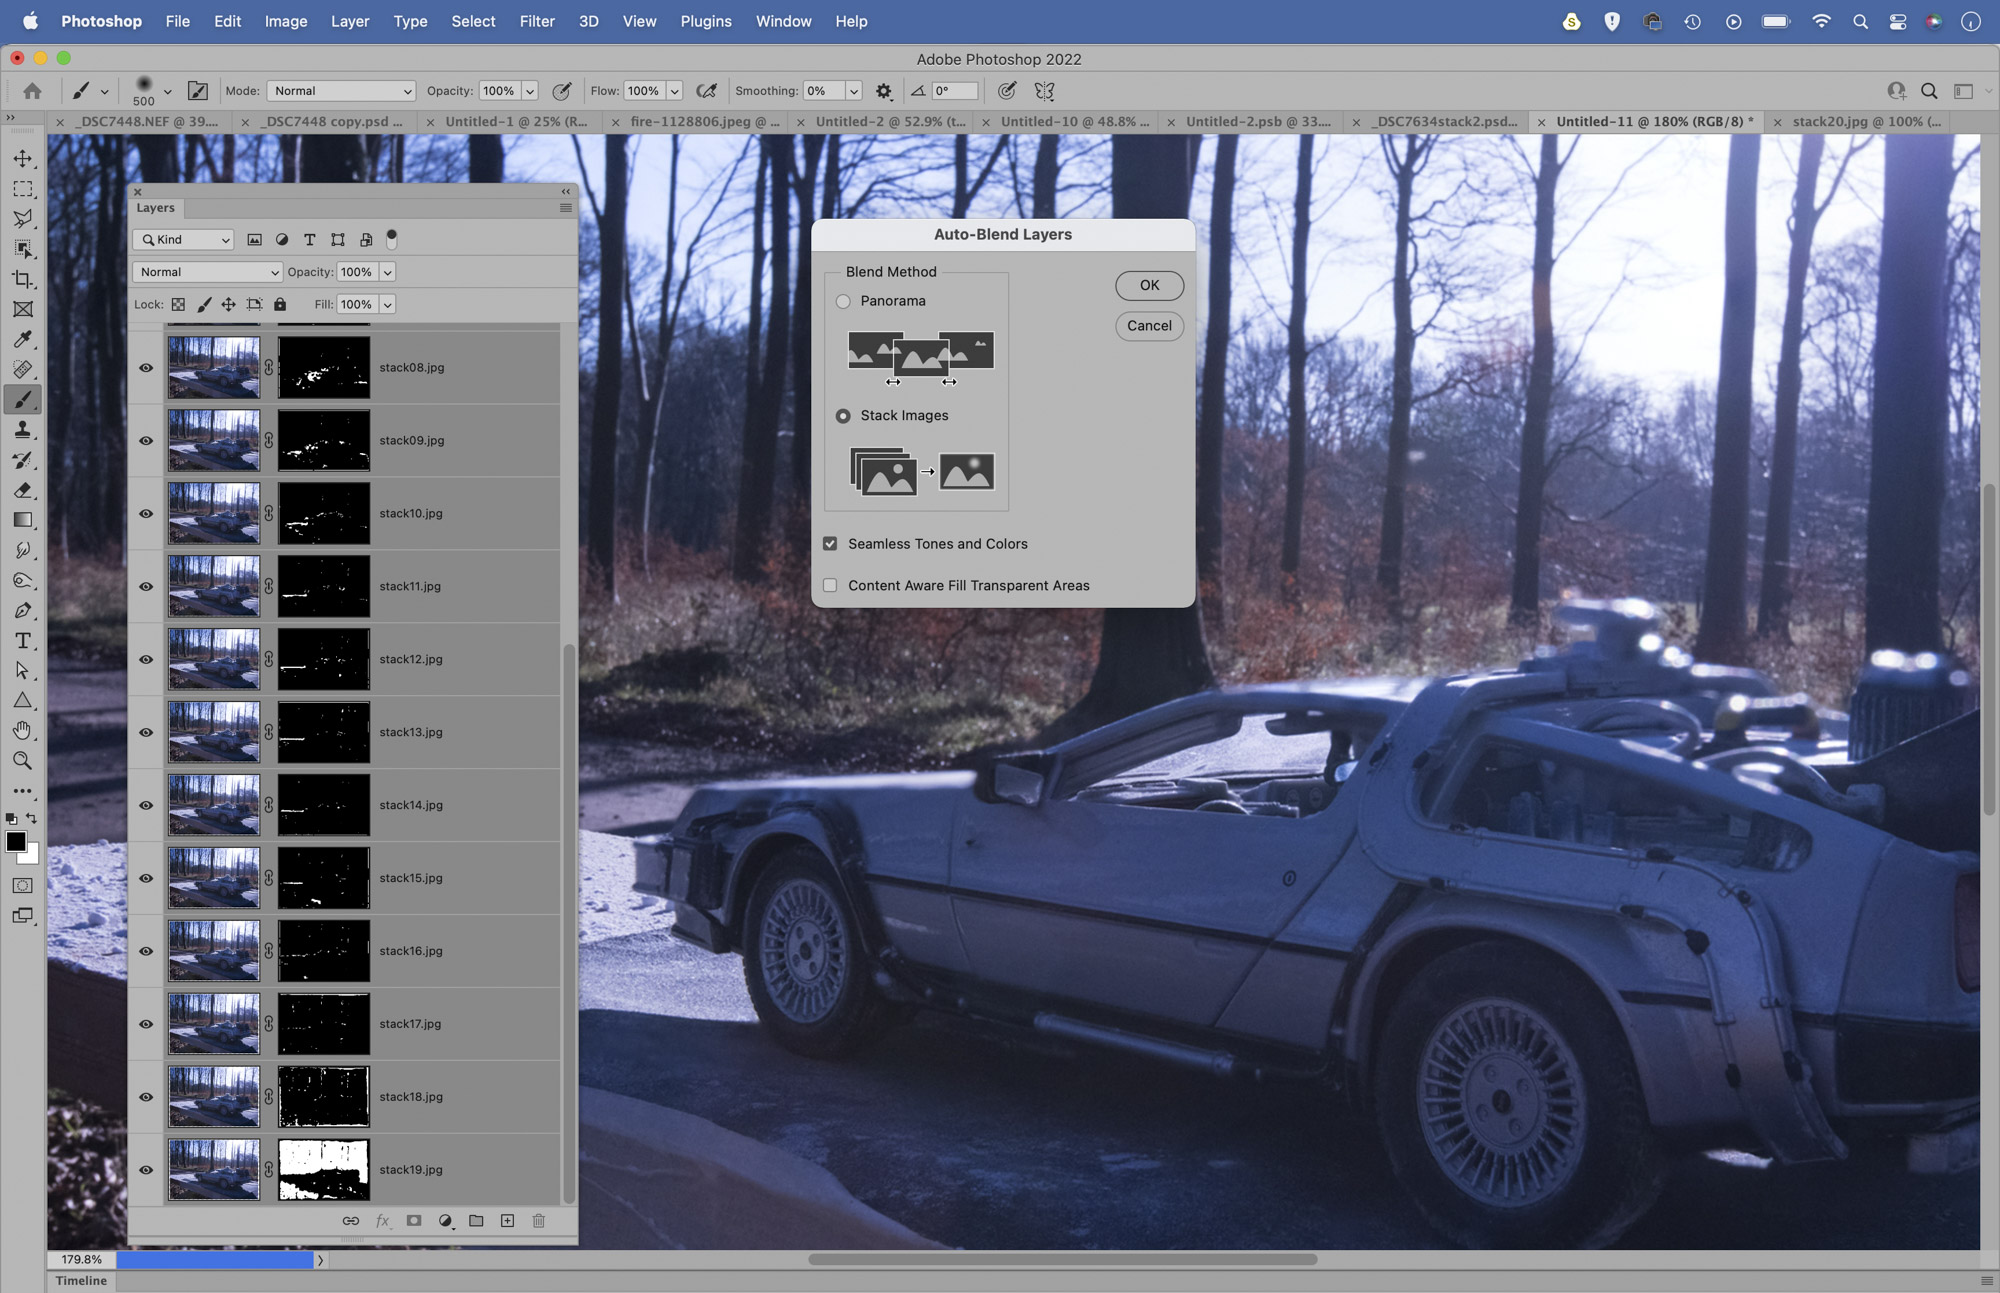
09 Blend the sharp parts
With all the layers still highlighted go to Edit > Auto-Blend Layers. Use the auto settings and hit OK. This will generate masks that combine the sharp parts from each photo into one super-sharp whole. Use the crop tool to crop in tighter and remove messy edges around the frame.
PhotoPlus: The Canon Magazine is the world's only monthly newsstand title that's 100% devoted to Canon, so you can be sure the magazine is completely relevant to your system.
Read more:
Best cameras for portraits
Best portrait photography tips
The best photo editing software: image editors for novices through to pros
The best photo-editing laptops: top laptops for photographers
10 best online photography courses – from beginner guides to masterclasses
The lead technique writer on Digital Camera Magazine, PhotoPlus: The Canon Magazine and N-Photo: The Nikon Magazine, James is a fantastic general practice photographer with an enviable array of skills across every genre of photography.
Whether it's flash photography techniques like stroboscopic portraits, astrophotography projects like photographing the Northern Lights, or turning sound into art by making paint dance on a set of speakers, James' tutorials and projects are as creative as they are enjoyable.
He's also a wizard at the dark arts of Photoshop, Lightroom and Affinity Photo, and is capable of some genuine black magic in the digital darkroom, making him one of the leading authorities on photo editing software and techniques.
