How to photograph underwater scenes
Try a shoot in uncharted waters
The best camera deals, reviews, product advice, and unmissable photography news, direct to your inbox!
You are now subscribed
Your newsletter sign-up was successful
To set up, light and shoot an underwater portrait
Time: Two hours
Skill level: Advanced
Kit needed: D-SLR with pop-up flash, underwater D-SLR case, two flashguns with waterproof cases, two light stands, clamps, diffuser panel, goggles
Disclaimer: This was not a conventional shoot and we made sure that everything was completely safe throughout. Never, ever take electrical equipment such as lighting into water unless you are absolutely sure you know what you are doing.
With dedicated underwater housings for cameras, waterproof lights and all manner of accessories, underwater photography can be expensive. The kit could easily cost thousands. But that type of gear is built to withstand the open seas. In a swimming pool, you don’t need to jump in at the financial deep end and you can achieve great results at a fraction of the cost.
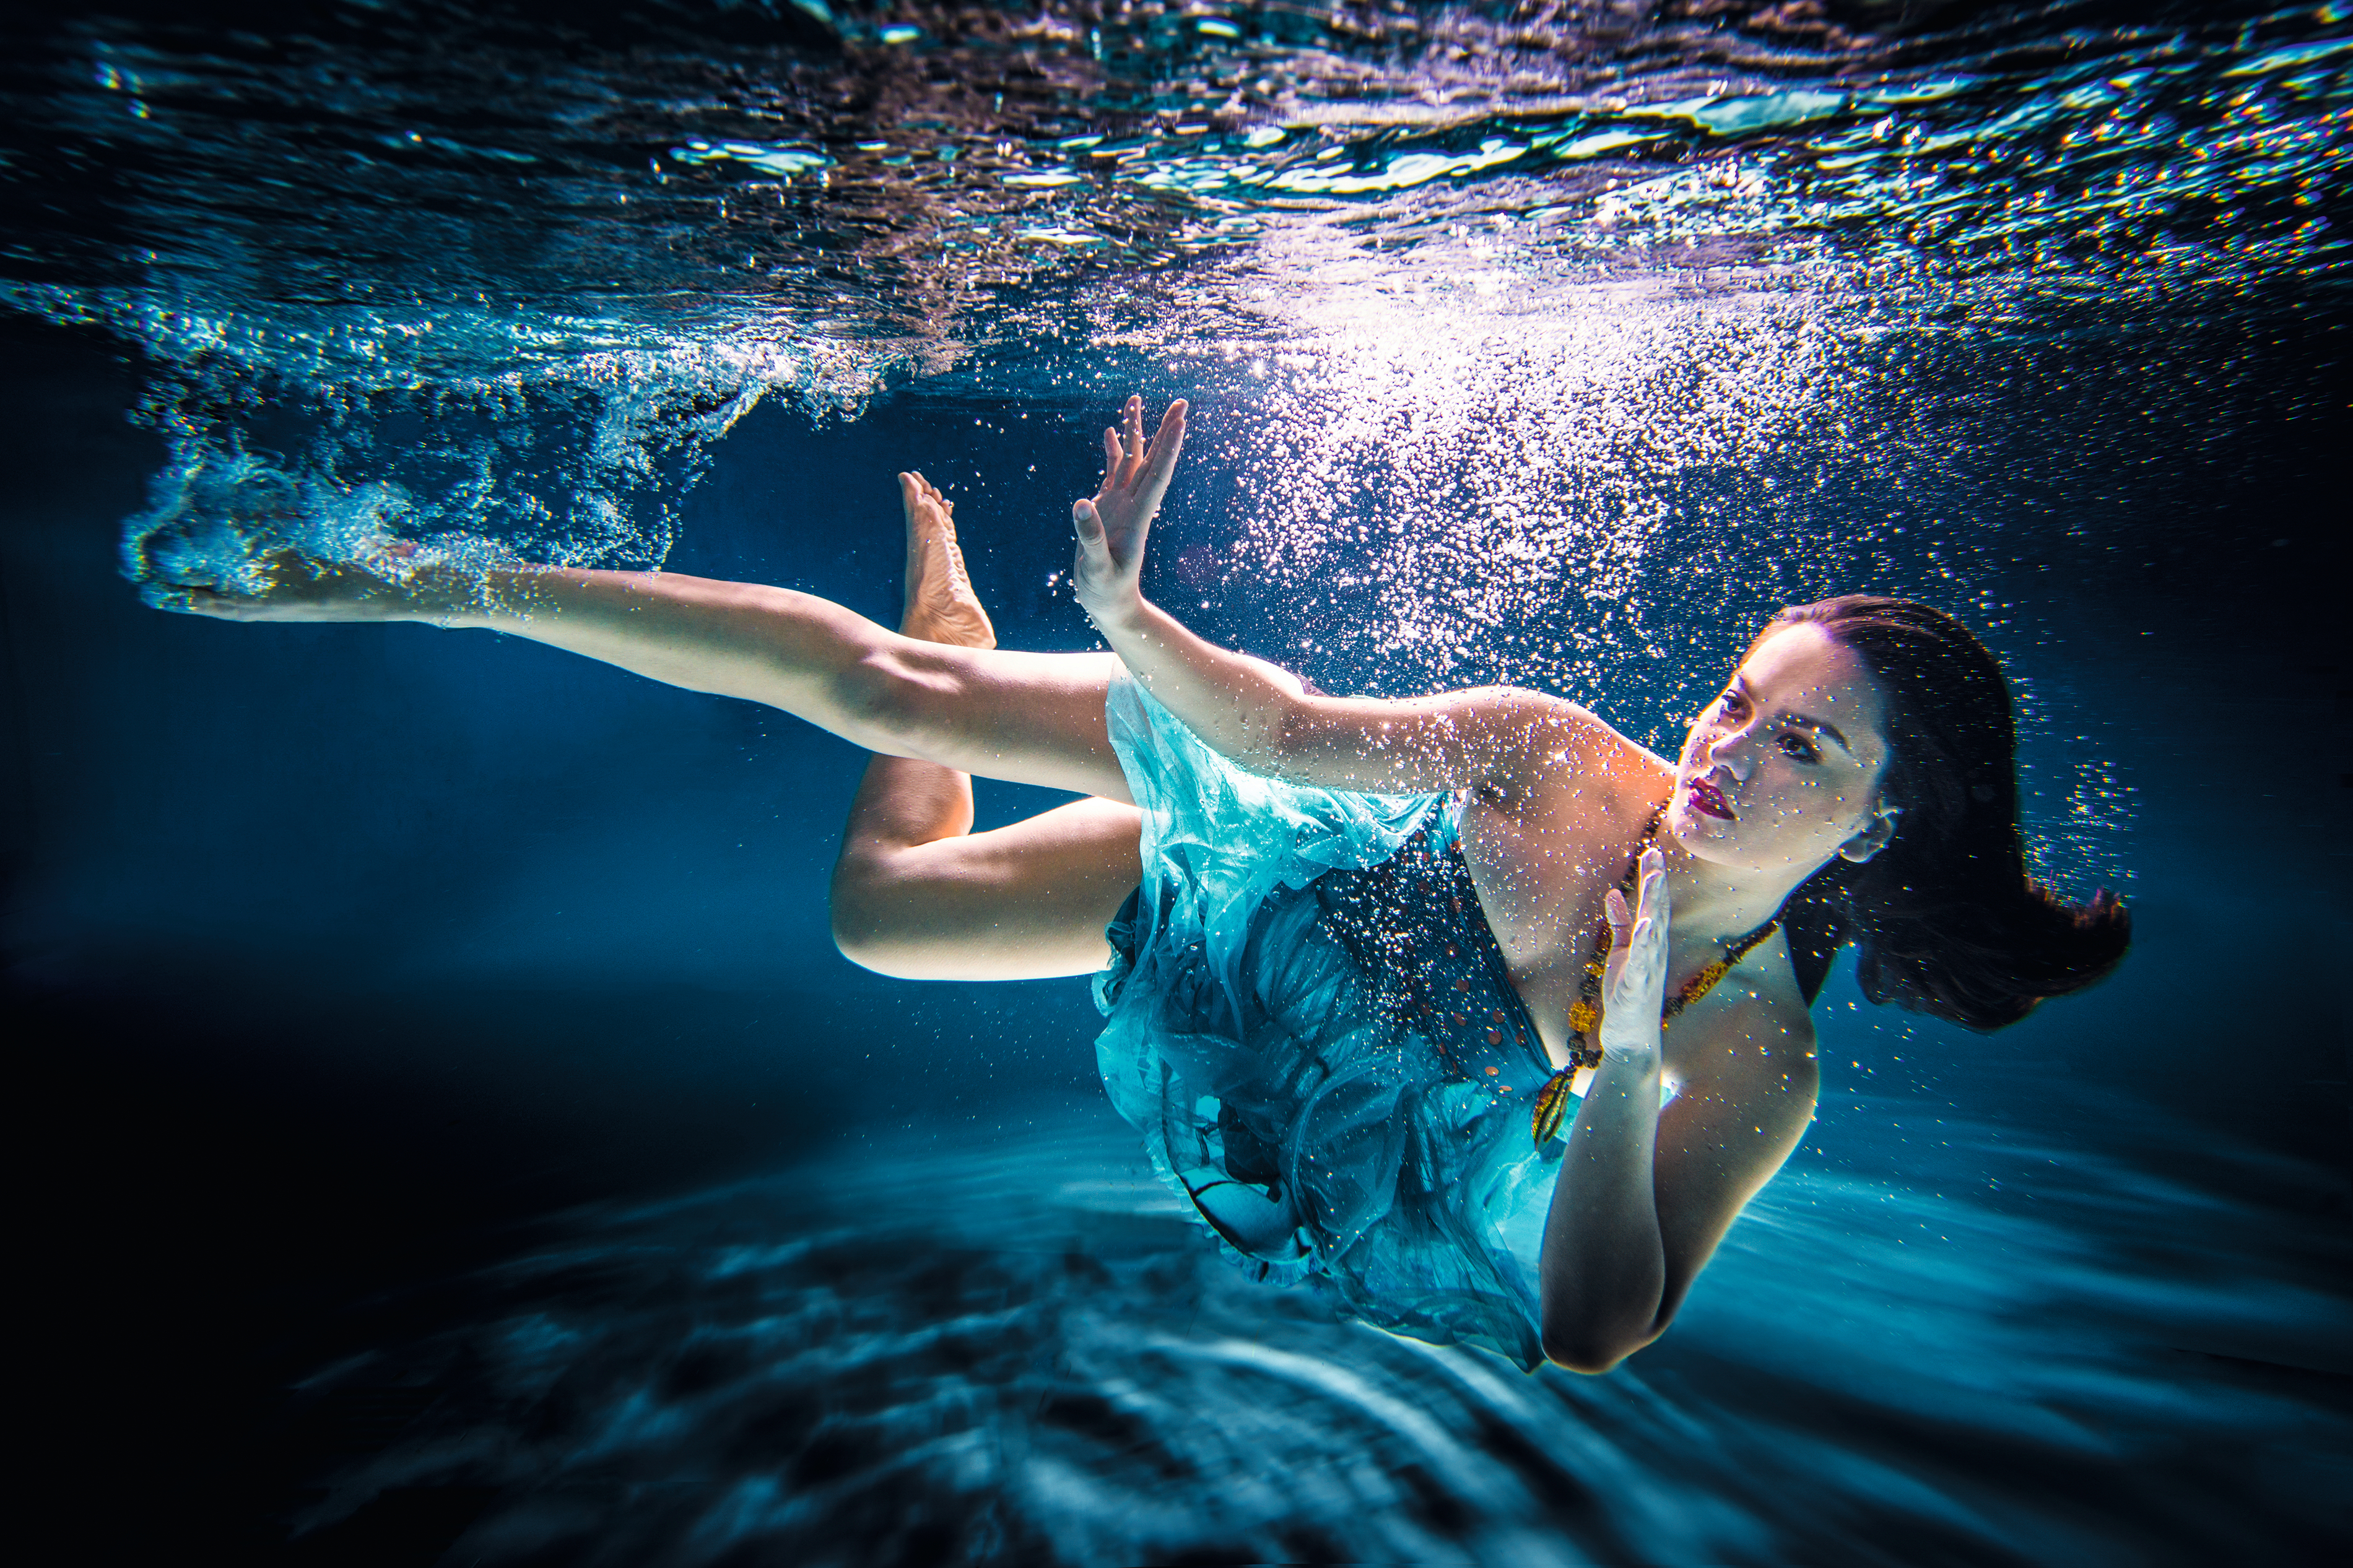
It’s not the easiest shooting environment, but being underwater has an effect on hair and clothes that’s impossible to find anywhere else. As such, the swimming pool at your local sports centre, school or even a holiday villa is the ideal place to stage a portrait shoot with a difference. You could capture the kids having fun, or go all-out for an underwater fashion shoot like this.
Article continues belowAs for the gear, all you need is a waterproof D-SLR bag like the ewa-marine case we used here. These are soft, so you control the camera through the material. They’re far cheaper than dedicated hard underwater housings, and fit for purpose on a shoot like this. Slightly more involved is the lighting. While it’s possible to use ambient light alone (especially in outdoor pools), light falls off very quickly and turns blue as it passes through water, so for greater clarity, a couple of flashguns, also placed in waterproof bags, will do the job. Here’s how…
ON LOCATION: Just add water
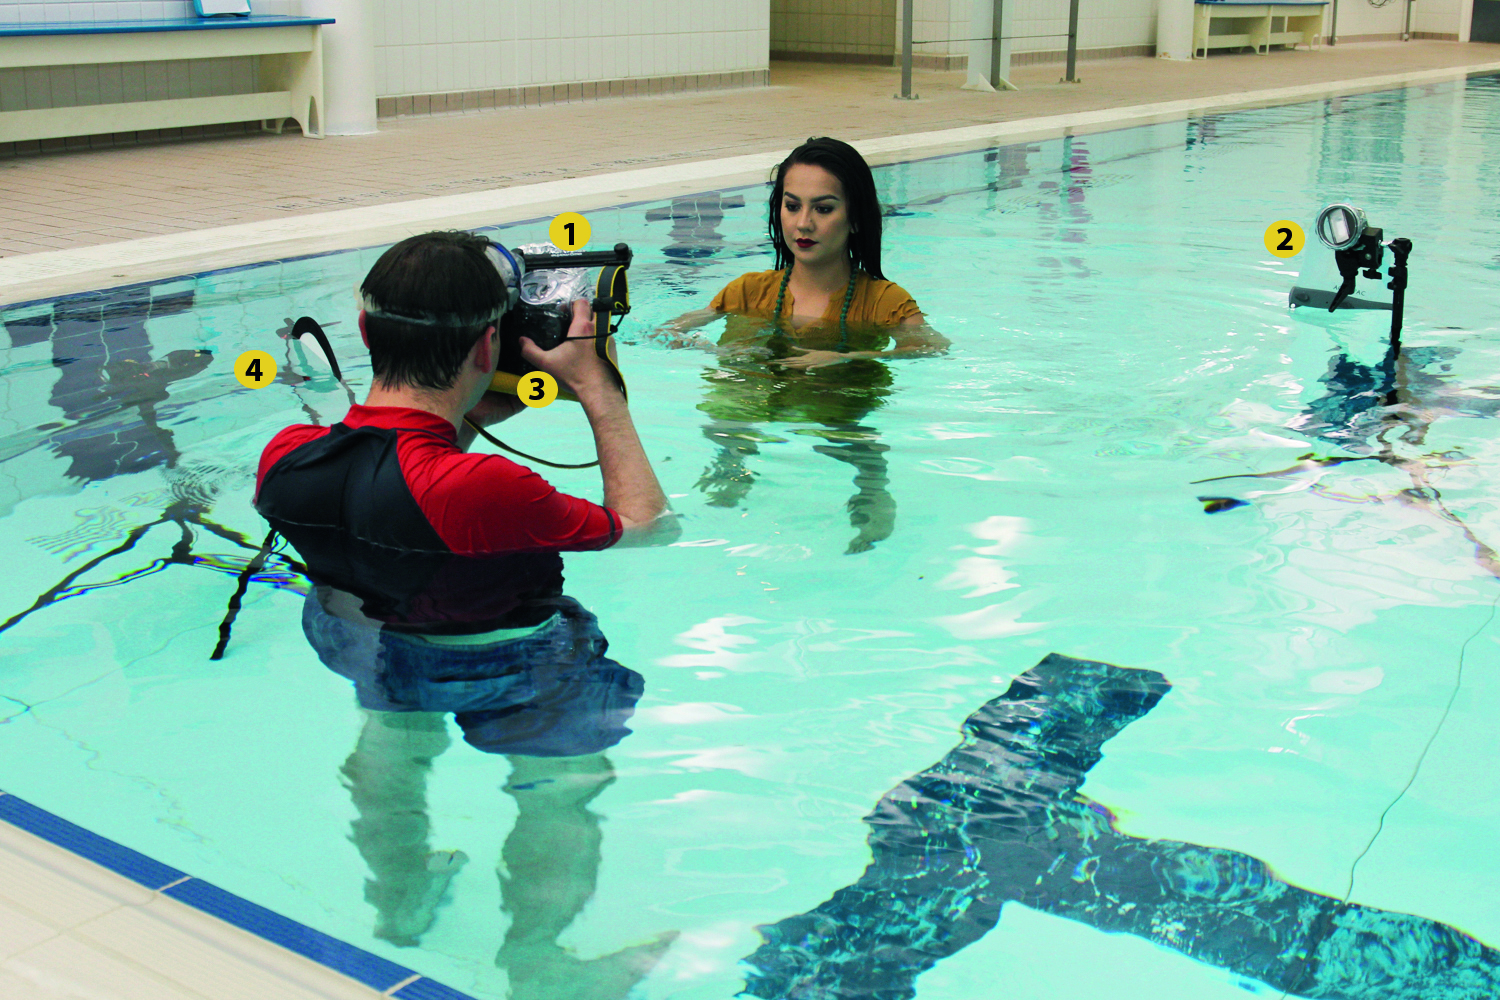
1 HOUSING
The camera sits snug and dry inside the soft, watertight housing. You compose, focus and press the shutter through the clear material.
See: The best underwater housings for cameras and phones
The best camera deals, reviews, product advice, and unmissable photography news, direct to your inbox!
2 FLASHGUNS
Two flashguns are placed in watertight bags and clamped to stands. They are set to optical slave, so that they are triggered by the camera’s pop-up flash.
3 CAMERA SETTINGS
We set manual mode, 1/200 sec, f/10 and ISO160, with the flashes in manual on full power. We jammed the pop-up flash open with a piece of foam.
4 DIFFUSER PANEL
Whether above or under water, light from a flashgun is hard-edged. Fire the frontal light through the diffuser part of a five-in-one reflector to soften it.
KEY SKILLS: Simple underwater lighting
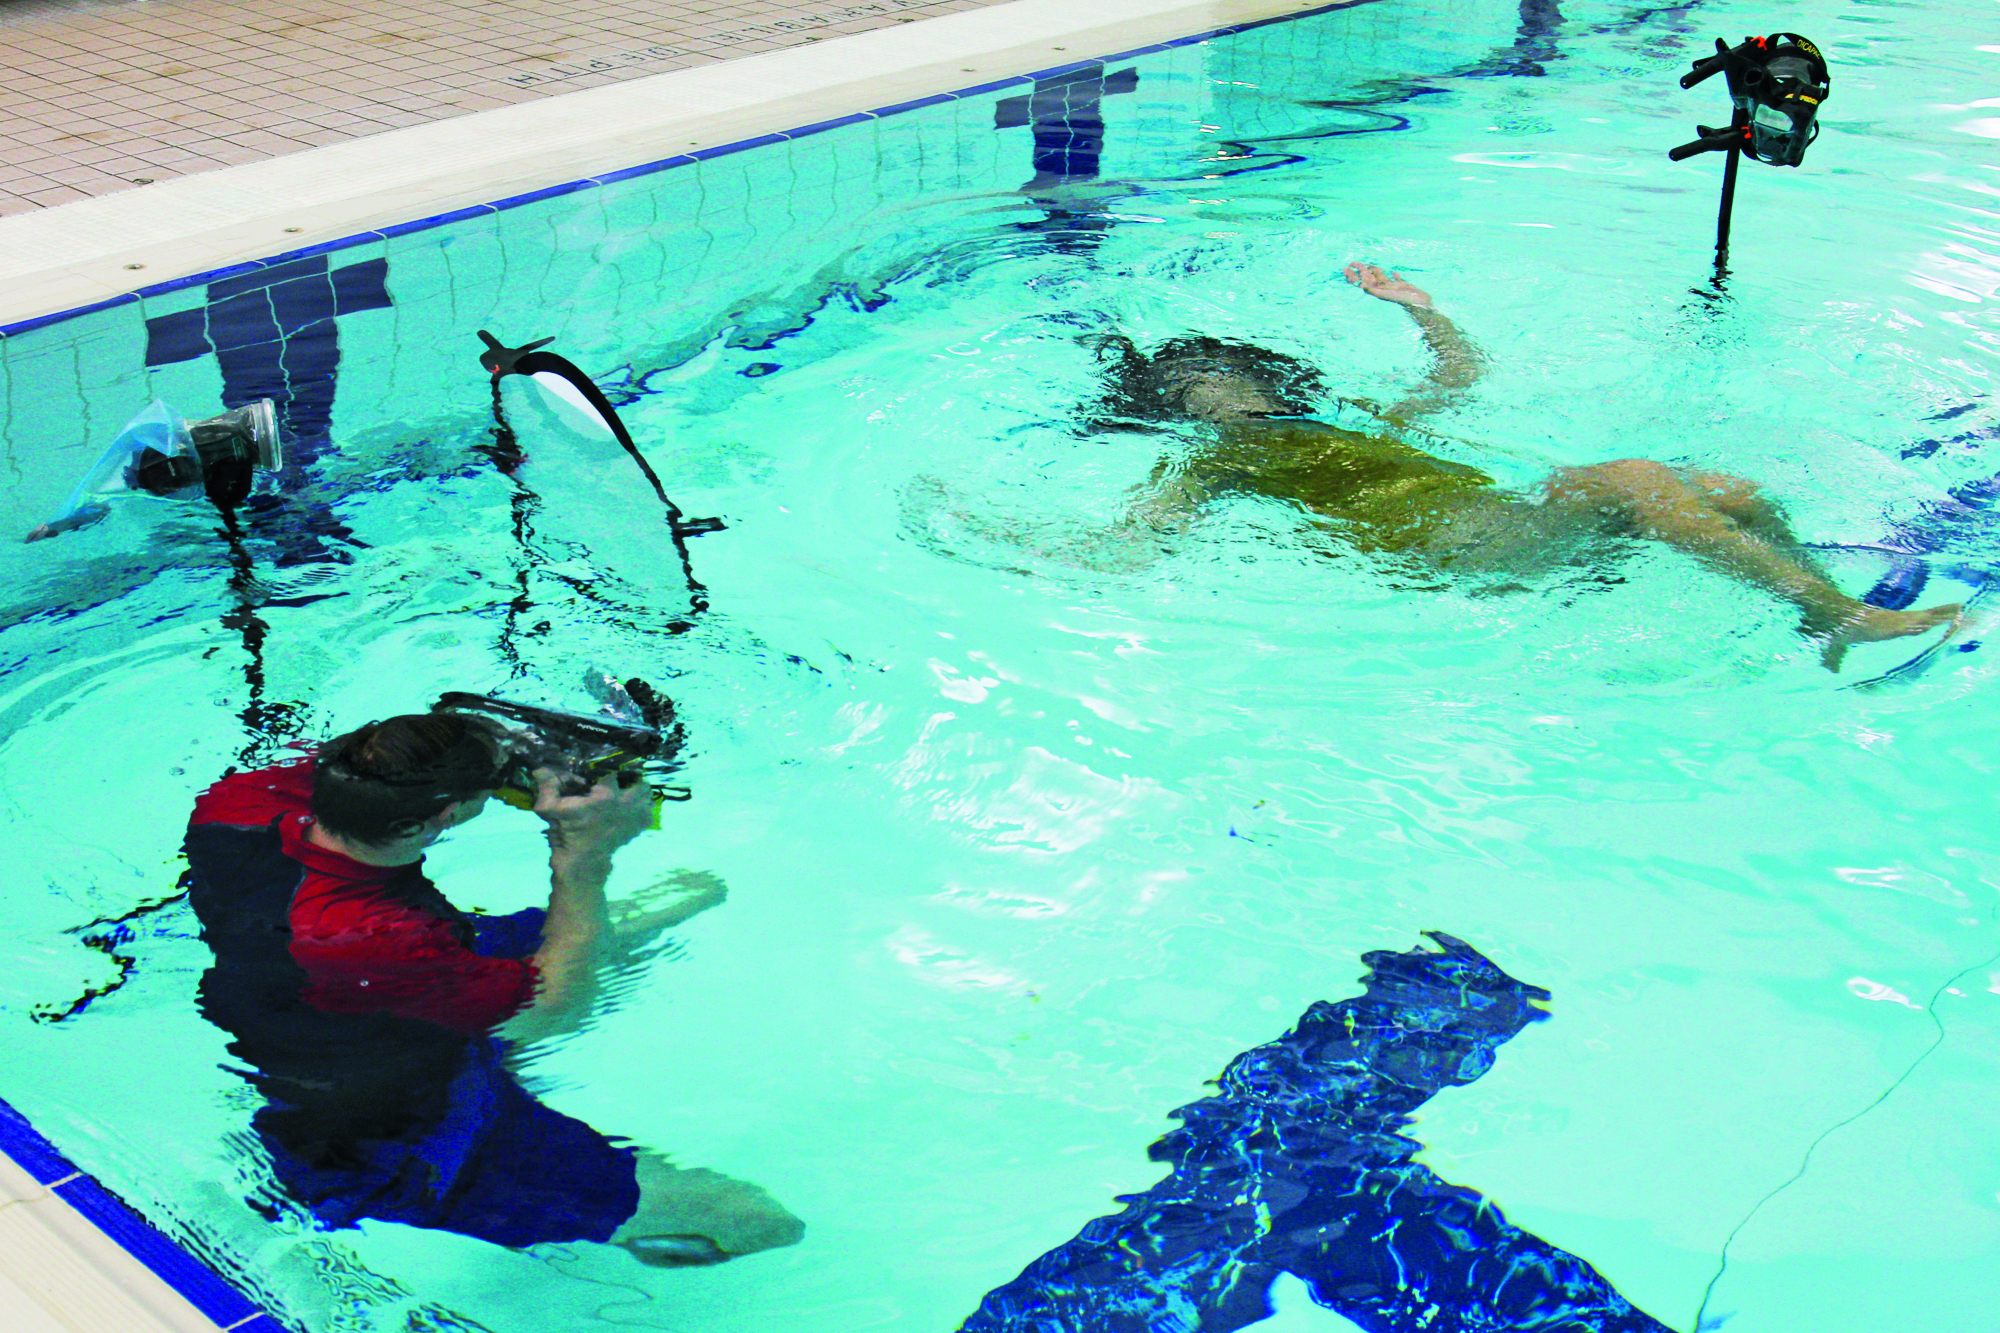
This is a shoot only worth attempting if you and your subject are comfortable in the water. Safety is our first concern, so we stuck to the shallows. The outfits we used are all made of light material, which not only means they float attractively, but also won’t let them get too sodden and heavy.
1 TRIGGER THE FLASH
You need to go old-school and use the camera’s pop-up flash to trigger the two remote flashguns (each set to optical slave). For simple ‘cross-lighting’, position one flashgun behind and above the water, and the other to the side of the camera with a diffuser panel to soften it.
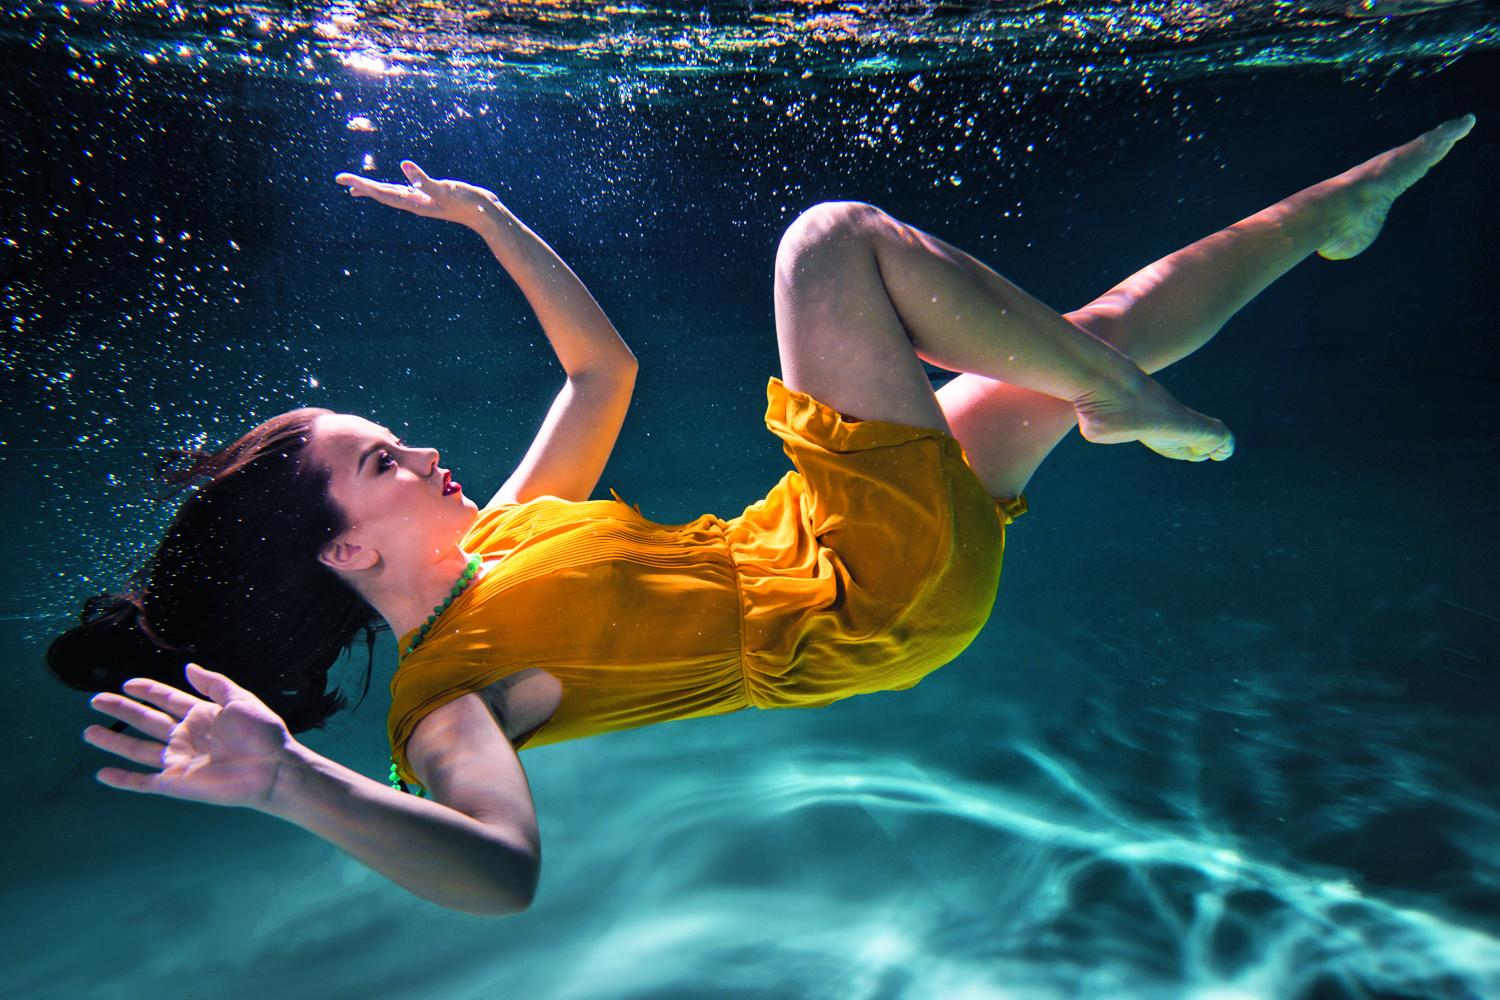
2 BACKLIGHT THE BODY
Backlighting the subject with a flash from behind creates an edge highlight along their side, separating them from the background. Once the flashes are in the bags it’s hard to adjust the power, but you can move them closer or further away to control the intensity.
STEP BY STEP: Things to try in the pool
Three well known brands of waterproof D-SLR bags are DiCAPac, ewa-marine and Aquapac. For our shoot here we used the ewa-marine for the D-SLR then put the flashguns in the other bags, although the flashes could just as easily go in any watertight clear container.
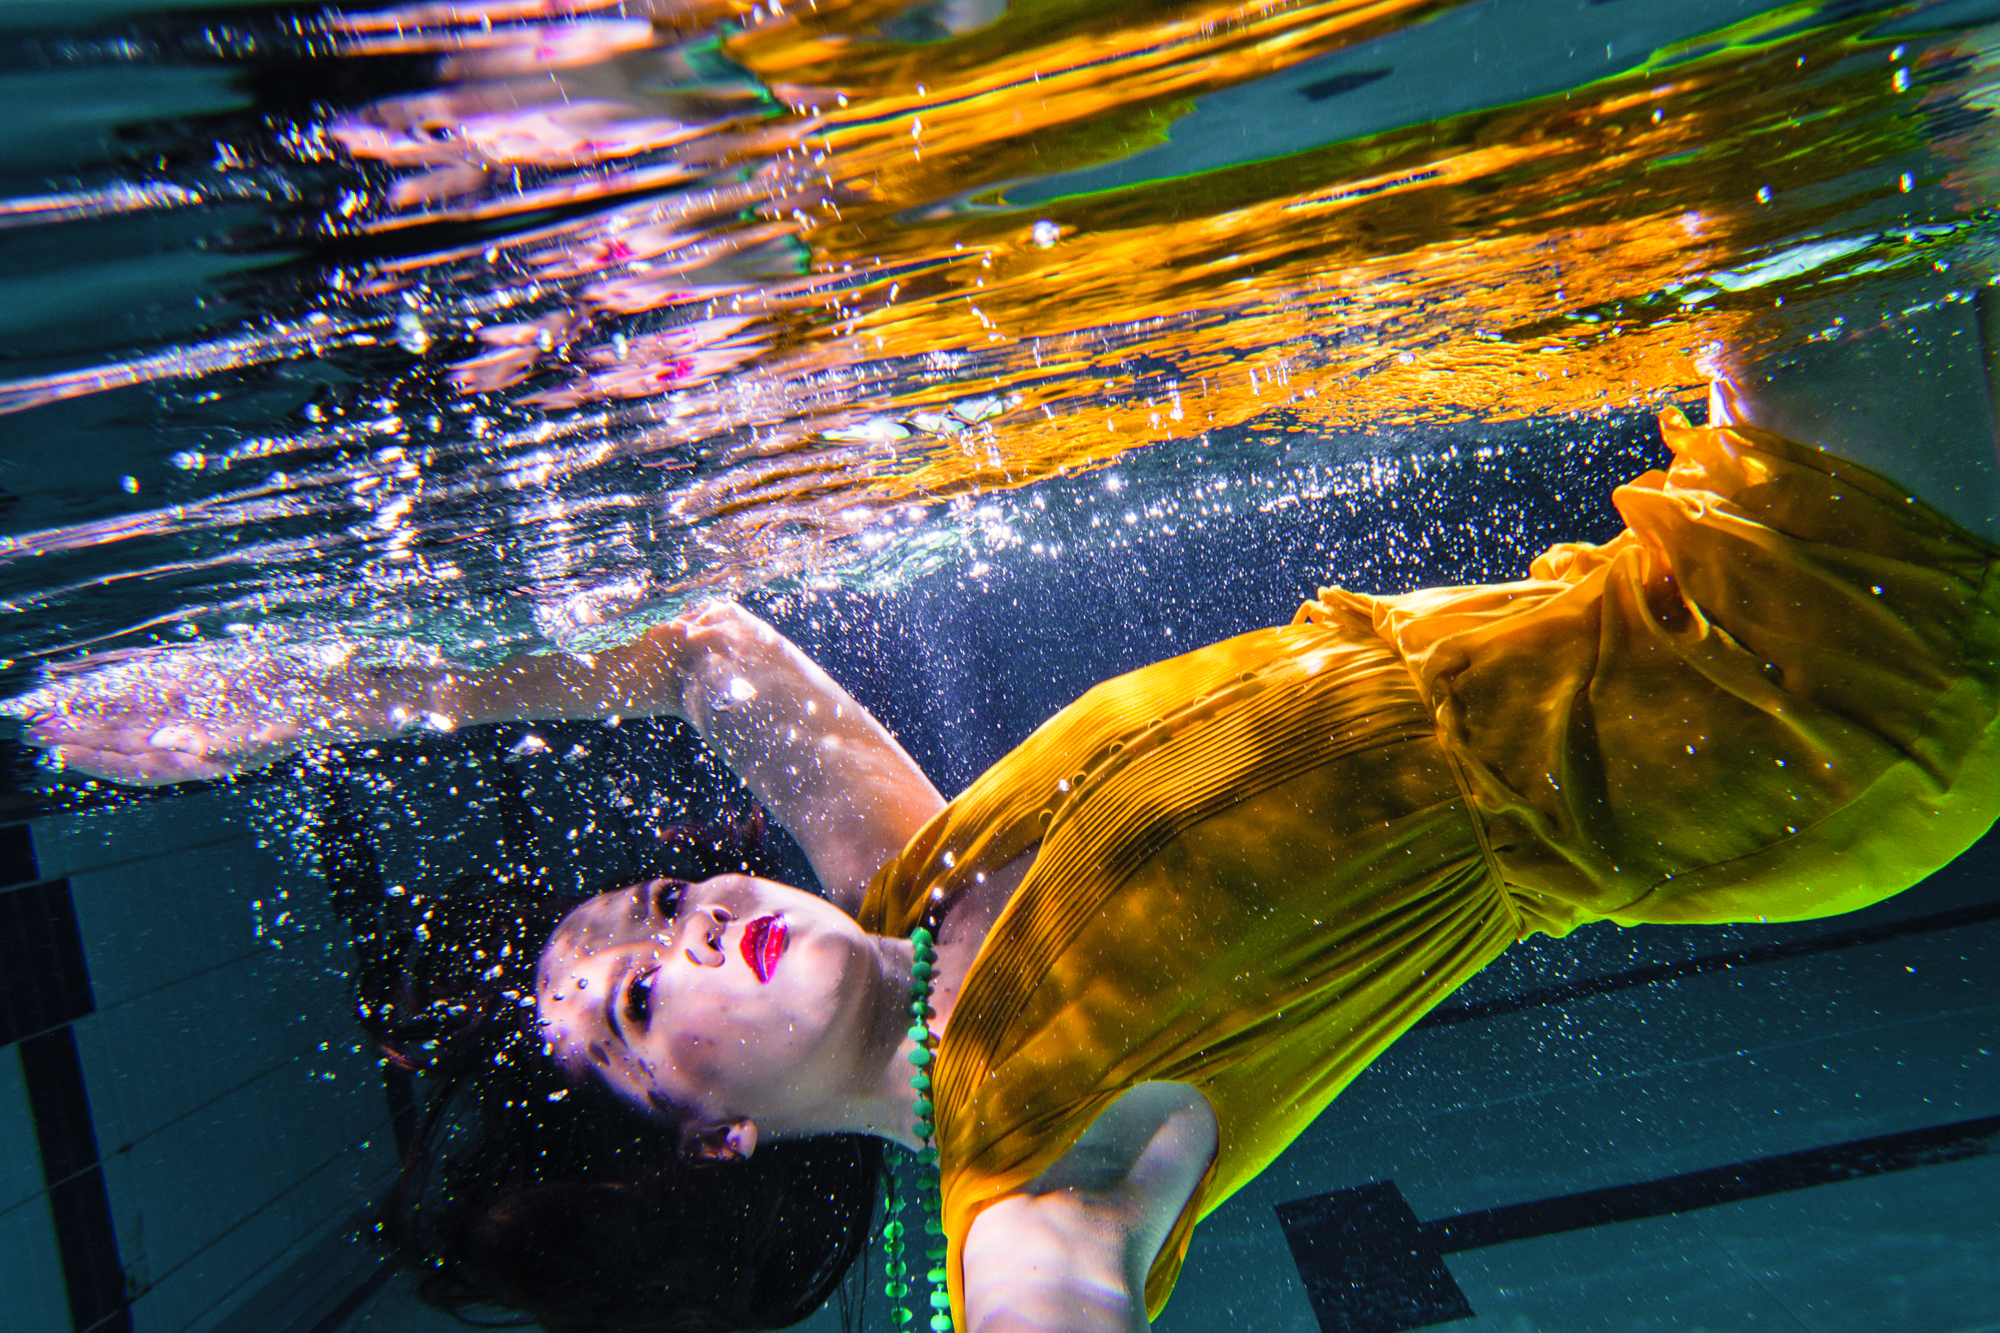
1 SURFACE REFLECTIONS
Seen from below, the surface creates beautiful reflections of your subject, so try shooting with an upwards angle. Get in close to the subject with a wide-angle lens, too, as the further away you are, the more interference there will be from the water.
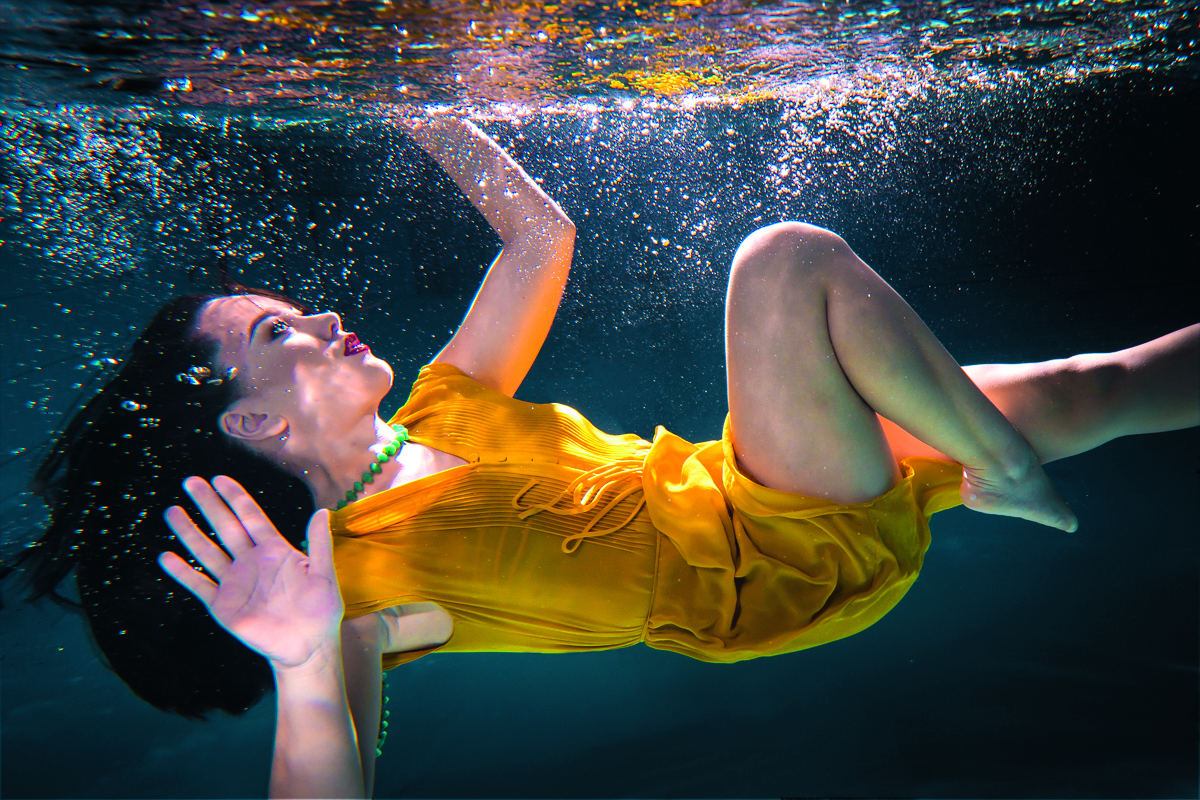
2 WORK THE POSES
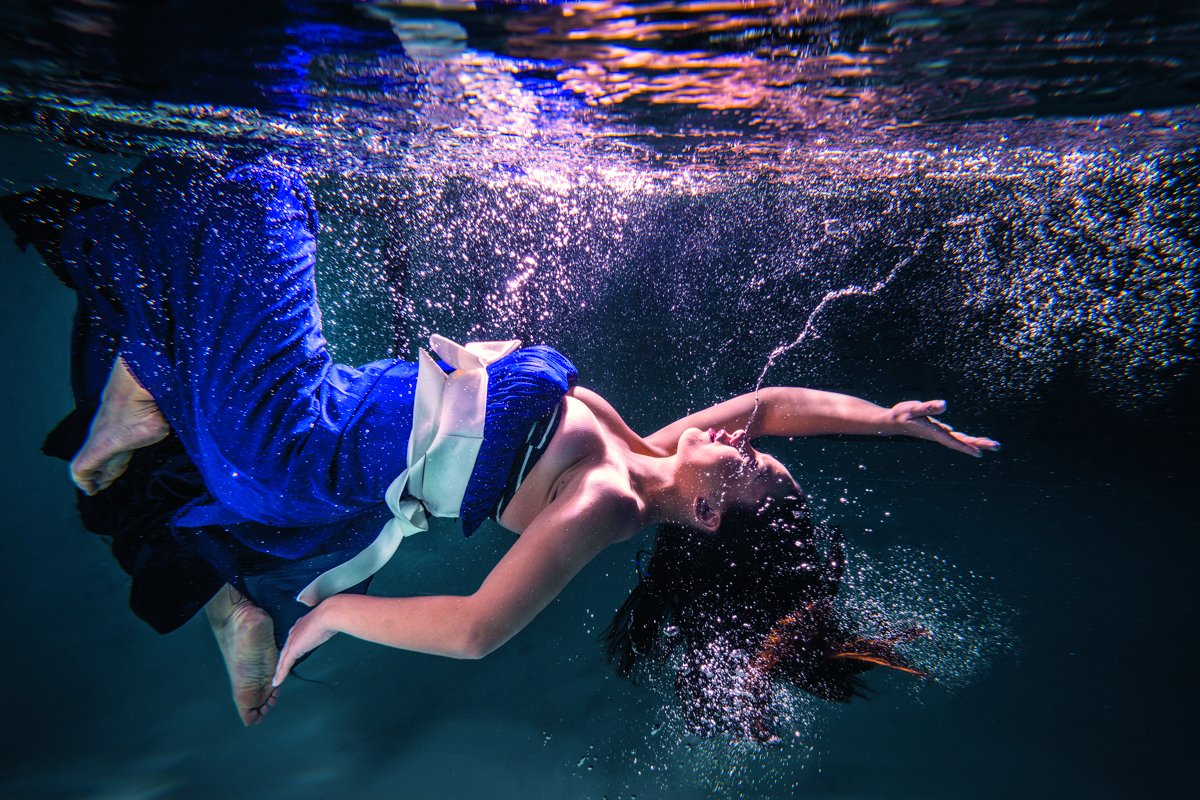
Posing underwater takes some getting used to. You don’t want the subject to look as if they’re holding their breath, and ideally you want their eyes to be open. Try asking them to swim towards you, or capture a side-on, sinking pose like this.
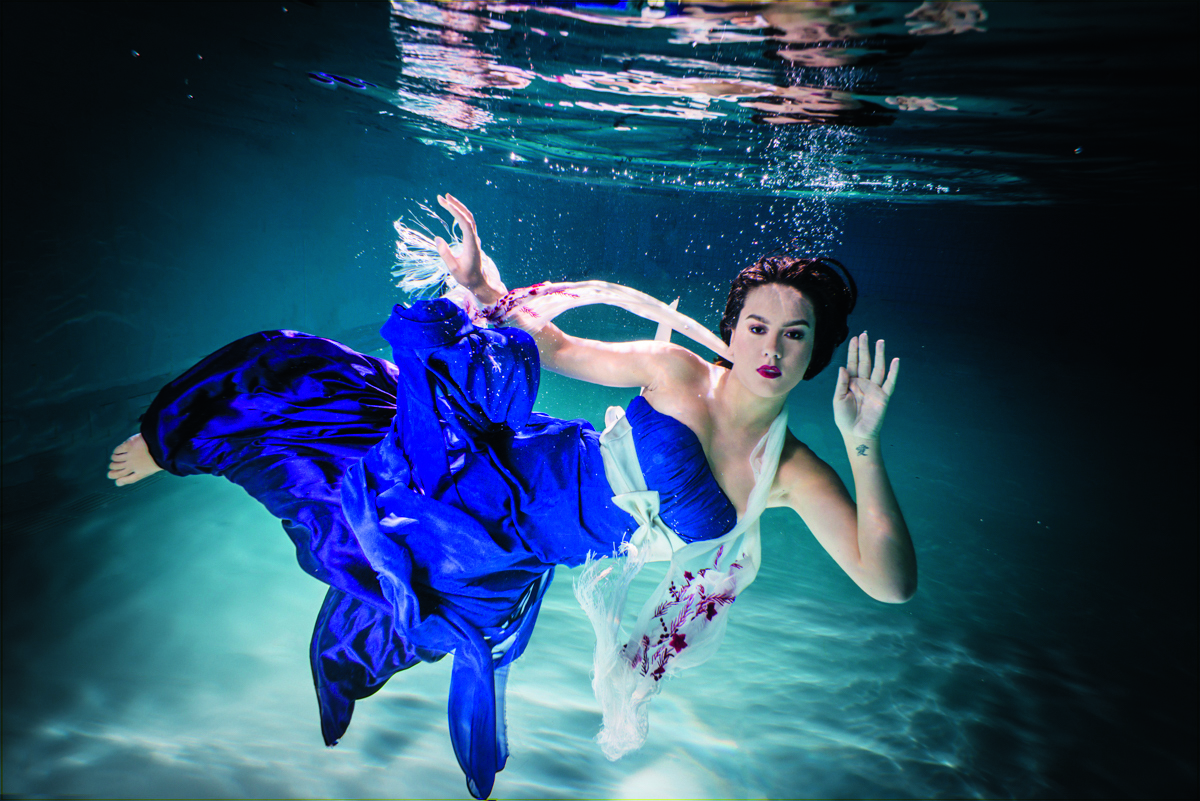
3 BRING FLOATY OUTFITS
The outfits we used are all made of really light material. Not only does this give them an ethereal, fluttering quality, it means they won’t weigh down the model. Some materials like silk can be ruined by the water, so look for synthetic chiffon, netting and light polyester.
A shoot like this is as much about teamwork and communication as it is about technique and lighting skills. Before going under, explain to the model how things will work. It helps to co-ordinate, perhaps with a ‘one-two-three-go’ as you both duck under. Take regular breaks too, as it can be hard on the eyes as well as the lungs.
4 TRY A DIVE
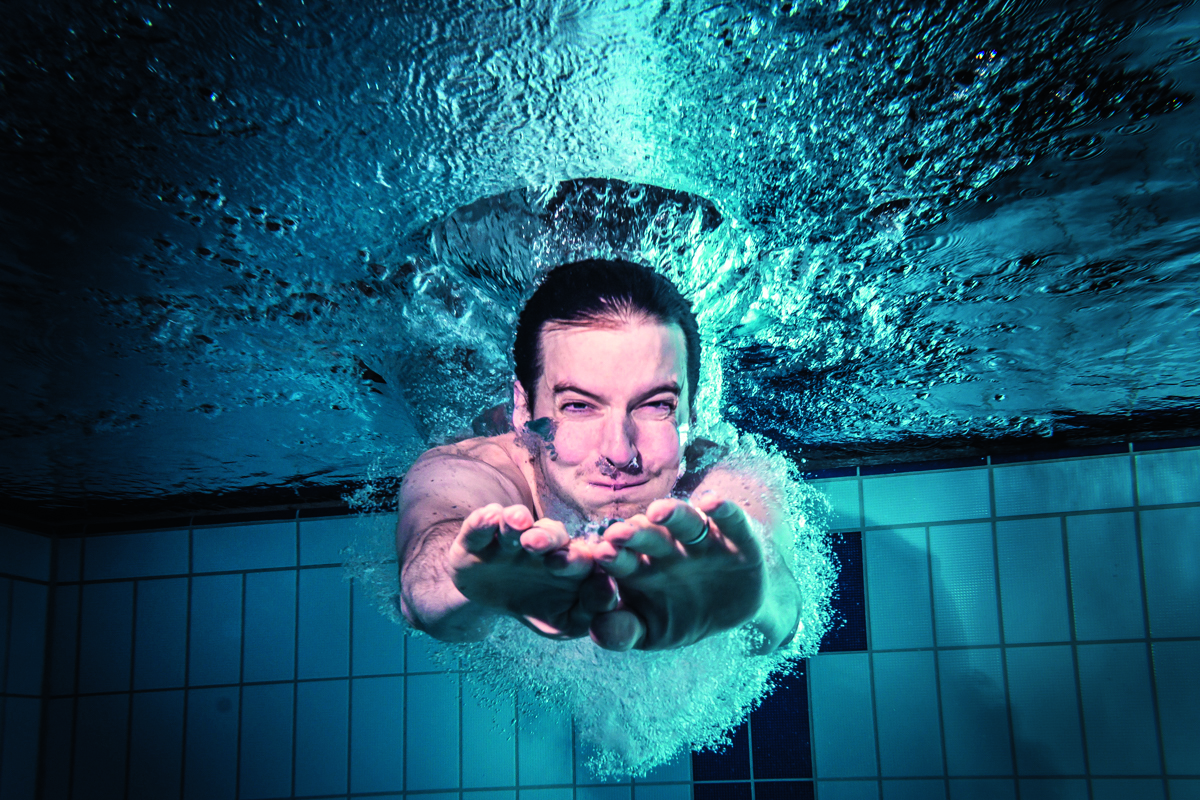
A dive from the side of the pool can look fantastic when seen from under the water. Here our video expert Pete took the plunge. When the subject is coming towards you fast like this it’s easier to pre-focus on a spot, then fire when they reach it.
5 BILLOWING BUBBLES
Ask your underwater model to plunge down from out of the water to create beautiful trails of backlit bubbles. Our model Catherine found that it worked best to sink down first, then to break the surface of the water with her arms and drag downwards.
6 ON THE SURFACE
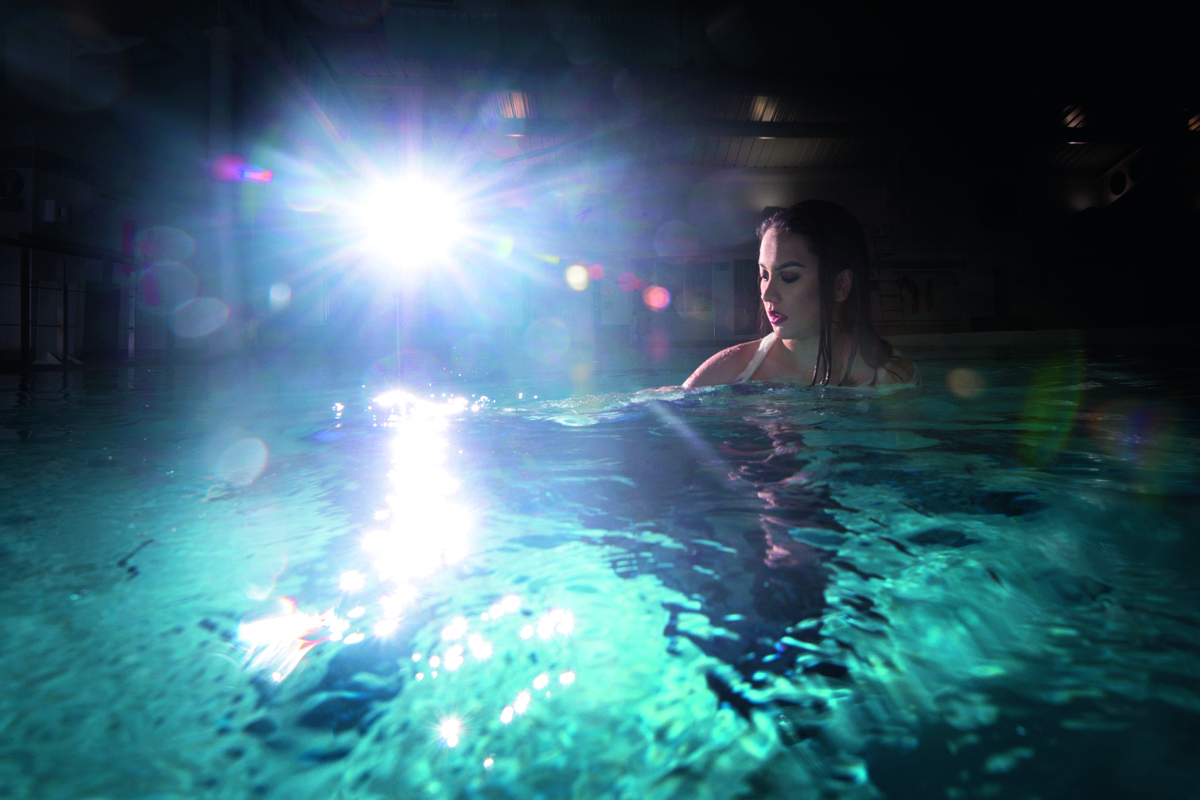
As well as taking photographs under the water it’s also worth trying a few shots on the surface, or perhaps with the subject half-in, half out. This shot also gives you an idea where our Speedlight is placed for the backlighting that you can see in some of our shots.
STEP BY STEP: Post-production perfection

1 WATER COLOURS
White balance can be off underwater, so shoot in RAW. In Adobe Camera Raw, grab the White Balance tool and click over a point that should be neutral to fix colour casts. Next, open the image in Photoshop and tweak the colours with a Color Balance Adjustment Layer.

2 TIDY THE BACKGROUND
Pool markings can be distracting, so remove them for a seamless background. The two tools for the job are the Clone Stamp Tool and Spot Healing Brush. Both can be set to Sample All Layers, so make your edits on a new, empty layer to preserve the original image.
3 FIX CHROMATIC ABERRATION
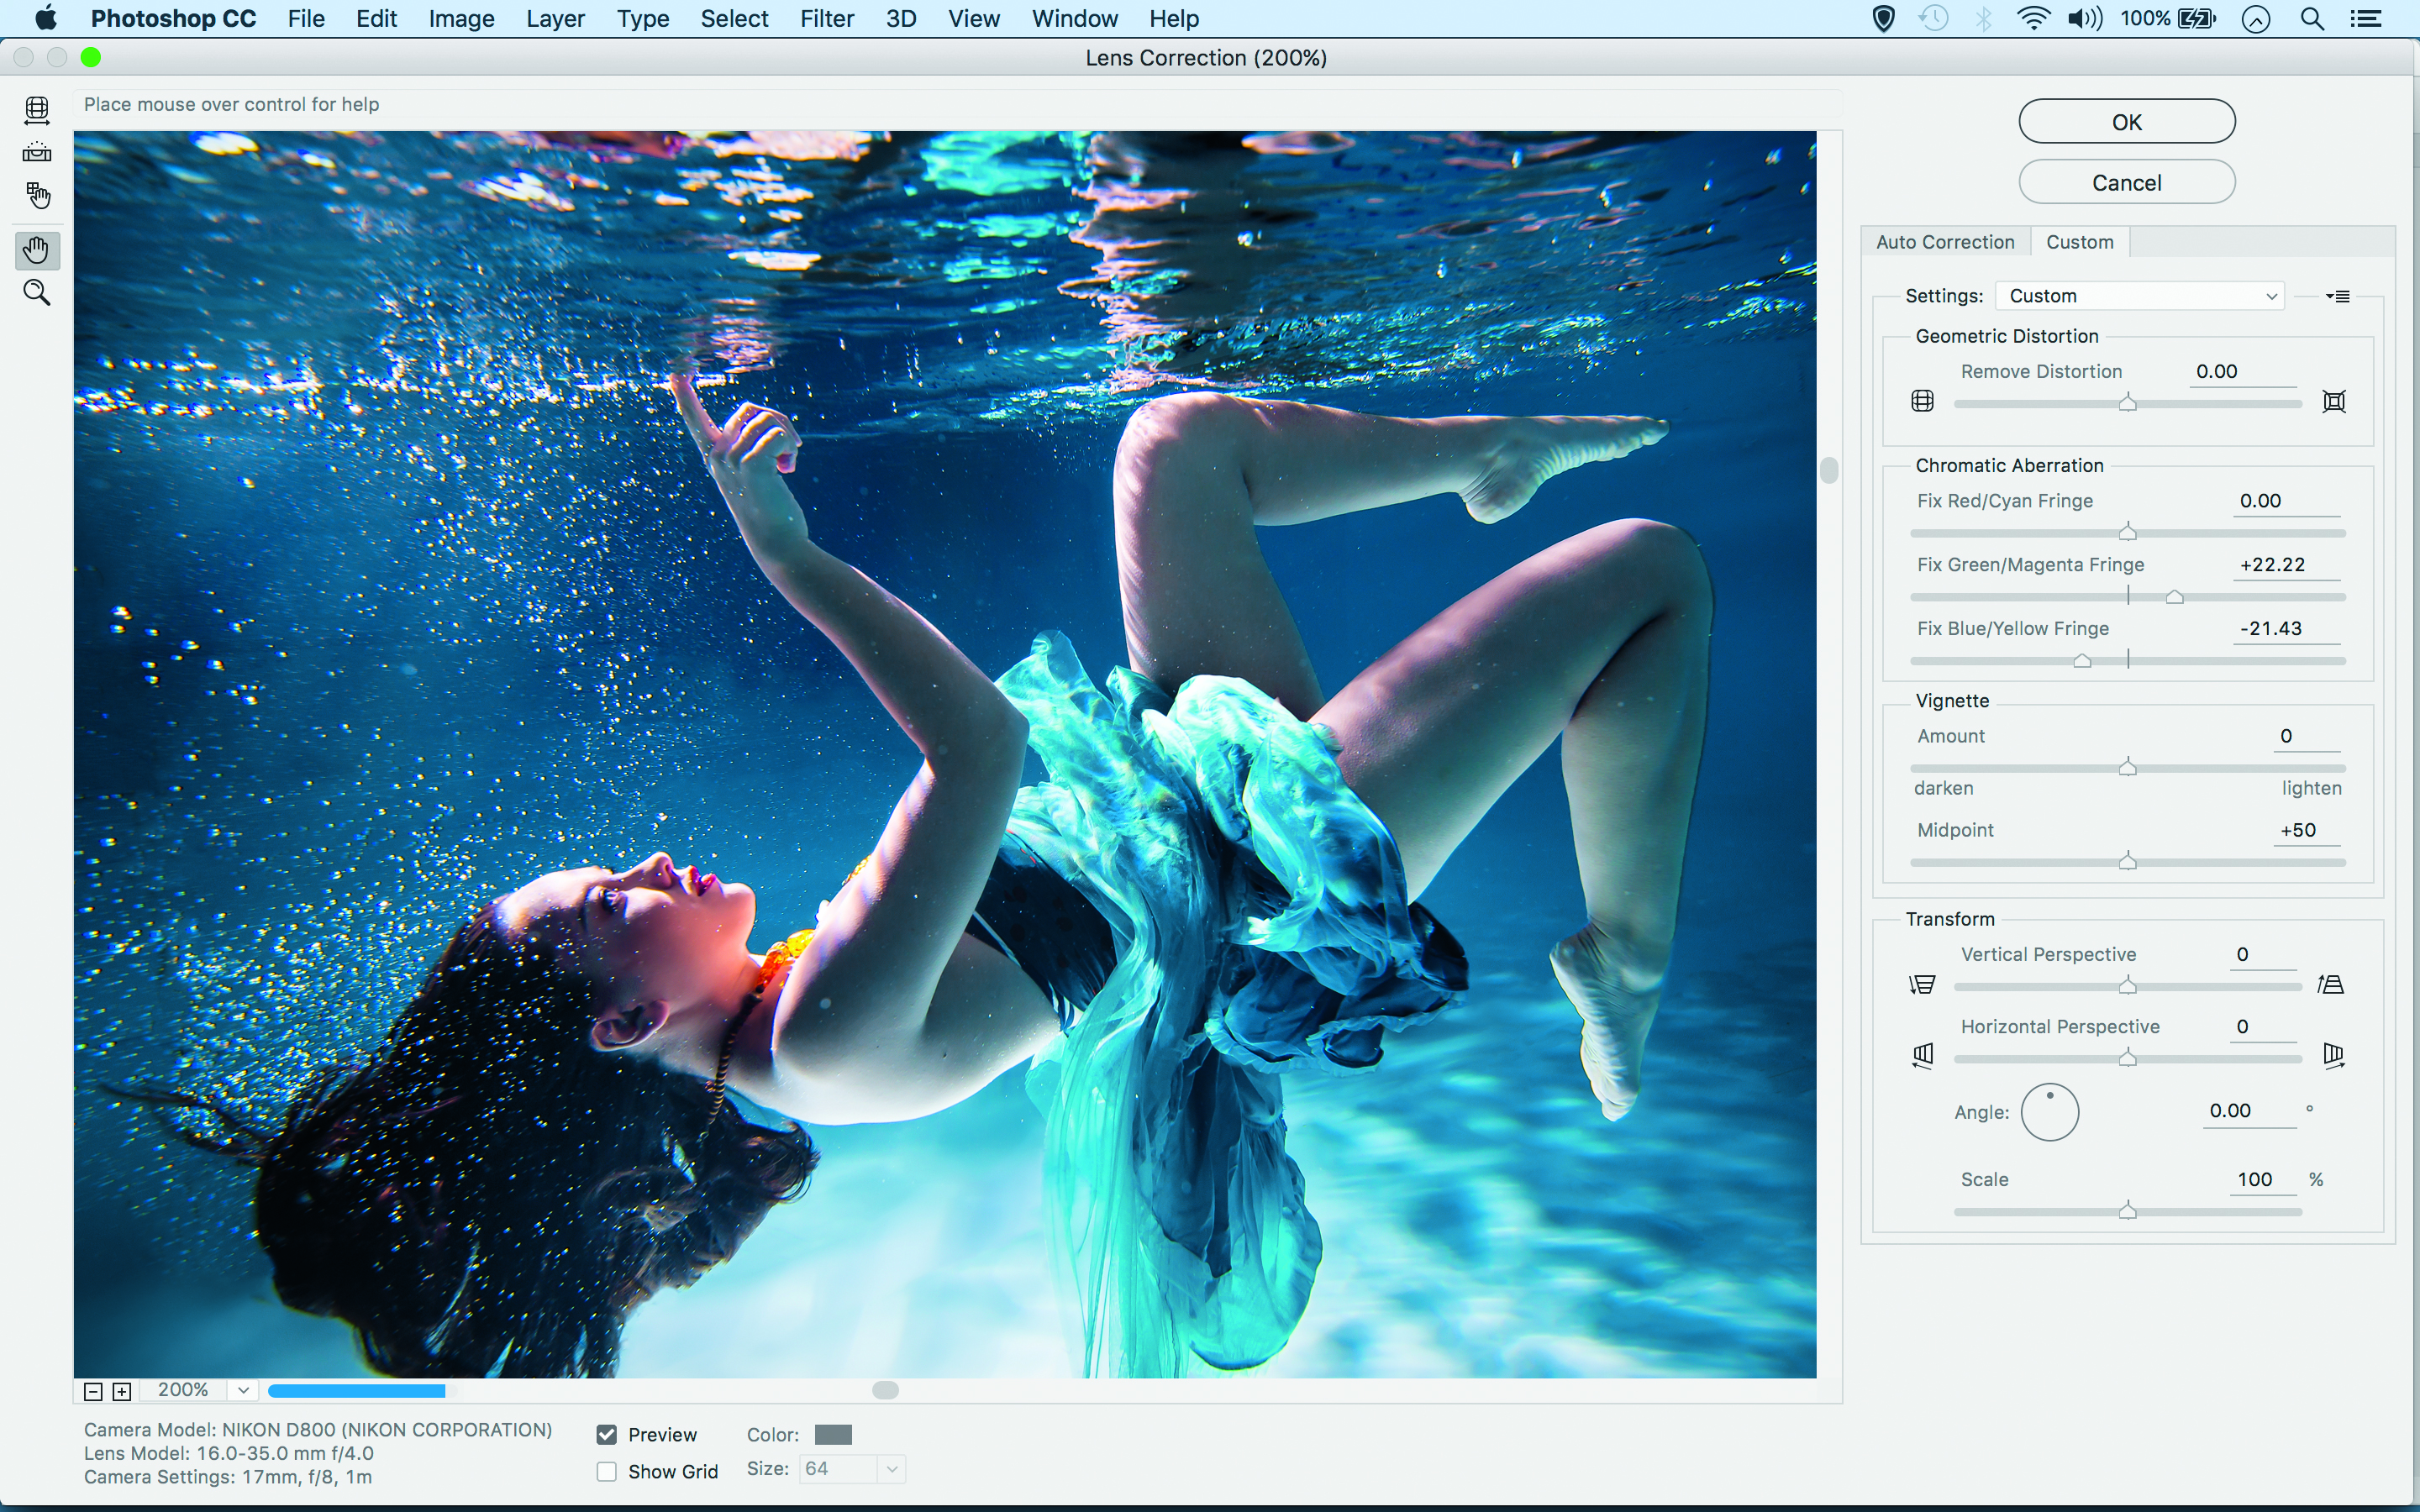
Using a housing means shooting through extra glass or plastic, so you might find colour fringing affects edge details in your image. If this is the case, go to Filter>Lens Correction, then use the Manual tab and experiment with the three colour fringing sliders.
The lead technique writer on Digital Camera Magazine, PhotoPlus: The Canon Magazine and N-Photo: The Nikon Magazine, James is a fantastic general practice photographer with an enviable array of skills across every genre of photography.
Whether it's flash photography techniques like stroboscopic portraits, astrophotography projects like photographing the Northern Lights, or turning sound into art by making paint dance on a set of speakers, James' tutorials and projects are as creative as they are enjoyable.
He's also a wizard at the dark arts of Photoshop, Lightroom and Affinity Photo, and is capable of some genuine black magic in the digital darkroom, making him one of the leading authorities on photo editing software and techniques.

