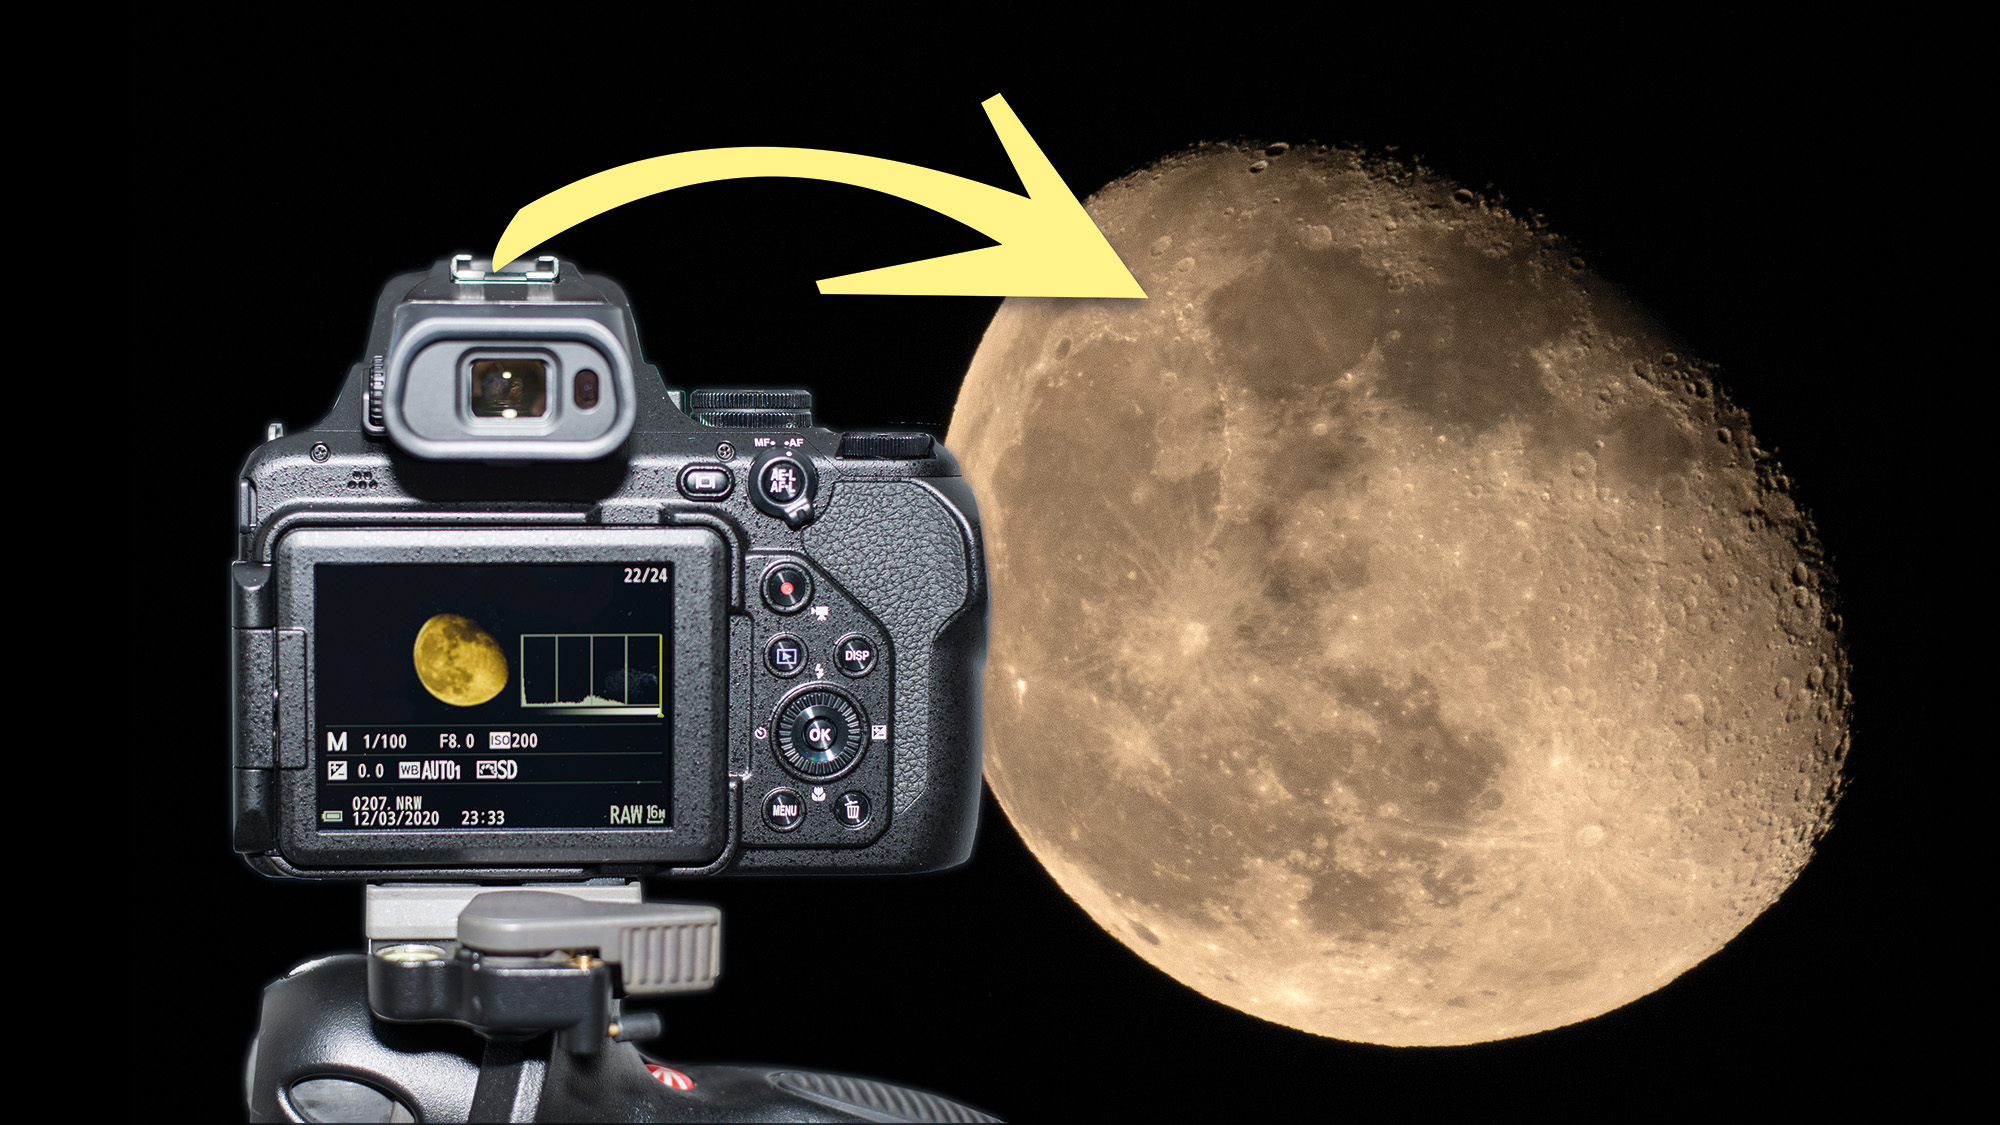
I photographed the moon with a monster Nikon P1000 bridge camera – here’s what I learned…
I took one giant leap towards stunning moon photos with the Nikon Coolpix P1000’s insane 125x optical zoom. Here’s how I did it in six small steps…
The best camera deals, reviews, product advice, and unmissable photography news, direct to your inbox!
You are now subscribed
Your newsletter sign-up was successful
If you're wondering how to photograph the 'supermoon' full moon tonight and you have one of the best bridge cameras, it shouldn't prove overly challenging. I was lucky enough to get my hands on the Nikon Coolpix P1000. This bridge camera launched at the tail end of 2018, and all anybody could talk about was its jaw-dropping 125x optical zoom. To put things into perspective, that's a 3000mm focal length in 35mm equivalent terms!
As you'd expect from a superzoom, the P1000 is also capable of shooting wide focal lengths (down to 24mm). But when Nikon sent me one to play with, I couldn't wait to take that super-duper telephoto for a spin and the moon seemed like the perfect subject. Like all forms of astrophotography, a shoot's success hinges primarily on planning. Clear nights are a must and you'll find plenty of resources online, such as Clear Outside.
You'll also need too consider the moon phase. There's no right or wrong answer here, so be creative. You might choose to frame a glorious full moon above an interesting piece of foreground interest, or capture a frame-filling image of, say, a waning gibbous (like me), with the shadow adding a bit of interest and definition to the single-subject image.
Of course, you don't need a bridge camera or even the best camera for astrophotography to capture stunning pictures of the moon. A telephoto lens on any DSLR or mirrorless will do the trick. If you want to get even closer, teleconverters are an economical way of boosting your reach.
So, grab your camera and let's start the ignition sequence: 5, 4, 3, 2, 1, 0... lift-off!
1. Plan for a clear night
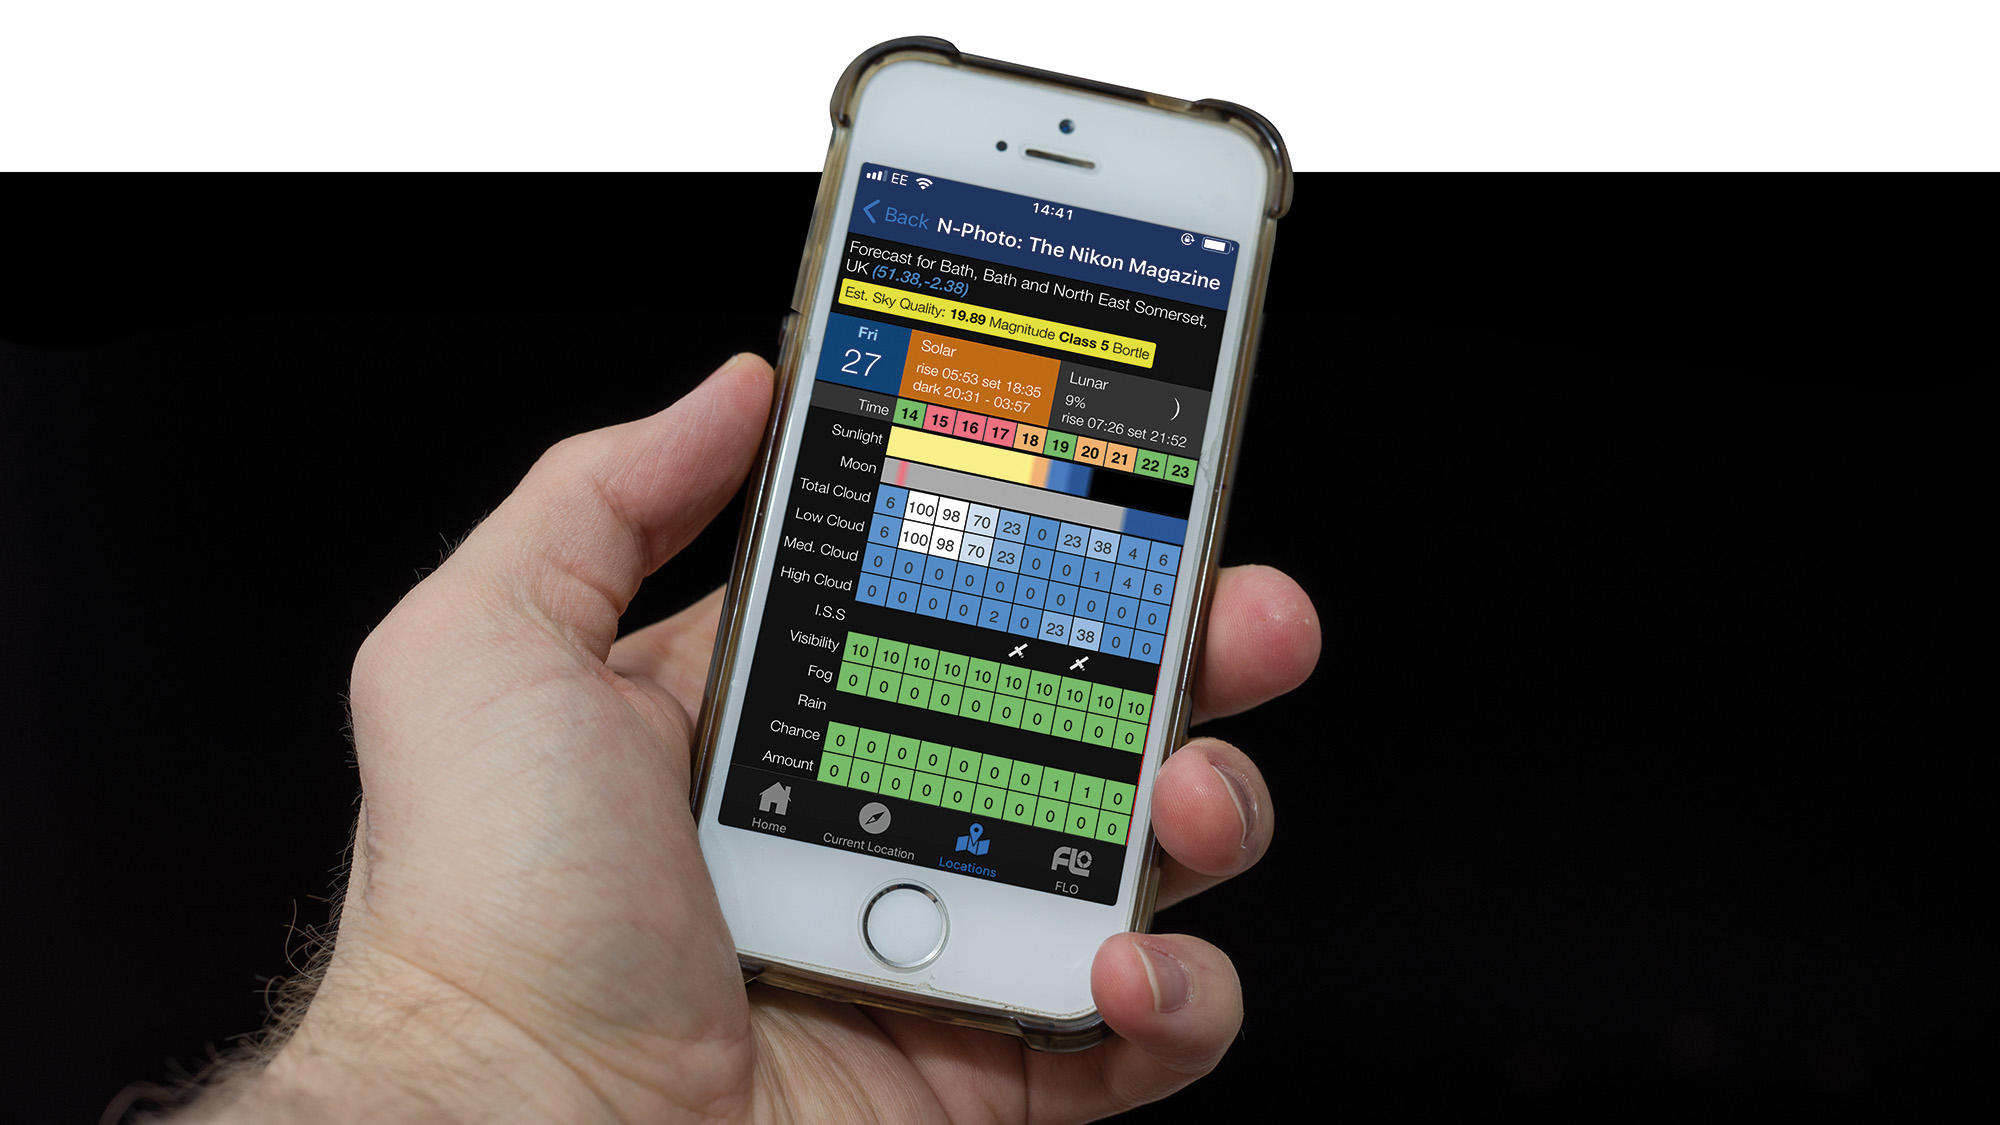
For a conventional close-up of the moon, you'll need to shoot on a clear night. Clear Outside is available via your browser or an app that's available on iOS and Android. It's an excellent resource for astrophotographers. It contains a wealth of information including the moon phase, forecast and the moon's overall visibility.
2. Set up on a tripod
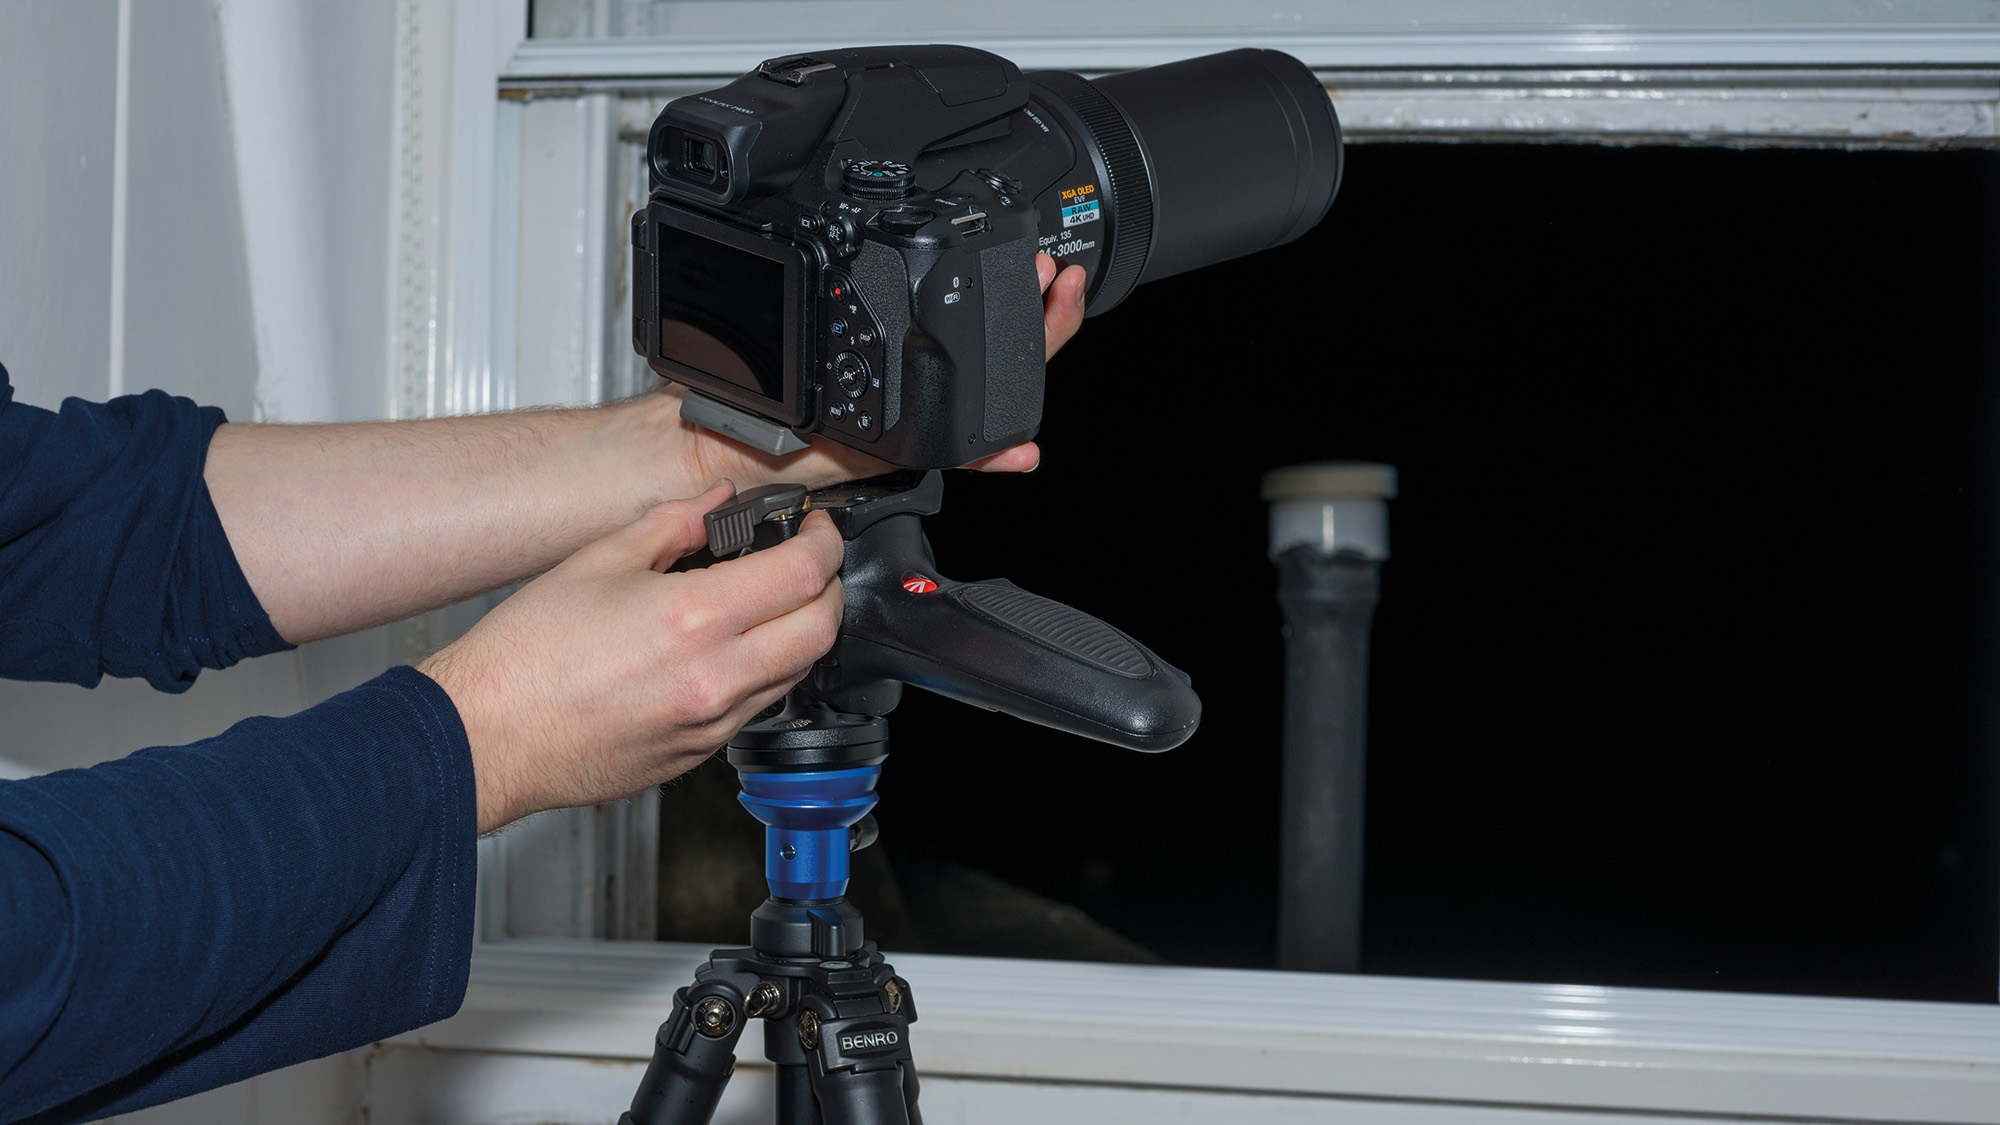
Movement is amplified at higher magnifications, so set up on a sturdy tripod. I shot through an open window. Shooting inside takes more planning to ensure the moon is in a suitable position, but it shelters your camera and tripod from the wind.
The best camera deals, reviews, product advice, and unmissable photography news, direct to your inbox!
3. Spot metering could make the difference
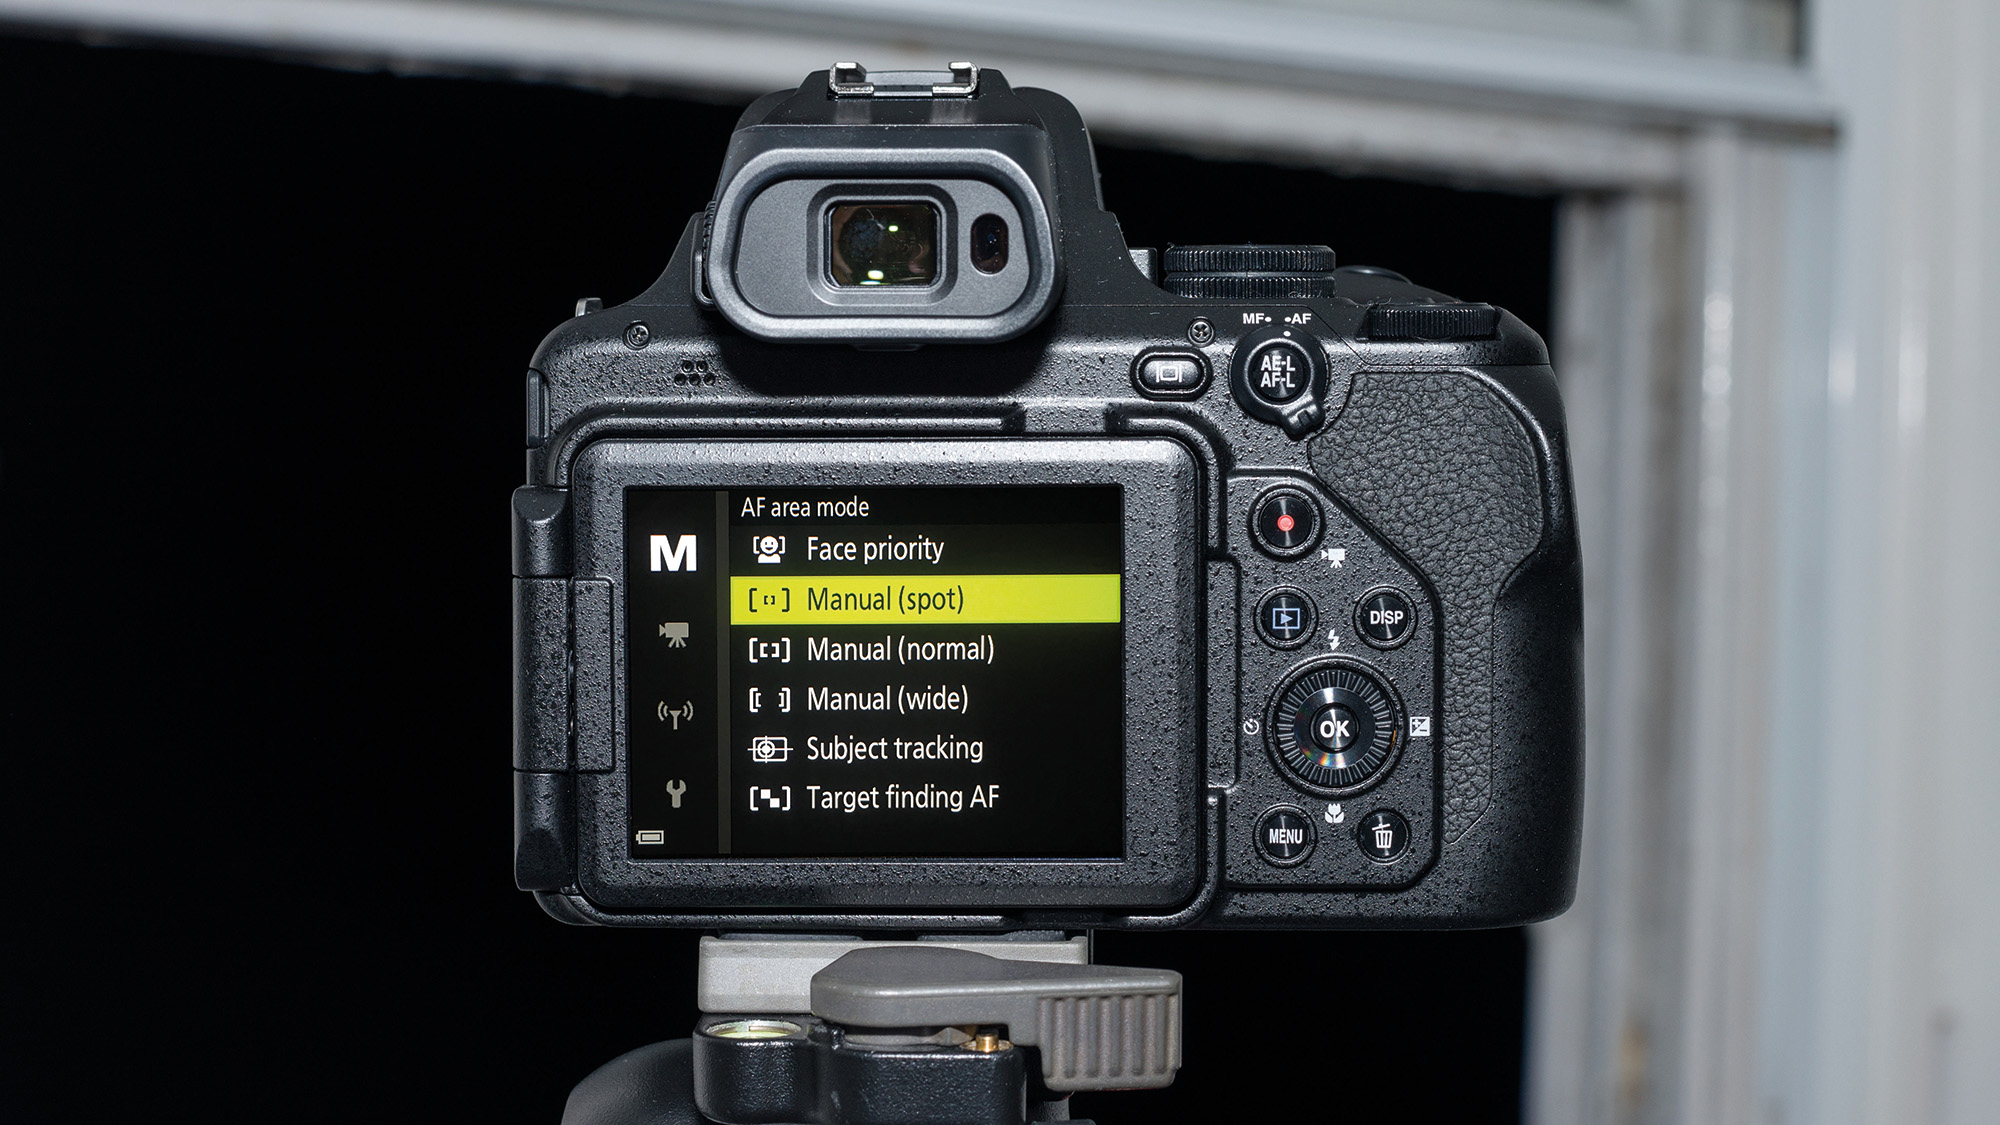
Most of us stick to Matrix/Evaluative metering – which balances exposures across the frame – but by switching to Spot metering you can expose specifically where your focus point is set. Since you're shooting a bright sphere on a black background, this allows you to expose just for the moon.
4. Fill the frame with the moon
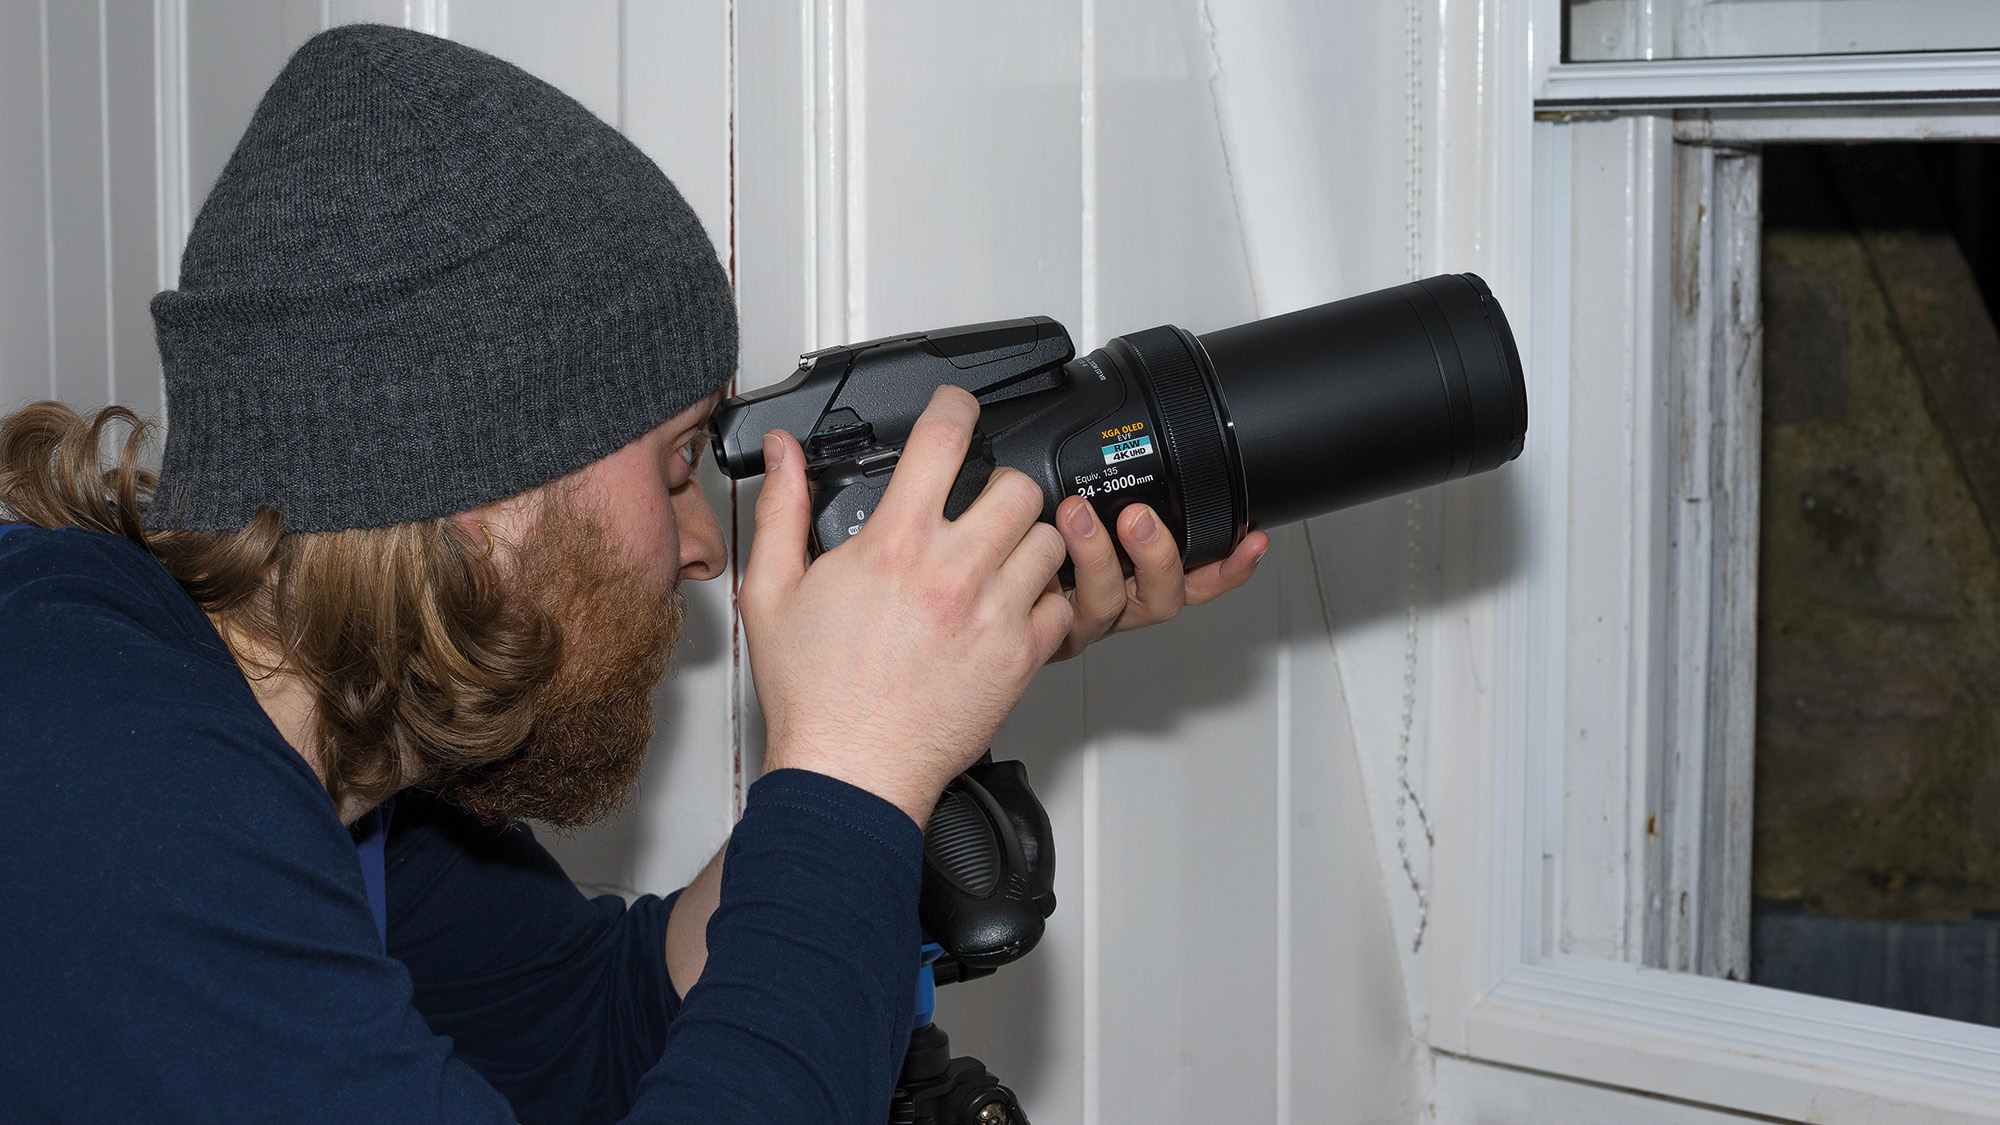
Loosen your tripod head and target the moon through the viewfinder. Slowly zoom in while adjusting your frame accordingly to ensure you don't lose your subject. For optimum image quality I turned the P1000's digital zoom off – its mighty 125x optical zoom was still more than sufficient.
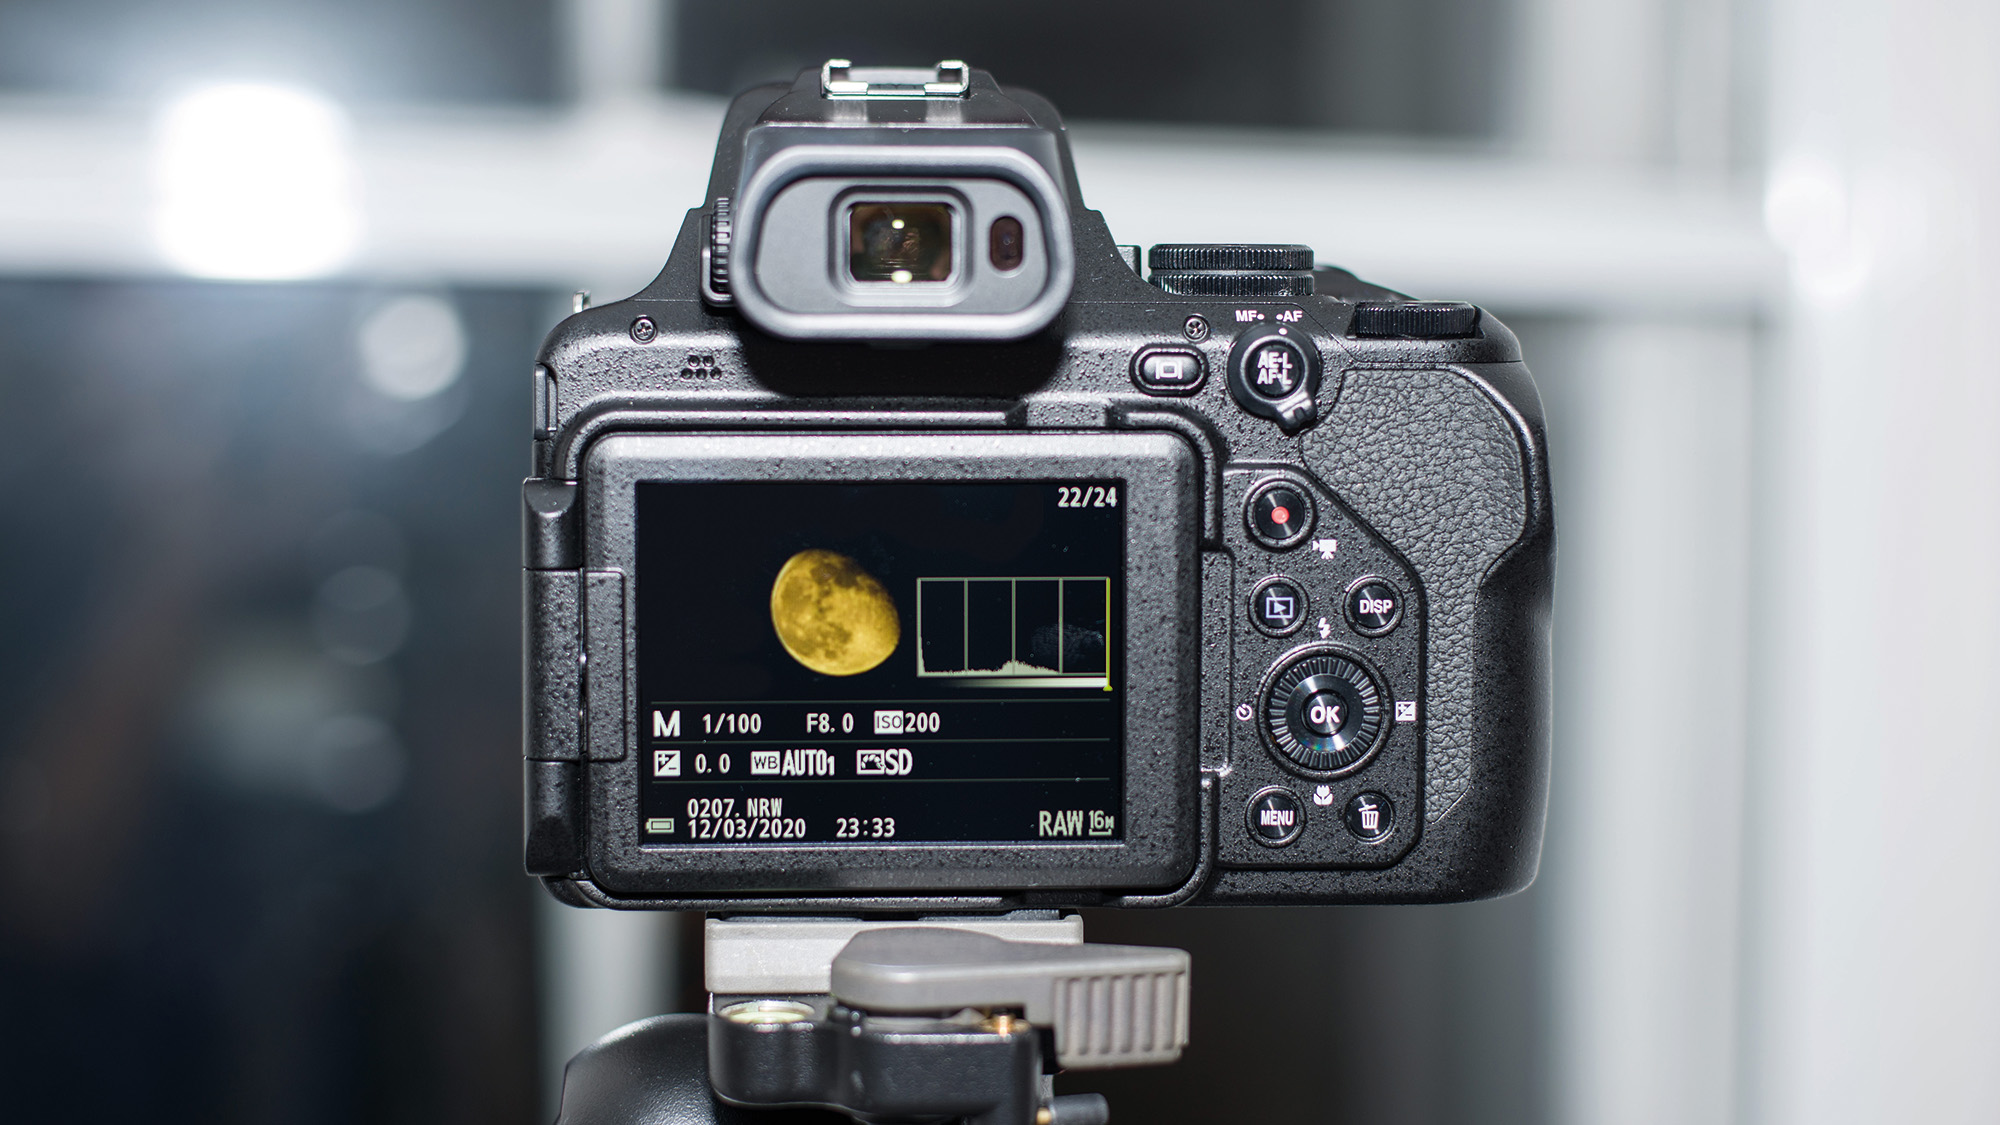
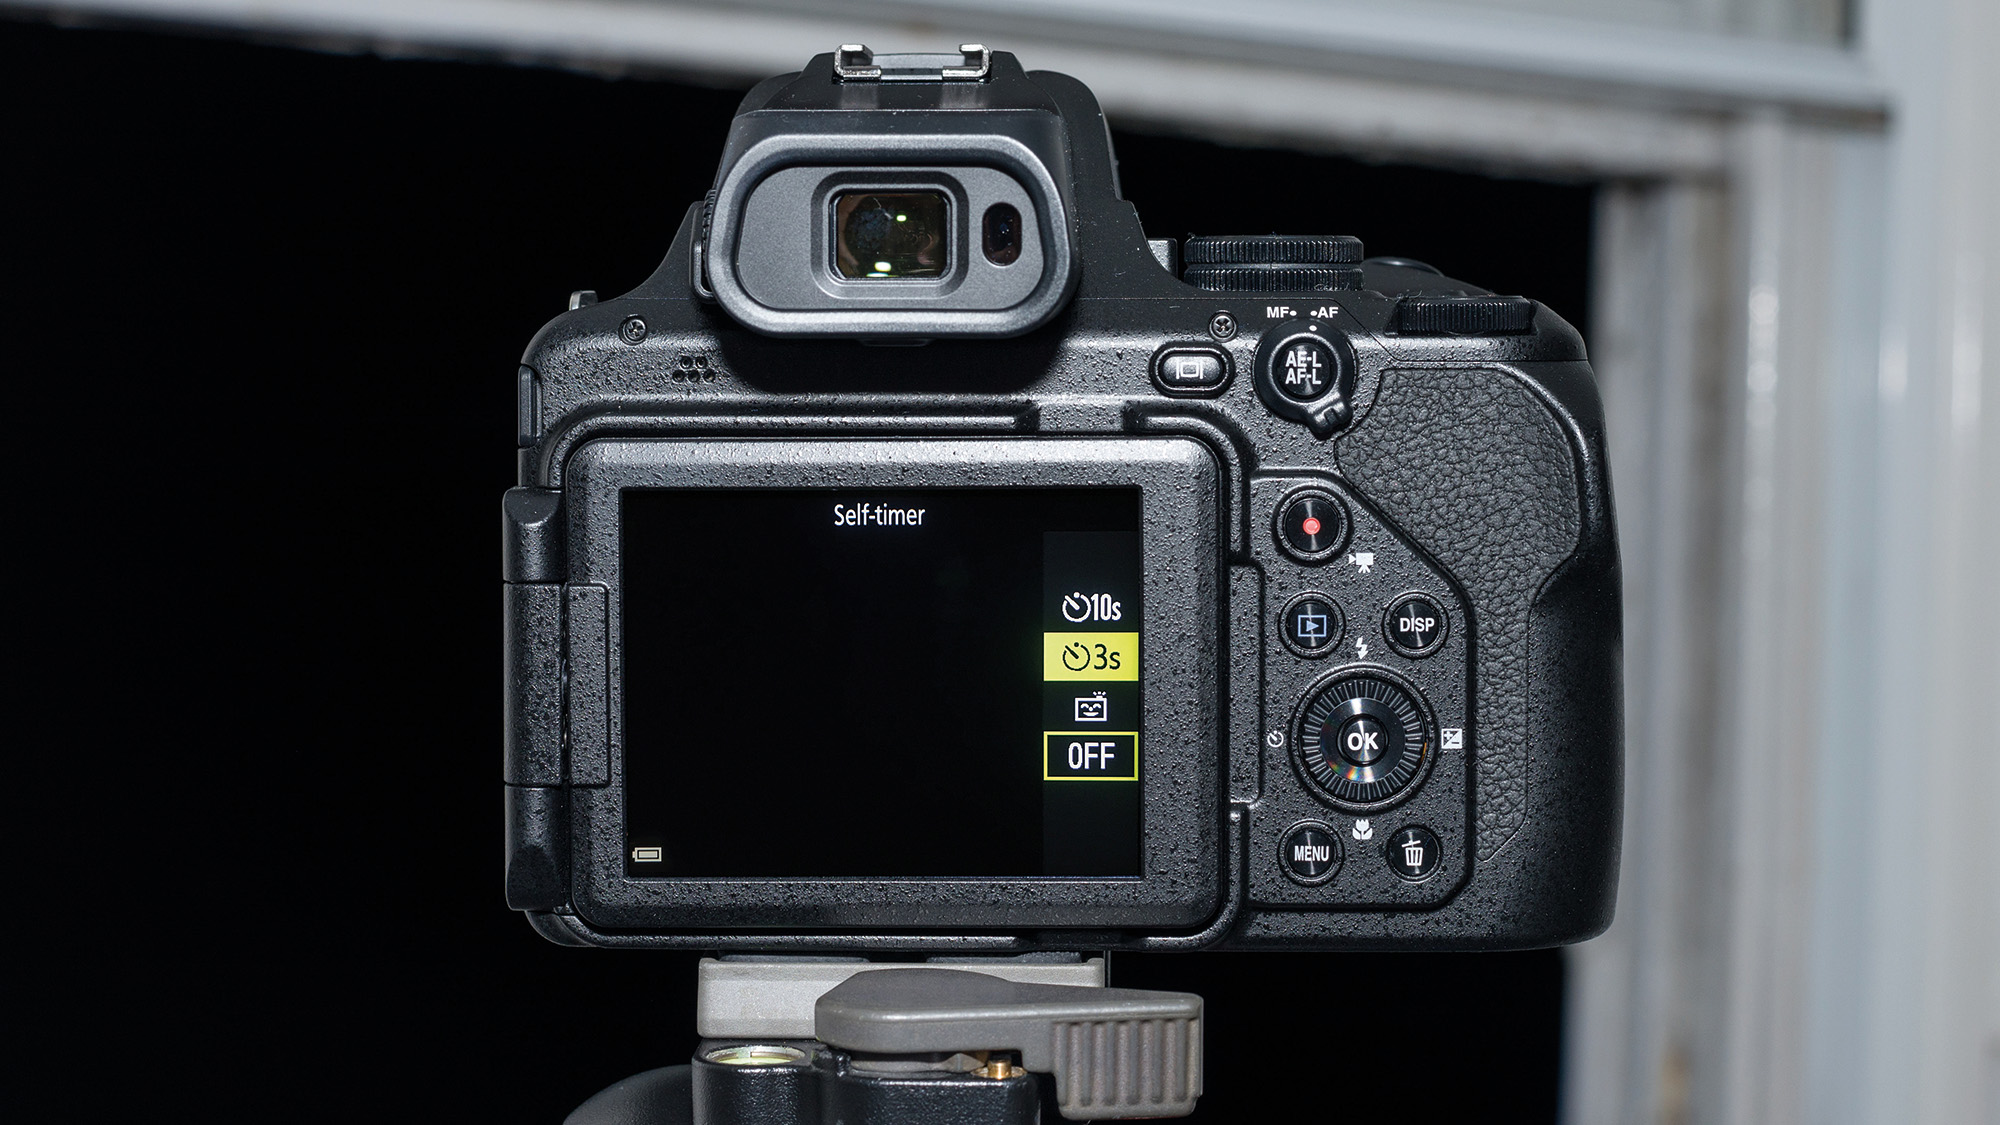
The P1000's Moon mode uses an overlay to show how a predetermined focal length's angle of view will frame your subject, so you can zoom in from the wide-angle end more accurately. It also switches on a three-second self-timer. However, this mode does not support Raw.
5. Find you lens's sweet spot
Lenses tend to produce softer images at wide-open apertures and suffer from diffraction at very narrow apertures. Aim to shoot at your lens's sweet spot (roughly f/8 or f/11). The bright moon will allow you to use a low ISO and a relatively fast shutter speed. I shot at 1/100 sec, f/8, ISO200.
6.
Switch off any form of image stabilization and focus to infinity (the P1000 features an infinity focus mode). If you don't have a remote shutter release, set your camera's self-timer to three seconds (if your camera has exposure delay mode you can use that). This will prevent any movement when pressing the shutter button from ruining your shot.
Quick tip
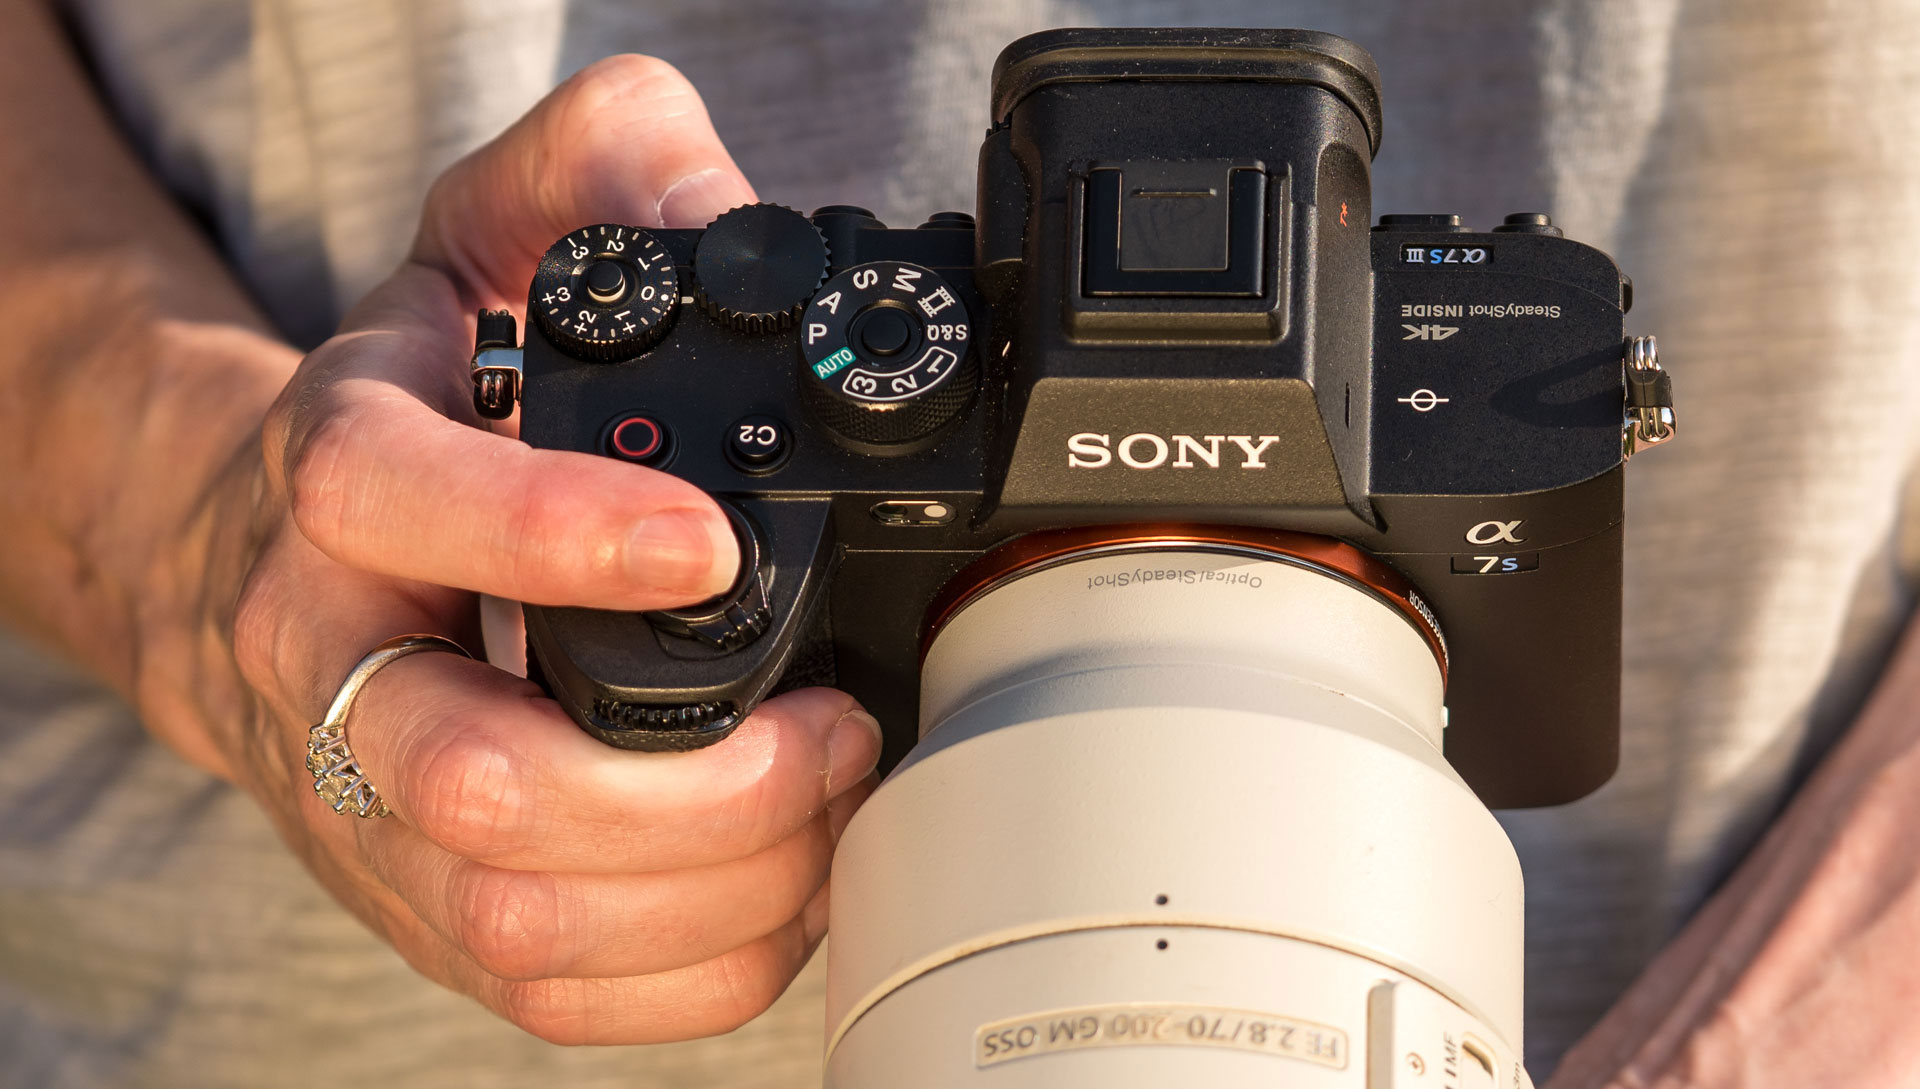
If you're using a DSLR, vibrations from the reflex mirror flipping up could cause camera shake. If you’re using live view, the mirror will be flipped up automatically. If you’re using the optical viewfinder, consider using mirror-up mode along with your remote shutter release. This will allow you to press the shutter button to flip the mirror up, wait a second or two for any vibrations to subside, then fire the shutter again to take the shot. If you're using your camera's exposure delay mode, it should do this automatically.
If you're interested in astrophotography, you might also be interested in the best telescopes for astrophotography and the best star trackers.

Mike studied photography at college, honing his Adobe Photoshop skills and learning to work in the studio and darkroom. After a few years writing for various publications, he headed to the ‘Big Smoke’ to work on Wex Photo Video’s award-winning content team, before transitioning back to print as Technique Editor (later Deputy Editor) on N-Photo: The Nikon Magazine.
With bylines in Digital Camera, PhotoPlus: The Canon Magazine, Practical Photography, Digital Photographer, iMore, and TechRadar, he’s a fountain of photography and consumer tech knowledge, making him a top tutor for techniques on cameras, lenses, tripods, filters, and more. His expertise extends to everything from portraits and landscapes to abstracts and architecture to wildlife and, yes, fast things going around race tracks...
