How to shoot and edit a high dynamic range (HDR) landscape photograph
Balance a high-contrast scene by building a three-shot bracket and merging a high dynamic range (HDR) photograph
Landscape shopping list
• Best cameras for landscapes
• Best lenses for landscapes
• Best tripod for photographers
• Best camera bag for travel
Watch video: How to shoot and edit a high dynamic range landscape
One of the first things we’re taught is to expose for the highlights, because it’s much easier to bring back details in the shadows when editing. Sometimes, however, the highlights are so bright that this method causes the shadows to clip. When that happens, it doesn’t matter how large your raw files are or how good your editing software is – that data is lost forever.
And while the best professional cameras boast incredibly high dynamic ranges, even they are unable to produce balanced exposures in some situations. This situation is particularly prevalent when shooting a landscape towards the sun. One way to balance exposures is to use a graduated neutral density filter but, if you don’t own an ND grad or simply don’t have enough time to faff around attaching filters, auto-exposure bracketing might be the answer.
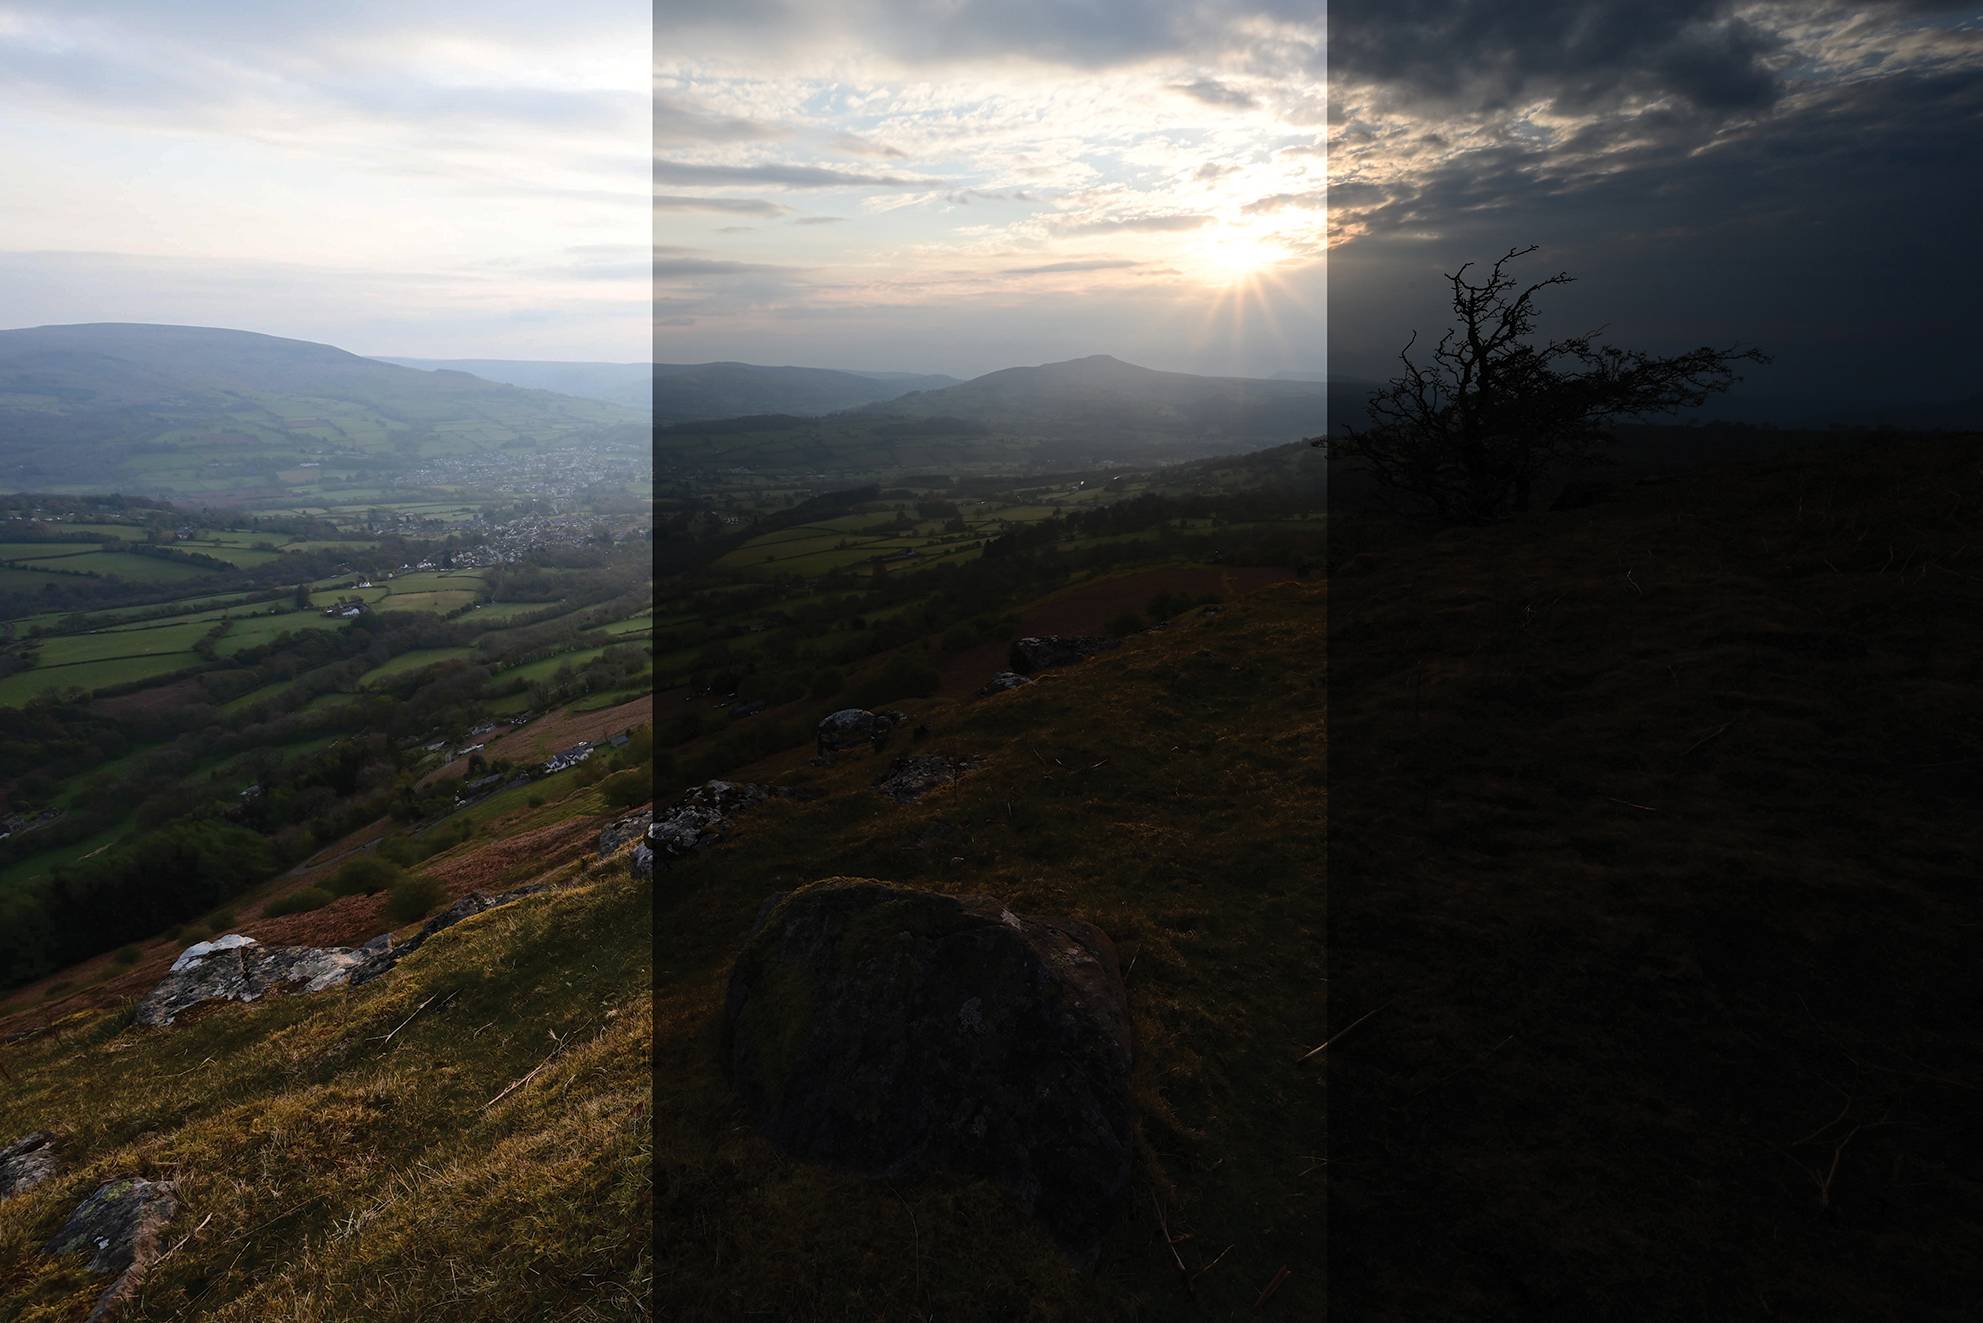
This function tells your camera to take a sequence of images, each with varying exposures. How many images you capture and the exposure value between each shot will depend on your camera’s ability and your personal preference. We captured a three-shot bracket in one-stop increments: one image was underexposed by one stop, one image was neutral and one image was overexposed by one stop.
This range of exposures is designed to capture details in both the darkest shadows and the brightest highlights. Those details are then merged together to create a single high dynamic range photo in post. Some people don’t like HDRs because they can look fabricated, but if you’re disciplined enough not to push the dynamic range of an image too far you can produce natural HDRs that everyone can enjoy.
How to shoot and edit an HDR landscape
1. Set up on a tripod
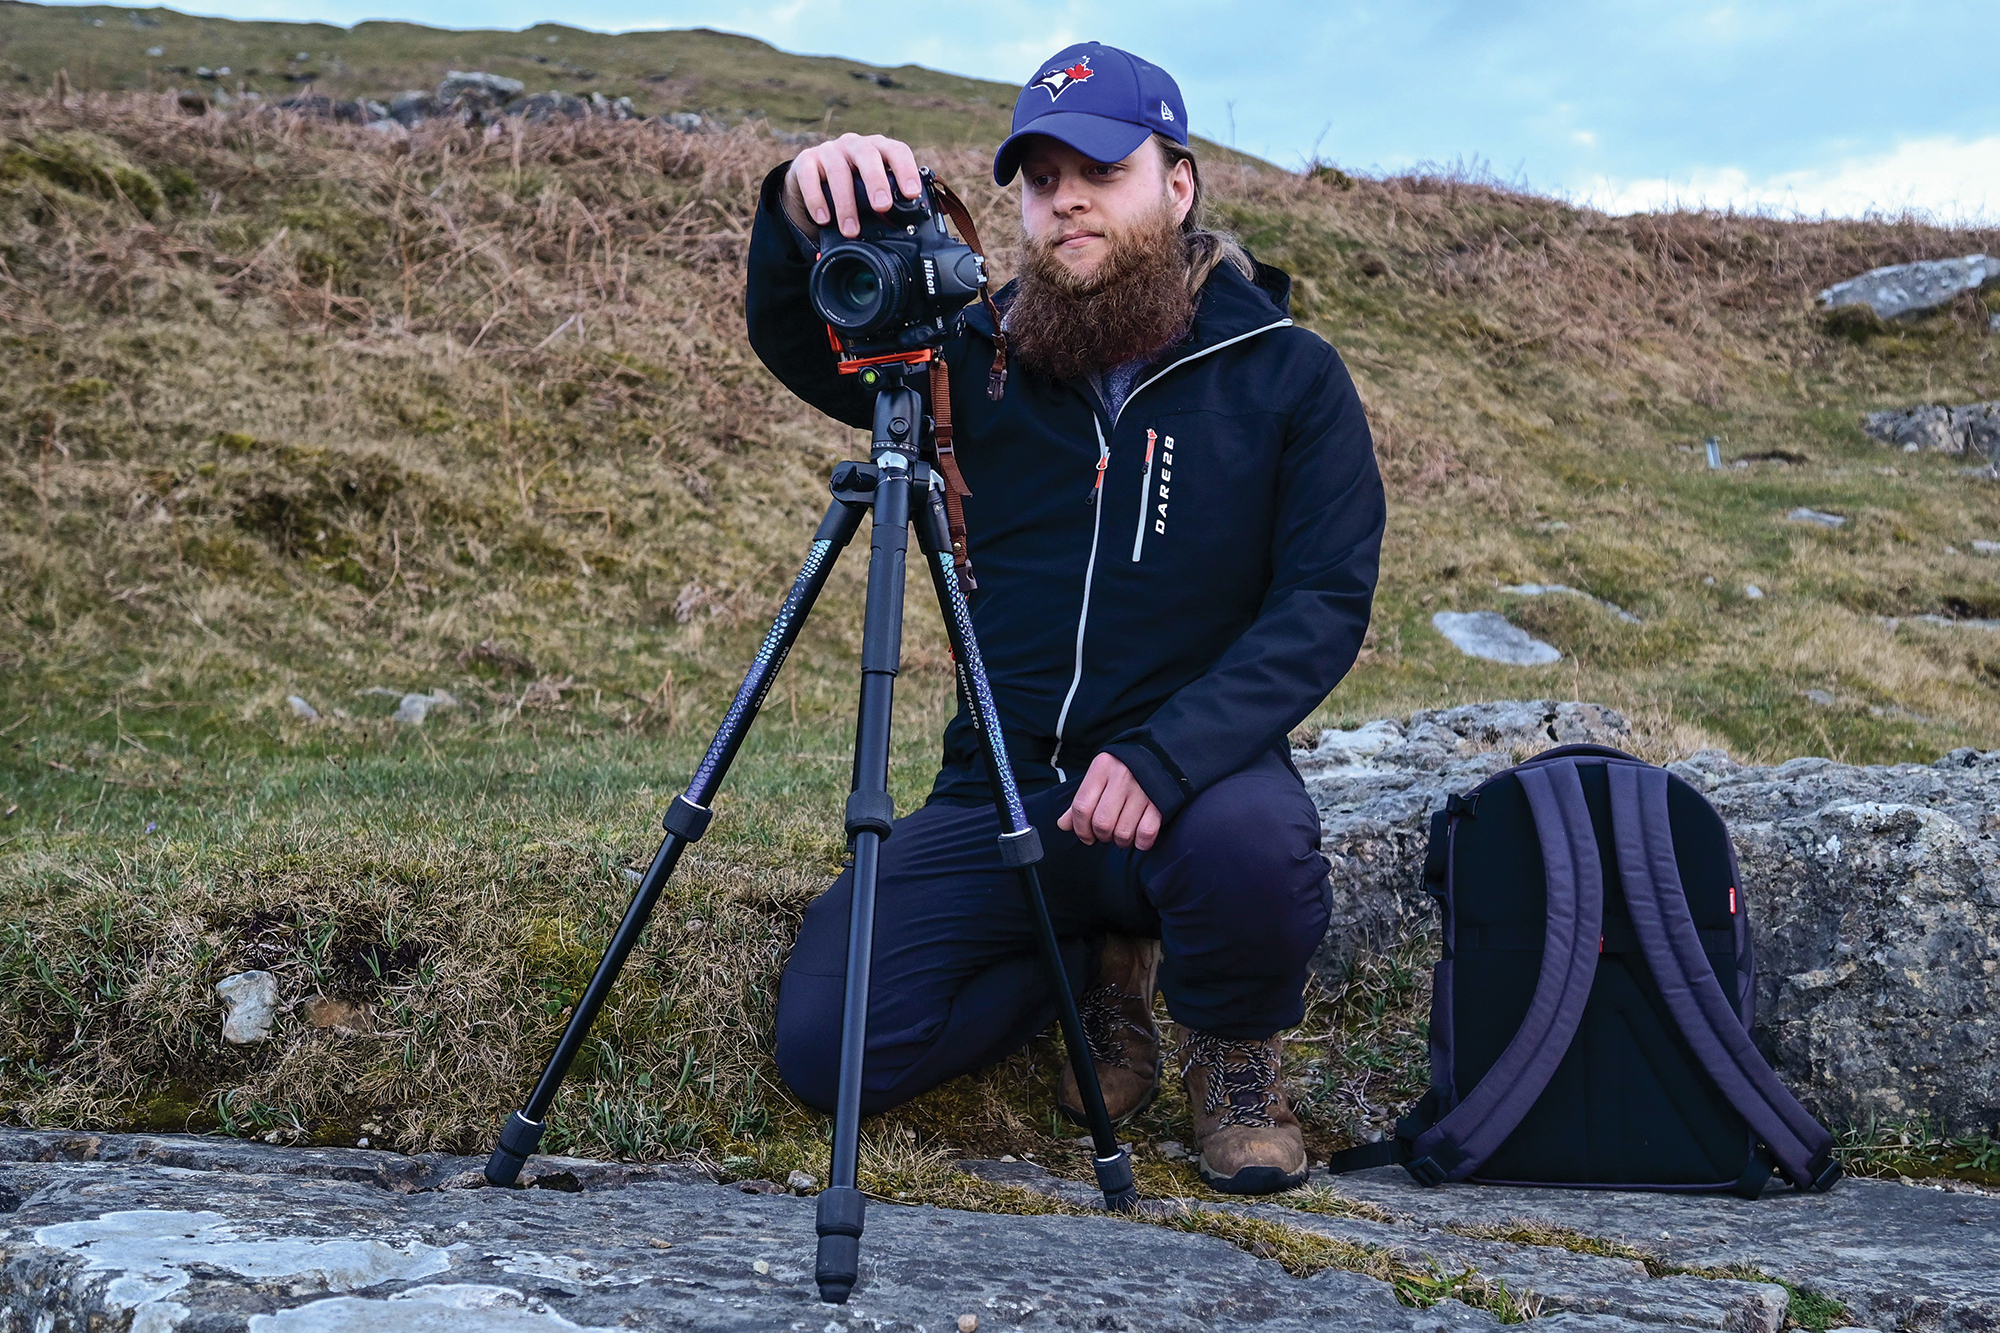
Setting up a bracketed landscape is very similar to capturing a single landscape image. Secure your camera on a tripod so that each frame in your bracket sequence is identical. Refrain from using the center column, extend the thickest legs first and make sure they’re firmly planted on the ground for added stability.
The best camera deals, reviews, product advice, and unmissable photography news, direct to your inbox!
2. Camera settings
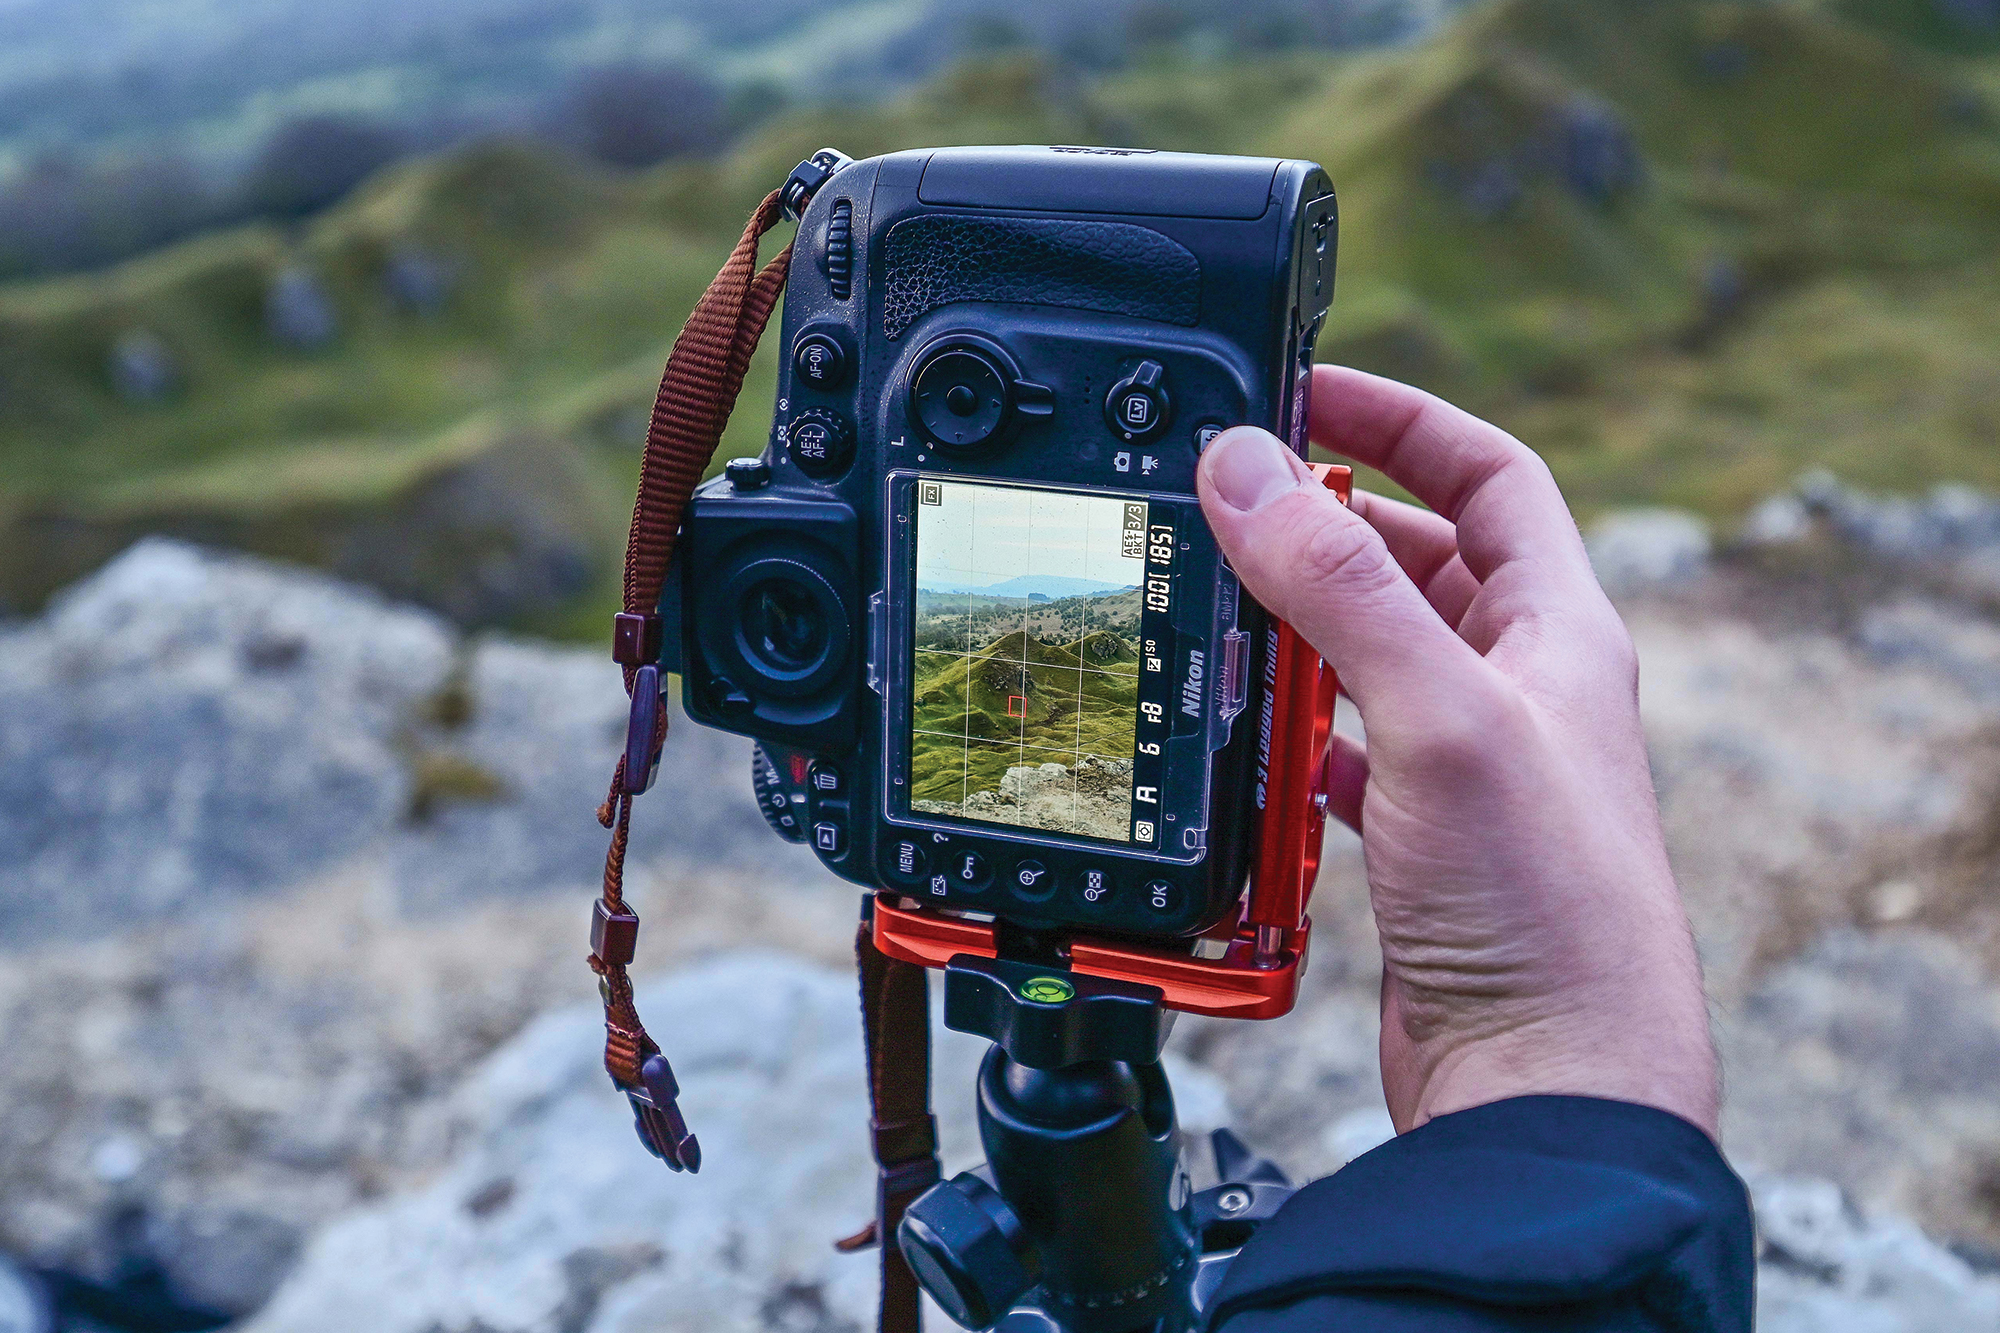
Use Live View to frame your image and focus a third of the way into the scene using single-point AF and AF-S before switching to manual focus. Make sure you’re shooting Raw and your metering is set to matrix / evealuative. Switch to Aperture Priority and dial in an aperture of f/8 and an ISO of 100.
3. Release mode
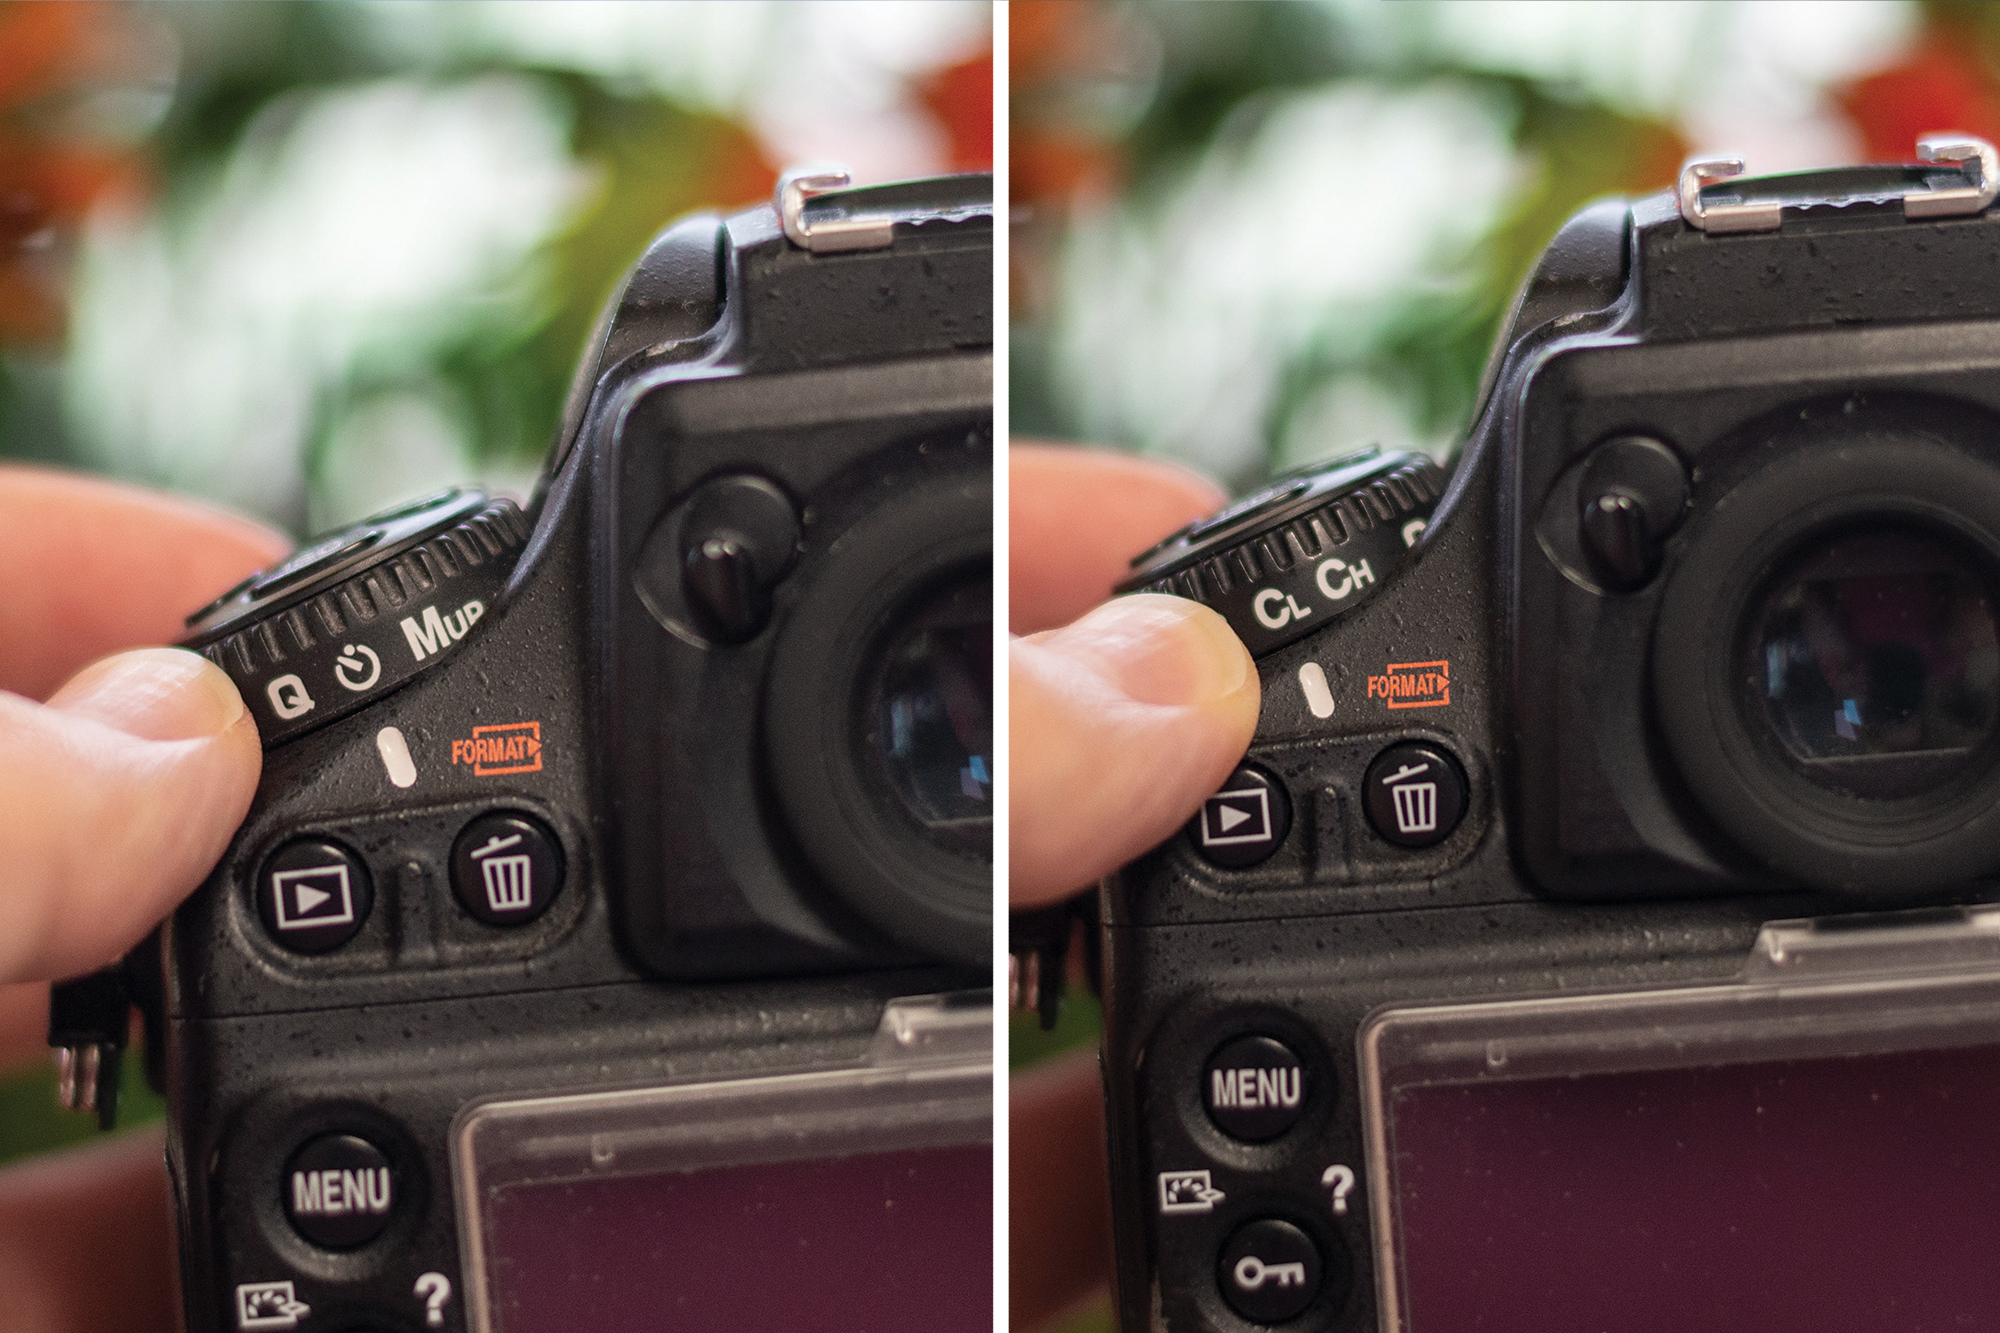
If you set your release mode to Continuous L or H you can simply hold down the shutter button and your camera will shoot continuously until the bracket sequence is finished. However, if you don’t have a remote shutter release, we’d recommend setting a two-second self-timer and manually firing the shutter.
4. Auto bracketing
We pressed our Nikon D800’s BKT button and used the front command dial to select the exposure value (we chose 1EV) and the rear command dial to select the desired number of images in the bracket sequence (we set this to three). If your camera doesn’t have a dedicated button, you’ll need to delve into the shooting menu or adjust the exposure manually between shots.
5. Merge your bracket
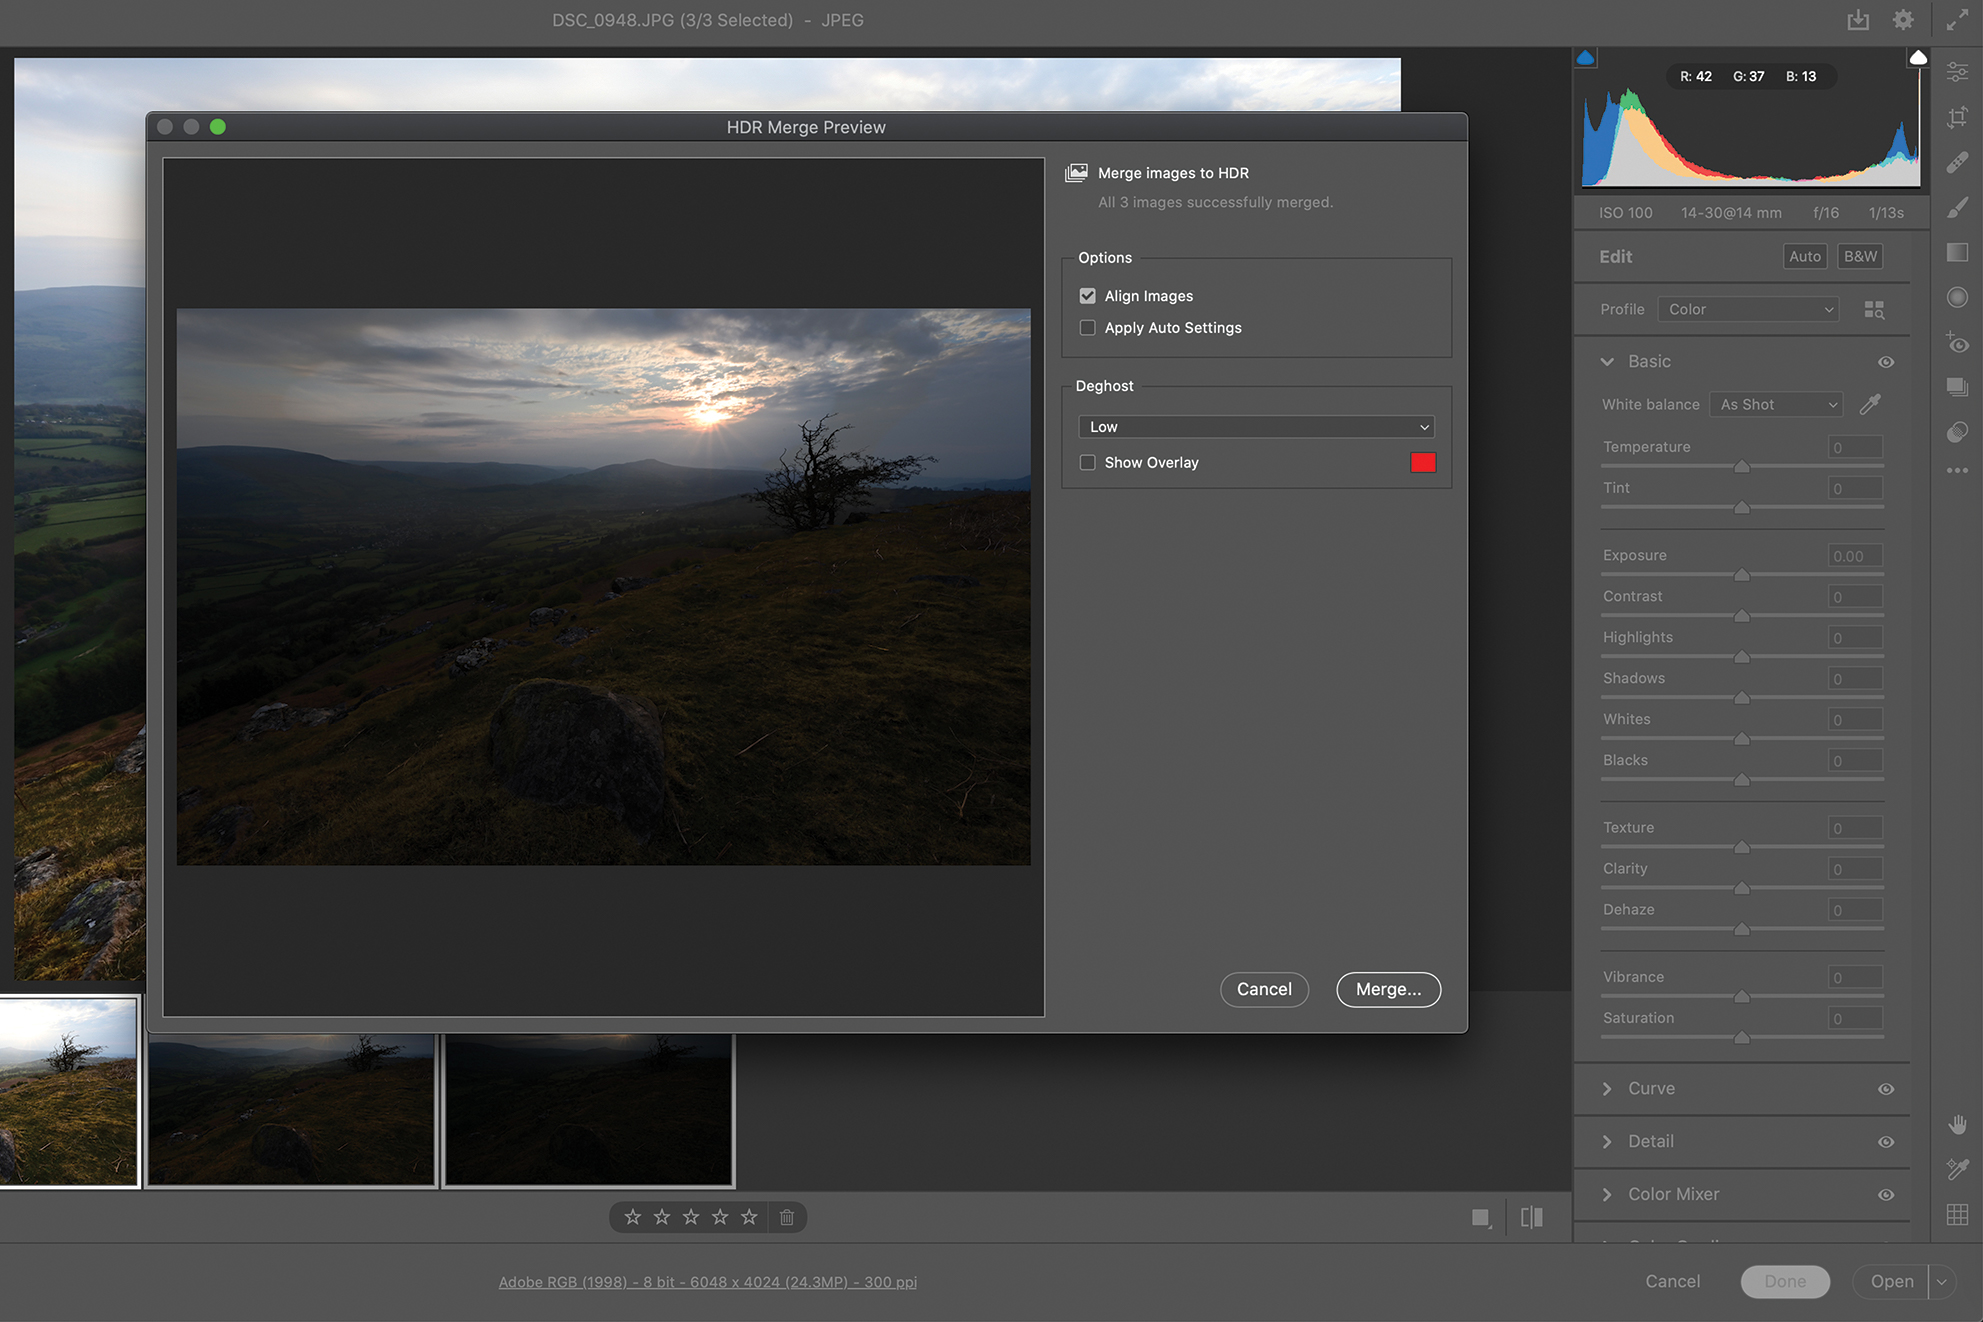
Edit your bracket in post by highlighting the sequence in Adobe Bridge, right-clicking the selection and choosing Open in Camera Raw. Hold Cmd/Ctrl + A to highlight all three images, right-click them and select Merge to HDR. Ensure that Align Images is selected and choose the desired Deghost amount to mitigate movement between frames.
6. Edit your HDR
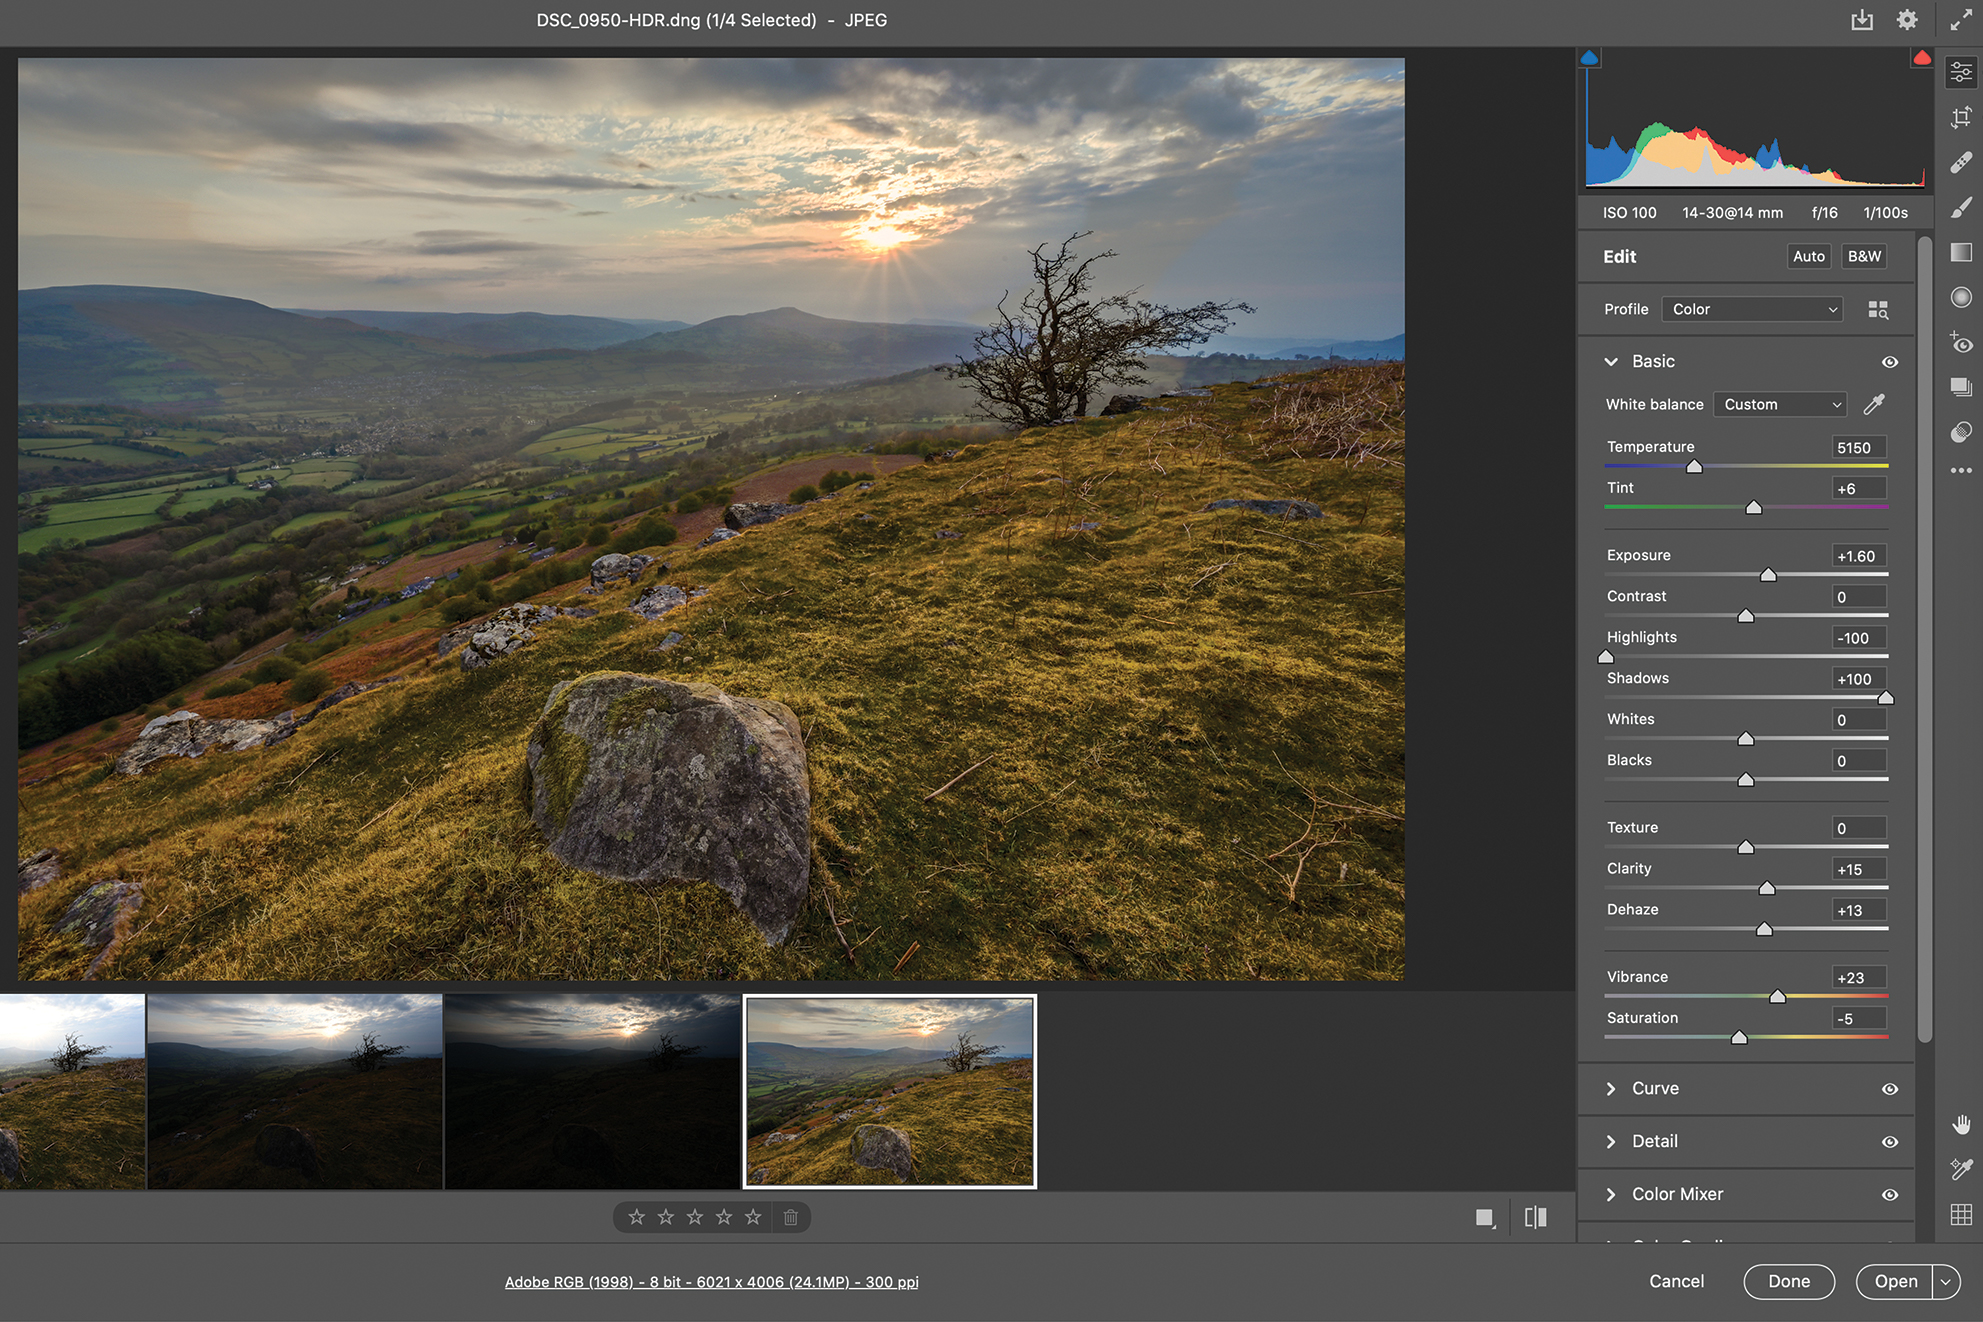
The HDR image will now appear alongside the original sequence, enabling you to continue with your desired editing regime. You’ll find you’re able to boost the shadows and reduce the highlights much more dramatically now.
N-Photo: The Nikon Magazine is a monthly publication that's entirely dedicated to Nikon users. For the best news, reviews, projects and more, subscribe to N-Photo today!
Read more:
The best tripod for photographers
Best cameras for landscape photography
The best camera bag for travel

Mike studied photography at college, honing his Adobe Photoshop skills and learning to work in the studio and darkroom. After a few years writing for various publications, he headed to the ‘Big Smoke’ to work on Wex Photo Video’s award-winning content team, before transitioning back to print as Technique Editor (later Deputy Editor) on N-Photo: The Nikon Magazine.
With bylines in Digital Camera, PhotoPlus: The Canon Magazine, Practical Photography, Digital Photographer, iMore, and TechRadar, he’s a fountain of photography and consumer tech knowledge, making him a top tutor for techniques on cameras, lenses, tripods, filters, and more. His expertise extends to everything from portraits and landscapes to abstracts and architecture to wildlife and, yes, fast things going around race tracks...
