Home photography ideas: Take a family photo with Wi-Fi on your camera
Forget self-timers – use the Wi-Fi with your camera and phone to take perfect family portraits
The best camera deals, reviews, product advice, and unmissable photography news, direct to your inbox!
You are now subscribed
Your newsletter sign-up was successful
Watch video: Home photography ideas – Bird photos from your window
Photography projects at home
• Home photography ideas
Useful home photography kit
• Best tripods
• Best lighting kits
• Best reflectors
• Best macro lenses
Since you're stuck indoors with the whole family, now is the perfect time to take an updated family photo – whether you want a new family portrait for the mantelpiece or you want to document the lockdown you're spending with your housemates.
So how do you take a family photo and be in the shot at the same time? Well, there’s always the old trick of setting the self-timer then dashing into the frame. But group photos are often fraught with enough difficulties without the extra effort this involves – especially if you throw kids and animals into the mix.
• 10 best online photography courses
However, there’s a feature that makes it much easier – there's no dashing necessary, and nobody has to be behind the camera. If your Canon has a Wi-Fi feature and a companion app, you can connect to it wirelessly using your smartphone or tablet.
This means that you can see exactly what your camera sees, set a focus point, tweak your exposure settings and take the shot – all without having to go near the camera.
As such it’s the perfect shooting setup for a family selfie, as you can get everyone in position and take the shot at the right moment, without having to resort to something as hit-and-miss as a self-timer.
The best camera deals, reviews, product advice, and unmissable photography news, direct to your inbox!
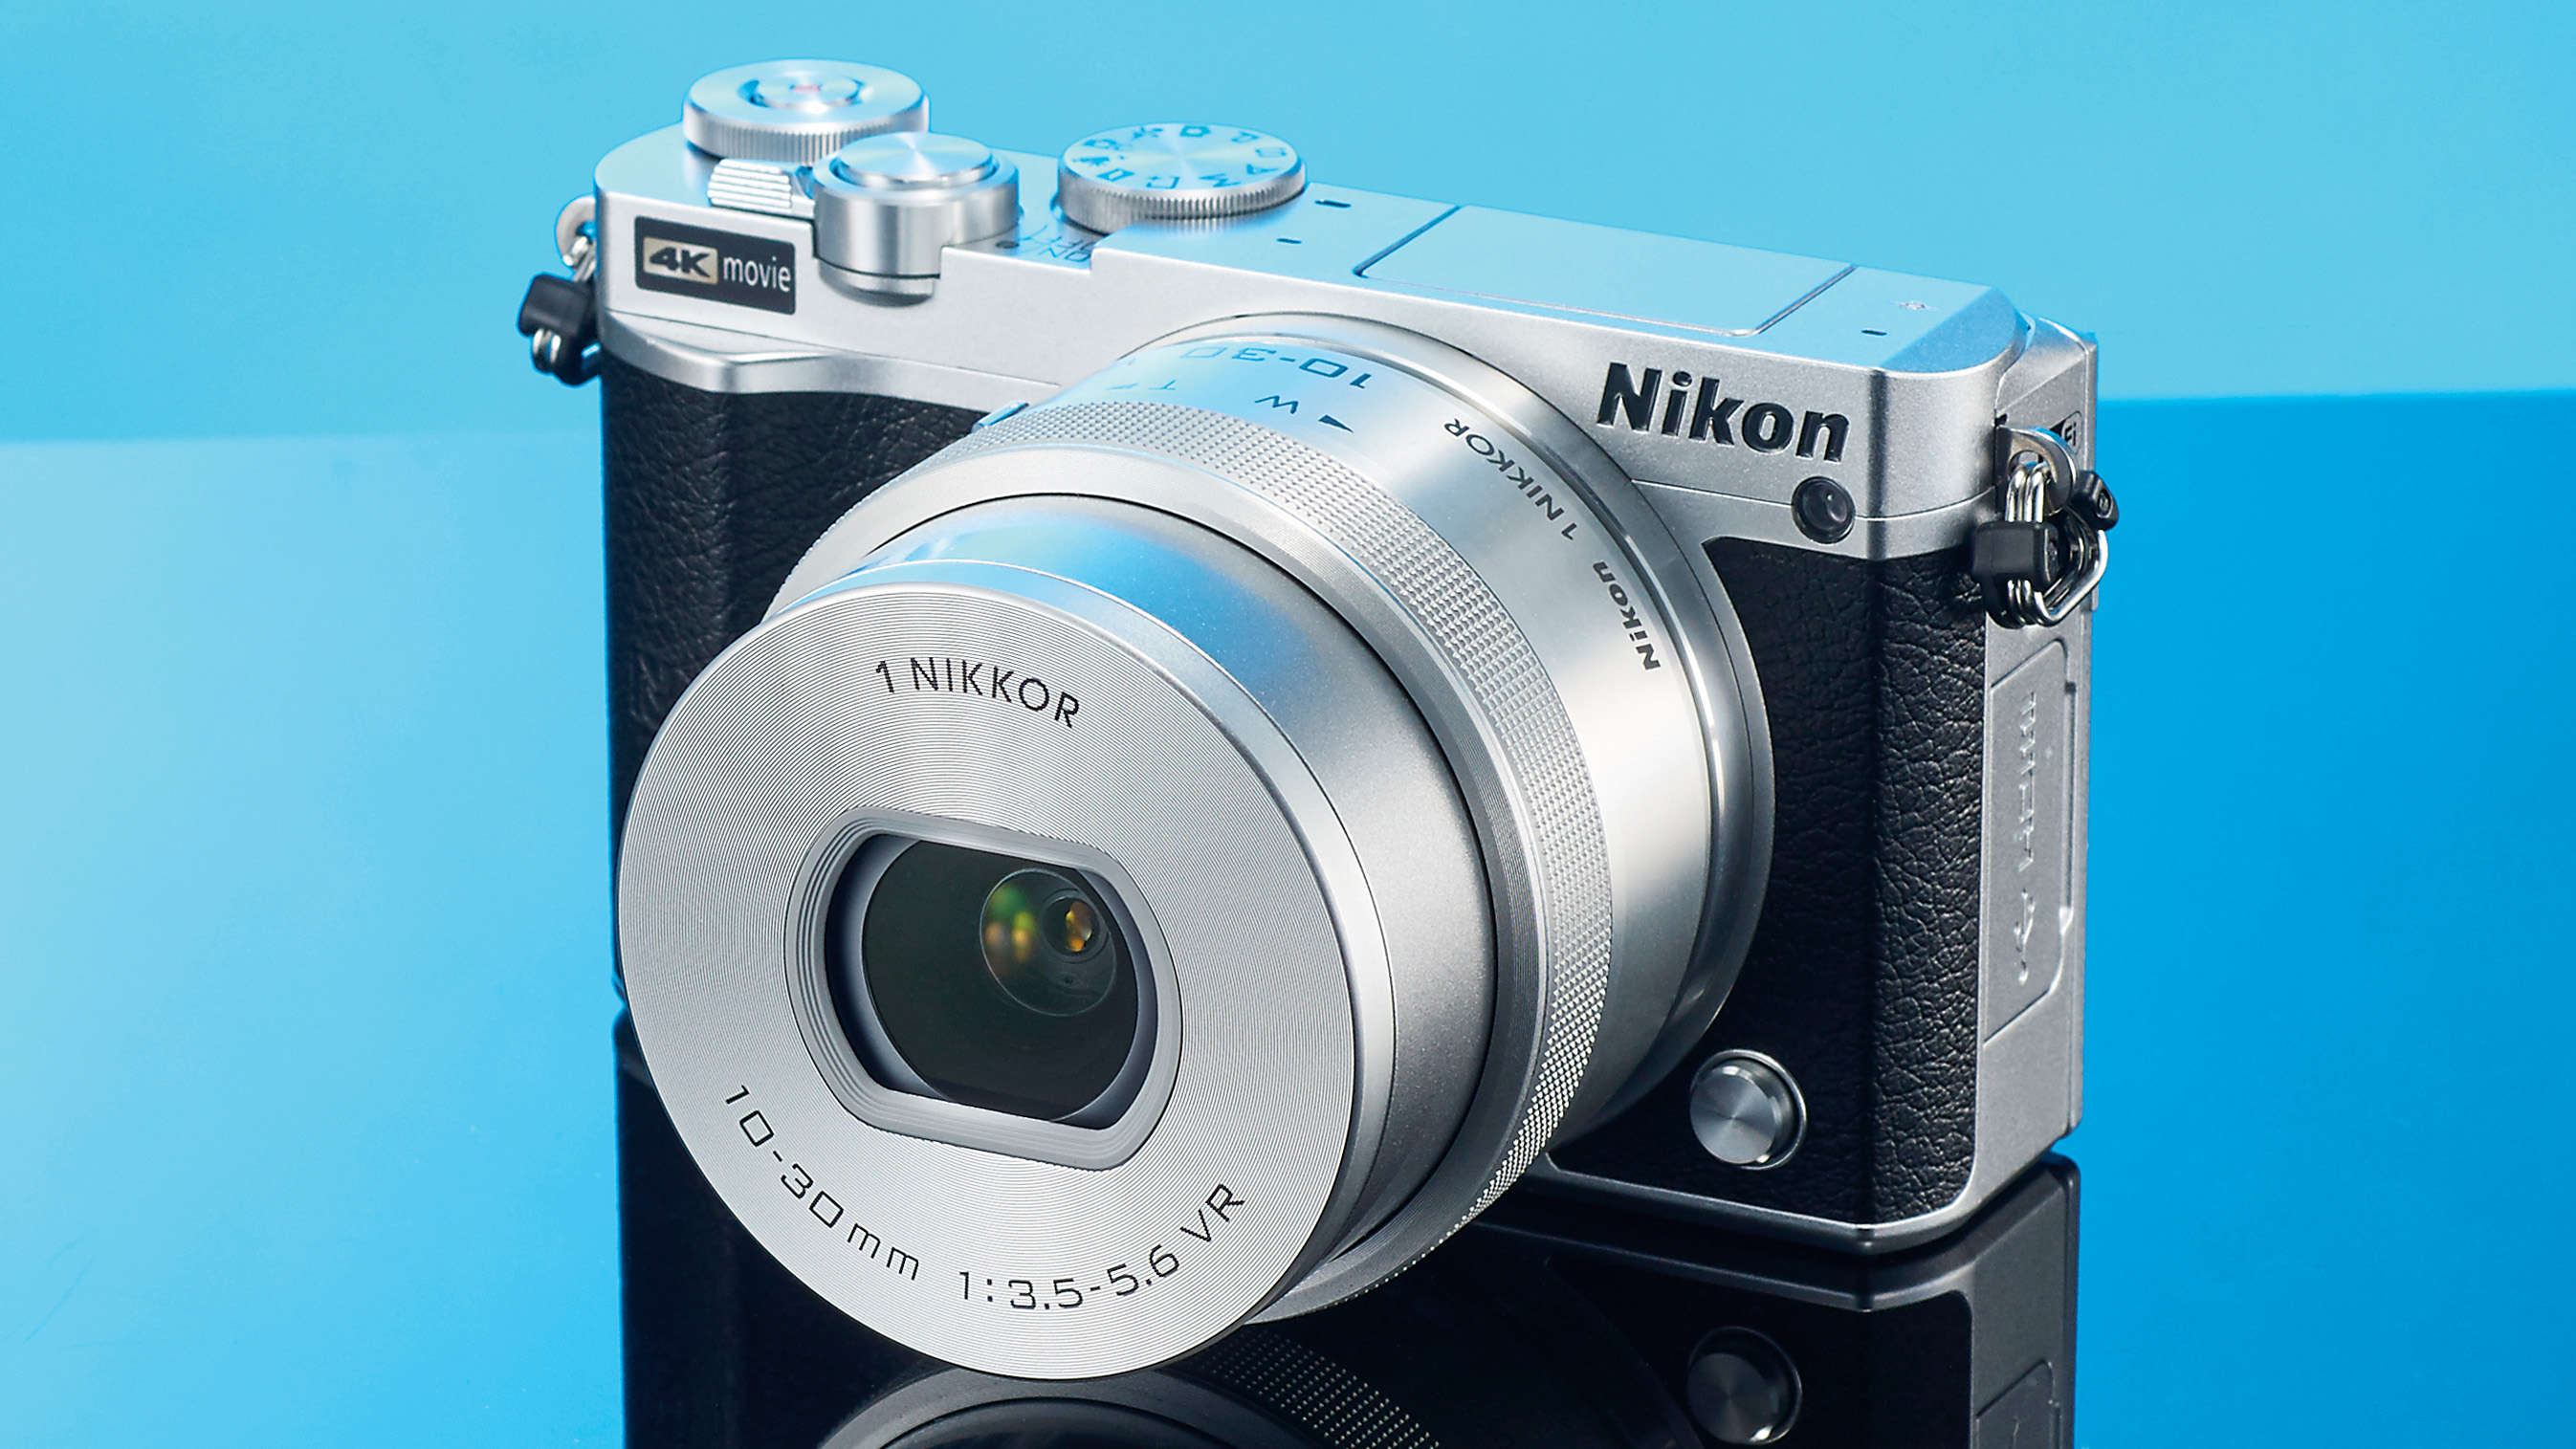
Whether it's Canon Camera Connect, Nikon Wireless Mobile Utility, Olympus Image Share or others, these first-party apps connect to the WiFi signal generated by your camera, so most WiFi-enabled smartphones and tablets will work. So consign the old self-timer-and-dash routine to history and shoot your group selfies the smart way!
Set up your shot
01 Pose the group
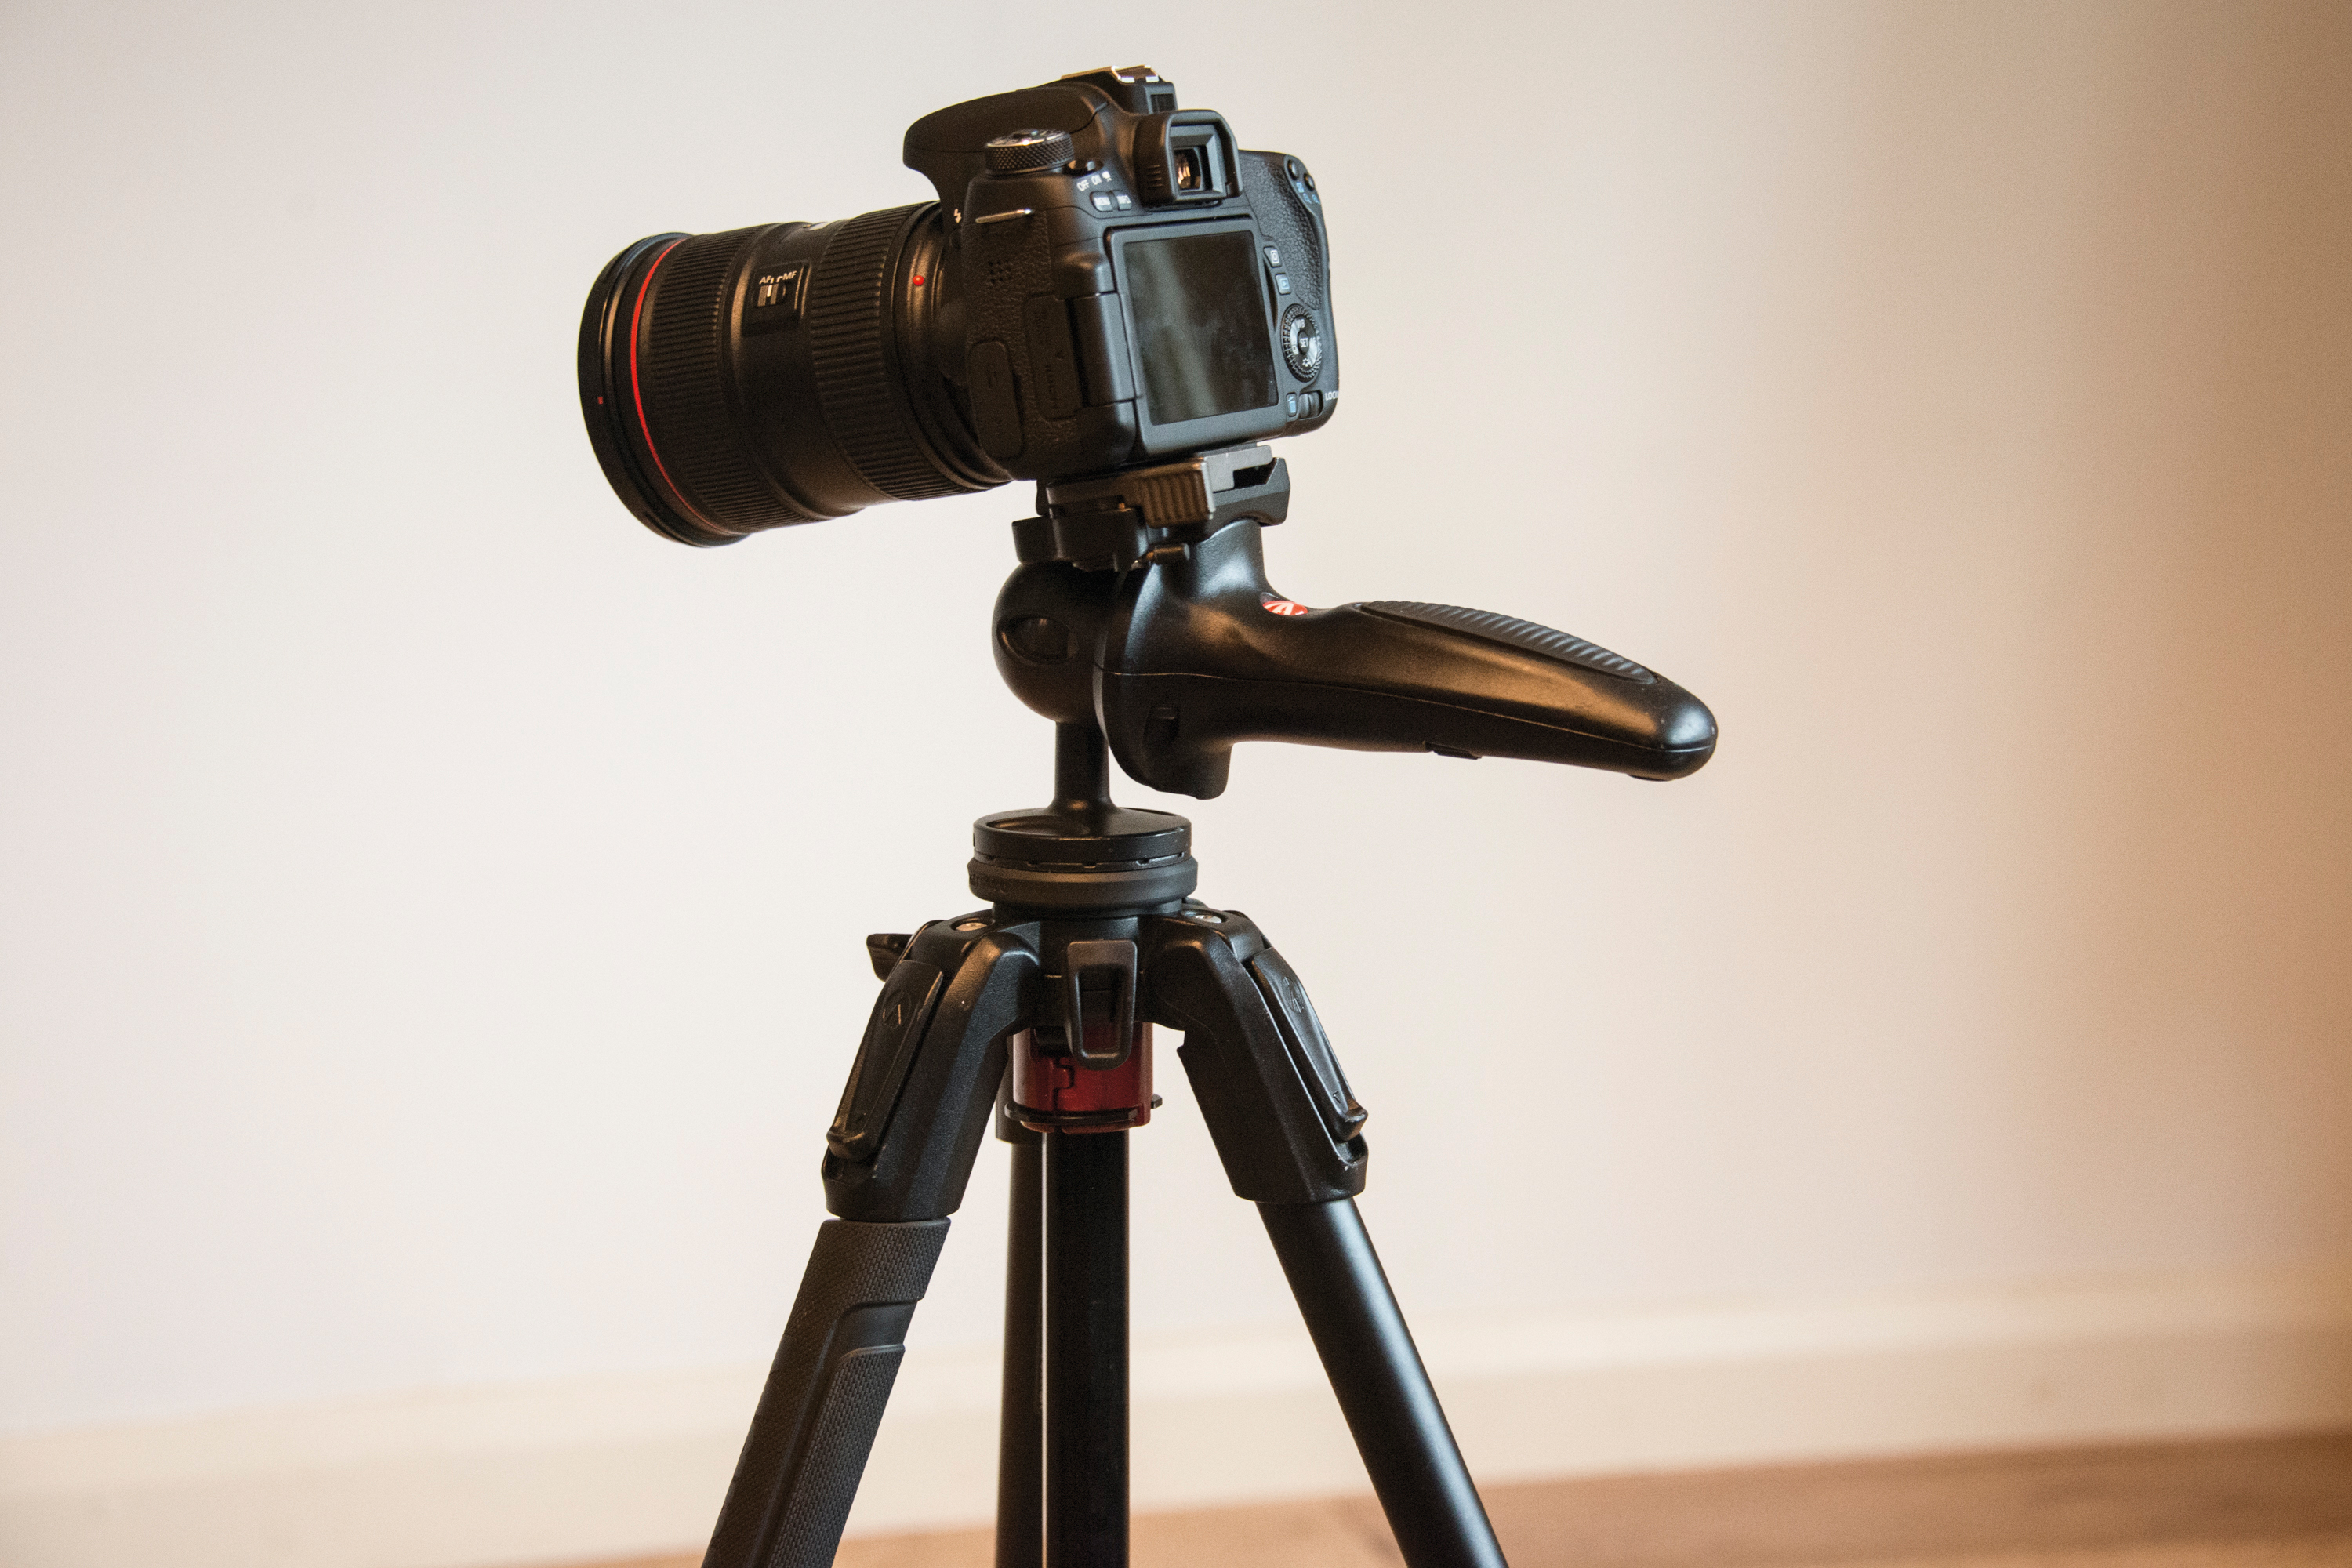
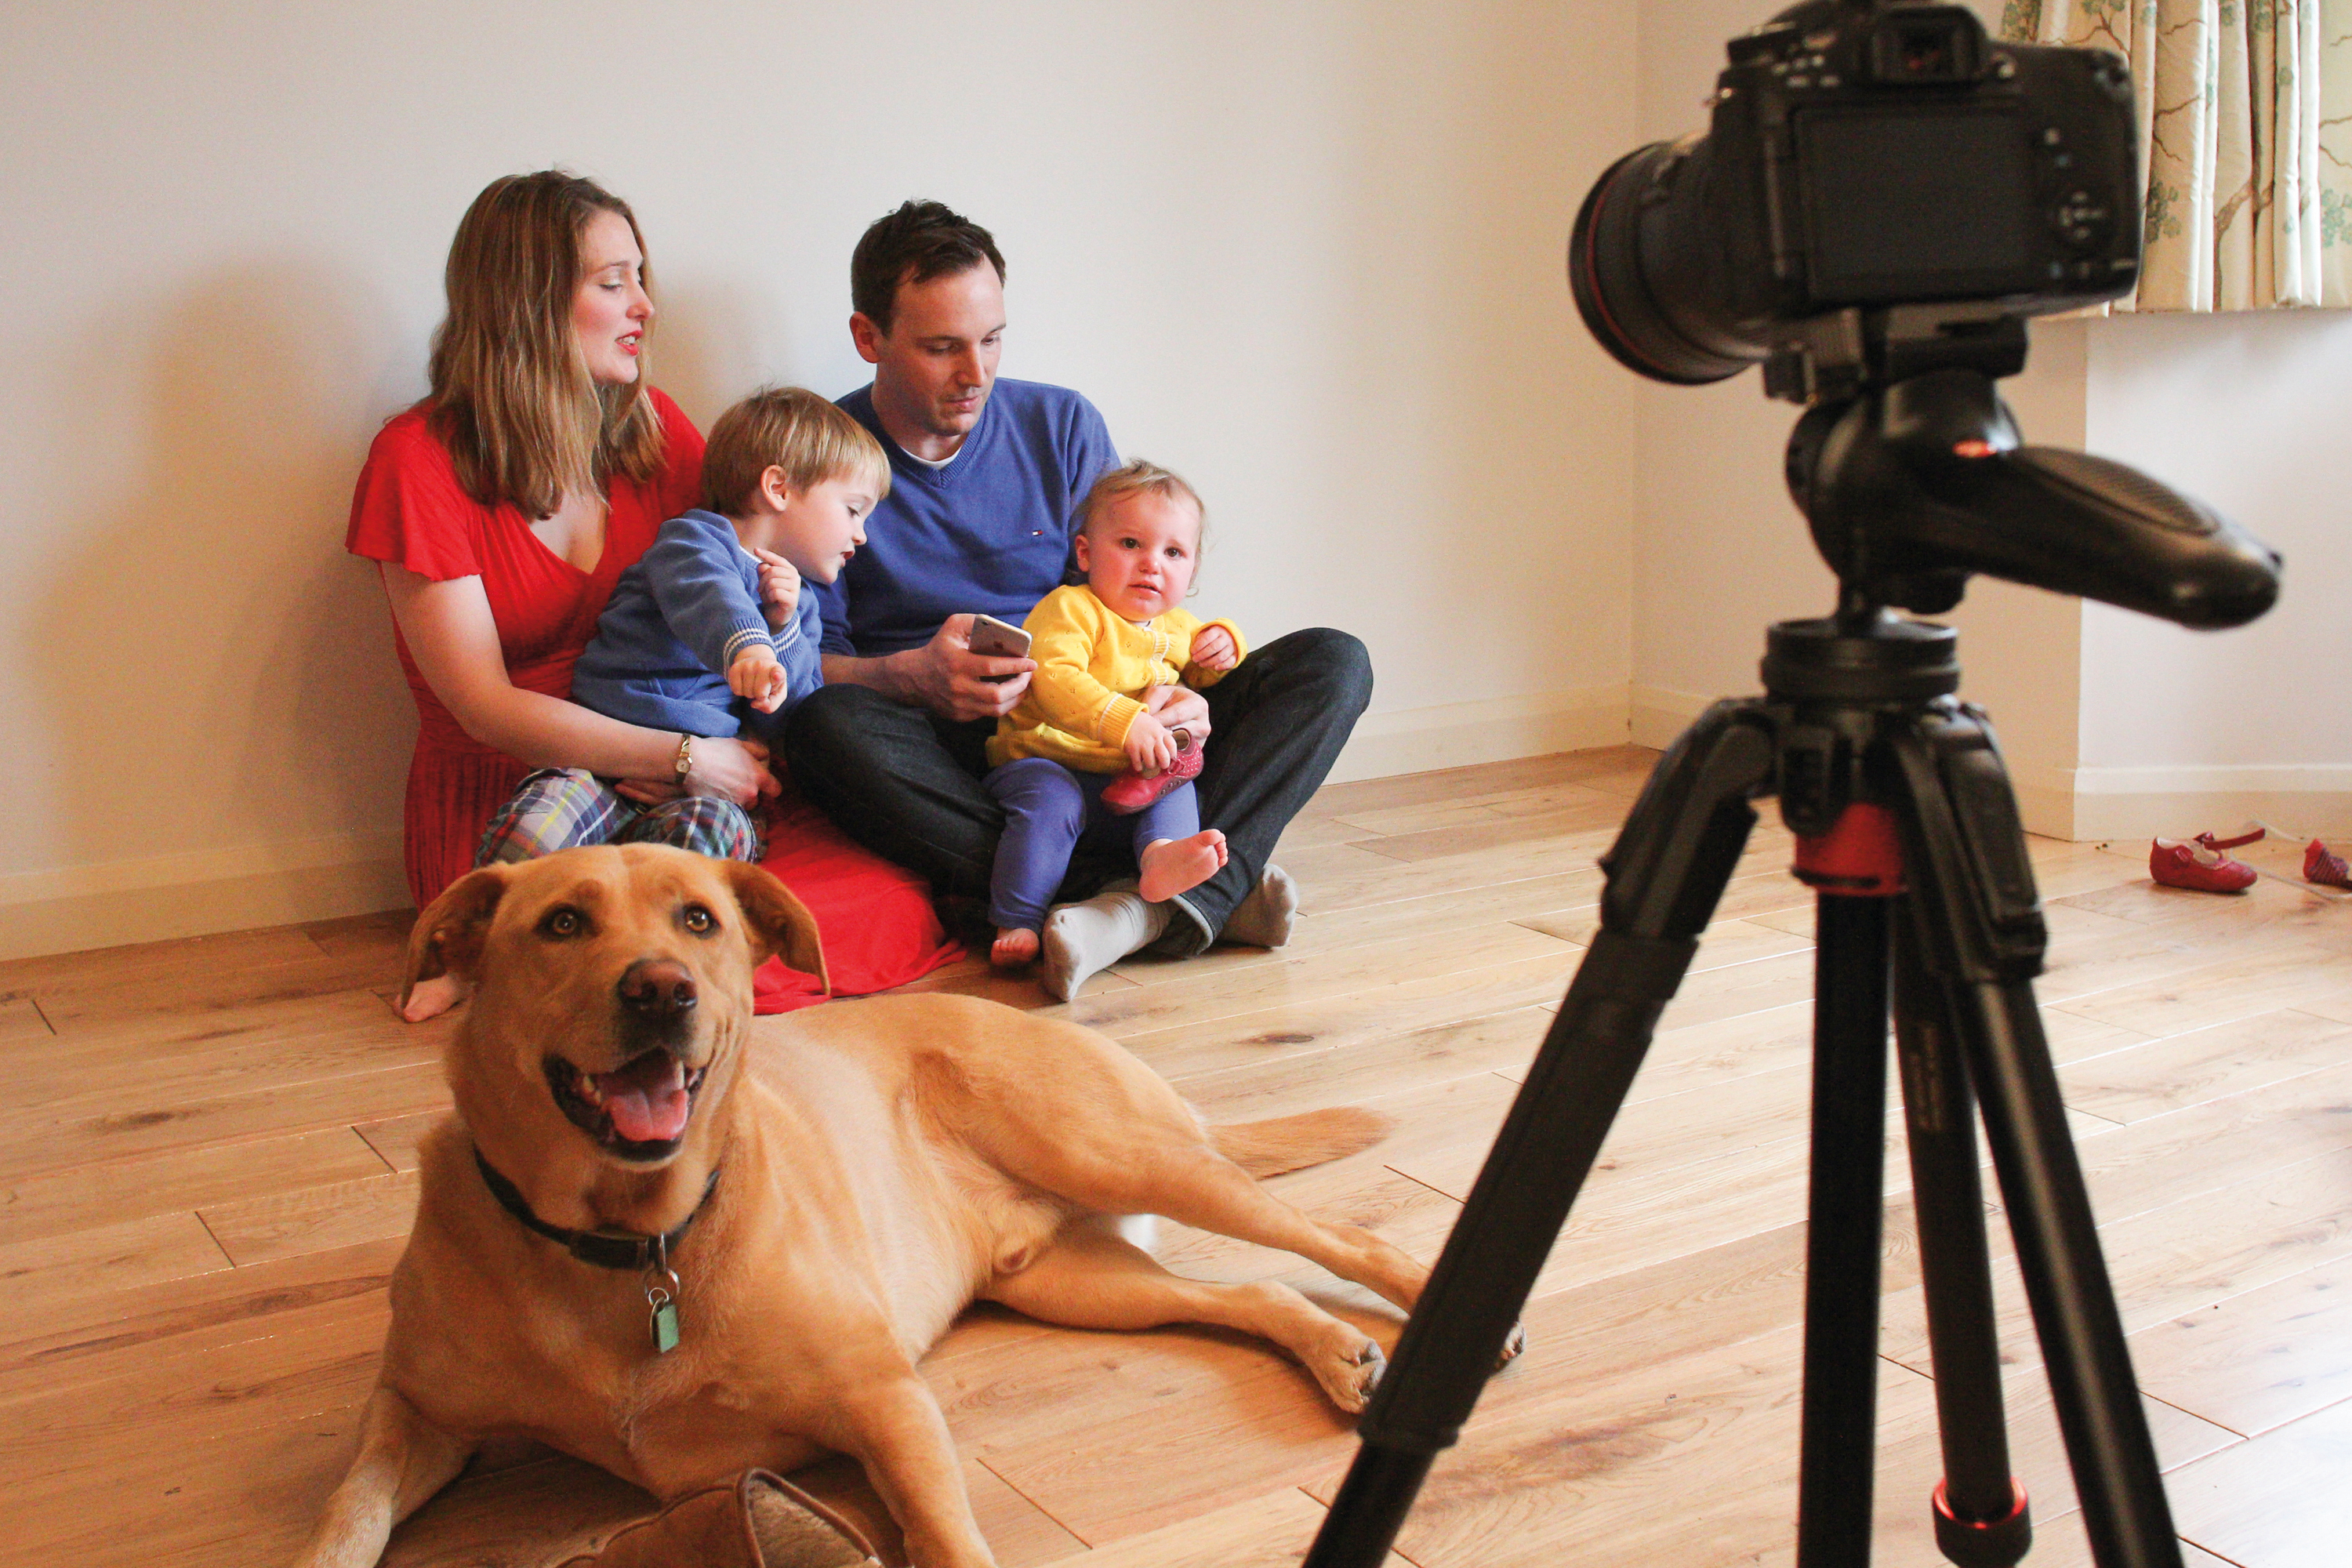
Set up on a tripod and get everyone else into position. A simple plain backdrop, like the white wall here, works well. Squeeze everyone in close together and then loosely compose the frame. Depending on how much space you have, you'll probably need to shoot around the widest angle you can to fit everything in – the wide end of a standard zoom should do the trick.
02 Light the scene
Solid lighting is important for group shots. Everybody should be lit evenly, so if in natural light wait for an overcast sky or find shade. When inside use a large window, or try a speed light or a home studio kit.
03 Set a mode
Set whatever exposure mode you’re comfortable with – we’ve used Manual for complete control – but think about depth of field, as you’ll need enough to record everyone sharply. Here we have an aperture of f/11.
04 Take the shot
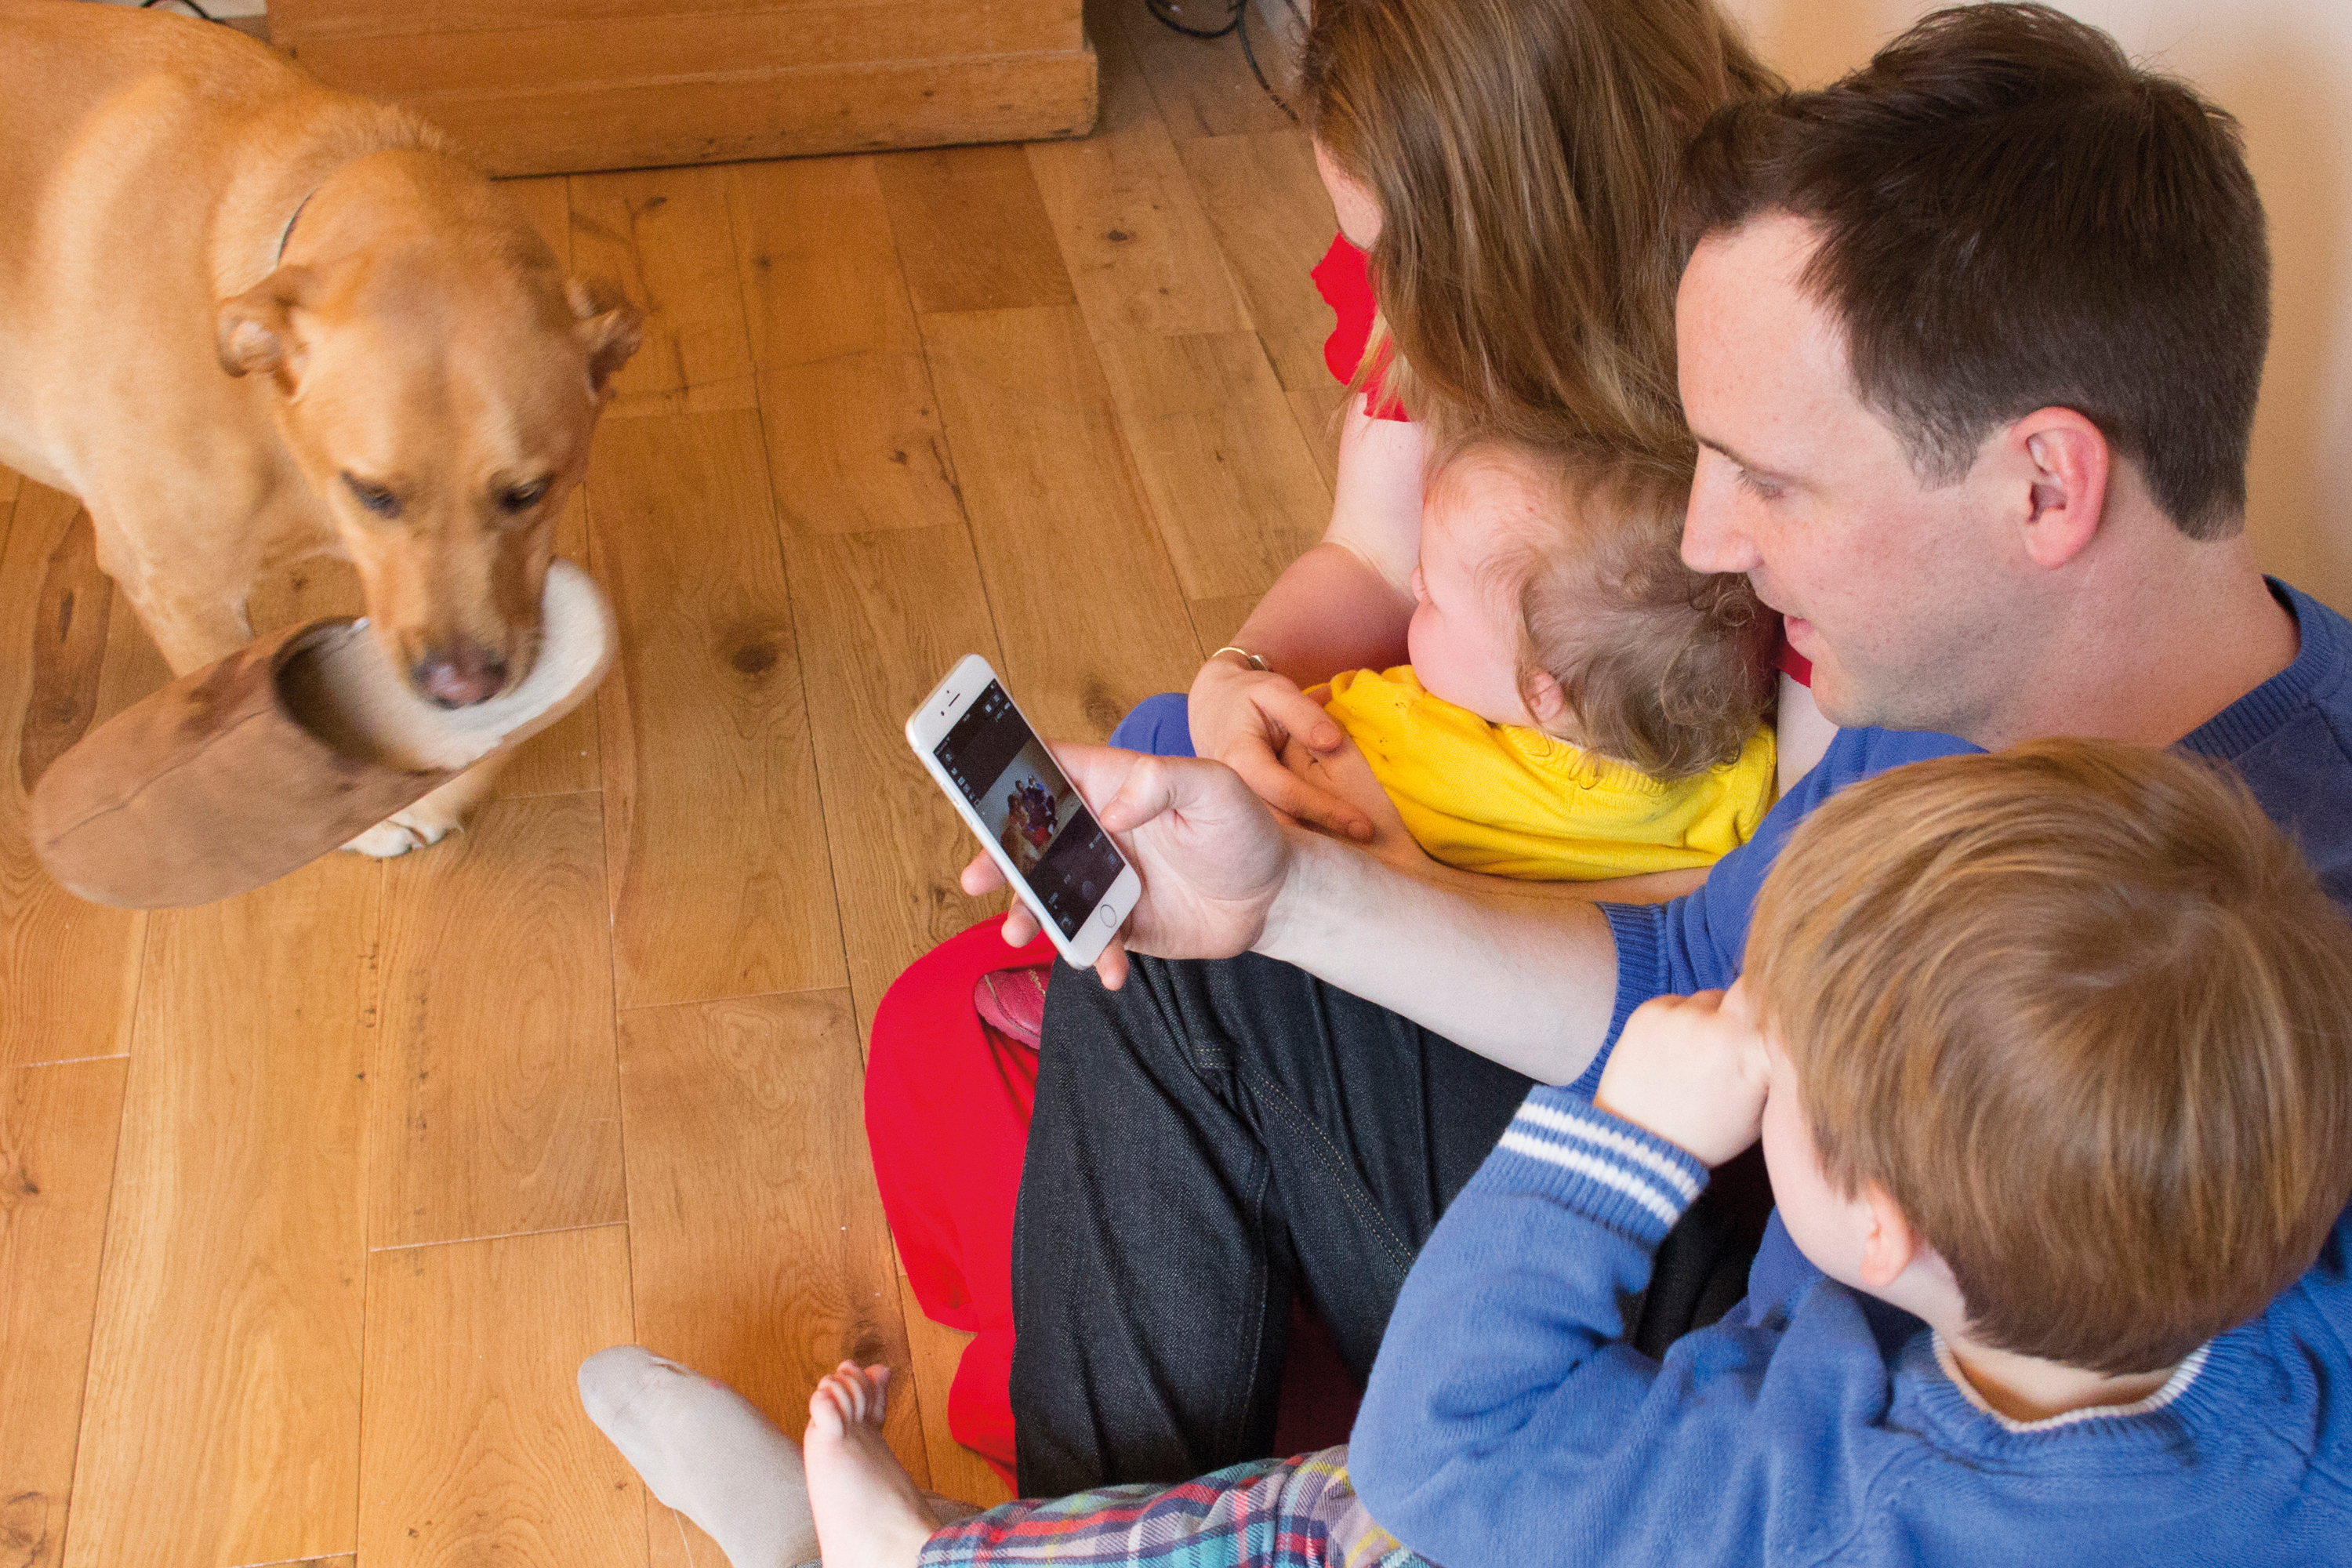
Connect your smartphone to the camera (see over the page) then get into position. Get everyone posing nicely, and take the shot. If you don’t want to be shot holding a phone, set a 2-sec delay then hide it.
Control your camera with your phone
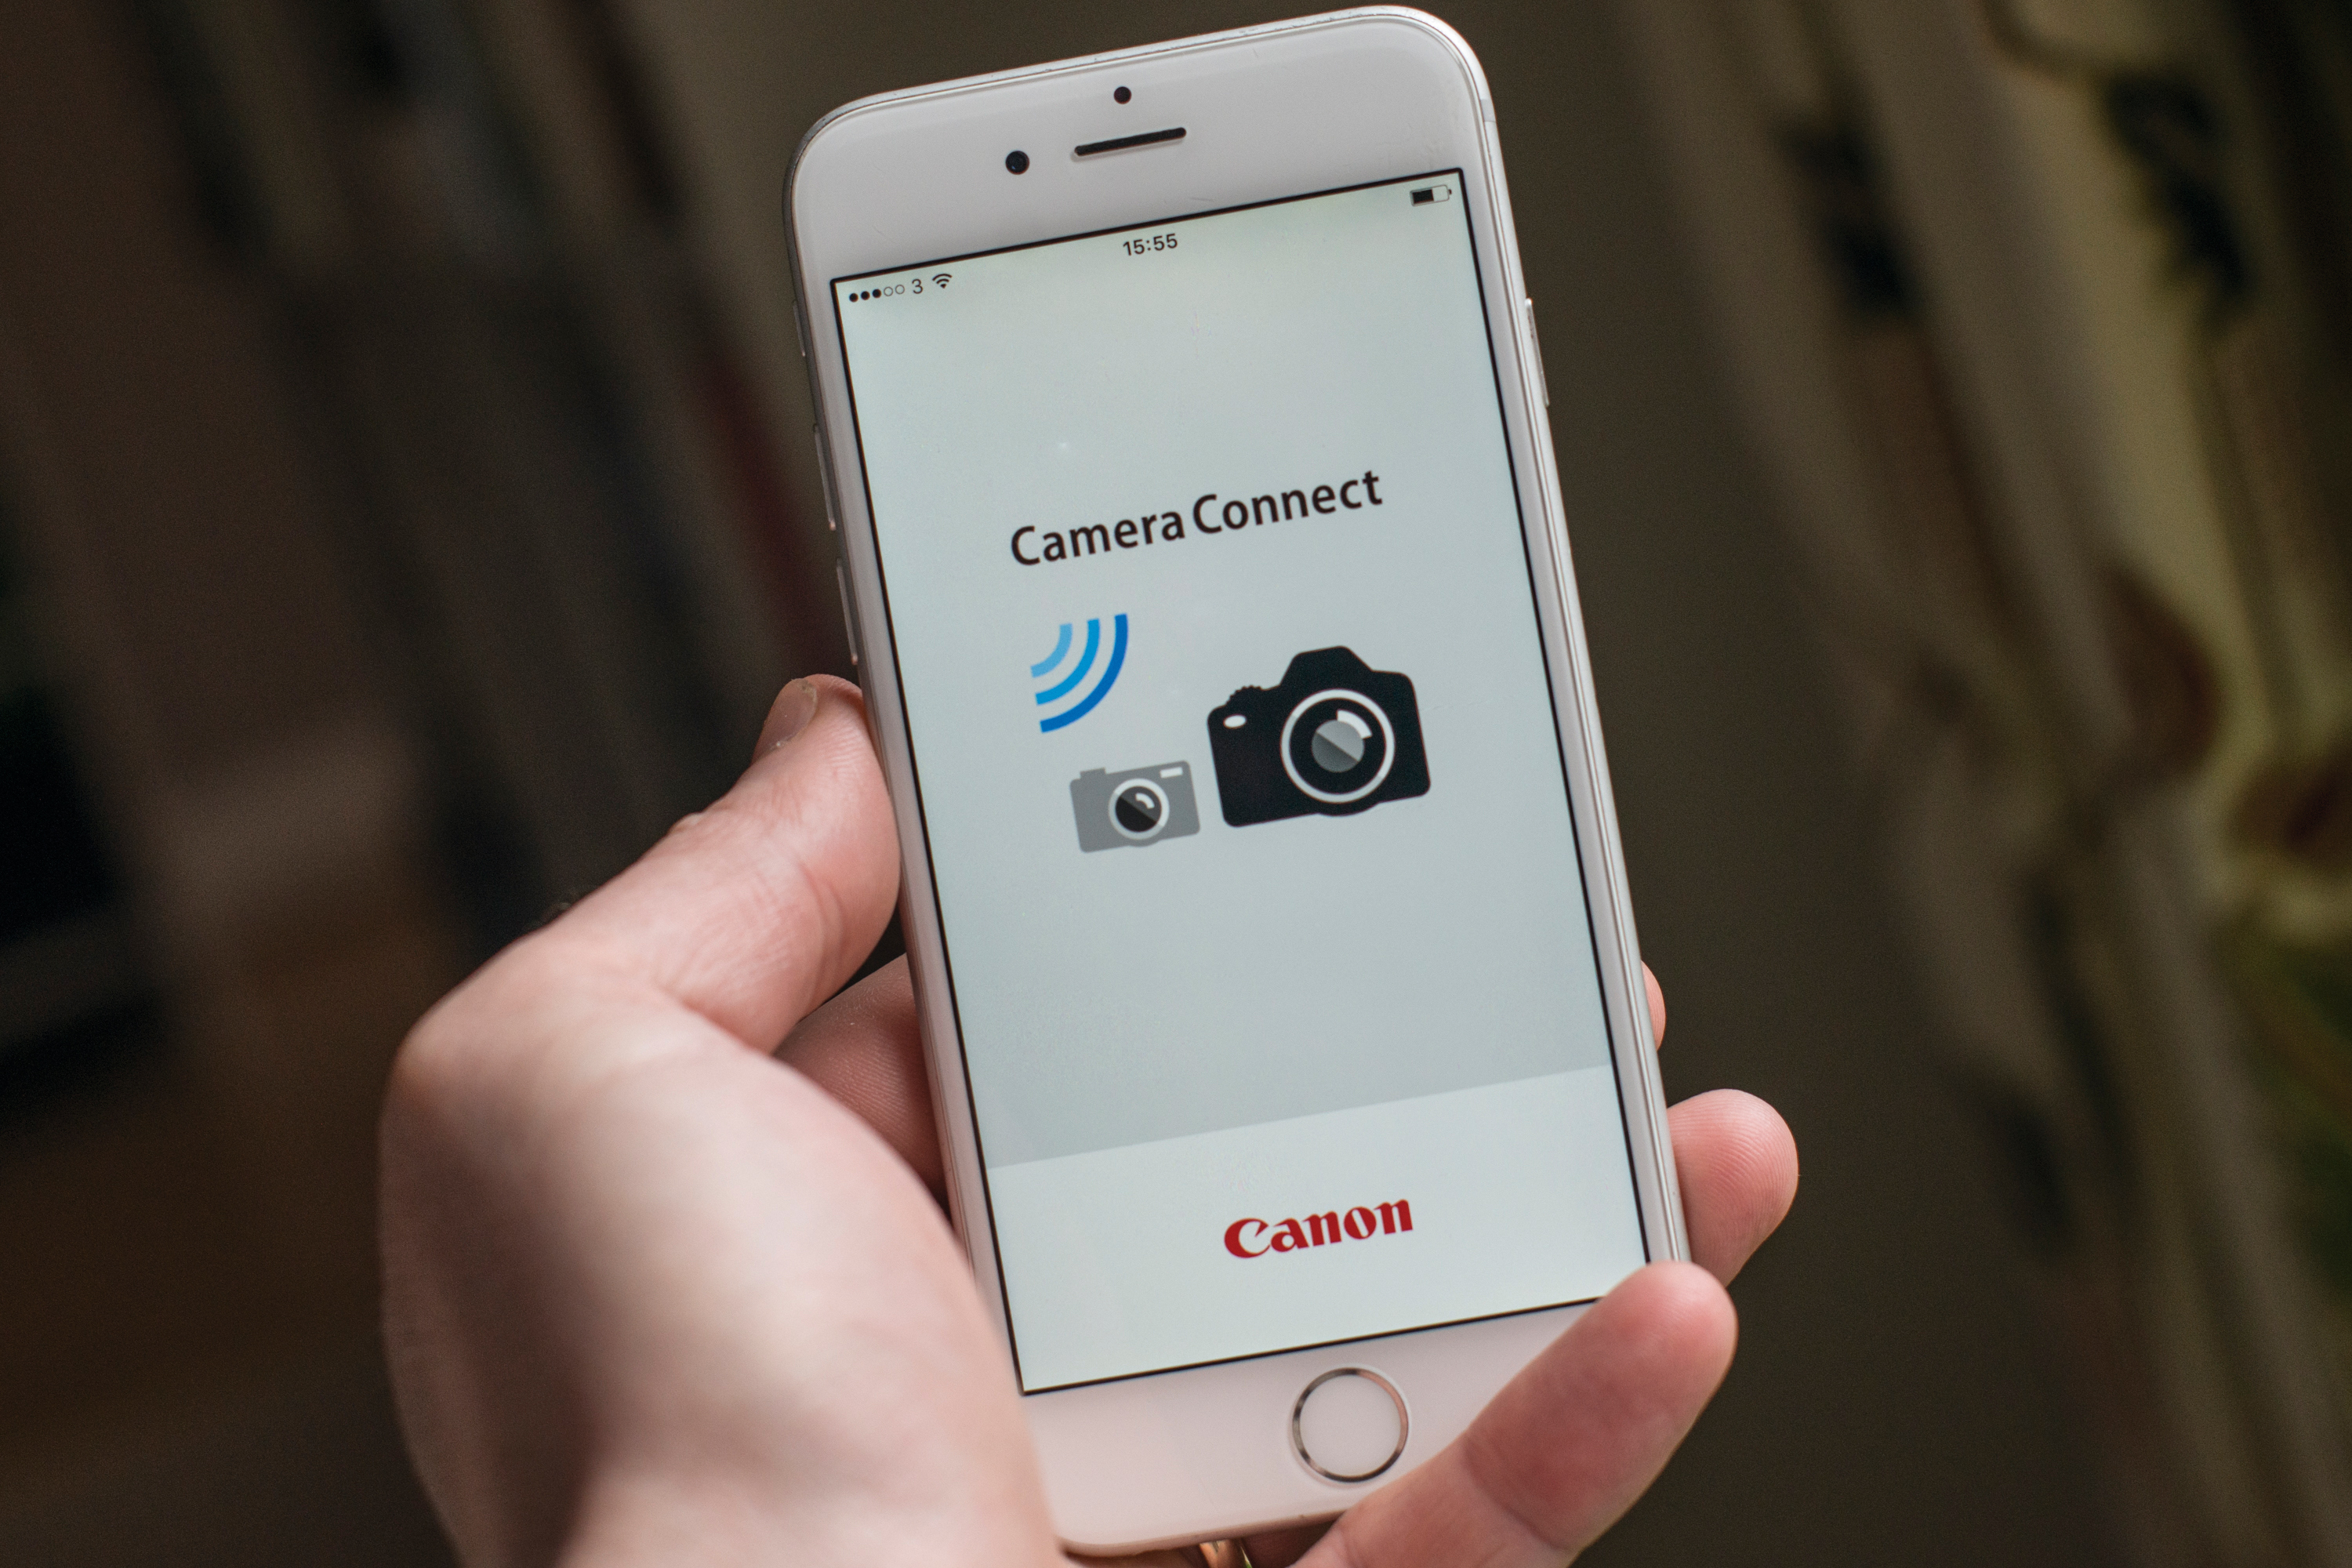
01 Install the app
Go to the Apple App Store or Google Play Store on your device, and search for the app from your camera manufacturer. Don’t open it yet as it won’t work; we need to connect the camera first.
02 Enable WiFi
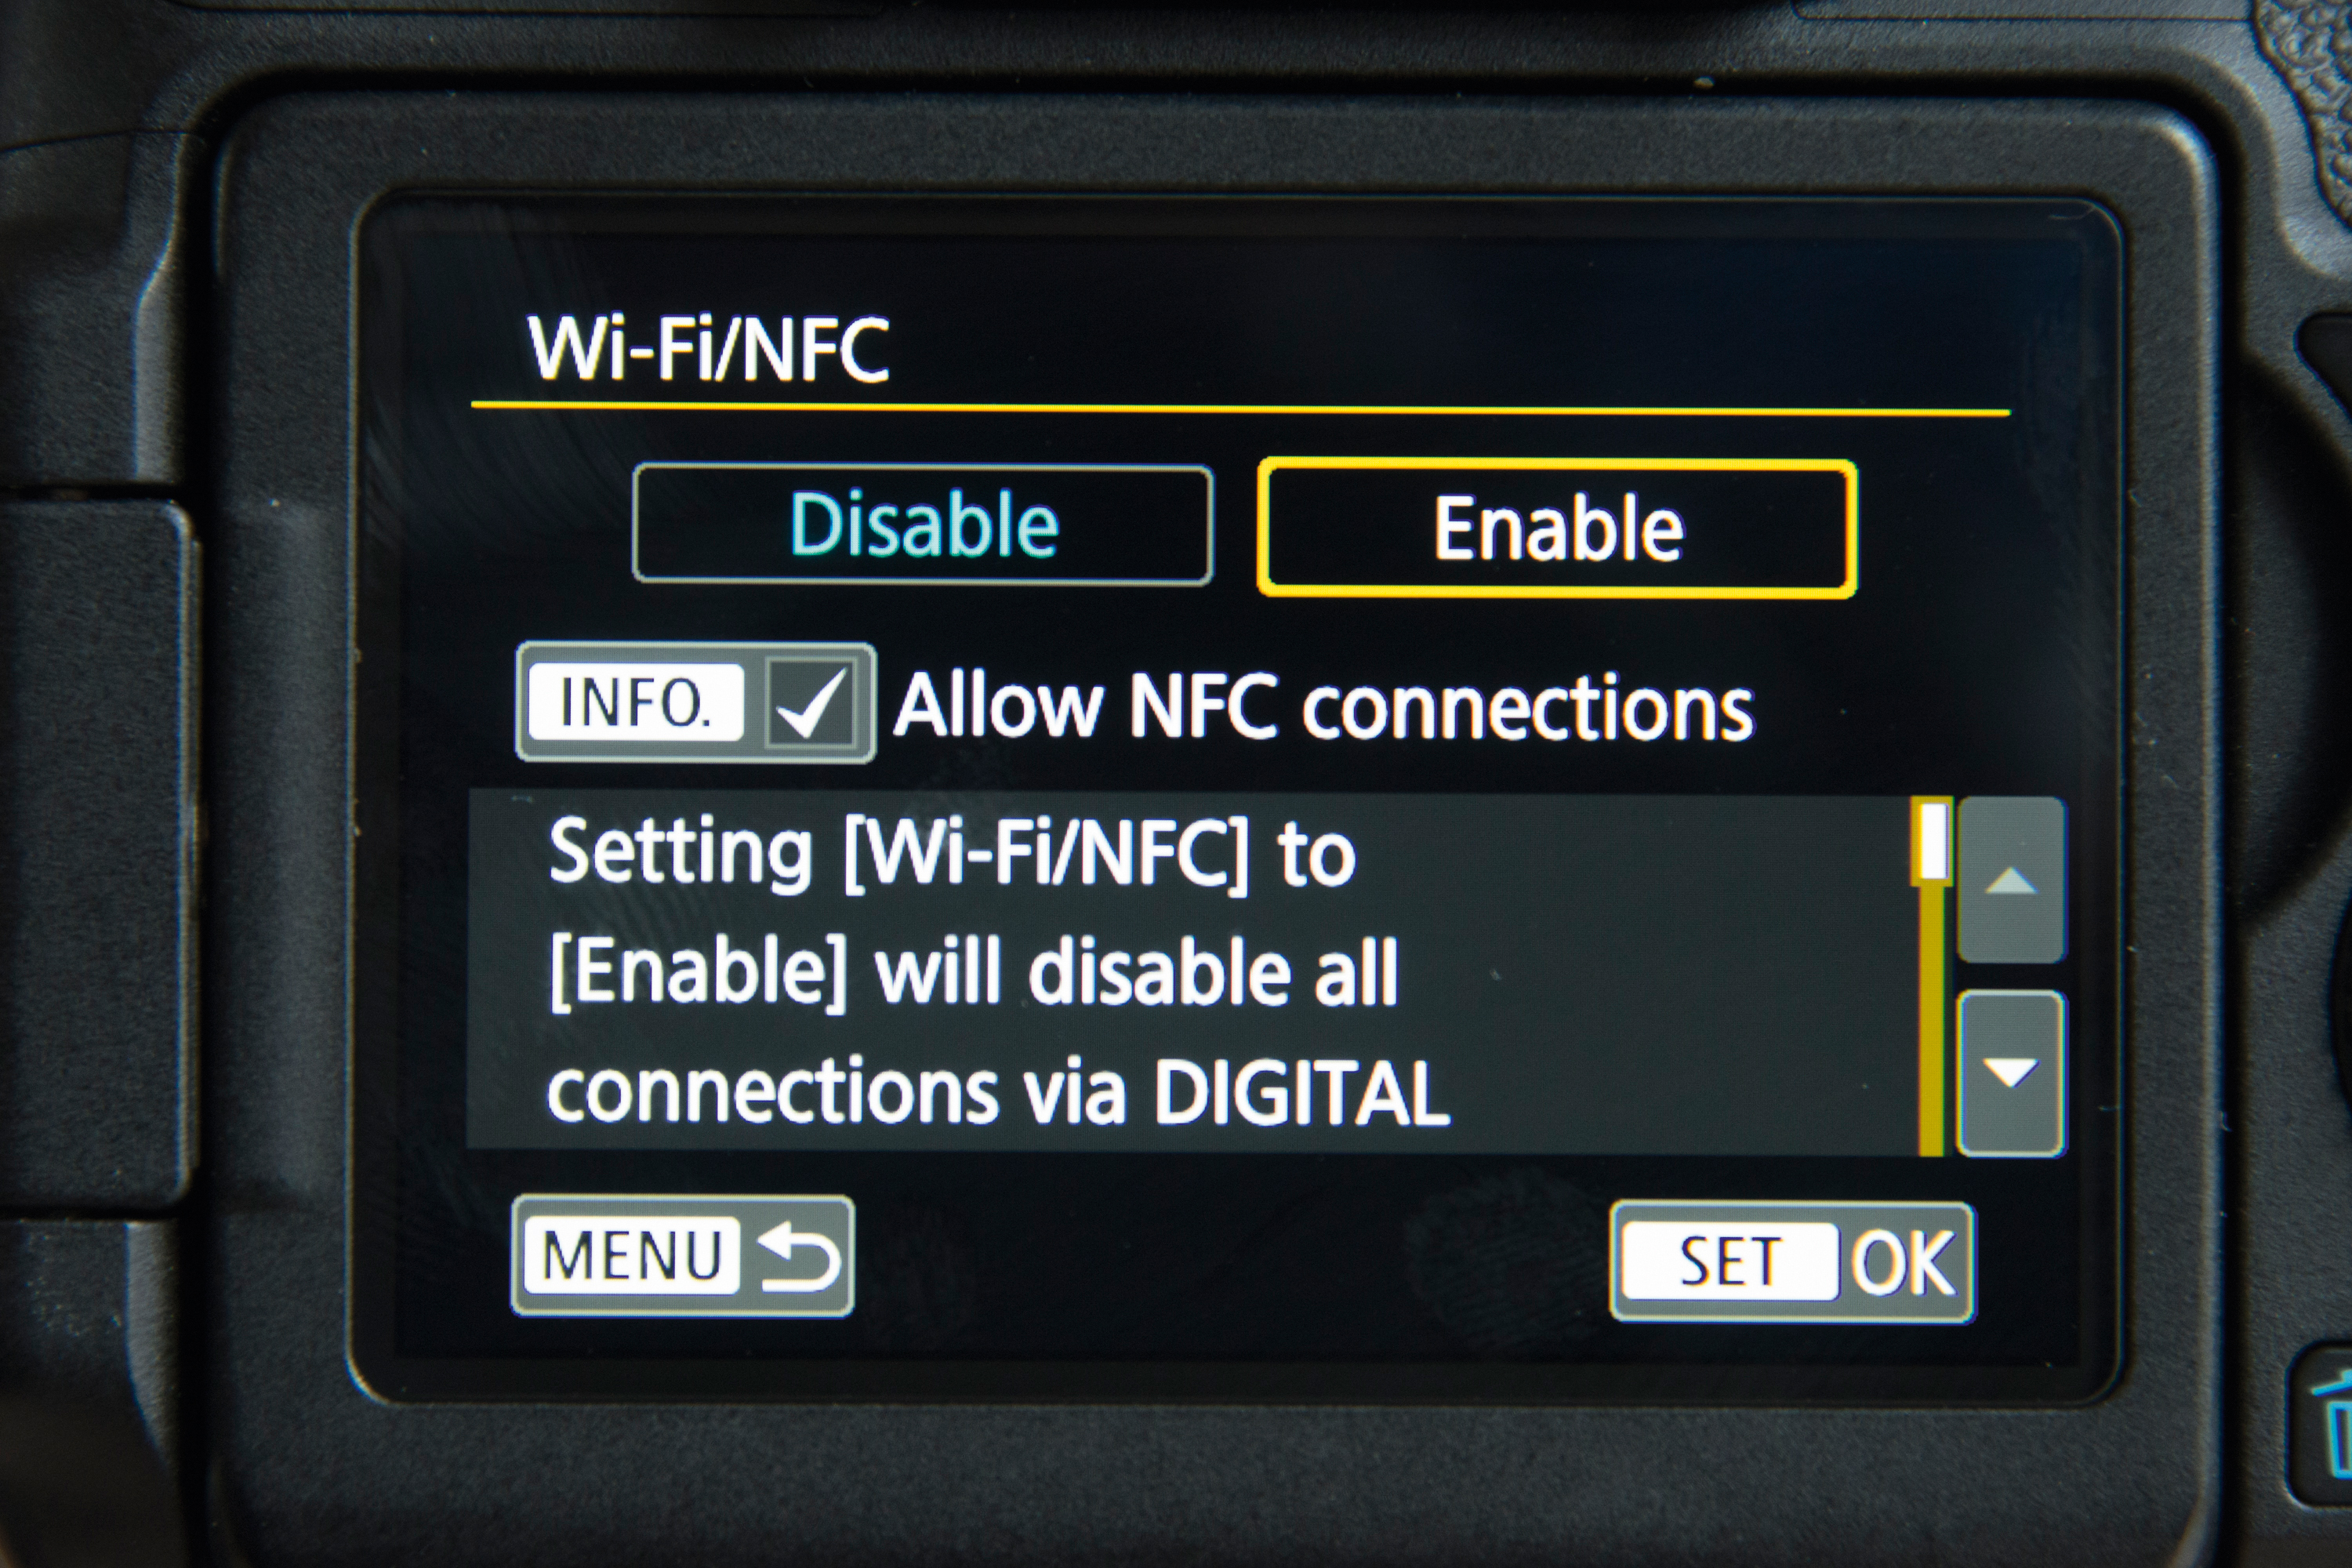
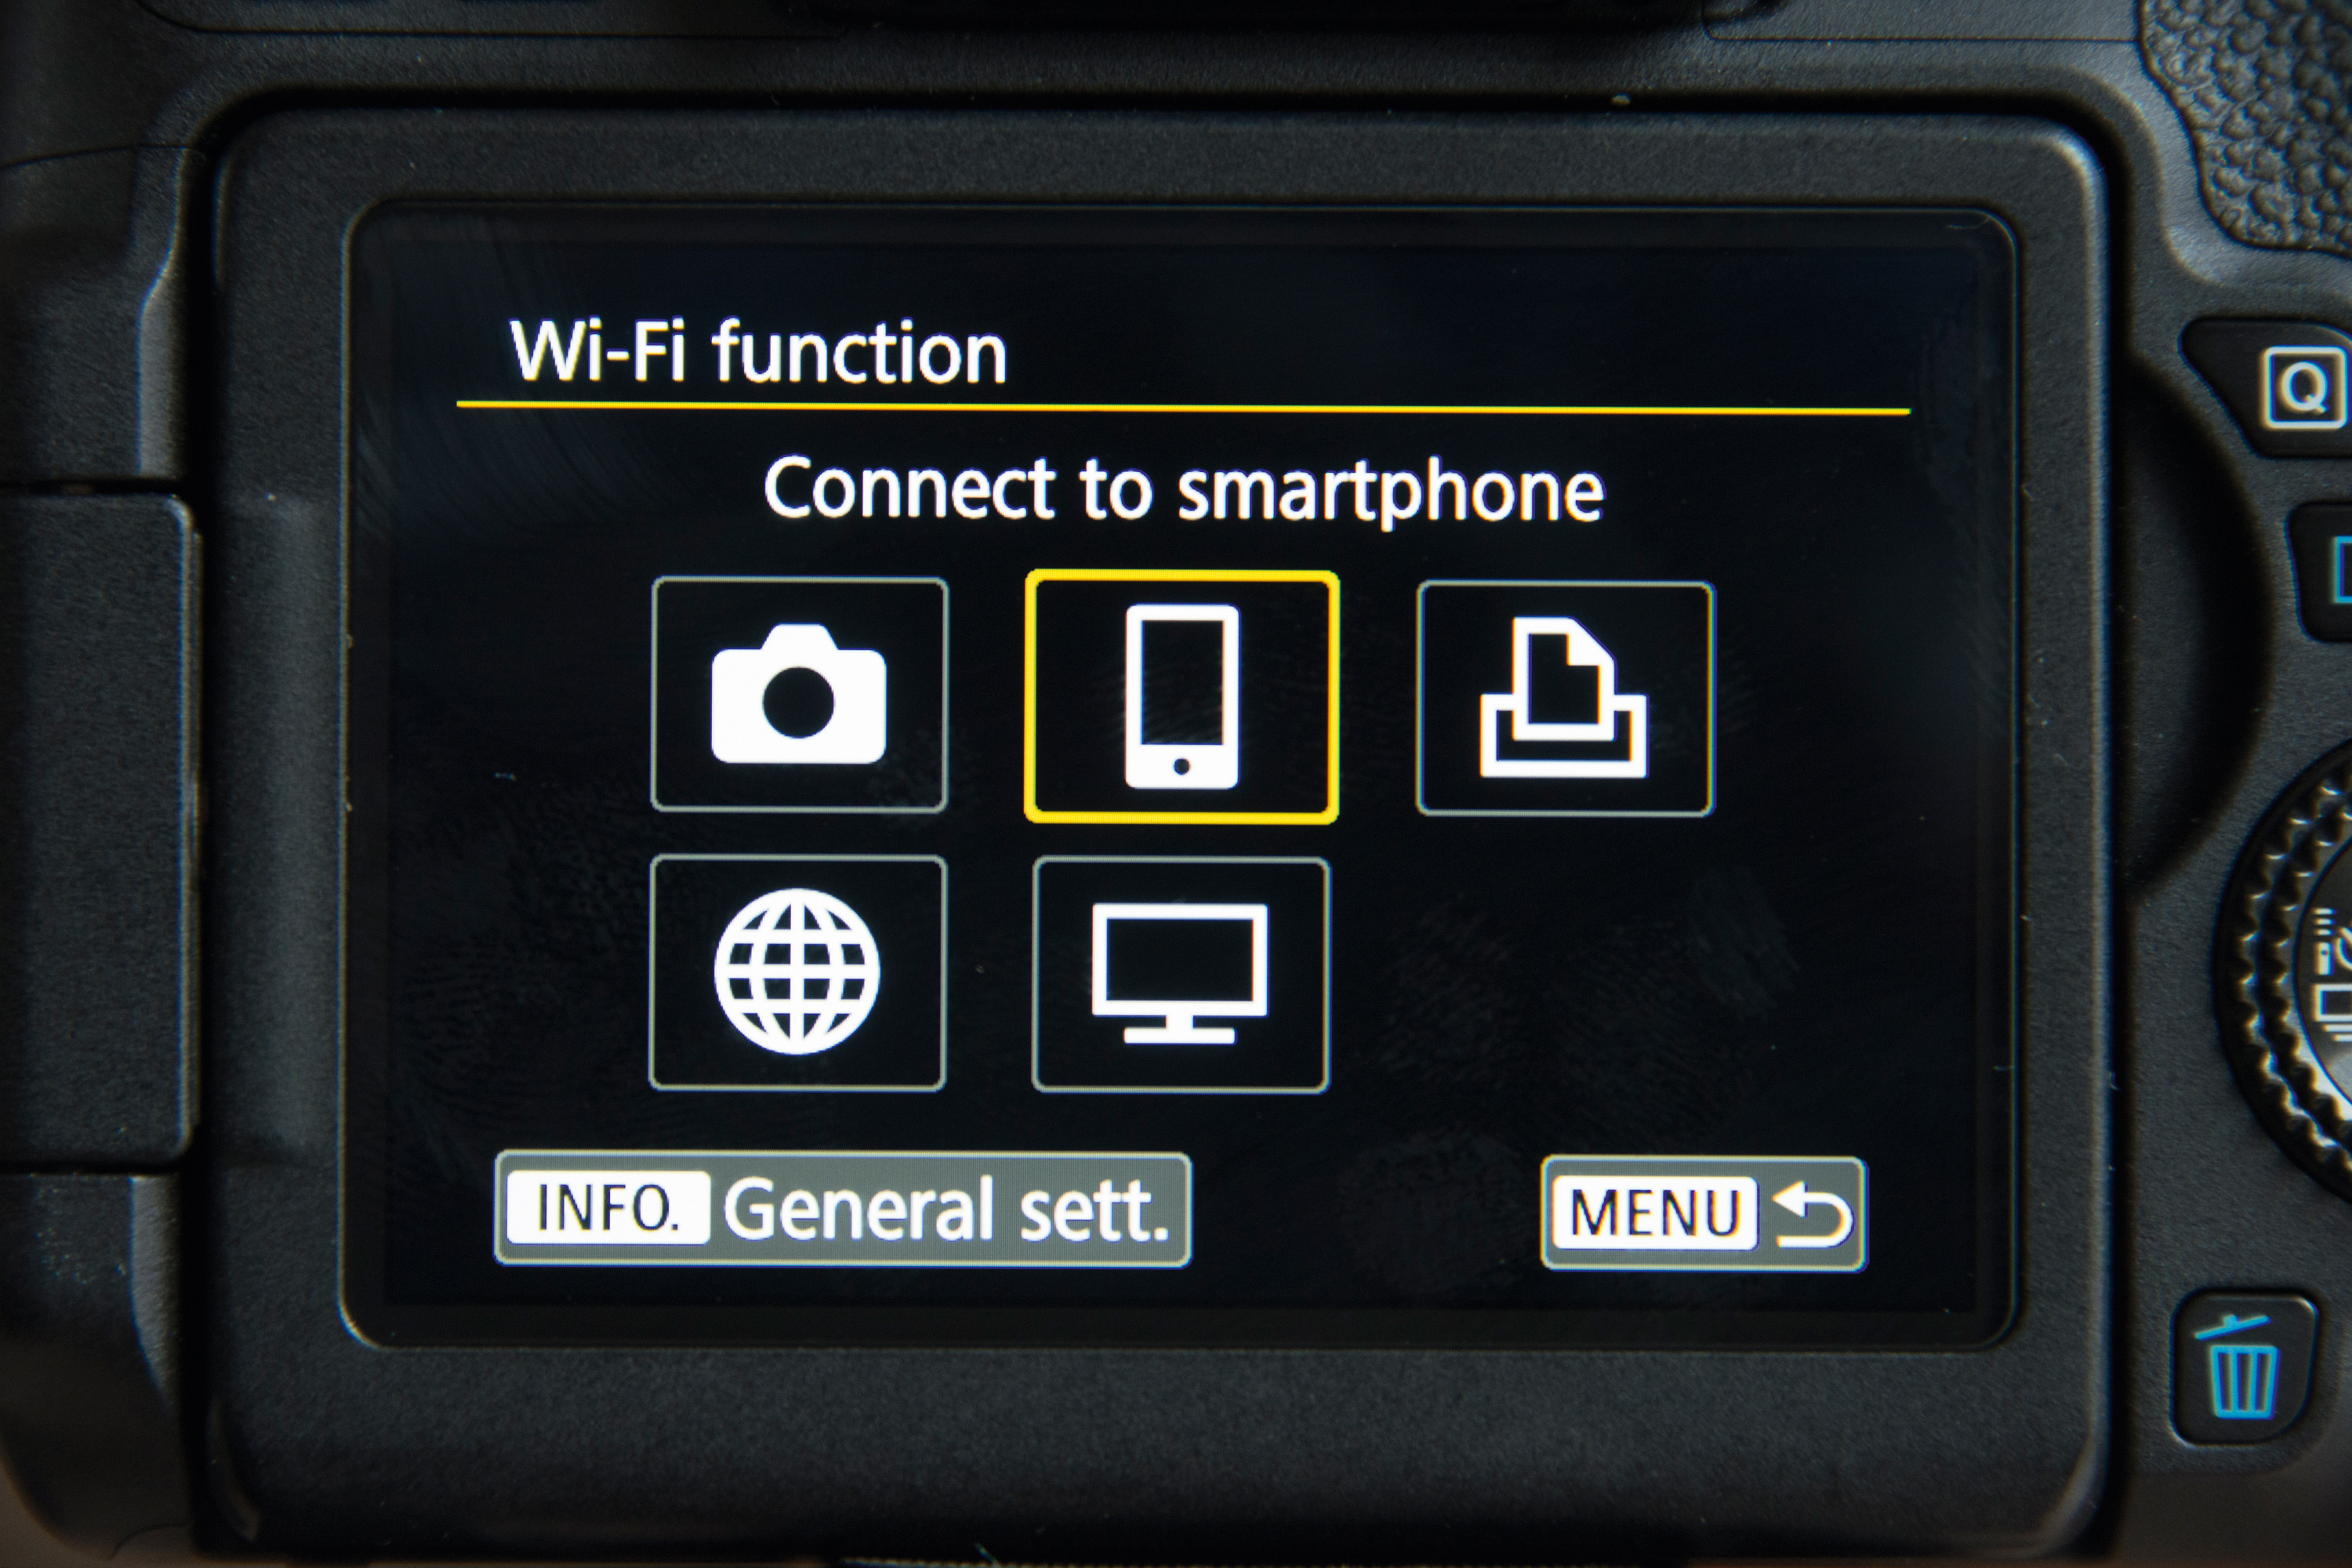
These steps will vary by camera make, but are broadly the same across the board. Go to the WiFi setting in your camera’s menu system and enable it.
03 Create a signal
Some cameras will ask you to specify what kind of device you would like to connect to, in order for the camera to create an appropriate WiFi network and encryption. At this point the camera will display connection information, and may even show a QR code for you to scan on your phone (for streamlined connection).
04 Connect to WiFi
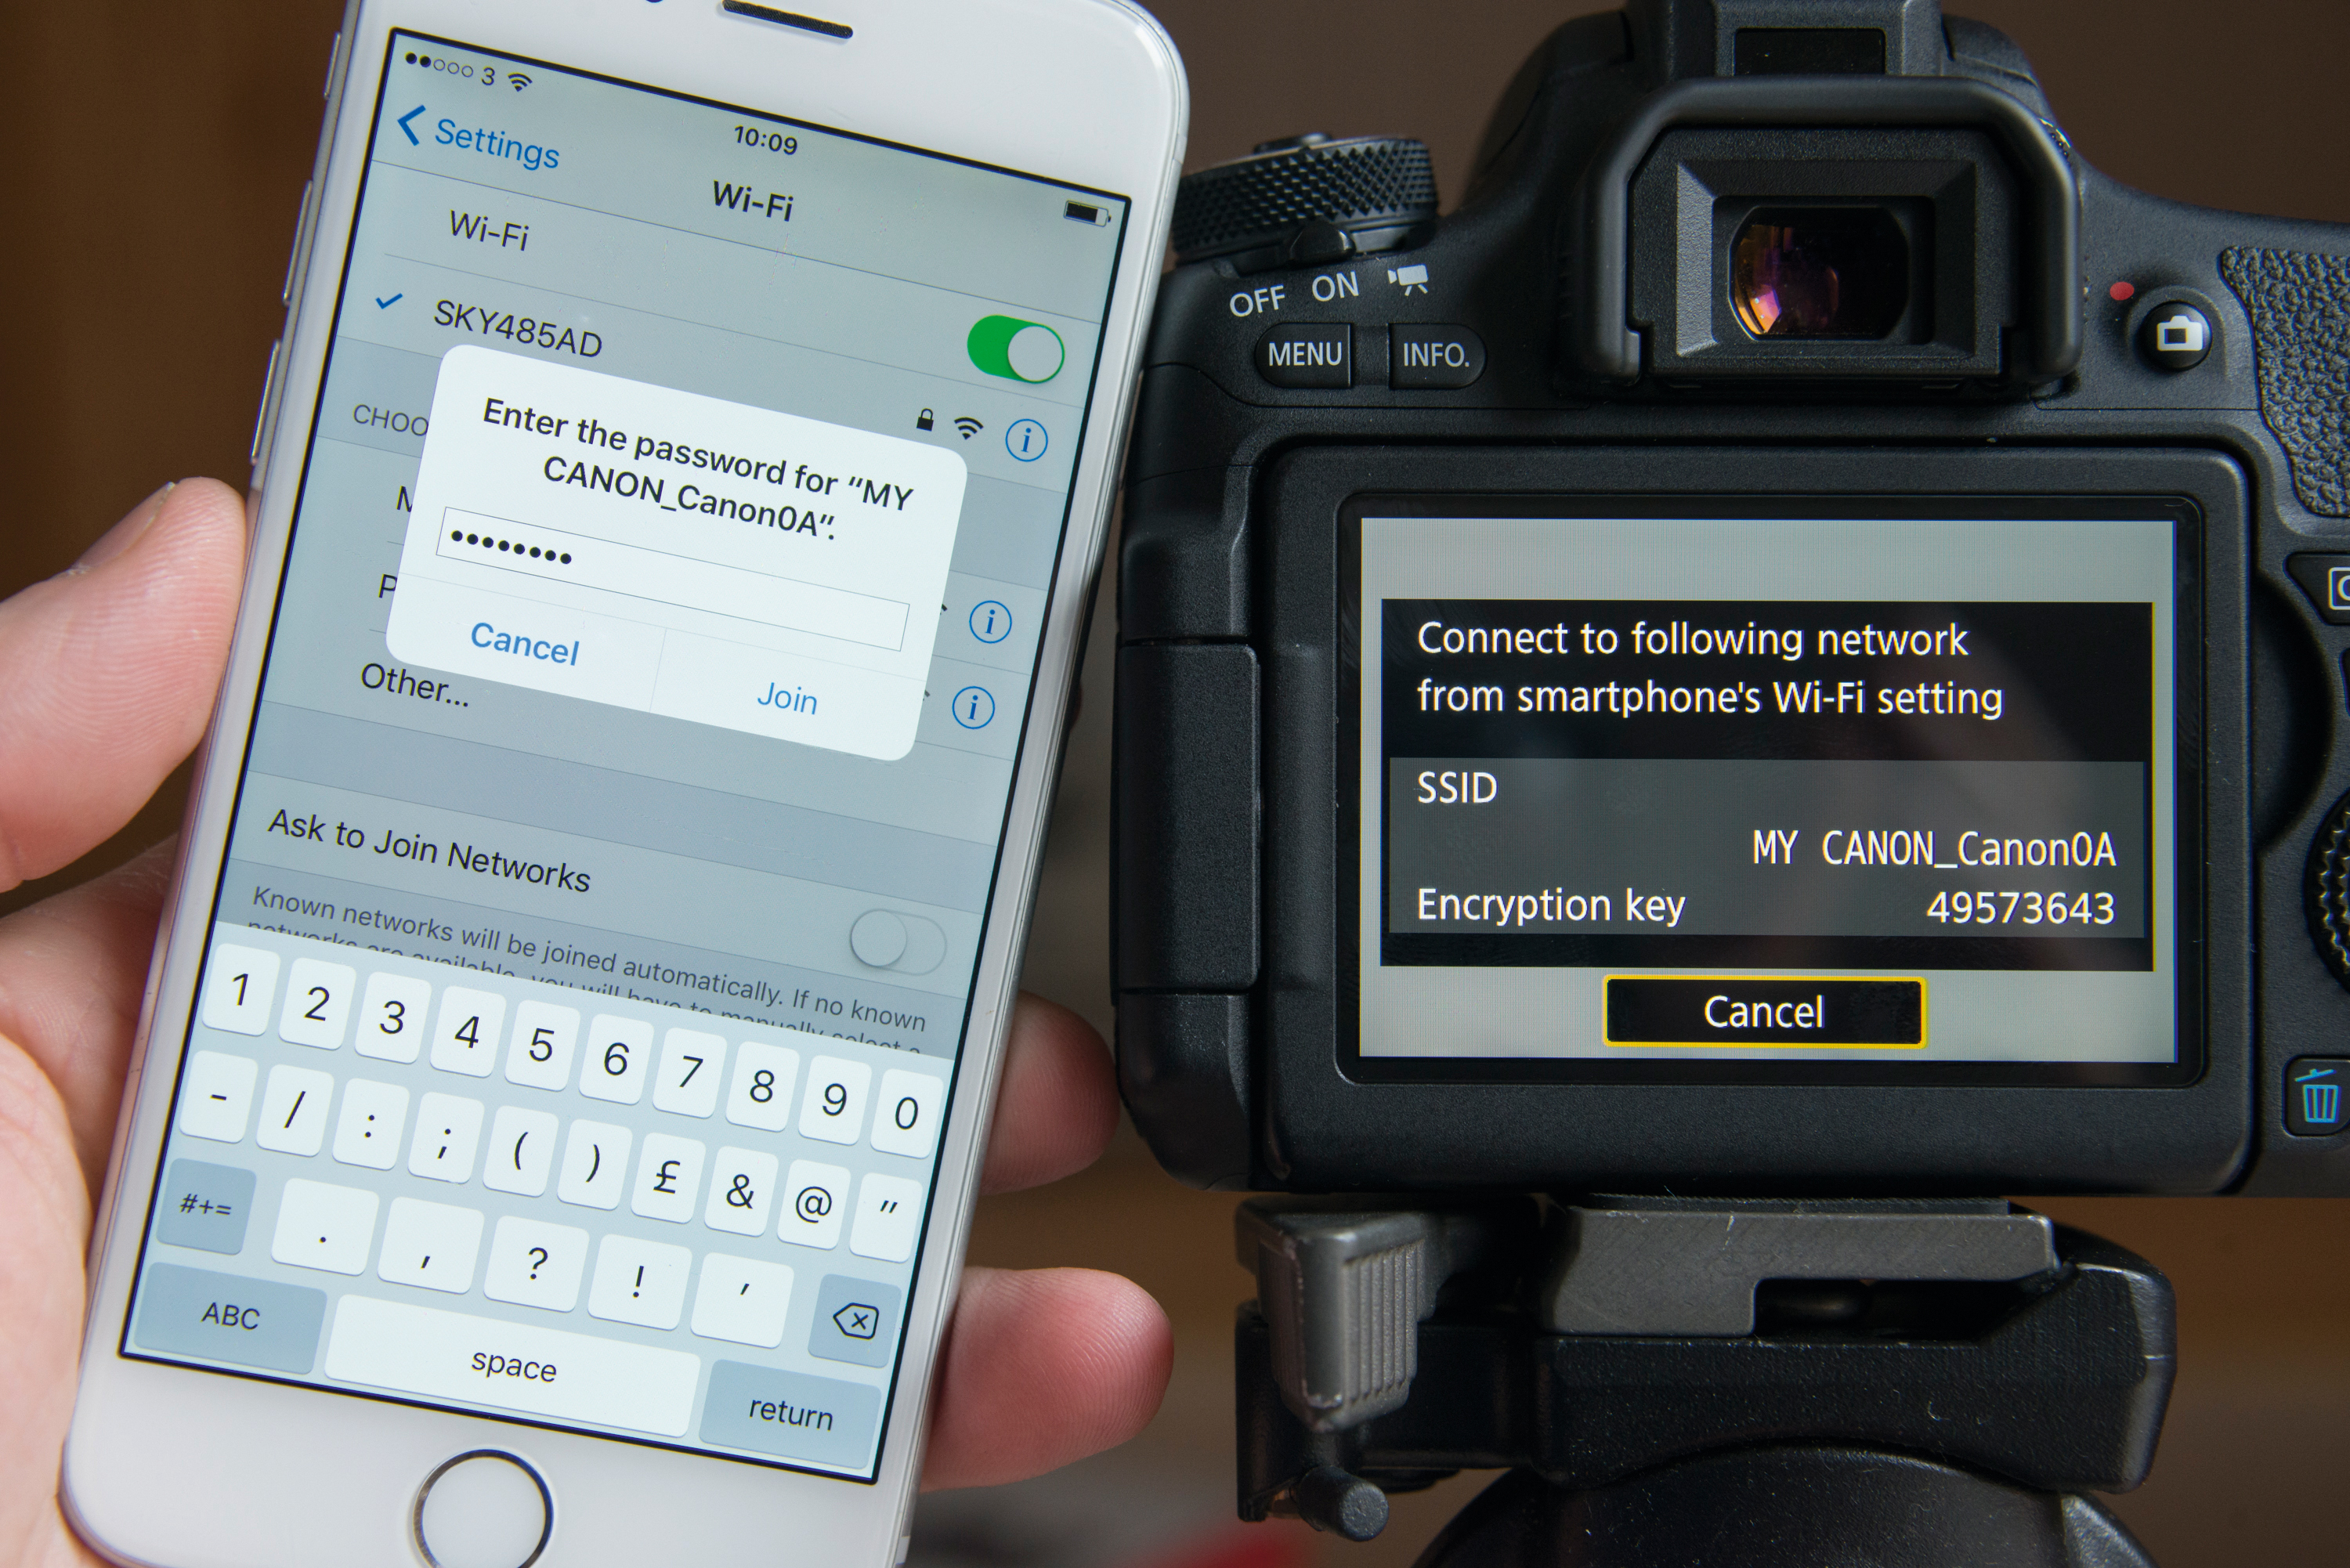
On your phone or tablet, go to WiFi settings and find the network (SSID) created by and displayed on your camera (you might be asked to install a security certificate for your specific camera). Enter the displayed password / encryption info to connect.
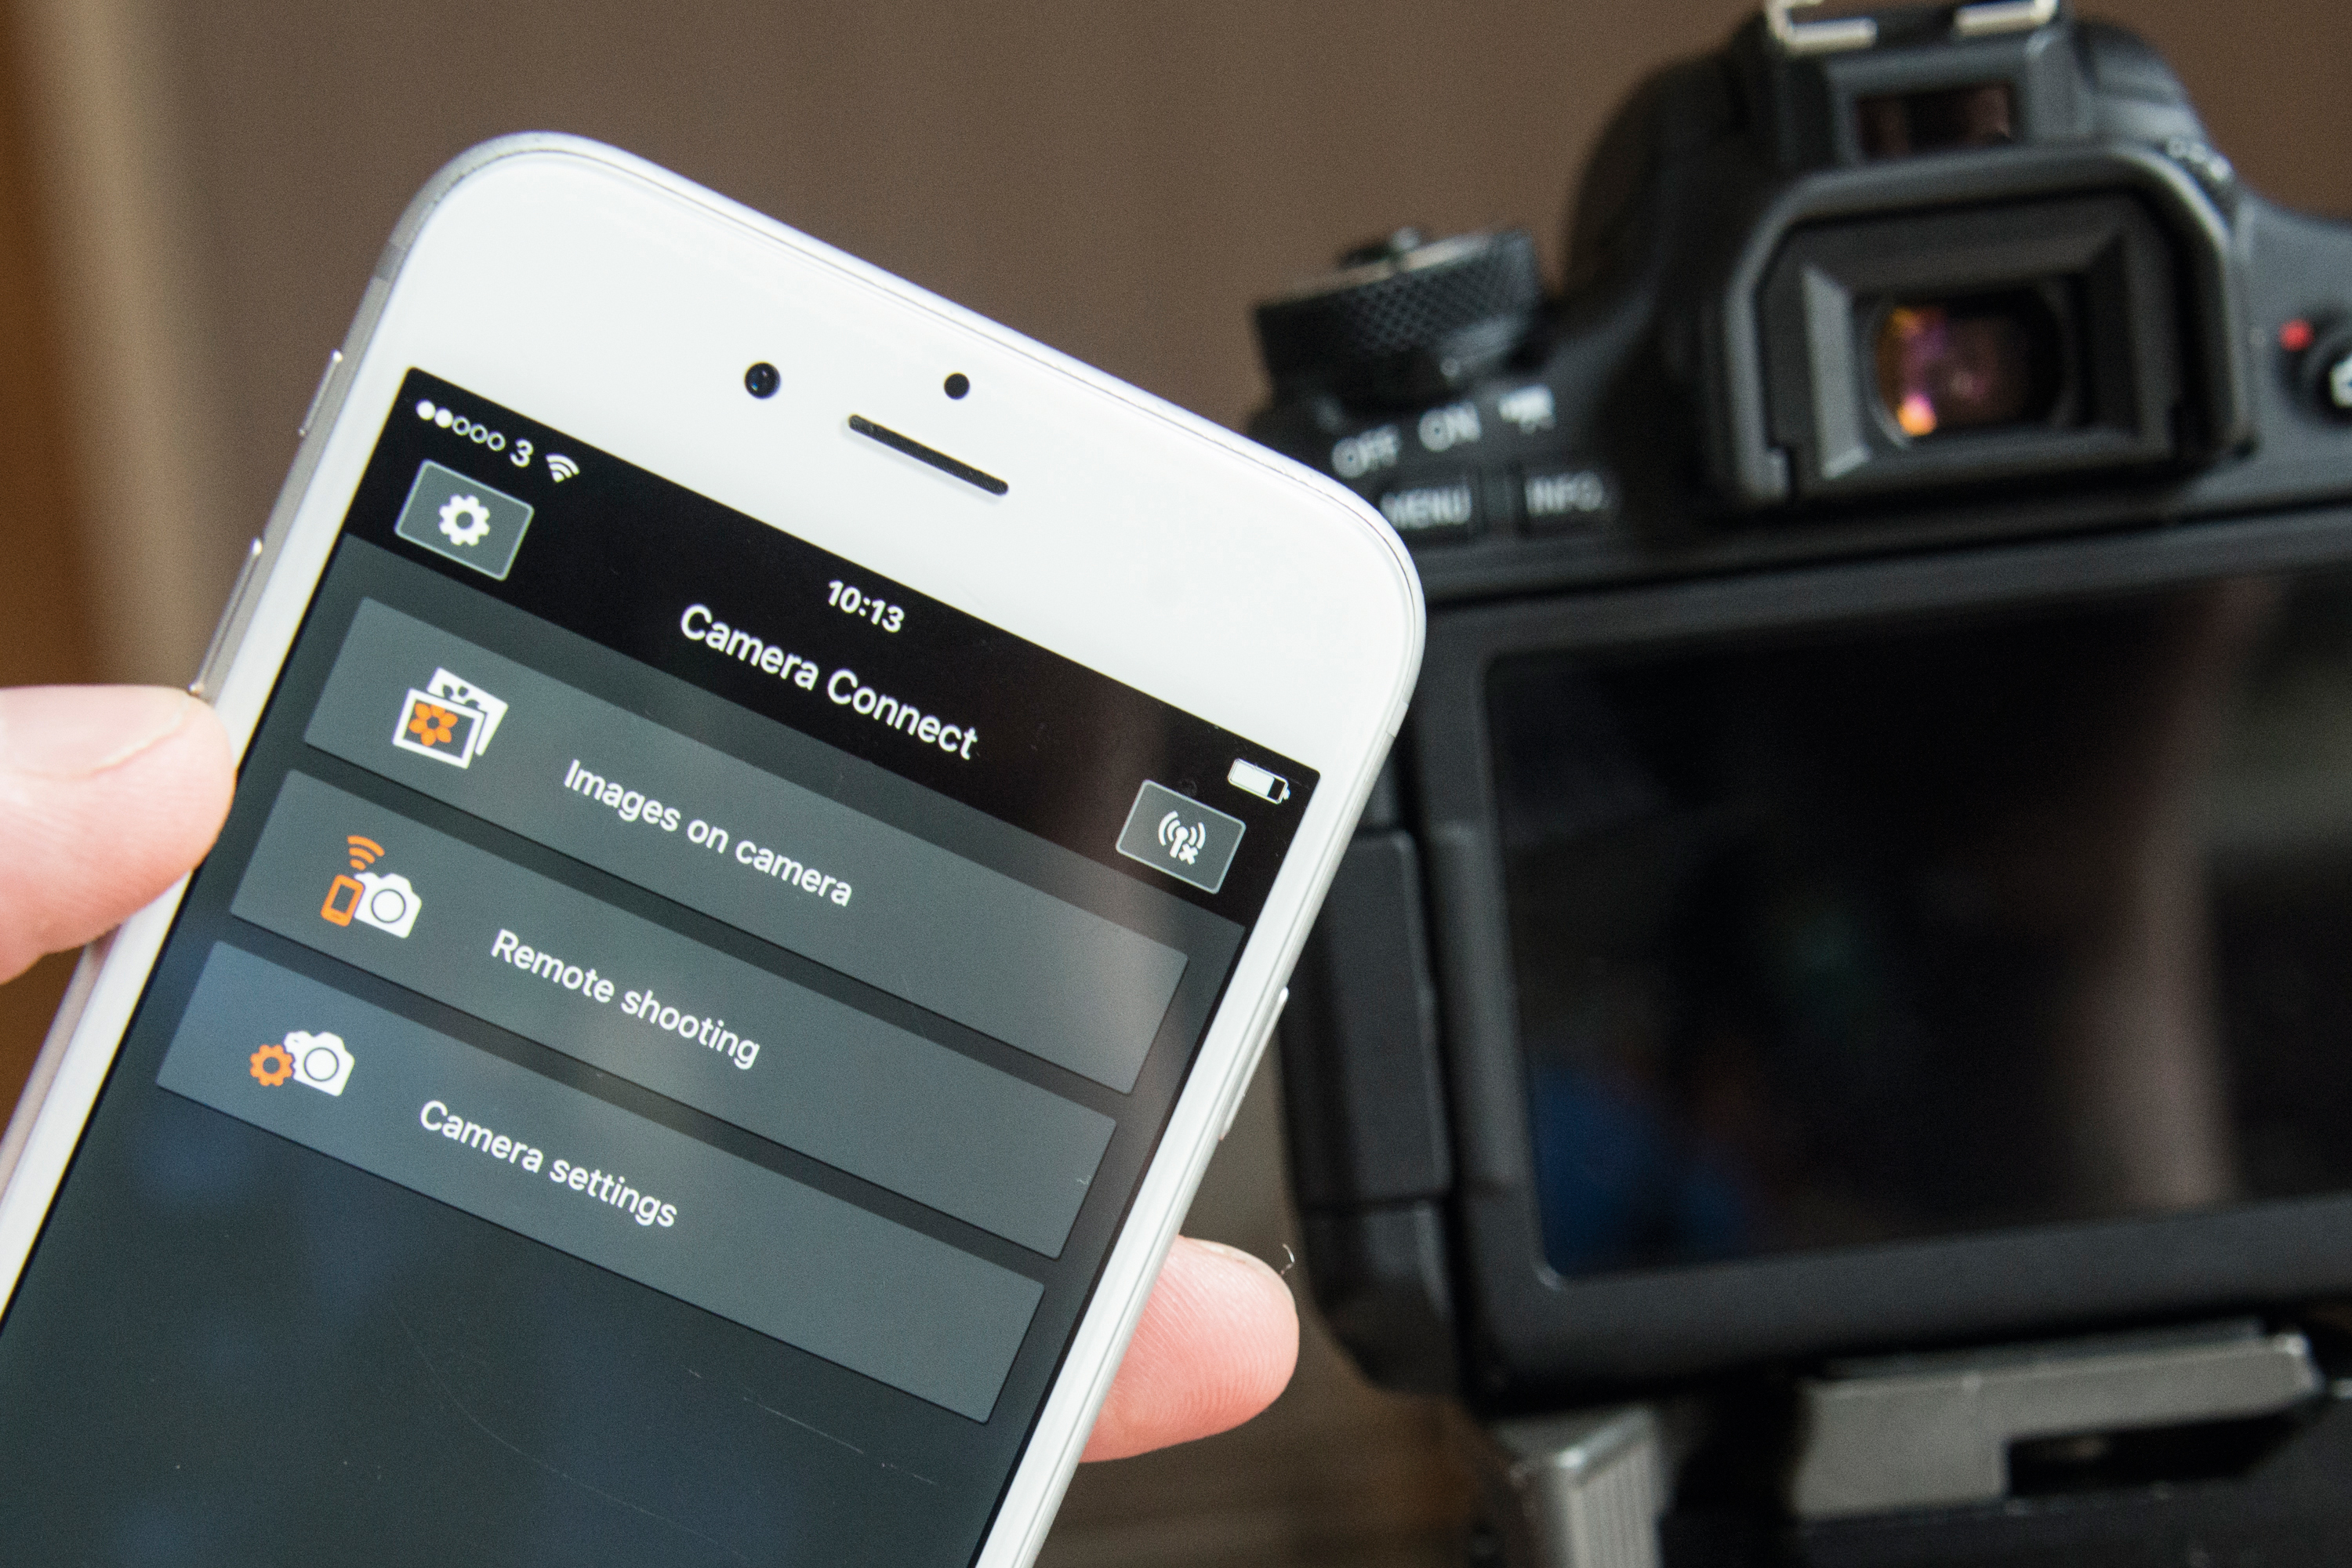
05 Start remote shooting
Once the connection has been confirmed, open the camera app on your device and choose the remote shooting option. This will now display the camera's Live View on your phone screen, and you can summon and manipulate the settings.
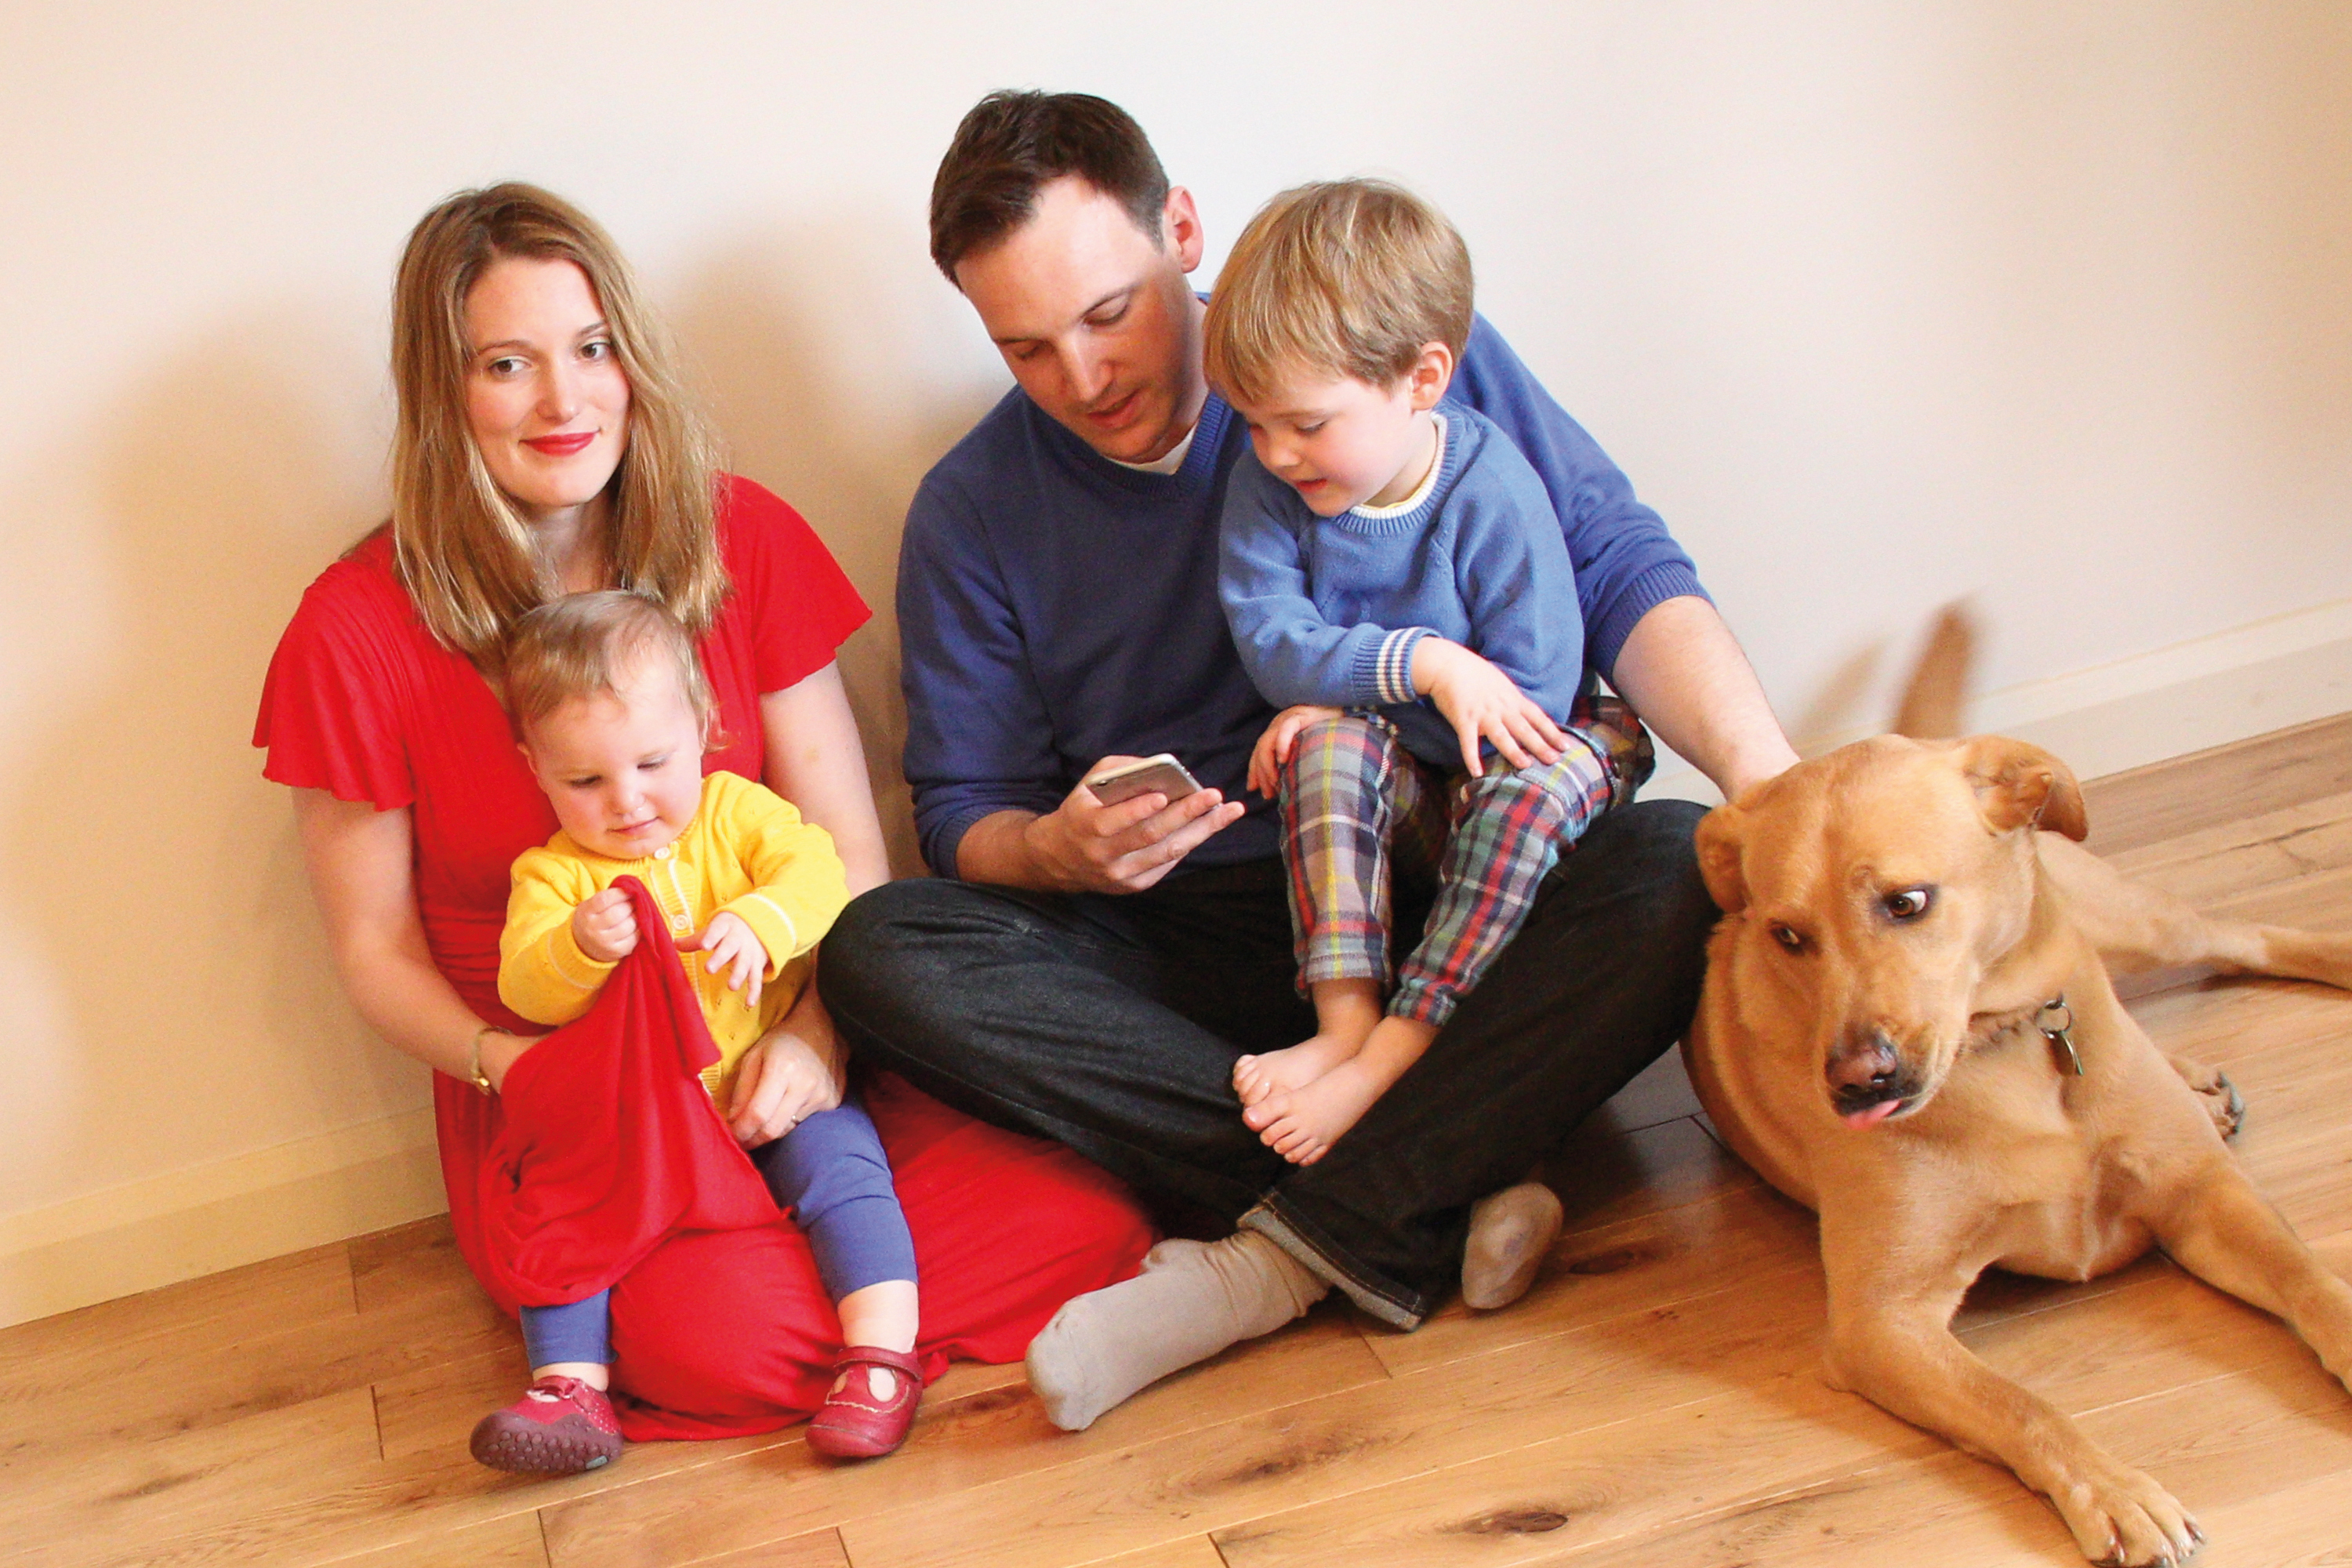
06 Fine-tune camera settings
Depending on your app, and what mode your camera is in, you can change the aperture, shutter speed, ISO, AF point and drive mode – some apps even enable you to zoom the lens in or out, if it's electronic! Tap the screen to focus and hit the circle button to take the shot.
Read more:
The best standard zoom lenses in 2020
Take a great group photograph: tips for posing perfect people shots
The best lighting kits for home studio or location photography
The lead technique writer on Digital Camera Magazine, PhotoPlus: The Canon Magazine and N-Photo: The Nikon Magazine, James is a fantastic general practice photographer with an enviable array of skills across every genre of photography.
Whether it's flash photography techniques like stroboscopic portraits, astrophotography projects like photographing the Northern Lights, or turning sound into art by making paint dance on a set of speakers, James' tutorials and projects are as creative as they are enjoyable.
He's also a wizard at the dark arts of Photoshop, Lightroom and Affinity Photo, and is capable of some genuine black magic in the digital darkroom, making him one of the leading authorities on photo editing software and techniques.

