Essential exposure technique: settings for seamless backgrounds
Overcome exposure issues caused by large areas of solid black or white in your images - a studio essential!

Seamless black or white backgrounds are excellent for focussing the attention of your viewers onto the main subject of your images. By rendering the backdrop a solid shade, there are no distracting details, jostling for dominance. This type of background works equally well for portraits, still life shots and macro subjects, however the large expanse of bright or dark area can confuse your camera’s metering system. A black seamless background will often trick a camera into overexposing, since the system will perceive a low level of reflected light and therefore ‘assume’ ambient light levels are low.
Conversely, a white backdrop may result in an underexposed, or even silhouetted subject, due to misread brightness. To side-step these common issues, we can experiment with metering modes, for more precise exposure measurement, and recompose the frame, to help the camera better assess the area of the scene that should be used as the exposure reference.
Article continues belowAlternatively, using the automatic metering system to estimate exposure, and then locking in these camera settings, will provide greater control over localised brightness. Here we combine these methods for a precise workflow. Regarding background colour, it doesn’t matter if yours is black or white, the method is equally applicable, although you should expect inverse warnings at Step 6.
1- Activate Spot Metering
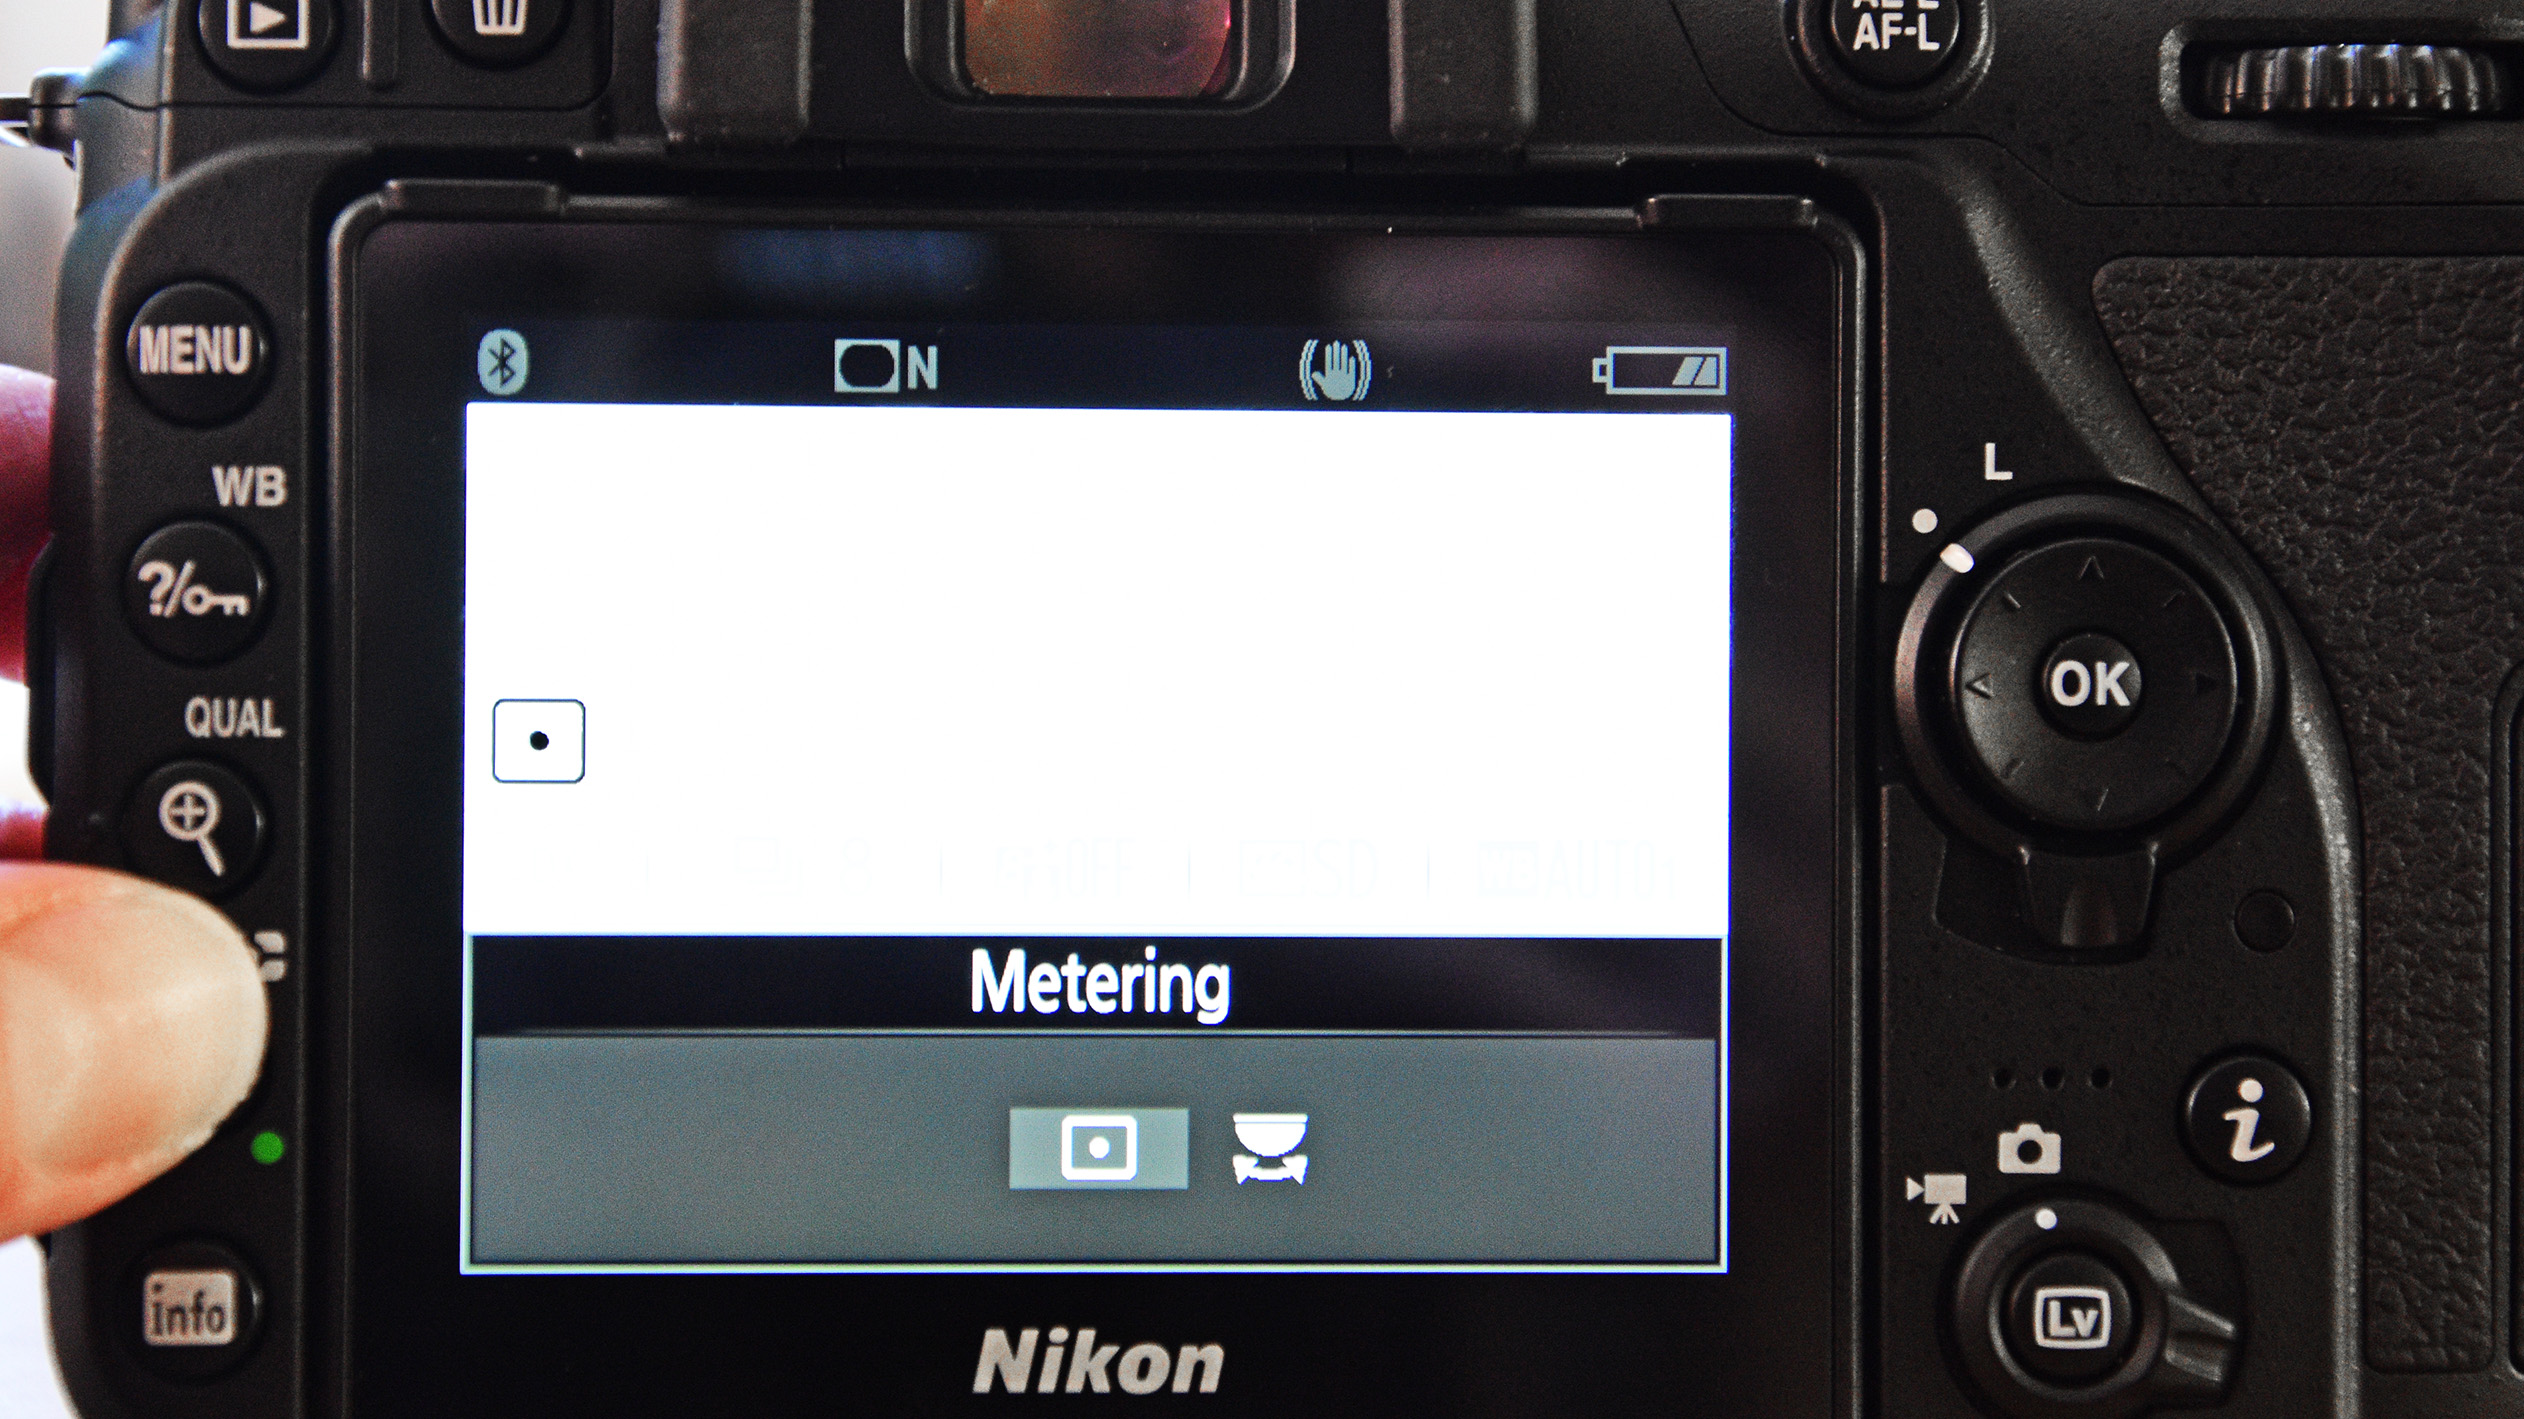
Since Evaluative metering is too easily confused by the bright background in this shot, using Spot metering will assess exposure from a smaller area of the frame - the space occupied by the subject.
2- Zoom in
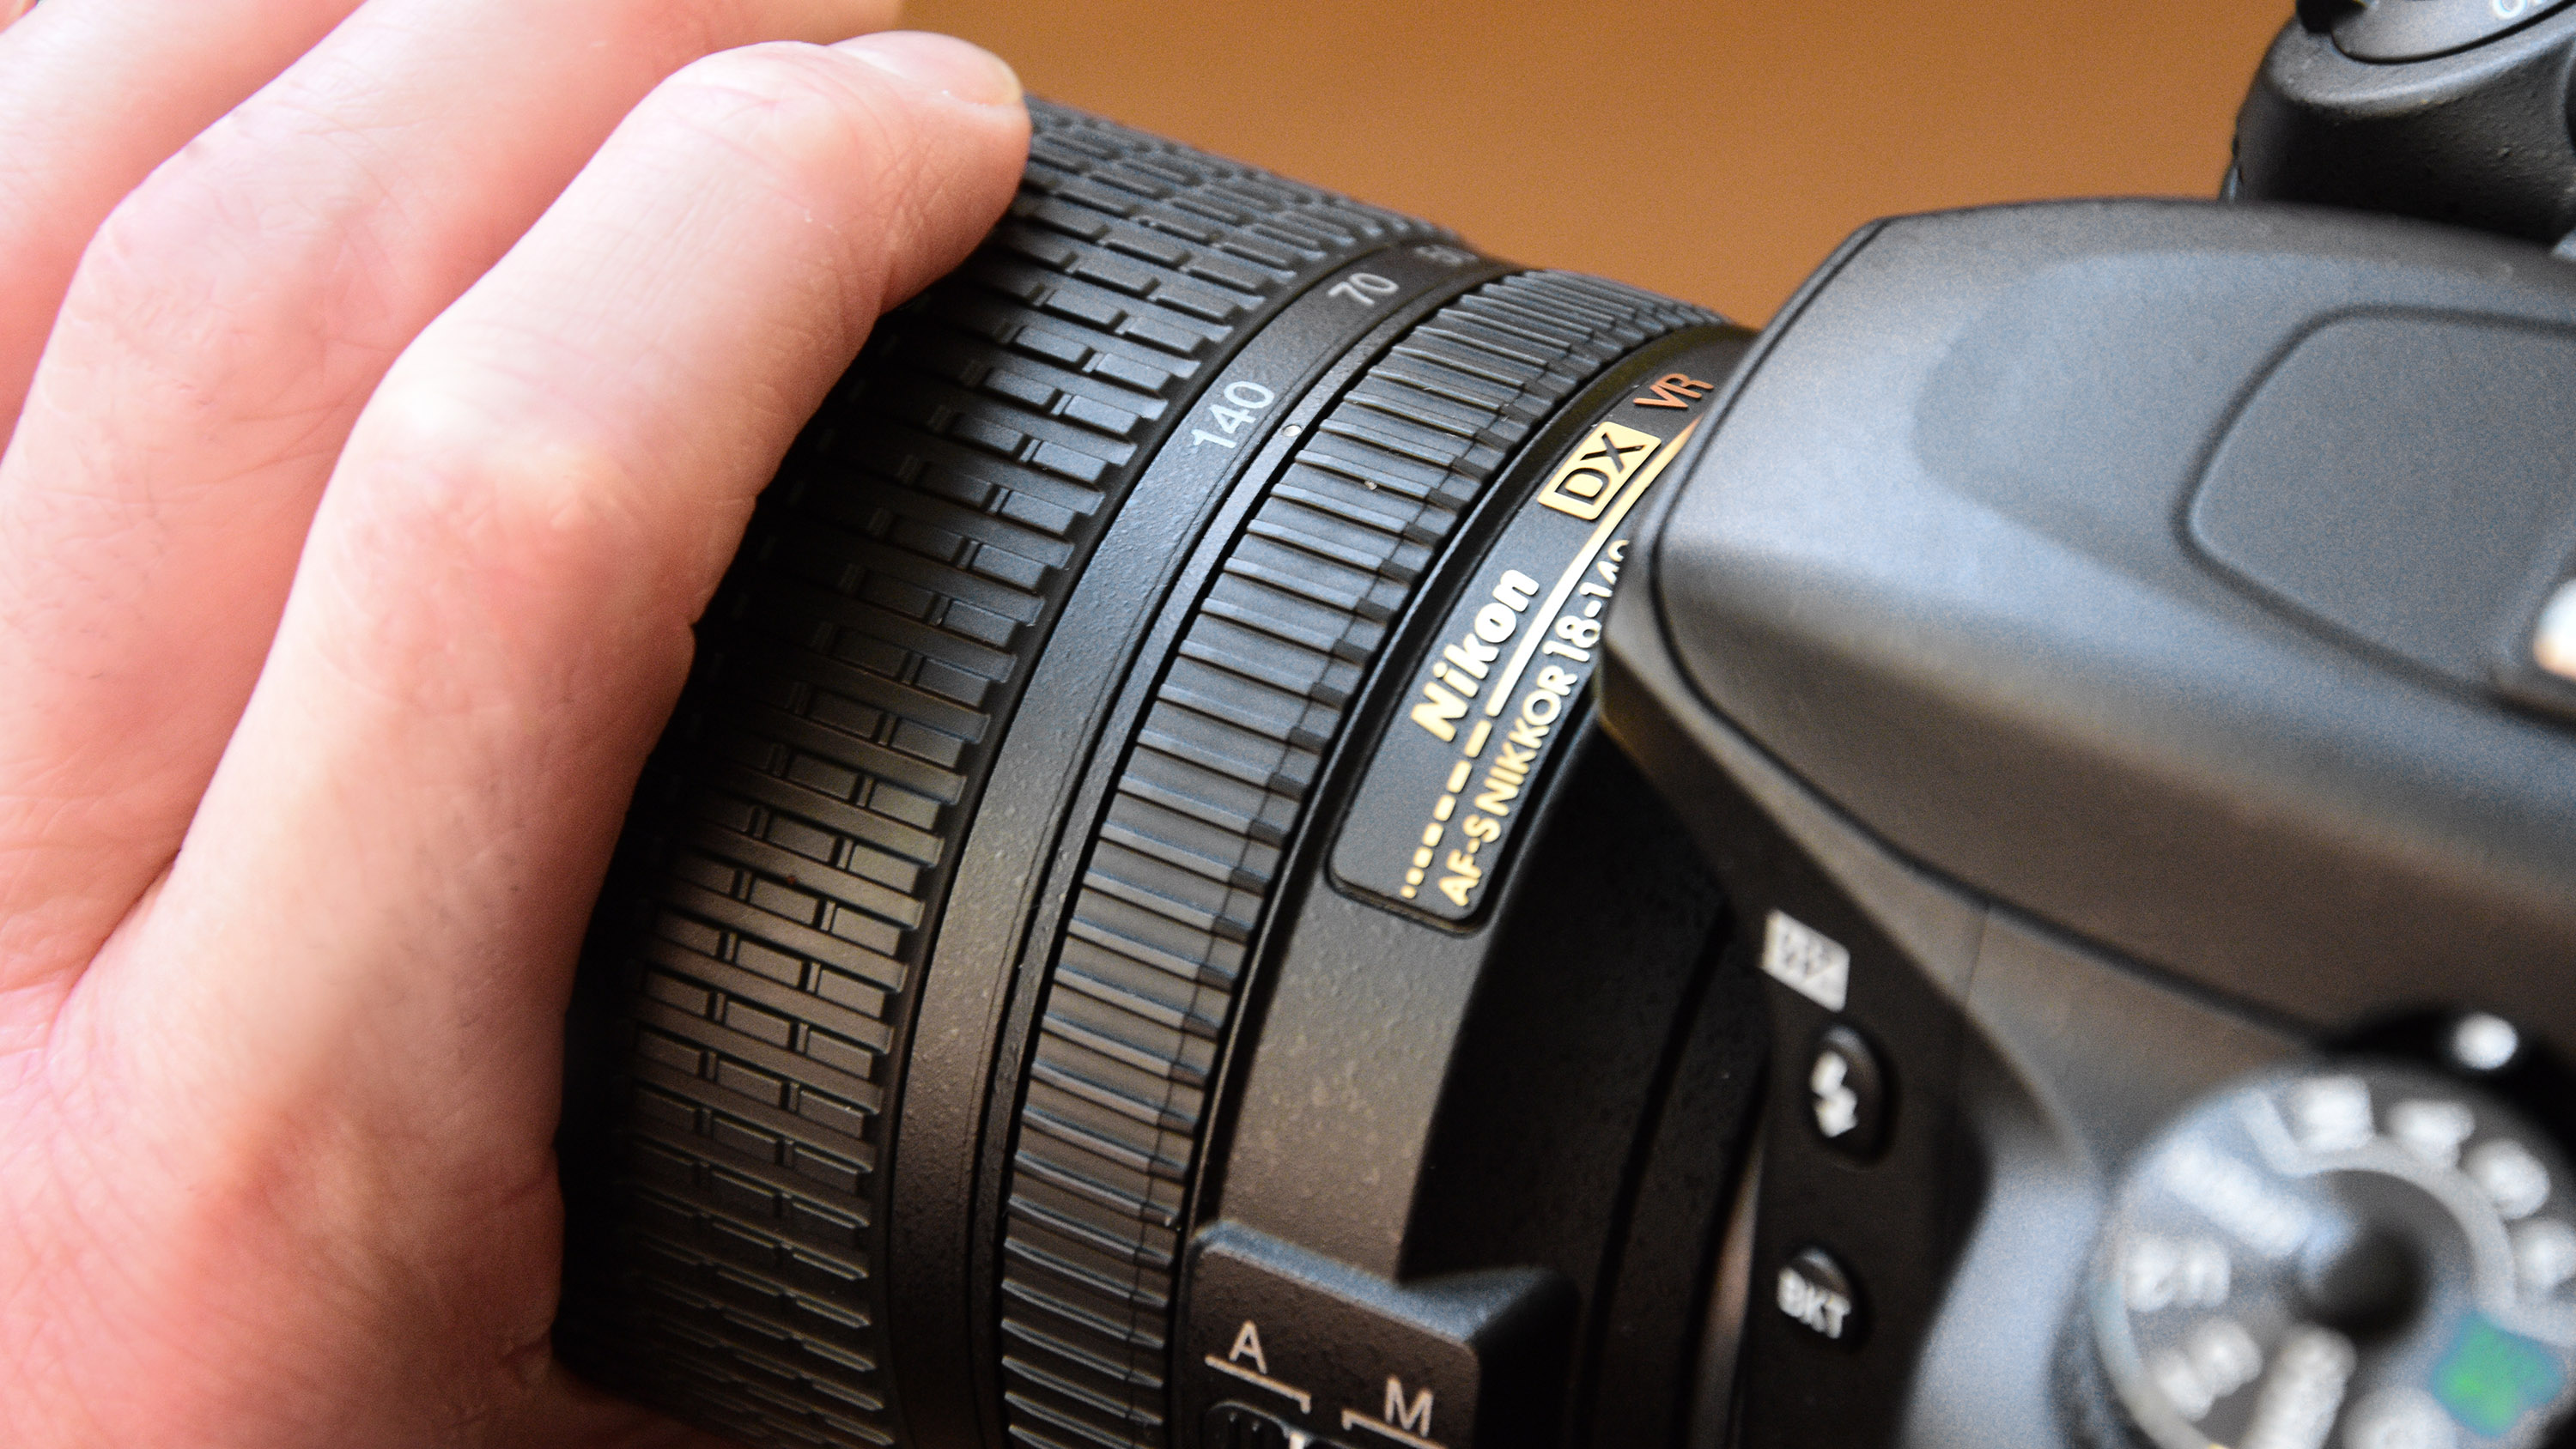
Metering for solid backgrounds is difficult due to the large area of the frame they occupy. Zoom in to fill more of the frame with the subject, essentially forcing the camera to take a reading from those areas.
3- Take an exposure reading
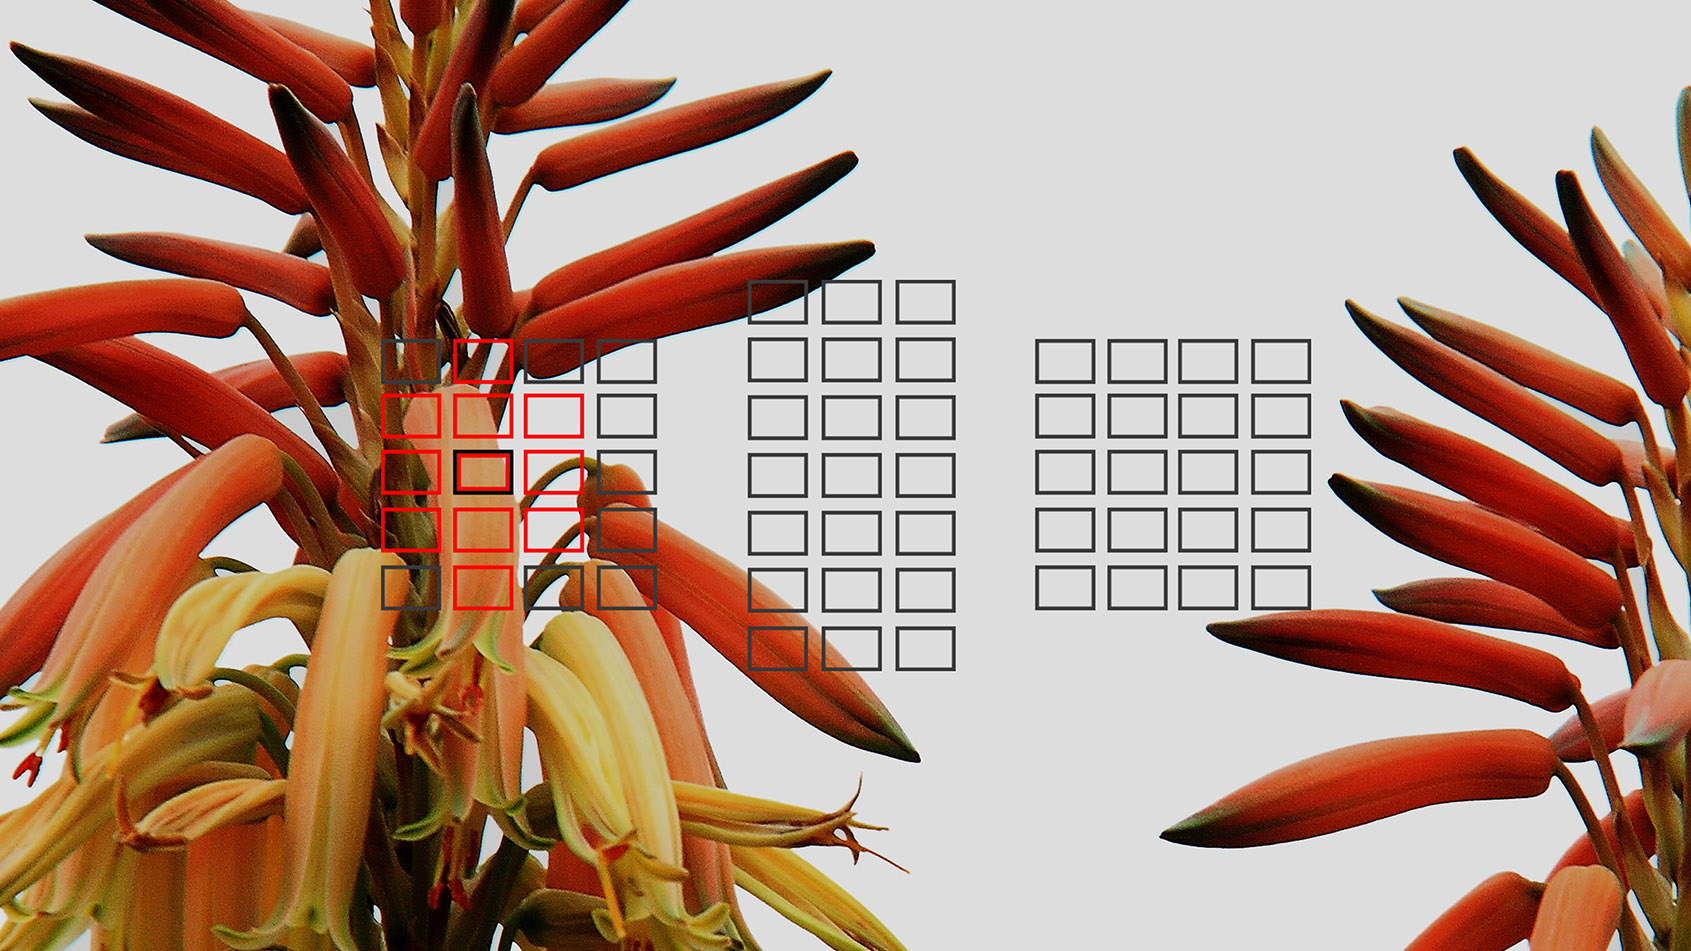
Place the active AF point over your subject to take a test reading. Try to target the brightest part, to ensure highlight detail is retained - to create a bright white background, use positive exposure compensation.
The best camera deals, reviews, product advice, and unmissable photography news, direct to your inbox!
4- Lock your settings
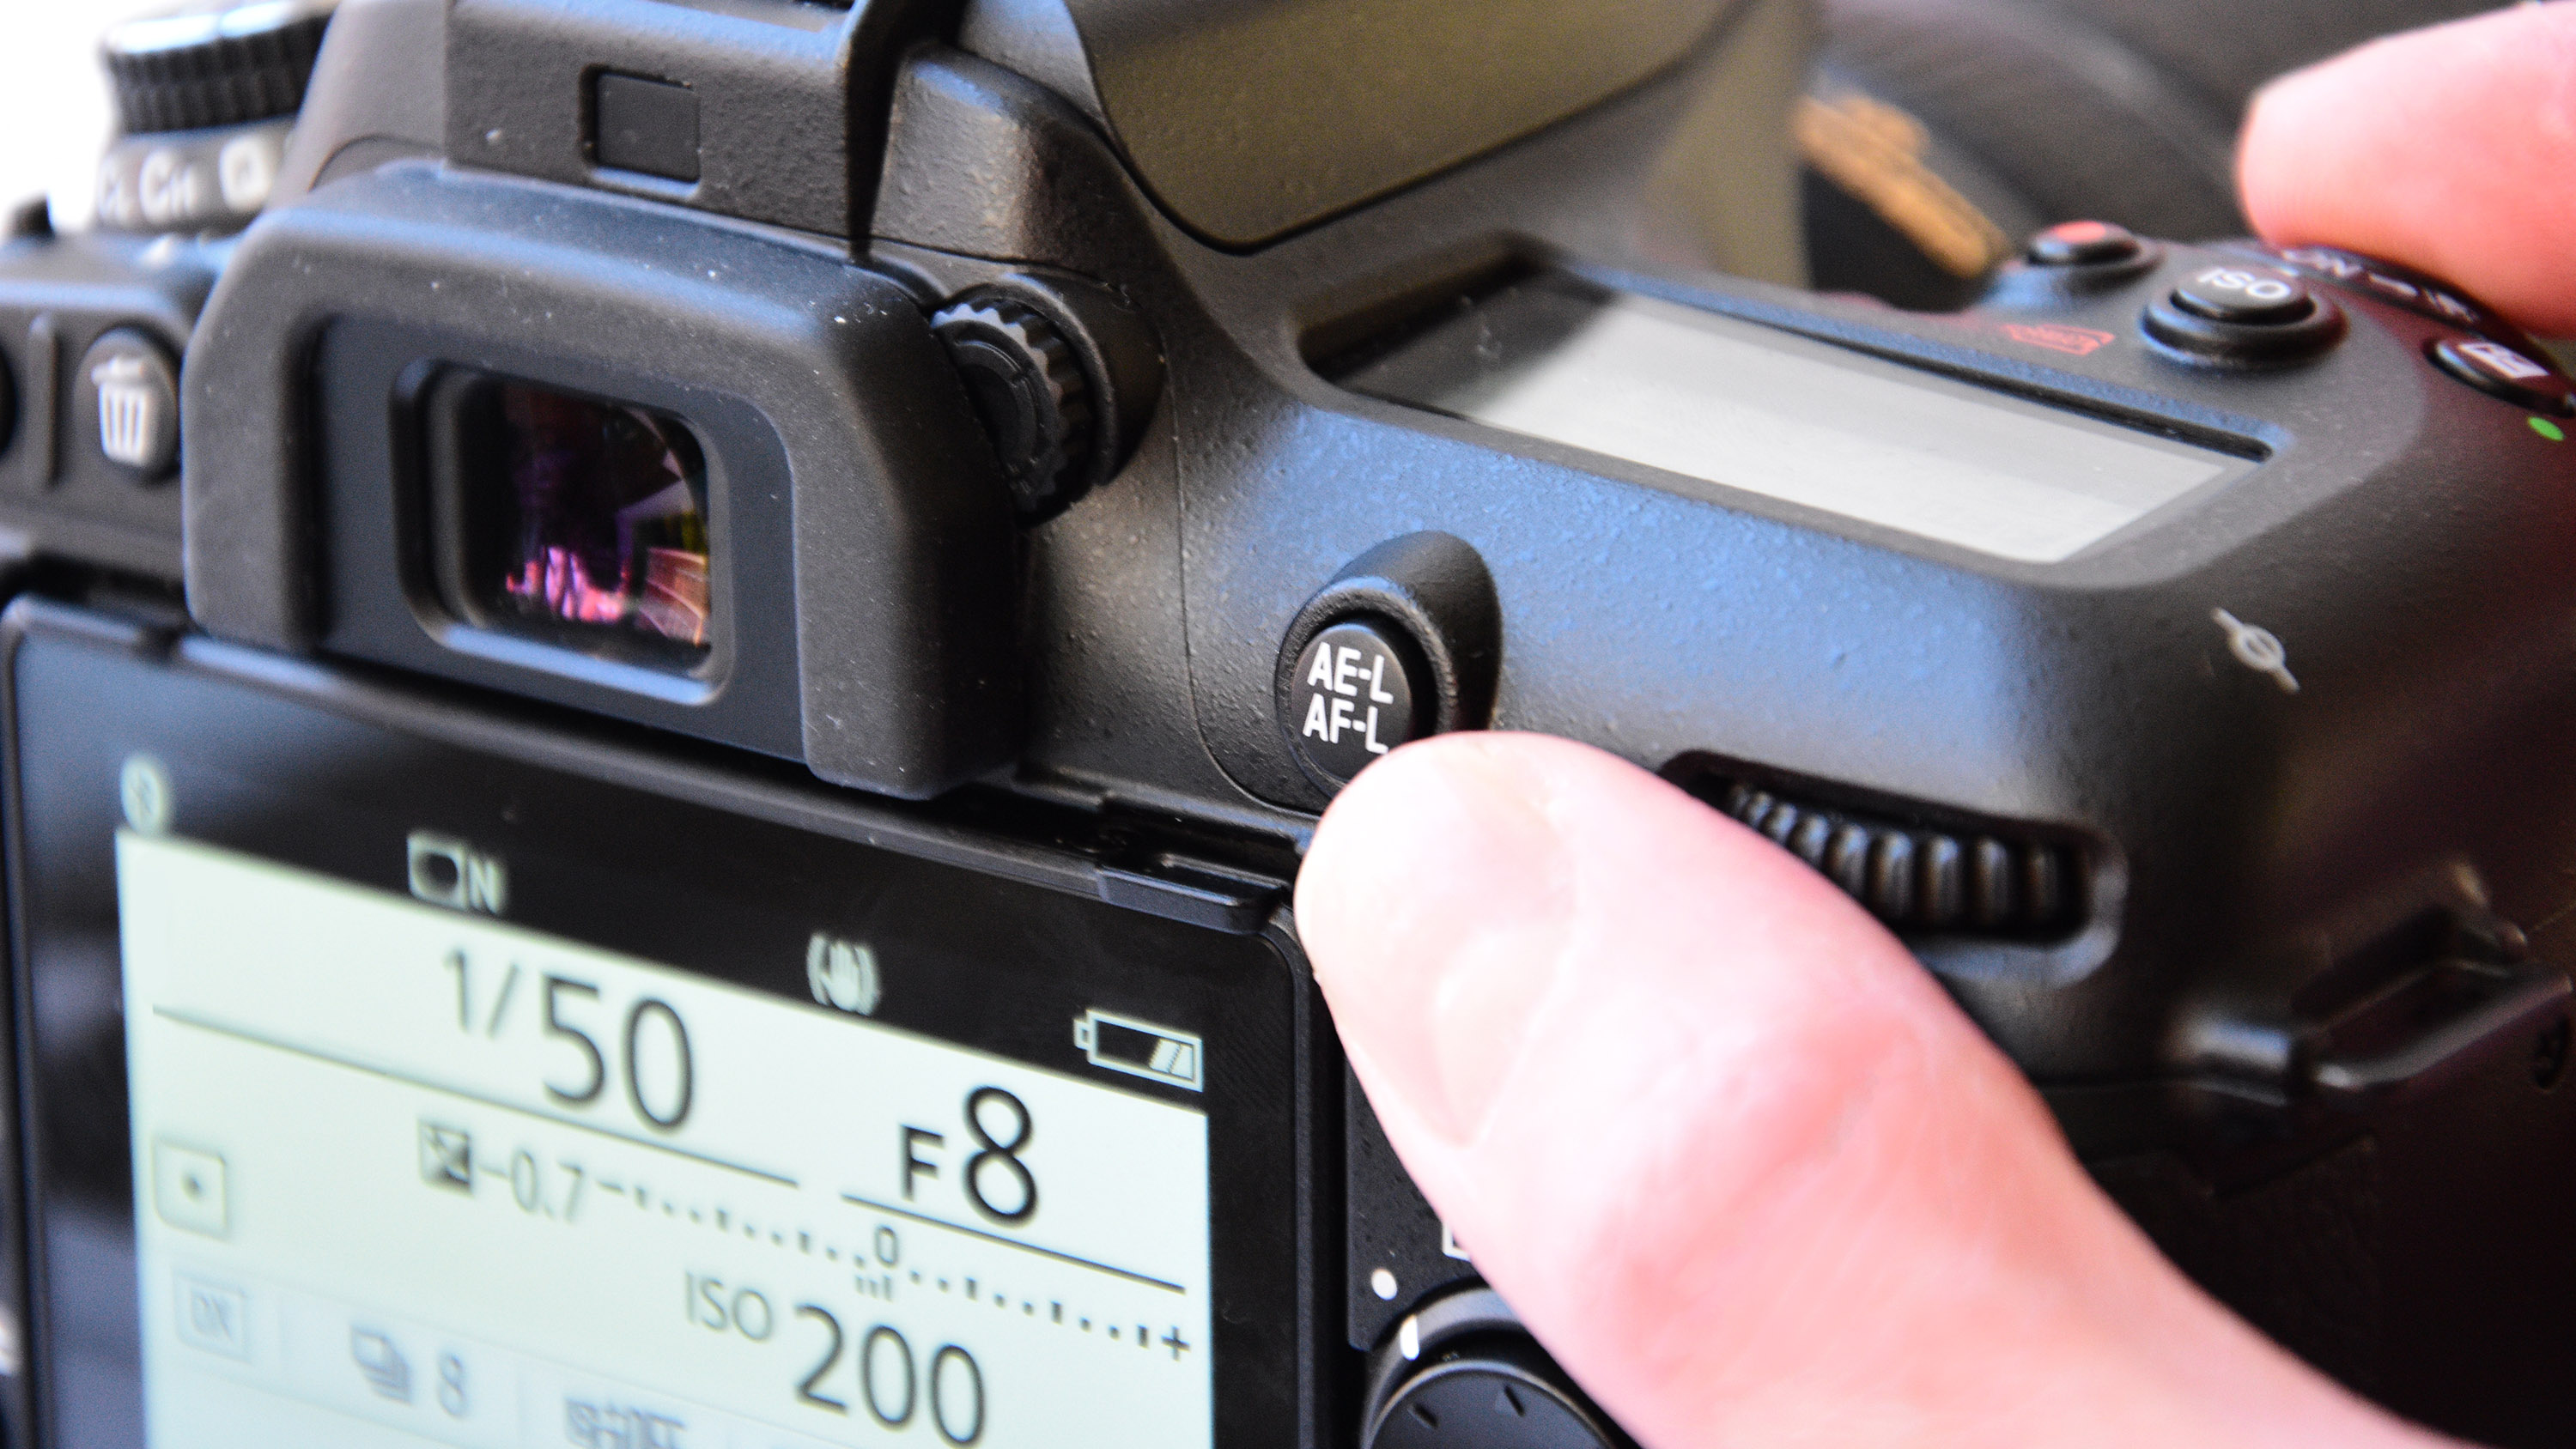
Once your exposure is centred, use the Auto Exposure Lock button or make a note of the suggested settings, switch the camera to Manual and enter these values, which will no longer be changed by the camera.
5- Shoot a test image
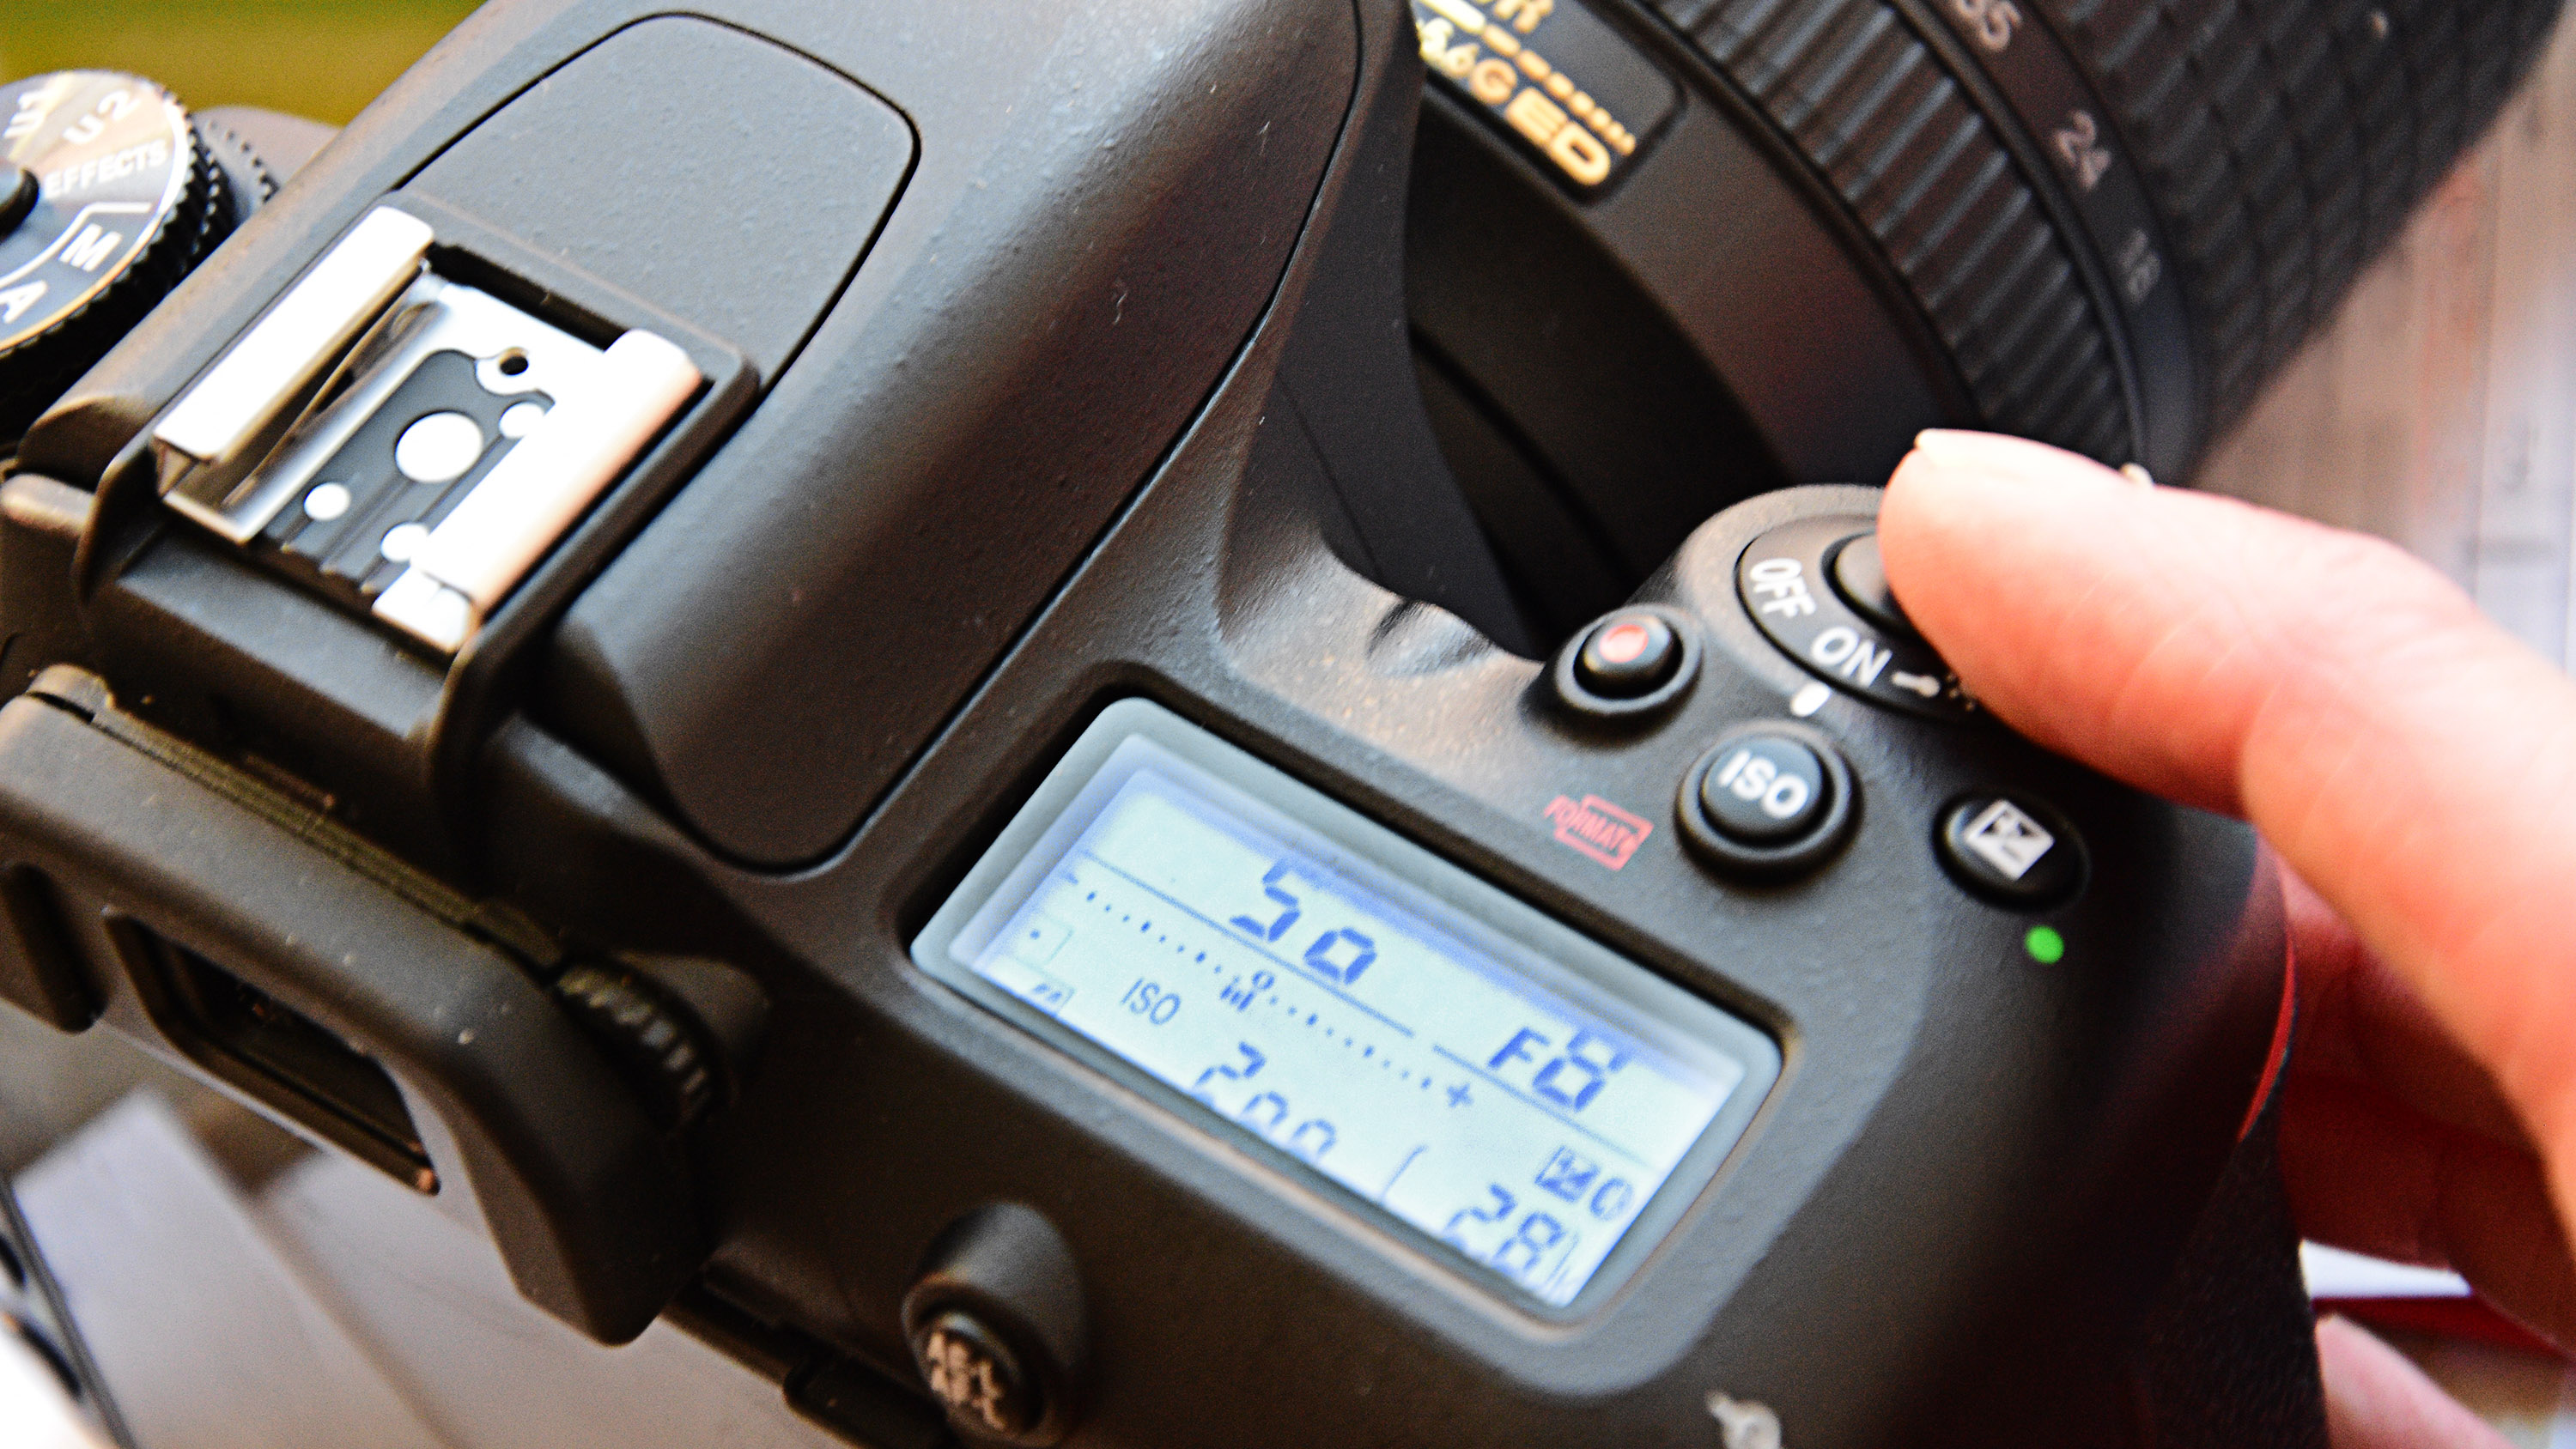
Zoom back out and compose your image as required. Fire a test shot to assess the overall exposure, adjusting the shutter speed if necessary - aperture can be used, but here we want depth-of-field constant.
6- Check LCD warnings
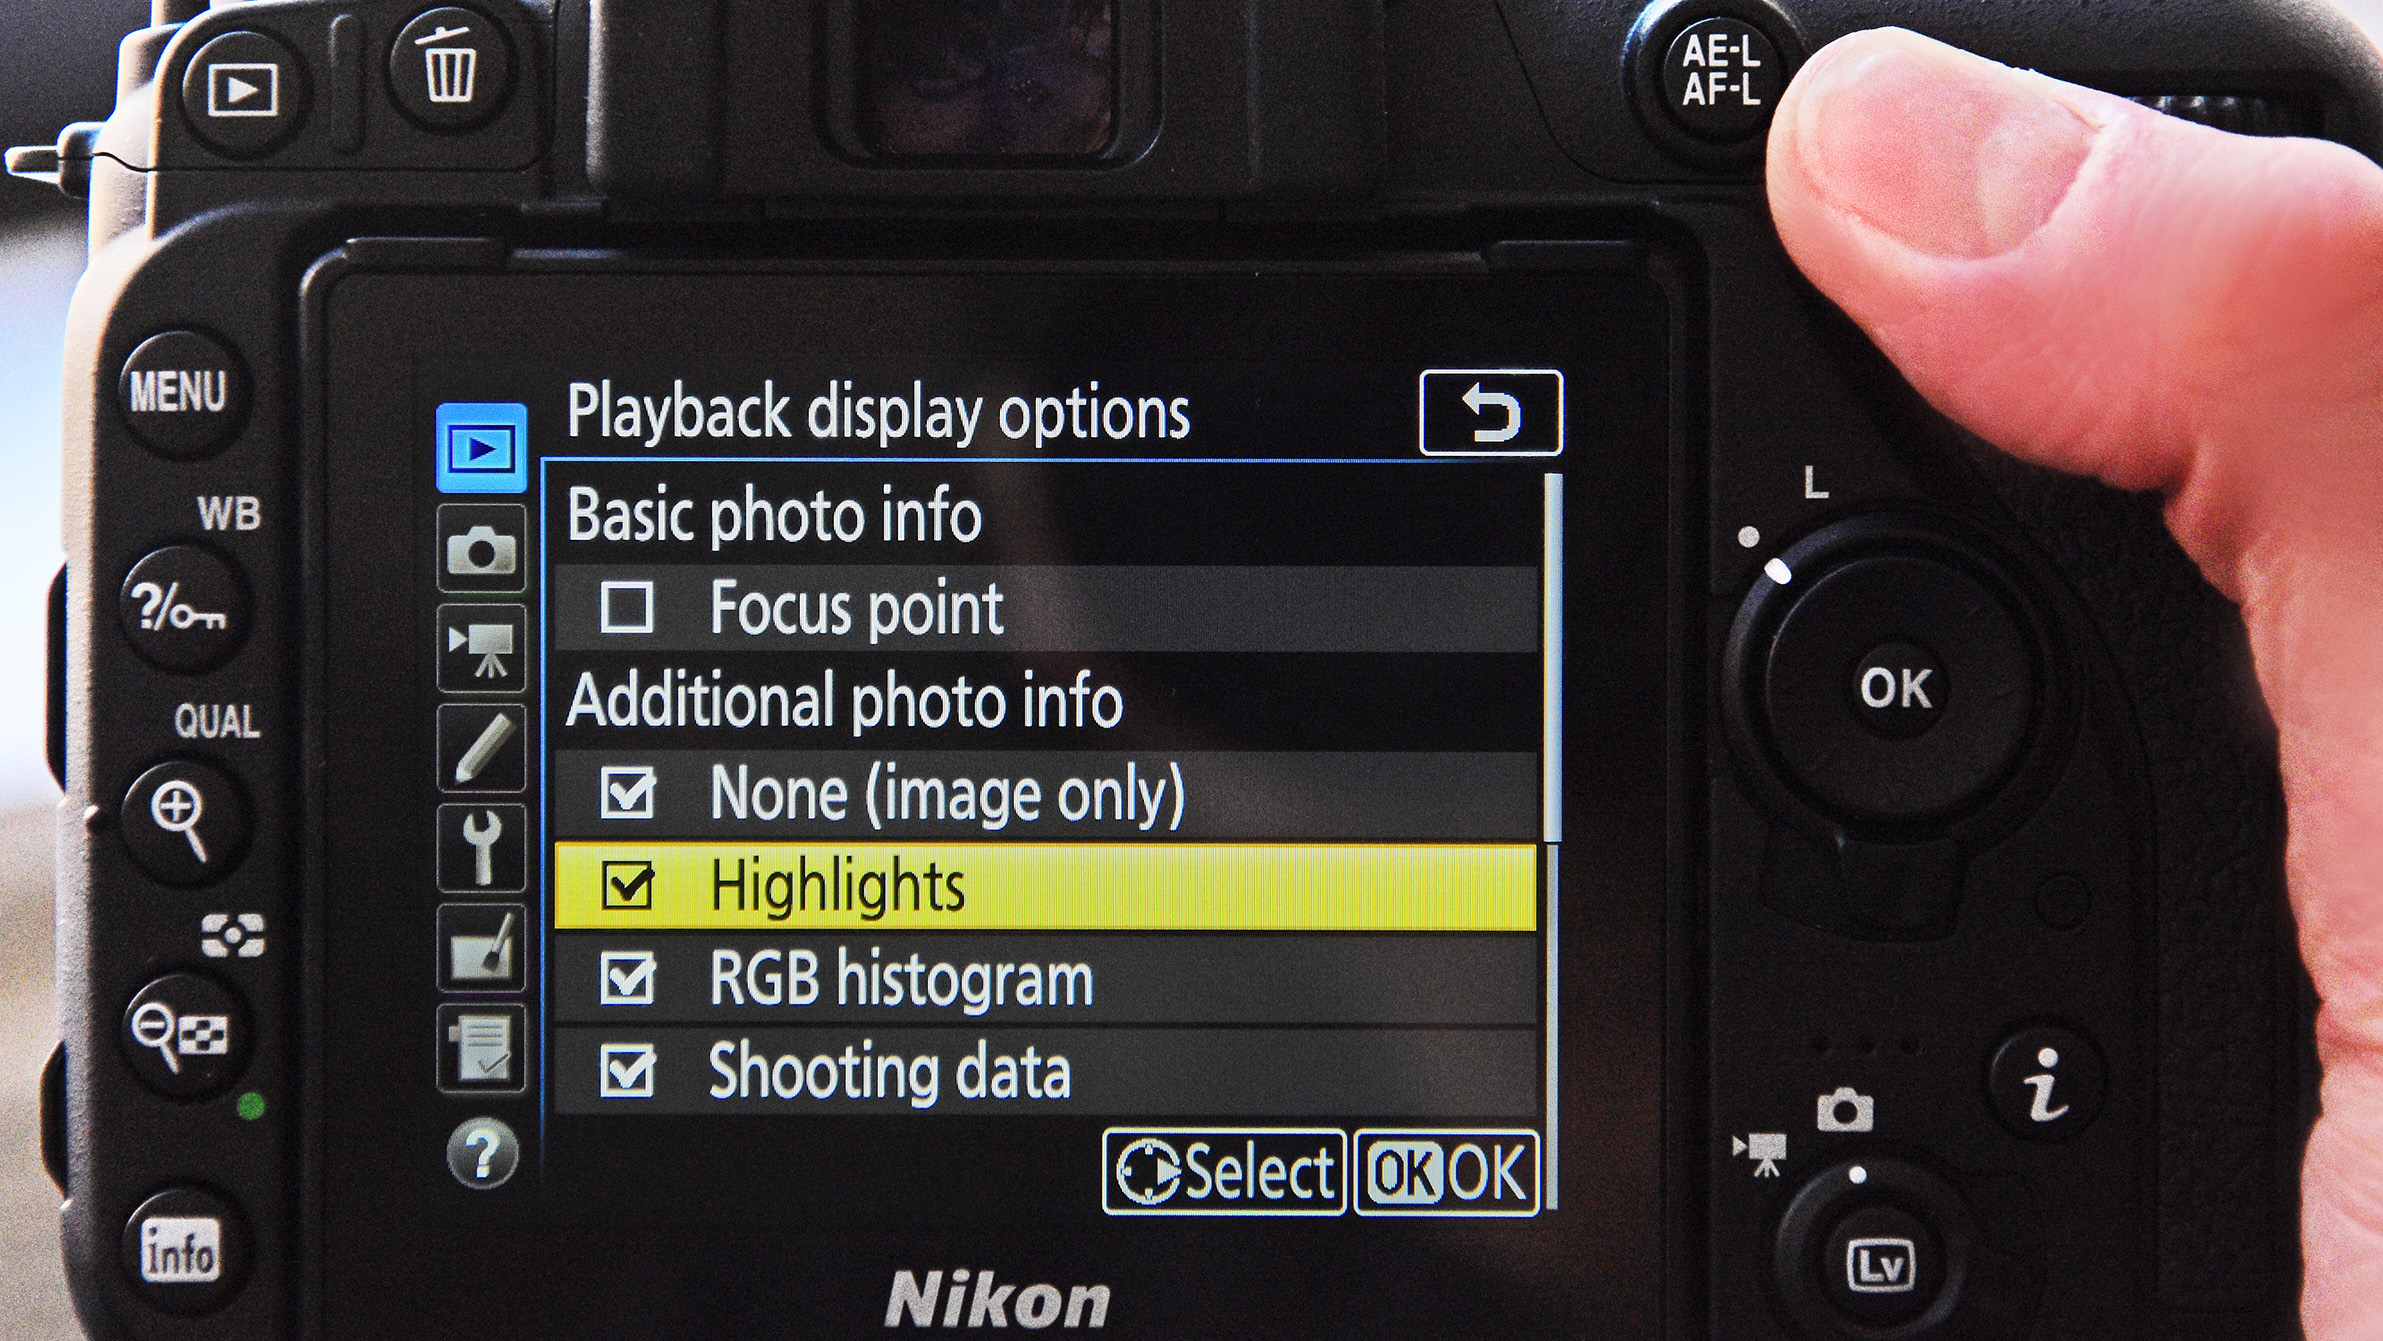
Avoid histograms for assessing exposure as you can expect to see clipping, due to the intentional solid backgrounds. Use shadow/highlight alerts instead as these will show missing detail in your subject.

Read more
Get more from your camera's built-in flash
As the Editor for Digital Photographer magazine, Peter is a specialist in camera tutorials and creative projects to help you get the most out of your camera, lens, tripod, filters, gimbal, lighting and other imaging equipment.
After cutting his teeth working in retail for camera specialists like Jessops, he has spent 11 years as a photography journalist and freelance writer – and he is a Getty Images-registered photographer, to boot.
No matter what you want to shoot, Peter can help you sharpen your skills and elevate your ability, whether it’s taking portraits, capturing landscapes, shooting architecture, creating macro and still life, photographing action… he can help you learn and improve.
